Popsicle Paint – How to Make This Fun, Frozen Art Tool!

Experience the fun of popsicle paint! Chill out and create icy masterpieces. Keep reading to learn how to make your own frozen art!
Making Art with a Frozen Twist Using Popsicle Paint
Welcome to a super creative activity where art meets ice! Discover the innovative world of frozen paint popsicles—a captivating activity that’s not only perfect for beating the summer heat but can also be enjoyed year-round. These paint popsicles offer a unique way for kids to explore colors, experiment with a new art medium, and unleash their creativity in a fun and engaging manner. So, whether it’s a scorching summer day or a cozy winter afternoon, dive into the realm of frozen paint popsicles and let your imagination soar!
All activities should be supervised by an adult. As an Amazon Associate, I earn from qualifying purchases. This post may contain affiliate links.
Skills: Sensory Play
Ages: 2+
Prep Time: 10 minutes
Why Frozen Popsicle Paint is a Must-Try Activity!
Painting with popsicles is not just a creative endeavor; it’s a multifaceted learning experience that engages children on multiple levels. As they paint with their popsicles, they’re not just creating art—they’re refining their fine motor skills and hand-eye coordination.
The sensory exploration aspect adds another dimension to their artistic journey, as they feel the cool touch of the frozen paint and observe how colors blend and mix together. This tactile experience stimulates their senses and fosters a deeper understanding of texture and temperature.
Moreover, painting with popsicles encourages creative expression, empowering children to unleash their imaginations and express themselves through colorful creations. Whether they’re painting whimsical patterns, abstract designs, or realistic landscapes, each brushstroke represents a unique expression of their inner world.
Overall, painting with popsicles is not just about making art; it’s about nurturing a wide range of developmental skills in a fun and engaging way.

Medicine Dispenser Hack
Let’s talk about a nifty trick to jazz up your frozen paint popsicles: the trusty medicine syringe!
This little tool is a game-changer, letting you layer paint colors in your popsicle molds like a pro. Say goodbye to messy sides and hello to perfectly layered rainbow goodness—the syringe ensures each color goes exactly where it’s supposed to.
Keep in mind that if you go the rainbow route, it will take a little longer to create your popsicle paint. To save time, use one or a two-color pattern.
Materials
Step-by-Step Instructions
Step 1
Pour each color of washable tempera paint into separate containers for easy access.
Step 2
Using the medicine syringe, draw up one color of paint at a time.
Step 3
Carefully inject the paint into the popsicle mold, layering each color to create your desired design.
Step 4
Once the mold is filled, insert a popsicle stick into each compartment.
Step 5
Place the molds in the freezer and allow them to freeze overnight.
Step 6
When ready to enjoy, remove the popsicles from the molds and let them thaw slightly before painting. Get creative and paint away on paper or any other suitable surface, using the colorful popsicles as your medium!
Tips for Making the Most of Frozen Popsicle Paint
Patience Pays Off: When removing the popsicles from the molds, allow them to thaw slightly before attempting to pull them out. This prevents any mishaps and ensures your frozen creations stay intact.
Mix It Up: Don’t be afraid to experiment with different color combinations and patterns. Try swirling the colors together for a marbled effect or layering them in unique ways to create mesmerizing designs.
Cleanup Made Easy: To avoid a messy cleanup, place a silicone mat or newspaper underneath your workspace to catch any drips or spills. This makes for a quick and hassle-free cleanup once you’re done creating.
More DIY Recipes for Play!
Expand your DIY repertoire with these exciting recipes for playtime fun! From homemade playdough to sensory sand, get ready to unleash creativity and imagination with these simple yet engaging projects.

Homemade Play Dough

DIY Sensory Sand

DIY Bubble Solution

DIY Kids Bath Paint
What’s Next?
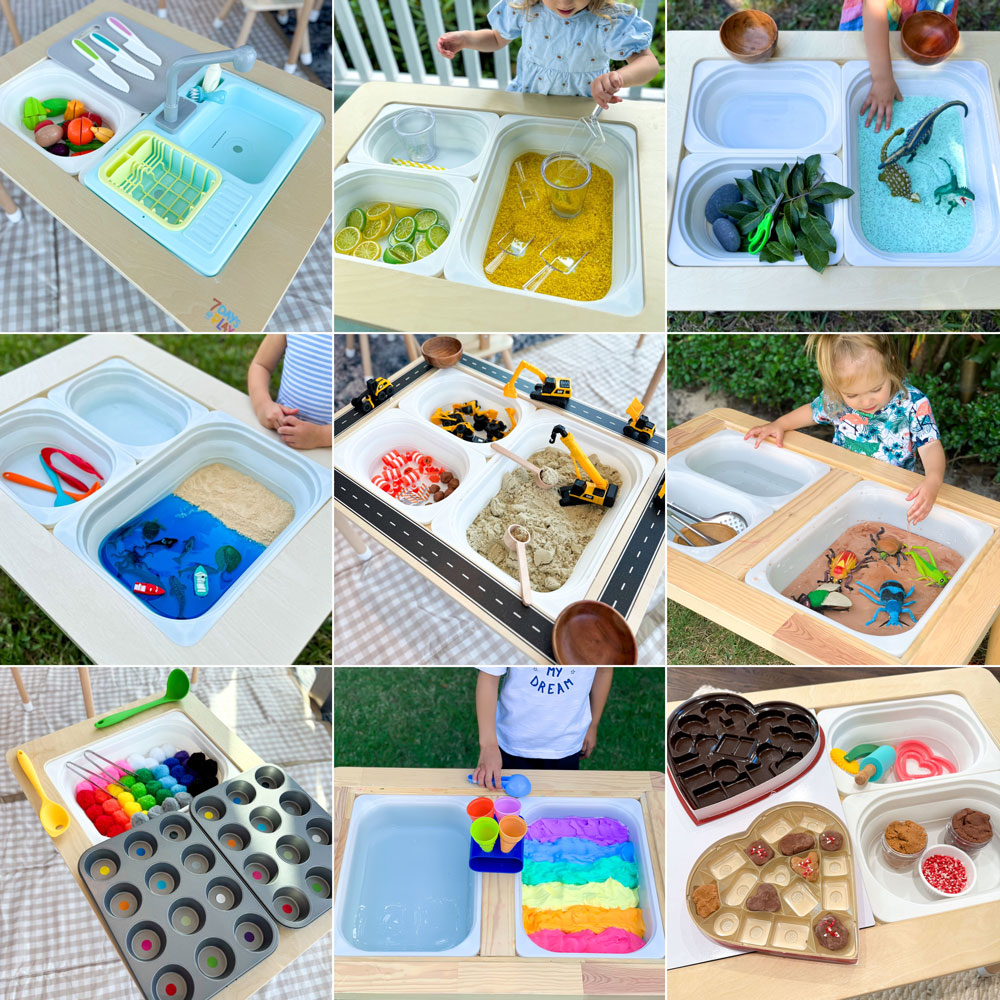
The Best Sensory Bin Ideas to Keep Kids Engaged for Hours
The best sensory bin ideas to keep kids engaged for hours! Fun, hands-on activities that spark creativity, learning, and fine motor skills.

The Best Easter Ideas for Kids
Discover the best Easter ideas for kids including basket ideas, egg fillers, crafts, activities, decorations, and printables to make Easter fun and easy.
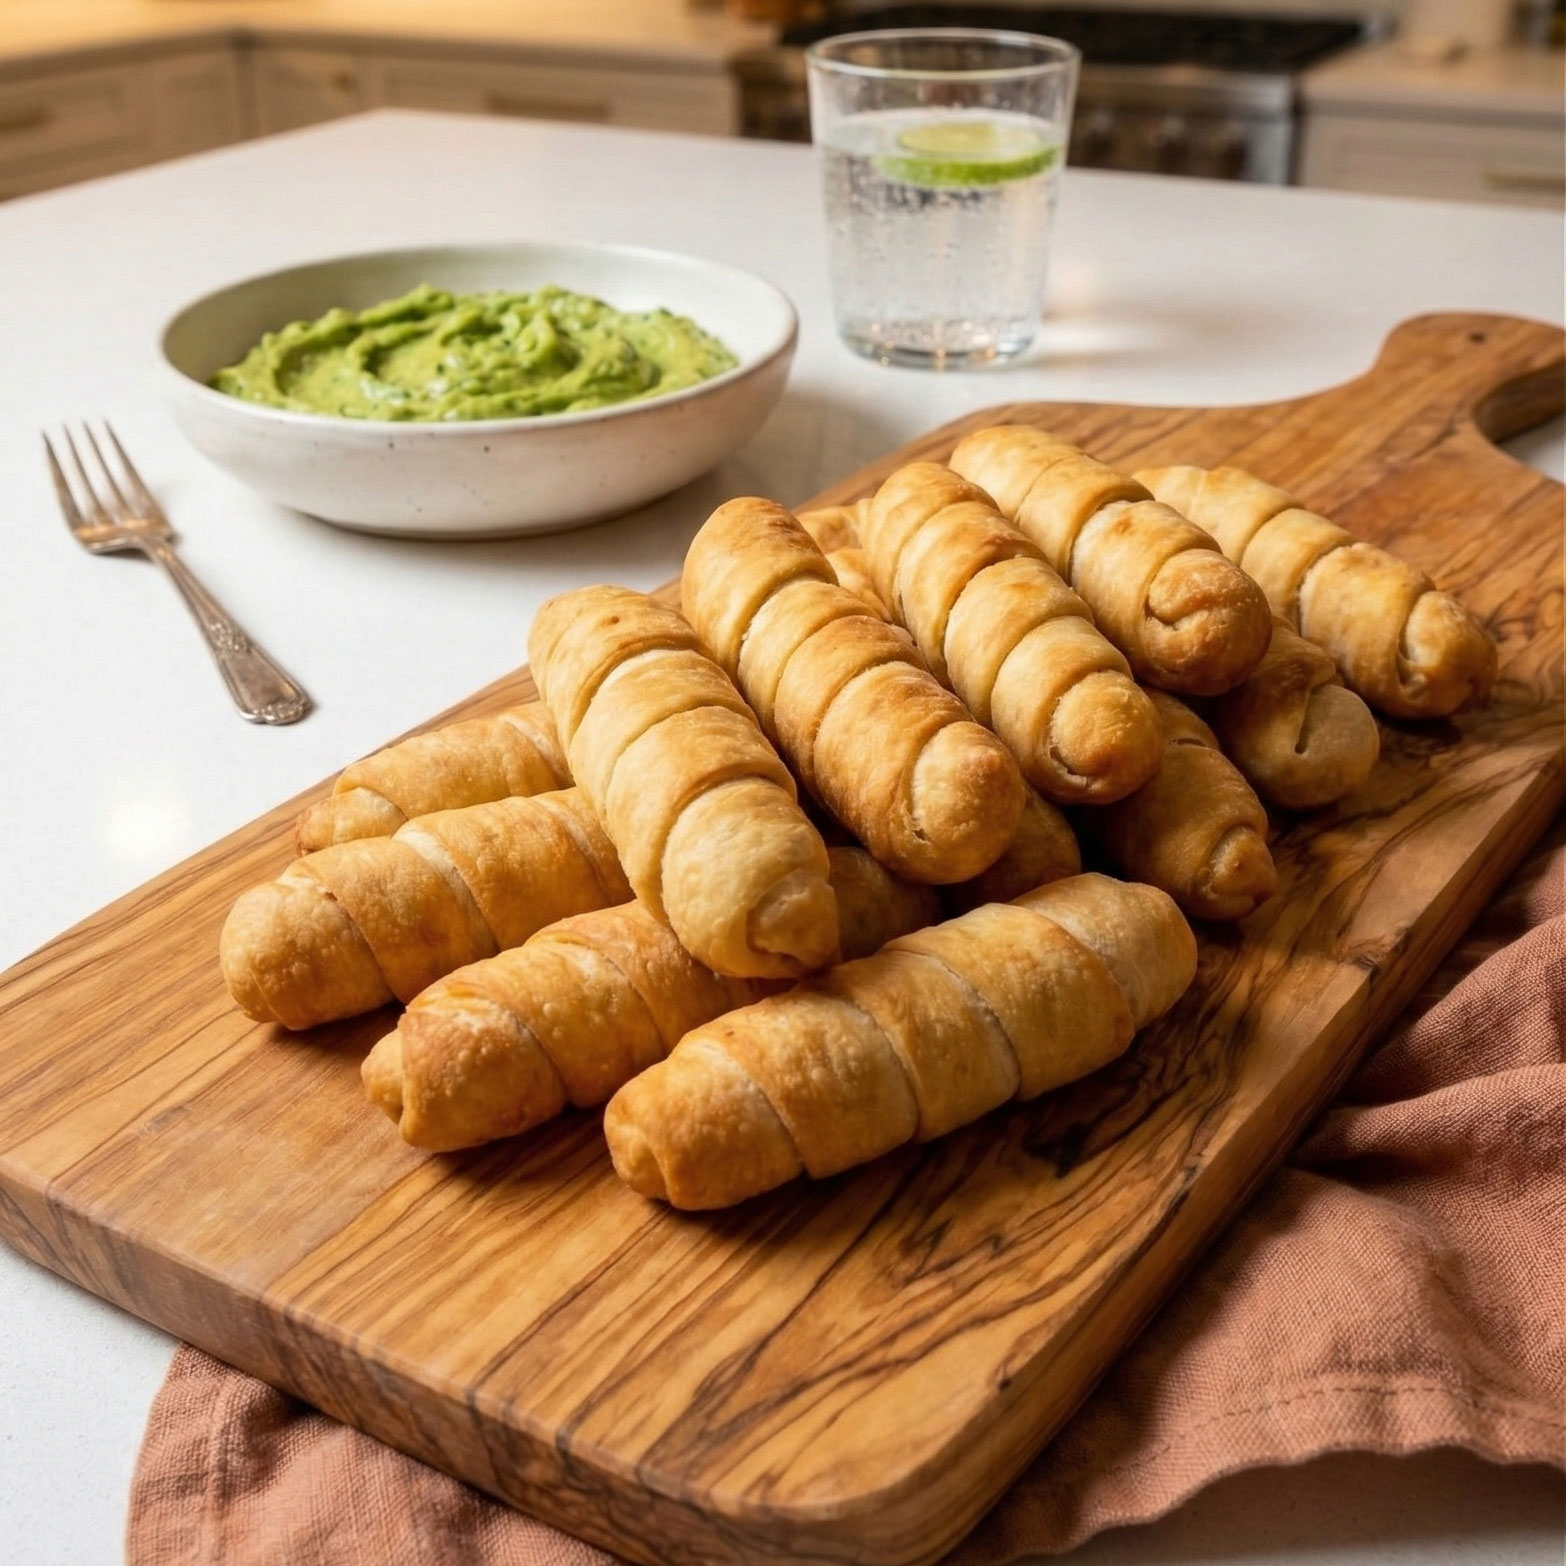
Air Fryer Tequeños, Freeze Ahead and Cook Straight From Frozen
Make Air Fryer Tequeños you can freeze and cook from frozen, crispy dough, melty cheese, plus dips and no-leak tips.