Pumpkin Activities – Being Creative with a Real Pumpkin
These pumpkin activities are a fun way for kids to crack open a pumpkin and create some fun festive decor while learning about plants!
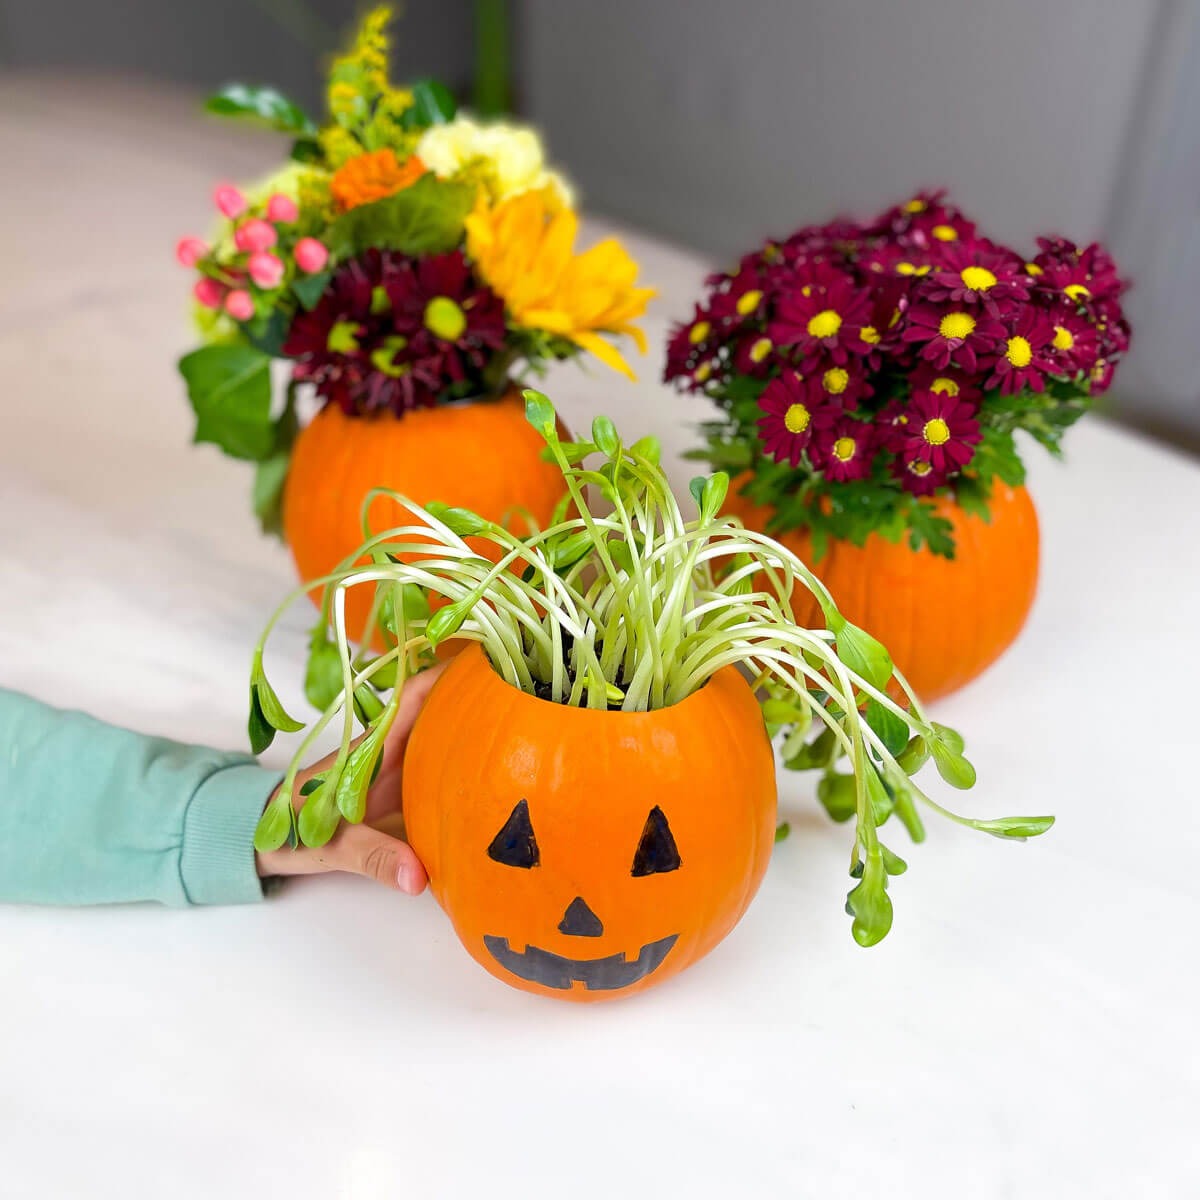
Using a pumpkin as the pot, you can use it to contain a bouquet of cut flowers, or be the home to flowers still growing in dirt, and our absolute favorite, growing pumpkin seeds inside the pumpkin itself! Keep on reading to find out how to make each!
Pumpkin Activities Double As Fall Decor
From planting seeds, to replanting flowers, and assembling cut flowers, so much can be learned about gardening and pumpkins while making Fall decor in the process! We love using these as centerpieces on our Thanksgiving table, and on our front porch during Halloween!
Watch the Video to See How to Make 3 Pumpkin Activities!
In this video, you’ll see how easy it is to make festive floral arrangements inside the pumpkin itself!
Plus, you’ll see how fun it is to plant the pumpkin’s seeds right back inside the pumpkin! It takes less than 7 days to see the pumpkin sprouts arise from the dirt.
This is a great opportunity to talk about living plants, cut plants, and planting seeds!
How to Make a “Hairy Pumpkin” and Other Pumpkin Activities
The supplies are simple and super adaptable! Grown ups should do the cutting of the top of the pumpkins, but kiddos can lead the rest!
Each activity has it’s own process, but the results for each are stunning and the perfect Fall decor!
For the “Hairy Pumpkin,” not only is it fun to plant the seeds and see sprouts grow within a week, but you could also extend the activity by treating it like a chia pet and giving the pumpkin a haircut! Alternatively, if your weather permits it, you can plant the pumpkin and perhaps grow your own pumpkin patch for next year!
All activities should be supervised by an adult. As an Amazon Associate, I earn from qualifying purchases. This post may contain affiliate links.
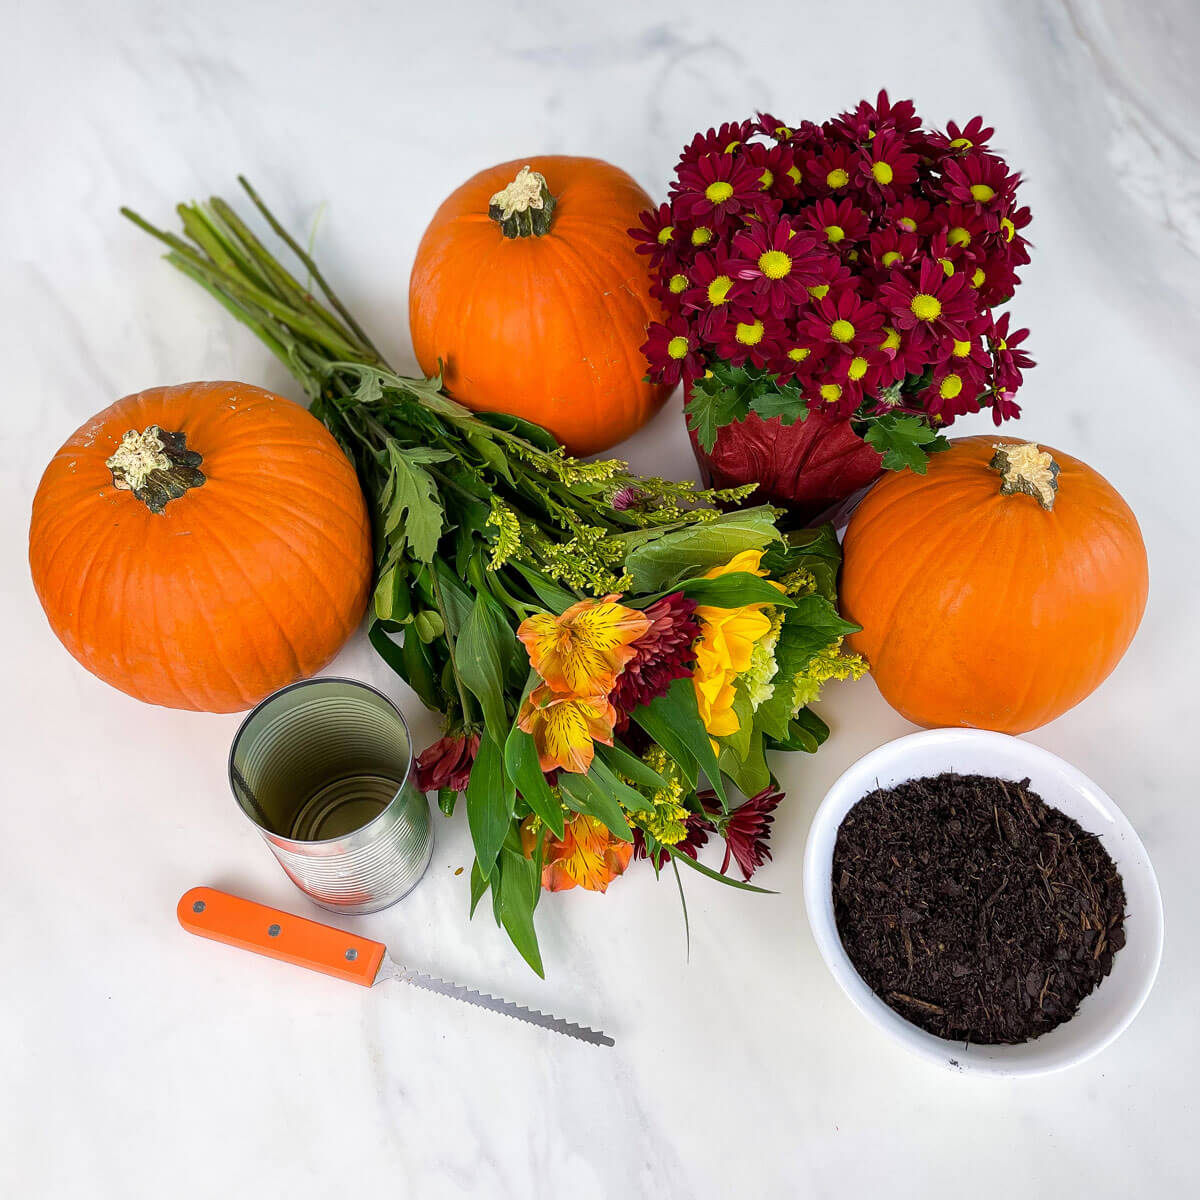
Materials
- Pumpkins
- Carving Tools
- Tin Can
- Soil
- Cut Flowers
- Potted Flowers
- Permanent Marker
- Pumpkins
- Carving Tools
- Tin Can
- Soil
- Cut Flowers
- Potted Flowers
- Permanent Marker
Step-by-Step Instructions
To Make the “Hairy Pumpkin”
Adult to cut the top of the pumpkin and pierce the bottom a few times for drainage. Then, have your kiddos: remove the seeds, add dirt into the pumpkin shell, sprinkle seeds on top, and cover seeds with dirt. Give water and sunlight, and within a week, you should see sprouts!
For a Halloween look, use a black permanent marker to create eyes, a nose, and a mouth for a pumpkin face!
Keep in mind that the pumpkins will start to decompose (the warmer the climate, the quicker). We had to keep ours inside with air-conditioned temperature. When we tried this outside, the pumpkins rotted very quickly, and birds ate the seeds!
To Use the Pumpkin as Pot for Plants
Adult to cut the top of the pumpkin and pierce the bottom a few times for drainage. Then, have your kiddos: remove the seeds and add a potted plant. You can use flowers or herbs for example! Add extra dirt if necessary and water regularly. We keep these inside as table centerpieces and bring them outside during the days leading up to Halloween!
To Use the Pumpkin as a Vase
Adult to cut the top of the pumpkin. Then, have your kiddos remove the seeds, add a tin can inside the pumpkin, fill with water, and add the cut flowers into the can! This beautiful arrangement also makes for a great centerpiece!
Don’t Miss Our Halloween Printable Activities!
This printable bundle of Halloween-themed activities is full of Halloween activities for toddlers, preschoolers, and kindergartens to learn early childhood education skills!
It has 2 dozen unique activities that will be sure to keep the kids busy and learning the whole month of October!
Activities include shape recognition, matching, phonics, letter recognition, counting, number recognition, coloring, writing practice, scissor skills, emotions, measurements, and patterns to name a few!
More Ways to Explore Gardening with Kids
Here are my top picks for gifts for a little one who has a green thumb!
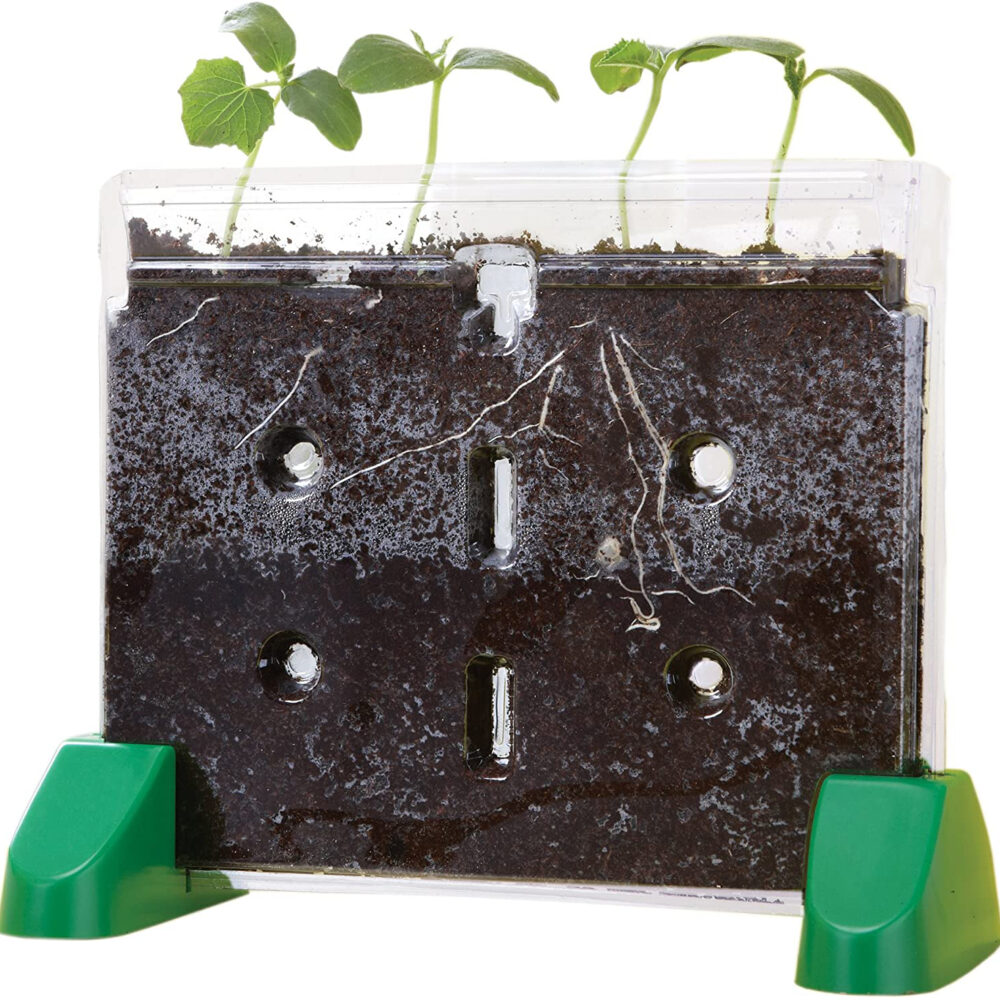
This kit provides the perfect view of the plant life cycle. It comes with this self-standing planter that can be placed on a tabletop or window sill.
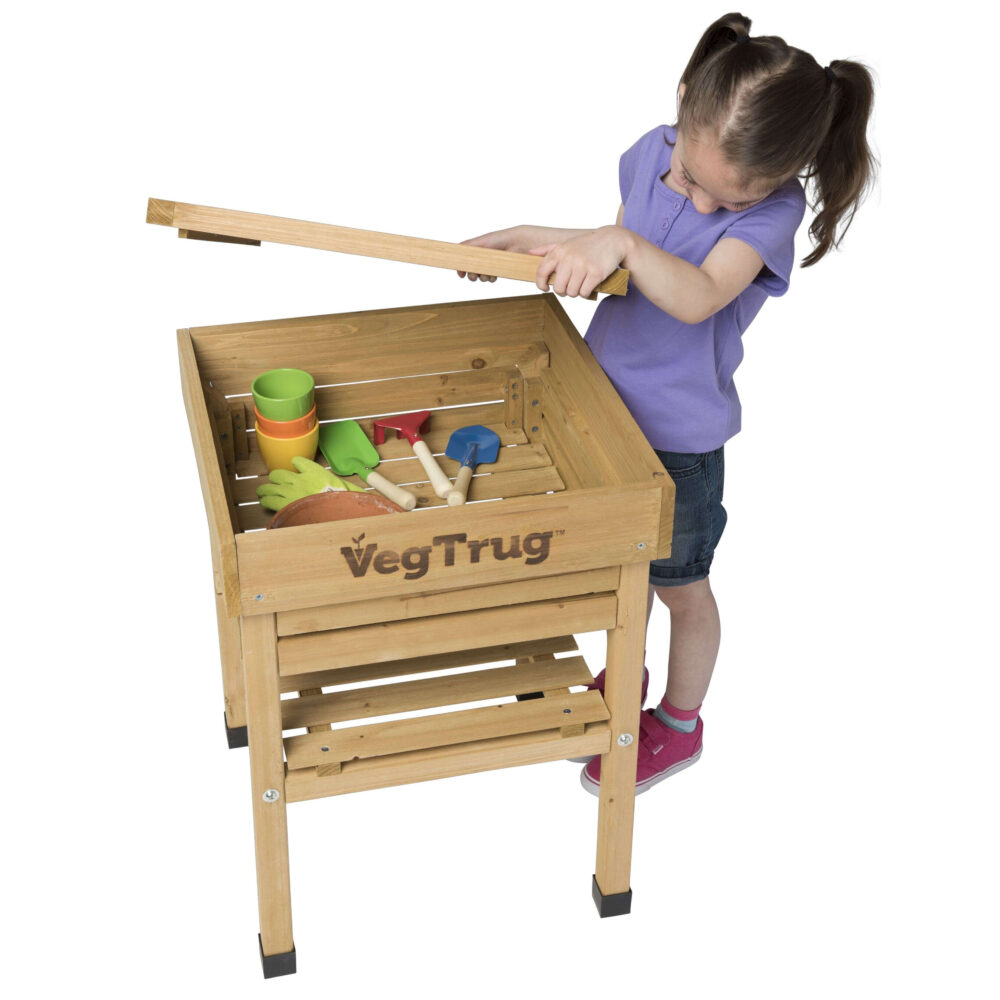
This 2-in-1, child-sized potting bench has a flat work surface for seed starting, potting up plants and maintaining potted plants.
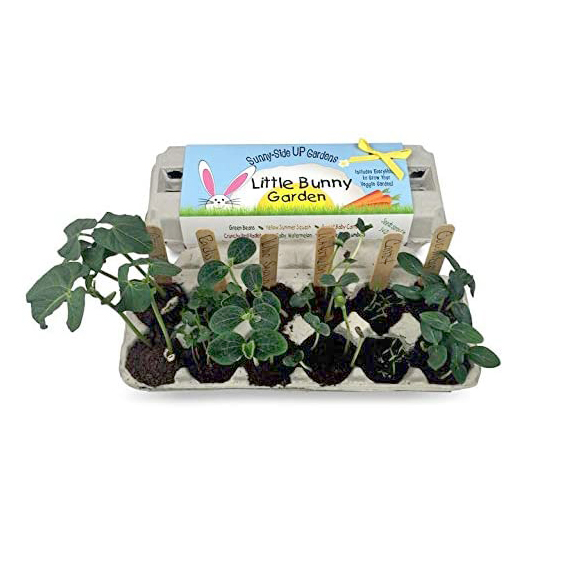
This egg carton garden includs 6 packages of heirloom seeds, starter soil, wooden stakes, instructions, a journal, and the egg carton planter!
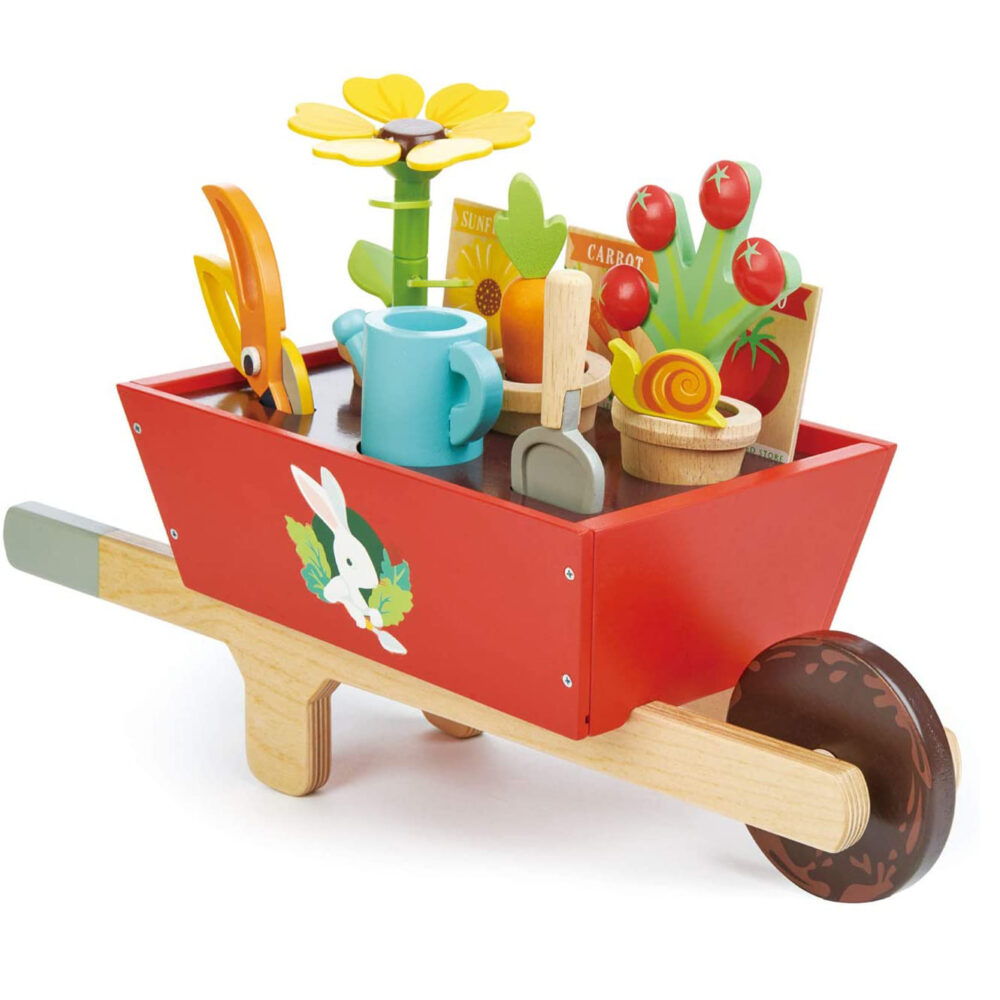
Wooden Gardening Pretend Play Toy
This adorable set is a great way to spark a young gardener’s imagination. It comes with 3 seed packets, 3 flower pots with a sunflower, carrot and tomato plant!
What’s Next?
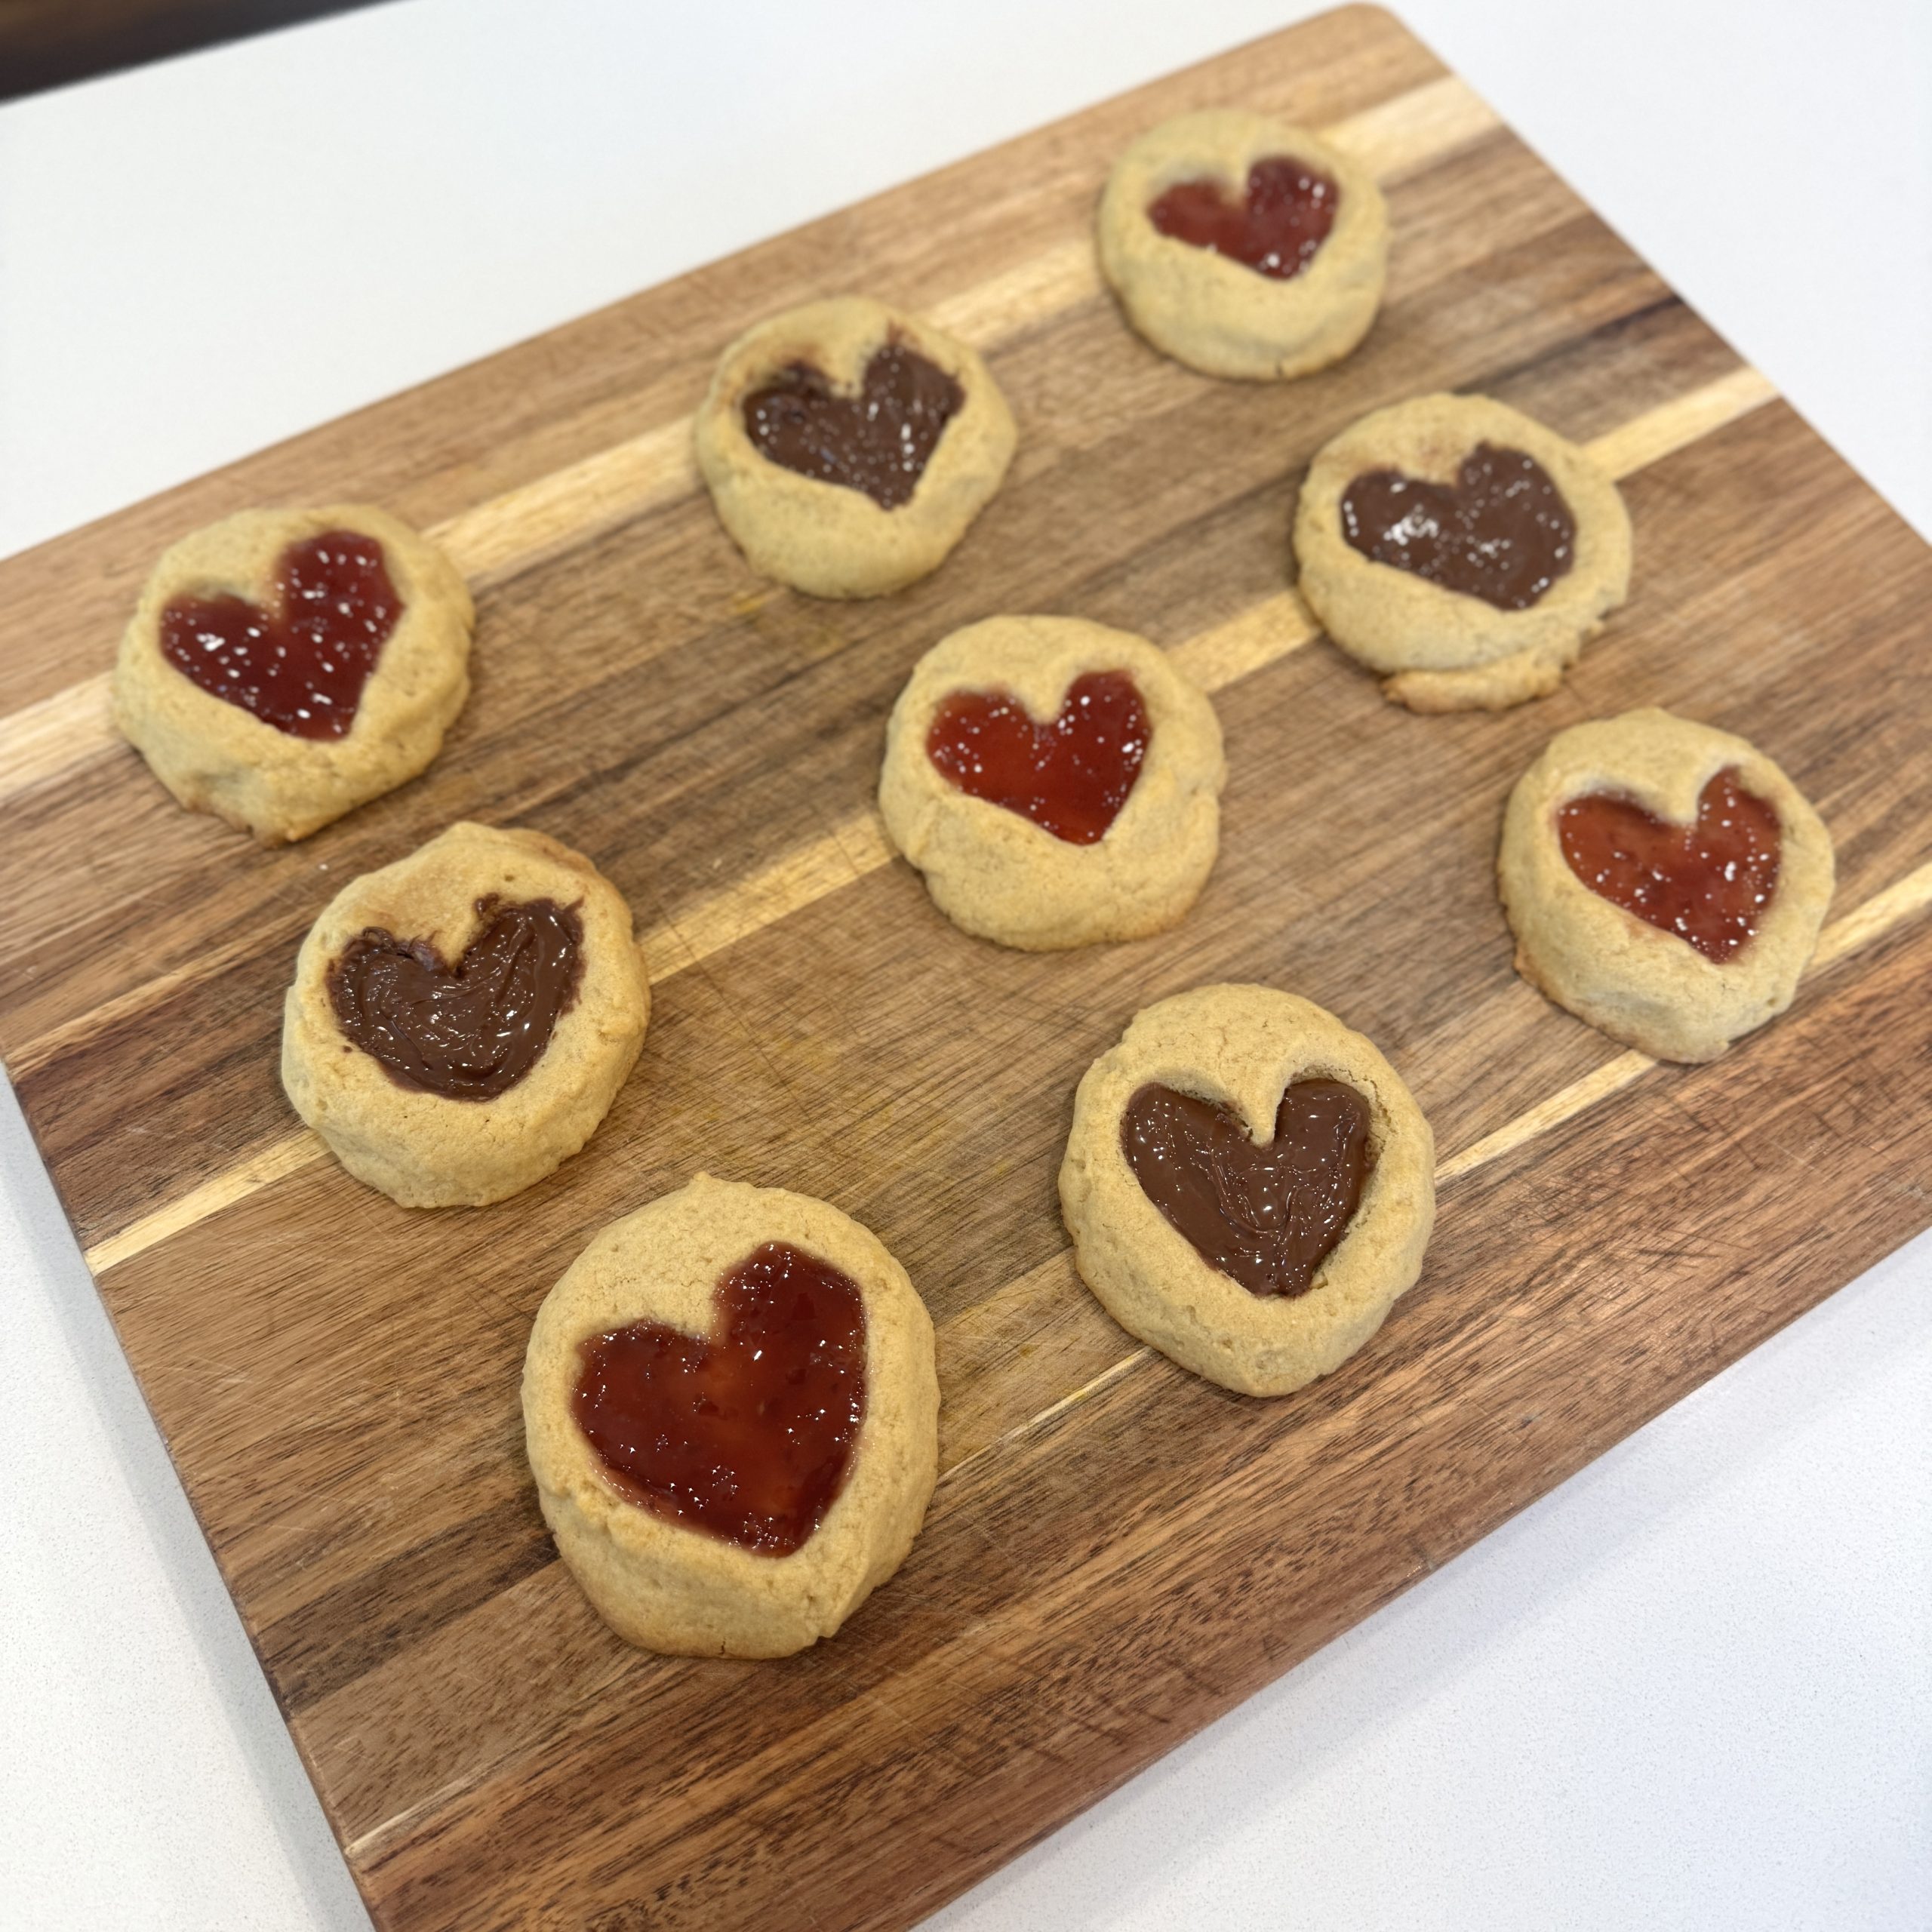
Thumbprint Heart Cookies, Fun + Easy Valentine’s Day Treat
Make Thumbprint Heart Cookies. This easy, buttery recipe is kid-friendly, cute for Valentine’s Day, and ready in under 30 minutes.
Valentines Day Class Cards That Kids Actually Love
Looking for valentines day class cards kids will actually use? These fun classroom Valentine ideas are easy, creative, and kid-approved.
School Lunch Meal Prep: How I Save My Sanity Every Week
School lunch meal prep doesn’t have to be a chore. Grab my easy system, a genius strawberry hack, and a free printable grocery list to help!

