How to Make Handprint Shrinky Dink Keepsakes: Fun Craft for Kids

How to Make Handprint Shrinky Dink Keepsakes: Fun Craft for Kids

How to Make Handprint Shrinky Dink Keepsakes: Fun Craft for Kids

shrinky dink keepsakes

Create handprint shrinky dink keepsakes with our complete guide! Learn how to make them and explore fun seasonal designs!

DIY Shrinky Dink Keepsakes: Fun Handprint Ideas for All Seasons

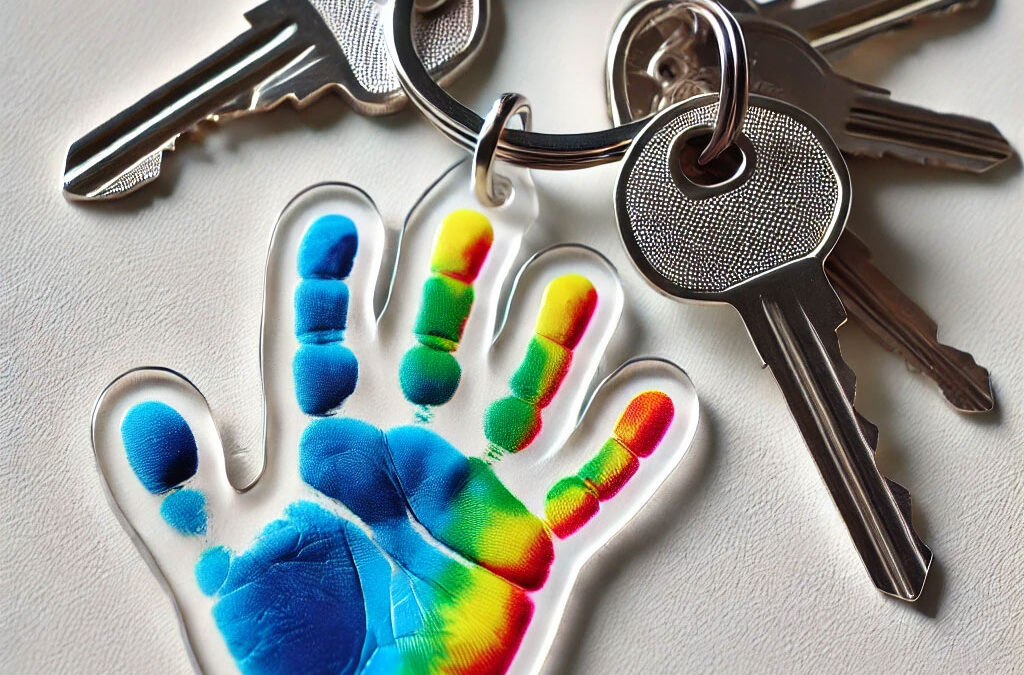
If you’re looking for a fun, creative way to capture your child’s handprint and turn it into a lasting memory, Shrinky Dink keepsakes are the perfect craft! These cute, colorful handprints shrink down into sturdy little keepsakes that make great gifts or decorations. Plus, they’re easy to personalize for every season—think pumpkins for Halloween or turkeys for Thanksgiving! In this guide, we’ll walk you through the supplies you’ll need, how to make them, and offer seasonal ideas to keep this craft fresh all year long.

All activities should be supervised by an adult. As an Amazon Associate, I earn from qualifying purchases. This post may contain affiliate links.


shrink dink keepsake paper

What is Shrinky Dink Paper and Where Can I Get it?

Before we dive in, you’ll need some special shrinking paper. Click here to get your Shrinky Dink sheets and have them ready for crafting some shrinky dink keepsakes!

What is Shrinky Dink Paper?  It is a type of polystyrene plastic that has been designed for craft purposes. When heated, it undergoes a process of shrinking and thickening, allowing fåor the creation of smaller, more durable versions of the original design.

Should I follow safety guidelines when using Shrinky Dink Paper? When heating the paper in the oven, it should be done by an adult and it’s recommended to use Shrinky Dink paper in a well-ventilated area. The heating process may release some fumes, and good ventilation helps dissipate any potential odors.

shrink dink keepsake paper
Materials
Step-by-Step Instructions
Step 1

Start by either painting your child’s hand with acrylic paint or you can trace their hand with a permanent marker, both acrylic paints and permanent markers are the most commonly used art tools used on Shrinky Dink paper, but read the next section for some more compatible options to experiment with. If outline the handprint, consider letting your child fill in the handprint with vibrant colors, or leave it as a simple outlined design for a more minimalist look.

Step 2

Cut out the handprint shape, leaving a small border around the edges.


Step 3

If making a keychain or ornament, punch a hole at the top of the handprint.

Step 4

Preheat your oven to the recommended temperature (usually around 325°F), and line a baking sheet with foil or parchment paper.

Step 5

Place your handprint on the parchment-lined baking sheet and bake for 1-3 minutes. The handprint will curl up and then flatten as it shrinks.

Step 6

Let it cool for a few minutes before handling, and once cool, attach your keychain loop or string. 

Step 1

Start by either painting your child’s hand with acrylic paint or you can trace their hand with a permanent marker, both acrylic paints and permanent markers are the most commonly used art tools used on Shrinky Dink paper, but read the next section for some more compatible options to experiment with. If outline the handprint, consider letting your child fill in the handprint with vibrant colors, or leave it as a simple outlined design for a more minimalist look.

Step 2

Cut out the handprint shape, leaving a small border around the edges.

Step 3

If making a keychain or ornament, punch a hole at the top of the handprint.

Step 4

Preheat your oven to the recommended temperature (usually around 325°F), and line a baking sheet with foil or parchment paper.

Step 5

Place your handprint on the parchment-lined baking sheet and bake for 1-3 minutes. The handprint will curl up and then flatten as it shrinks.

Step 6

Let it cool for a few minutes before handling, and once cool, attach your keychain loop or string. 

What Art Tools Can Be Used on Shrinky Dink Paper?

Acrylic paint and permanent markers are two of the most commonly used, but there are several other art tools compatible with Shrinky Dink paper to bring your designs to life. Colored pencils work well on frosted Shrinky Dink sheets, giving a softer, more muted look. For bold, textured designs, oil pastels are another option, though they can smudge before shrinking. Sharpie paint pens offer vibrant colors with precise control, making them ideal for detailed designs. Gel pens add fun metallic or glittery effects, while chalk markers can give a soft, pastel-like finish. For a more dimensional look, you can use deco pens or fabric paint after shrinking to create raised designs or add detailed outlines.

shrinky dink handprint turkey craft

What Art Tools Can Be Used on Shrinky Dink Paper?

Acrylic paint and permanent markers are two of the most commonly used, but there are several other art tools compatible with Shrinky Dink paper to bring your designs to life. Colored pencils work well on frosted Shrinky Dink sheets, giving a softer, more muted look. For bold, textured designs, oil pastels are another option, though they can smudge before shrinking. Sharpie paint pens offer vibrant colors with precise control, making them ideal for detailed designs. Gel pens add fun metallic or glittery effects, while chalk markers can give a soft, pastel-like finish. For a more dimensional look, you can use deco pens or fabric paint after shrinking to create raised designs or add detailed outlines.

Shrinky Dink Handprint Ideas

Shrinky Dink keepsakes are super versatile and can be customized for different holidays and seasons. Here are some fun ideas to get you started:

    shrinky dink handprint turkey craft

    Shrinky Dink Handprint Turkey

     Classic turkey handprint, with each finger acting as a colorful feather and the palm as the turkey’s body.

    shrinky dink handprint leaf craft

    Shrinky Dink Handprint Fall Leaf

     Color the handprint with autumn shades like orange, red, and yellow to represent a leaf.

    shrinky dink handprint pumpkin craft

    Shrinky Dink Handprint Pumpkin

    Use the handprint as a base for a pumpkin design. Add jack o lantern features to make it Halloween themed

    shrinky dink handprint tree craft

    Shrinky Dink Handprint Fall Tree

     Use the hand and part of the arm as the tree trunk, and create colorful fall leaves with fingerprints in autumn shades.
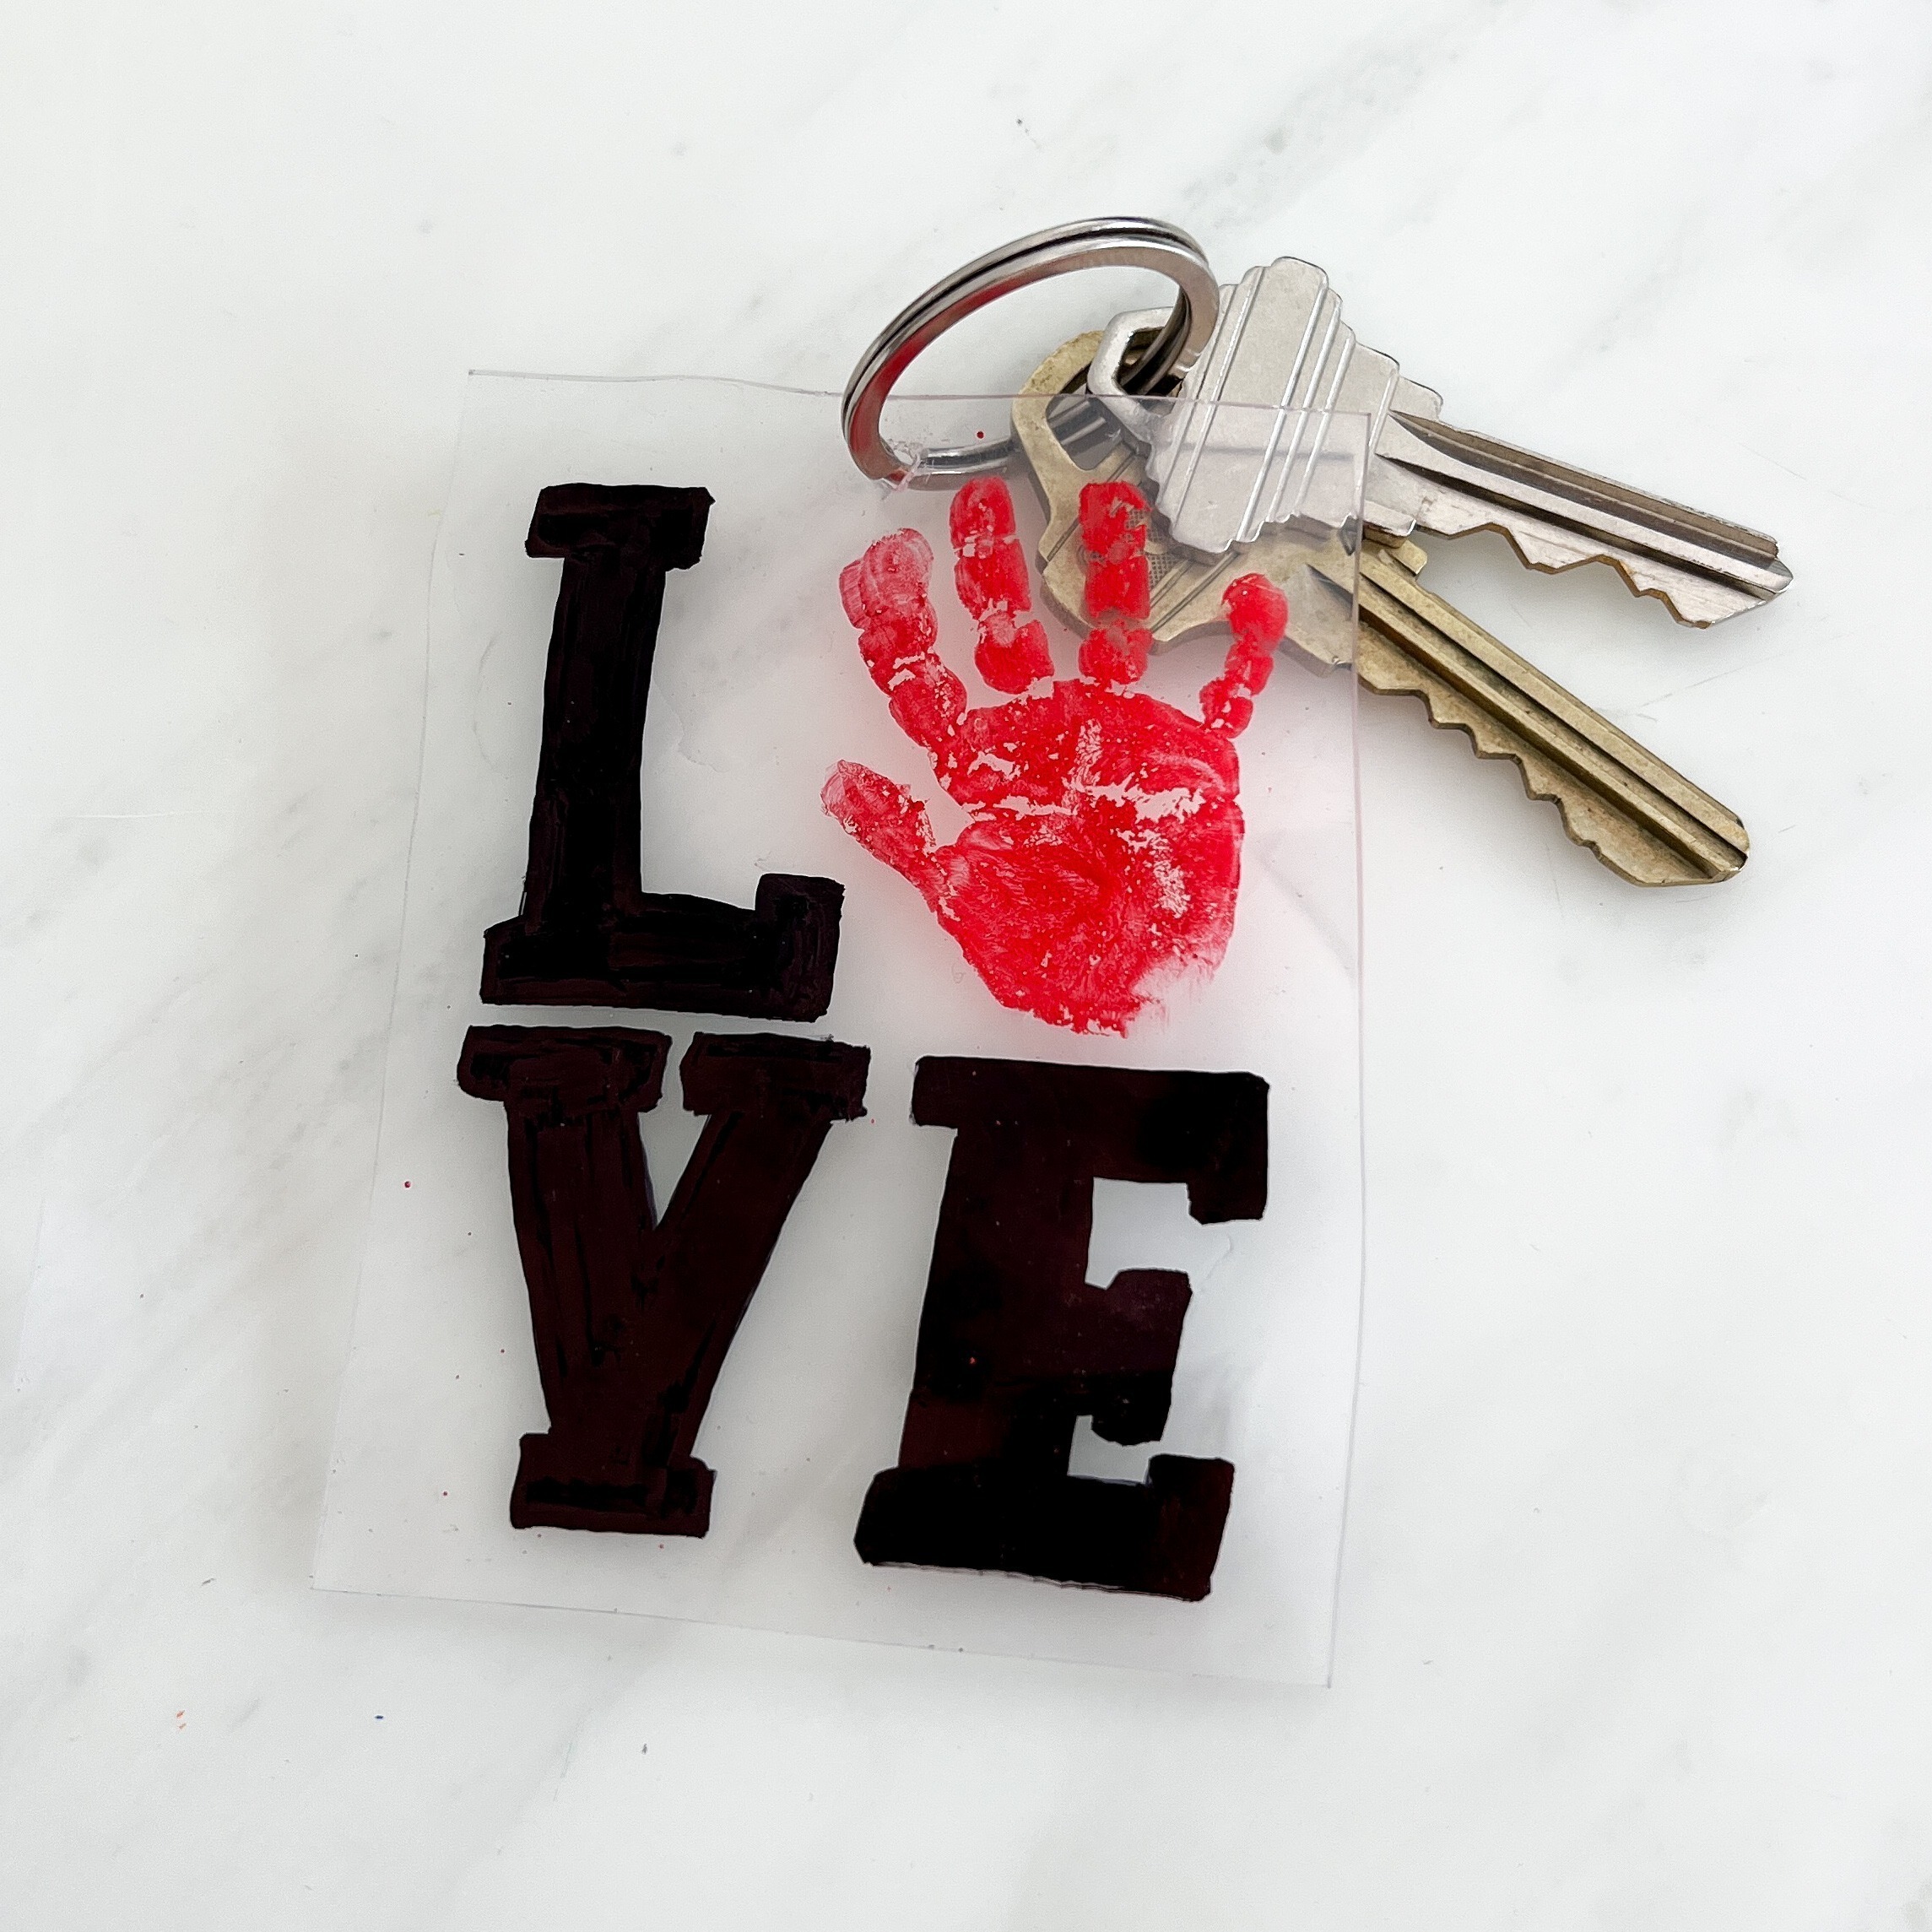
    handprint craft for valentine's day using shrinky dink paper to make a keychain

    Shrinky Dink Handprint for Valentine’s Day

    Read the step by step directions here:

    shrinky dink handprint ghost craft

    Shrinky Dink Handprint Ghost

    Use white acrylic paint and black facial features to make a spooky keepsake!

    shrinky dink handprint bunny craft

    Shrinky Dink Handprint Easter Bunny

    Use the palm for the bunny’s face and the fingers for bunny ears. Add details like whiskers and a little nose.

    valentine's day printable activities

    Shrinky Dink Handprint Christmas Lights Garland

    Use different color paint to make handprints and paint a gray bulb end at the base of the palm.

    What’s Next?

    Teaching Toddlers Colors – Fireworks Inspired Activity

    Teaching Toddlers Colors – Fireworks Inspired Activity

    Teaching Toddlers Colors – Fireworks Inspired Activity

    teaching-toddlers-colors-firework-inspired

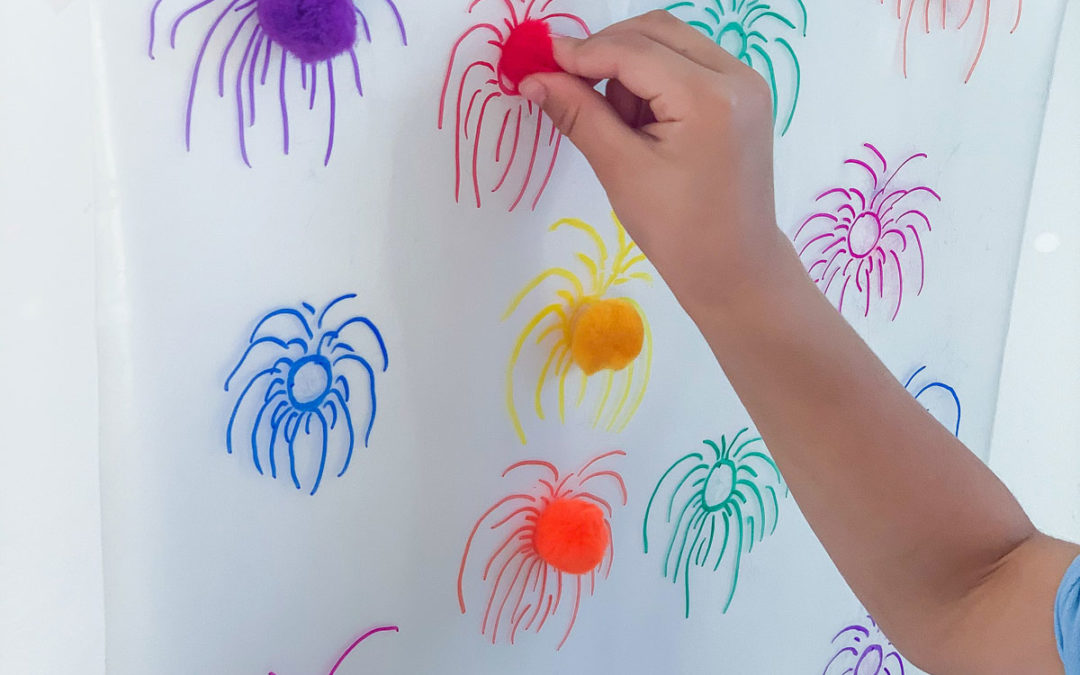
    Teaching toddlers colors doesn’t have to be complicated! This simple set up requires minimal supplies and time to set up. Plus whether you are celebrating Independence Day or New Year’s Eve, this is a festive way to get in the holiday spirit!

    Not only that, but it also helps with fine motor skills and hand-eye coordination too. Read below on how to set up this color matching activity and to grab our free printable version!

    An Simple Way for Teaching Toddlers Colors

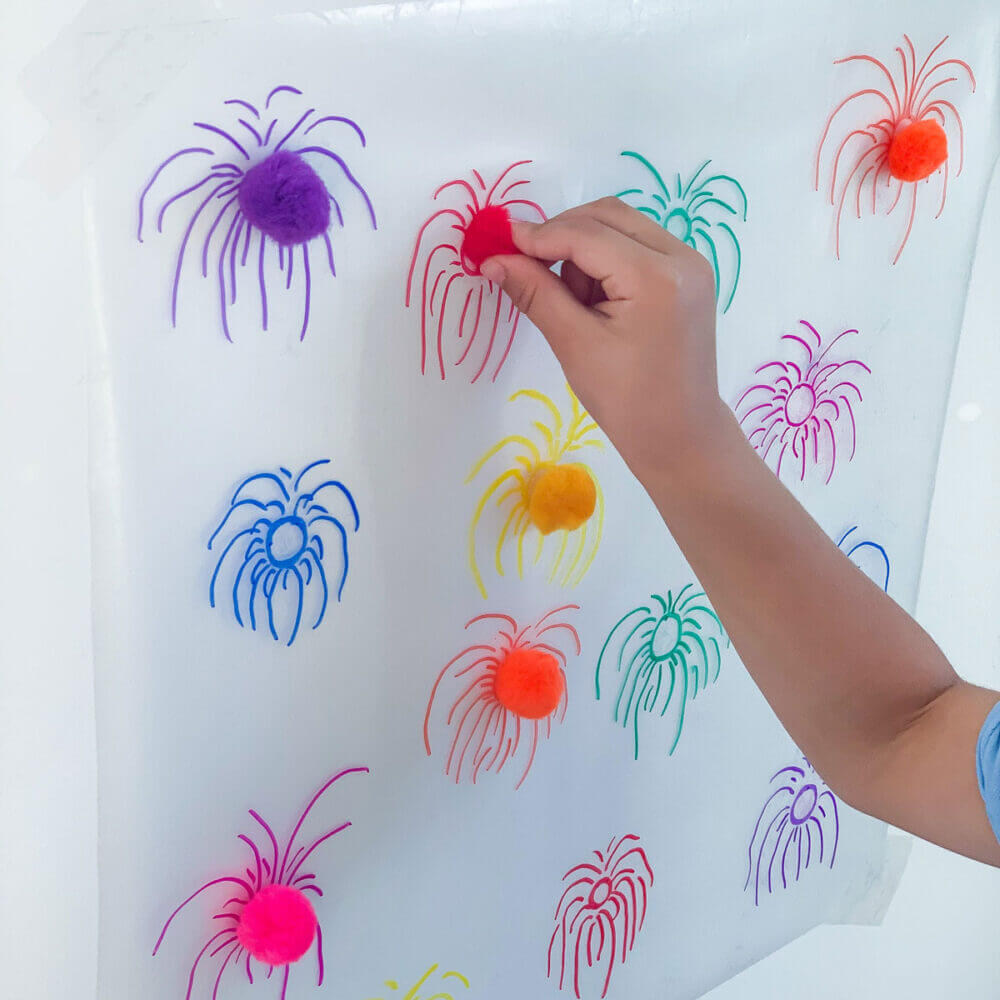
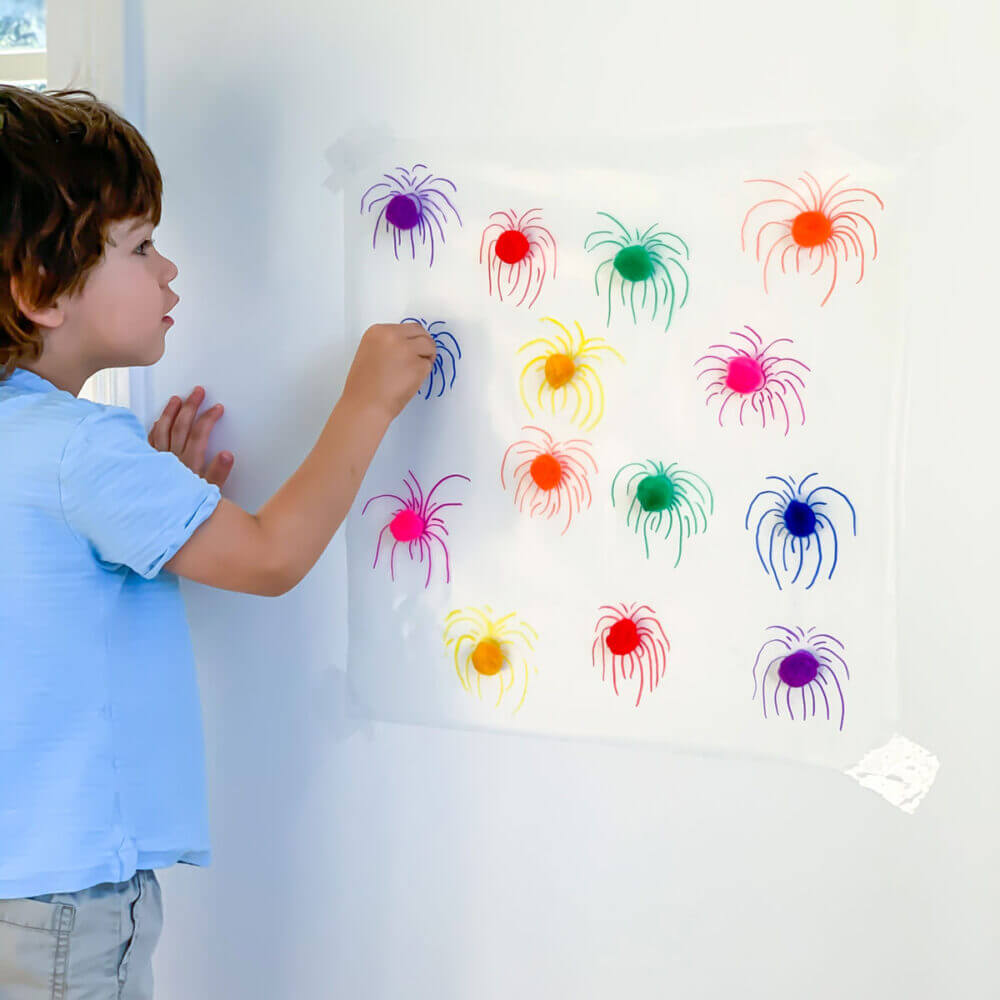
    Gaining confidence and learning how to match colors is a skill that is important for toddlers to learn. Instead of just sitting down at a table and reading through the process, why not create an interactive, hands on way to approach to teaching colors to kids? I love how this simple pom pom activity will help kiddos visually recognize matching colors and use their senses to put them into place.

    Skills:
    Ages: 
    Prep Time:

    Watch How Fun it is Teaching Toddlers Colors!

    Here’s how you can make and play with this fireworks color matching activity. In this video, you’ll see how fast and straightforward this idea can come together to create a fun and interactive learning experience for your child.

    Not celebrating the 4th of July or New Years? You can alter this activity if you don’t want to use it as fireworks, and just turn them into squiggly spiders instead!

    All activities should be supervised by an adult. Pom poms can be small parts and a choking hazard. They can be sold in larger sizes to prevent risks. As an Amazon Associate I earn from qualifying purchases. This post may contain affiliate links.

    Watch How Fun it is Teaching Toddlers Colors!

    Here’s how you can make and play with this fireworks color matching activity. In this video, you’ll see how fast and straightforward this idea can come together to create a fun and interactive learning experience for your child.

    Not celebrating the 4th of July or New Years? You can alter this activity if you don’t want to use it as fireworks, and just turn them into squiggly spiders instead!

    All activities should be supervised by an adult. Pom poms can be small parts and a choking hazard. They can be sold in larger sizes to prevent risks. As an Amazon Associate I earn from qualifying purchases. This post may contain affiliate links.

    printable color matching worksheet fireworks

    How to Set Up This Activity, Plus Grab the Free Printable!

    Not only is this activity educational, but it’s just full of magical and sticky fun as well. My kids loved this activity because the vertical set up made it super engaging. By keeping the set up vertical, you’ll need to grab some kind of adhesive paper or tape!

    And even though this activity is super simple to put together, we totally understand that grown ups are busy! So we created a free printable version of this activity! There are lots of ways to play with it – use dot markers, or even practice using tongs to place poms poms on top! Also try these free printables: Dot the Rainbow, Rainbow Color Match, and 5 Hands on Color Mixing Activities.

    Teaching toddlers colors is one of our most favorite things – so be sure to check out our comprehensive list of color learning ideas!

    Materials

    What is adhesive paper?

    Adhesive paper (the Con-Tact brand for exaple) is typically used for covering surfaces and lining things like drawers and shelves, but it’s also an excellent tool for play activities! I use this all the time for crafts, and it’s just so slick and easy to set up.

    Step-by-Step Instructions 

    Step 1

    Draw fireworks in various colors on the non-sticky side of the transparent adhesive paper.

    Step 2

    Remove the paper backing to reveal the sticky size of the adhesive paper.


    Step 3

    For a vertical set up, tape the paper to the wall, sticky side up.

    Step 4

    Provide pom-poms and task your kiddo to match them with the correct firework! 

    Step 1

    Draw fireworks in various colors on the non-sticky side of the transparent adhesive paper.

    Step 2

    Remove the paper backing to reveal the sticky size of the adhesive paper.

    Step 3

    For a vertical set up, tape the paper to the wall, sticky side up.

    Step 4

    Provide pom-poms and task your kiddo to match them with the correct firework! 

    Educational Benefits for Sticky Fireworks

    This is all about teaching toddlers colors. Whether just beginning, or continuing to exercise established color recognition skills, this is a fun way to match and identify colors. Always integrate opportunities for language development by saying the names of each of the colors, and asking your kiddo to repeat them. 

    Plus, use this simple fireworks craft as a great way to work on fine motor skills. In addition to learning their colors, they’ll be able to work on picking up the pom pom balls with their pincer grasp and apply them directly to the adhesive paper. This action is perfect for hand-eye coordination.

    teaching-toddlers-colors-firework-inspired
    teaching-toddlers-colors-firework-inspired

    Educational Benefits for Sticky Fireworks

    This is all about teaching toddlers colors. Whether just beginning, or continuing to exercise established color recognition skills, this is a fun way to match and identify colors. Always integrate opportunities for language development by saying the names of each of the colors, and asking your kiddo to repeat them. 

    Plus, use this simple fireworks craft as a great way to work on fine motor skills. In addition to learning their colors, they’ll be able to work on picking up the pom pom balls with their pincer grasp and apply them directly to the adhesive paper. This action is perfect for hand-eye coordination.

    More Ways to Match Colors

    Here are my top picks for toys you can buy that strengthen color recognition skills!

    color recognition sorting rainbowa

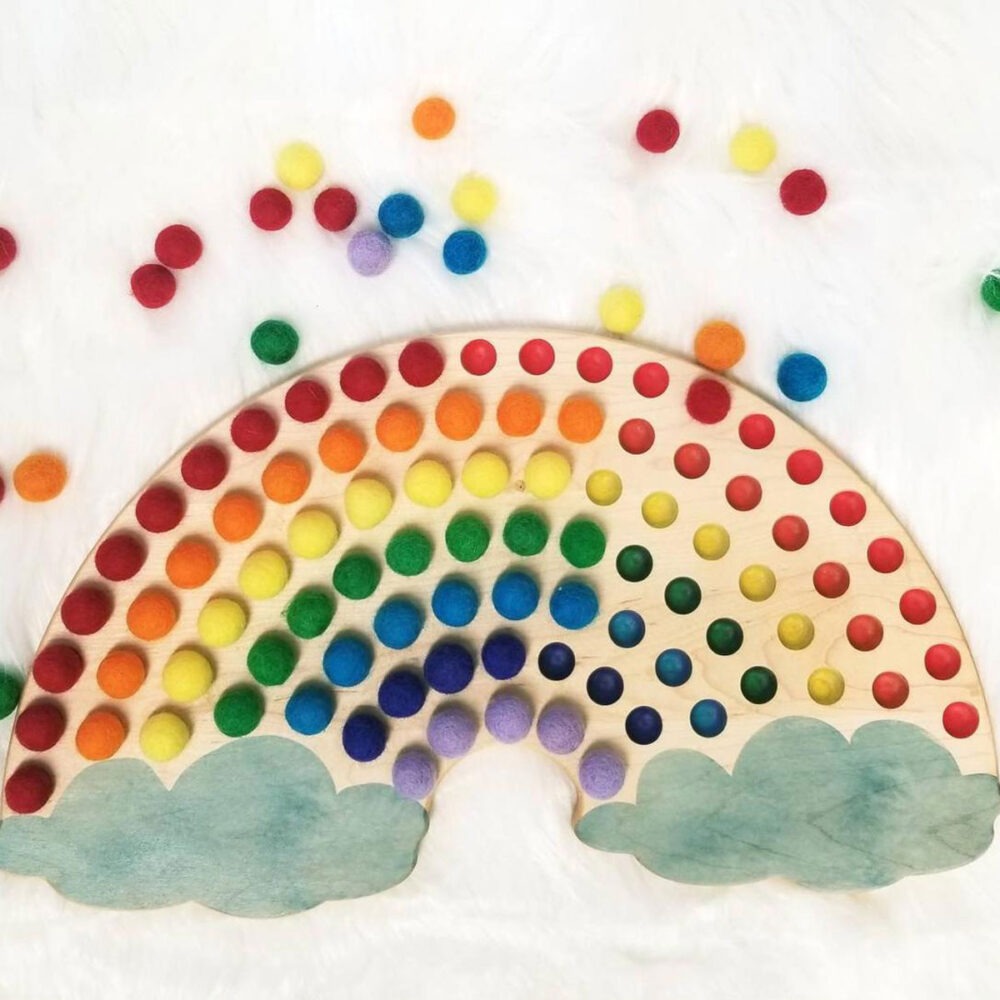
    Color Sorting Rainbow

    Transfer pom poms or balls to color sort this rainbow! If you use tongs it is great for fine motor skills too! (Caution: small parts!)

    rainbow wooden stacking toy for color recognition

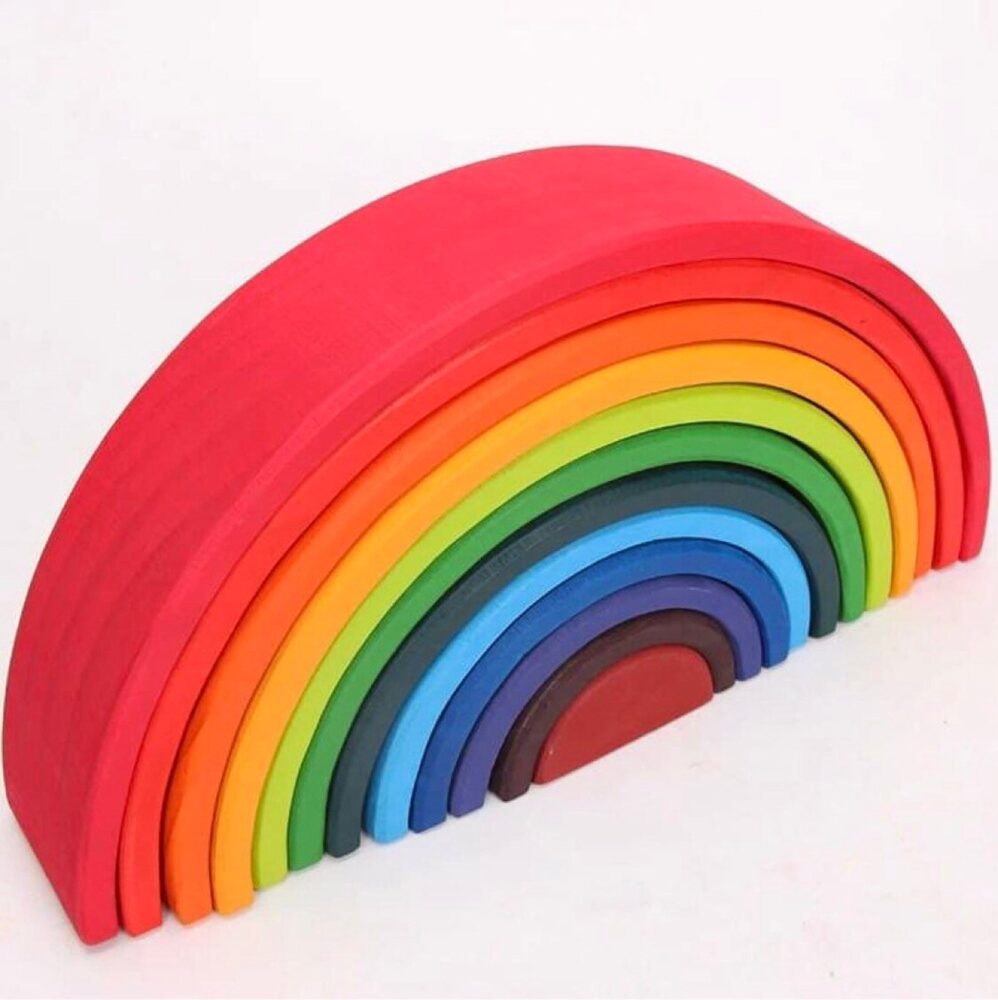
    Wooden Rainbow Stacker

    This wooden rainbow stacker is  not only great for color sorting, it is also a fantastic open-ended play toy!

    color sorting magnetic game color recognition

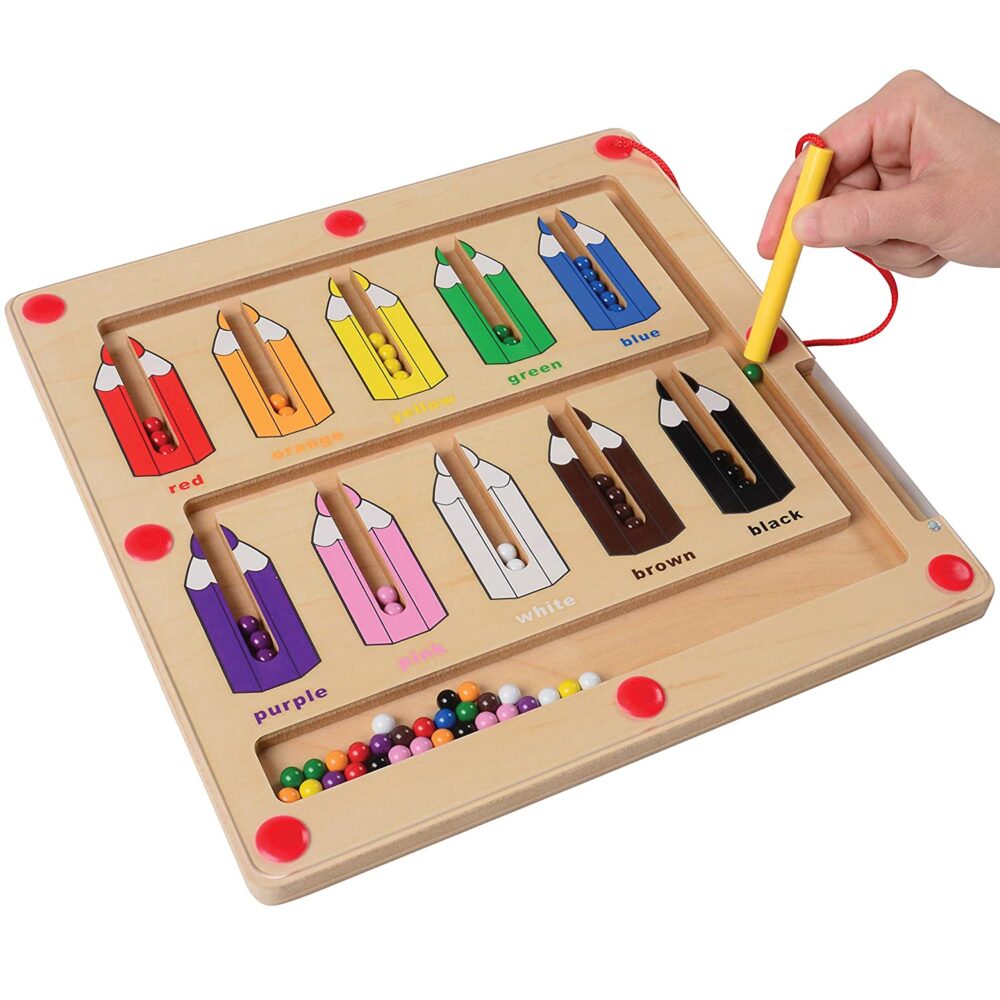
    Color Sorting Maze

    This wooden board has a magnetic wand and beads that can be sorted based on color! Great for fine motor skills too!

    Color sorting game color recognition

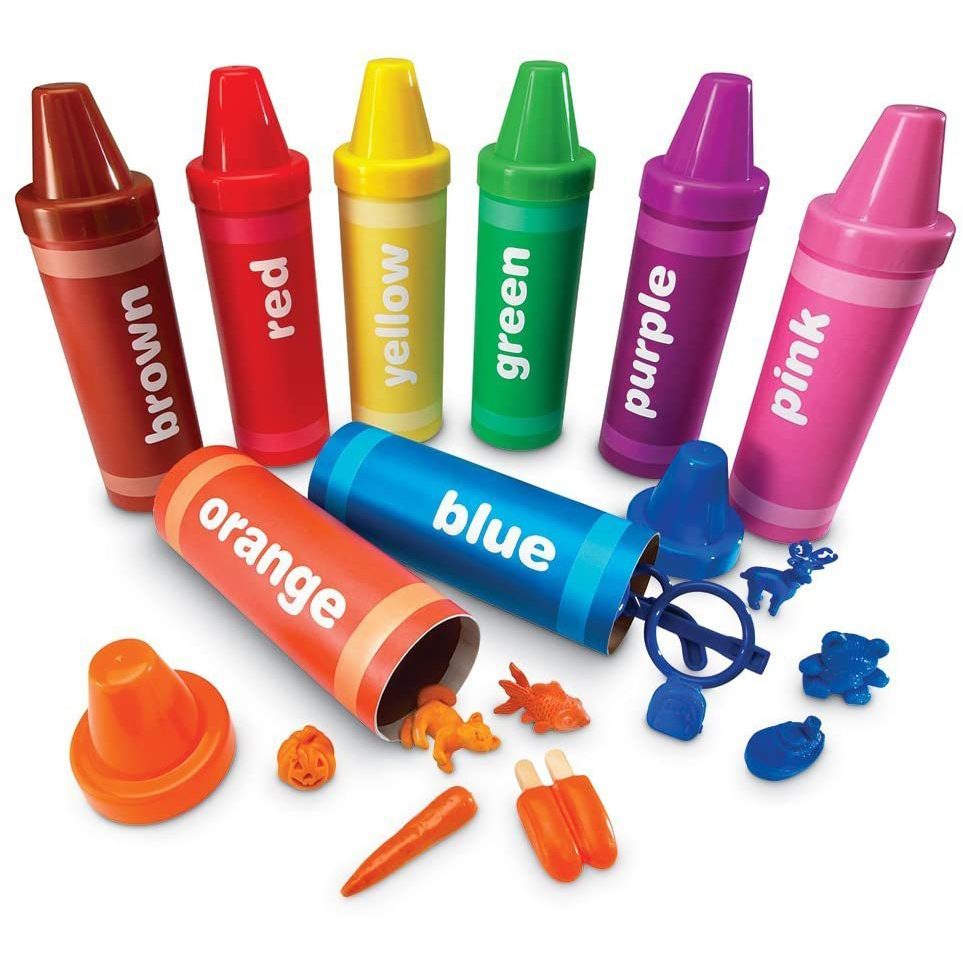
    Color Sort the Objects

    This game is a great way to learn color recognition while strengthening language development.

    What’s Next?

    Food Coloring Experiment – Fireworks in a Jar

    Food Coloring Experiment – Fireworks in a Jar

    Food Coloring Experiment – Fireworks in a Jar

    fireworks in a jar experiment for kids

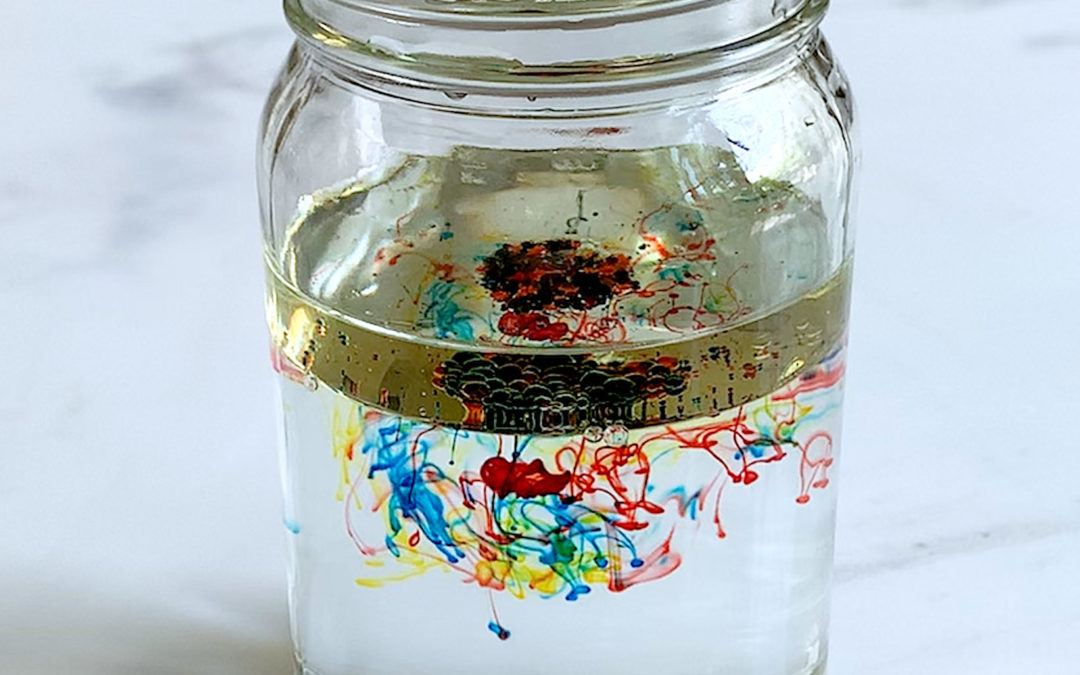
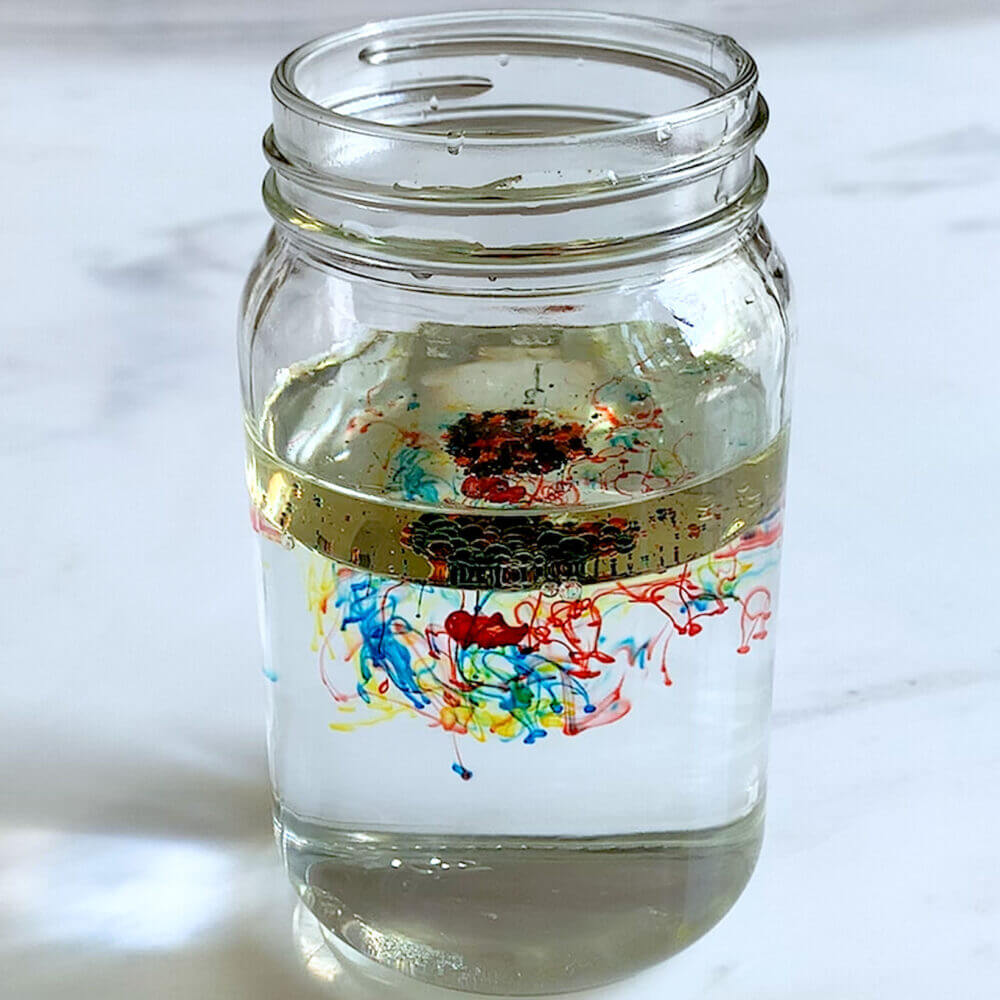
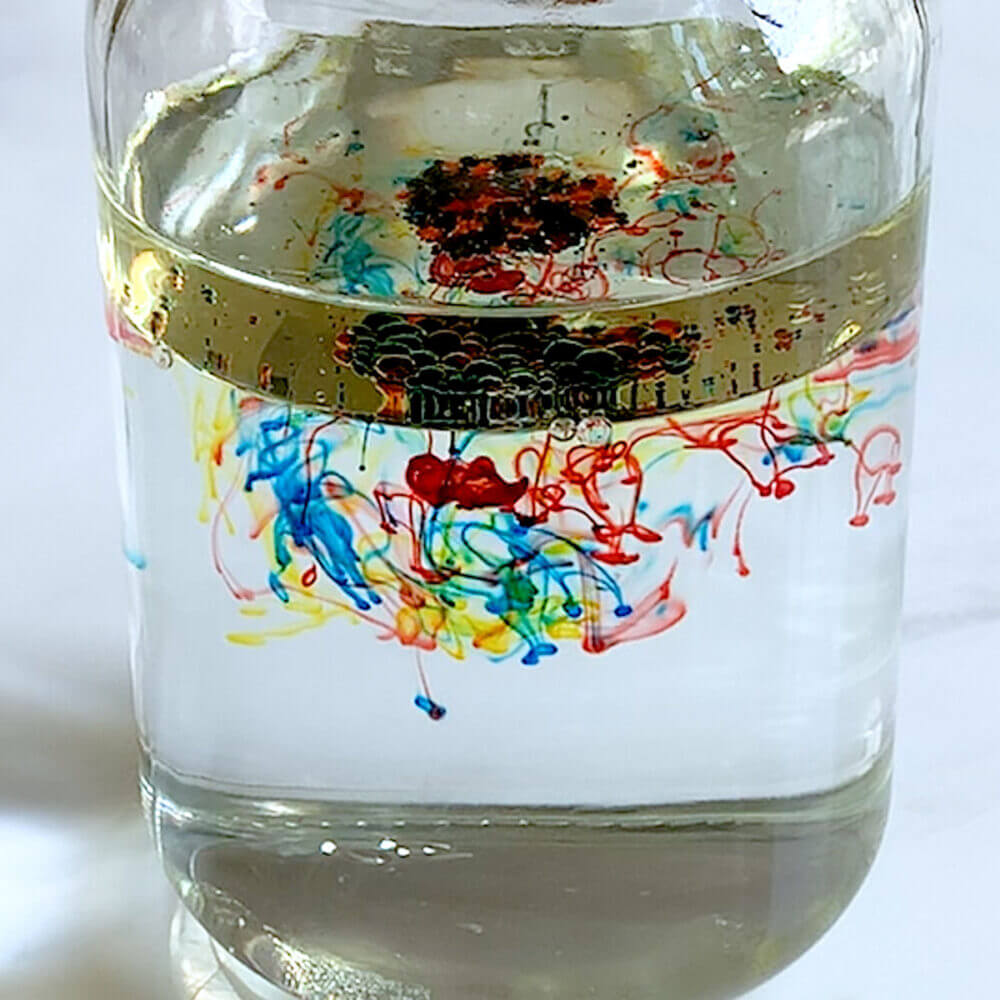
    This food coloring experiment is a fun way to visualize density! As the food coloring slowly sinks through the layer of oil and into the water, it gives a very cool fireworks effect that the kids will love! Best part for grown ups? You probably already have these 3 simple ingredients in your kitchen already!

    Read on below for the step by step instructions to make this fun fireworks activity quickly at home, camp, or school!

    This would be a super fun activity for Independence Day, New Year’s Eve or just a great way to have a hands-on science activity at home or beyond.

    Food Coloring Experiment is a Perfect Visual for Several Scientific Concepts

    This experiment is not only great because of the simplicity of materials, but it is such a clear way to visualize density, dissolving, and diffusion. More on each of those concepts below!

    Skills:
    Ages: 
    Prep Time:

    The Food Coloring Experment in Action 

    Here’s how you can make and observe scientific concepts with this Fireworks in a Jar activity. In this video, you’ll see how simple and easy this food coloring experiment can come together to create a truly magical activity.

    Once your child has mastered this fireworks activity, they can wow their family and friends by showcasing off this fun experiment as well.

    All activities should be supervised by an adult. As an Amazon Associate I earn from qualifying purchases. This post may contain affiliate links.

    The Food Coloring Experment in Action

    Here’s how you can make and observe scientific concepts with this Fireworks in a Jar activity. In this video, you’ll see how simple and easy this food coloring experiment can come together to create a truly magical activity.

    Once your child has mastered this fireworks activity, they can wow their family and friends by showcasing off this fun experiment as well.

    All activities should be supervised by an adult. As an Amazon Associate I earn from qualifying purchases. This post may contain affiliate links.

    fireworks in a jar experiment for kids

    Tips for This Food Coloring Experiment

    While this activity is super simple to do, there are a few important tips to make sure it works correctly!

    Don’t over mix the food coloring. In the step by step instructions below you’ll see that you’ll have to break up the food coloring droplets. Don’t overdo it or else the “explosions” won’t be as vibrant!

    Use water-based food coloringWhen I tested this food coloring experiment with gel-based and natural food coloring, it didn’t work well. The food coloring sank very fast and immediately diffused into the water making the water brown/black.

    Pour the oil and food coloring mixture slowly. Dumping the mixture into the water fast will result in the food coloring joining together, becoming too heavy, and possibly resulting in the food coloring sinking too fast and diffusing immediately without being able to see any of the “firework” effect. So if your little one has not mastered the skill of being “gentle,” it’s best for the grown up to demonstrate!

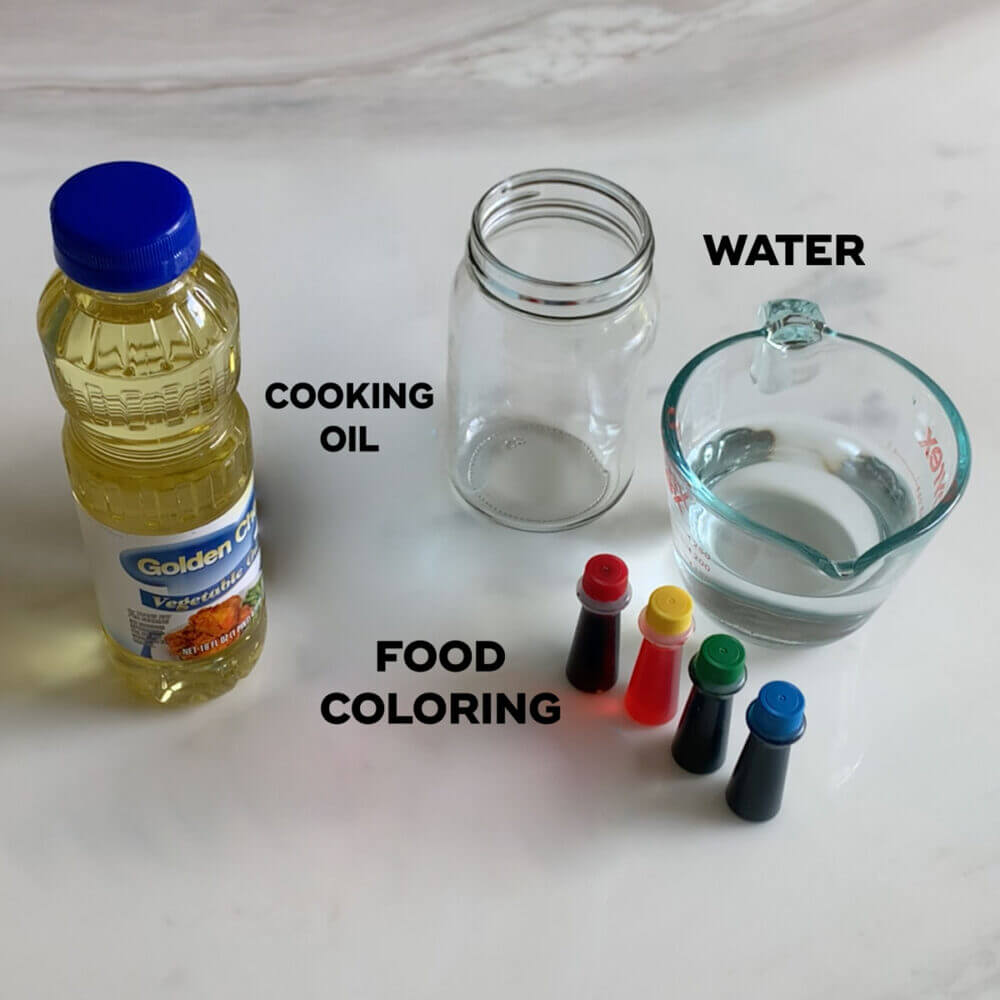
    Materials

    Step-by-Step Instructions 

    Step 1

    Fill a clear container with water about 3/4 the way full.

    Step 2

    Grab a small bowl and put in about three tablespoons of oil.

    Step 3

    Once you add the oil, put in anywhere from 4-8 drops of food coloring.

    Step 4

    Take a fork and slightly break up the beads food coloring – don’t overdo it!

    Step 5

    Slowly – very slowly! – pour the oil into the glass of water.

    Step 6

    Enjoy the fireworks! (And be ready to do it again!)

    Science Behind This Fireworks in a Jar Experiment

    This science experiment is all about density, plus dissolving and diffusion! Here’s how you can explain each of these to your kiddo!

    Denisty. Density is the mass of an object divided by it’s volume – but this might sound a bit complicated for your little one! More simply, density is how much space a substance or object takes up. Water is more dense than oil so it sits at the bottom of the glass, while the less-dense oil, floats above it. This is why oil and water do not mix – a fancy way to say this is that oil and water are immiscible.

    Dissolve. Dissolving is when one substance breaks up when it comes into contact with another substance. Food coloring does not dissolve in oil, but it does dissolve in water. The fact that food coloring dissolves in water means they are miscible.

    fireworks in a jar experiment for kids

    Diffusion. Diffusion refers to molecules moving from an area of high concentration to low concentration. You can experiment with the speed of diffusion based on the temperature of the water. Food coloring will diffuse faster in warm water, whereas it will diffuse slower in cold water. This is because the molecules move faster in higher temperatures.

    For more fun science experiments, visit our comprehensive list!

    fireworks in a jar experiment for kids

    Science Behind This Fireworks in a Jar Experiment

    This science experiment is all about density, plus dissolving and diffusion! Here’s how you can explain each of these to your kiddo!

    Denisty. Density is the mass of an object divided by it’s volume – but this might sound a bit complicated for your little one! More simply, density is how much space a substance or object takes up. Water is more dense than oil so it sits at the bottom of the glass, while the less-dense oil, floats above it. This is why oil and water do not mix – a fancy way to say this is that oil and water are immiscible.

    Dissolve. Dissolving is when one substance breaks up when it comes into contact with another substance. Food coloring does not dissolve in oil, but it does dissolve in water. The fact that food coloring dissolves in water means they are miscible.

    Diffusion. Diffusion refers to molecules moving from an area of high concentration to low concentration. You can experiment with the speed of diffusion based on the temperature of the water. Food coloring will diffuse faster in warm water, whereas it will diffuse slower in cold water. This is because the molecules move faster in higher temperatures.

    For more fun science experiments, visit our comprehensive list!


    More Science Experiments to Explore!

    Here are my top picks for science experiment kits!

    science experiment set for kids

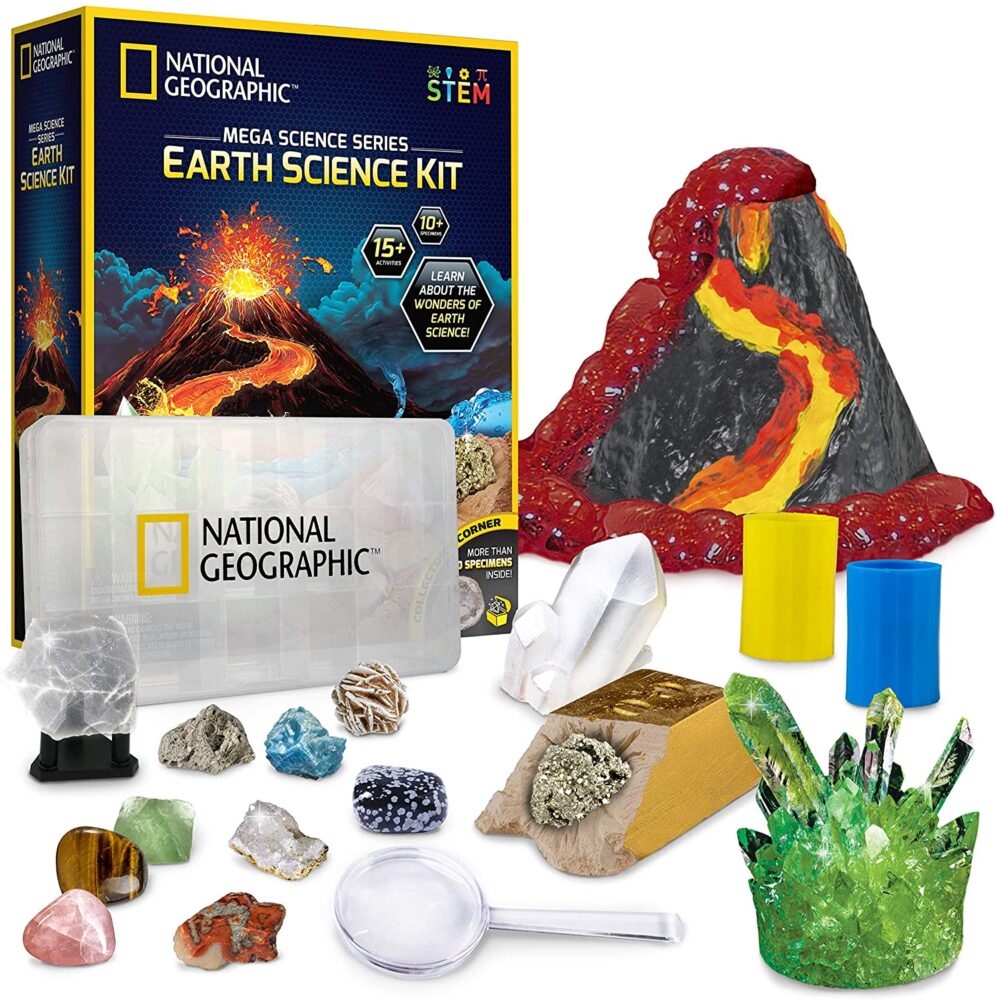
    Earth Science Kit 

    This kit lets your children learn hands-on about geology and chemical reactions in volcanoes.

    science experiment chemical reactions for kids

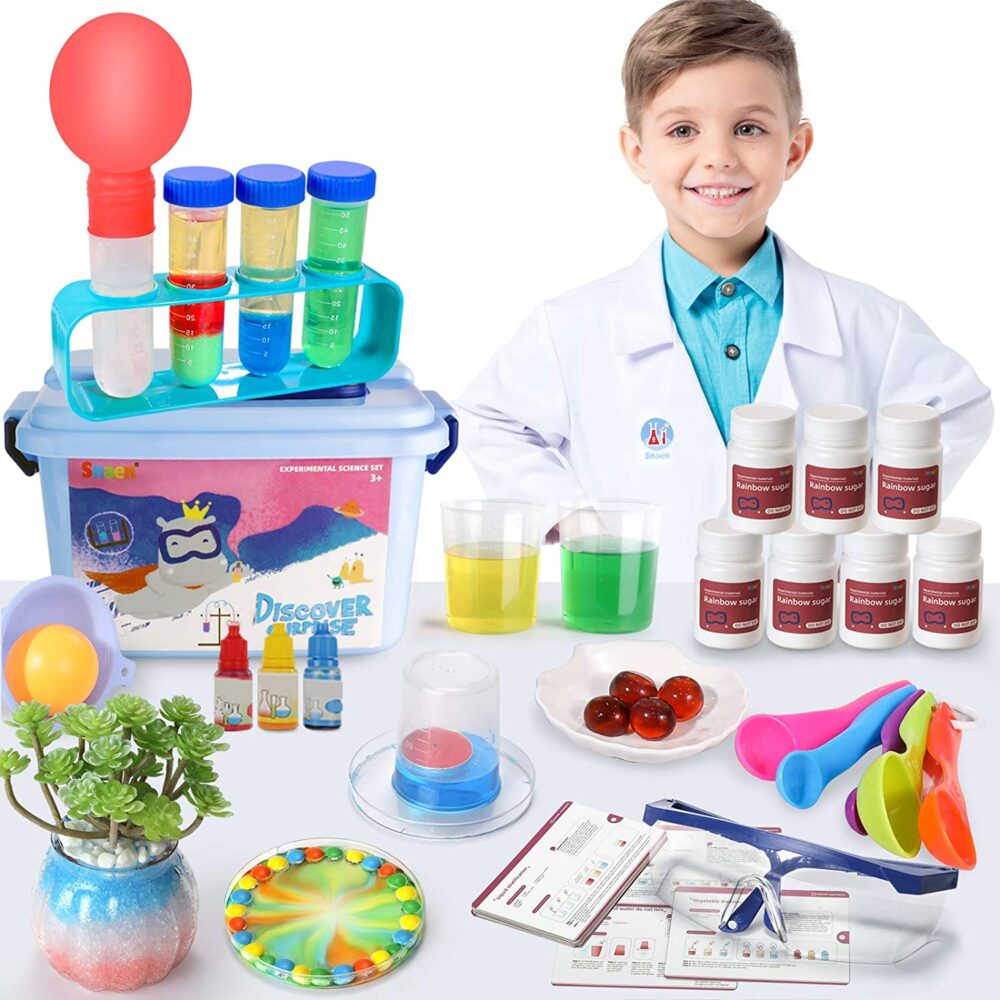
    Science Kit for Kids

    This science kit for kids includes 30 scientific experiments plus fun gear like a lab coat, goggles, and other scientific equipment!

    chemistry set for kids chemical reactions

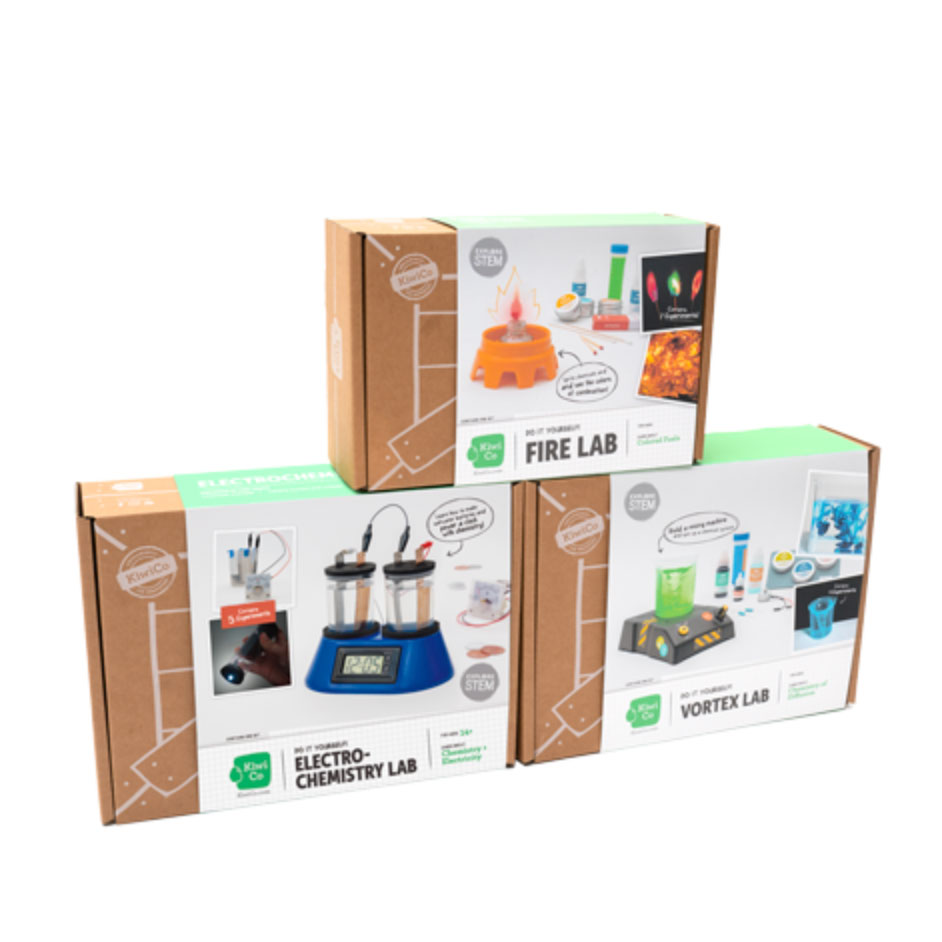
    Chemistry Kits

    This 3-Pack Chemistry Kits will ignite a passion for science. Including an electrochemistry lab, fire lab, and vortex lab.

    chemistry set experiment for kids chemical reactions

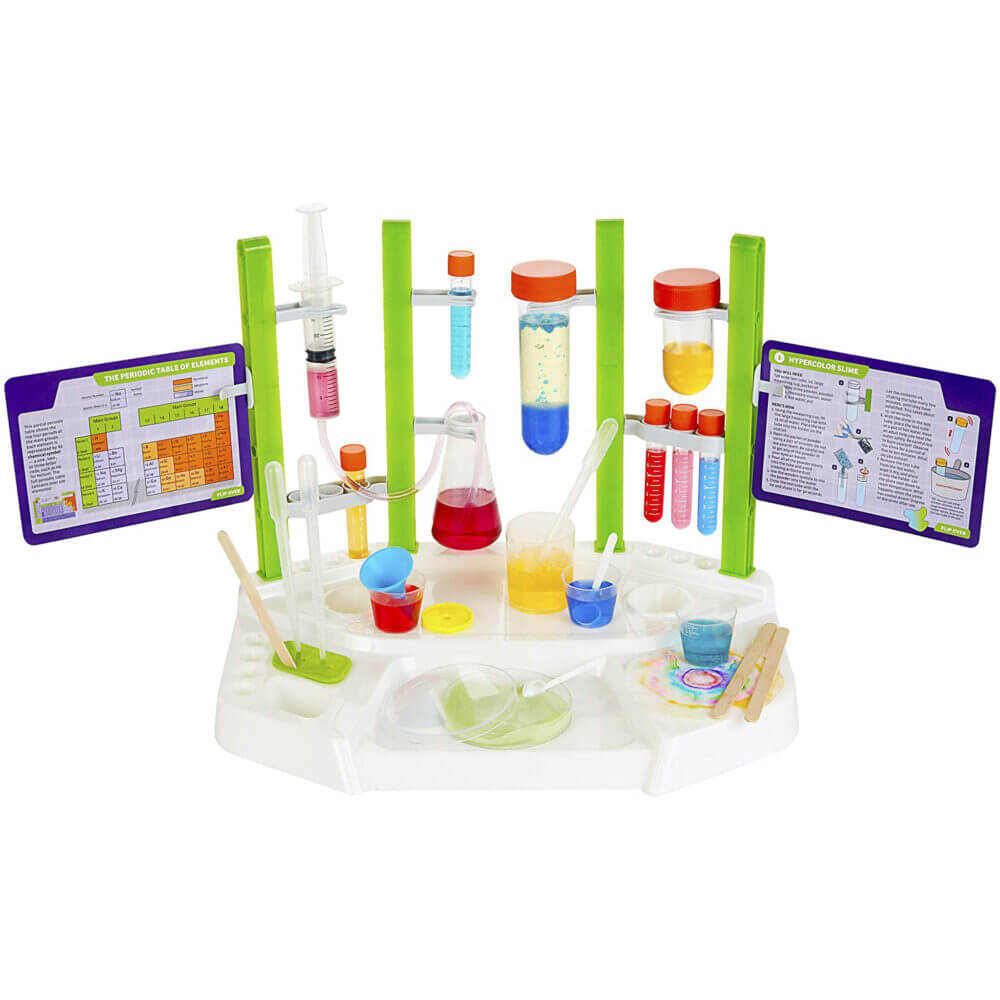
    Chemistry Station

    Create glowing slime, fizzing reactions, oozing bubbles, colorful chromatography, and more!

    What’s Next?

    error: Content is protected !!

    Pin It on Pinterest

    Skip to content