DIY Crystals: Chemistry for Kids
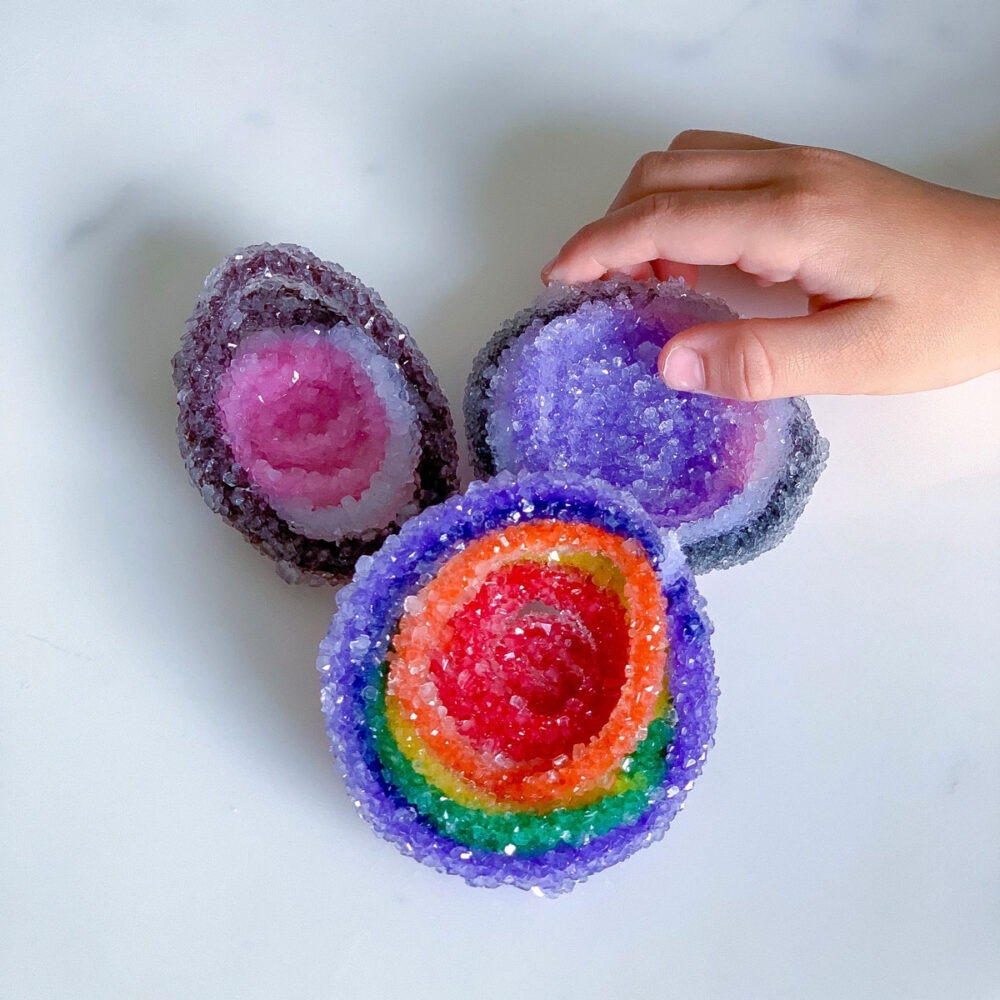
Here’s a fun science experiment where you can create the coolest DIY crystals overnight using a special powder, water, and pipe cleaners!! They are truly so easy to make. Plus, it’s a great hands-on learning activity about chemistry and geology!
I absolutely love the artistic component to this activity as well. My kiddos wanted their crystals to look like geodes and so used that as inspiration for their design. Feel free to adapt the colors and design of your diy crystals to your choosing!
No doubt, this diy crystal activity will capture your child’s imagination and scientific curiosity, perhaps unlike anything you’ve ever done before! It’s really easy to make stunning crystals that sparkle in the sun. Keep reading and you’ll see just how easy – and fun – it is!
All activities should be supervised by an adult. As an Amazon Associate I earn from qualifying purchases. This post may contain affiliate links.
Watch the Video to See How to Make DIY Crystals!
In this video you will so how easy it is to make diy crystals! You don’t need to go to any speciality store to get all the materials – they are typical household and crafting products!
Kids can be very hands on with this experiment, except adults should supervise and be in charge of pouring the boiling water! Additionally, none of the ingredients should be inhaled or ingested.
For written step-by-step instructions, read on below for more information!
Teach Science With DIY Crystals
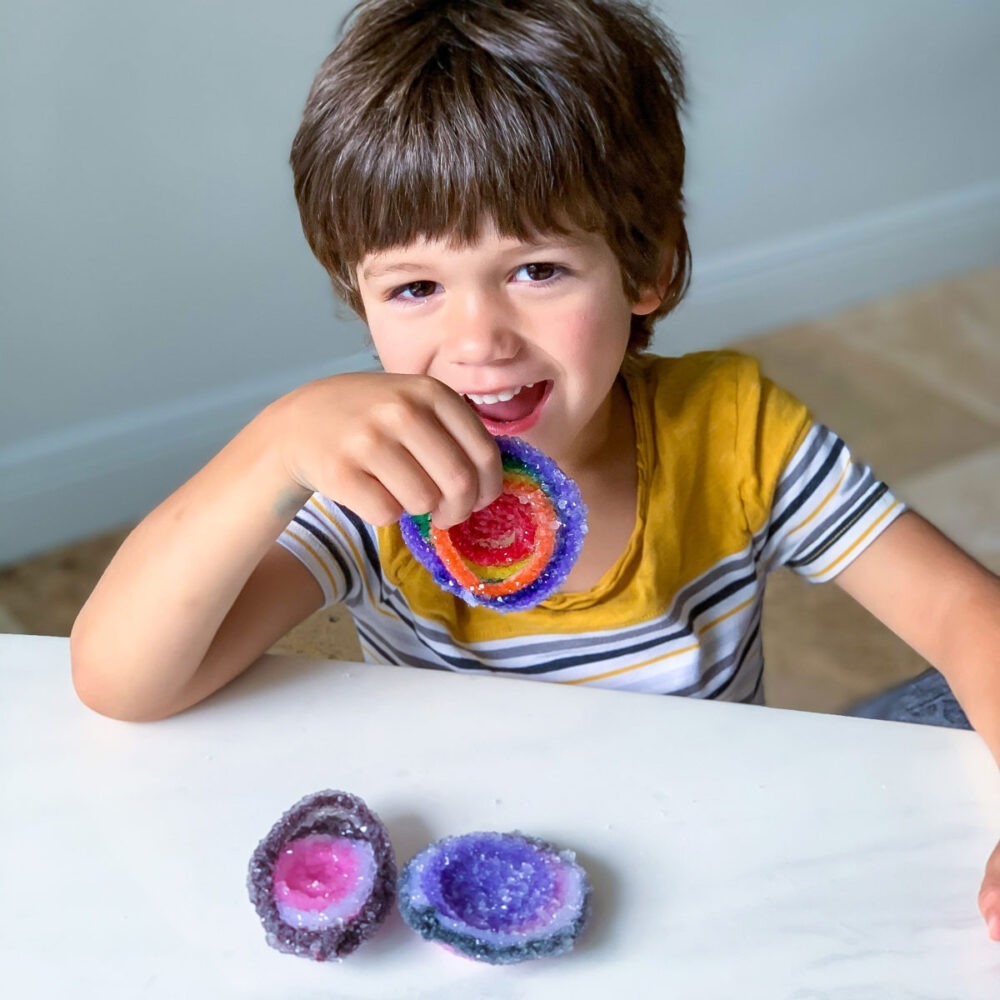
Watch how independent my kiddos were able to be while making their very own crystals! Their reaction to the final creation is priceless! And they are learning so much about chemistry in the process.
Molecules are the building blocks of all life and they are what make a crystal look like a crystal. This science experiment teaches kids hands-on how crystals are formed.
Crystallization is what happens when liquids cool and harden to a solid. Certain molecules in the liquid gather together as they attempt to become stable – this is what creates the patterns you see in the crystals.
These are concepts kids will learn in grade school – and this science activity is an excellent way to teach it.
Materials
Step-by-Step Instructions
Step 1
Shape the pipe cleaners in whatever design you like. My boys wanted to make their crystals look like geodes, so they swirled the center and made a brown frame on some. But you could do lots of shapes, like hearts, a snowflake, you name it.
Step 2
Hang your shape on a craft stick using another pipe cleaner.
Step 3
In a pot or microwave-safe container, heat water until it’s almost boiling. Stir in special powder (borax) into the hot water, using about 3 tablespoons of borax for every cup of water. Keep stirring until the borax powder is completely dissolved. You’ve now created a supersaturated borax solution.
(Warning: Glass can be sensitive to rapid temperature changes, and extreme temperature differentials can cause the glass to crack or shatter. So do not pour the boiling water into the glass jar if the glass jar is cold!)
Step 4
Place the pipe cleaner into the borax solution, making sure that it is fully submerged and not touching any edges.
Step 5
Leave the jar overnight, undisturbed. The longer you let it sit, the larger the crystals will be.
Step 6
Remove from the solution once the crystals have formed. Dry it fully before handling them and enjoy the beautiful DIY crystals!
Step 7
To remove leftover crystals from the glass jar, just add boiling water to dissolve.
Step 1
Shape the pipe cleaners in whatever design you like. My boys wanted to make their crystals look like geodes, so they swirled the center and made a brown frame on some. But you could do lots of shapes, like hearts, a snowflake, you name it.
Step 2
Hang your shape on a craft stick using another pipe cleaner.
Step 3
In a pot or microwave-safe container, heat water until it’s almost boiling. Stir in the special powder (borax) into the hot water, using about 3 tablespoons of borax for every cup of water. Keep stirring until the borax powder is completely dissolved. You’ve now created a supersaturated borax solution.
(Warning: Glass can be sensitive to rapid temperature changes, and extreme temperature differentials can cause the glass to crack or shatter. So do not pour the boiling water into the glass jar if the glass jar is cold!)
Step 4
Place the pipe cleaner into the borax solution, making sure that it is fully submerged and not touching any edges.
Step 5
Leave the jar overnight, undisturbed. The longer you let it sit, the larger the crystals will be.
Step 6
Remove from the solution once the crystals have formed. Dry it fully before handling them and enjoy the beautiful DIY crystals!
Step 7
To remove leftover crystals from the glass jar, just add boiling water to dissolve.
Educational Benefits of Making DIY Crystals
This fun experiment combines science with art – it’s the perfect STEAM activity for kids of all ages.
From a scientific perspective, it teaches kids the different properties of matter, specifically solids and liquids. The crystals form as the liquid from your jar becomes a solid – just like ice!
It also helps kids learn about beginning chemistry. Why do borax and water create crystals? This is because the dissolved minerals in the water from the borax cool as the water cools down and it solidifies on your pipe cleaners.
Store-Bought Gemstone and Crystal Kits!
Here are my top picks for store-bought activities for the crystal and gemstone lover!
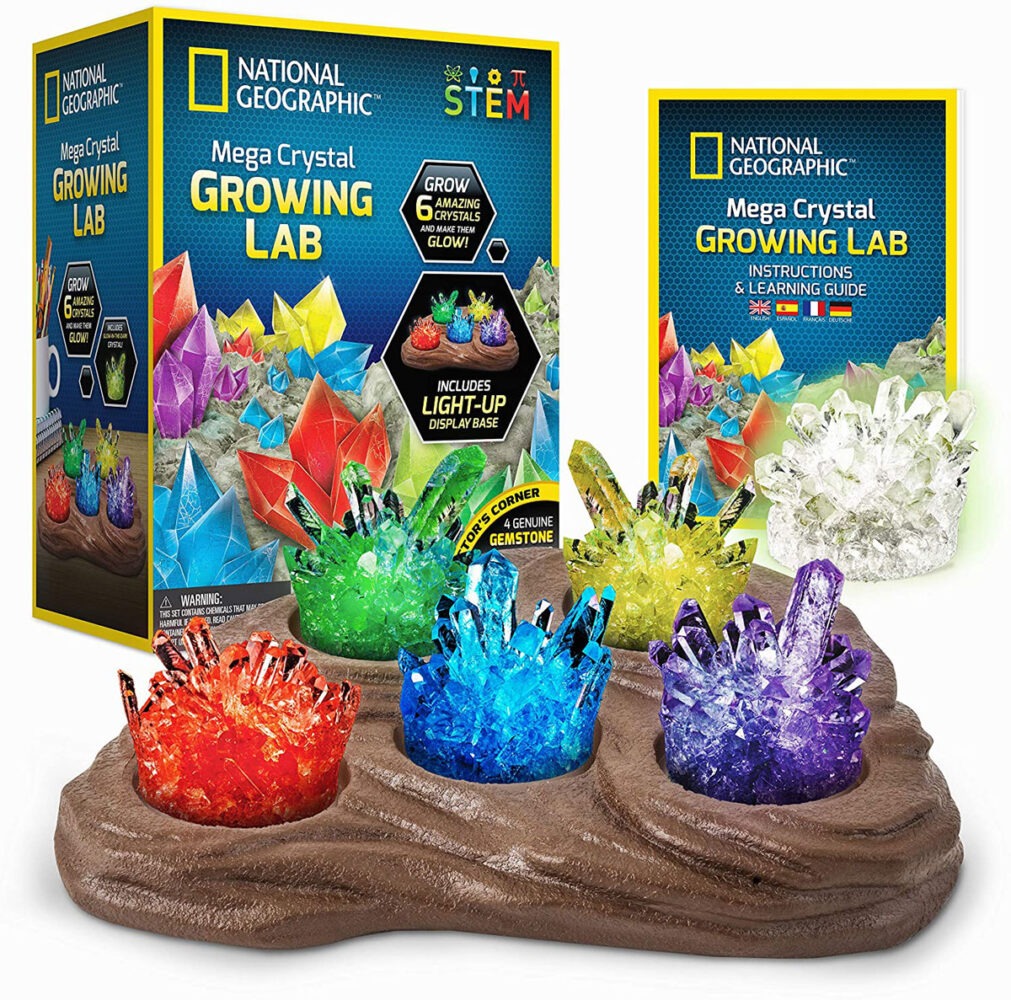
These crystals grow in 3-4 days and come in 6 different colors.
The light up display becomes an amazing night light!
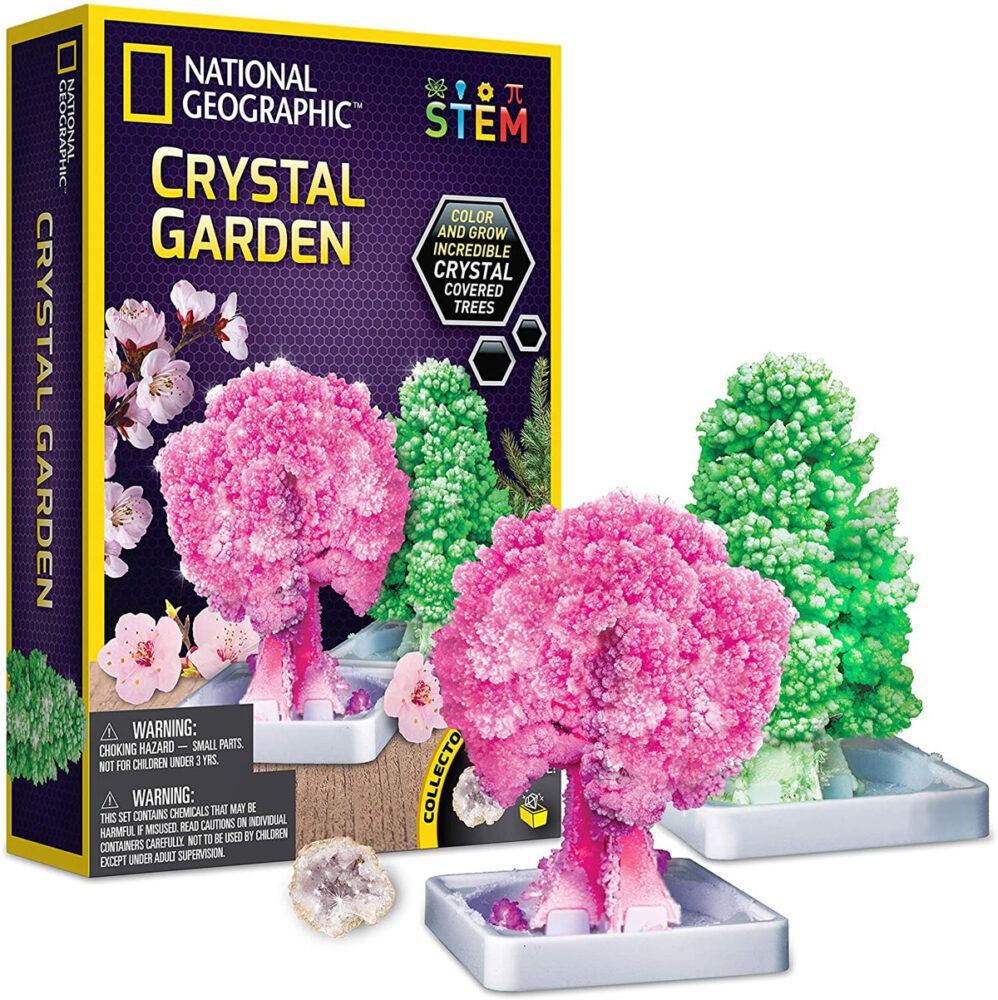
These crystals grow up looking like pink and green trees.
There are 5 watercolor pens so you can change the colors as you like.
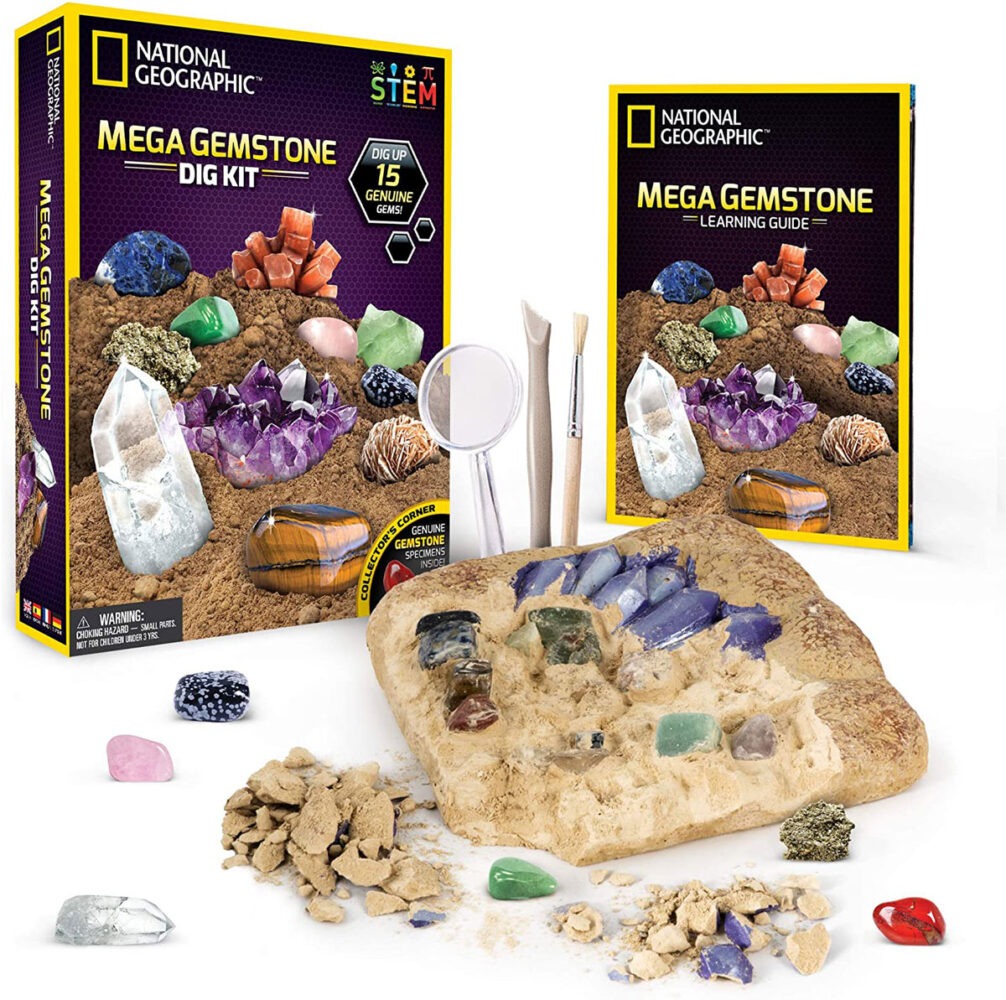
Another fun thing about crystals is that they can be found in nature.
This kit teaches kids how to dig up gemstones.
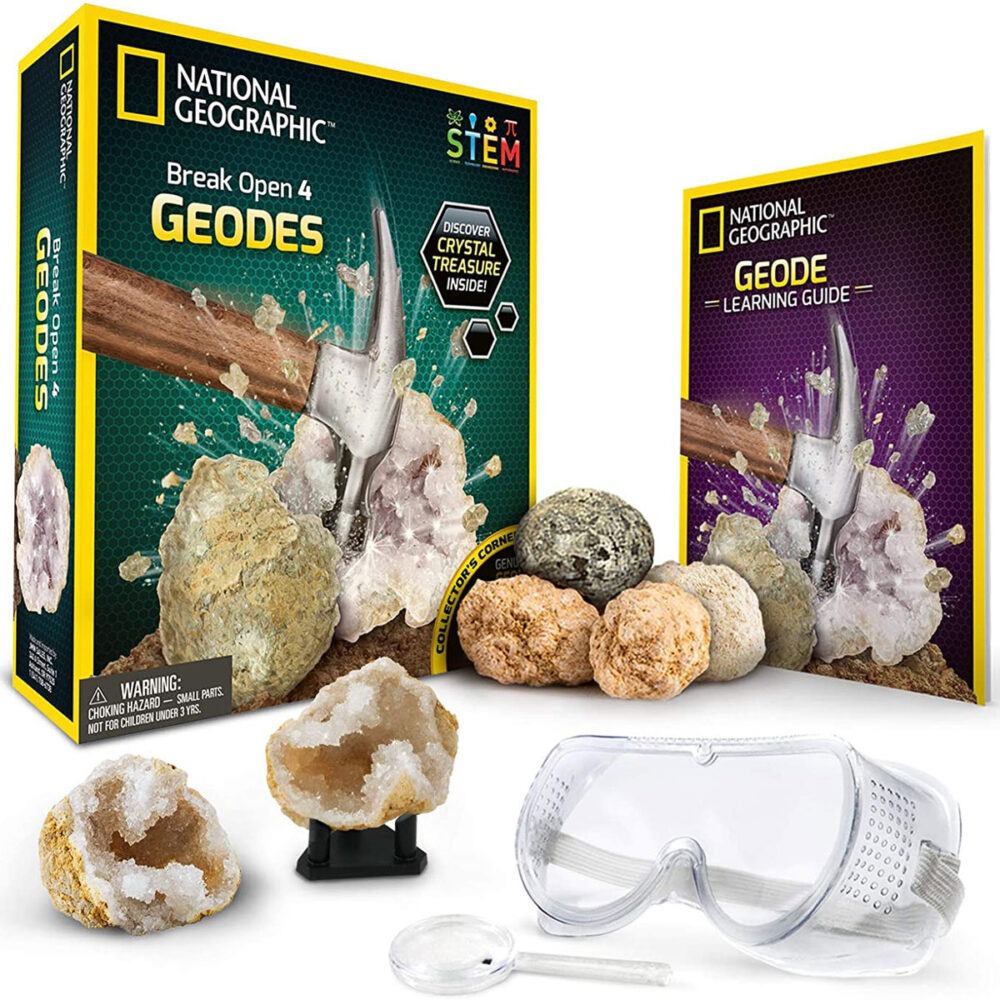
This kit comes with safety goggles and a geode that your child can break up to discover the crystals inside.
4 Geodes included in the kit!
What’s Next?
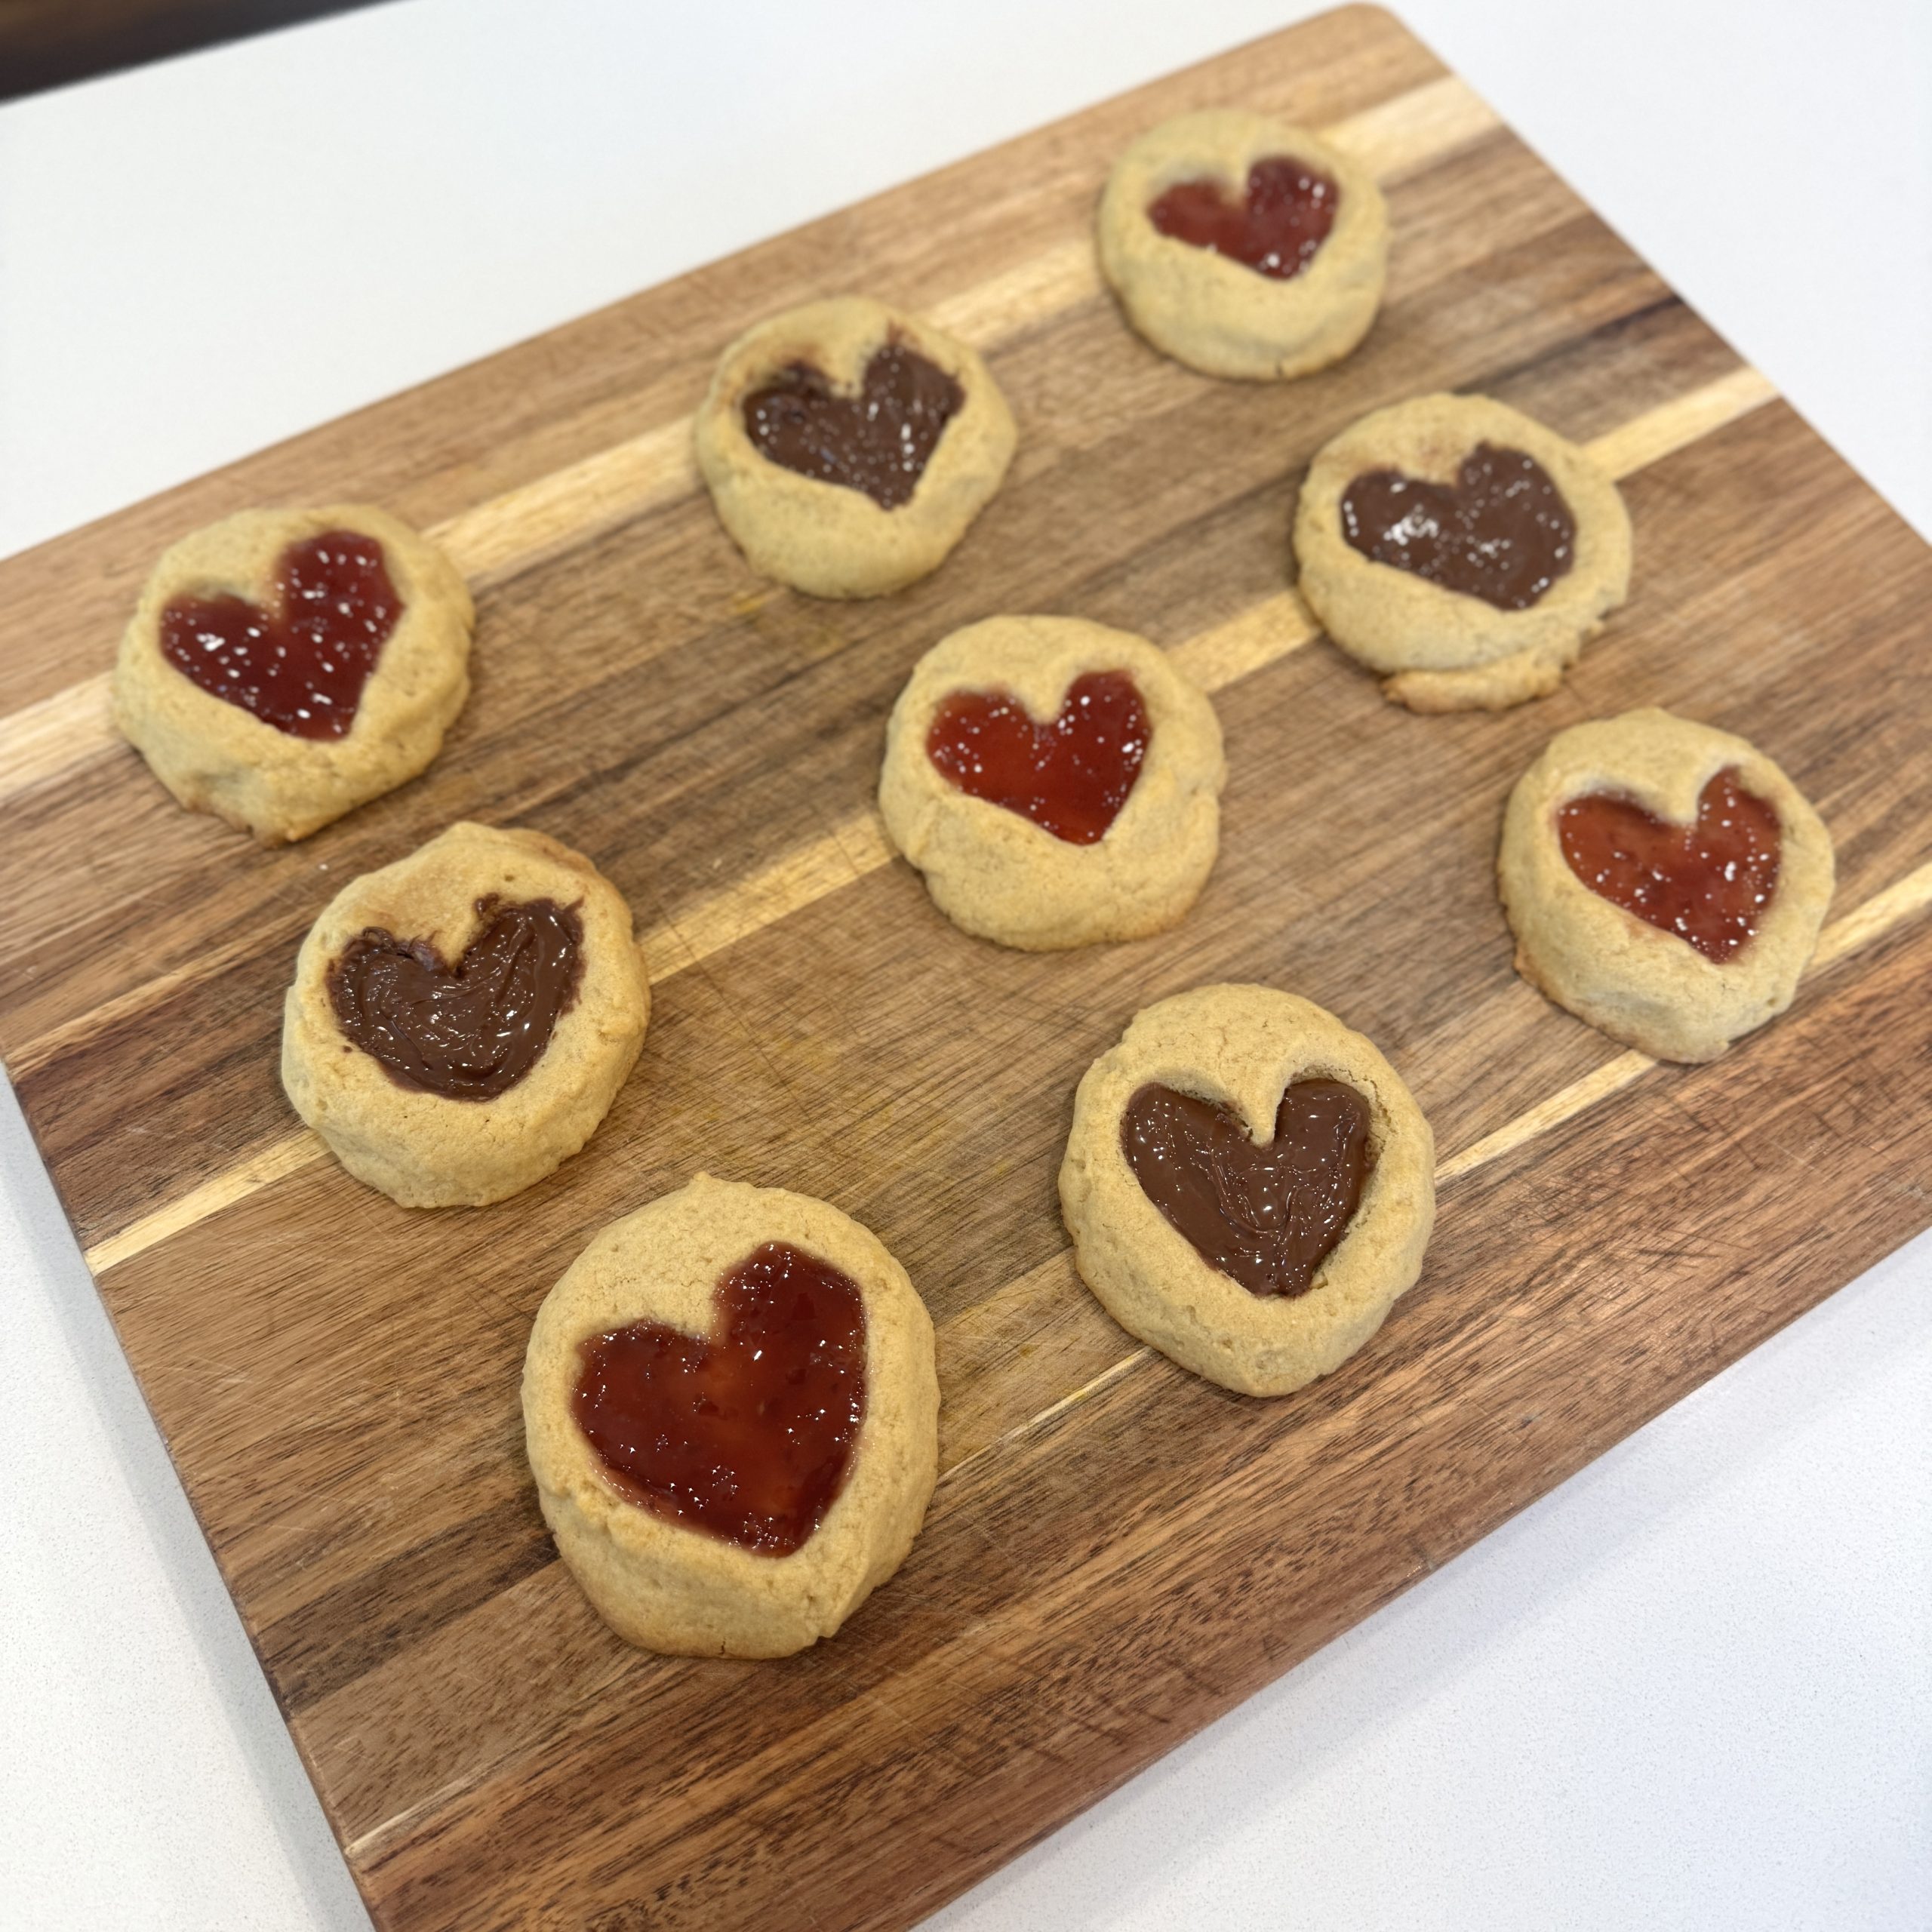
Thumbprint Heart Cookies, Fun + Easy Valentine’s Day Treat
Make Thumbprint Heart Cookies. This easy, buttery recipe is kid-friendly, cute for Valentine’s Day, and ready in under 30 minutes.
Valentines Day Class Cards That Kids Actually Love
Looking for valentines day class cards kids will actually use? These fun classroom Valentine ideas are easy, creative, and kid-approved.
School Lunch Meal Prep: How I Save My Sanity Every Week
School lunch meal prep doesn’t have to be a chore. Grab my easy system, a genius strawberry hack, and a free printable grocery list to help!

