How to Make Greek Yogurt at Home

This is your easy peasy guide on how to make Greek Yogurt at Home! In just a few simple steps, you’ll be crafting creamy, dreamy Greek-style yogurt right in your own kitchen, perfect for busy families looking for a nutritious and delicious snack or meal addition.
How to Make Greek Yogurt at Home: A Family Friendly Guide
In the whirlwind of family life, finding nutritious options that are both convenient and satisfying can feel like a never-ending quest. However, fear not! Making Greek yogurt at home is not only achievable but surprisingly straightforward. While it does require some patience as it works its magic on the countertop or in the fridge, the actual hands-on time is minimal, making it a feasible project even for the busiest of parents. By employing a couple of clever tricks, such as opting for ultra-pasteurized milk and utilizing a handy Greek yogurt strainer, we can streamline the process, ensuring that the journey from milk to tangy, thick yogurt is both effortless and rewarding.
Watch How to Make Greek Yogurt At Home
In this comprehensive video tutorial, I’ll take you through each step of the Greek yogurt-making journey, providing visual guidance that simplifies the process even further.
From utilizing a pressure cooker for speedy yogurt creation to the meticulous straining of whey for that signature creamy texture, every detail is covered.
Watch to see how I prefer to flavor the homemade yogurt, catering to the taste buds of even the pickiest eaters – our beloved kids!
Discover how to portion your homemade yogurt into convenient containers, ideal for lunch boxes or snacking at home.
With this visual guide at your fingertips, crafting homemade Greek yogurt has never been more accessible or enjoyable for busy families. So, grab a seat, hit play, and see how easy it is to make Greek yogurt at home!
As an Amazon Associate, I earn from qualifying purchases. This post may contain affiliate links.
Our Greek Yogurt-Making Essentials
These gadgets and tools make creating Greek yogurt at home super easy!

Instant Pot
An Instant Pot simplifies the process as it is 100% controlled and fool proof! Read more about making yogurt without one below!

Greek Yogurt Strainer
If you plan on making Greek yogurt weekly like I do, then I highly recommend you grab one of these! It is much more efficient than using cheese cloth!

Small Yogurt Cups
These small 4 oz snack cups are great for young kids. I’ve found these smaller portions often leads to less waste. It comes with 12 sets.

Yogurt Parfait Cups
These cups have leak-proof lids that separate toppings like fruit and granola from the yogurt. It comes in a set of 4 and hold up to 17 ounces.

Do You Need a Pressure Cooker or Instant Pot to Make Yogurt?
While Instant Pots and pressure cookers offer undeniable advantages for yogurt-making, such as speed, precise temperature control, multi-functionality, hands-off operation, and consistency, it’s still entirely possible to craft delicious homemade yogurt without them.
Traditional stovetop methods involve heating milk to a specific temperature, adding yogurt culture, and fermenting the mixture in a warm spot. Alternatively, specialized appliances like yogurt makers provide controlled environments for fermentation, ensuring reliable results. Some home cooks also utilize warm ovens or sous vide machines for consistent temperatures during fermentation. With these alternative methods, you can still achieve creamy homemade yogurt, even without an Instant Pot or pressure cooker, however, the Instant Pot method is my go-to approach and I’ll share the ingredients and step by step directions on how I make it next!
Ingredients
- Instant Pot
- 1 Gallon Ultra-Pasteurized Milk
- 2-3 tablespoons Yogurt Starter (this can be homemade yogurt from a previous batch or store bought yogurt as long as they have live active cultures.)
- Greek Yogurt Strainer
- Natural sweetener, like honey or agave (to taste)
- 2 teaspoons vanilla extract
- Containers (we use these for the kids and these for DIY Parfaits!)
Instructions
Step 1
Add ultra-pasteurized milk to the Instant Pot. I get my milk from Trader Joe’s at a decent price – they sell ultra-pasteurized milk by the half gallon, so I will use two of these. If you cannot find ultra-pasteurized milk, heat the milk over medium heat until it reaches 180°F (82°C), stirring occasionally. Remove the pot from heat and let it cool to around 110°F (43°C). You can speed up cooling by placing the pot in a cold water bath.
Step 2
In the Instant Pot, mix 2-3 tablespoons of the yogurt starter to the milk.
Step 3
Close the Instant Pot lid and set the valve to the sealing position. Select the “Yogurt” function on your Instant Pot and adjust the time to 8 hours. The Instant Pot will automatically maintain the ideal temperature for yogurt fermentation.
Step 4
Allow the Instant Pot to ferment the yogurt for 8 hours. Avoid moving or jostling the Instant Pot during this time to ensure consistent results.
Step 5
Once the yogurt has finished fermenting, you can strain it for a thicker Greek-style consistency by removing some of the whey. This will lead to a thicker, creamier consistency. Pour the yogurt into the strainer and let it drain in the refrigerator for several hours or overnight.
Step 6
Transfer the yogurt into airtight containers and refrigerate. Serve it plain or with your favorite toppings. We like to make vanilla yogurt by adding a sweetener like honey or agave to taste and 2 teaspoons of vanilla.
Embracing Homemade Yogurt: A Healthier and Customizable Option
Making Greek yogurt at home not only offers a rewarding culinary experience but also presents a healthier alternative to store-bought options.
By making yogurt in your own kitchen, you gain control over the ingredients, allowing you to adjust sweetness levels, avoid additives like preservatives, coloring, gums, and artificial flavors, and tailor the yogurt to your dietary preferences and health goals.
Homemade yogurt is a wholesome and nutritious addition to any diet, providing probiotics and essential nutrients while offering the satisfaction of knowing exactly what goes into your food. I hope you have found that the process is really quite simple, yet tremendously rewarding!

Side Note: Don’t Throw Your Whey Away!
Don’t toss that leftover whey from making Greek yogurt—put it to good use! Whey is a versatile ingredient packed with nutrients. Add it to smoothies for a protein boost, use it in baking recipes for added moisture and flavor, or incorporate it into marinades to tenderize meat. It’s also great for enhancing homemade soup stocks, fermenting vegetables, and cooking grains. Additionally, you can dilute whey with water to fertilize plants in your garden or supplement livestock feed. With these creative uses, you can maximize the nutritional value of whey while minimizing food waste.
Embracing Homemade Yogurt: A Healthier and Customizable Option
Making Greek yogurt at home not only offers a rewarding culinary experience but also presents a healthier alternative to store-bought options. By making yogurt in your own kitchen, you gain control over the ingredients, allowing you to adjust sweetness levels, avoid additives like preservatives, coloring, gums, and artificial flavors, and tailor the yogurt to your dietary preferences and health goals. Homemade yogurt is a wholesome and nutritious addition to any diet, providing probiotics and essential nutrients while offering the satisfaction of knowing exactly what goes into your food. I hope you have found that the process is really quite simple, yet tremendously rewarding!
Side Note: Don’t Throw Your Whey Away!
Don’t toss that leftover whey from making Greek yogurt—put it to good use! Whey is a versatile ingredient packed with nutrients. Add it to smoothies for a protein boost, use it in baking recipes for added moisture and flavor, or incorporate it into marinades to tenderize meat. It’s also great for enhancing homemade soup stocks, fermenting vegetables, and cooking grains. Additionally, you can dilute whey with water to fertilize plants in your garden or supplement livestock feed. With these creative uses, you can maximize the nutritional value of whey while minimizing food waste.
What’s Next?
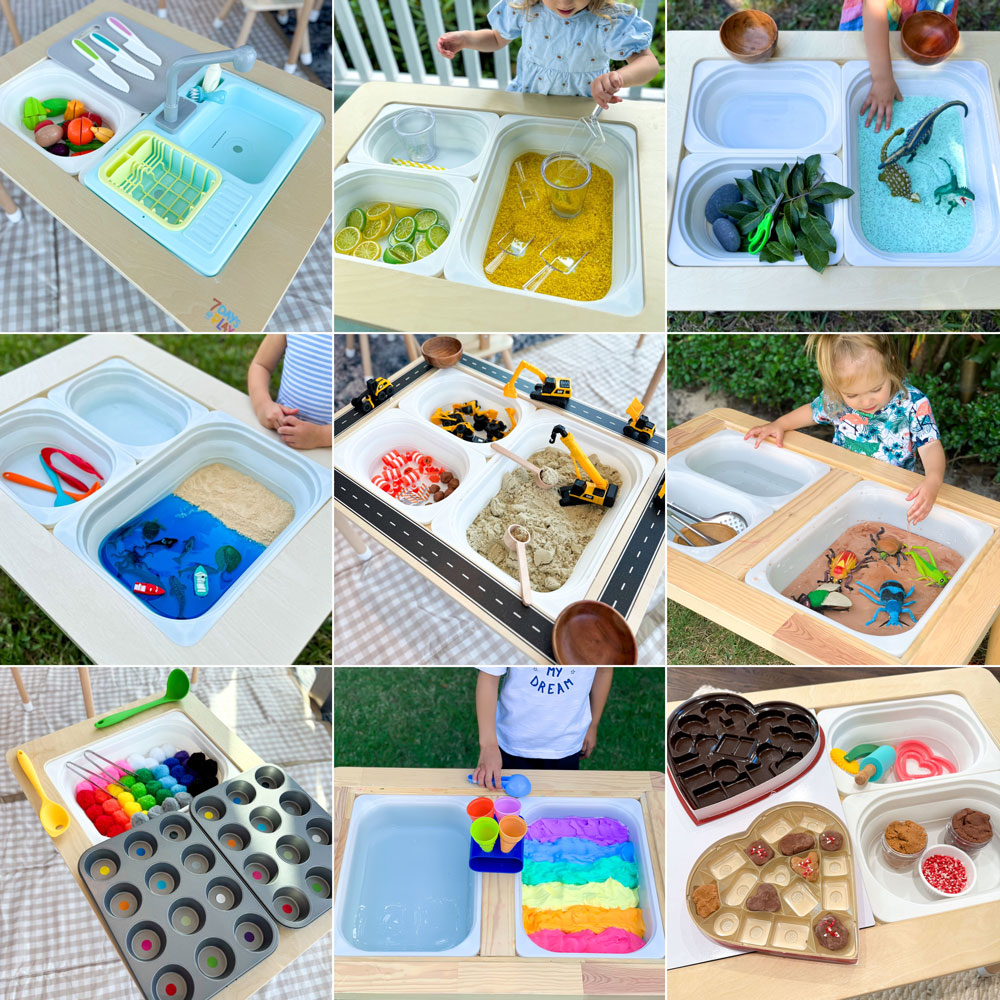
The Best Sensory Bin Ideas to Keep Kids Engaged for Hours
The best sensory bin ideas to keep kids engaged for hours! Fun, hands-on activities that spark creativity, learning, and fine motor skills.

The Best Easter Ideas for Kids
Discover the best Easter ideas for kids including basket ideas, egg fillers, crafts, activities, decorations, and printables to make Easter fun and easy.

Air Fryer Tequeños, Freeze Ahead and Cook Straight From Frozen
Make Air Fryer Tequeños you can freeze and cook from frozen, crispy dough, melty cheese, plus dips and no-leak tips.