fbpx
Gross Motor Skills for Preschoolers – Your Ultimate Guide

Gross Motor Skills for Preschoolers – Your Ultimate Guide
Gross Motor Skills for Preschoolers – Your Ultimate Guide

edible play dough

This is your ultimate guide to understanding gross motor skills for preschoolers including activity ideas, milestone timeline, and product suggestions!

Understanding Gross Motor Skills for Preschoolers: Building Blocks for Physical Development

Gross motor skills encompass the coordination of large muscle groups to perform activities like walking, running, jumping, and throwing. In the preschool years, these fundamental abilities form the cornerstone of physical development, laying the groundwork for more refined movements later in life. From navigating playground equipment to participating in group games, gross motor skills enable children to explore their surroundings, interact with peers, and build confidence in their physical abilities. In this comprehensive guide, we’ll delve into the significance of gross motor skills for preschoolers and offer a wealth of engaging activities and product recommendations to foster their growth and enjoyment.

This article may contain affiliate links. As an Amazon Associate, I earn from qualifying purchases.

Fun Activities to Develop Gross Motor Skills for Preschoolers

Engaging in playful and interactive activities is an excellent way to support your preschooler’s gross motor skill development. Here are some enjoyable activities that promote movement and coordination:
gross motor activities for preschoolers

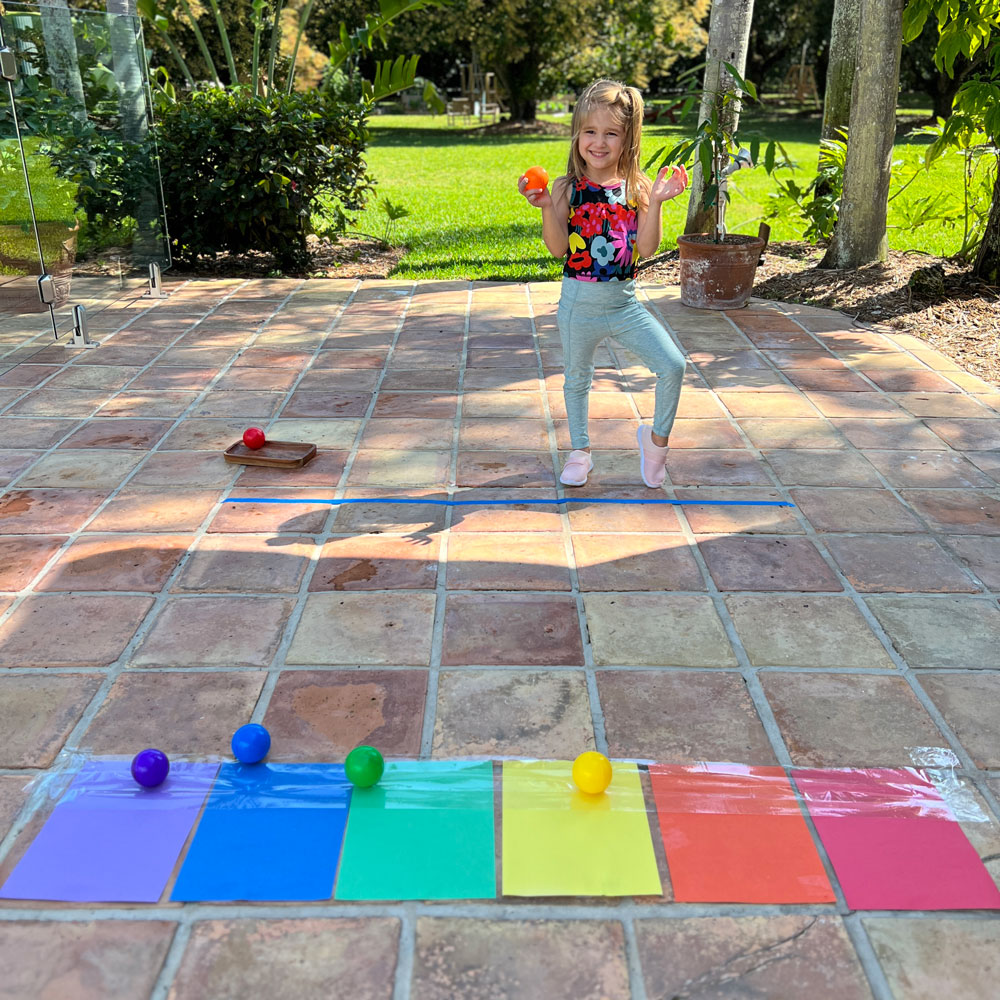
AIM, ROLL, AND STICK!

Tape construction paper on the ground. Put another strip of tape across the papers, but sticky side up. Aim, throw/roll colorful balls at the corresponding paper. The tape will catch it, stopping the ball in its tracks! 
gross motor activities for preschoolers

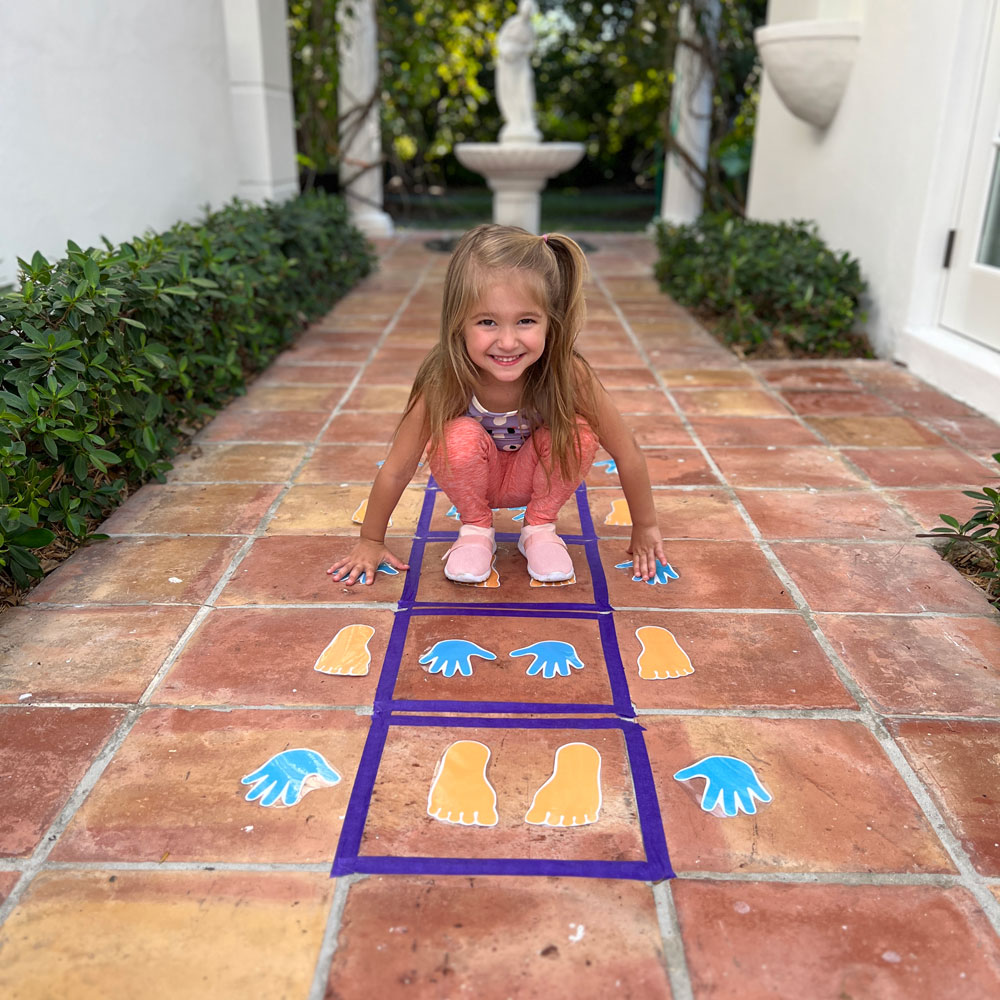
HAND AND FEED COORDINATE

Get the free printable hands and feet HERE to practice coordinating hand and feet movements. Pictured above, I created a set up where you have to hop while alternating the position of your hands and feet.

gross motor activities for preschoolers

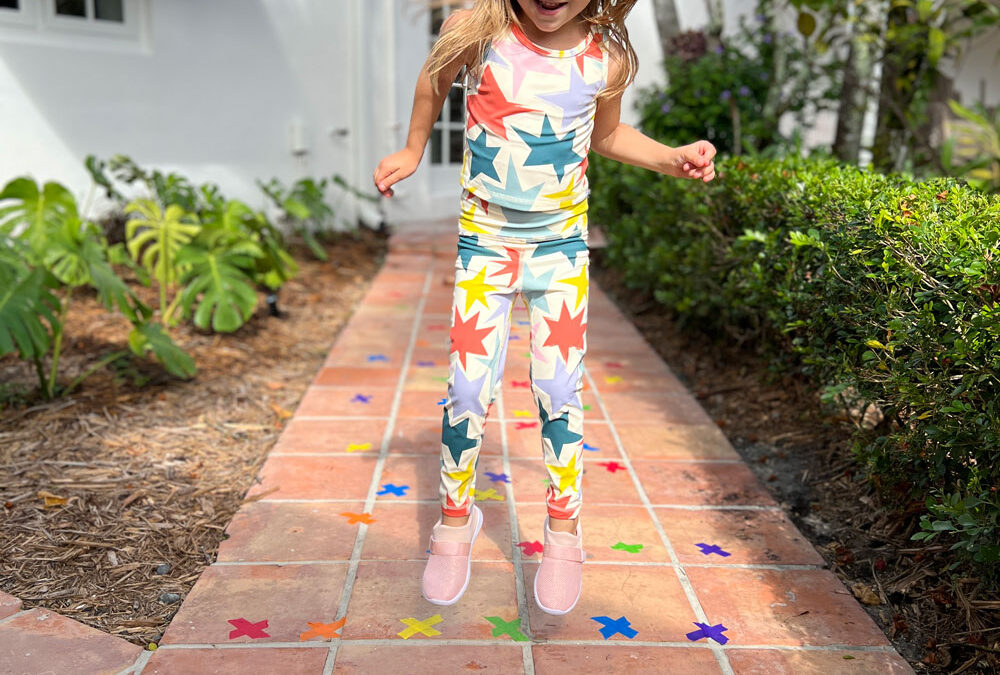
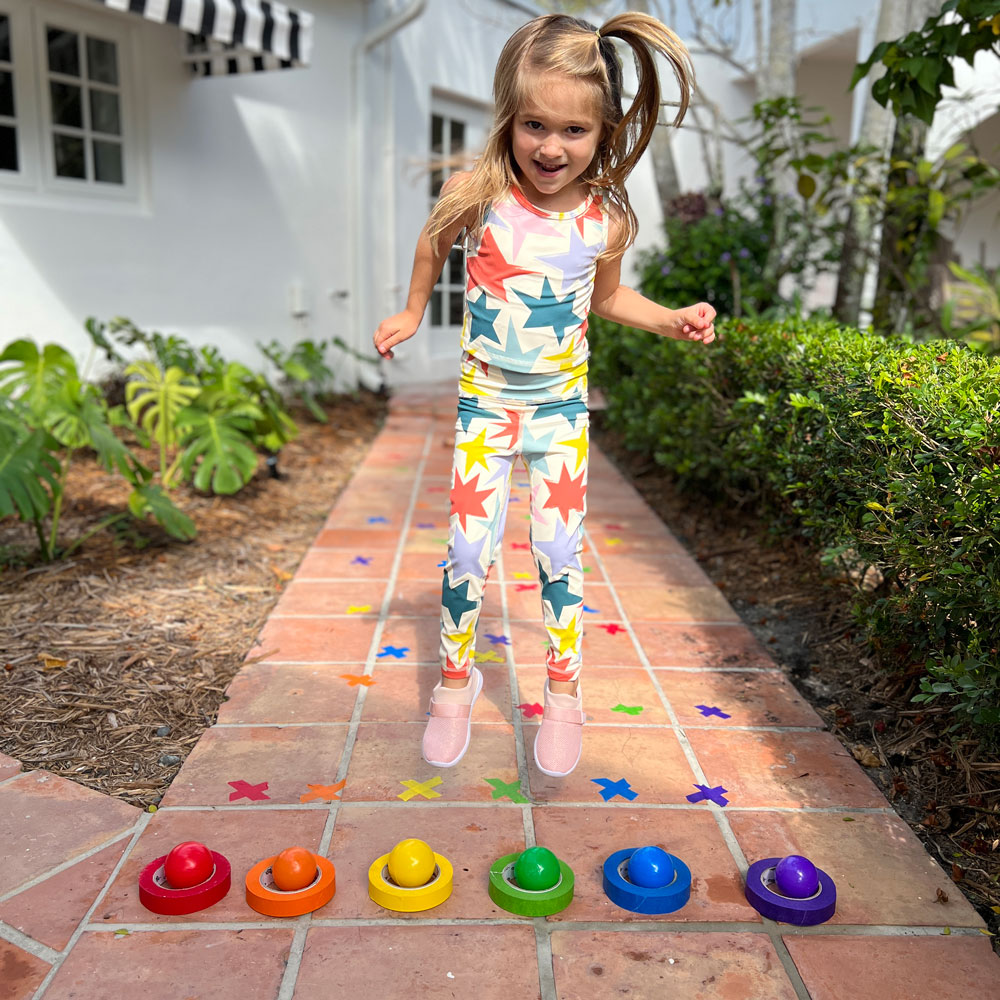
HOP AND COLOR MATCH

Just use X marks of colorful tape scattered across a small hallway. Place colorful balls at the starting point, and the tape rolls at the ending point. Task your kiddo to hop from on X mark to another while matching the ball to the corresponding colored tape roll.
gross motor activities for preschoolers

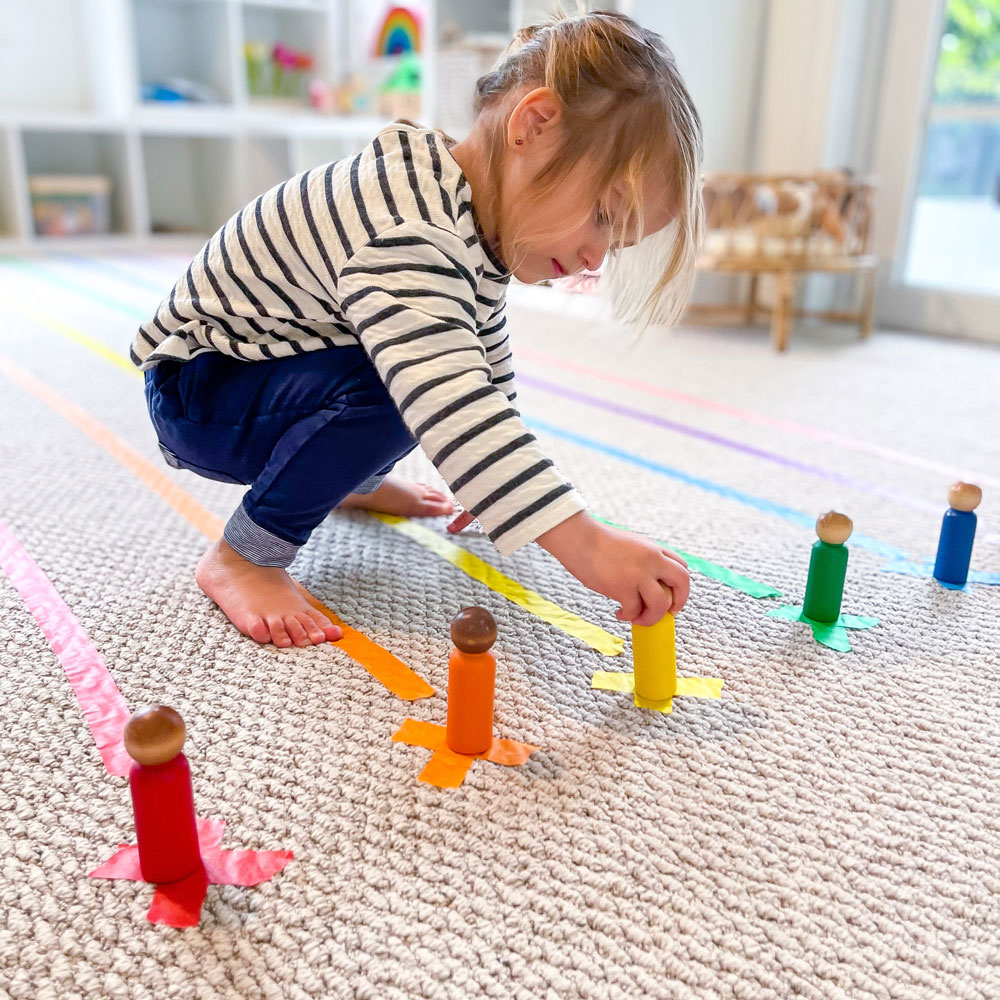
WALK IN A STRAIGHT LINE!

Use tape to make a straight line for young kids to balance themselves as they walk.  I created 6 different colored lines ending with an X mark. I tasked my kiddo to walk in a straight line and match a colorful toy to it’s corresponding X.
gross motor activities for preschoolers

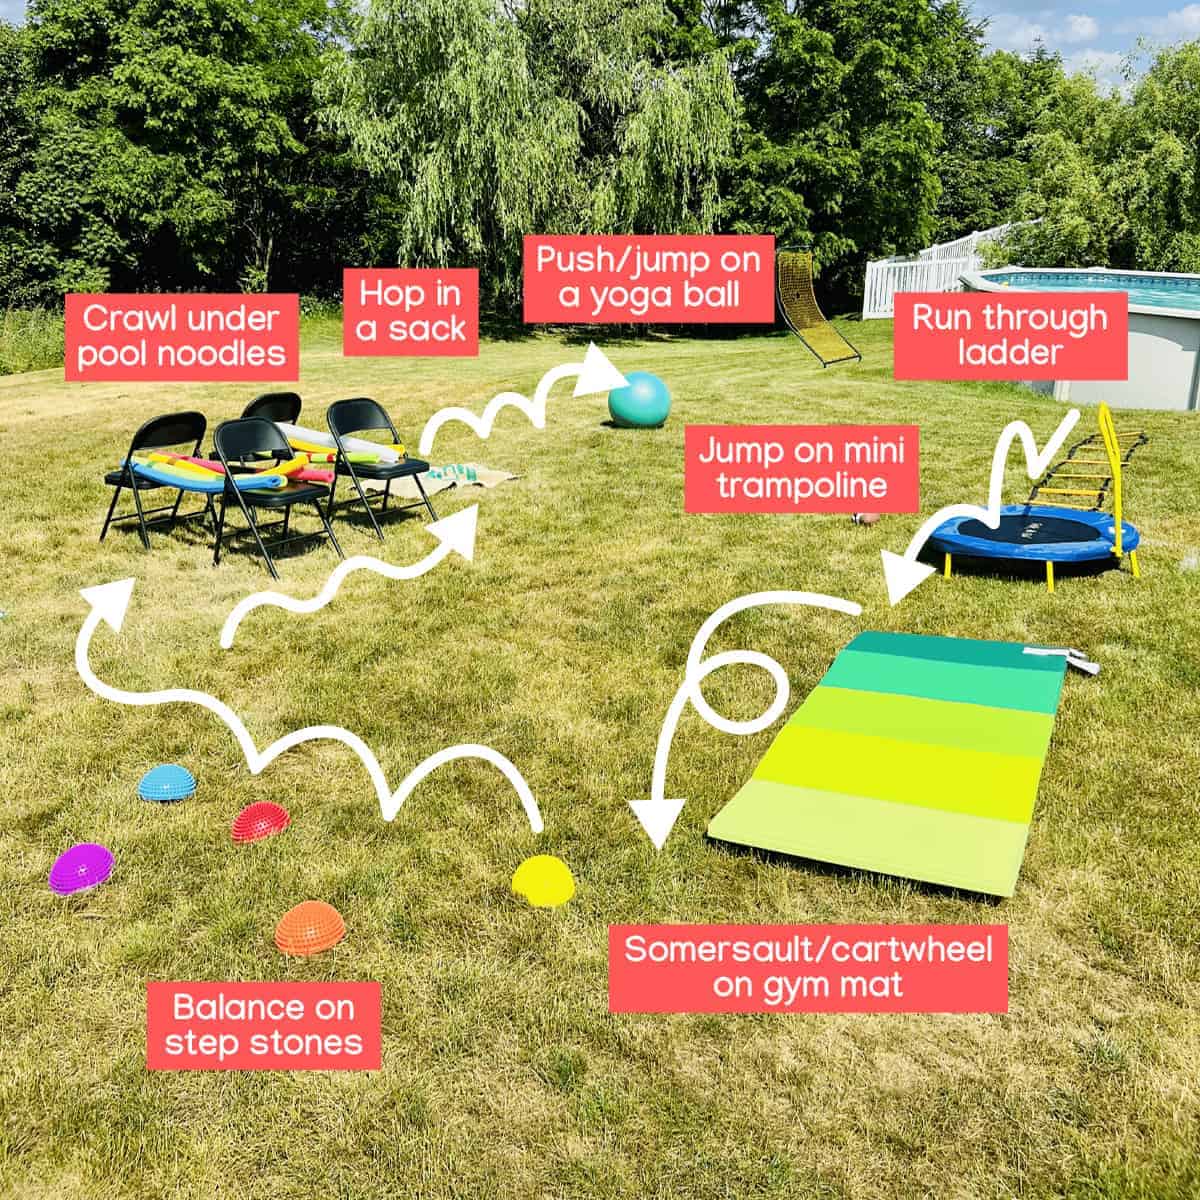
OBSTACLE COURSE

Create a mini obstacle course using cushions, hula hoops, cones, and tunnels. Encourage your child to climb over, crawl under, and weave through the obstacles to enhance their balance, agility, and spatial awareness.
gross motor activities for preschoolers

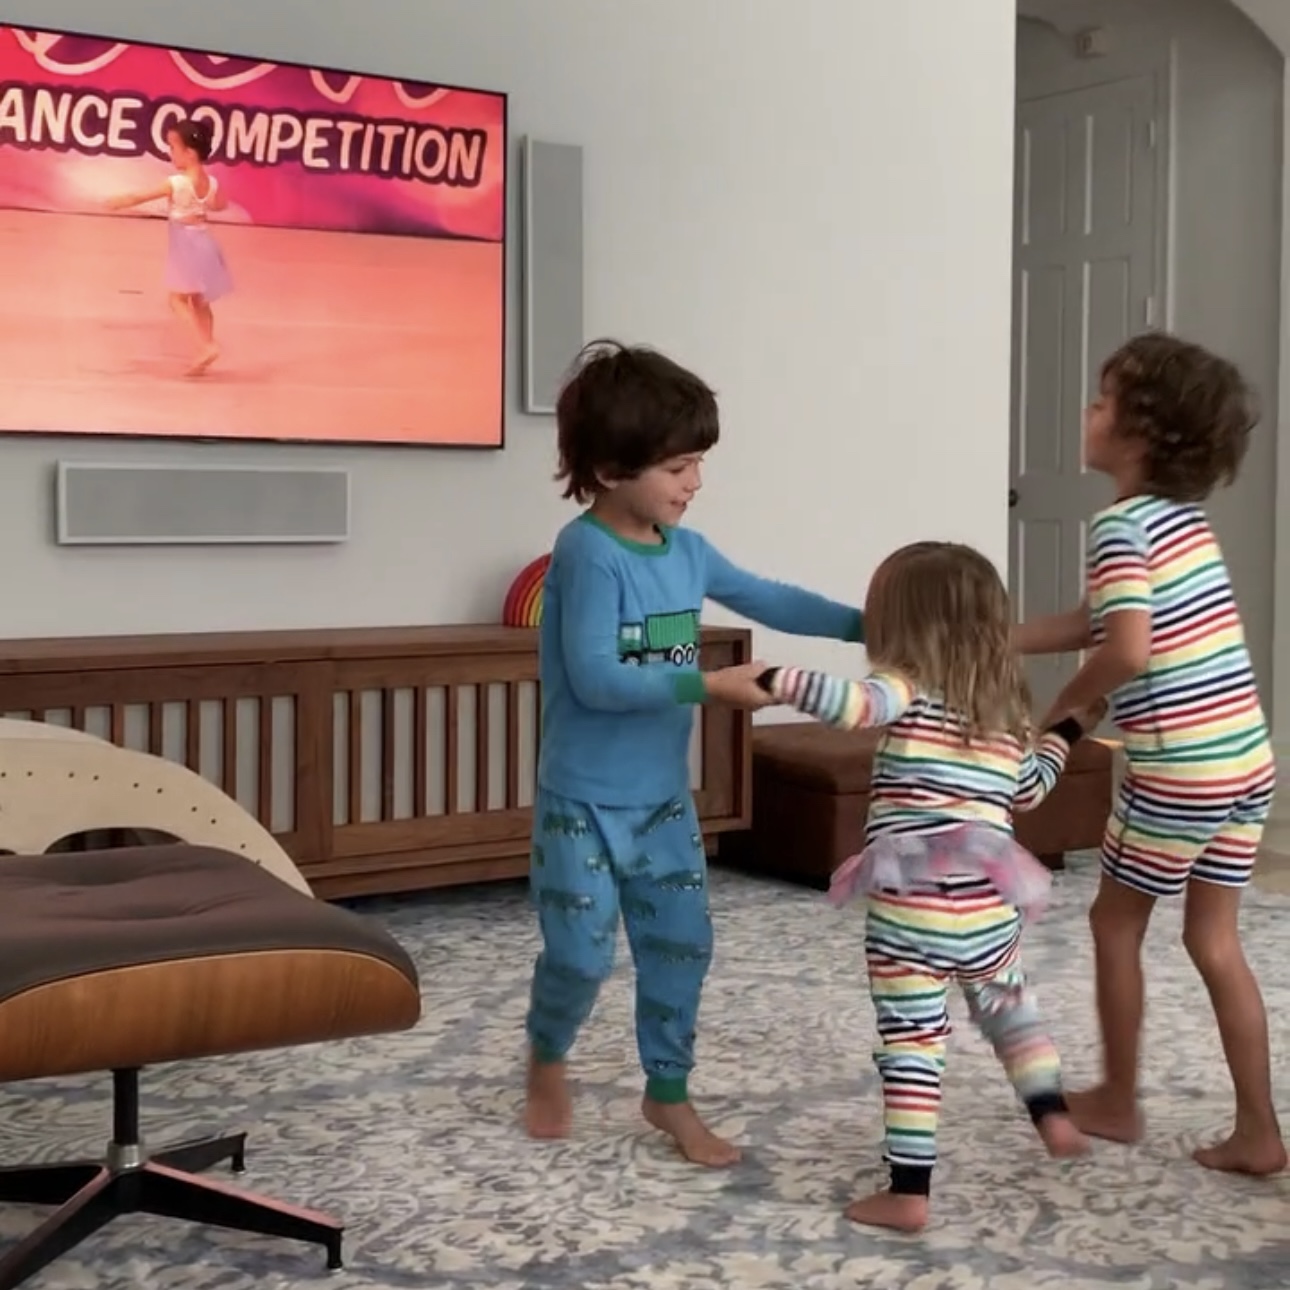
HAVE A DANCE PARTY

Put on some music and have a dance party in your living room! Encourage your child to move their body freely, experimenting with different dance styles and movements. Dancing helps improve coordination, rhythm, and flexibility.
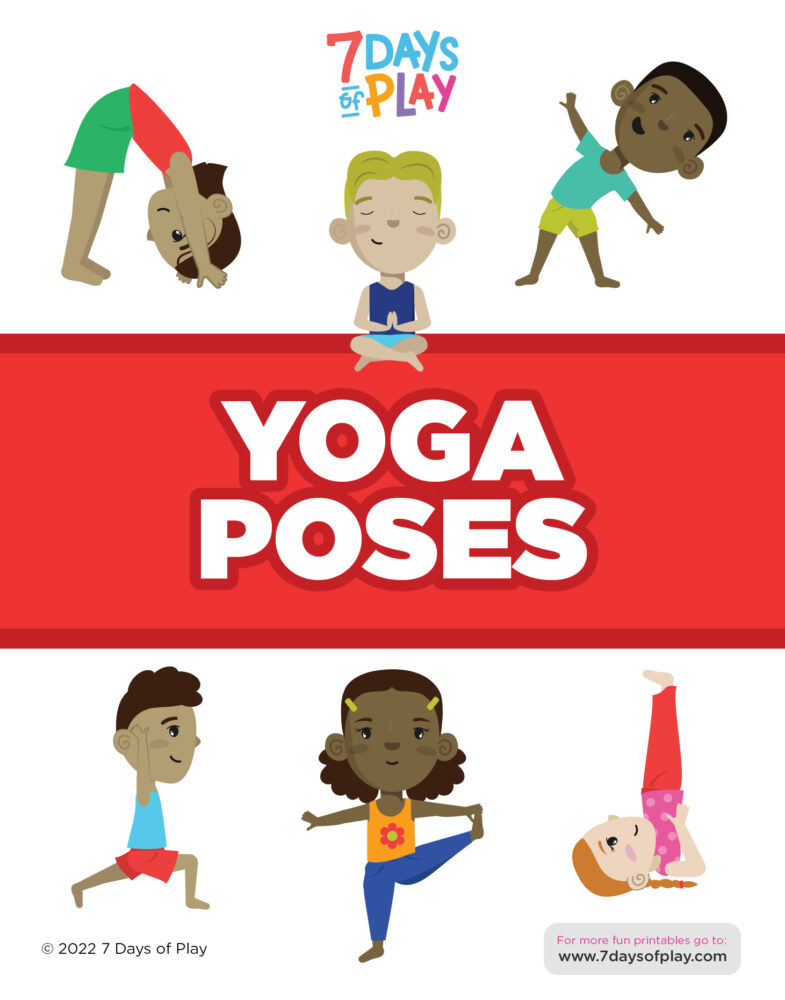
Yoga Poses - Printable for Kids

YOGA FOR KIDS

Introduce simple yoga poses tailored for children with a free printable dice game! Poses like downward dog, tree pose, and butterfly pose improve balance, strength, and flexibility while promoting mindfulness and body awareness.
    nature scavenger hunt

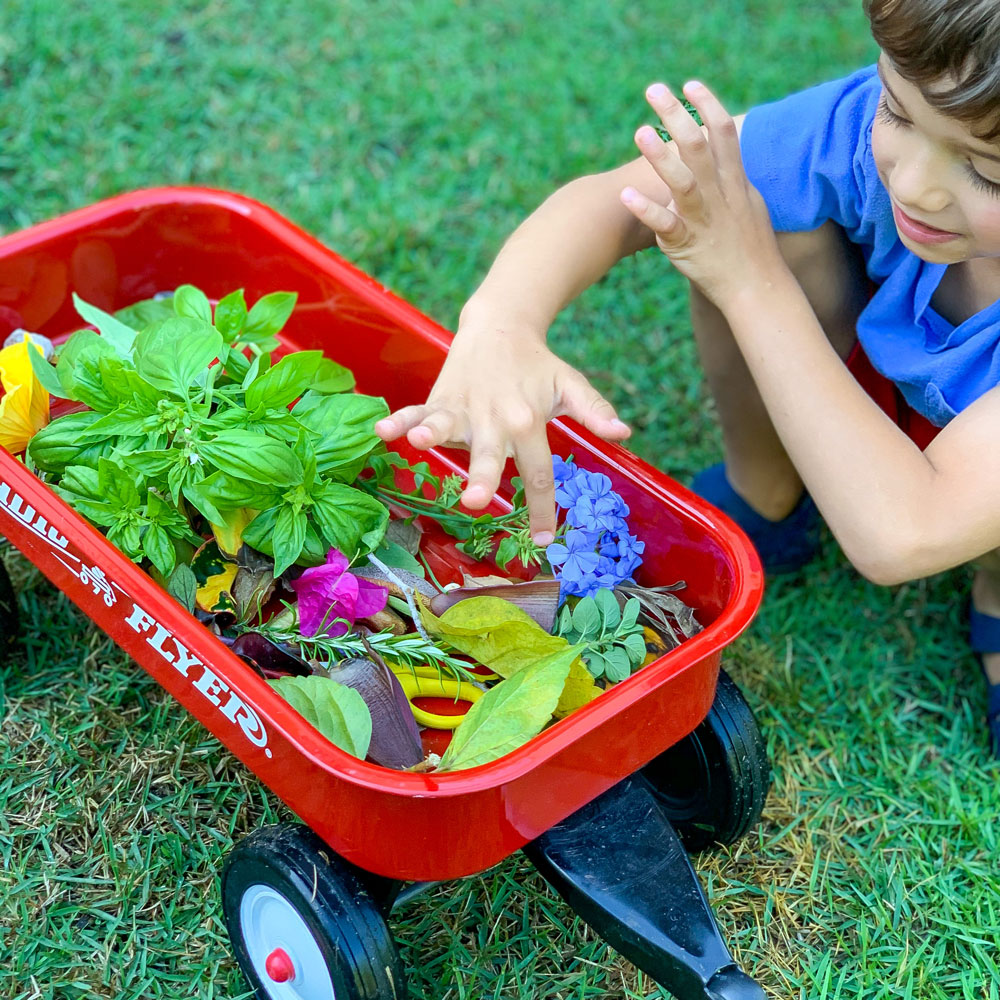
    NATURE SCAVENGER HUNT

    Take a nature walk with your child and create a scavenger hunt list of items to find such as leaves, rocks, flowers, or sticks. Encourage your child to walk, run, climb, and reach to collect the items, promoting balance, coordination, and spatial awareness. Combine it with a fun art project like this!

    Key Gross Motor Milestones

    Gross motor skills are essential for preschoolers as they navigate the world around them. It’s important to remember that every child develops at their own pace, and these milestones are just general guidelines:

    (1) Walking Independently: Most children begin walking between 12 and 18 months. Initially, they may be unsteady on their feet but gradually gain confidence and stability.

    (2) Running and Jumping: Around the age of 2, children start to run with more coordination and may attempt to jump off low surfaces. By age 3, they can typically jump forward and possibly even hop on one foot briefly.

    (3) Climbing: Climbing skills improve throughout the preschool yers. Kids may start by climbing stairs with support and progress to climbing playground structures and trees.

    (4) Balancing: By age 4, children can often balance on one foot for a few seconds and walk in a straight line heel-to-toe, demonstrating improved balance and coordination

    (5) Throwing and Catching: Around age 4 or 5, children develop the ability to throw a ball overhand with some accuracy and may begin to experiment with catching objects.

    (6) Skipping: By age 5 or 6, children may start to experiment with skipping and galloping, demonstrating more advanced coordination and rhythm.

    (7) Pedaling and Bike Riding: Pedaling a tricycle typically becomes achievable around age 3 or 4, signaling improved leg strength and coordination. While some children may learn to ride a bike as early as age 3 with practice, mastering this skill often occurs later in childhood, around ages 5 to 7.


    Gear Up for Gross Motor Skills for Preschoolers: Product Recommendations

    Investing in the right toys, equipment, and tools can greatly enhance your preschooler’s gross motor skill development. Here’s a selection of products tailored to various budgets and space requirements.
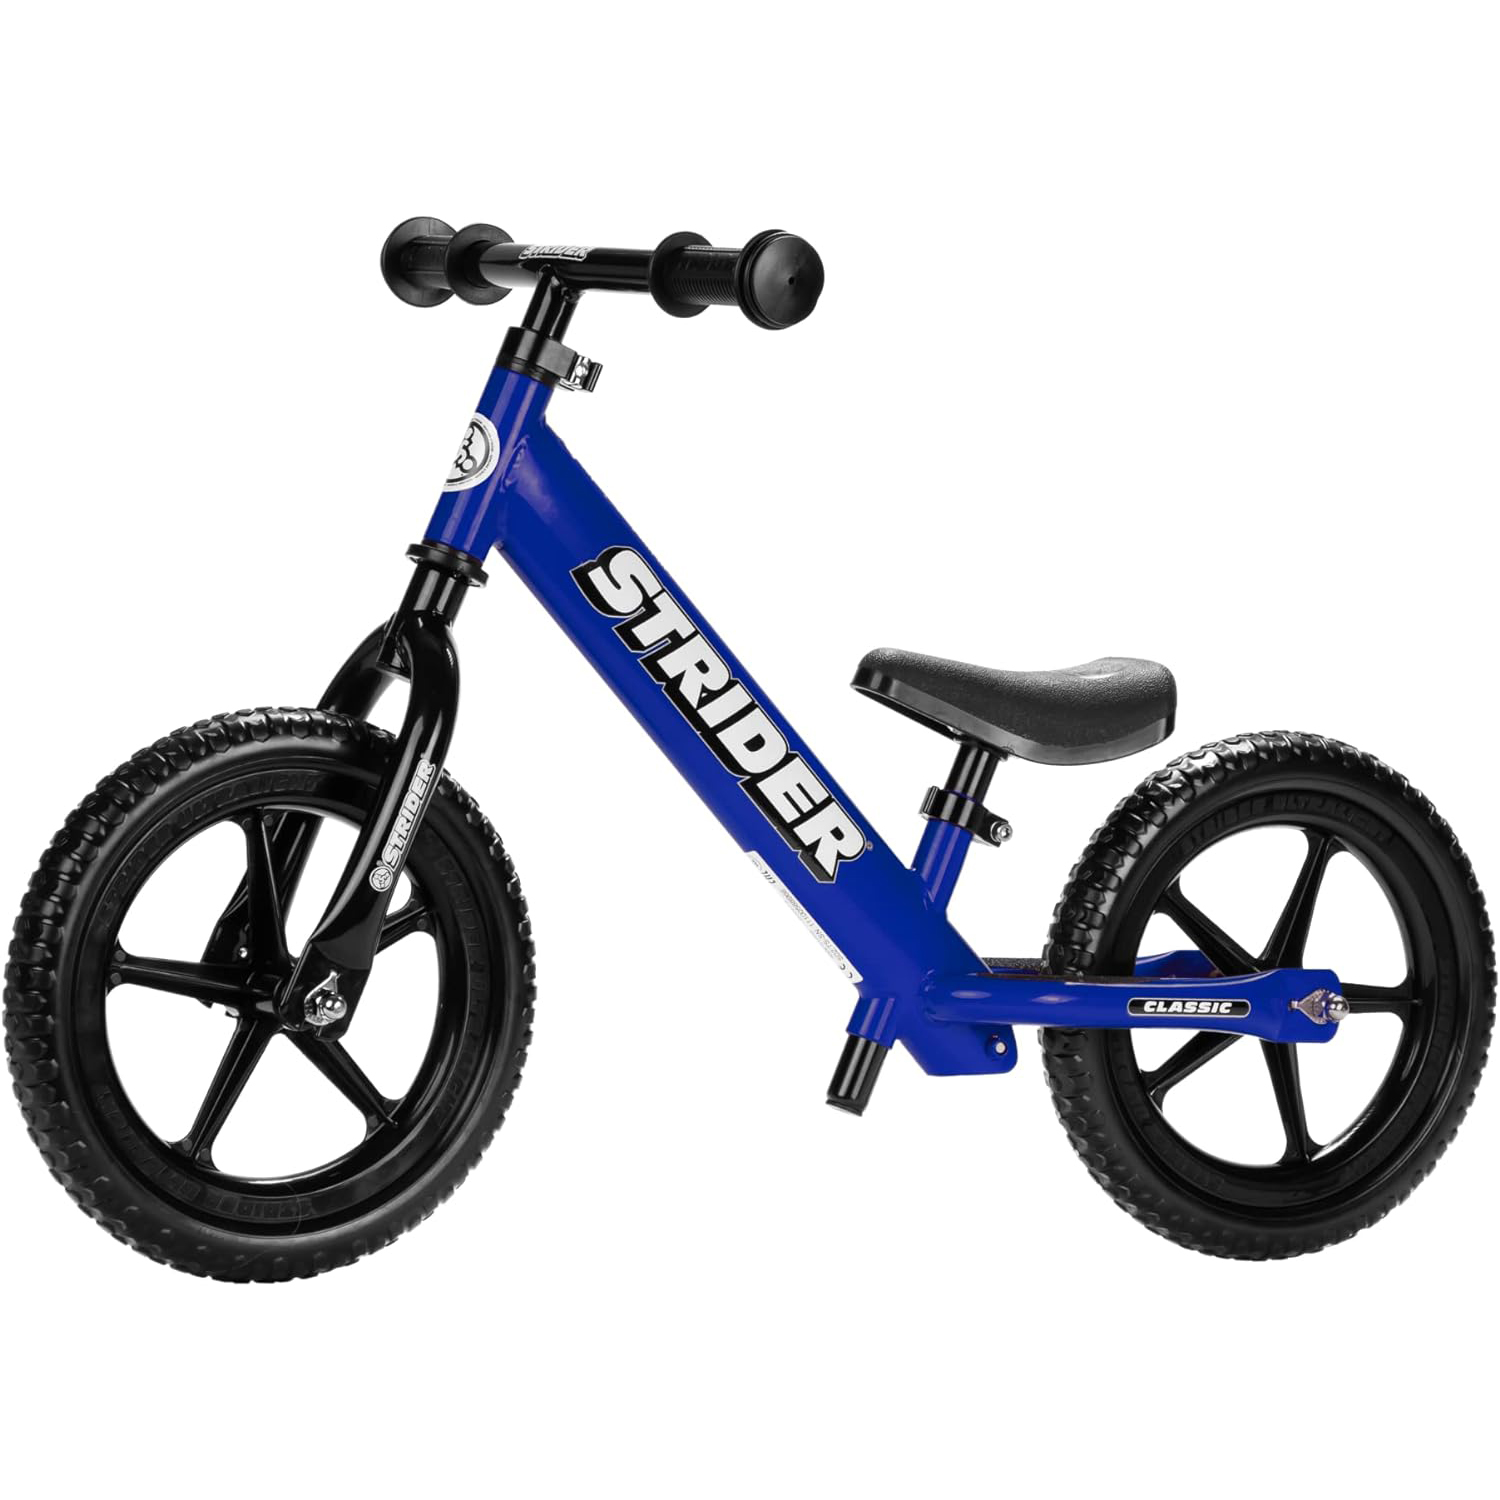
    gross motor skills balance bike

    Balance Bike

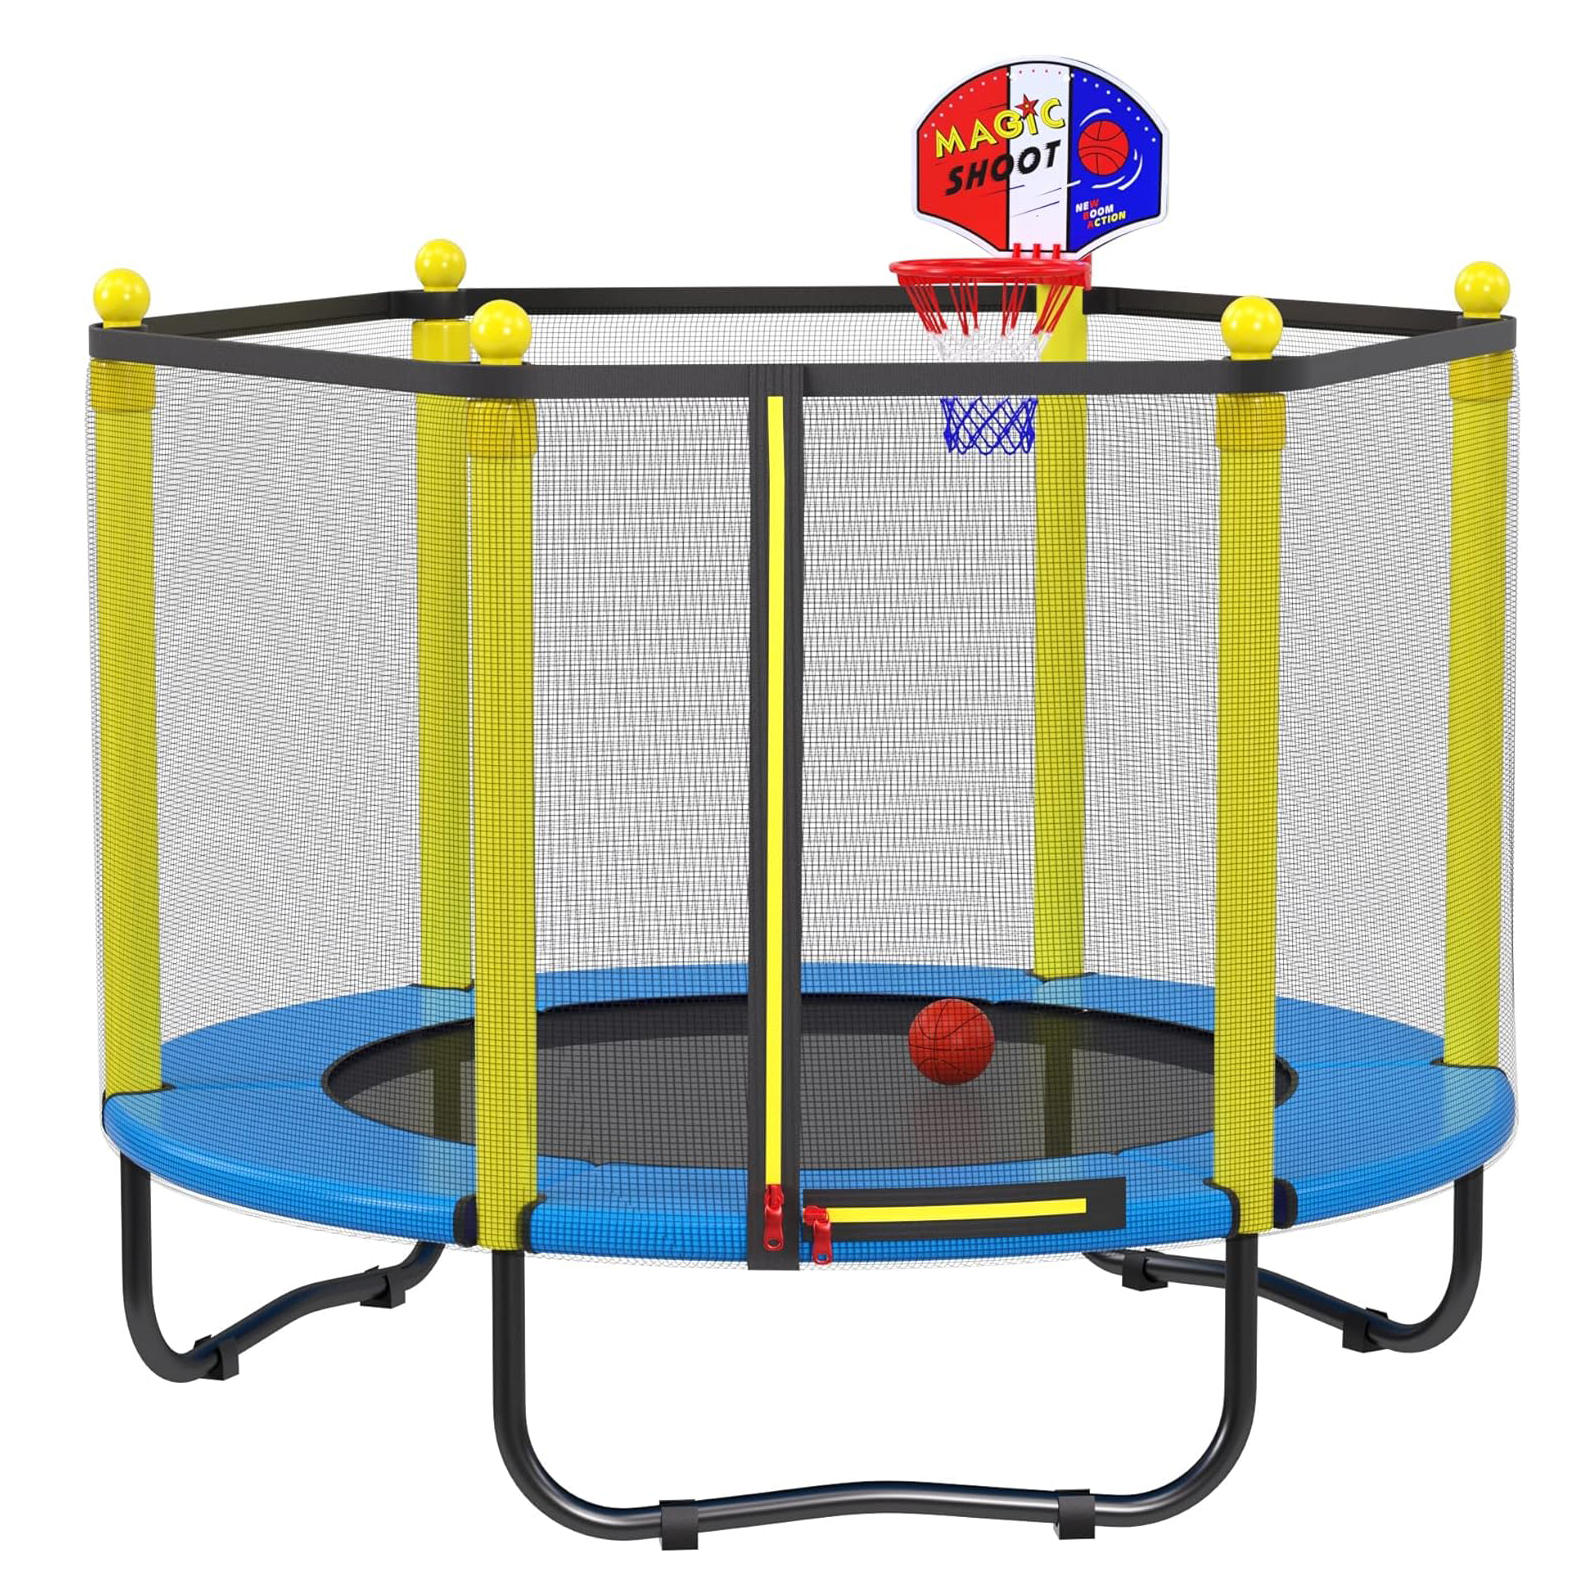
    gross motor skills trampoline

    Indoor Mini Trampoline

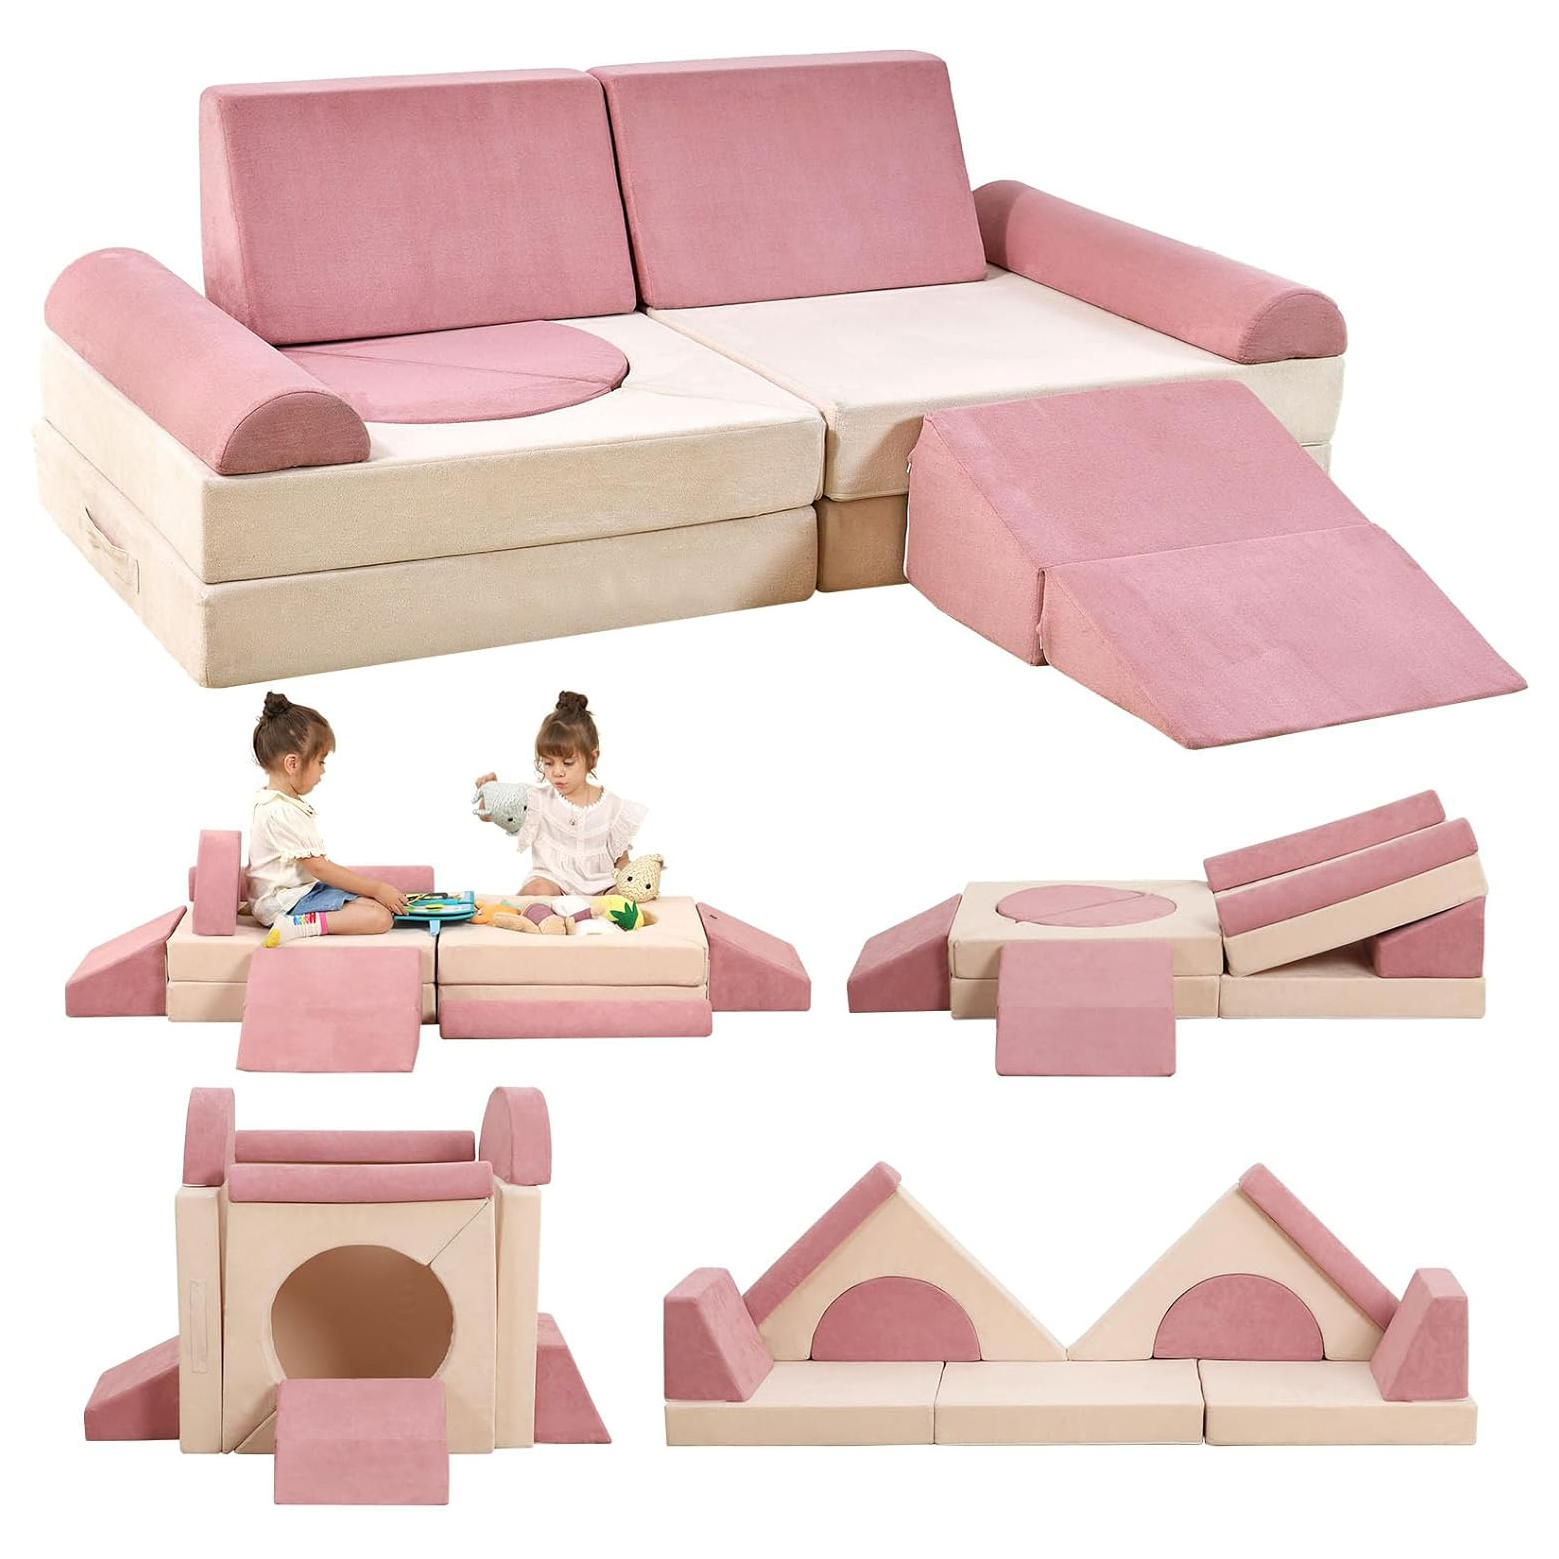
    gross motor skills modular furniture

    Modular Play Furniture

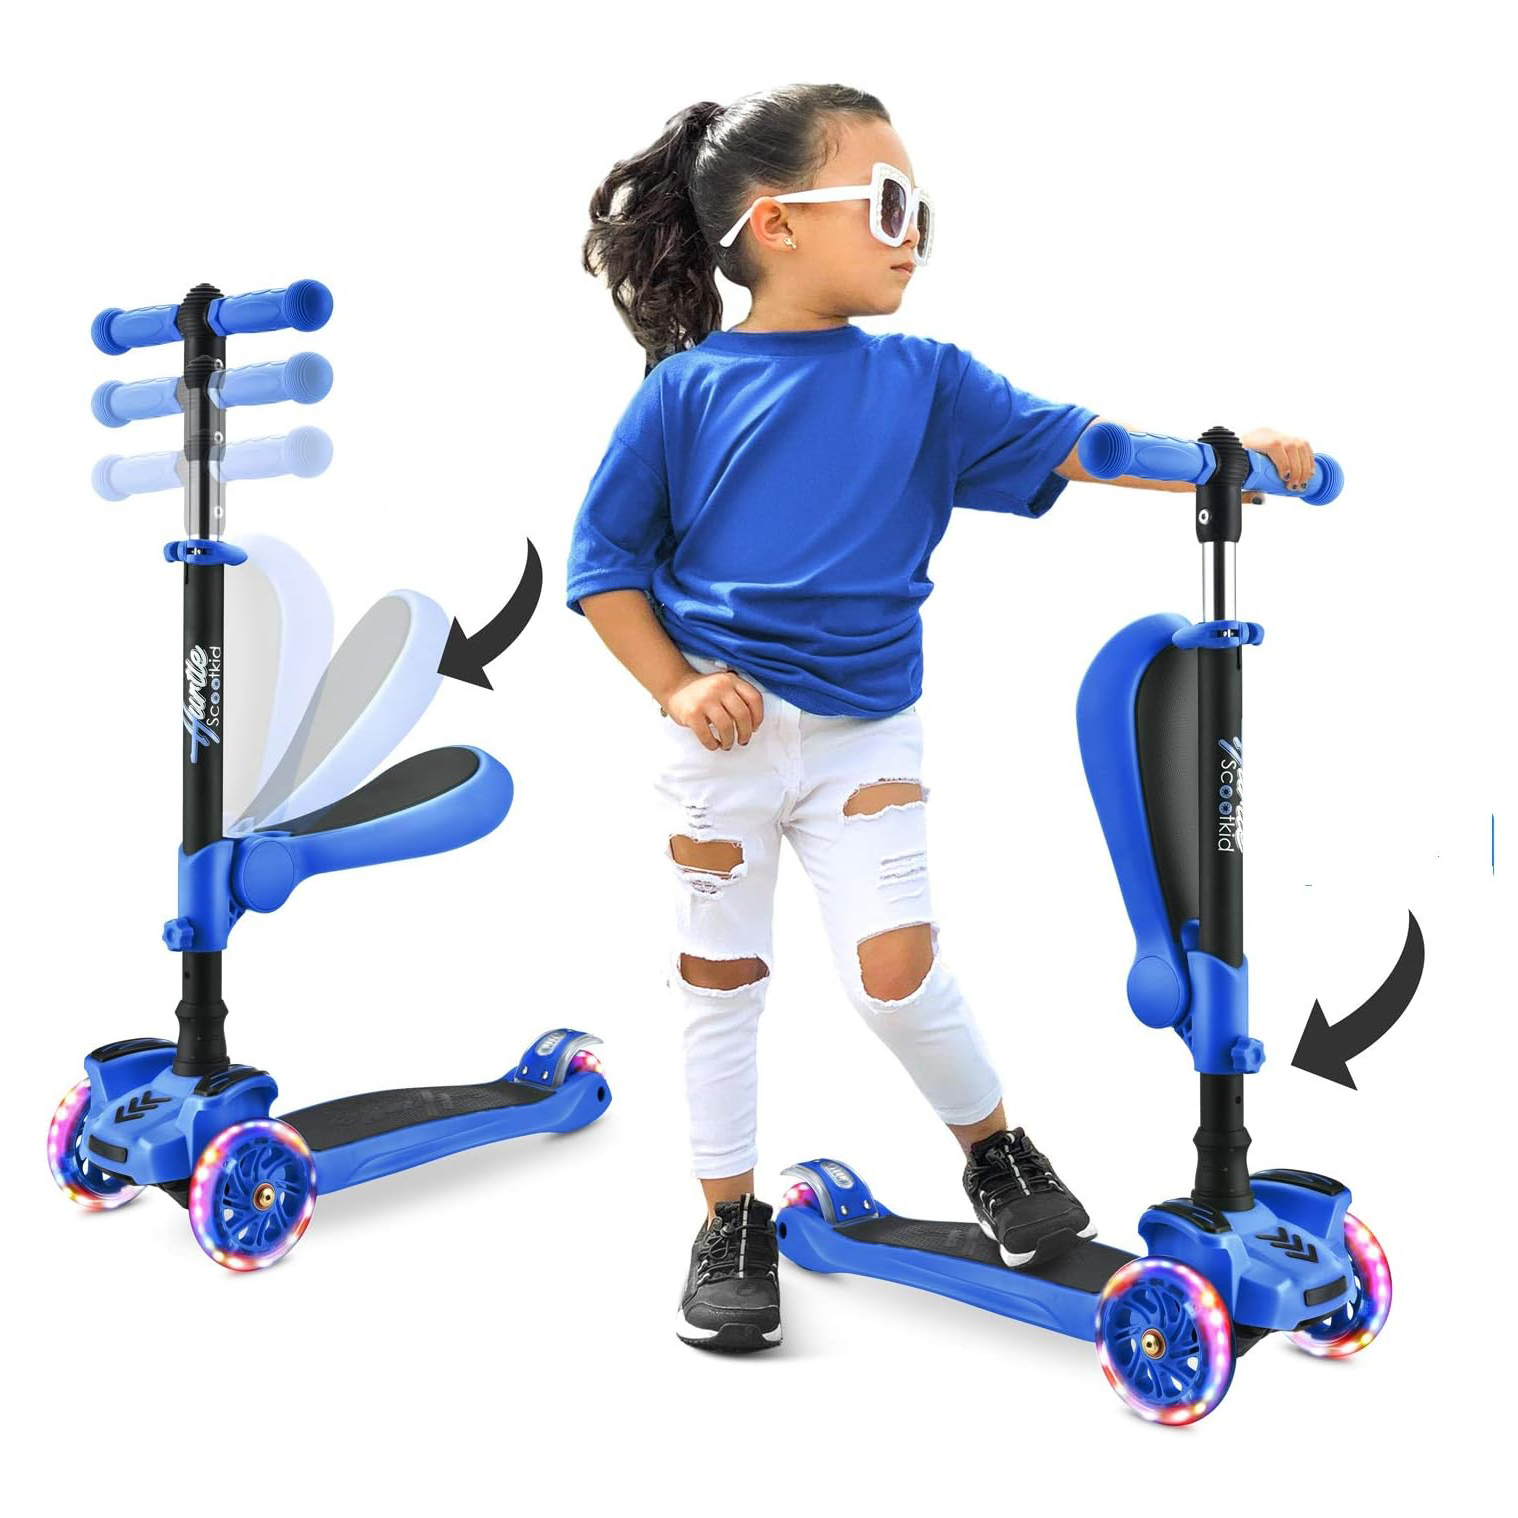
    gross motor skills scooter

    Scooter

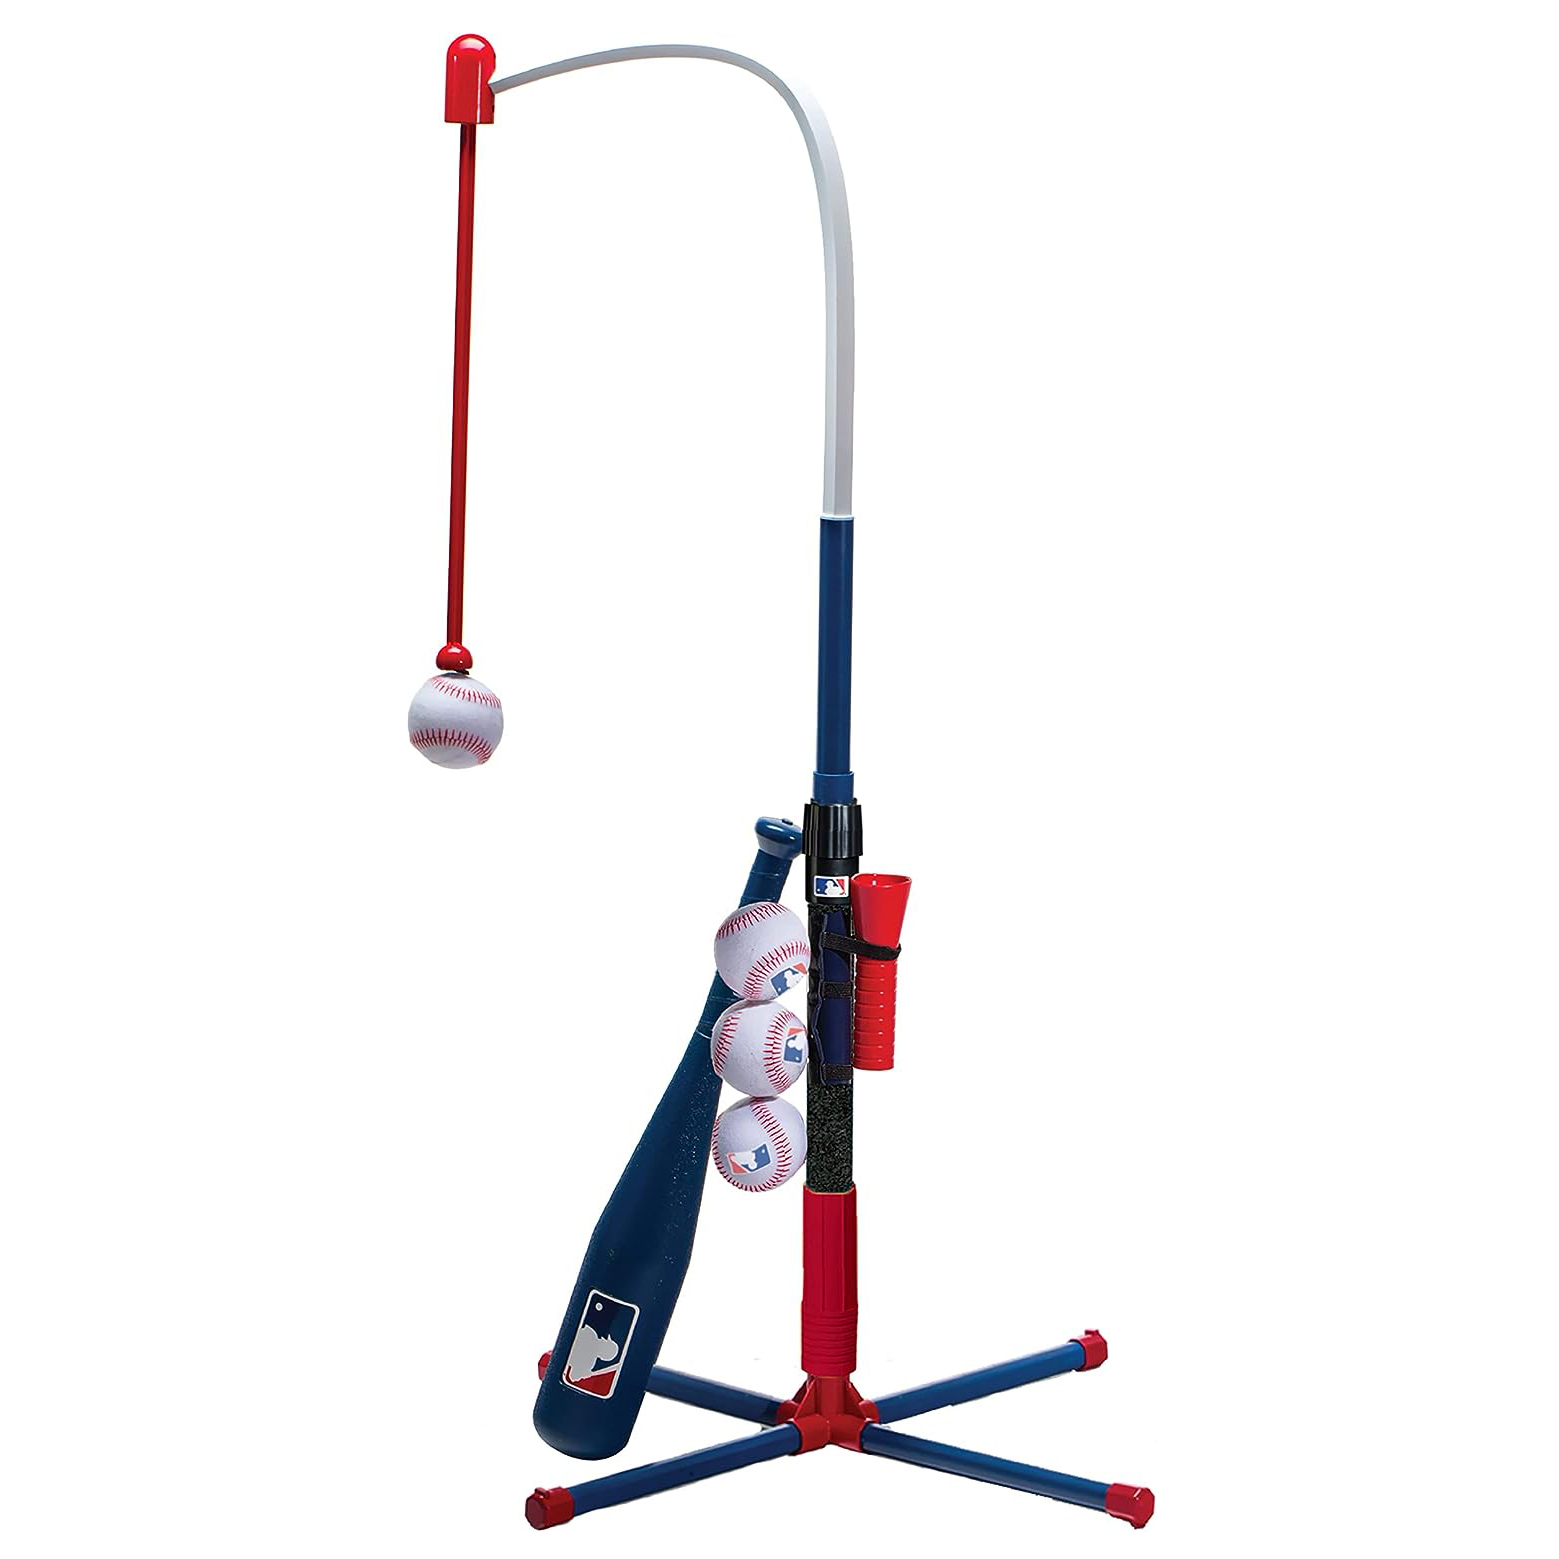
    gross motor skills baseball

    Baseball Tee

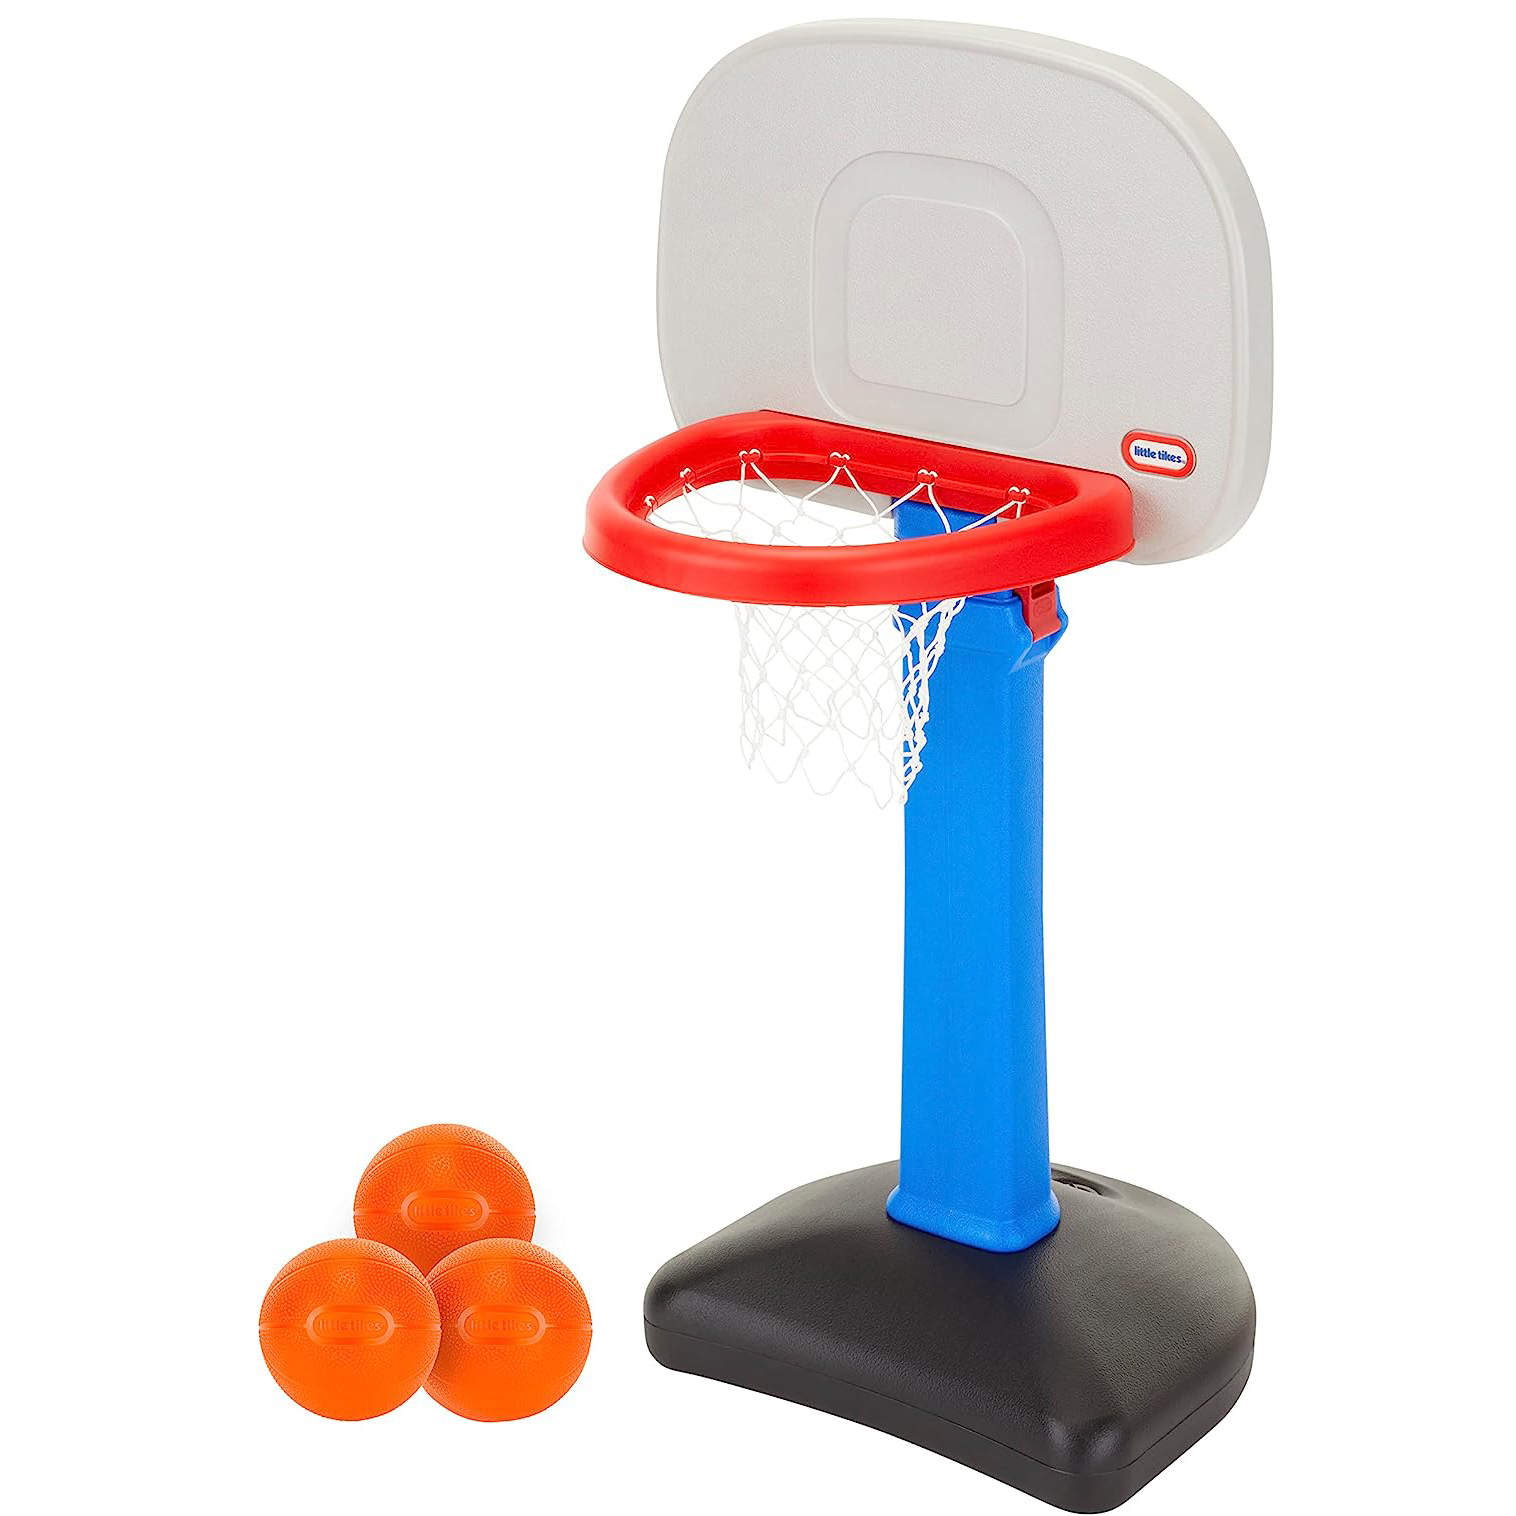
    gross motor skills basketball

    Basketball Hoop

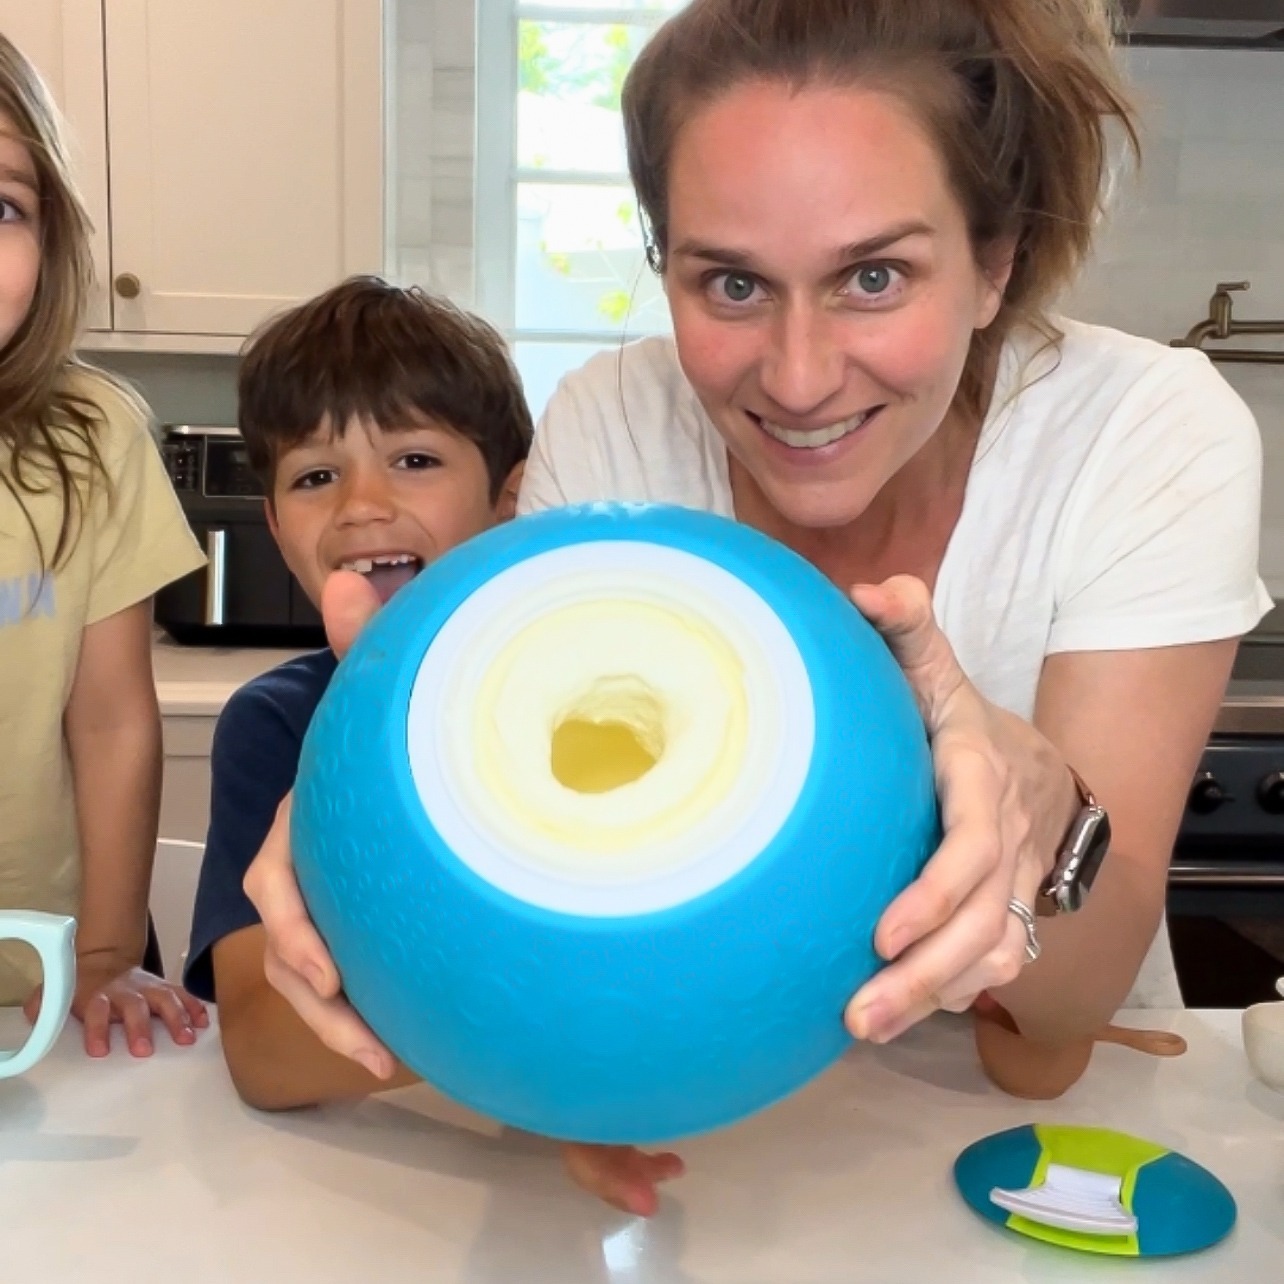
    ice cream maker toy ball how to use it

    Ice Cream Maker Ball

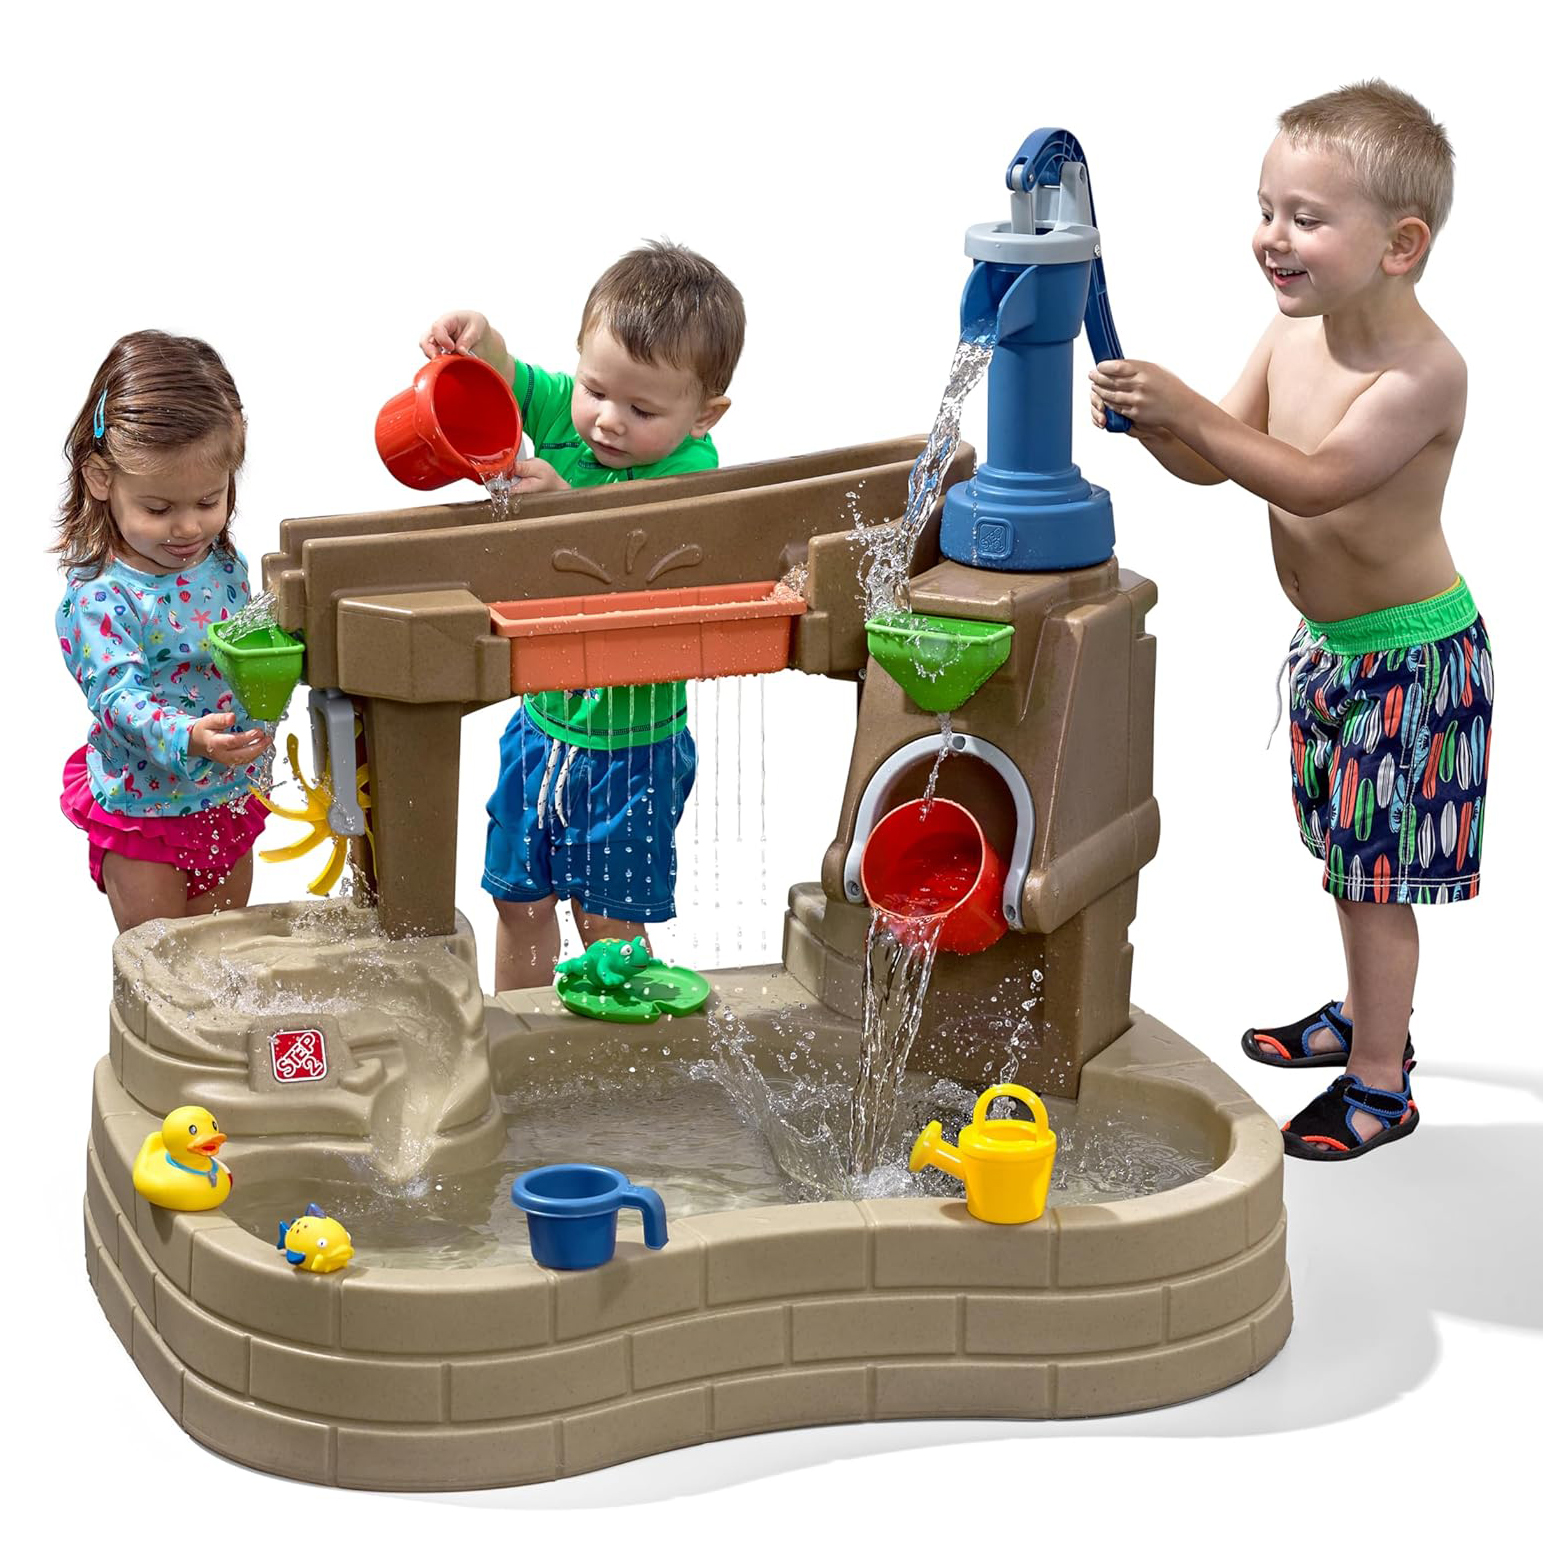
    gross motor skills water play

    Water Play

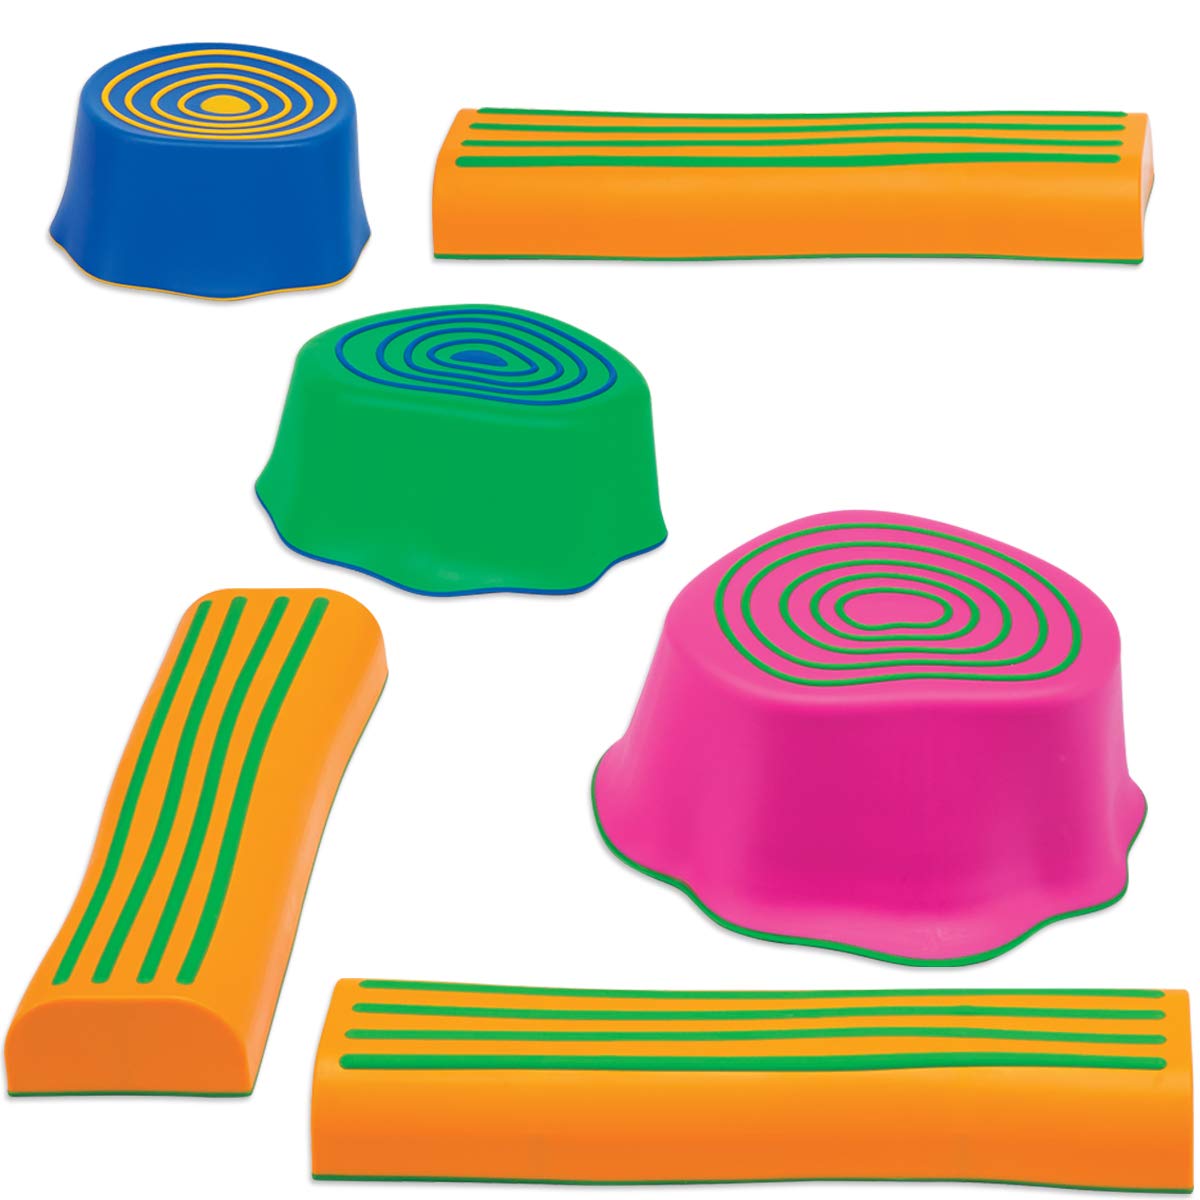
    gross motor skills stepping stone and beam

    Balance Beam and Stepping Stones

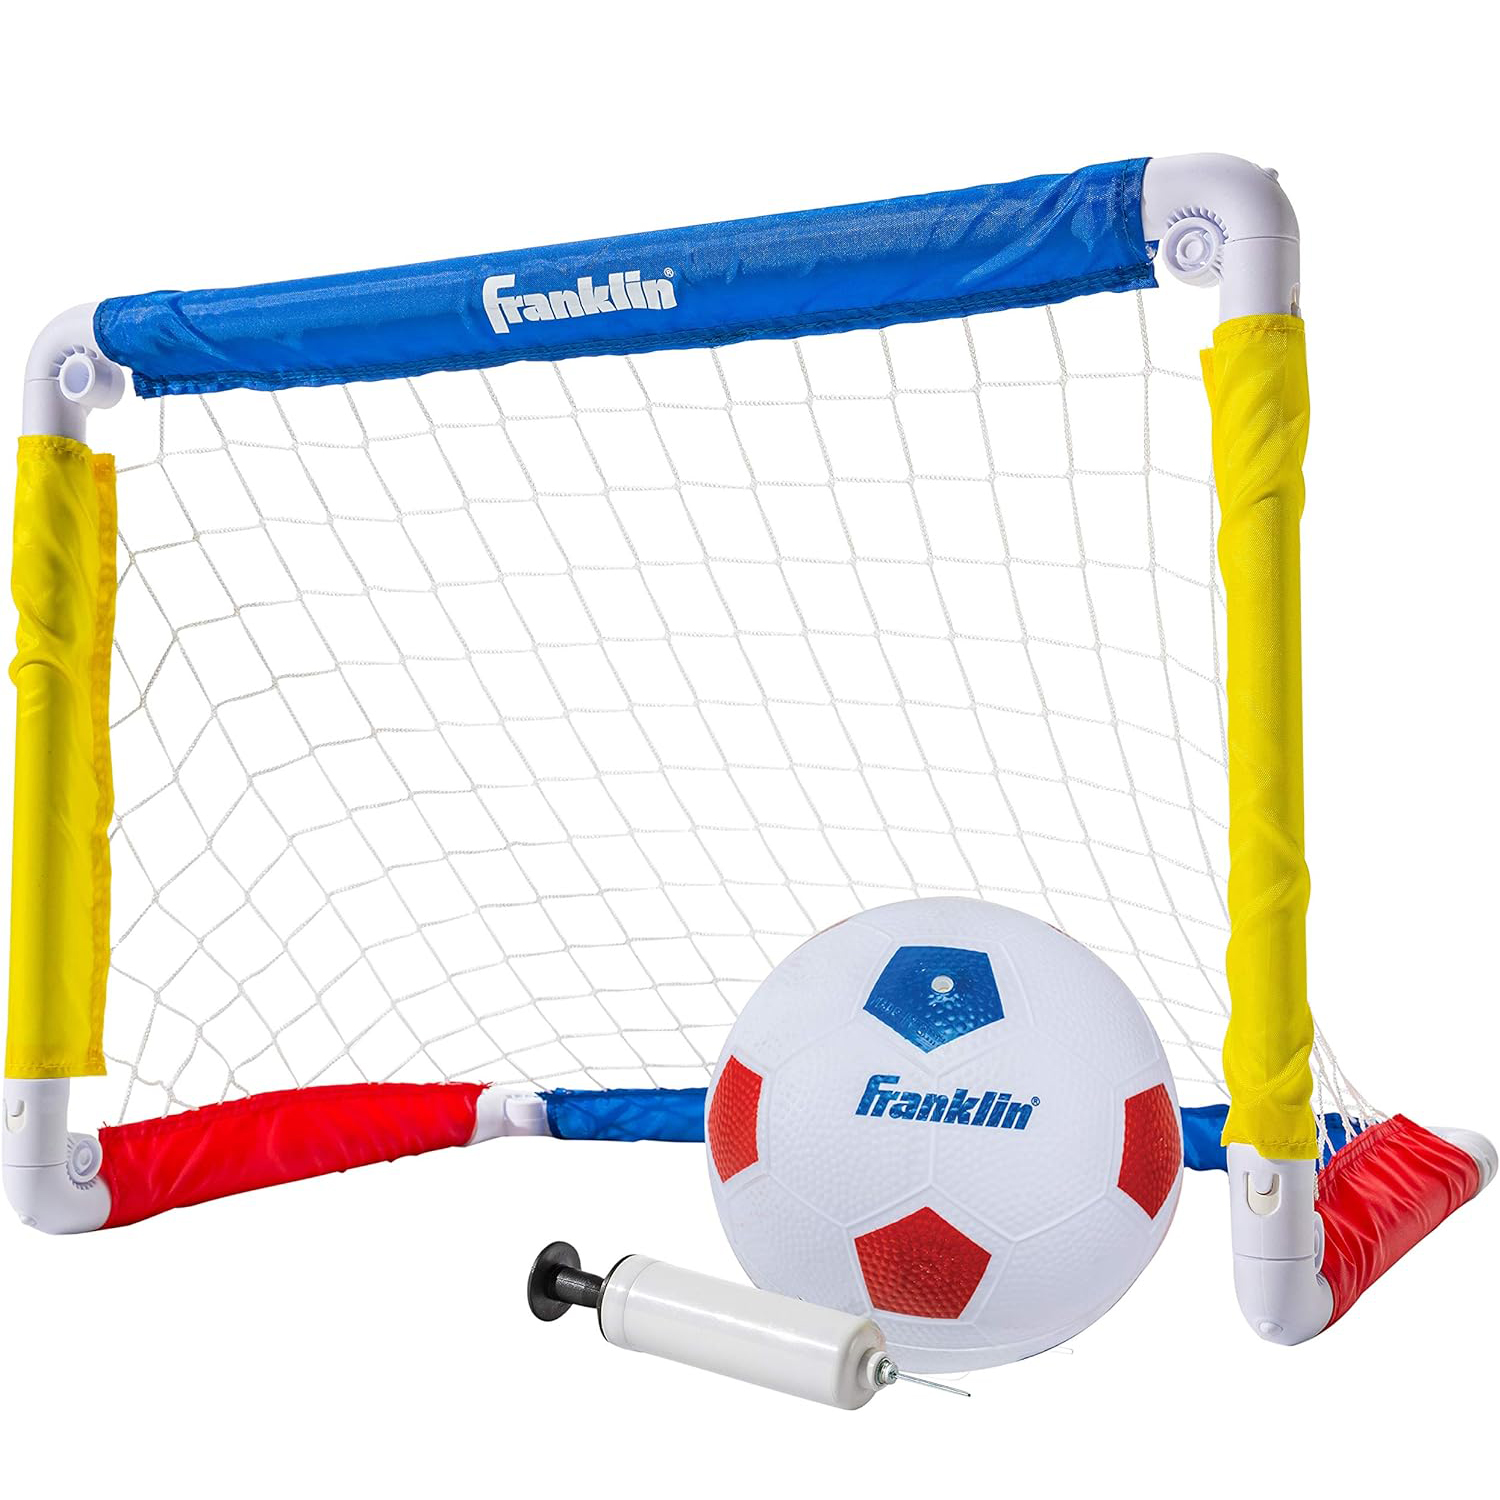
    gross motor skills soccer

    Soccer Ball and Goal

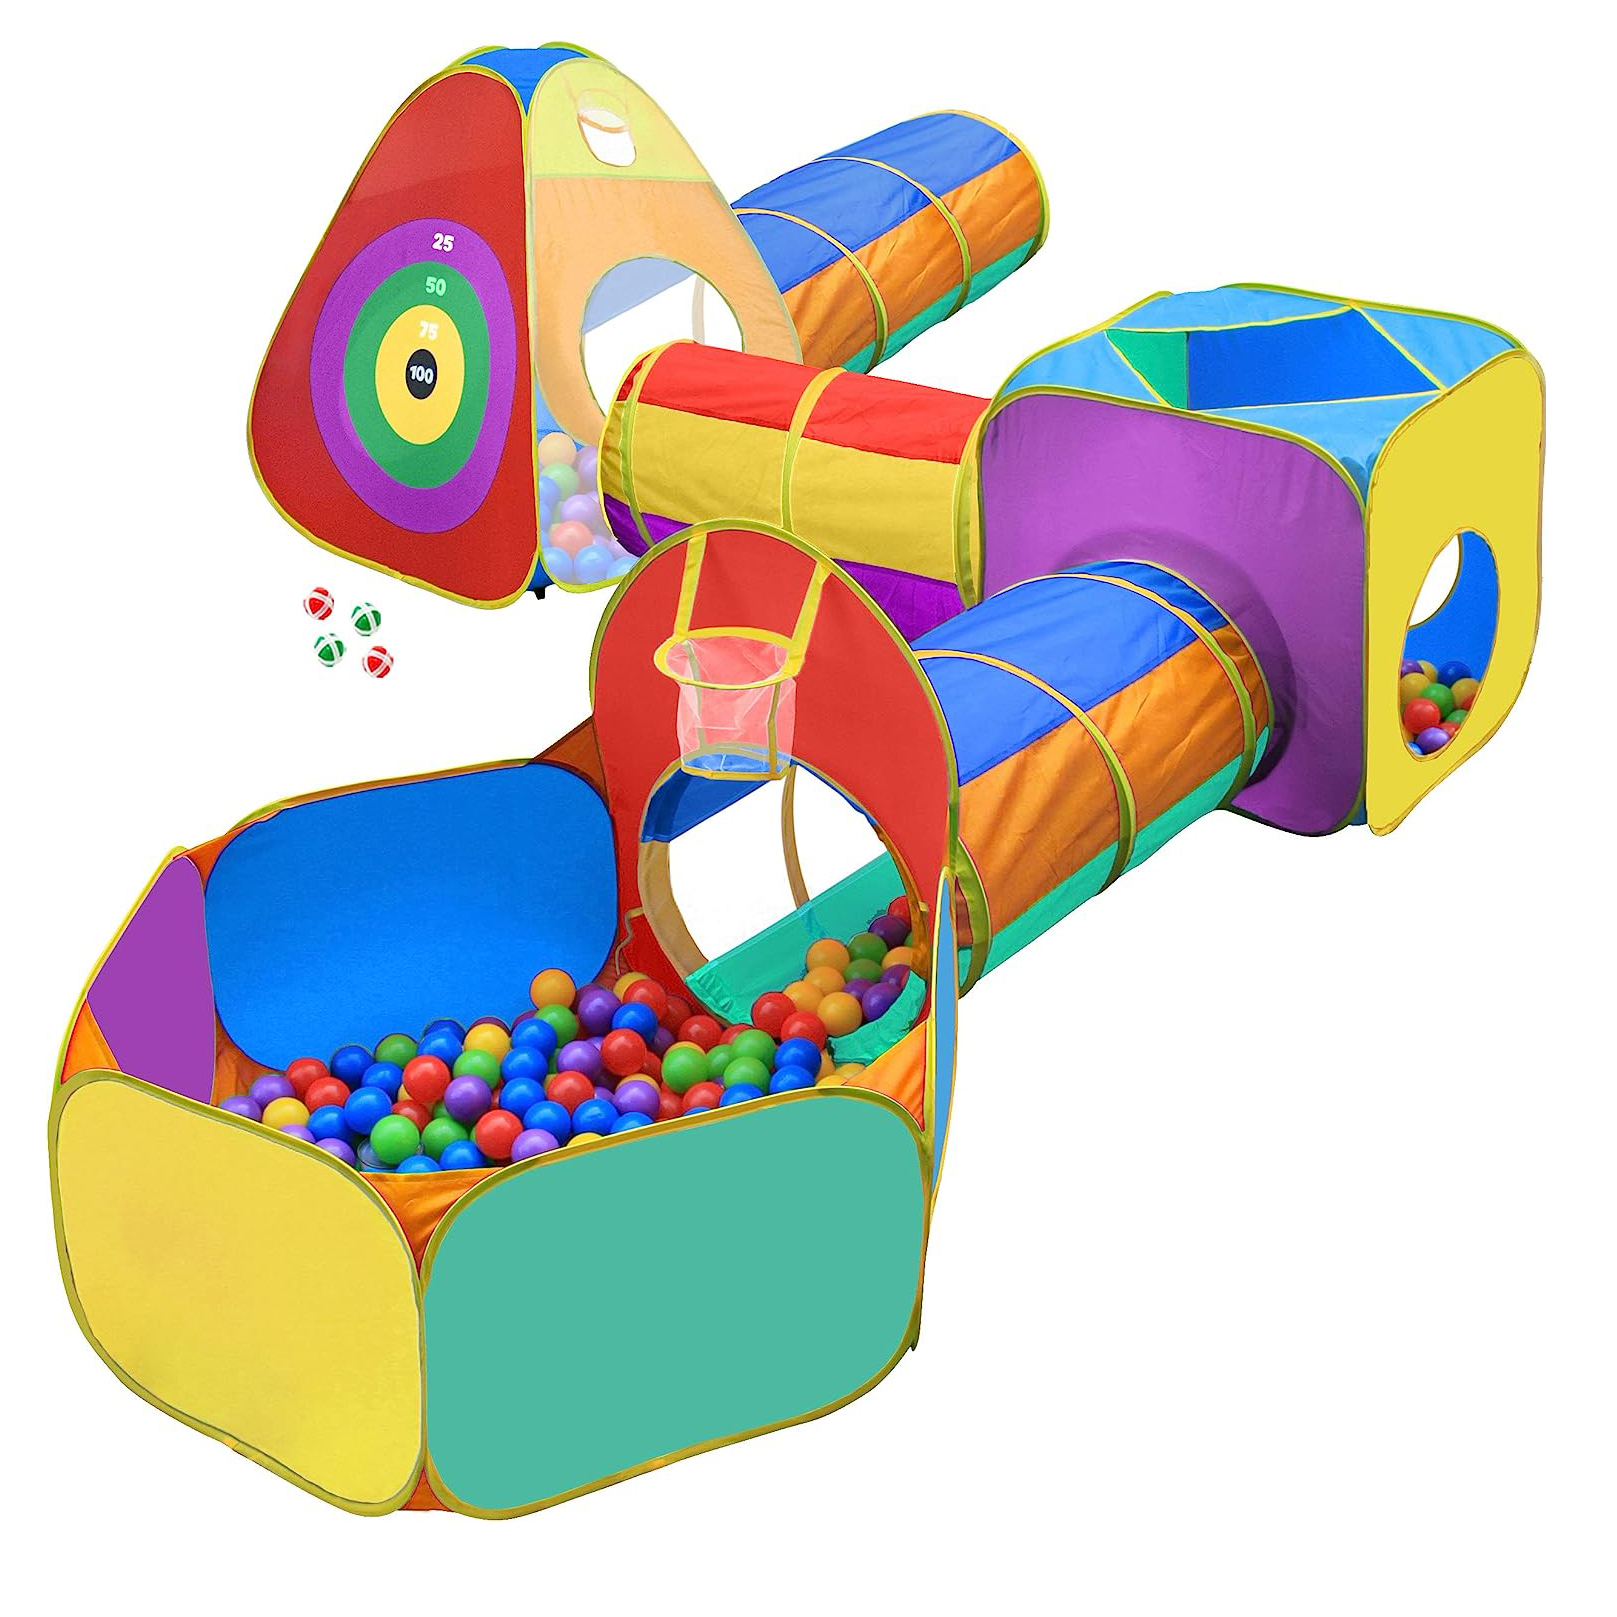
    gross motor skills tunnel

    Tunnels

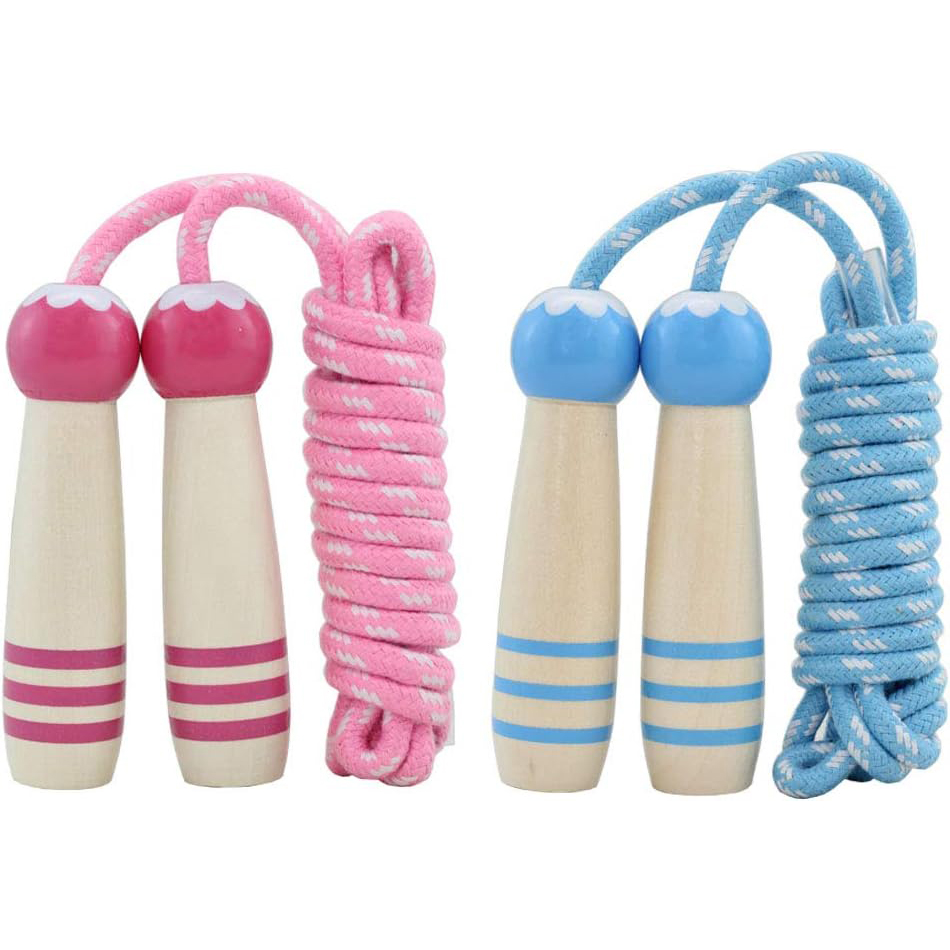
    gross motor skills jump rope

    Jump Rope

    edible play dough

    Conclusion: Fostering Gross Motor Skill Development in Preschoolers

    Encouraging the development of gross motor skills in preschoolers is vital for their overall physical, cognitive, and social growth. Through a combination of engaging activities, appropriate equipment, and supportive environments, parents can provide valuable opportunities for their children to explore and strengthen these essential skills. Whether it’s jumping, climbing, balancing, or pedaling, each activity offers unique benefits, from enhancing muscle strength and coordination to promoting creativity and social interaction.

    Incorporating gross motor activities into daily routines, such as including them in chores, errands, and outings, seamlessly integrates physical development into everyday life, further reinforcing these skills. While challenges or delays in gross motor skill development may arise, it’s important for parents to stay vigilant and seek professional assessment or intervention if concerns persist. By fostering a nurturing environment that prioritizes physical activity and exploration, parents can empower their preschoolers to thrive and reach their full potential in all areas of development.

    What’s Next?

    How to Make Edible Play Dough with 12 Easy Recipes!

    How to Make Edible Play Dough with 12 Easy Recipes!

    How to Make Edible Play Dough with 12 Easy Recipes!

    edible play dough

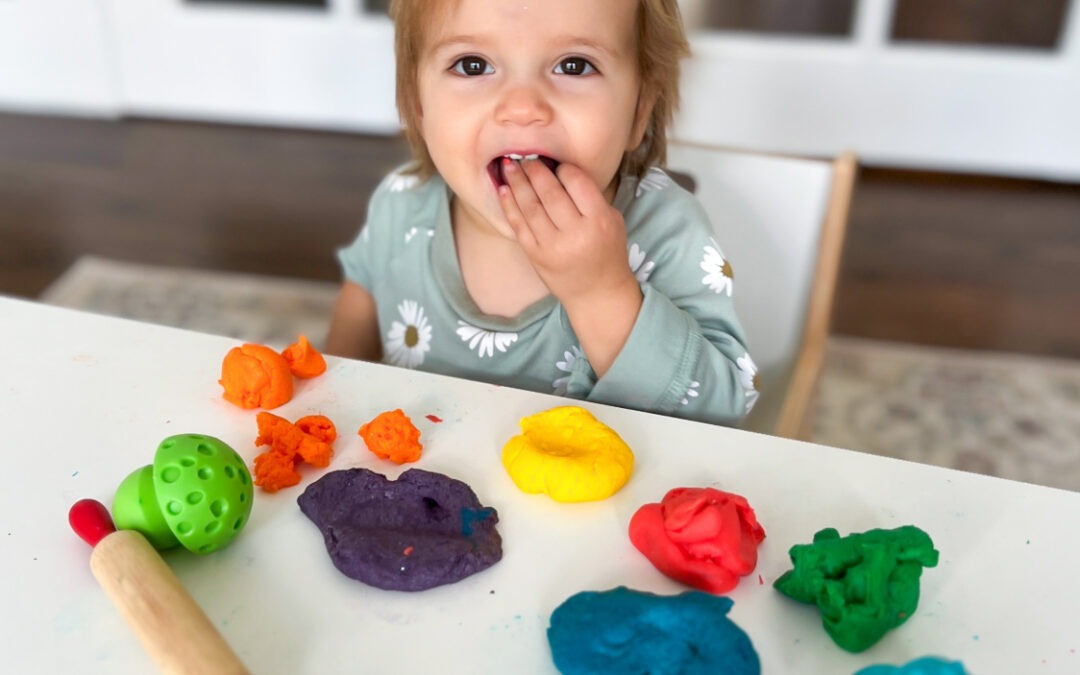
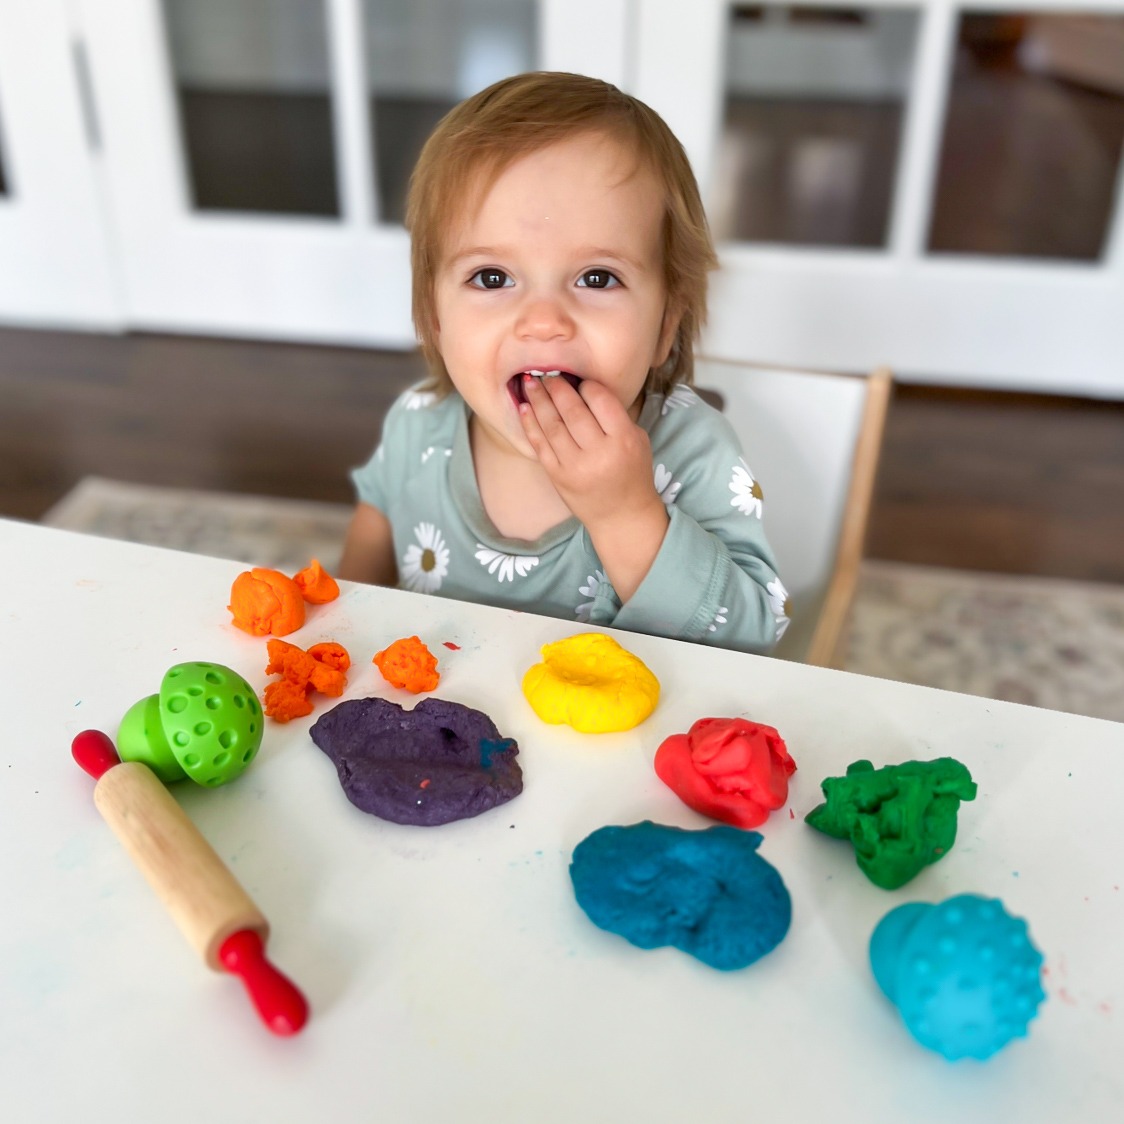
    Discover 12 edible play dough recipes! Perfect for little ones who love putting everything in their mouths!

    Edible Play Dough Fun for Babies and Toddlers

    Are you constantly on the lookout for safe and engaging activities to entertain your little ones, who seem to have an insatiable curiosity for putting everything in their mouths? Look no further! We understand the daily struggle of keeping curious hands and mouths occupied without compromising on safety. That’s why we’ve compiled a collection of edible play dough recipes specifically designed for our youngest sensory lovers. These creations not only offer endless sensory stimulation but also provide a worry-free playtime experience for babies and toddlers alike.

    As an Amazon Associate, I earn from qualifying purchases. This post may contain affiliate links.

    12 Edible Play Dough Recipes

    Explore an array of sensory-safe play dough options with our collection of 12 creative edible play dough recipes, perfect for hands-on exploration and imaginative play.

    edible play dough pudding mix

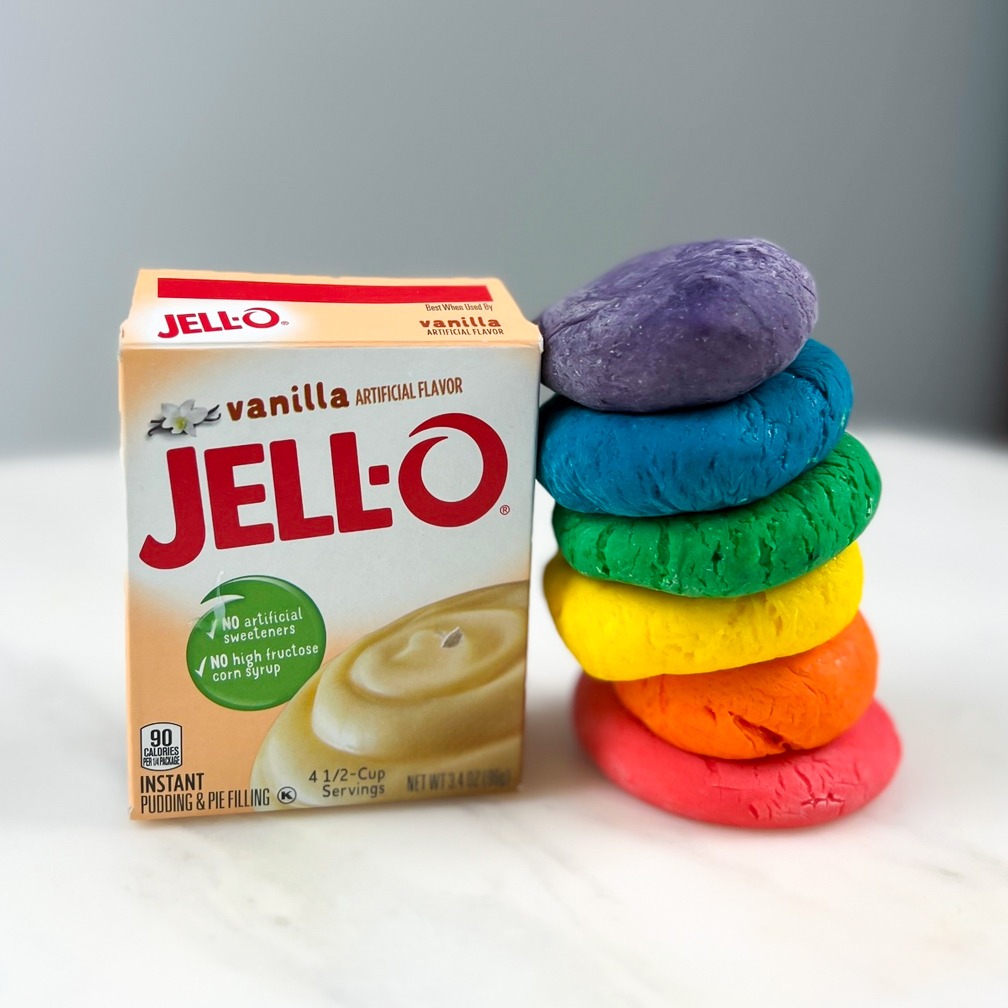
    PUDDING PLAY DOUGH RECIPE

    Mix together until smooth:

    • 1 cup cornstarch
    • 1 (3.4 oz) package instant pudding mix
    • 1/2 cup powdered sugar
    • 3/4 cup water
    • 2 tablespoons vegetable oil

    peanut butter play dough

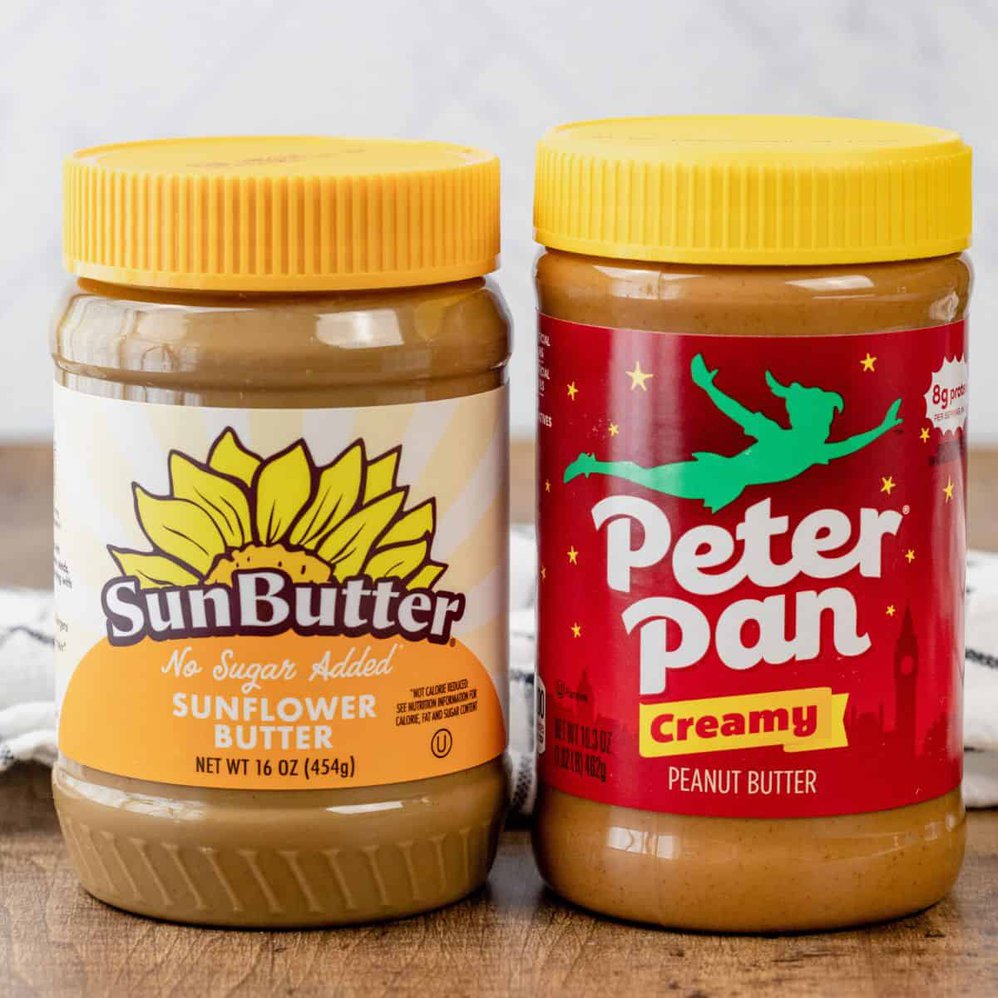
    PEANUT BUTTER PLAY DOUGH RECIPE

    Mix together until smooth:

    • 1 cup creamy nut or seed butter
    • 1 cup powdered sugar
    • 1 cup honey 
    • 1 cup powdered milk (optional, for a smoother texture)

    If the dough is too sticky, add more powdered sugar.

    chocolate play dough

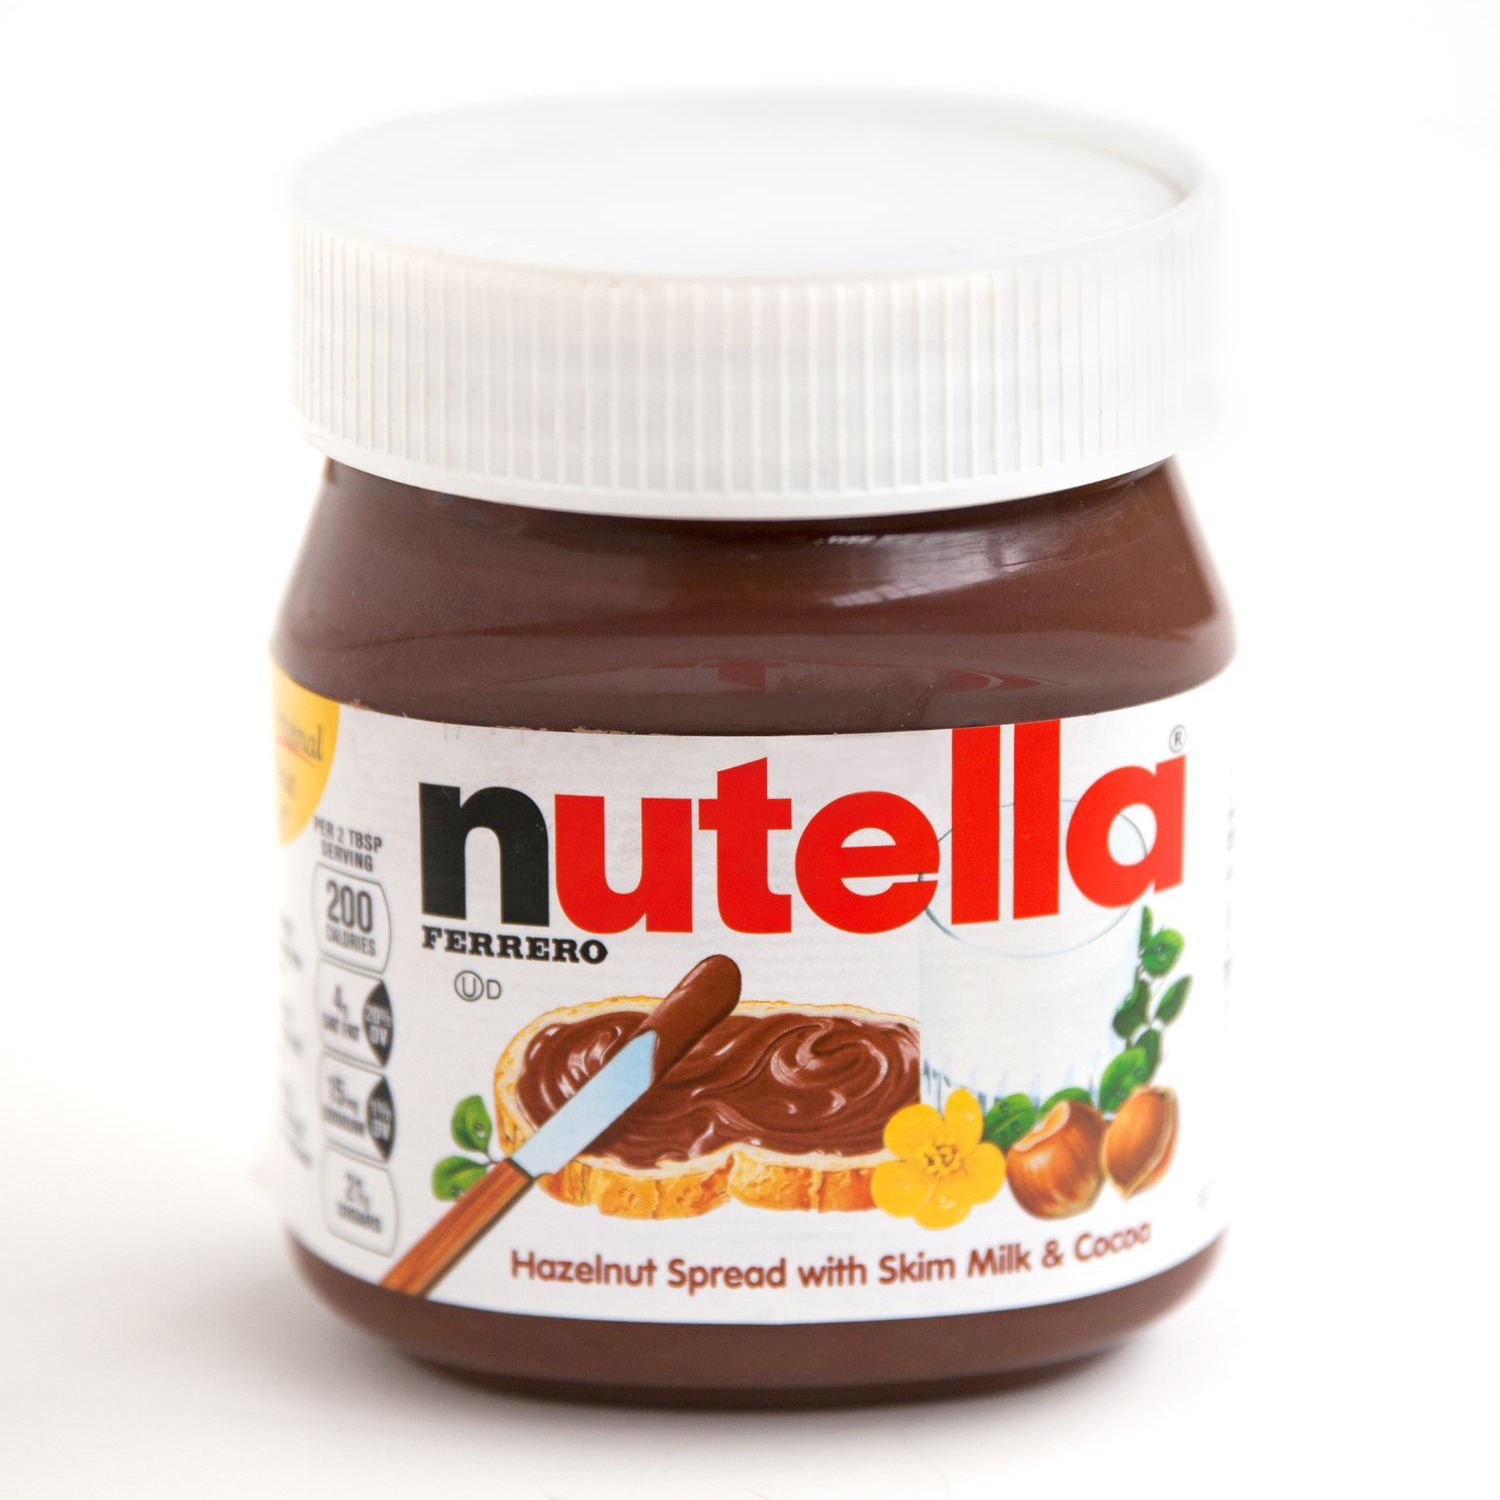
    CHOCOLATE PLAY DOUGH RECIPE

    Mix together until smooth:

    • 1 cup Nutella or chocolate hazelnut spread (heated for 30 seconds)
    • 2 cups powdered sugar
    • 1/4 cup cocoa powder
    • 1 tablespoon vegetable oil
    marshmallow play dough

    MARSHMALLOW PLAY DOUGH RECIPE

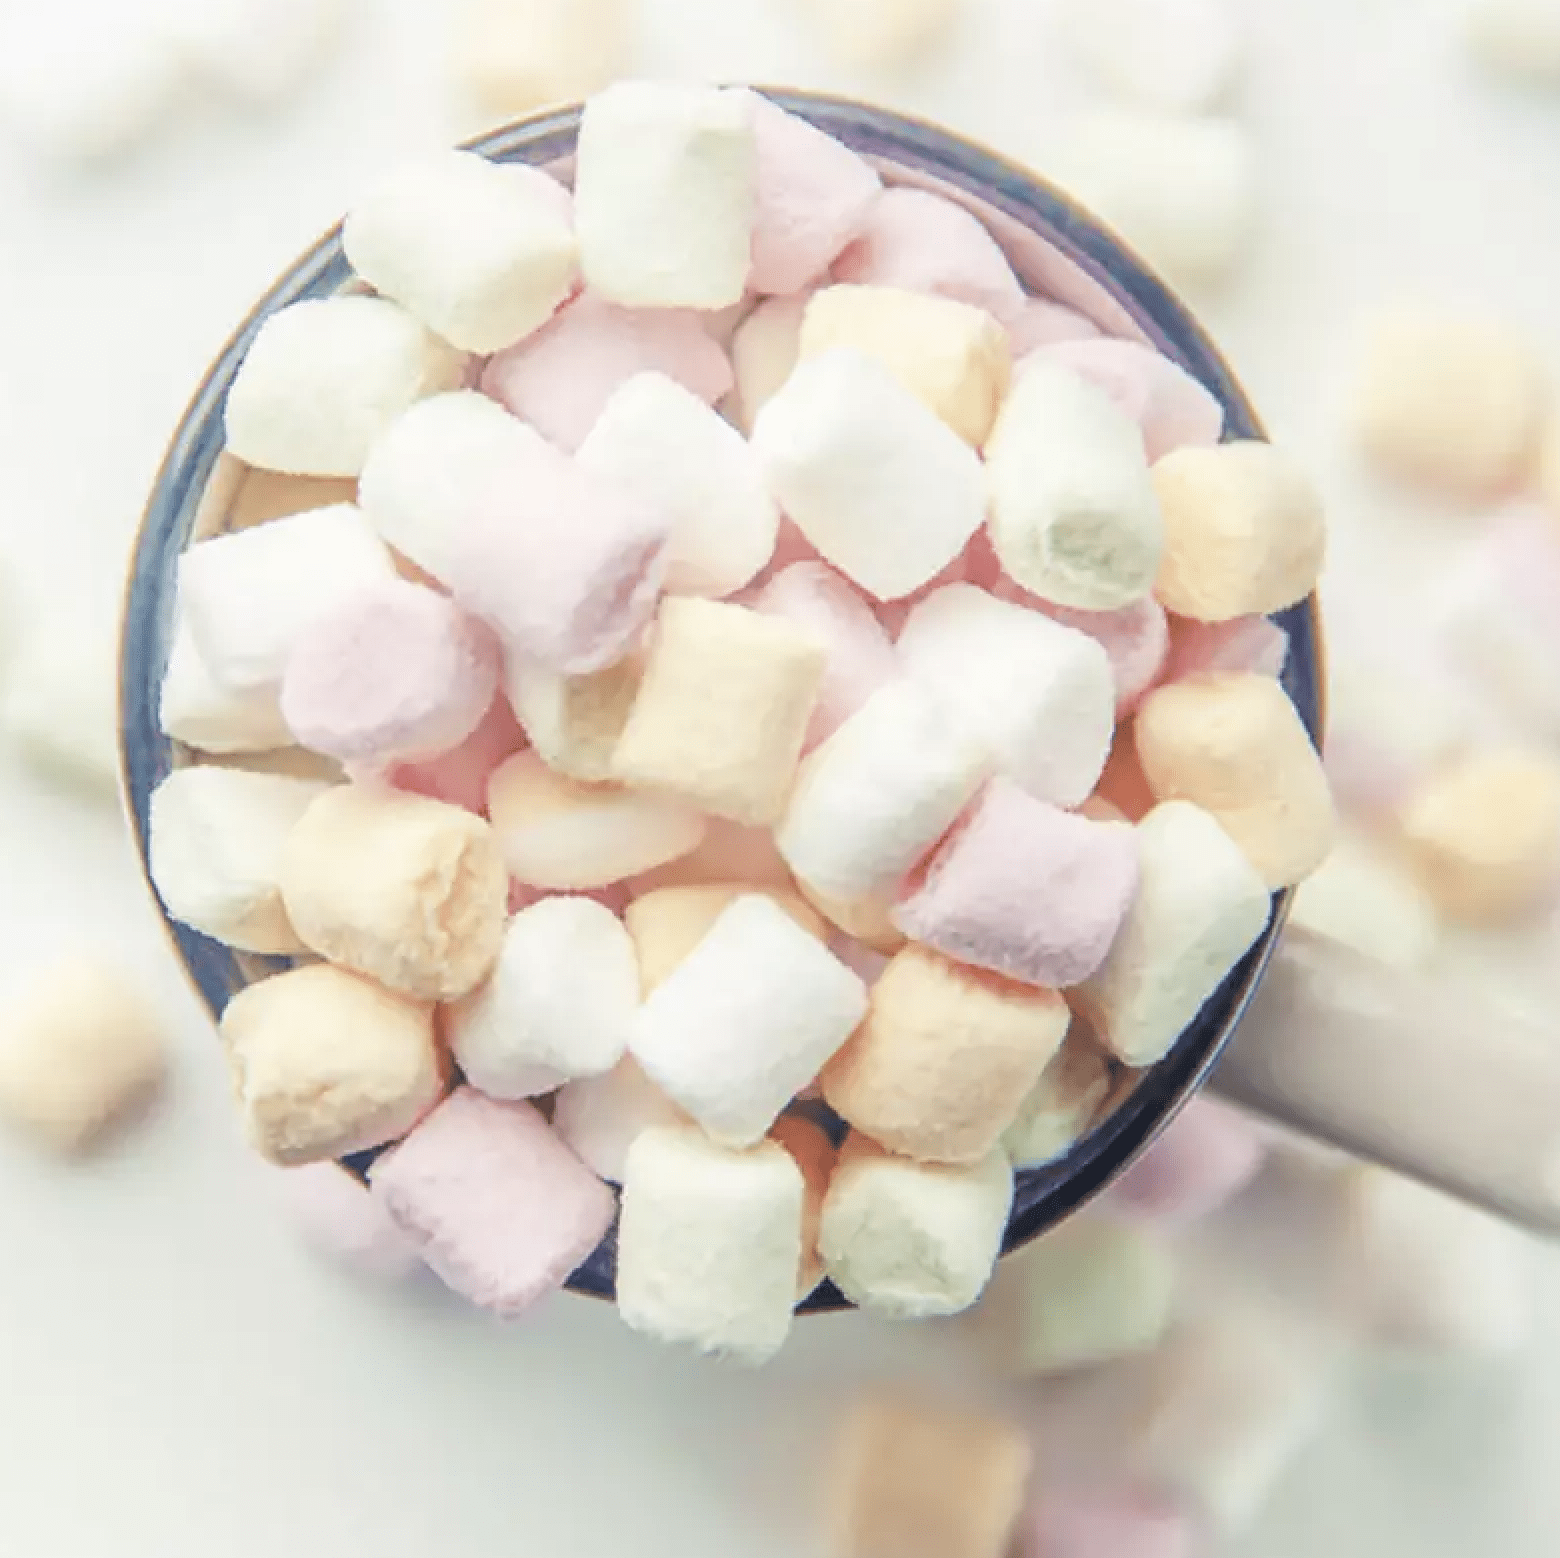
    • In a microwave-safe bowl, heat 3 cups marshmallows and 2-3 tablespoons coconut oil (or butter) in 30-second intervals, stirring in between, until melted and smooth.
    • Mix in 3 cups powdered sugar and food coloring (optional)
    coconut oil play dough

    COCONUT OIL PLAY DOUGH RECIPE

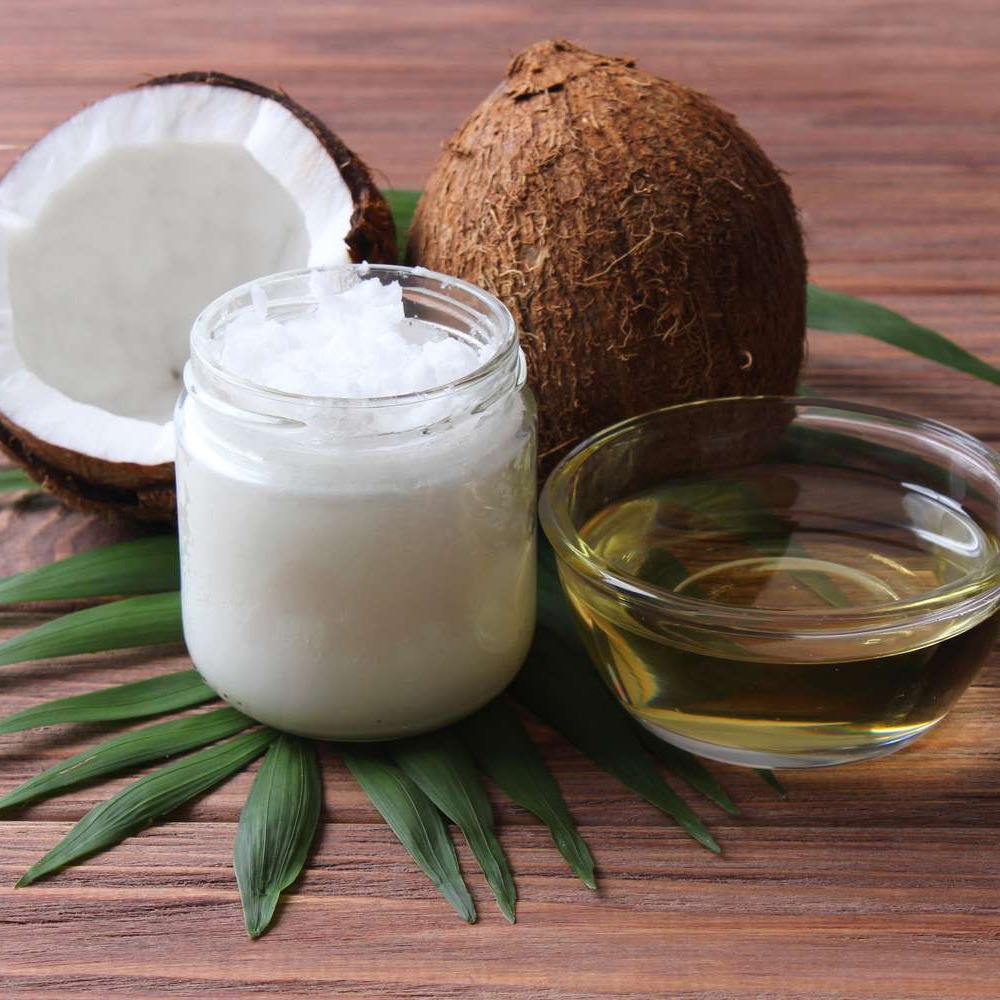
    • In a microwave safe bowl, melt 1 cup coconut oil until it becomes liquid.
    • Gradually add 2 cups cornstarch.
    • Add food coloring if you’d like!
    cake mix play dough

    CAKE MIX PLAY DOUGH RECIPE

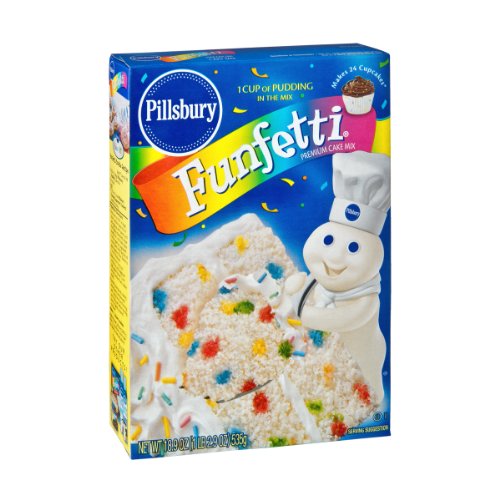
    • In a mixing bowl, combine the 1 box (15.25 oz) cake mix and 1 cup powdered sugar.
    • Gradually add 1/4 cup vegetable oil.
    • Slowly add water as need until the dough forms and is no longer sticky.

    frosting play dough

    FROSTING PLAY DOUGH RECIPE

    Mix together until smooth:

    • 2 cups powdered sugar
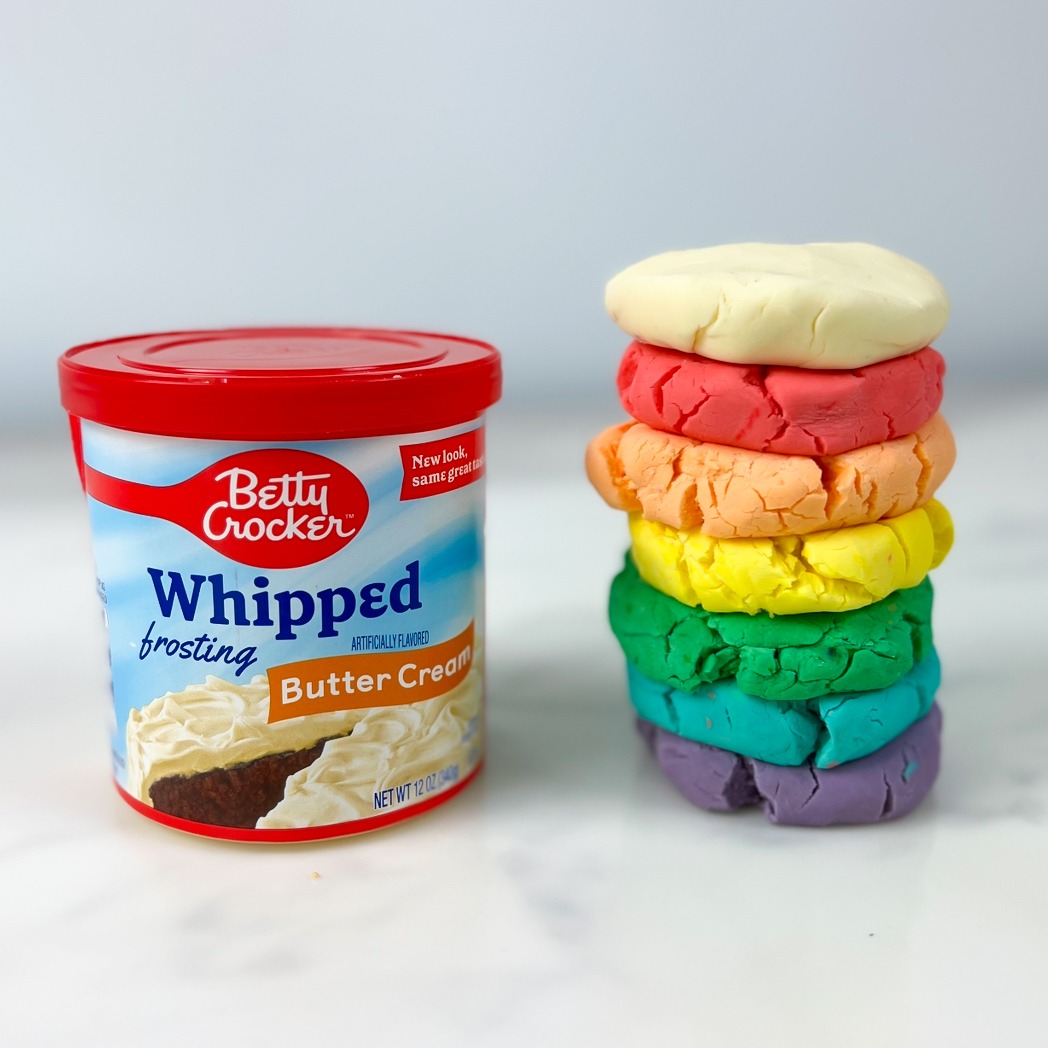
    • 1/2 cup creamy frosting (any flavor)
    • 2 tablespoons cornstarch
    • Food coloring (optional)

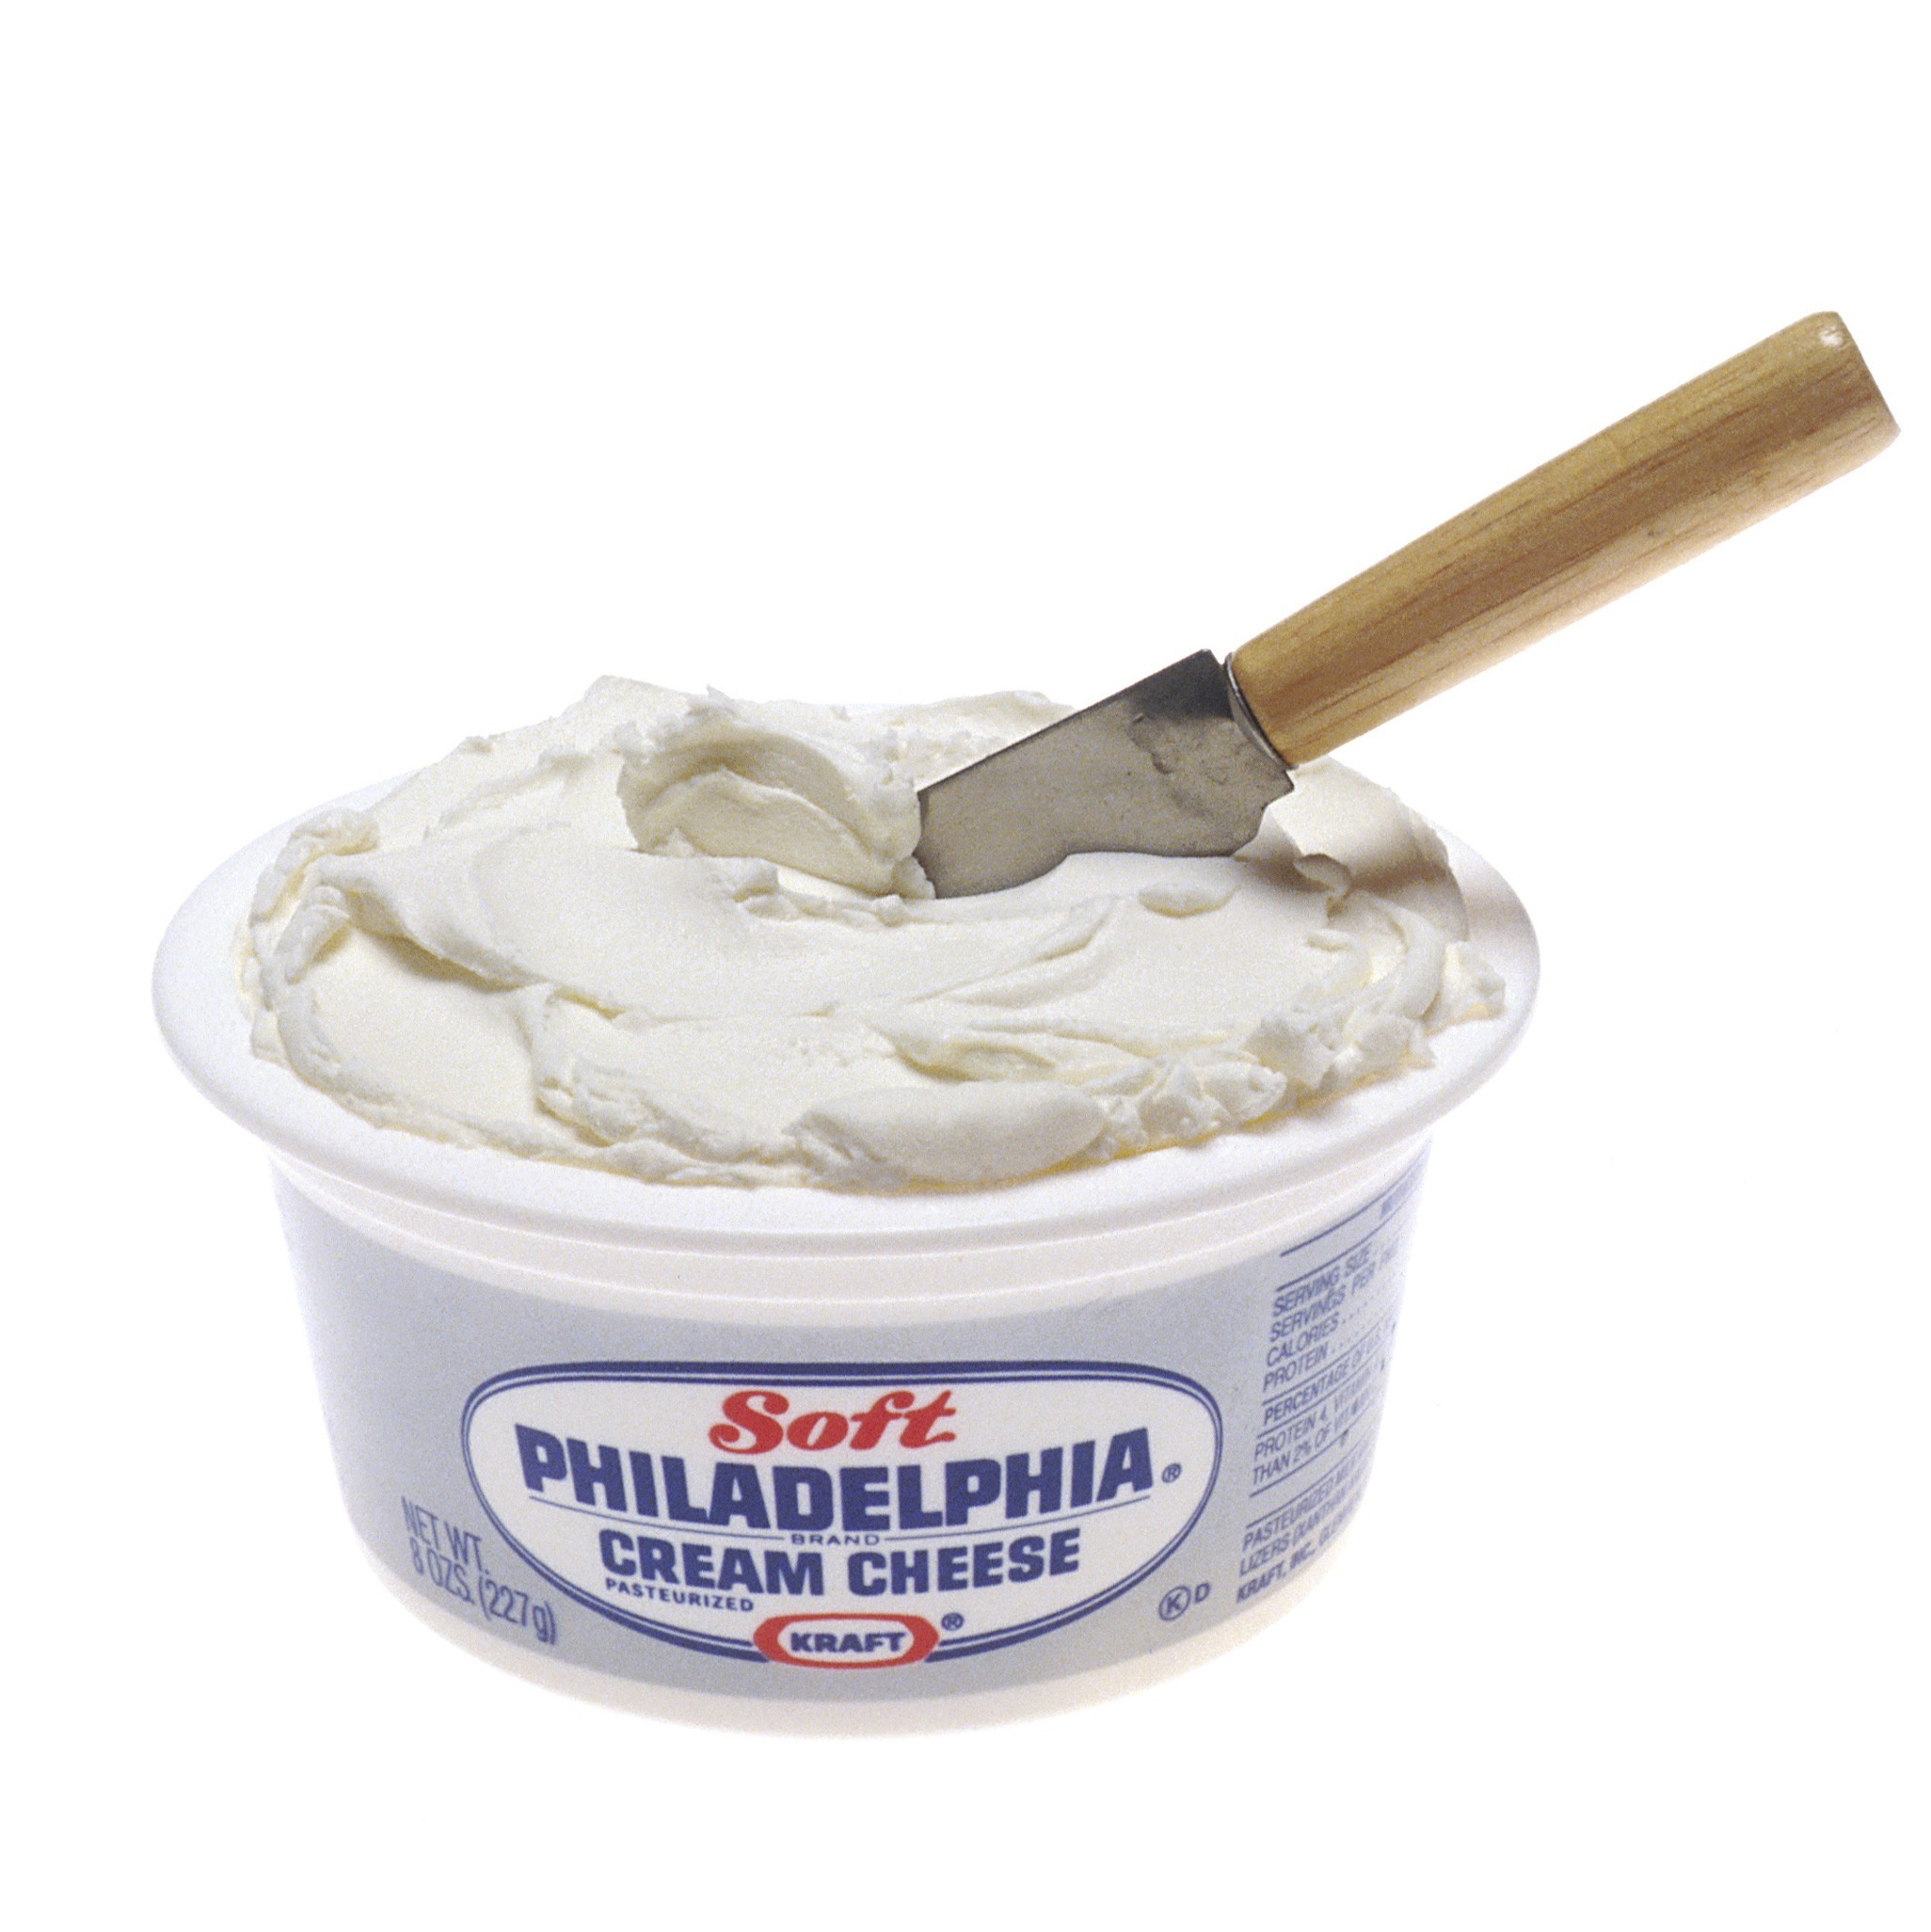
    cream cheese play dough

    CREAM CHEESE PLAY DOUGH RECIPE

    Mix together until smooth:

    • 1 (8 oz) package cream cheese, softened
    • 1 cup powdered sugar
    • 2 cups powdered milk

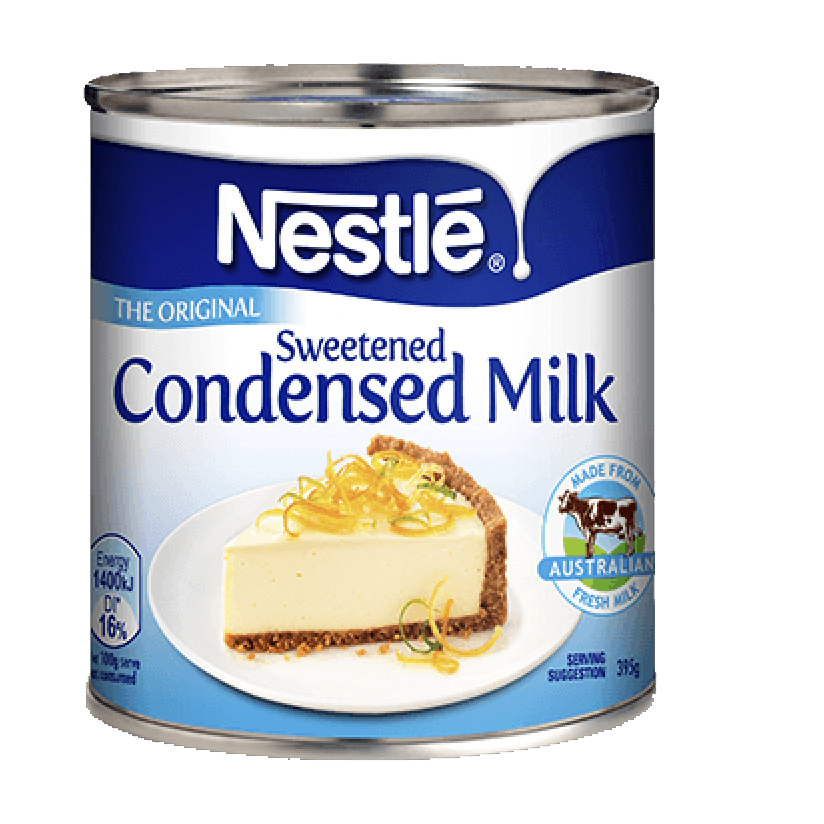
    condensed milk play dough

    CONDENSED MILK PLAY DOUGH RECIPE

    Mix together until smooth:

    • 1 cup sweetened condensed milk
    • 2 cups powdered sugar
    • 1/2 cup cornstarch
    • Food coloring (optional)

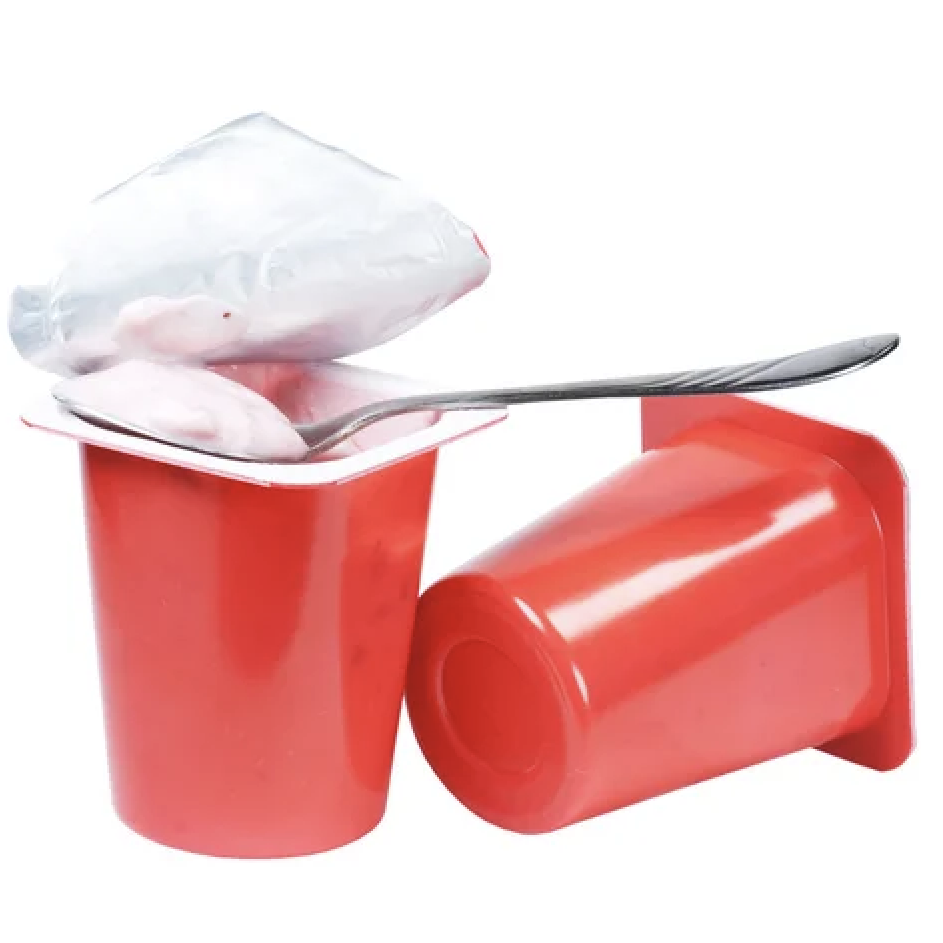
    yogurt play dough

    YOGURT PLAY DOUGH RECIPE

    Mix together until smooth:

    • 1 cup Greek yogurt (any flavor)
    • 2 cups cornstarch
    • Food coloring (optional)

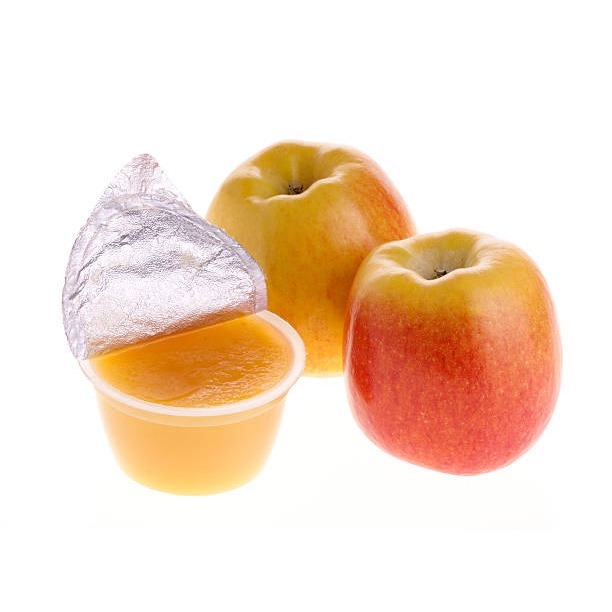
    apple sauce play dough

    APPLE SAUCE PLAY DOUGH RECIPE

    Mix together until smooth:

    • 1 cup applesauce
    • 2 cups cornstarch
    • Cinnamon or pumpkin pie spice (optional, for scent)

      oatmeal play dough

      OATMEAL PLAY DOUGH RECIPE

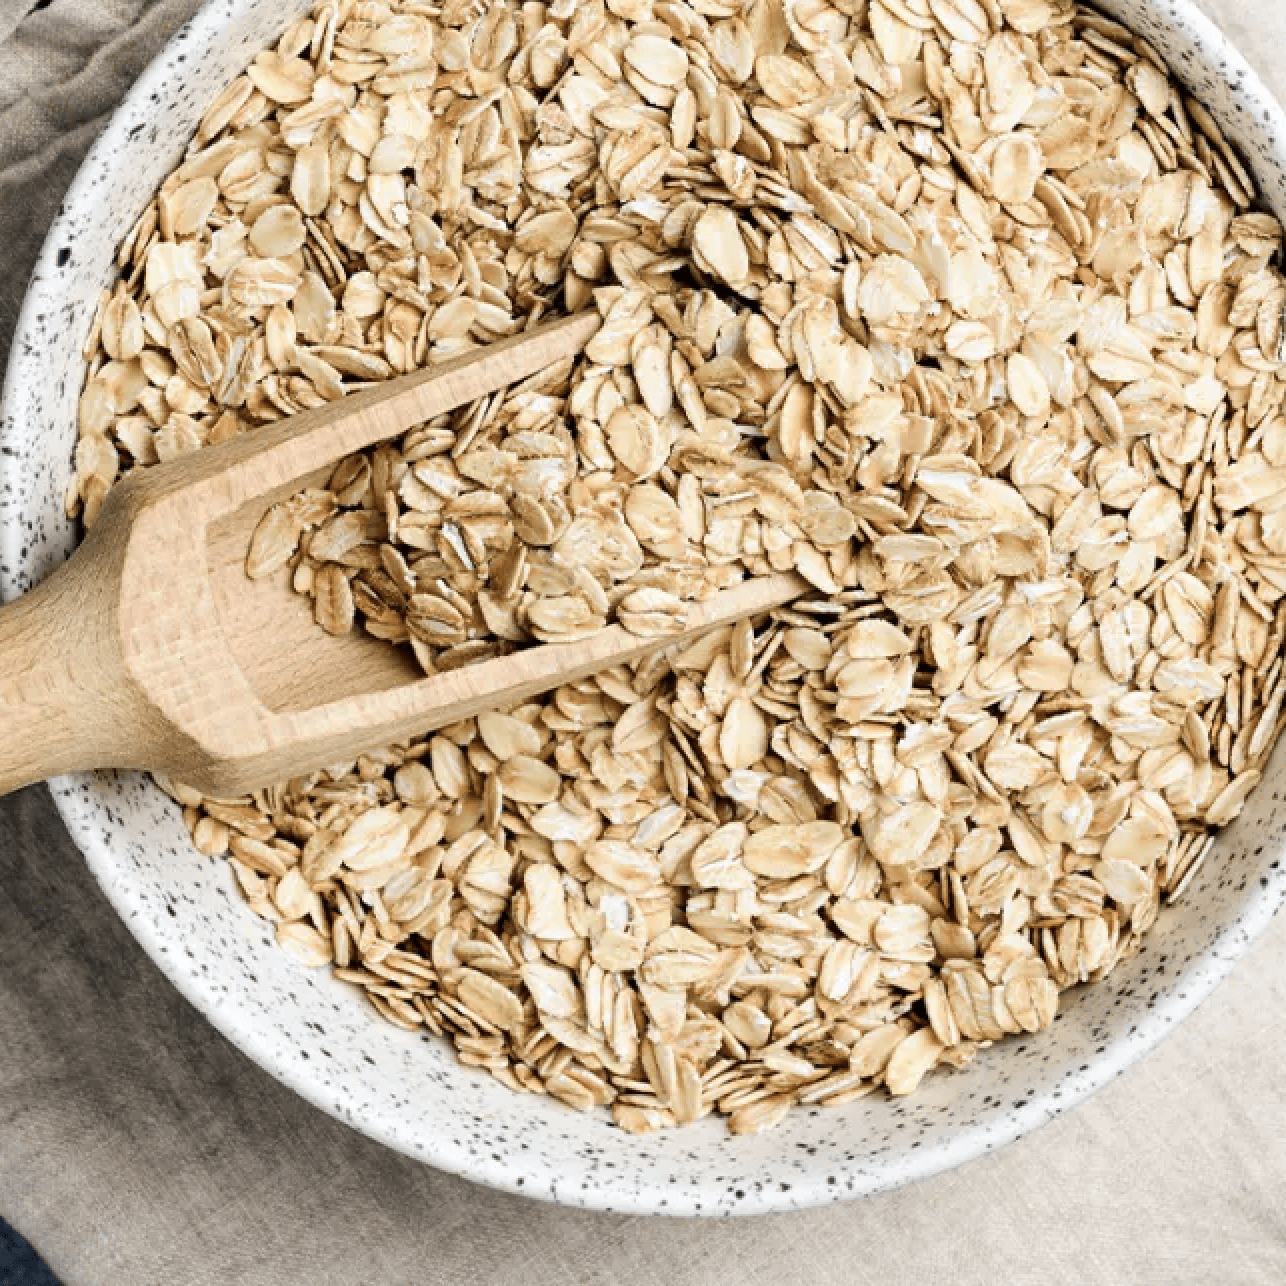
      In a food processor or blender, pulse 1 cups rolled oats until finely ground to a flour-like consistency. And mix it together with:

      • 1/2 cup flour
      • 1/4 cup boiling water
      • 2 tablespoons honey
      • Food coloring (optional)

      8 Ways to Pair with Your Play Dough!

      Discover essential accessories and tools to elevate your edible play dough adventures with our selection of eight versatile products, including tools, mats, and storage solutions.

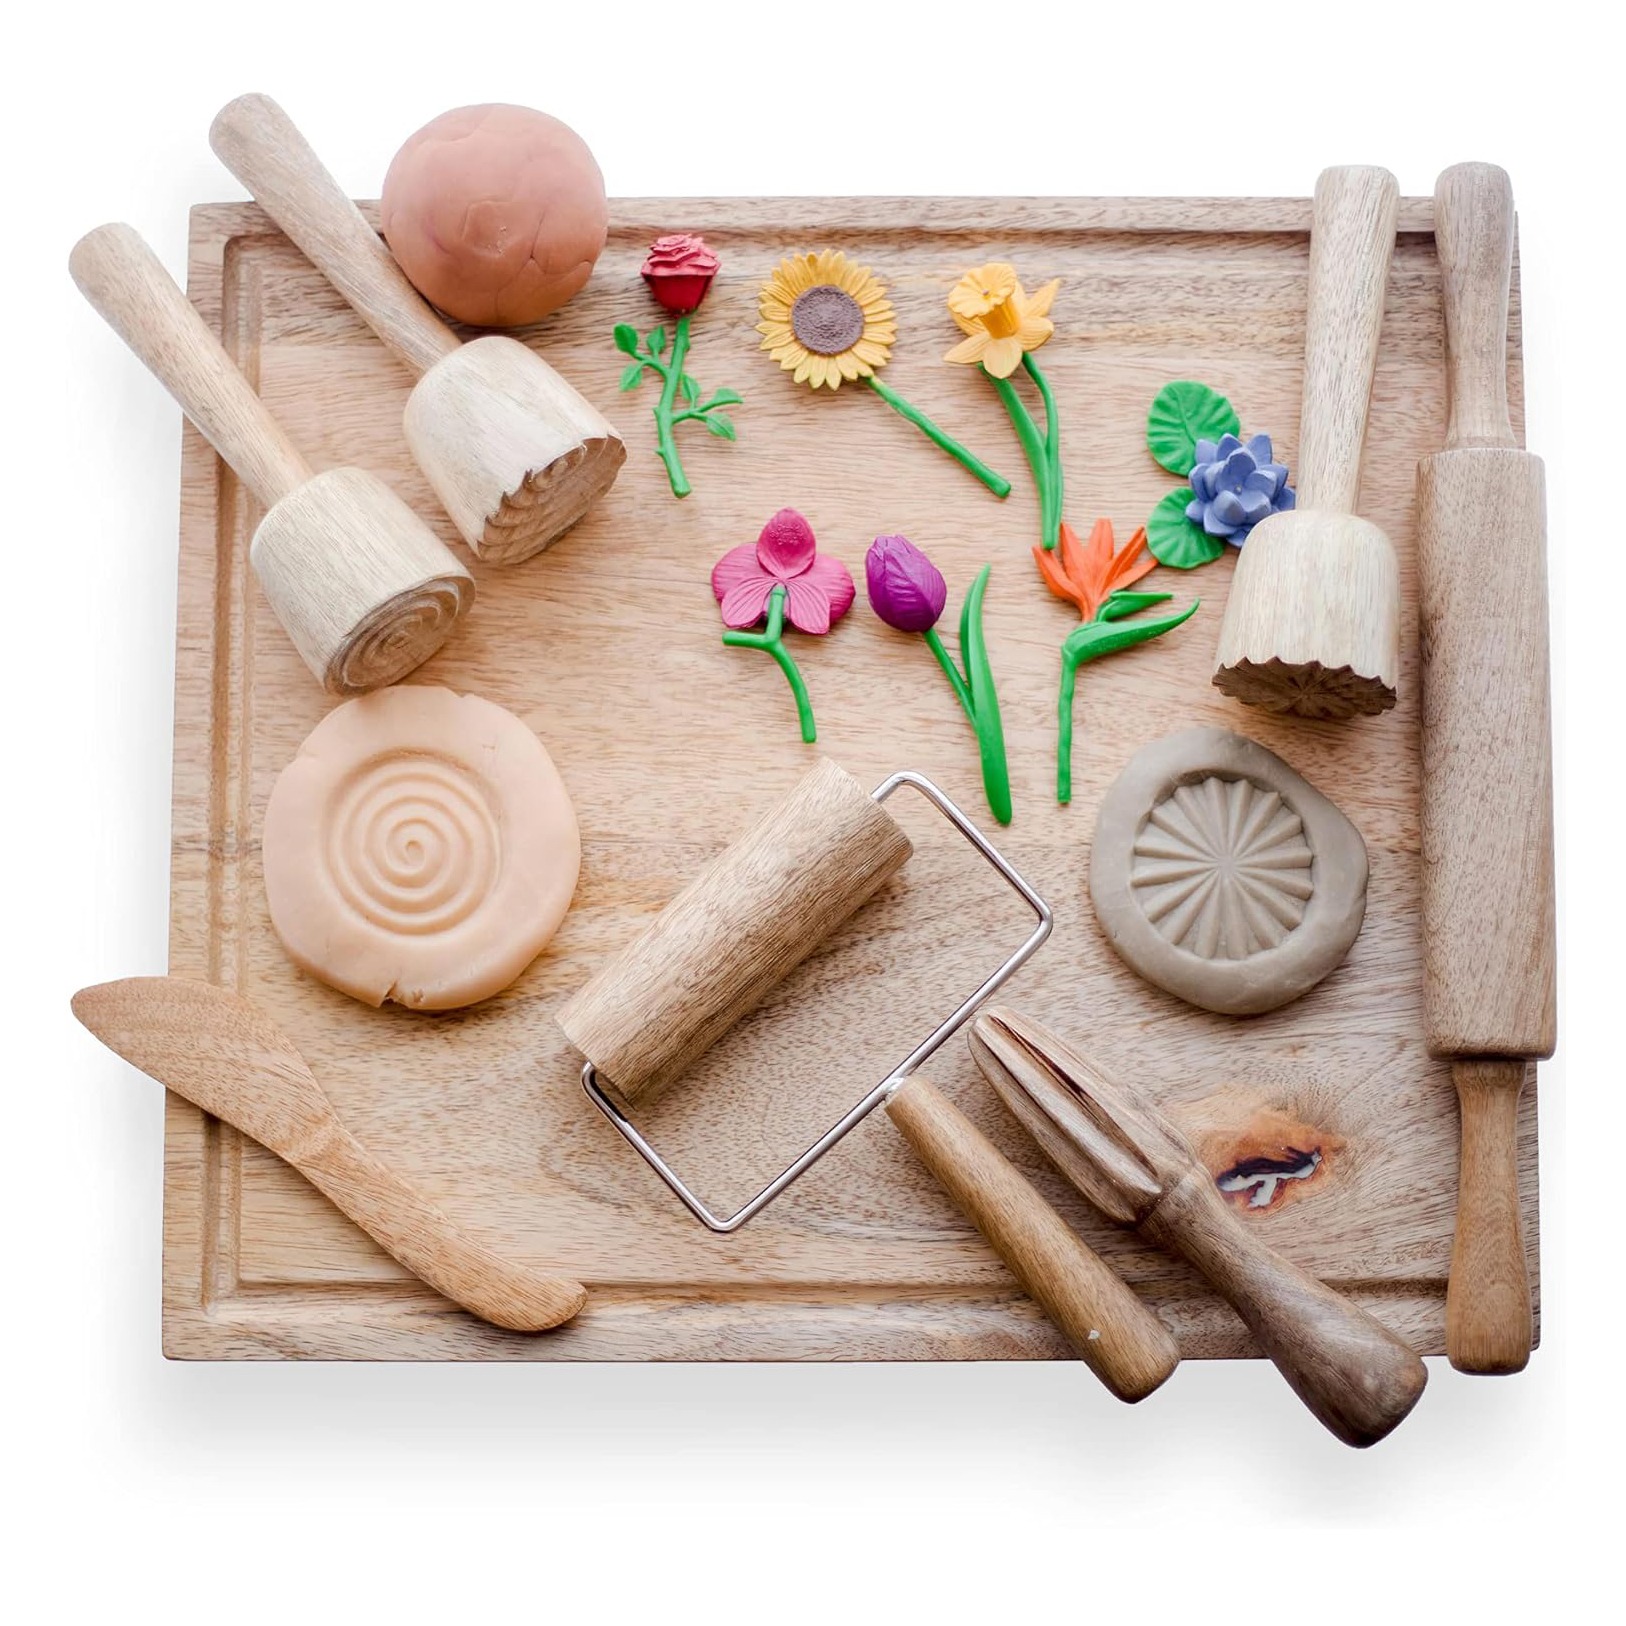
      wooden play dough tool set

      Play Dough Tool Set

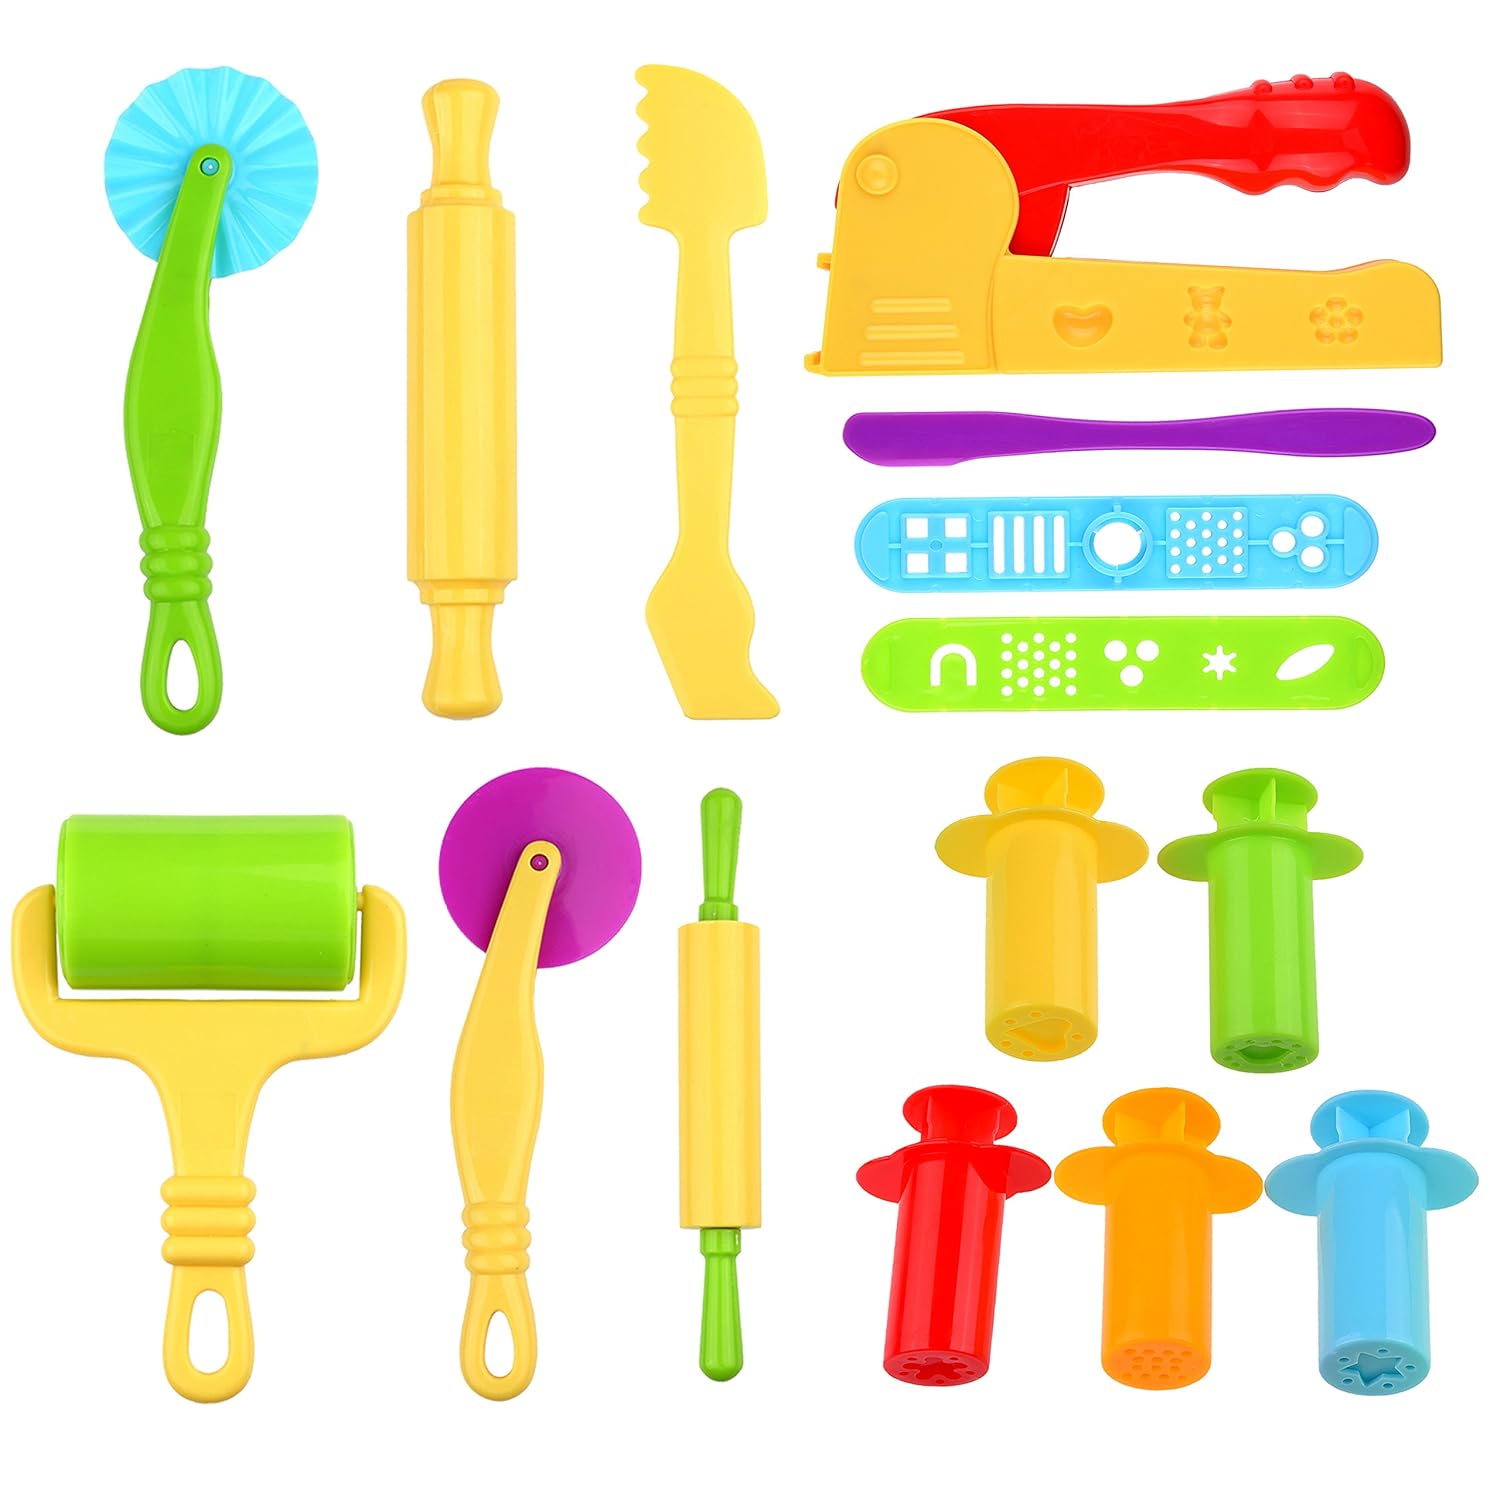
      play dough extruder

      Play Dough Extruders

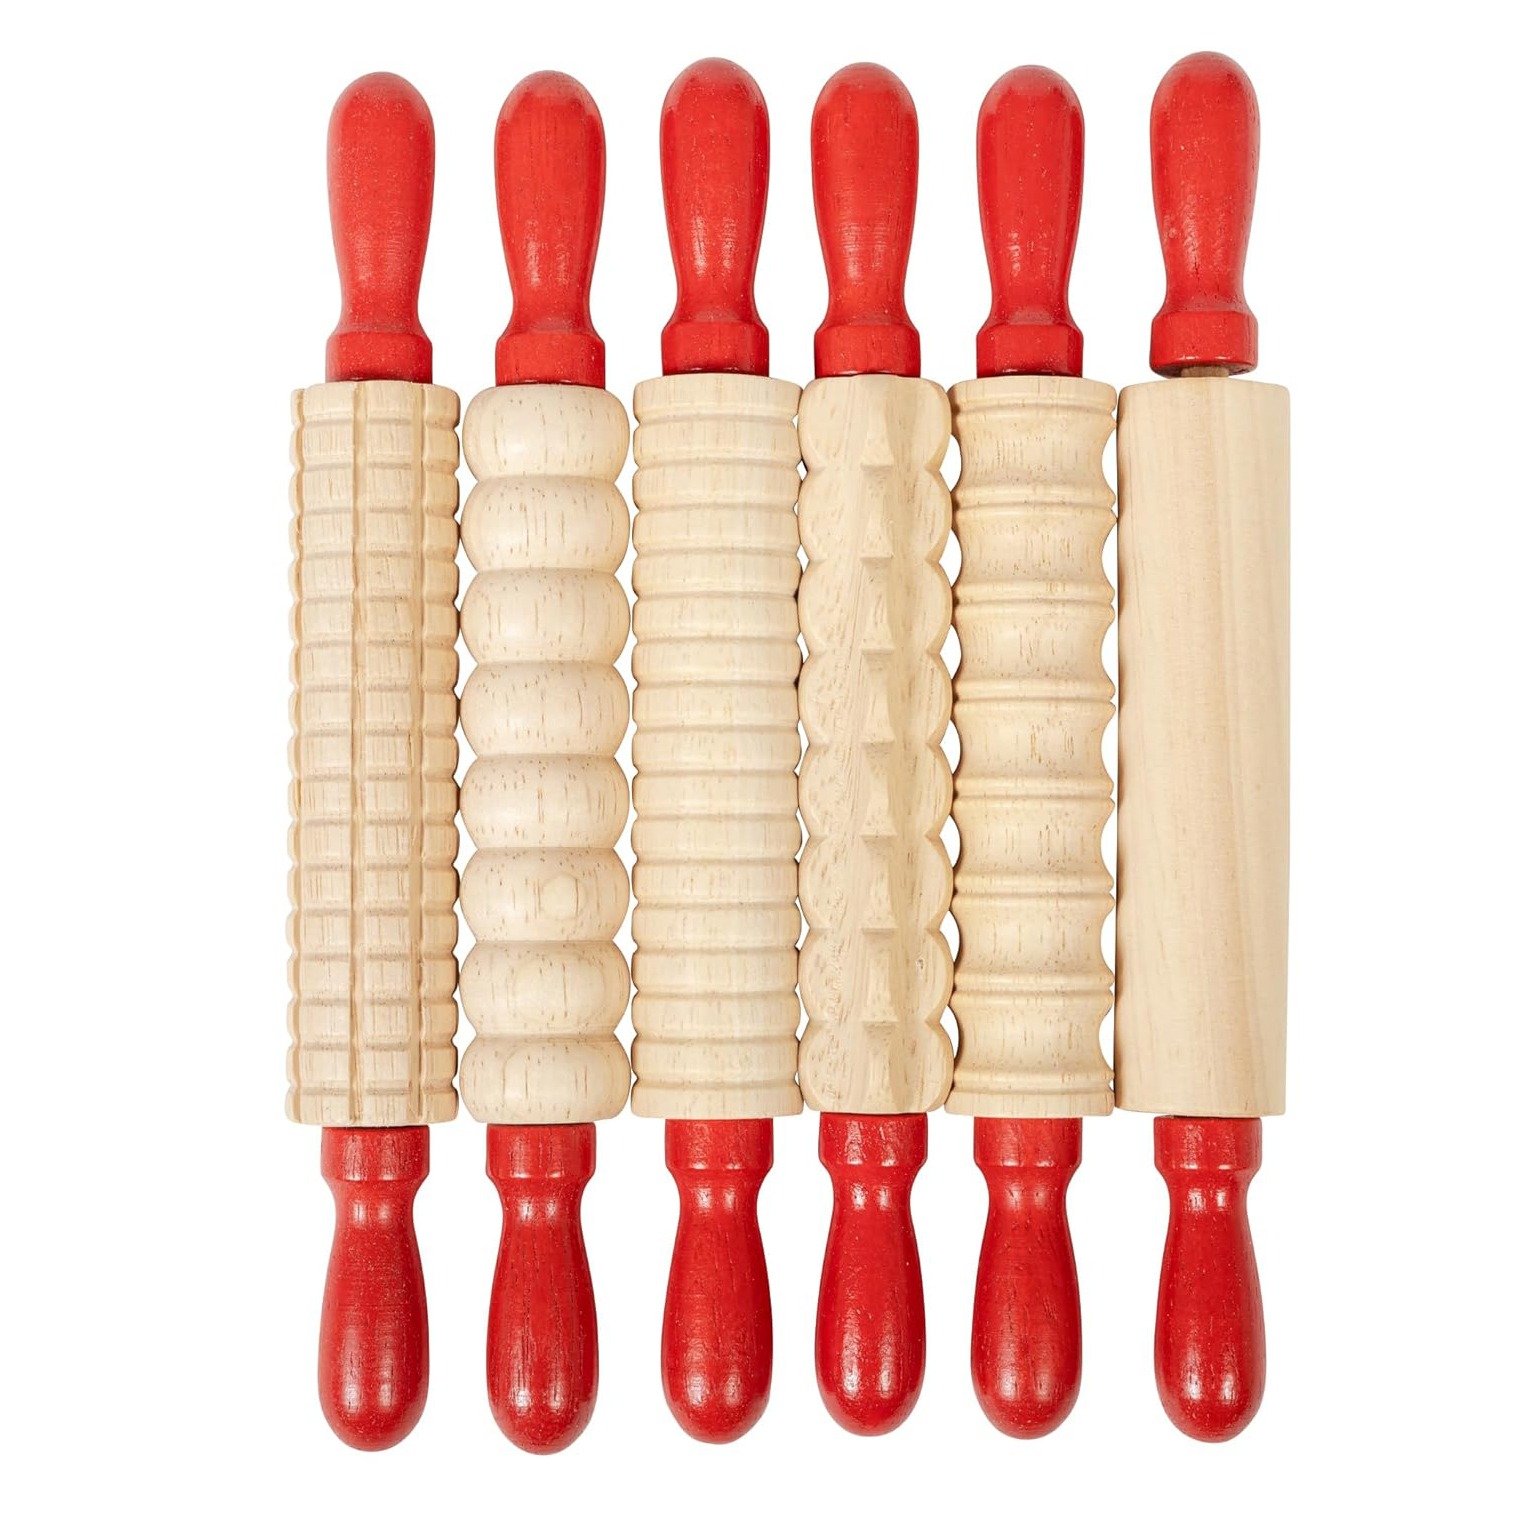
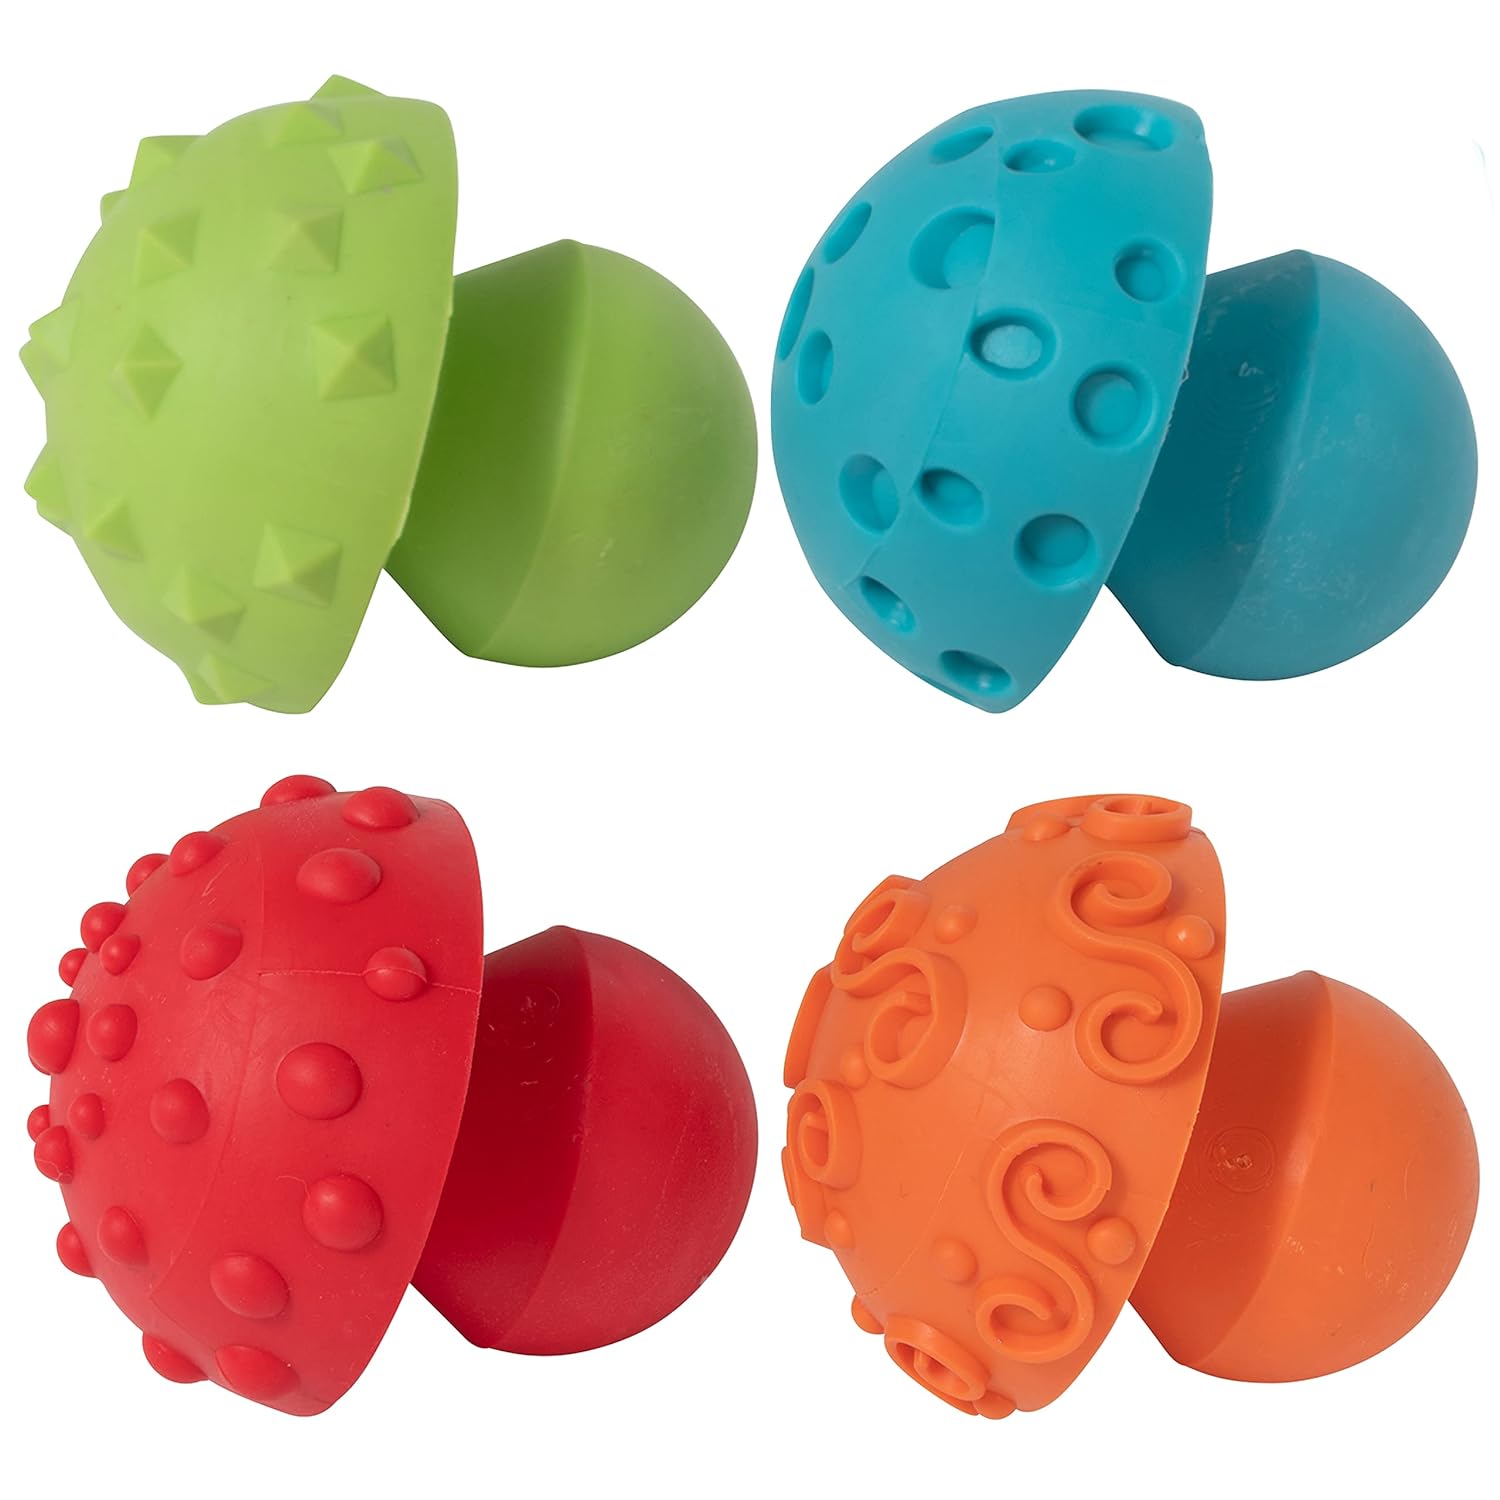
      play dough roller texture

      Play Dough Texture Rollers

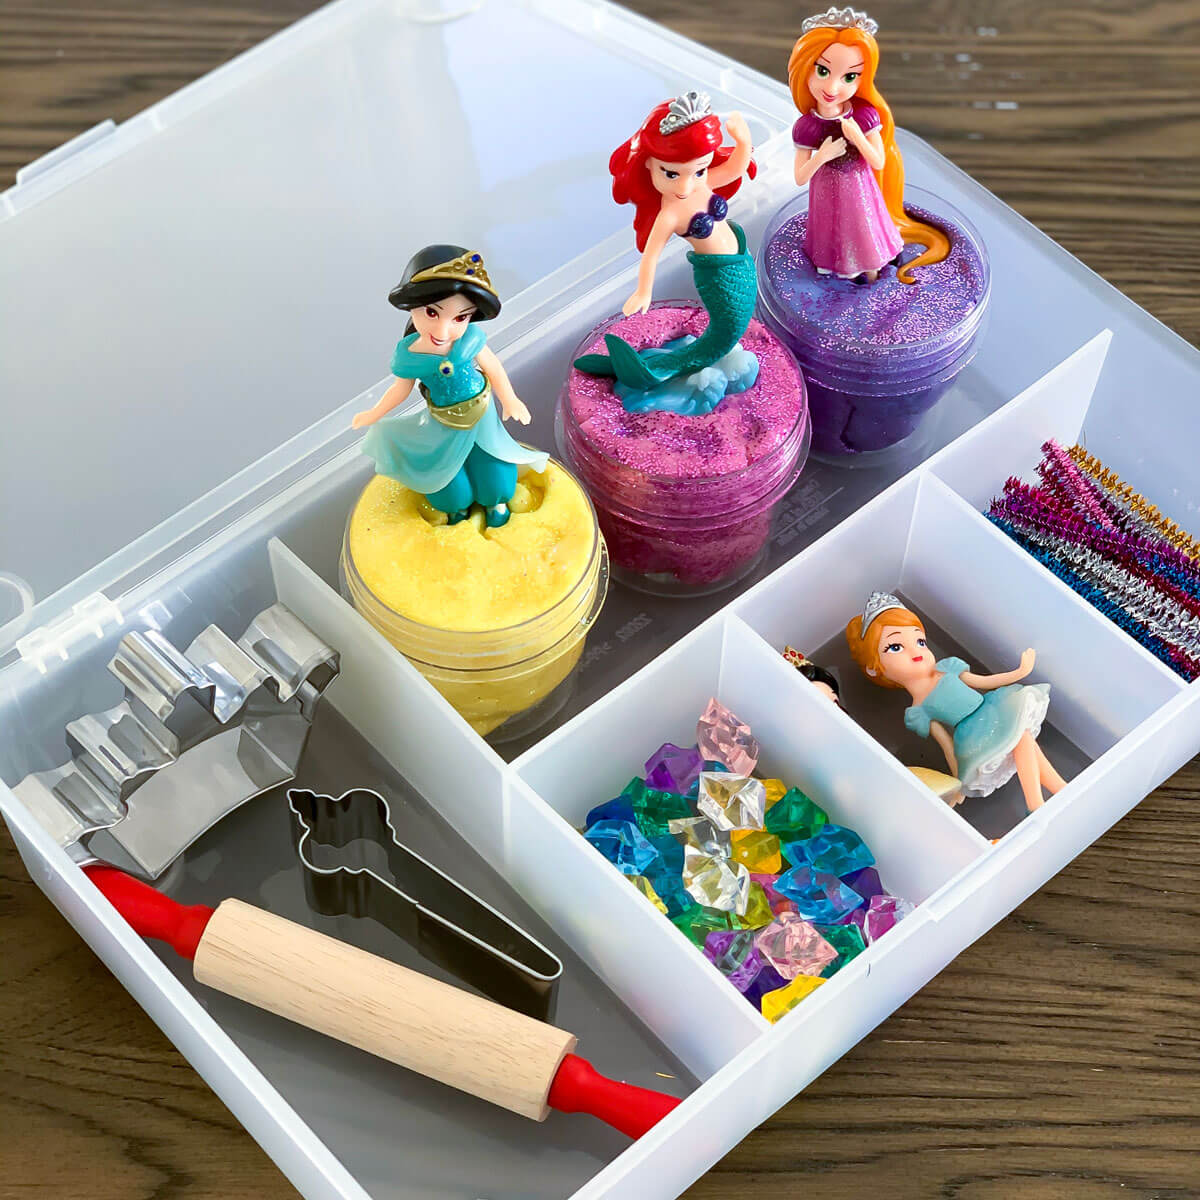
      play dough gift princess kit

      Play Dough Kits

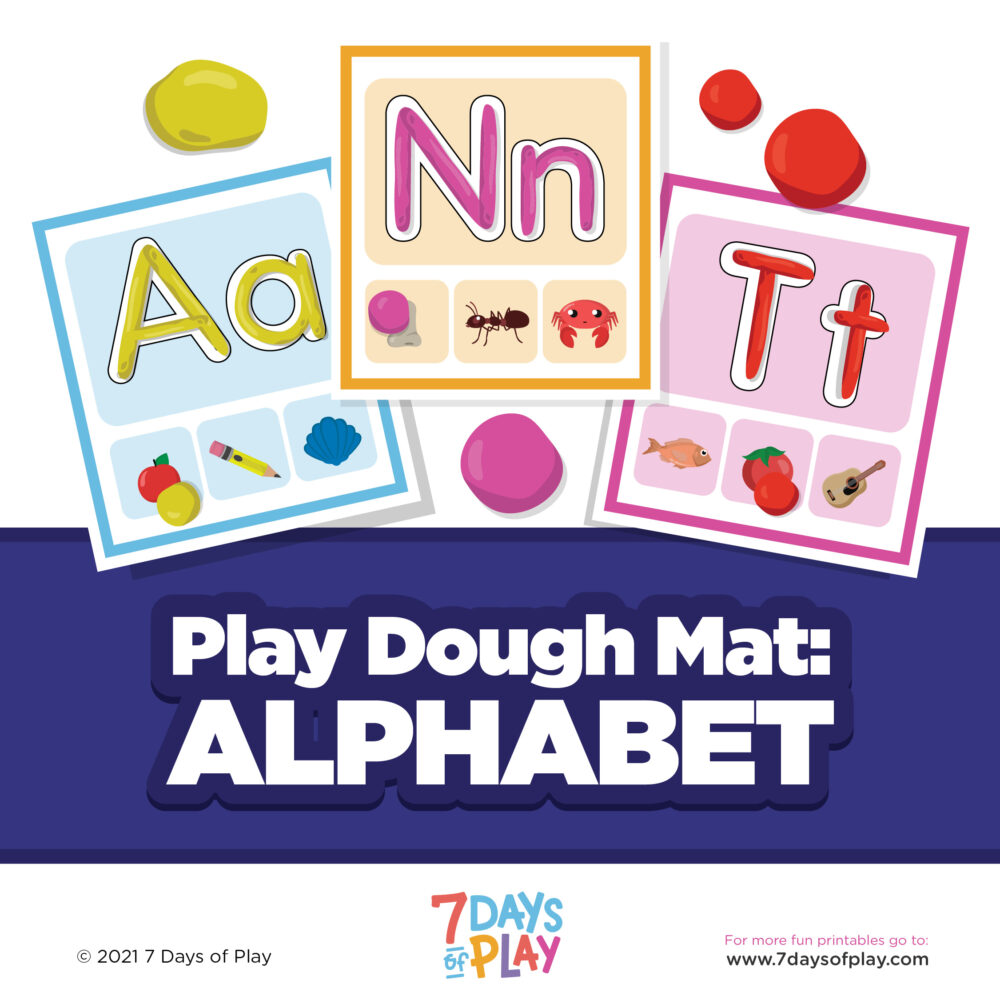
      Learn the alphabet while playing with play dough with this fun set of printable play dough mats! Each page is all about building a letter out of play dough with an opportunity to practice phonics!

      Play Dough Mats (Alphabet, Numbers, and Shapes)

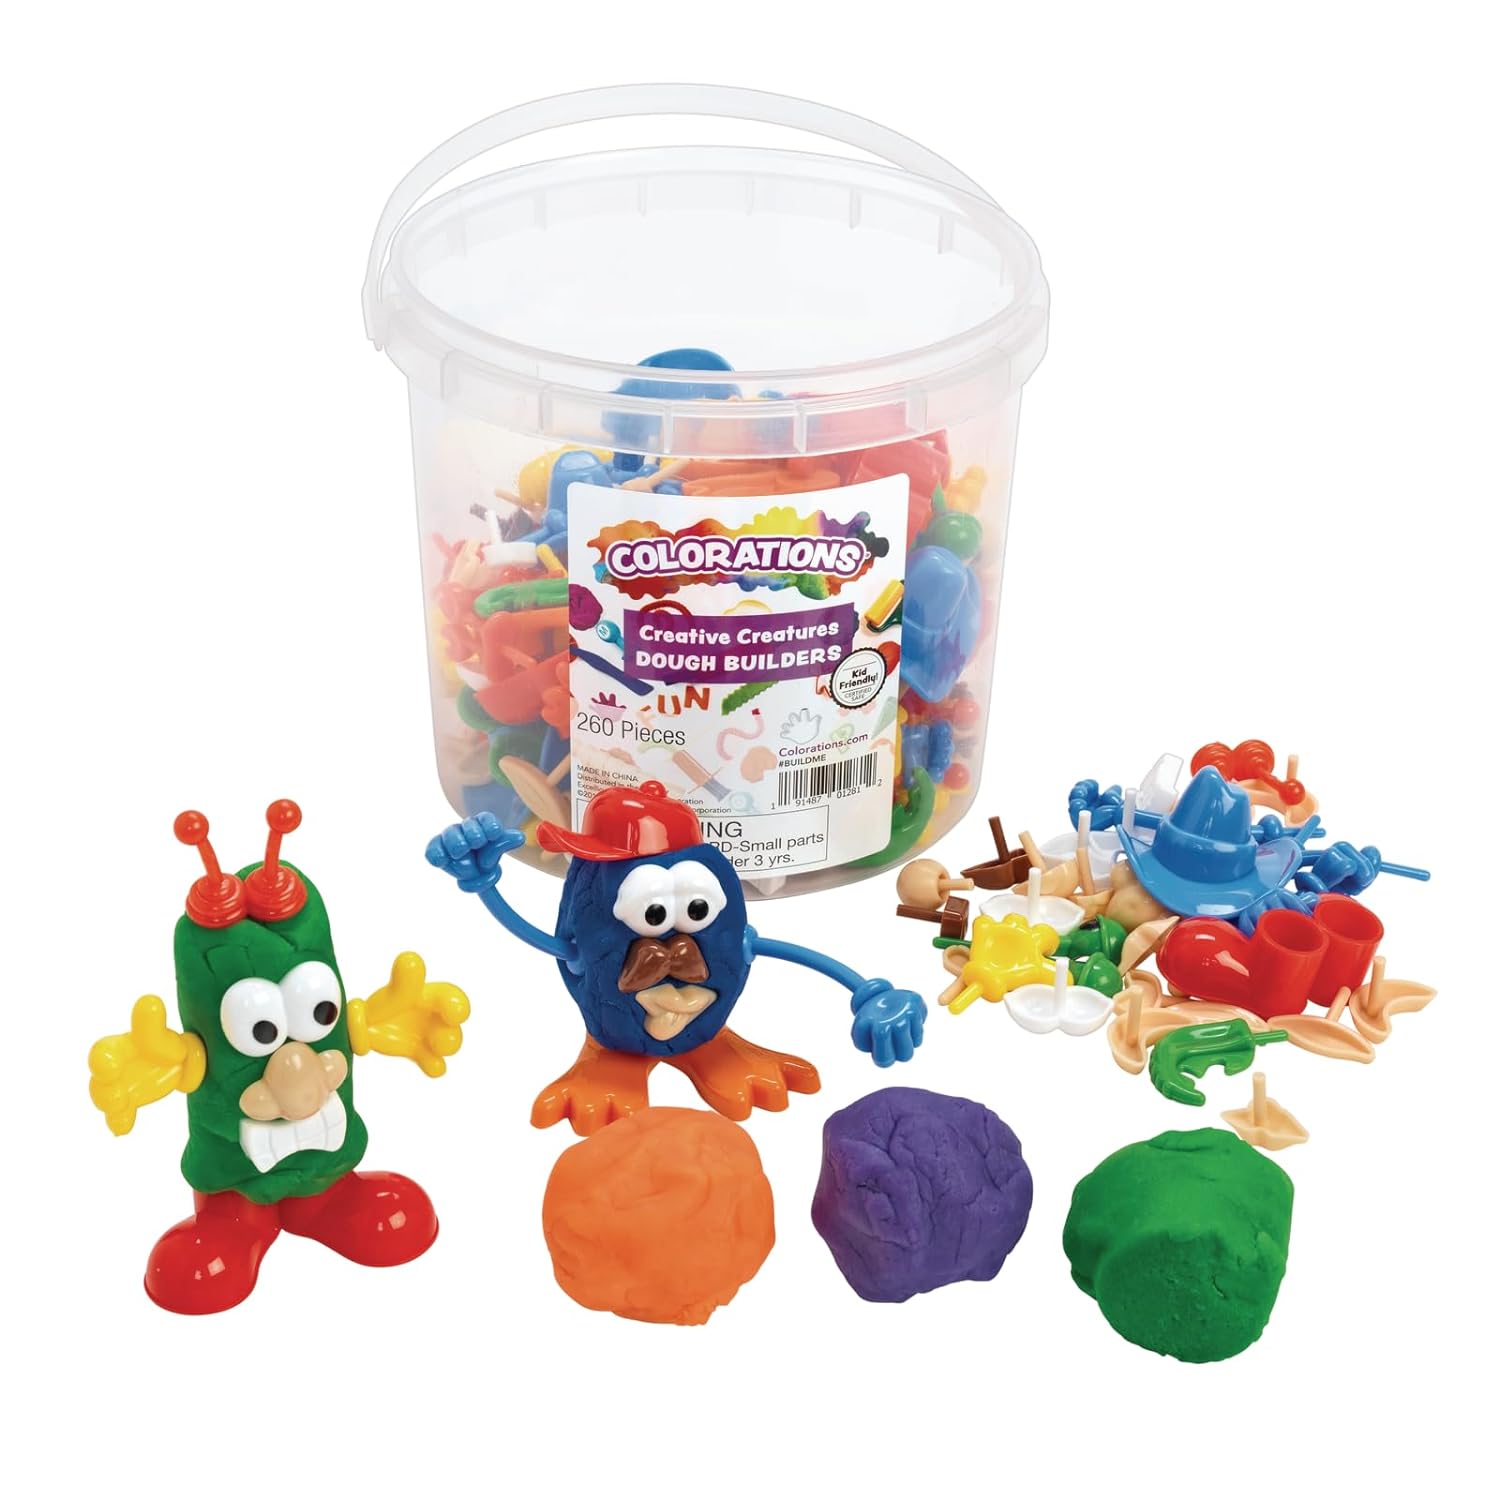
      play dough people accessories parts

      Play Dough People Builders

      play dough stamps

      Play Dough Stamps

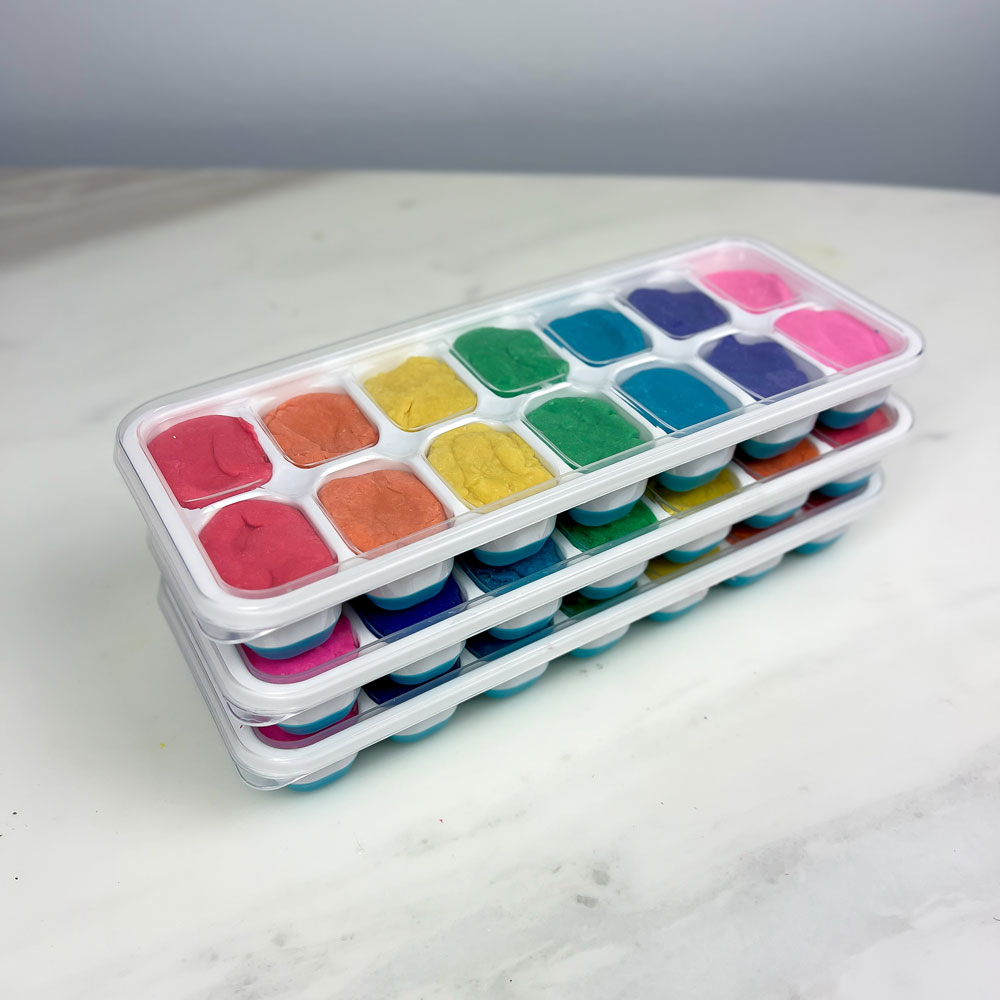
      play dough storage hack ice cube tray with cover

      Play Dough Storage Hack

      Understanding the Difference: Taste-Safe vs. Edible Play Dough Recipes

      When it comes to sensory play, understanding the distinction between taste-safe and edible play dough recipes is essential for providing a safe and engaging experience for children.

      Taste-safe play dough refers to recipes that are formulated with non-toxic ingredients and are safe for children to explore with their hands and even taste in small quantities, but they are not intended for consumption in large amounts. On the other hand, edible play dough recipes are made from food-grade ingredients and are entirely safe for ingestion.

      However, it’s crucial to note that even with edible play dough, it’s not advisable to encourage children to eat it. Sensory play, including play dough exploration, serves as an opportunity to teach children about safe sensory experiences and boundaries.

      By introducing edible materials first, children learn what sensory materials are and not to put them in their mouths. This approach helps foster a healthy understanding of sensory boundaries and prepares children for more complex sensory experiences as they grow.

      What’s Next?

      Playroom Inspiration – An Exciting Space for All Ages

      Playroom Inspiration – An Exciting Space for All Ages

      Playroom Inspiration – An Exciting Space for All Ages

      Playroom inspiration

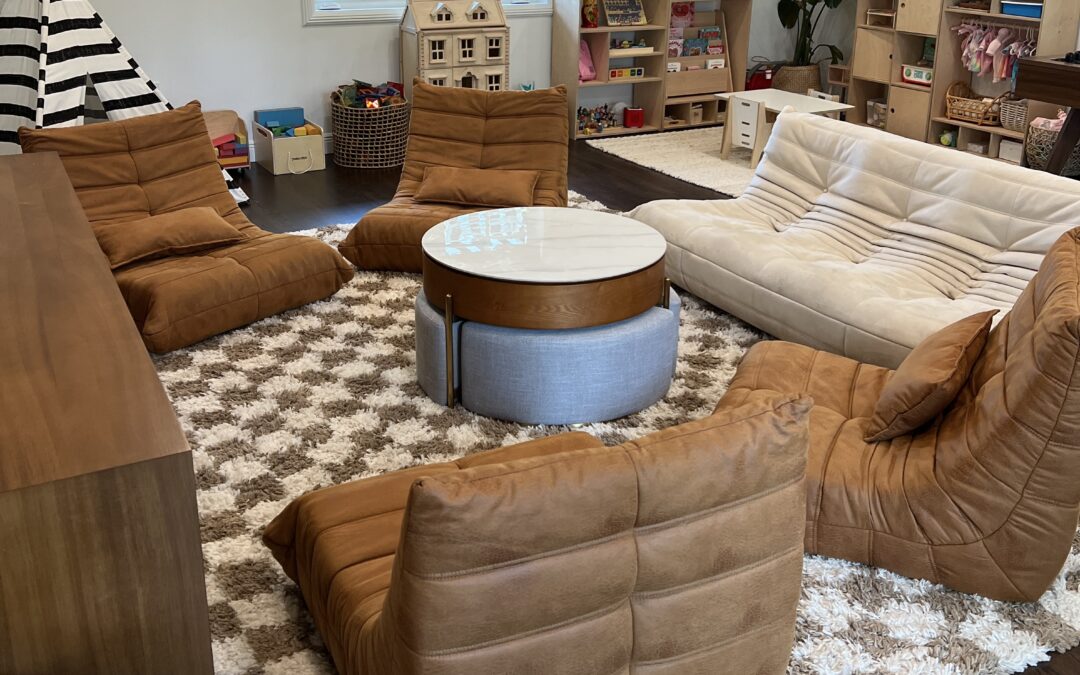
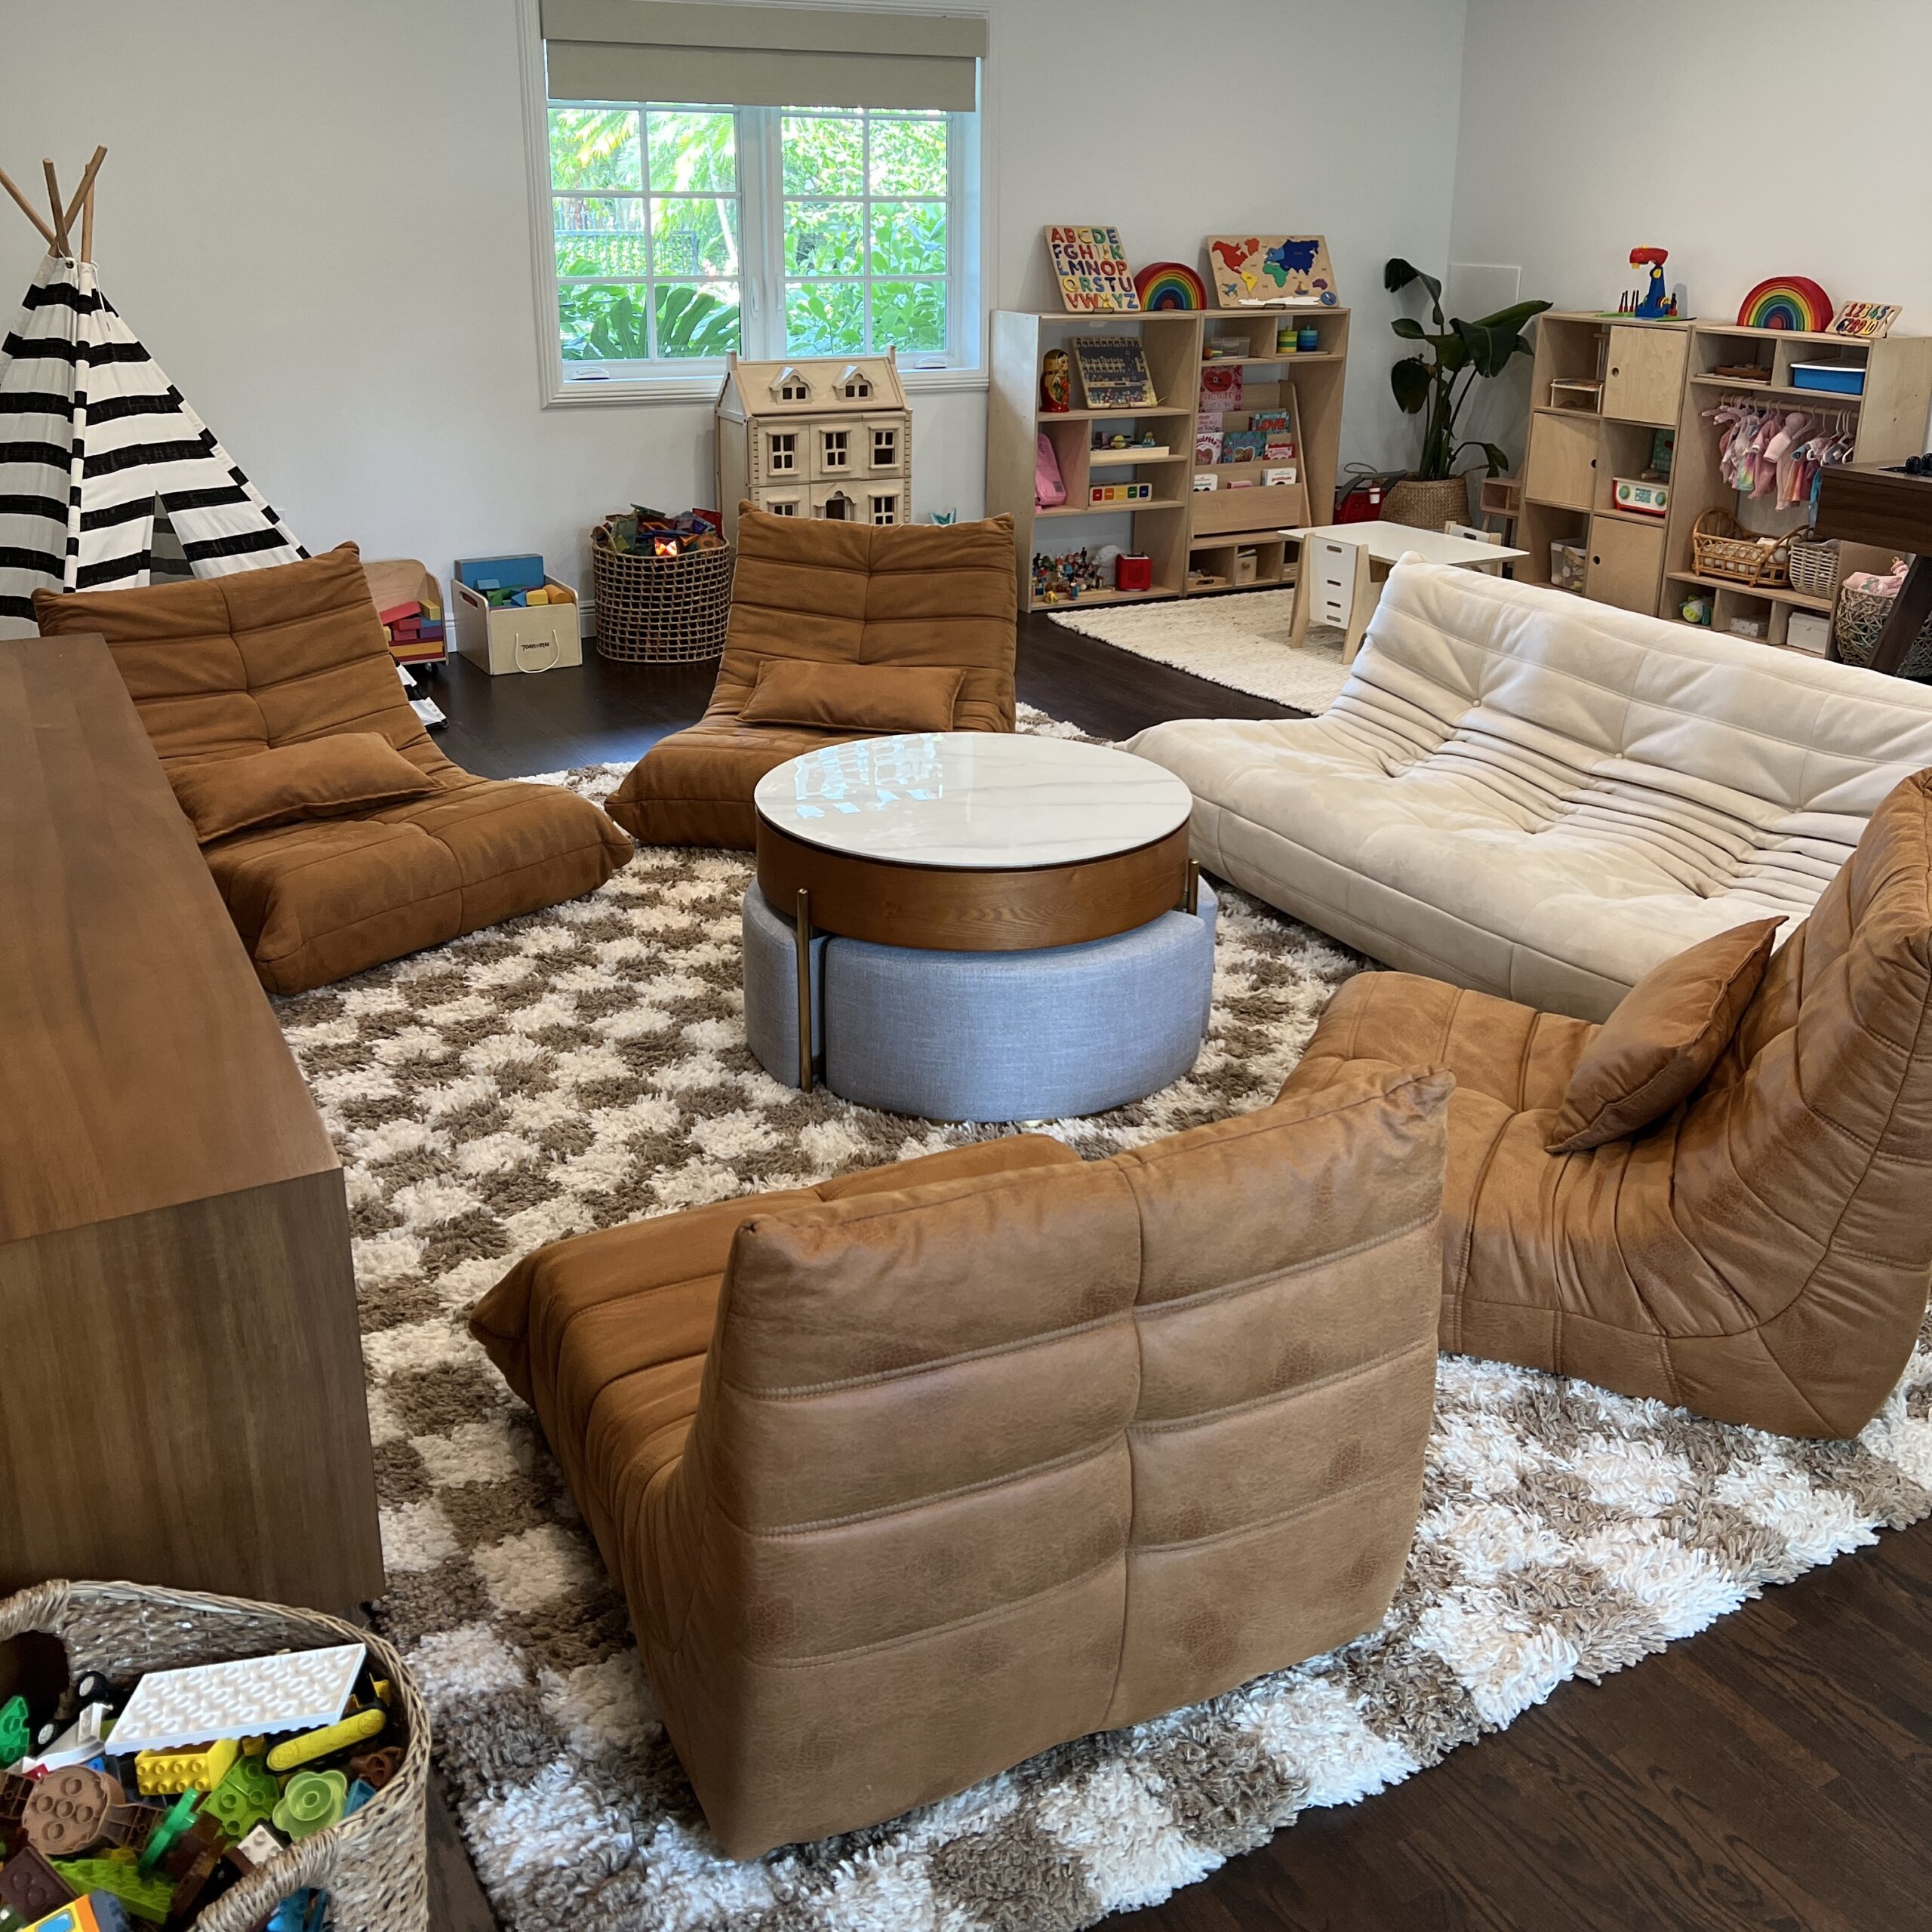
      Ready to dive into some seriously cool playroom inspiration vibes? Keep reading to get the lowdown on a space that’s like the MVP for all ages! Think rotating toys for the little rascals, air hockey and arcade games for the big kids, and a cozy couch setup perfect for group hangouts in front of the TV.

      Playroom Inspiration – Here’s A Quick Tour of Our Furniture, Games, and More!

      Below I’ve listed everything we have in our play space, but we’re not just talking play; we’re talking a full-on experience that grows with your crew. Get ready for a playroom that’s the ultimate chill spot and the epicenter of fun. Get ready to redefine family fun and make memories that will last a lifetime. 

      All toys and activities should be supervised by an adult. As an Amazon Associate, I earn from qualifying purchases. This post may contain affiliate links.

      Playroom Inspiration Furniture, Games and More!

      Here’s a comprehensive list of everything we have in our playroom, including furniture, rugs and games!

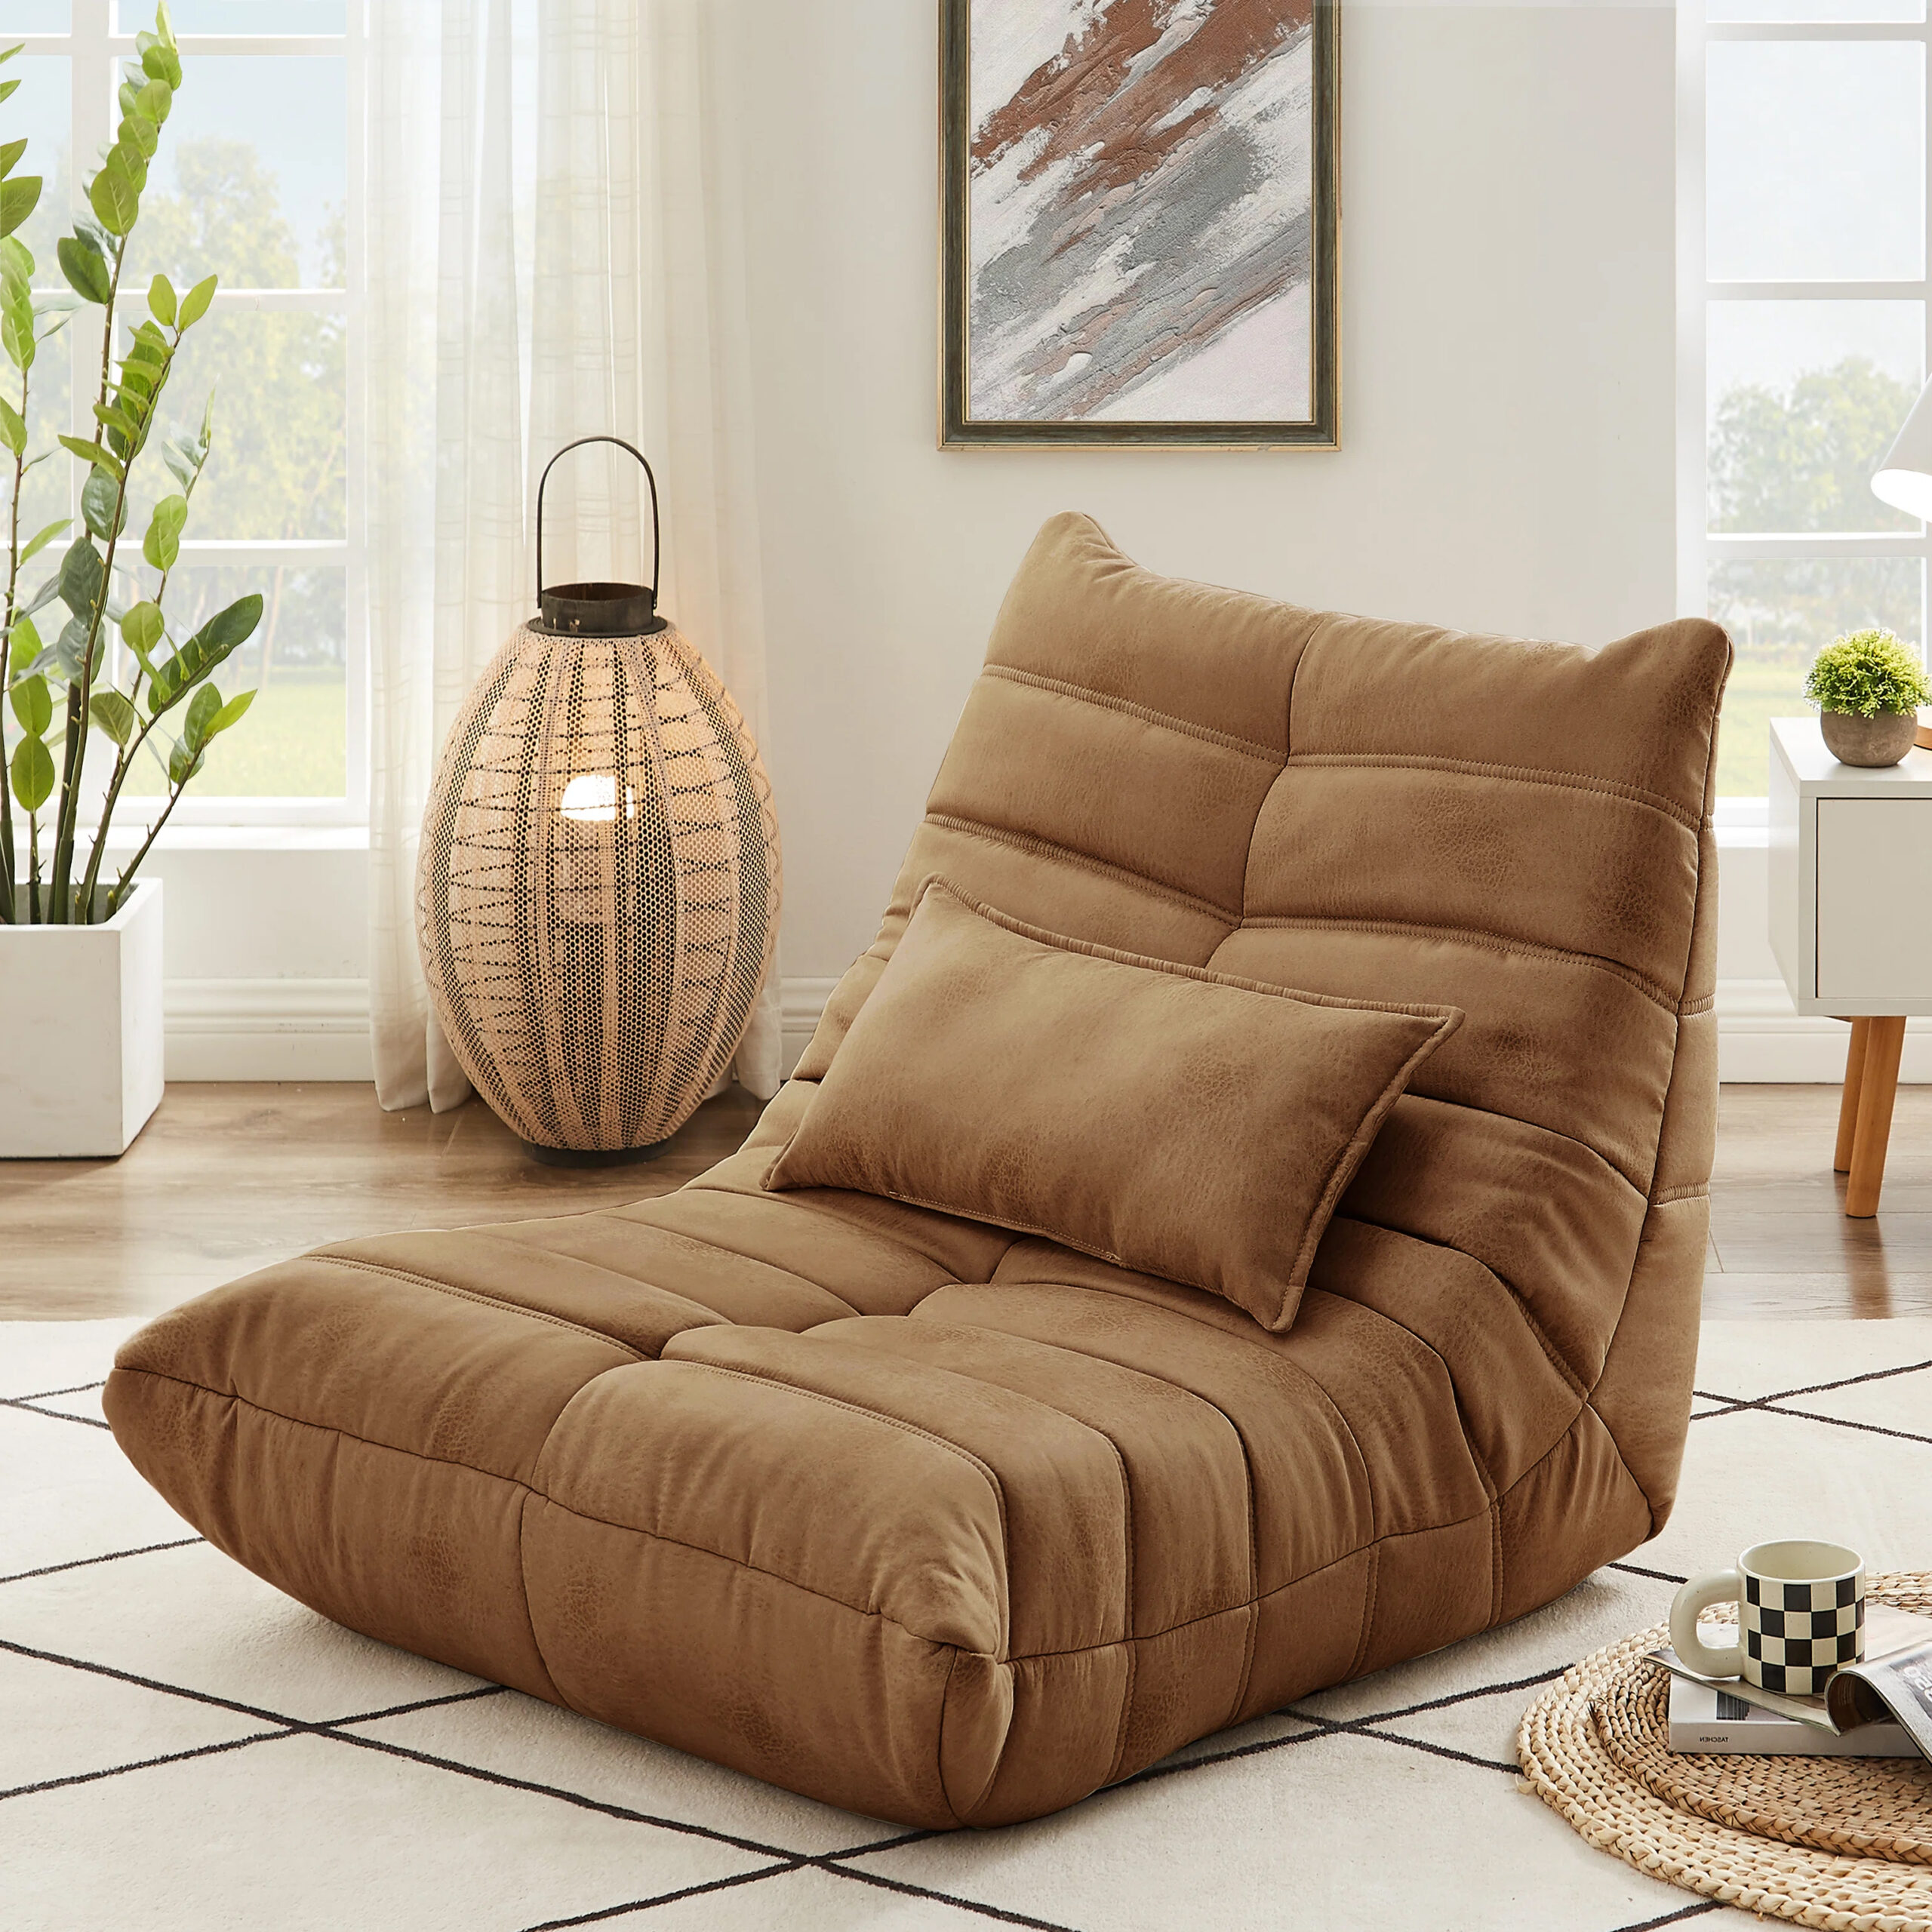
      playroom inspiration Faux Leather chairs

      Faux Leather Chairs

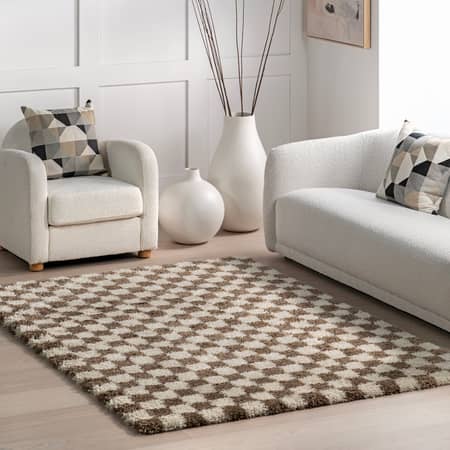
      checkered rug playroom inspiration

      Checkered Shag Rug

      playroom shelving

      Playroom Shelves

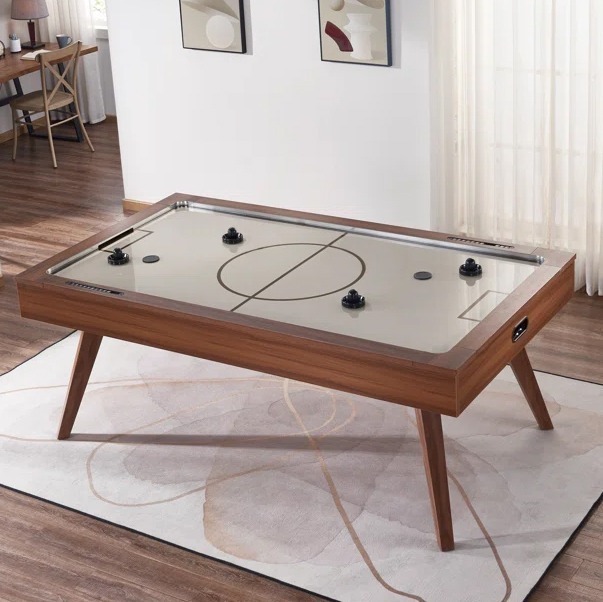
      air hockey table

      Air Hockey Table

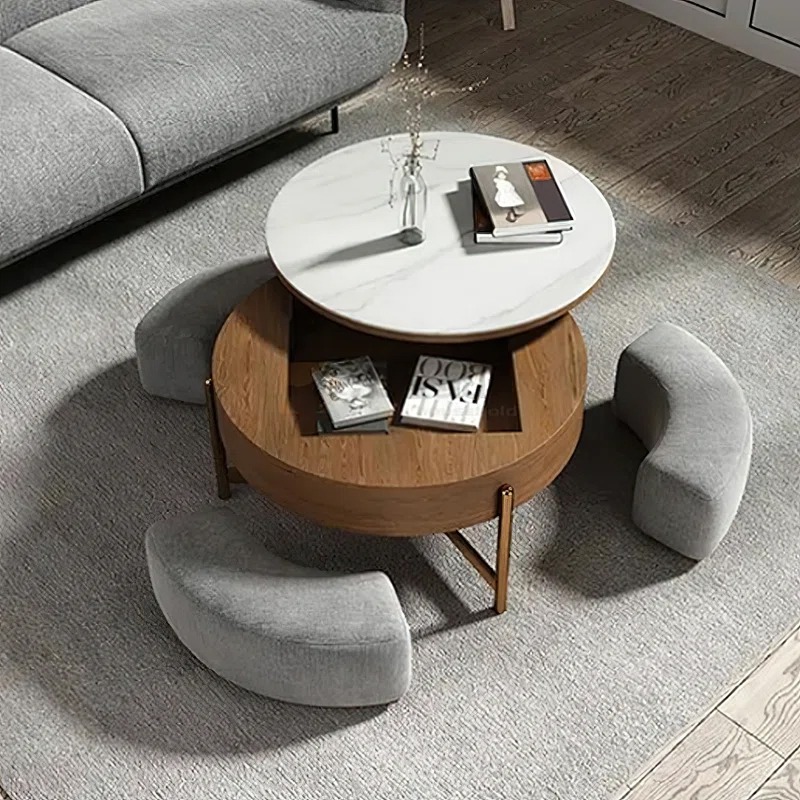
      coffee table with stools

      Coffee Table with Stools

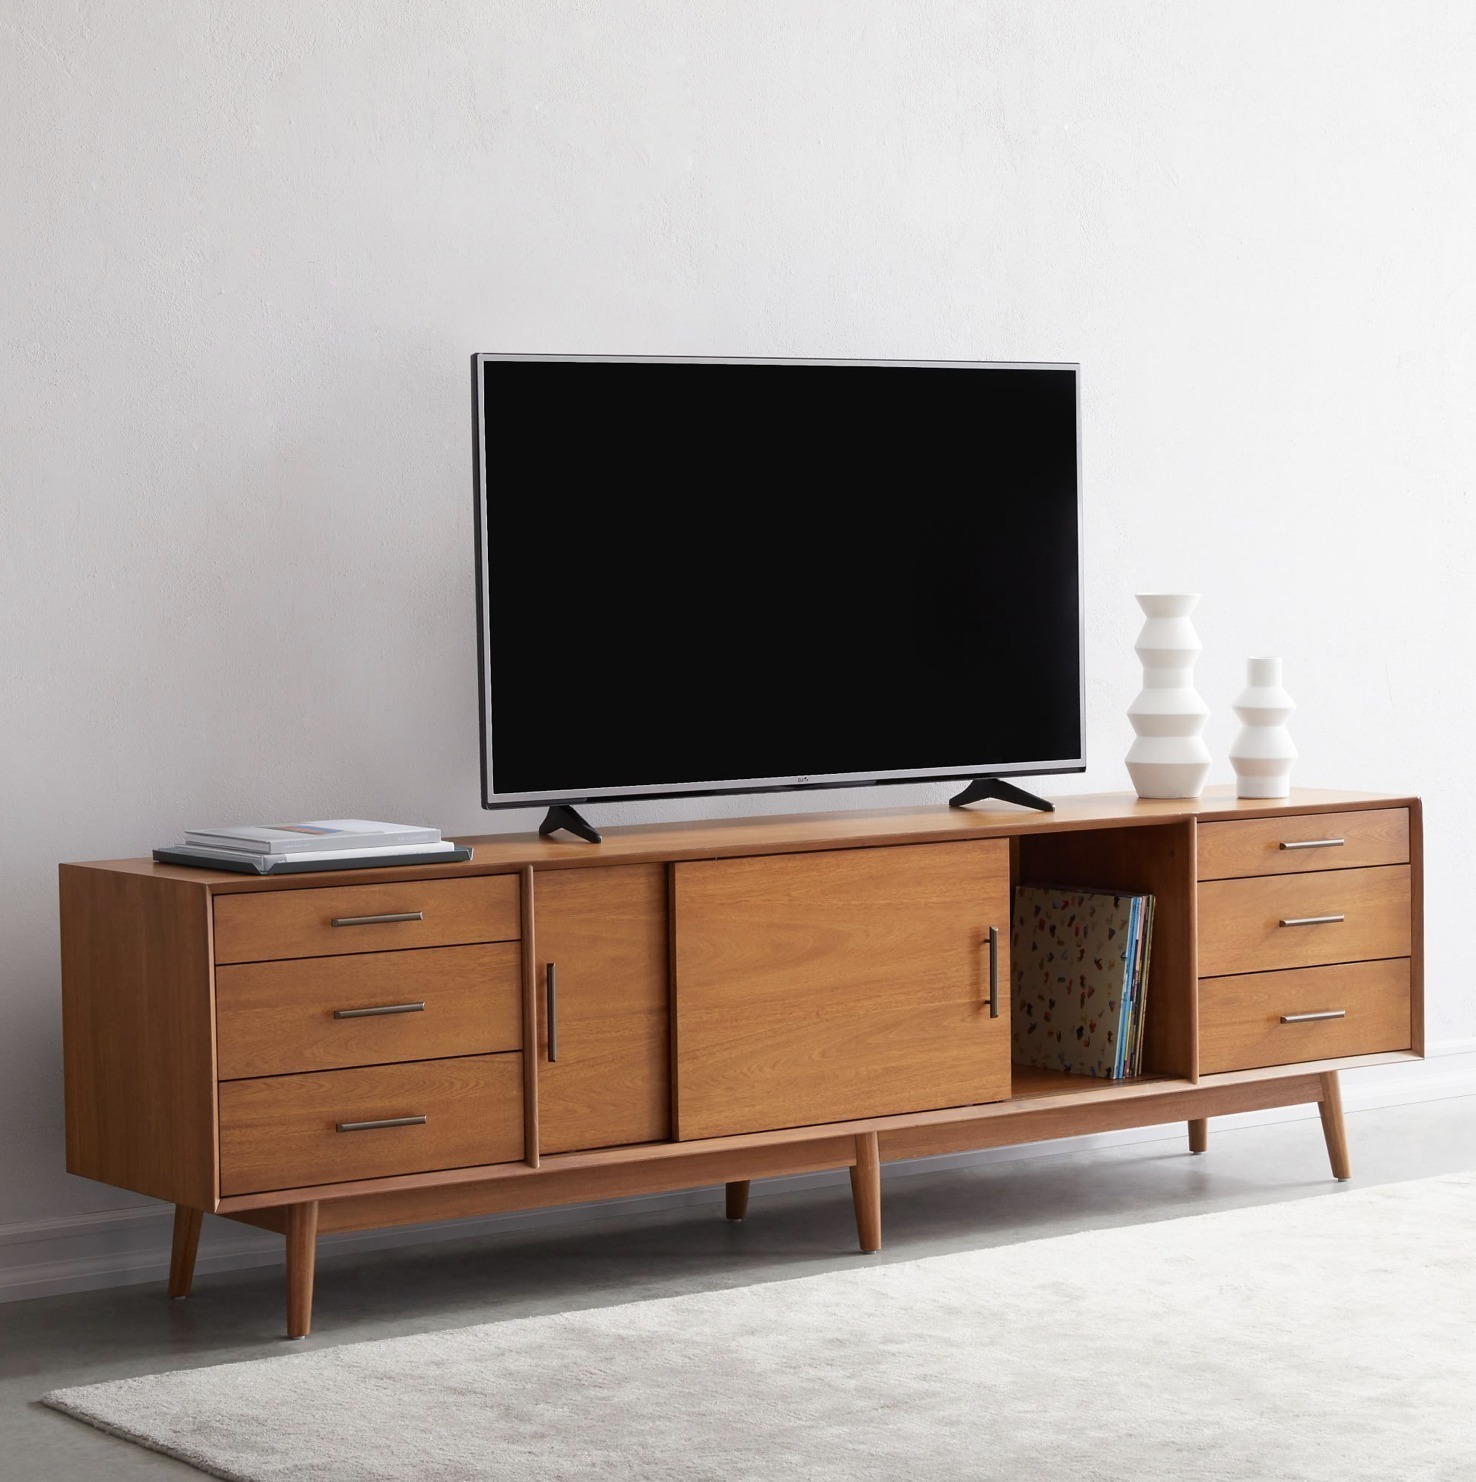
      media console table

      Media Console Table

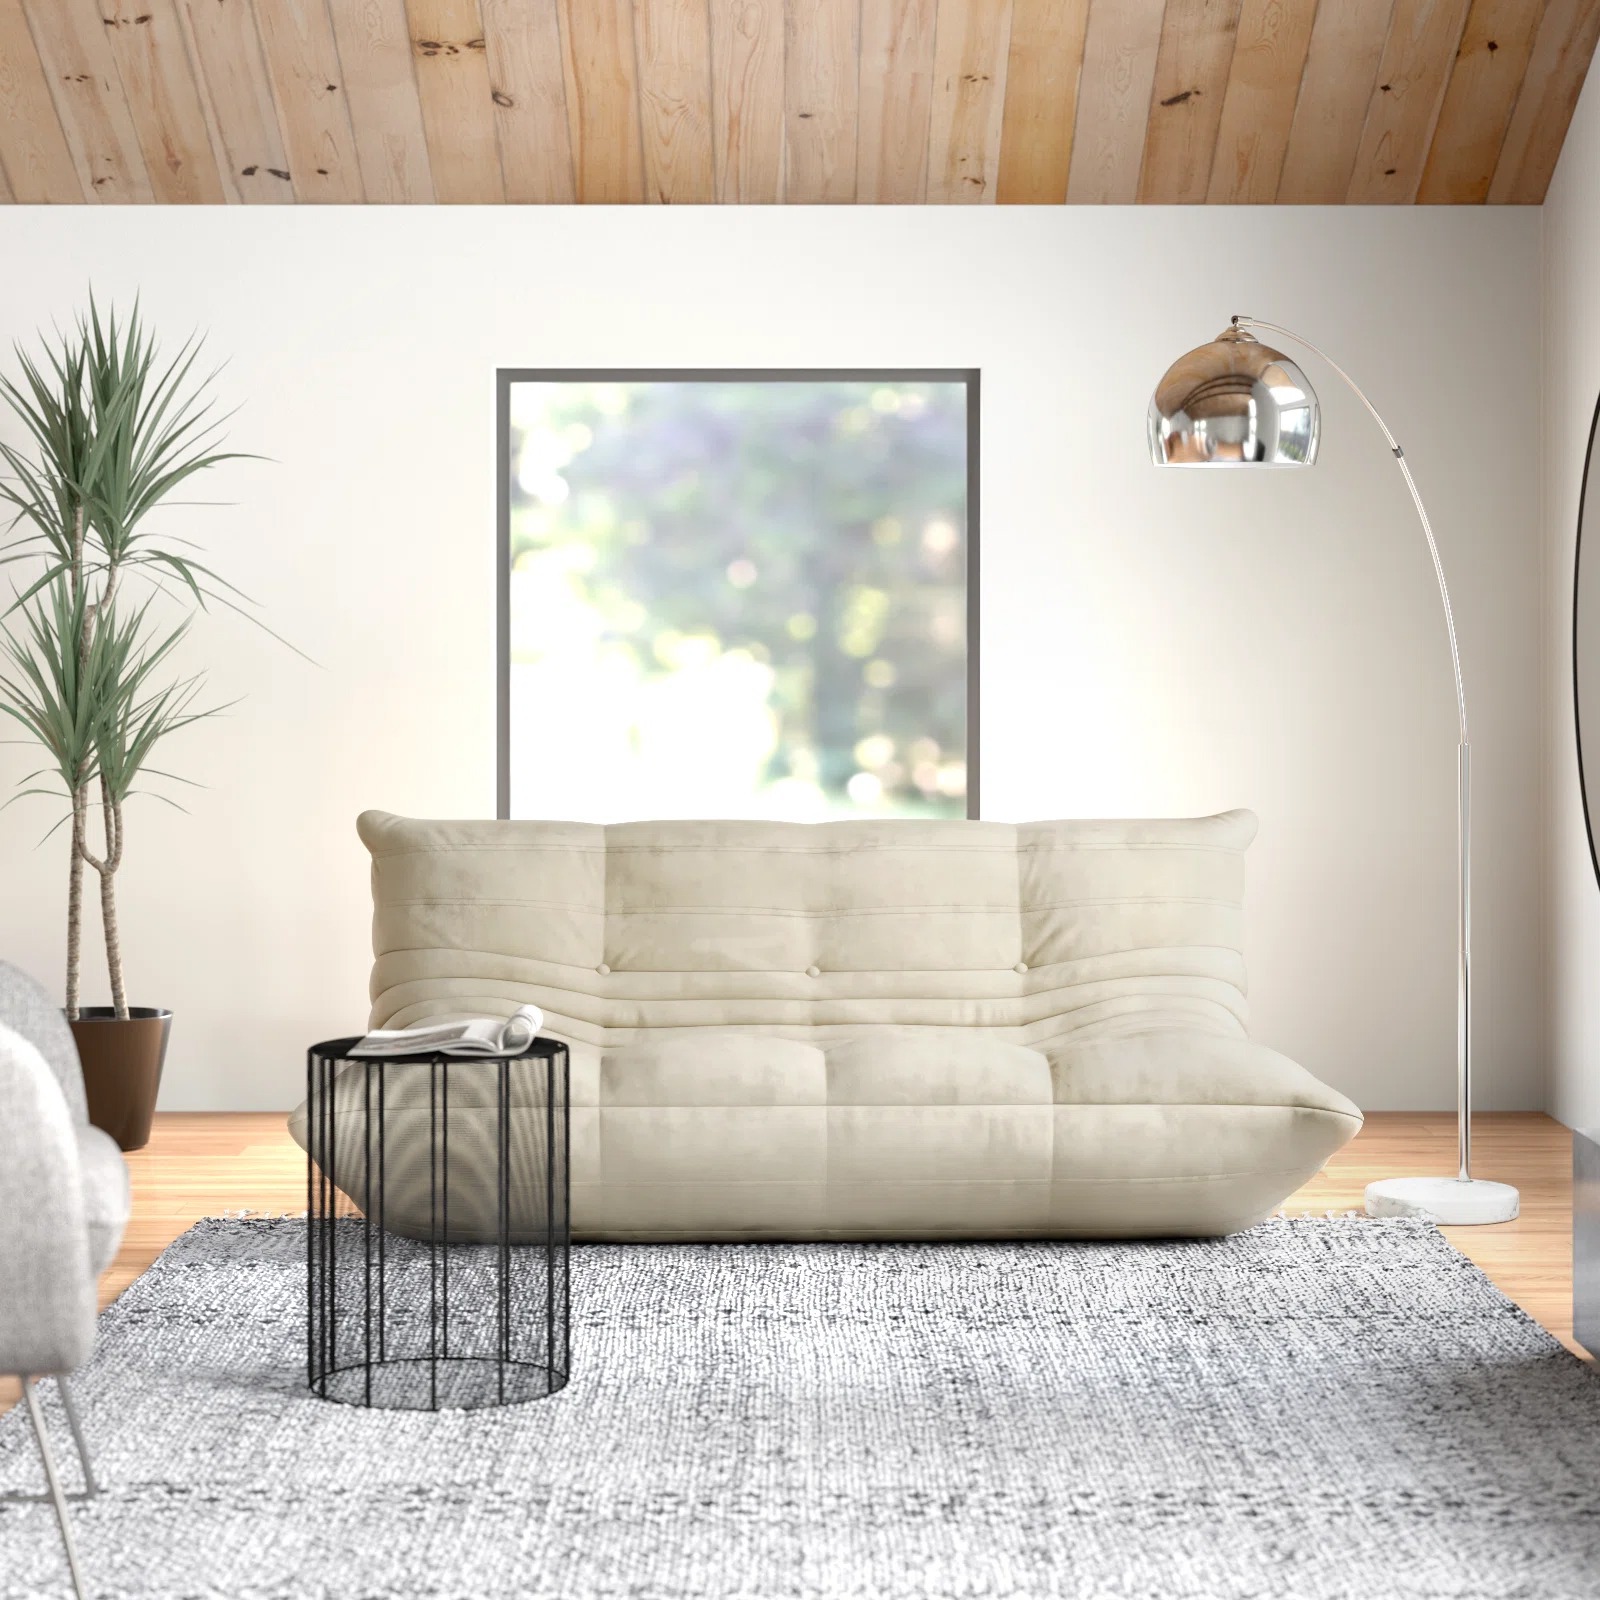
      bean bag couch

      Great Toy for Fine Motor Skills

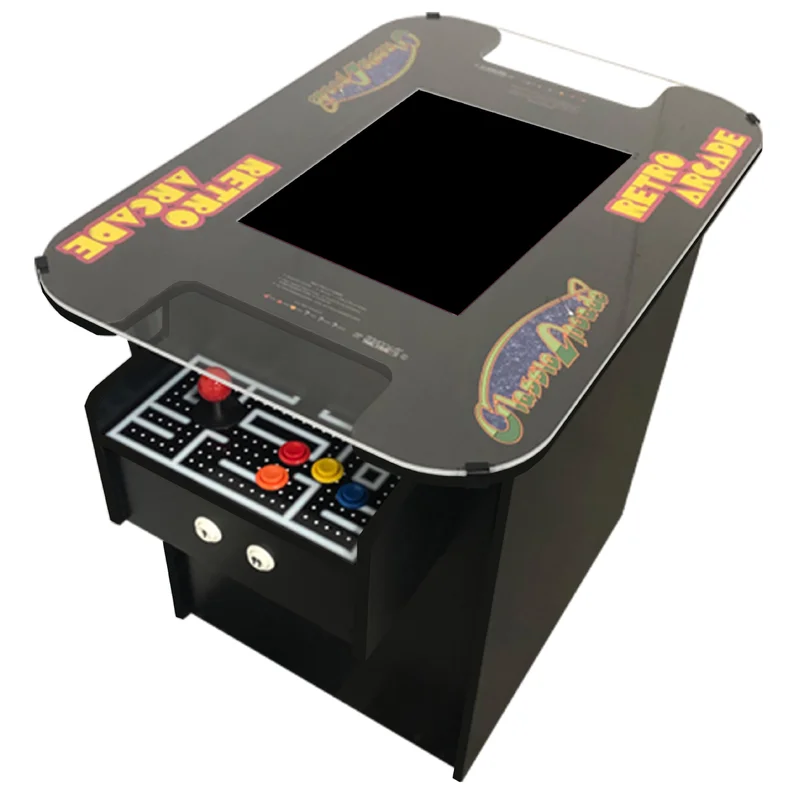
      arcade game

      Arcade Machine including 412 Games for 2 Players 

      wooden dollhouse

      Wooden Dollhouse

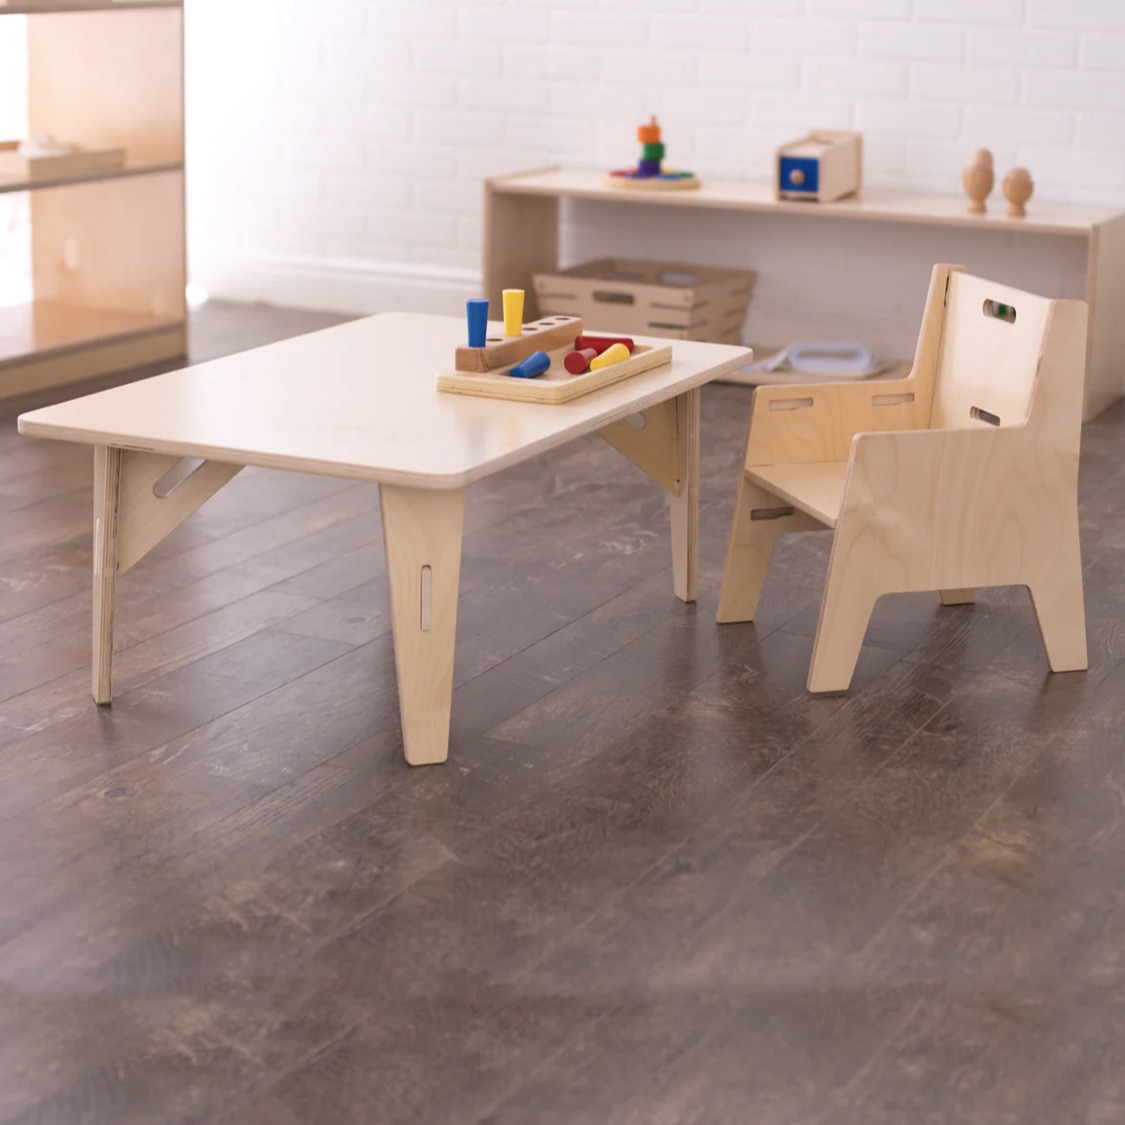
      montessori desk and chair

      Montessori Table and Chairs

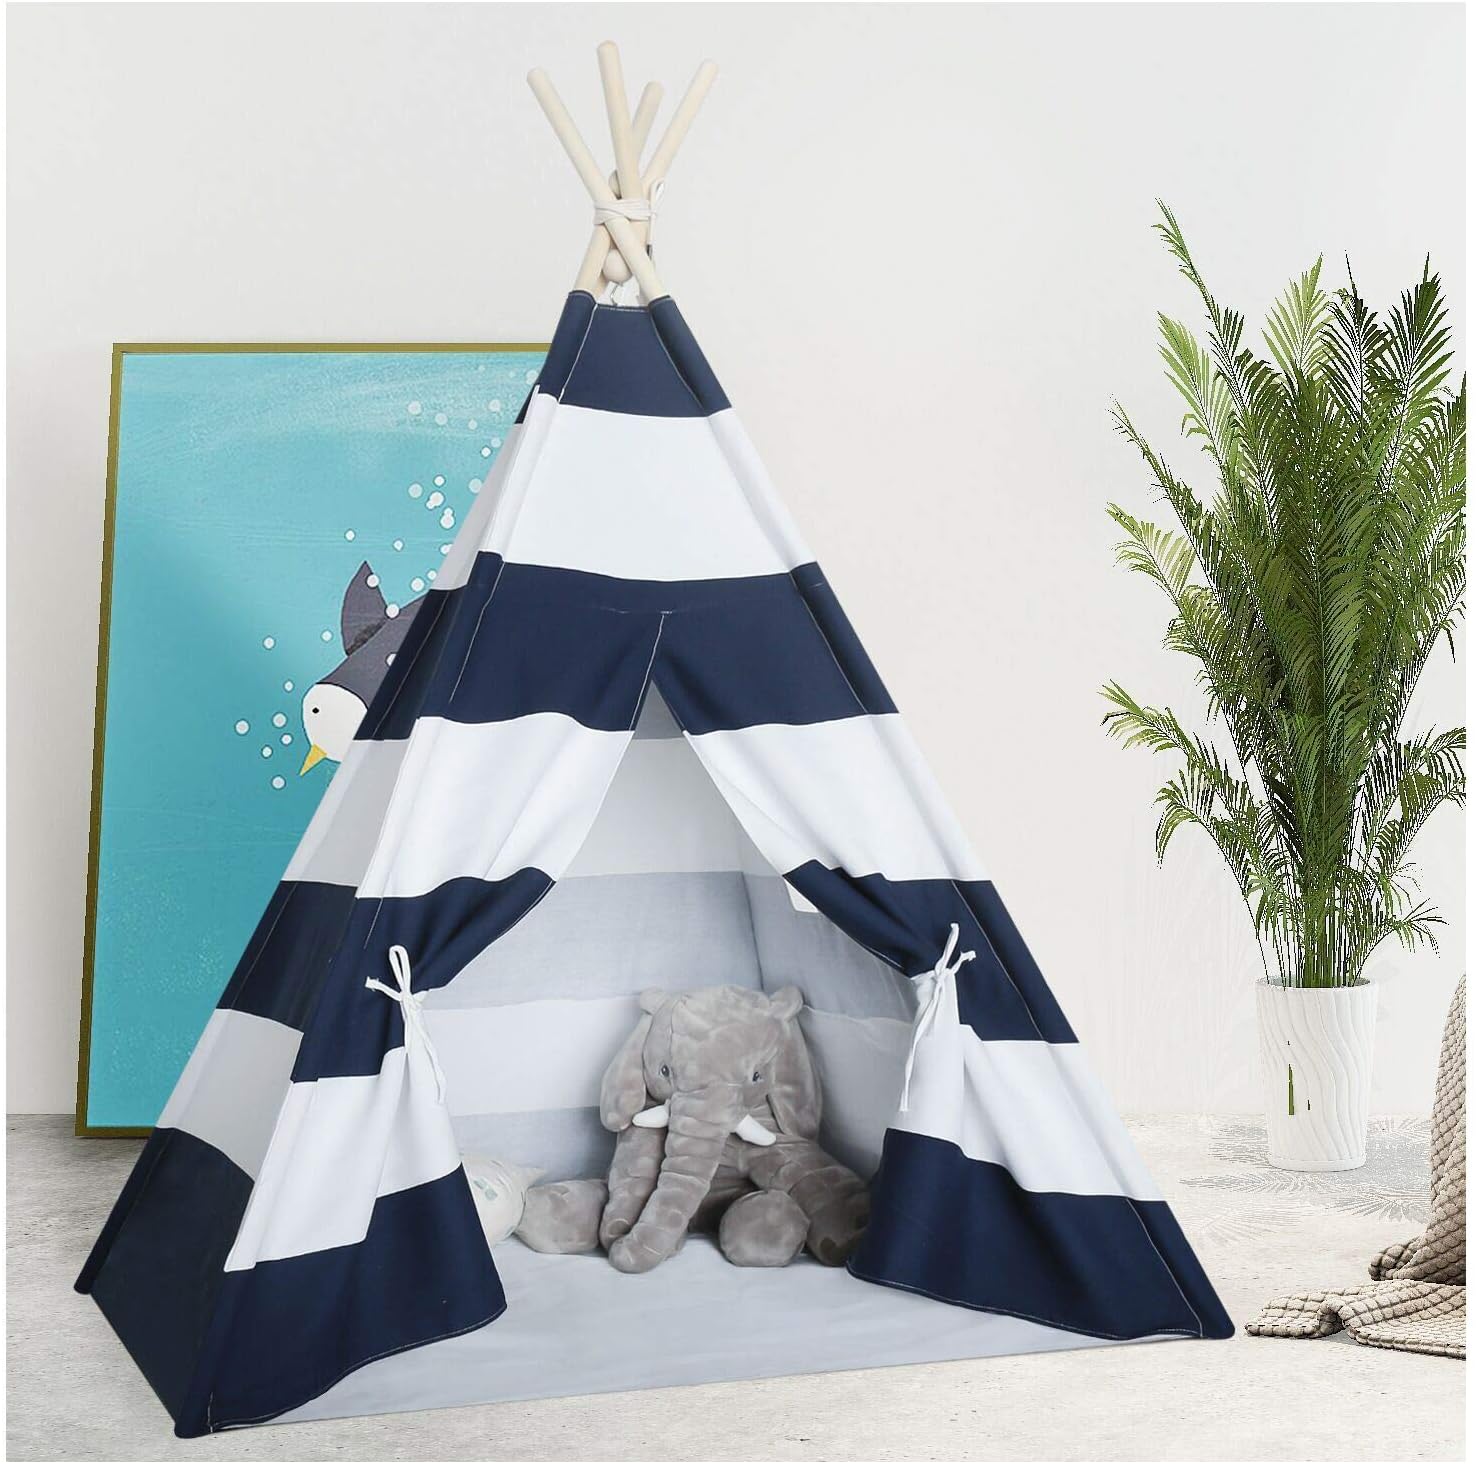
      black and white kids tent

      Kid’s Teepee Tent

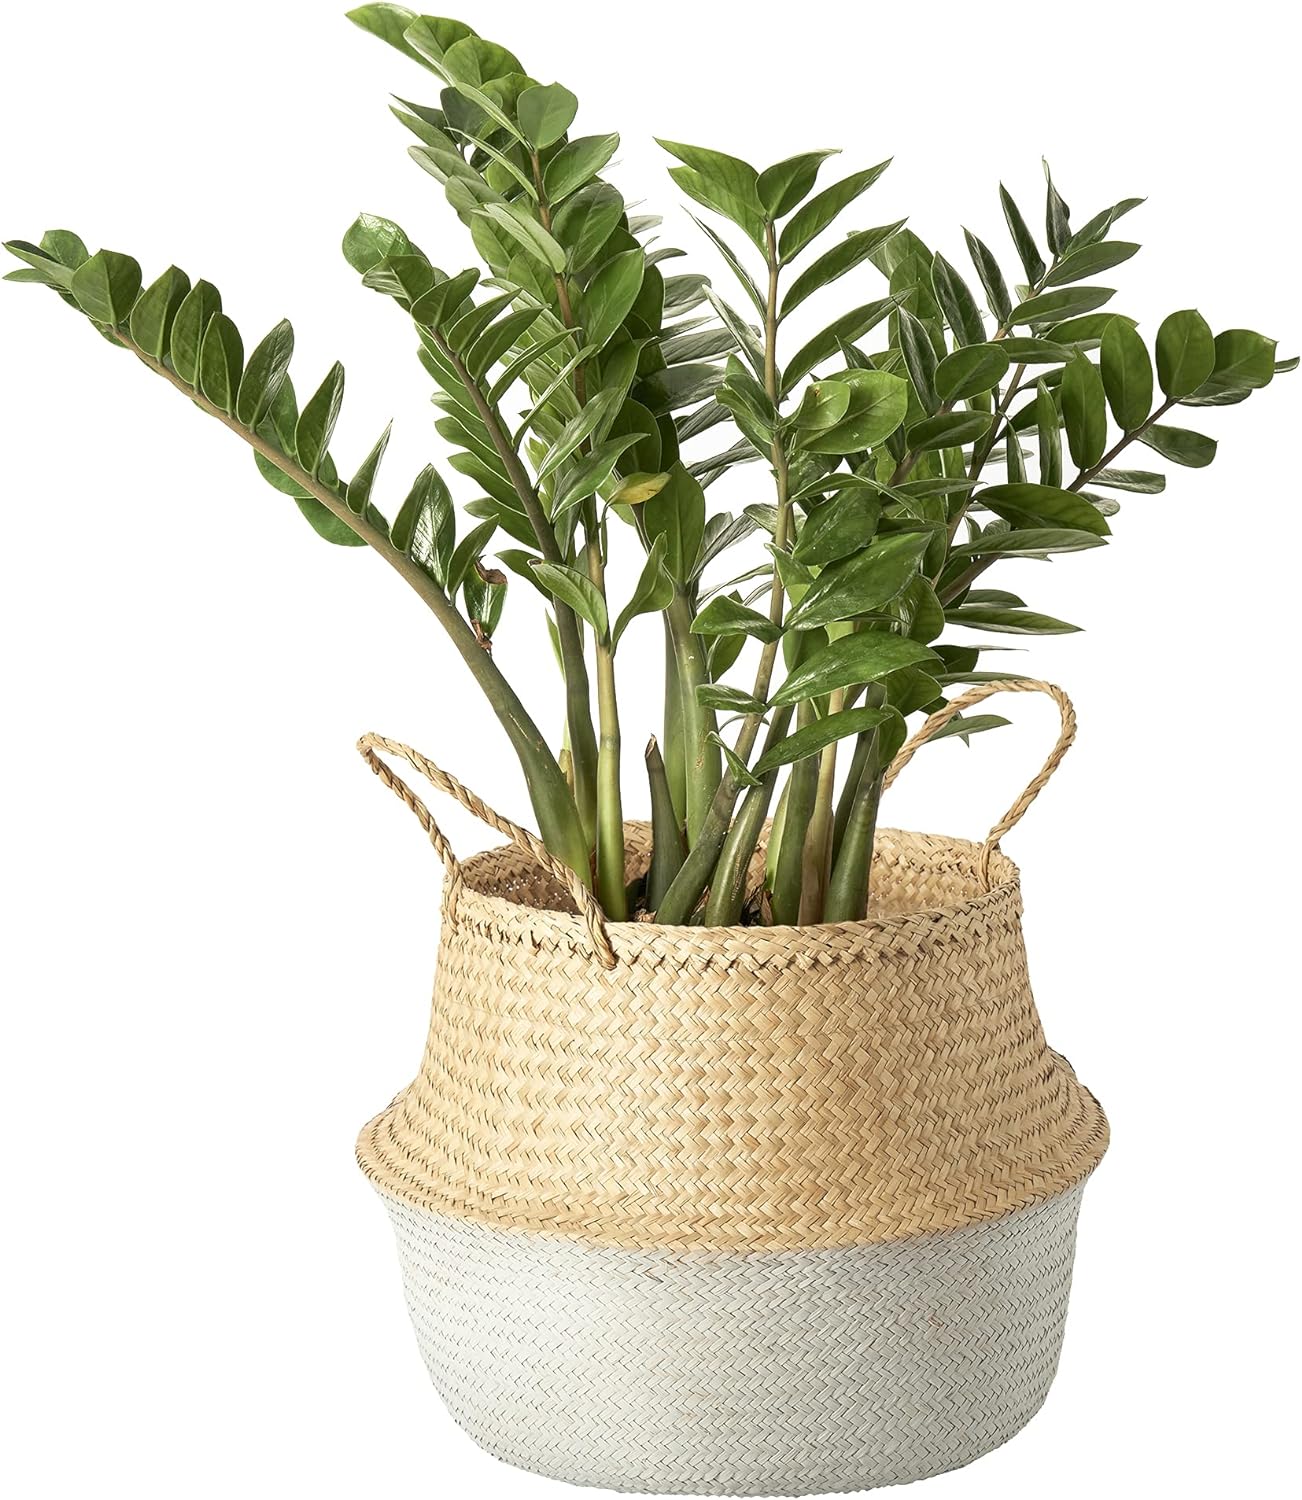
      plant basket

      Plant Baskets

      The Impact of Nurturing Kids’ Exploration through Playful Spaces!

      In the hustle and bustle of daily life, carving out a small corner for your little ones to play isn’t just about creating a designated area—it’s about fostering a haven for growth, discovery, and invaluable life lessons.

      Be it a cozy nook or a dedicated playroom, the space becomes the canvas for their imagination to run wild. As kids explore and learn through play, they not only develop essential cognitive and motor skills but also cultivate a sense of independence and creativity that resonates throughout their lives.

      From building towering block structures to delving into make-believe worlds, these early playful experiences lay the foundation for a lifetime of curiosity, resilience, and joyous exploration. We hope this playroom inspiration has helped you! 

      Playroom inspiration

      So, whether it’s a corner or an entire room, let’s champion the significance of providing our kids with spaces that speak to the heart of their growth journey.

      Playroom inspiration

      The Impact of Nurturing Kids’ Exploration through Playful Spaces!

      In the hustle and bustle of daily life, carving out a small corner for your little ones to play isn’t just about creating a designated area—it’s about fostering a haven for growth, discovery, and invaluable life lessons.

      Be it a cozy nook or a dedicated playroom, the space becomes the canvas for their imagination to run wild. As kids explore and learn through play, they not only develop essential cognitive and motor skills but also cultivate a sense of independence and creativity that resonates throughout their lives.

      From building towering block structures to delving into make-believe worlds, these early playful experiences lay the foundation for a lifetime of curiosity, resilience, and joyous exploration. We hope this playroom inspiration has helped you! So, whether it’s a corner or an entire room, let’s champion the significance of providing our kids with spaces that speak to the heart of their growth journey.

      What’s Next?

      The Ultimate Guide: Cool Gifts for Newborns

      The Ultimate Guide: Cool Gifts for Newborns

      The Ultimate Guide: Cool Gifts for Newborns

      shopping cart hammock cool gifts for newborns

      Stepping into the magical world of motherhood is an exciting time for any mama. Here are some absolutely cool gifts for newborns!  

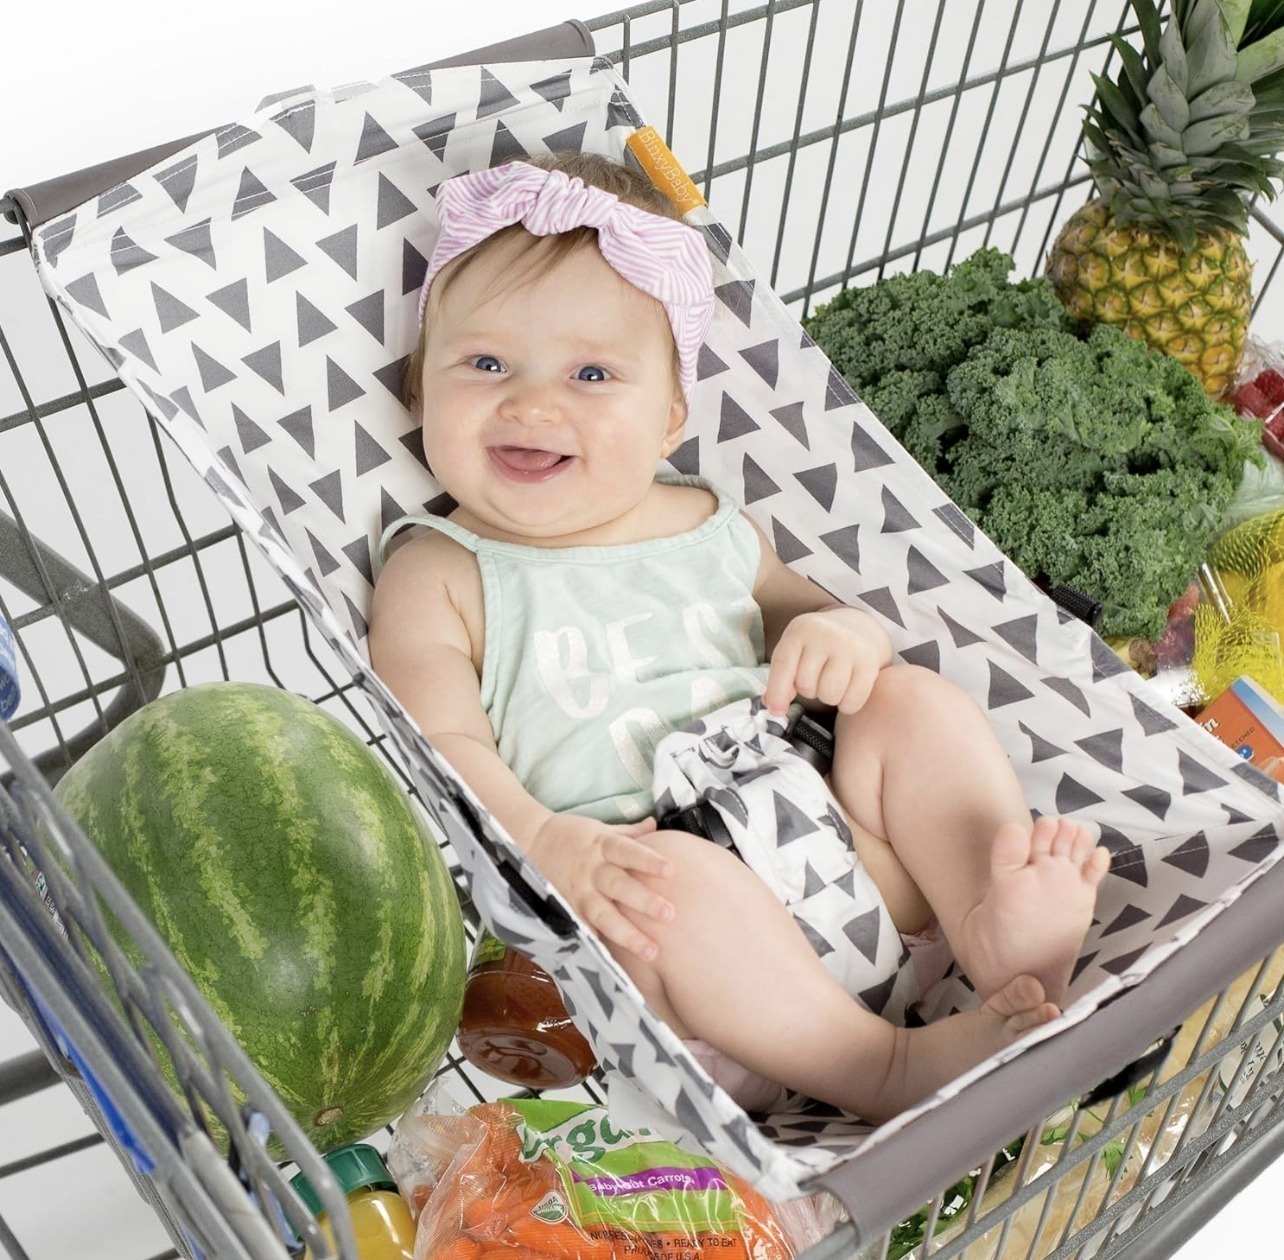
      Amazing Baby Hammock – Such Cool Gifts for Newborns!

      This hands-free shopping miracle let’s you snag your weekly groceries without breaking a sweat and makes shopping with your little one a joyful experience!

      It’s so easy to attach your baby to the shopping cart, allowing parents to be hands-free while baby enjoys the view with plenty of room in the cart for your shopping items!


      Feeding On-the-Go Made Easy!

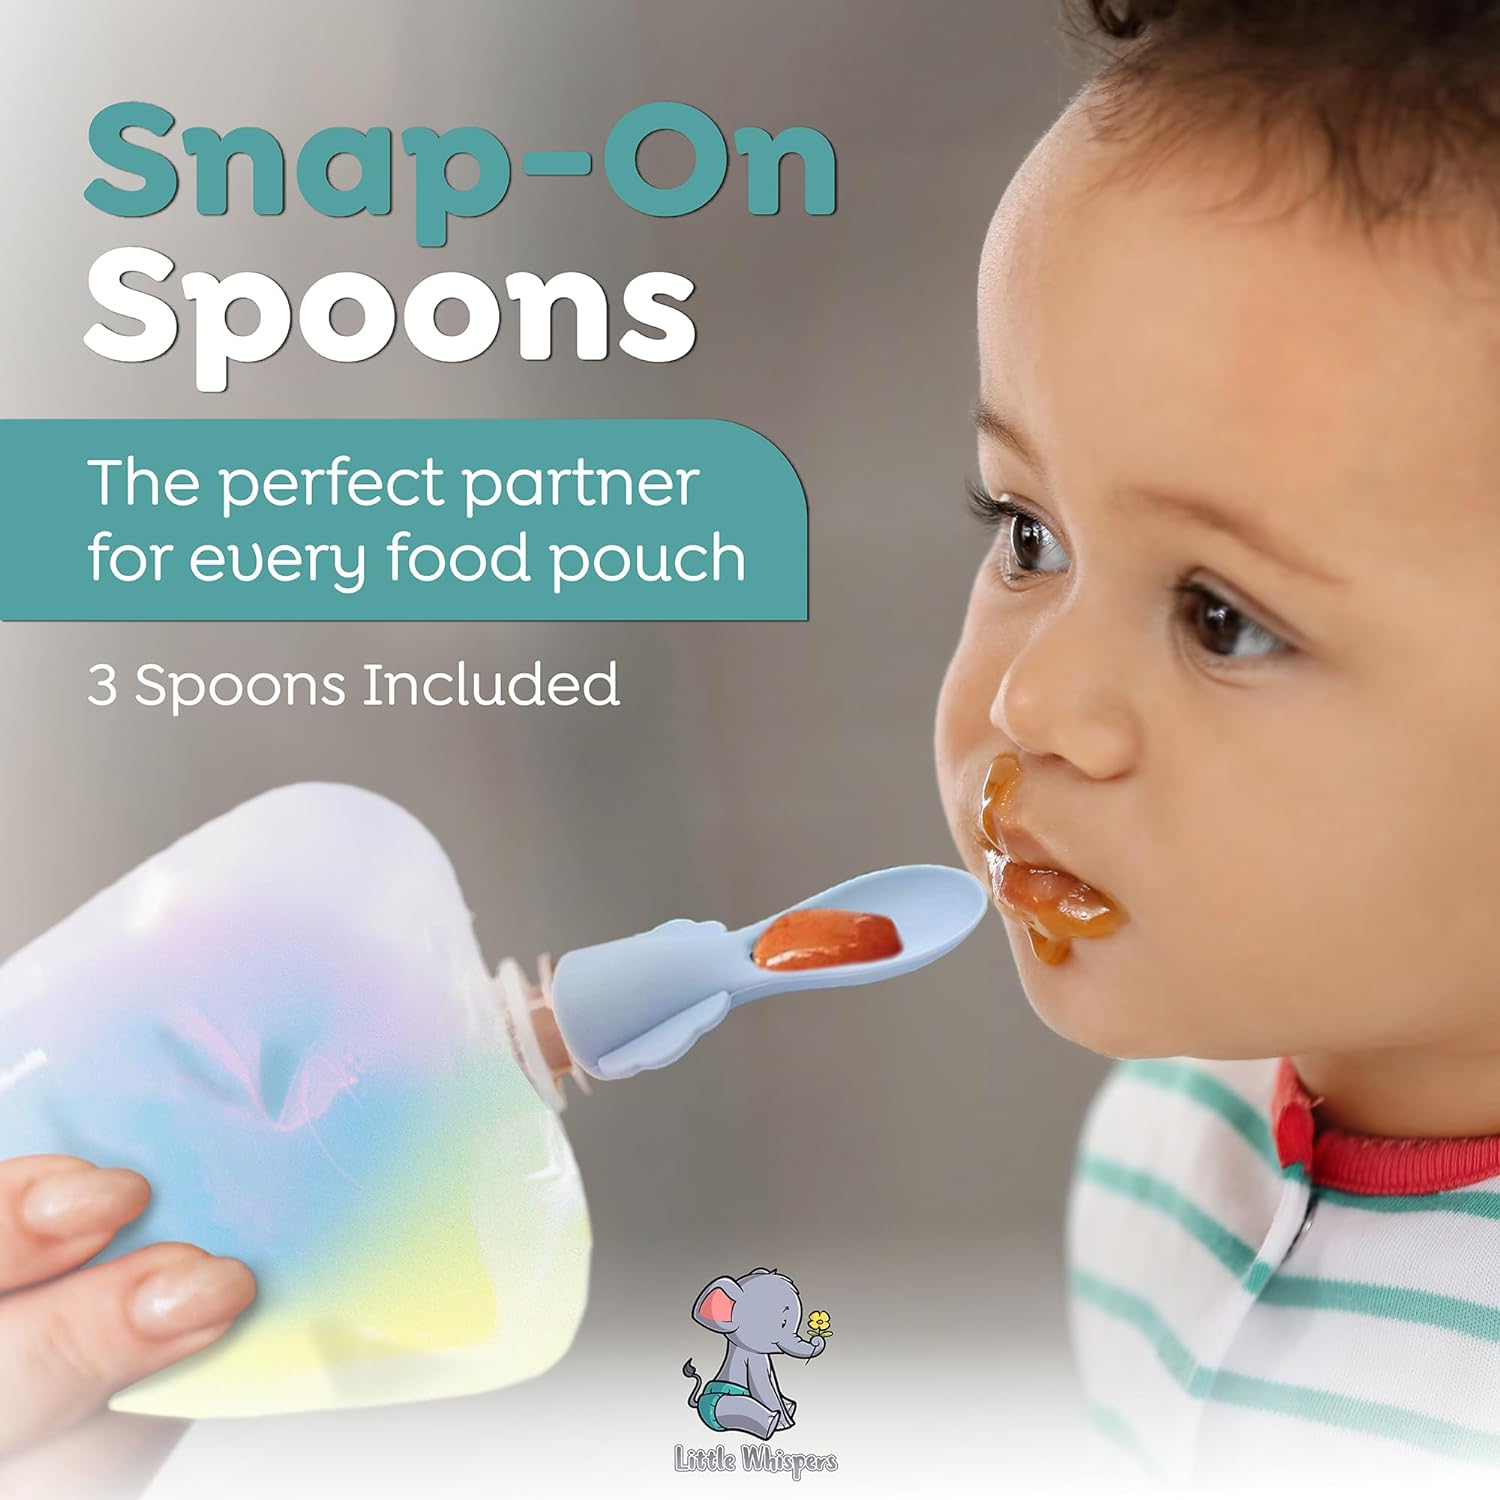
      Picture this: a nifty spoon attachment that practically turns feeding on the go into an art form – because let’s be real, life doesn’t slow down, and neither does hunger!  Meet the innovative spoon attachment that transforms feeding into a breeze while you’re on the move.I like that the baby food pouch spoons are crafted with soft, flexible, and lightweight silicone, making them perfect for tiny mouths and facilitating a smooth transition to solid foods. The spoons snap onto any ready-made baby food pouches so your little ones can begin learning how to feed themselves.

      magic mixie toy genie bottle gold
      cool gifts for newborns spoon attachment for pouches

      Feeding On-the-Go Made Easy!

      Picture this: a nifty spoon attachment that practically turns feeding on the go into an art form – because let’s be real, life doesn’t slow down, and neither does hunger!  Meet the innovative spoon attachment that transforms feeding into a breeze while you’re on the move.I like that the baby food pouch spoons are crafted with soft, flexible, and lightweight silicone, making them perfect for tiny mouths and facilitating a smooth transition to solid foods. The spoons snap onto any ready-made baby food pouches so your little ones can begin learning how to feed themselves.


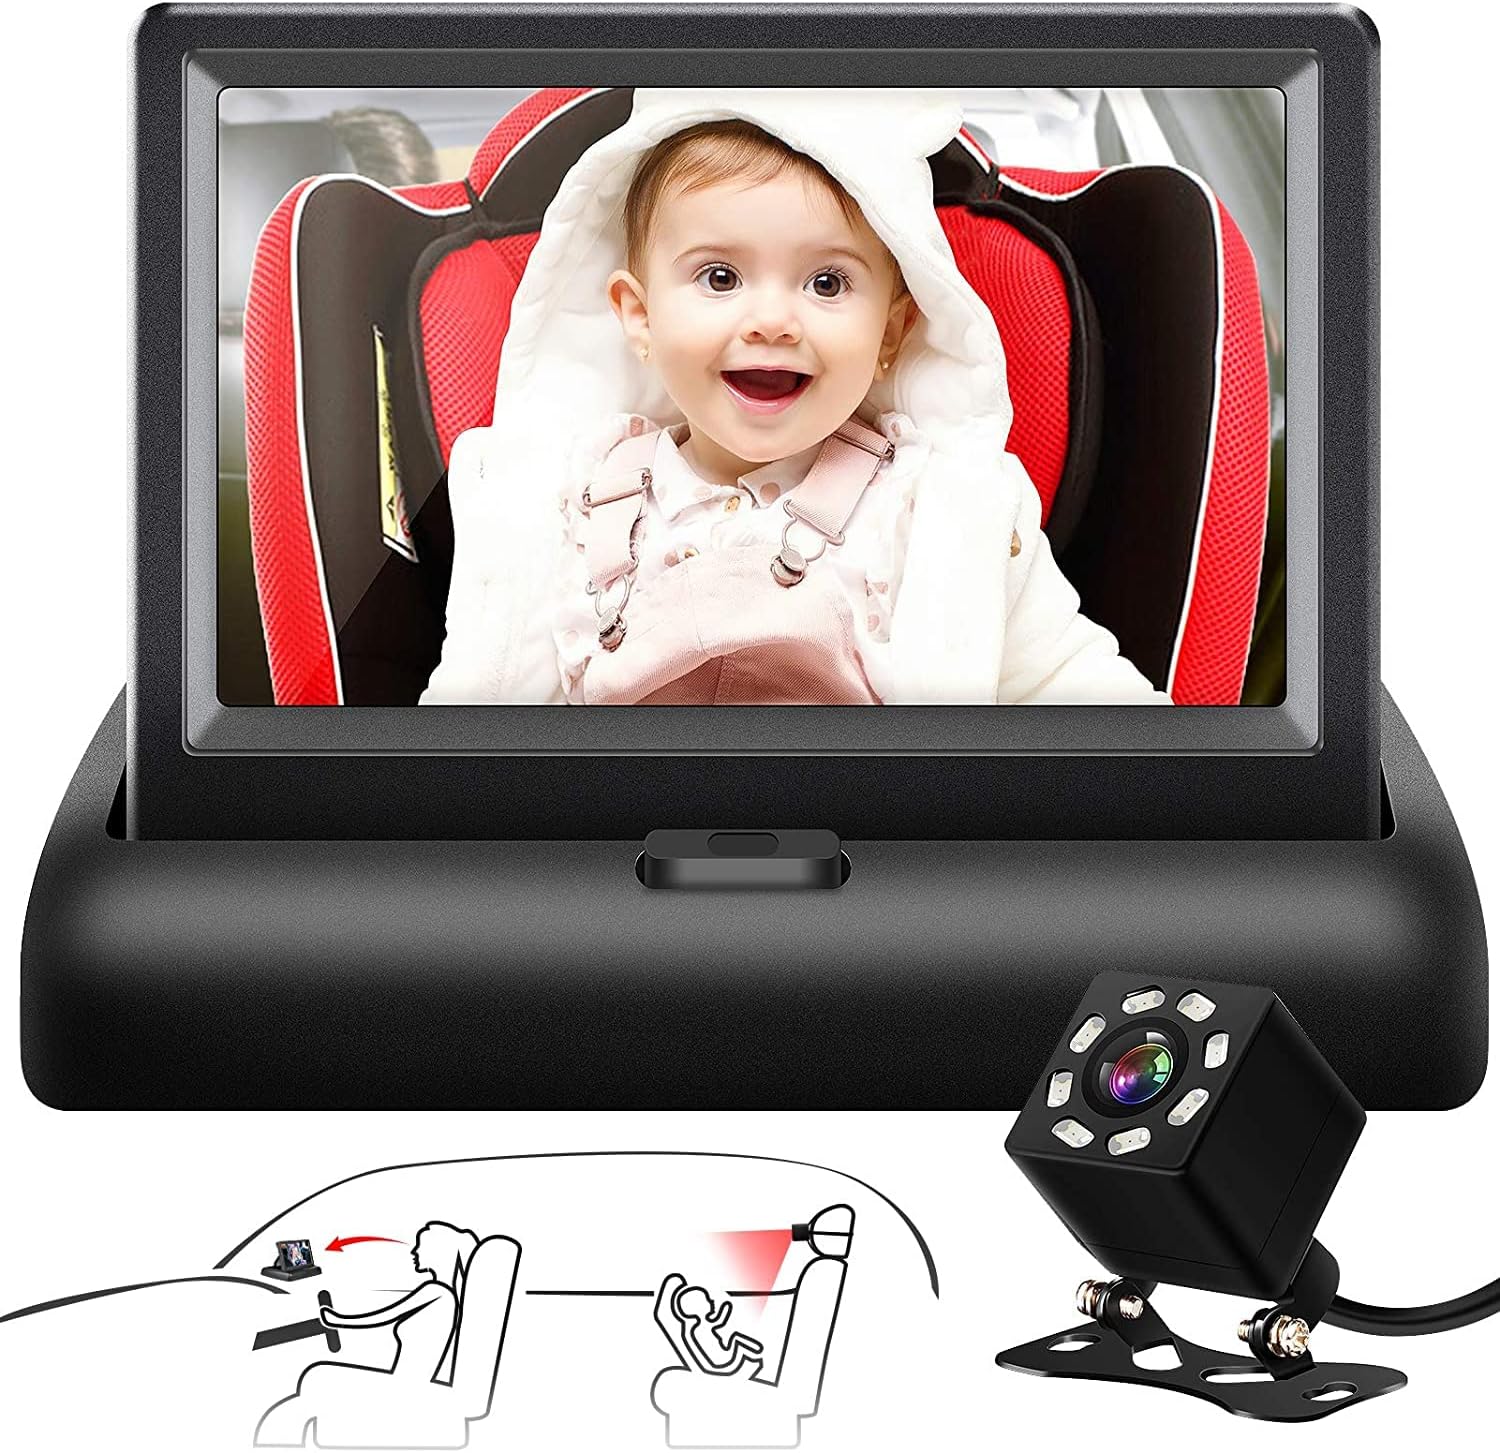
      cool gifts for newborns car camera monitor

      Innovative Monitor and Camera for the Car!

      This baby car monitor has been a game-changer for me, providing unparalleled peace of mind during our car journeys. Its user-friendly design allows for effortless monitoring of my baby in the car seat, offering a clear and crisp video feed that assures me of their safety and comfort while I focus on driving. The ease of installation and compact size further enhance its practicality, ensuring it doesn’t obstruct my view. This is a must have for parents who priortize safety and peace of mind on the road!


      More Cool Gifts for Newborns (and their parents!)

      Looking for even more cool gifts for newborns? Keep on reading!
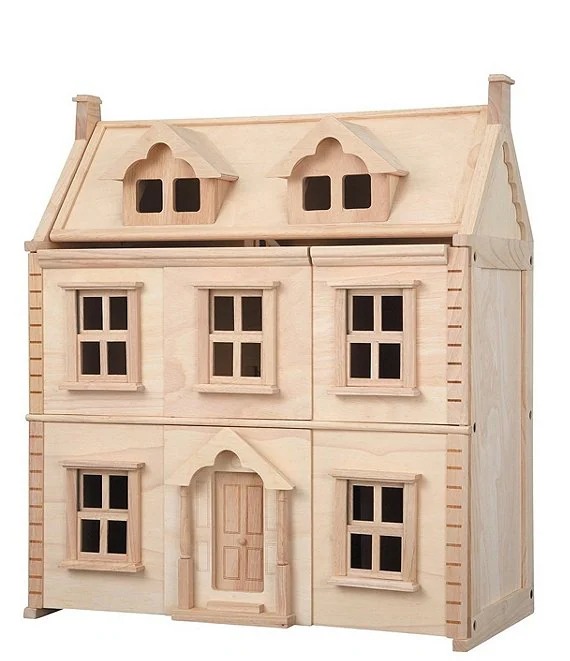
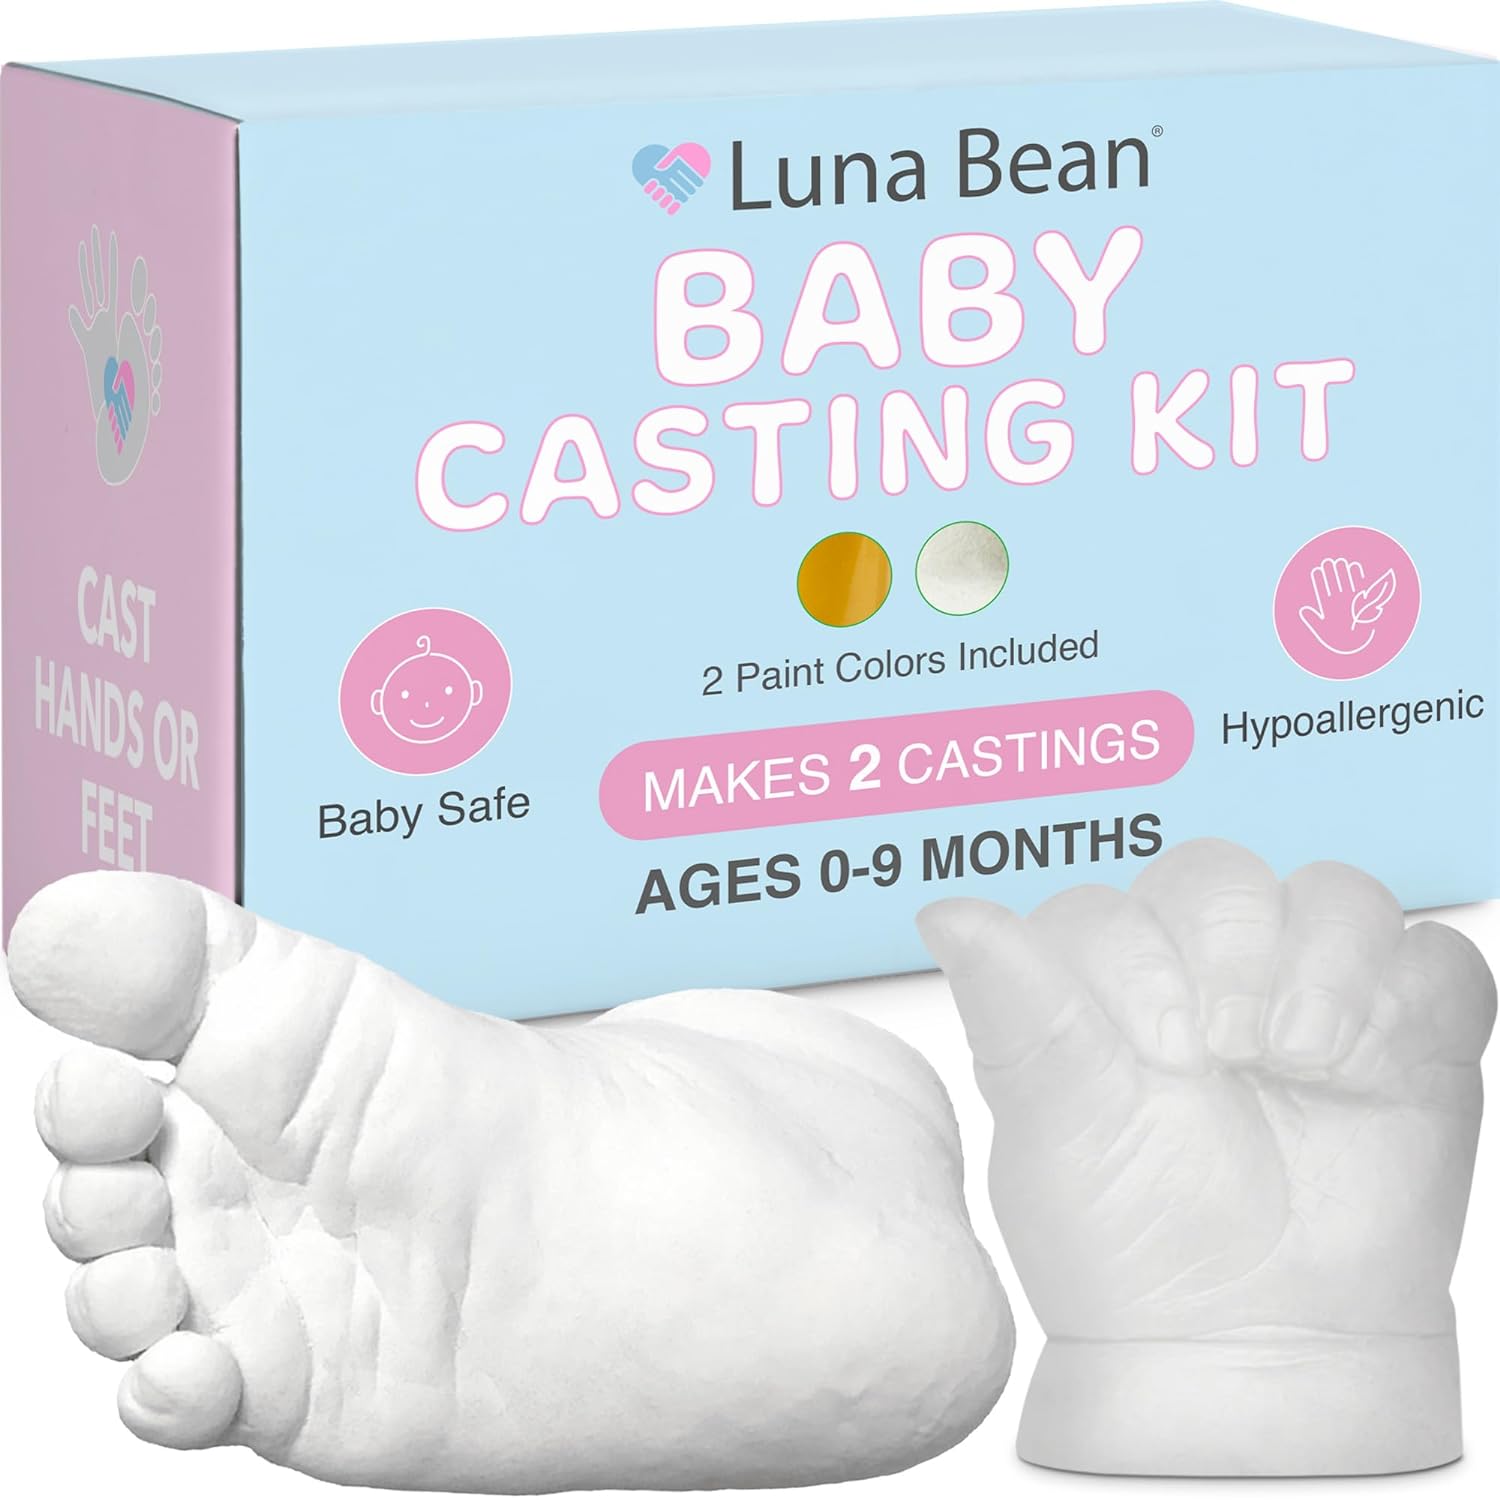
      baby casting kit cool gifts for newborns

      Baby Casting Kit

      Creating a mold of your little one’s hand or foot is such a great keepsake!

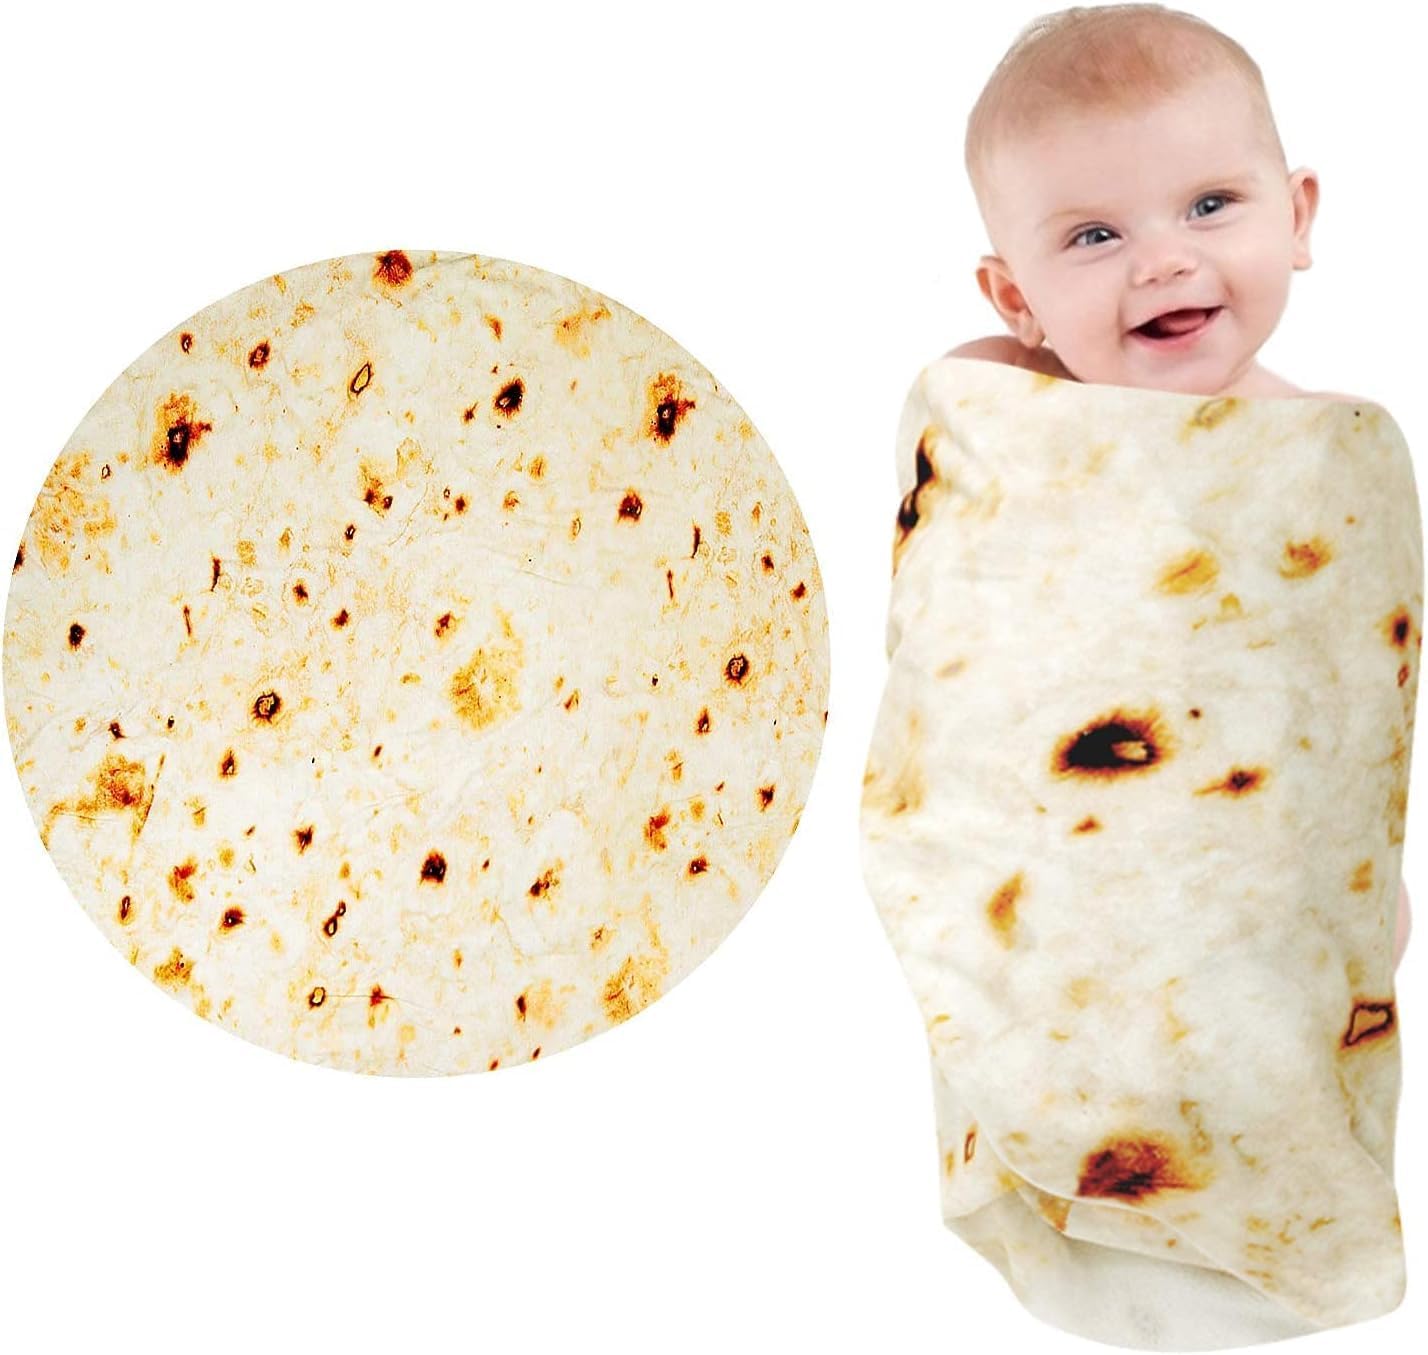
      cool gifts for newborns baby burrito

      Burrito Blanket

      This is a blanket that will be sure to give parents a laugh! There’s nothing cuter than a baby burrito!

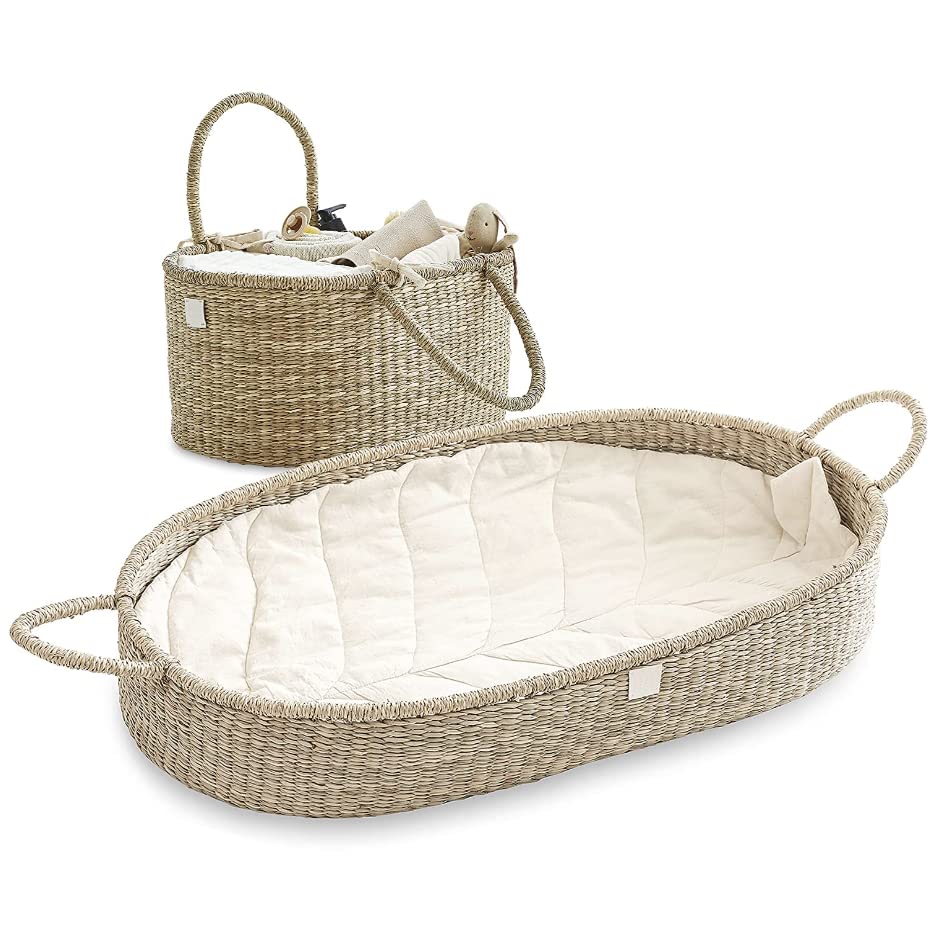
      cool gifts for newborns diaper caddy and changing basket

      Lux Diapering Set

      This gorgeous set includes a diaper caddy and changing basket – both made of organic seagrass!

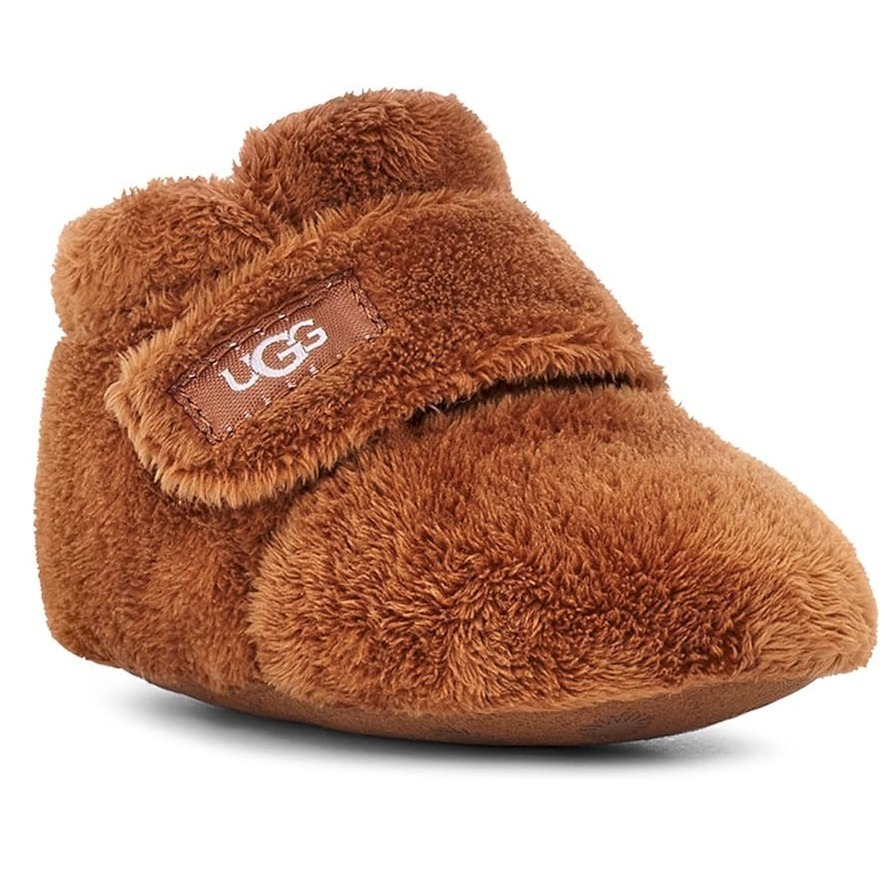
      cool gifts for newborns baby ugg

      Baby UGGs

      Keep those newborn toes warm, comfy, and stylish with these mini oh-so-adorable UGGs!

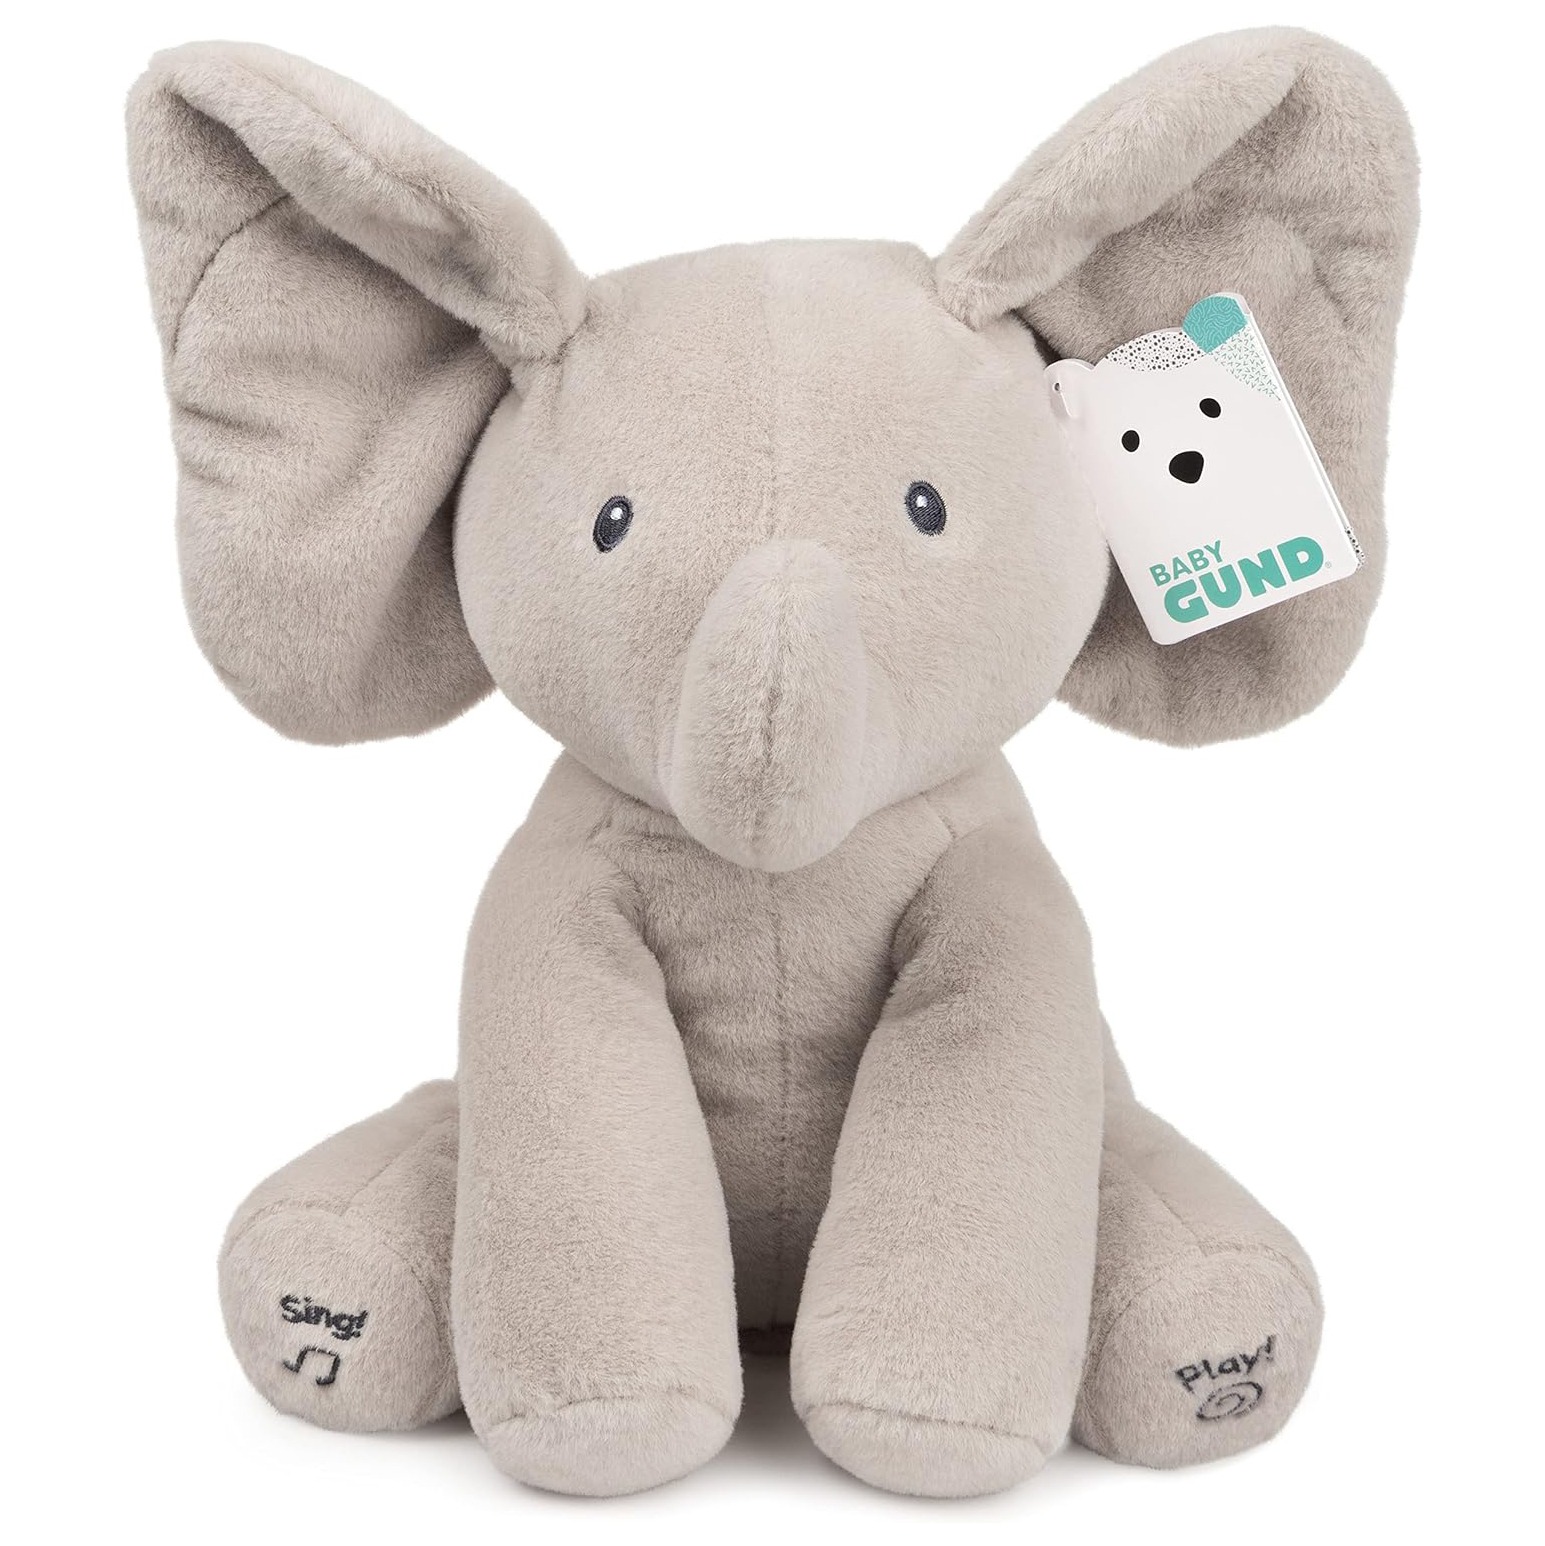
      cool gifts for newborns elephant toy

      Baby’s First Plushy!

      This interactive elephant plushy comes to life as it sings and plays peek-a-boo with it’s flapping ears!

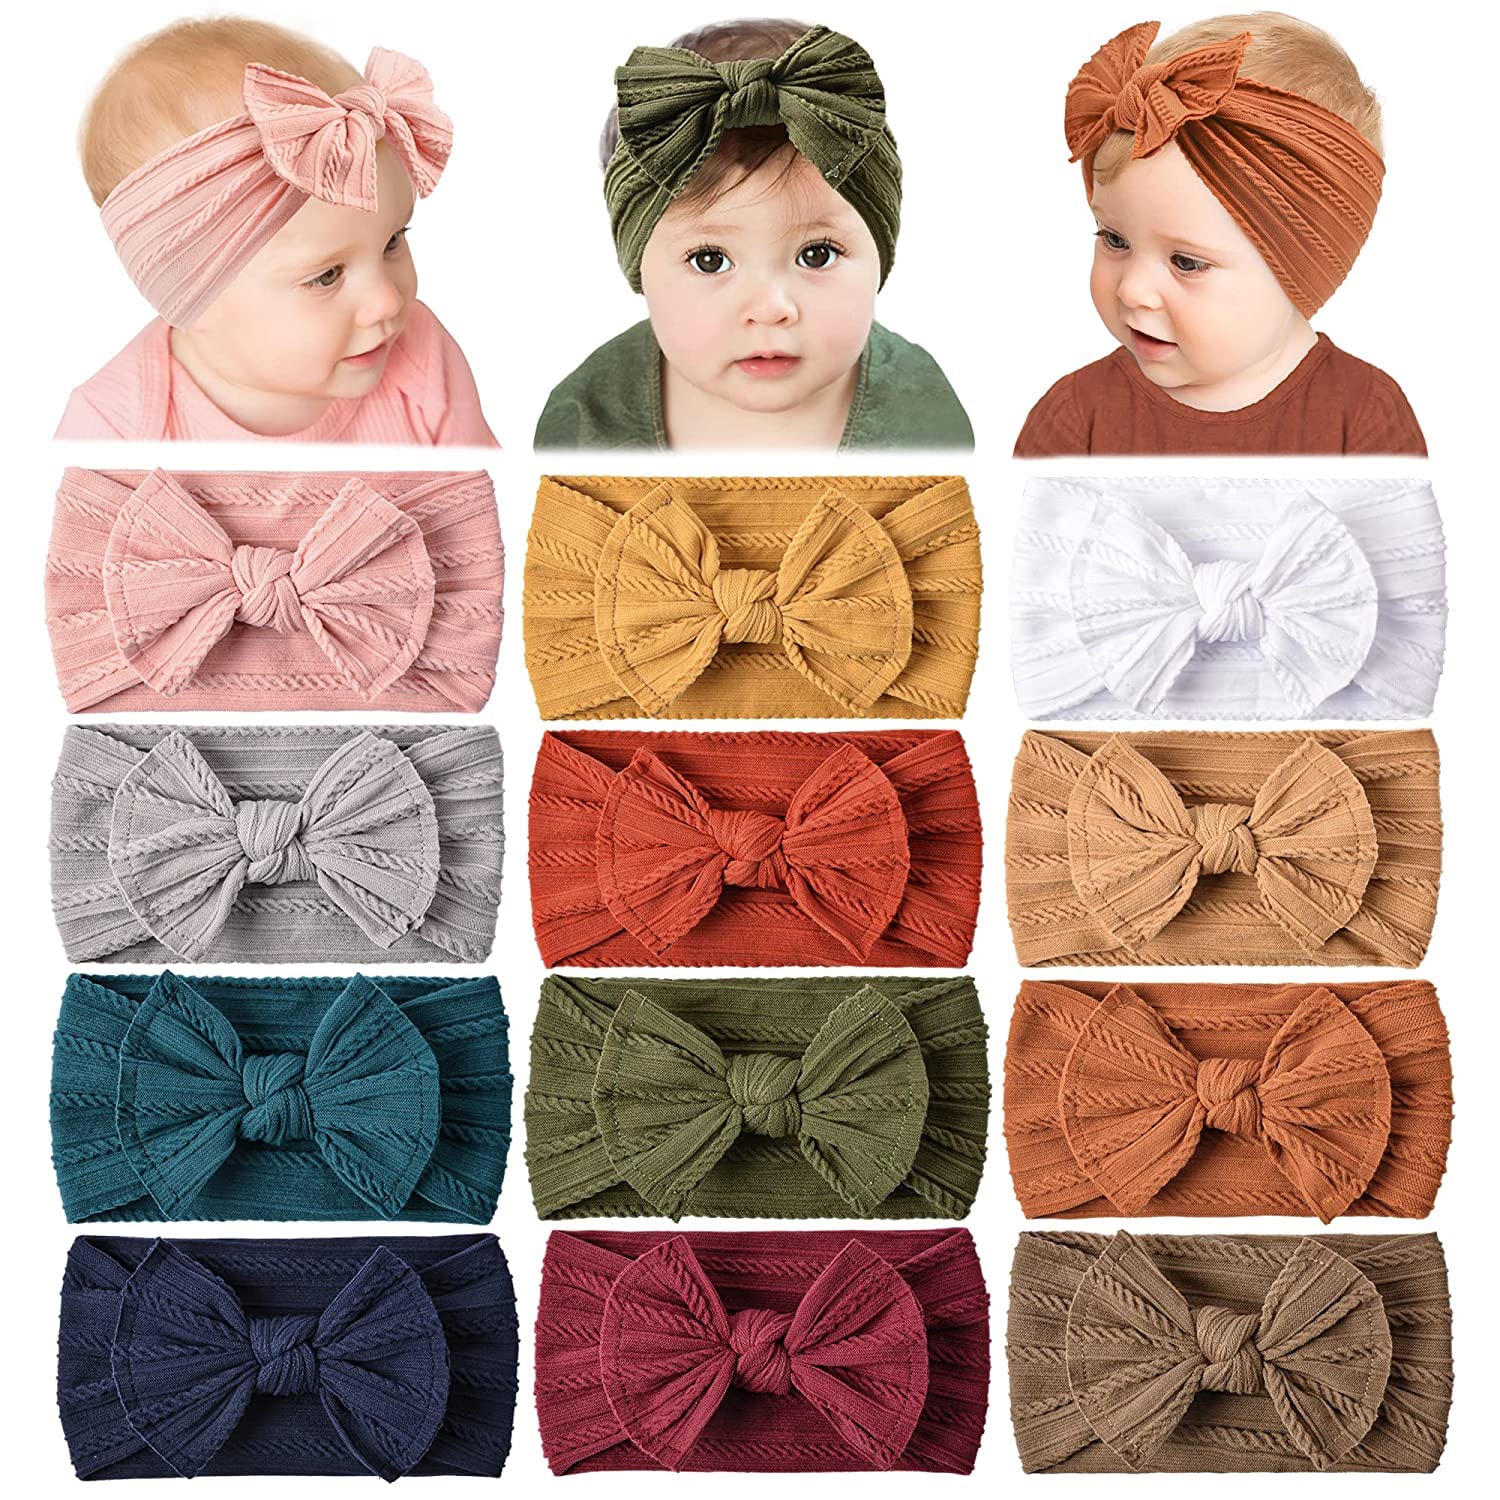
      cool gifts for newborns headband set

      Baby Headbands

      Don’t settle for one color! This set of nylon headbands ensures baby has a matching headband for any outfit!

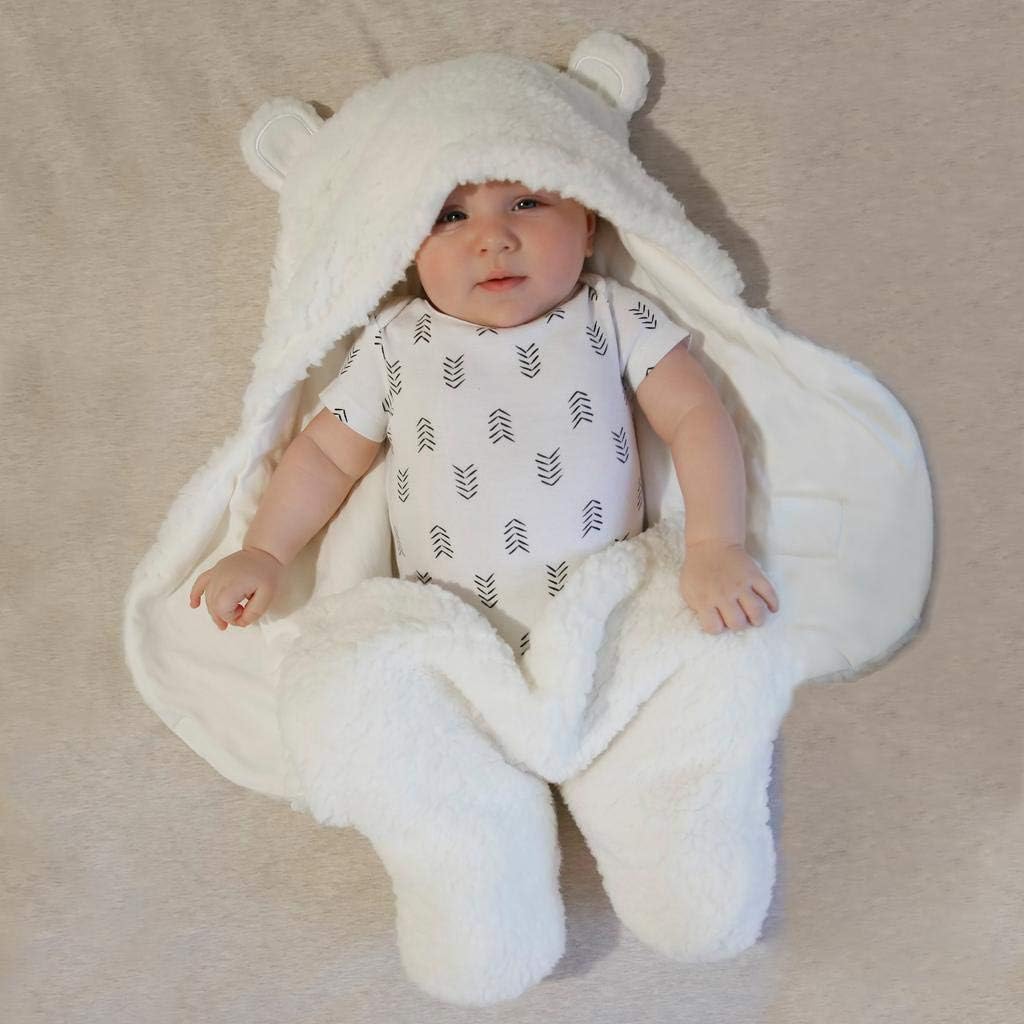
      cool gifts for newborns baby bear wrap

      Baby Bear Wrap

      Made with organic cotton and soft Sherpa – this is such a cute wait to bundle up baby!

      pacifier syringe cool gifts for newborns

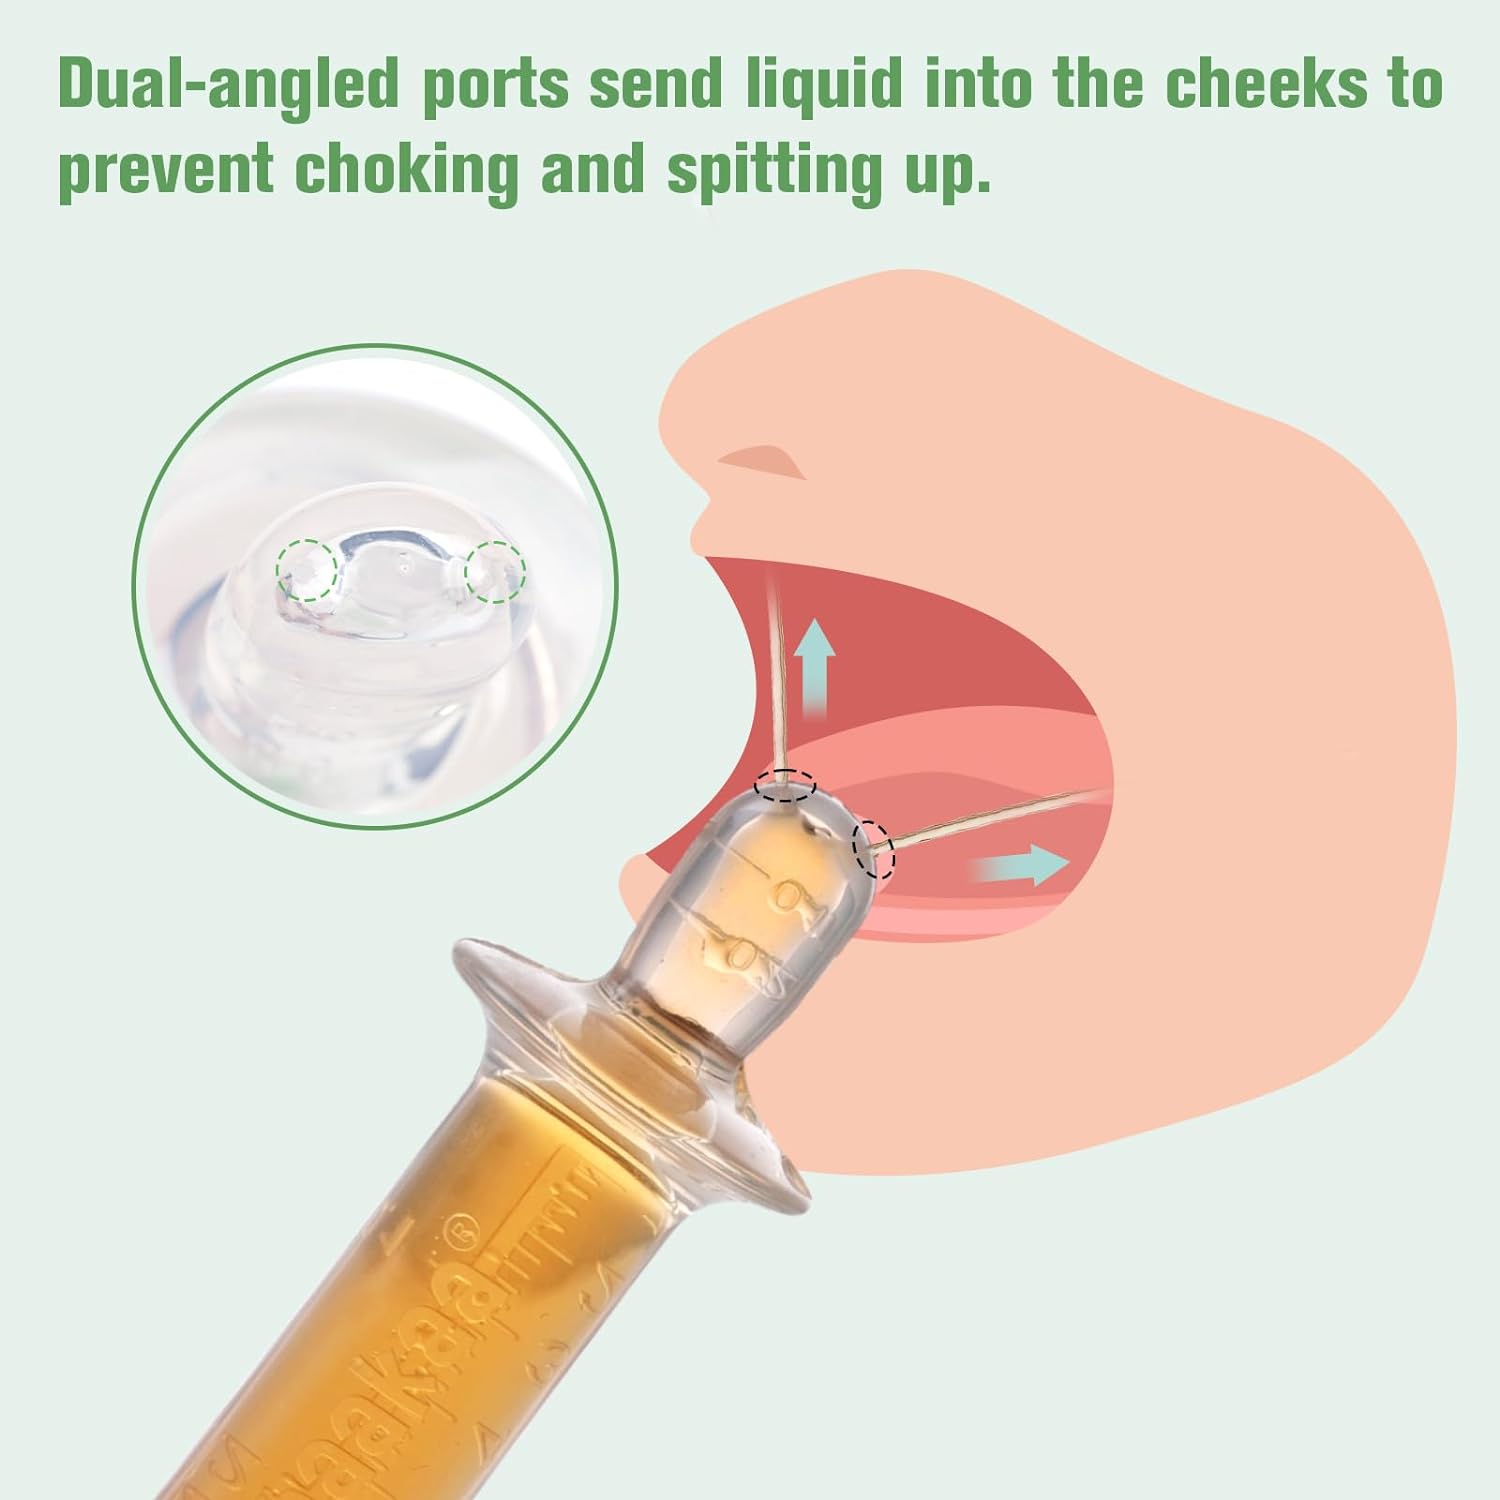
      Innovative Medicine Dispenser

      This pacifier syringe reduces choking risks by administering liquid to the cheeks instead of the back of the throat.

       Watch to See 3 of These Cool Gifts for Newborns in Action!

      Parenthood is a whirlwind of emotions, and being well-prepared makes the adventure even more enjoyable.

      In this video, watch to see a few items I’ve mentioned above in action! I’ve loved all of these products for my own babies because they make life with a newborn and baby easier. In the video you’ll see: the shopping cart hammock, spoon attachment that fits onto food pouches, and medicine dispenser specifically designed for babies!

      And if you’d like even more gift ideas for newborns (and their parents!) check out even more ideas here!

      As an Amazon Associate, I earn from qualifying purchases. This post may contain affiliate links. 


      Watch to See 3 of These Cool Gifts for Newborns in Action!

      Parenthood is a whirlwind of emotions, and being well-prepared makes the adventure even more enjoyable.

      In this video, watch tosee are a few items I’ve mentioned above and that  I’ve loved for my own babies that make life just slightly easier! They include: the shopping cart hammock, spoon attachment that fits onto food pouches, and medicine dispenser specifically designed for babies!

       And if you’d like even more gift ideas for newborns (and their parents!) check out even more ideas here!

      As an Amazon Associate, I earn from qualifying purchases. This post may contain affiliate links. 


      What’s Next?

      Rotating Toys in Our Playroom – Month 2

      Rotating Toys in Our Playroom – Month 2

      Rotating Toys in Our Playroom – Month 2

      Here is what rotating toys in our playroom looked like during this October!
      Do you need some ideas for toy rotations? Every month, I plan on sharing our playroom and how I rotate the toys. Welcome to our second month!

      Is Rotating Toys Important?

      Toy rotations are a great way to keep kids engaged with a limited amount of toys to avoid overwhelming a child with too many choices which can often result in clutter, disorganization, and toys not being played with at all.

      A rotation could be weekly, monthly, every other month. There is no set way to do it, but I personally aim to do it monthly! 

      Rotating toys is not just about changing up the specific toys they are playing with, it is about displaying them in a simple way so they are in sight. In fact, some times you don’t even need to switch all of the toys out, but instead change the placement of a toy to spark a new interest in it!

      Watch to See How I Rotated Toys This Month!

      In this video you’ll see all the toys the kids got to play with and enjoy during the month of October! You will also see how I decorated the walls with my kid’s Halloween-themed artwork from past years as well as other spooky decor on top of the toy shelves!

      Keep on reading to see a full list and details on each of these toys along with links in case you are interested in rotating toys too!

      All activities should be supervised by an adult. As an Amazon Associate, I earn from qualifying purchases. This post may contain affiliate links.

      montessori play shelves rotation

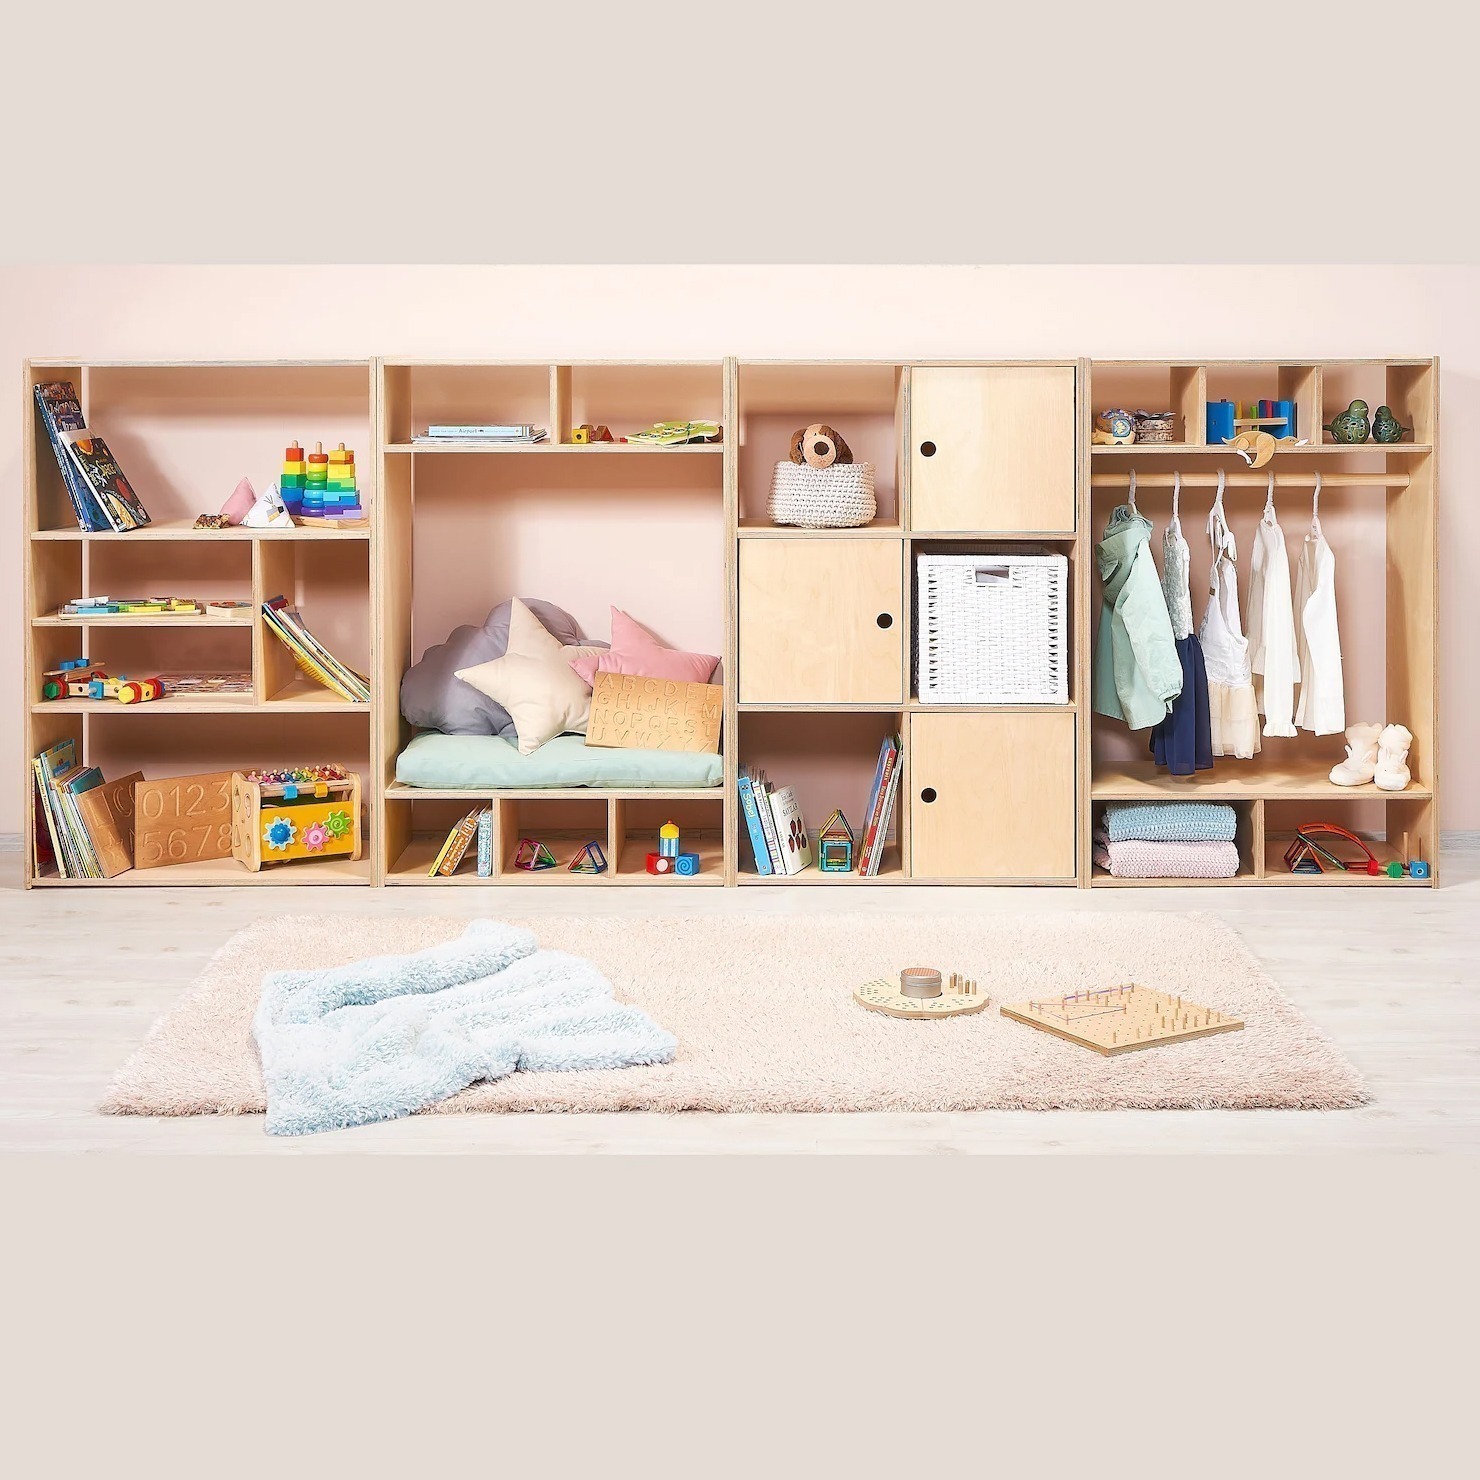
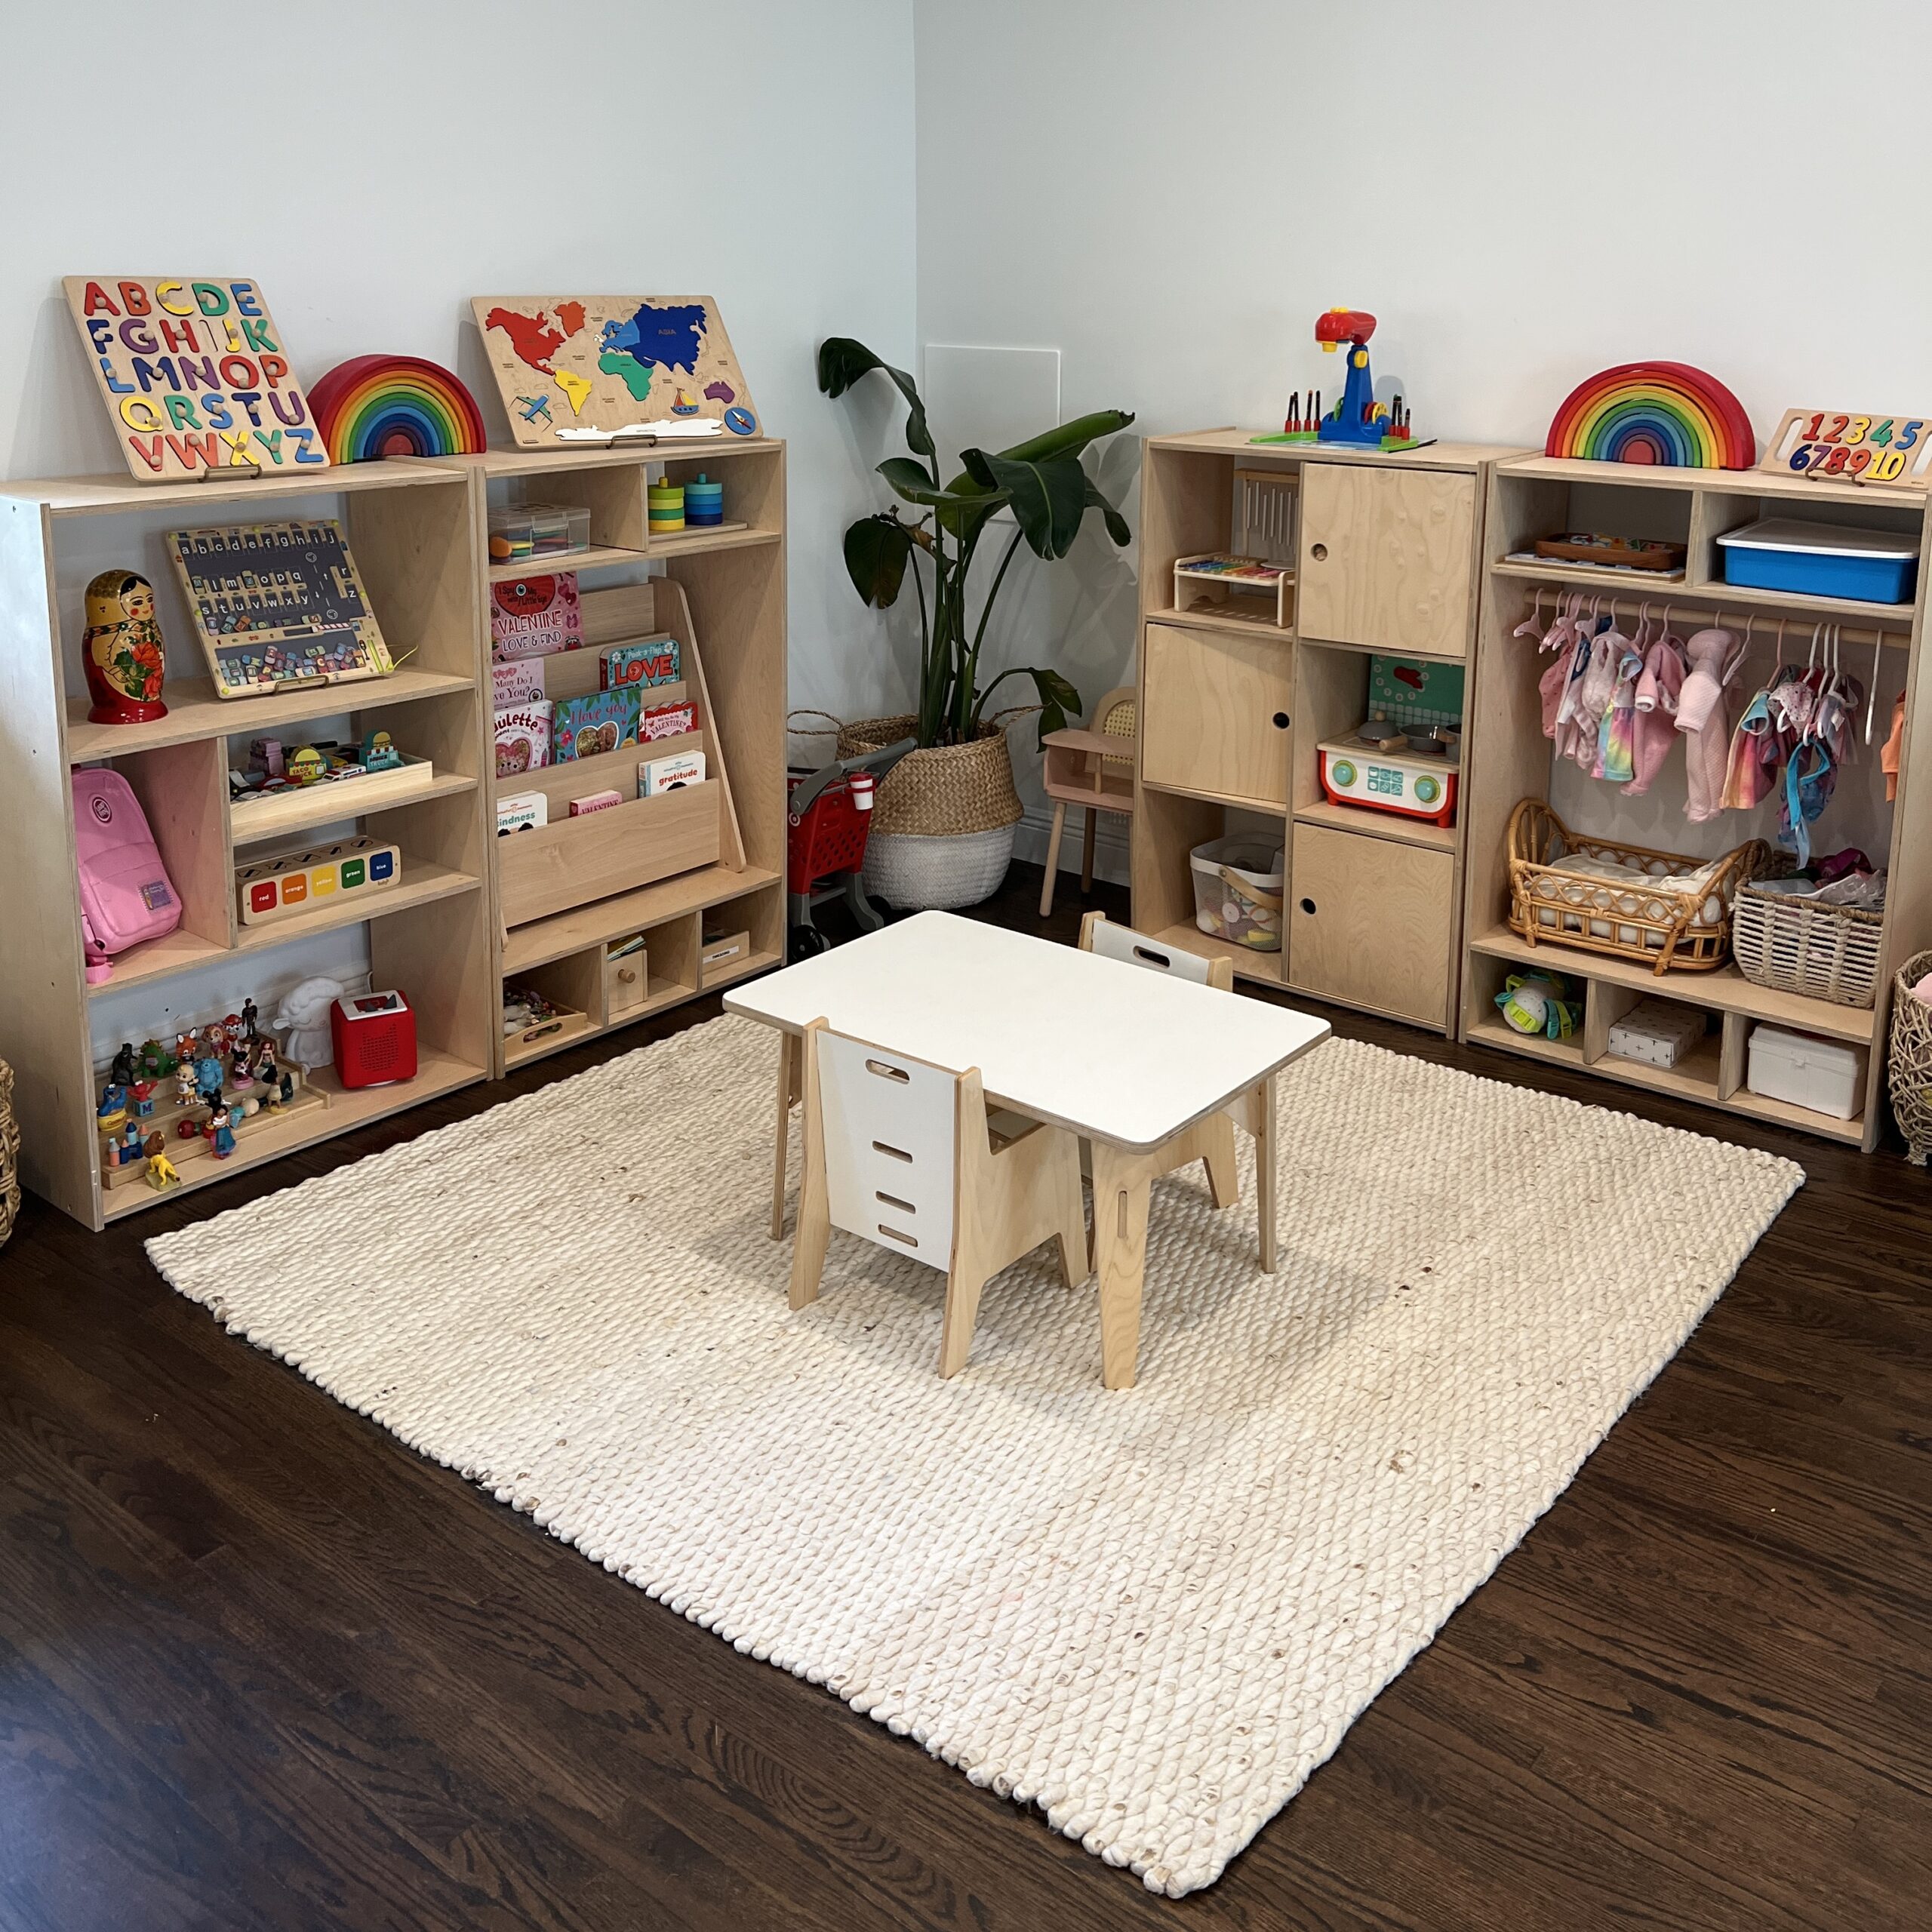
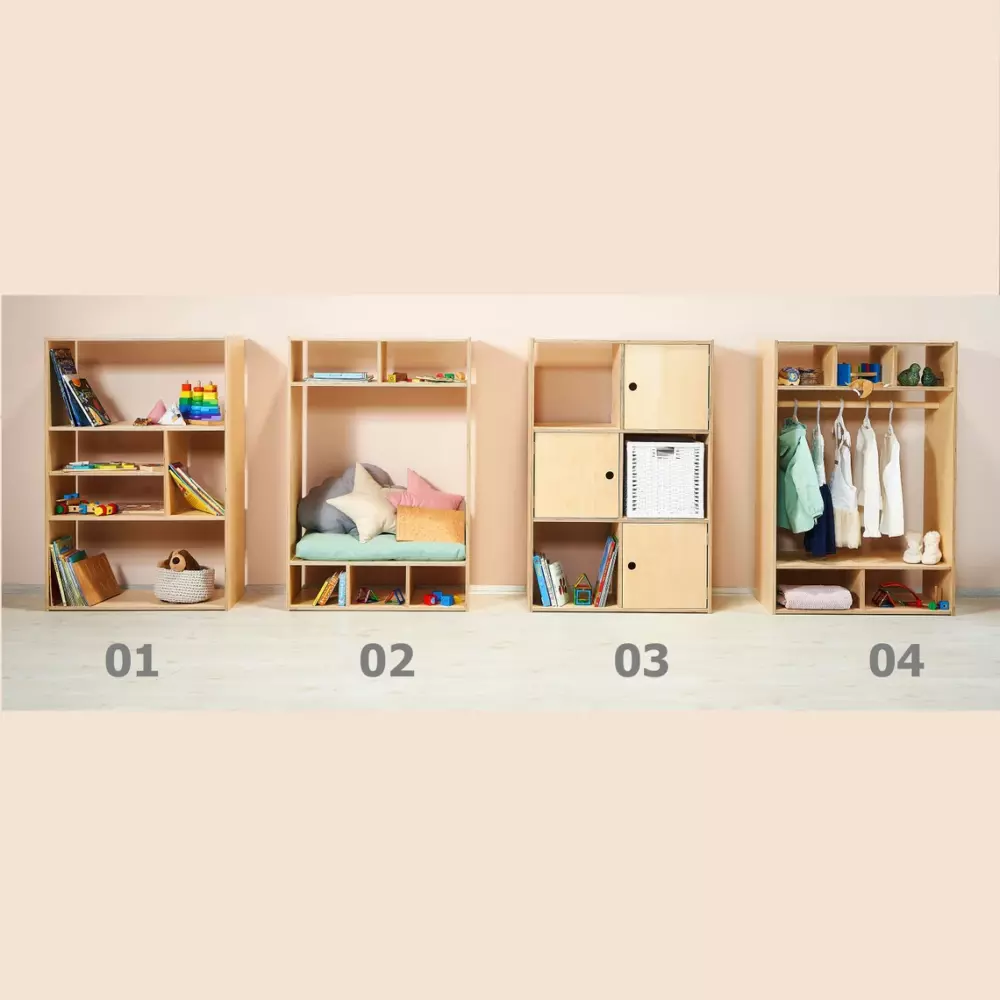
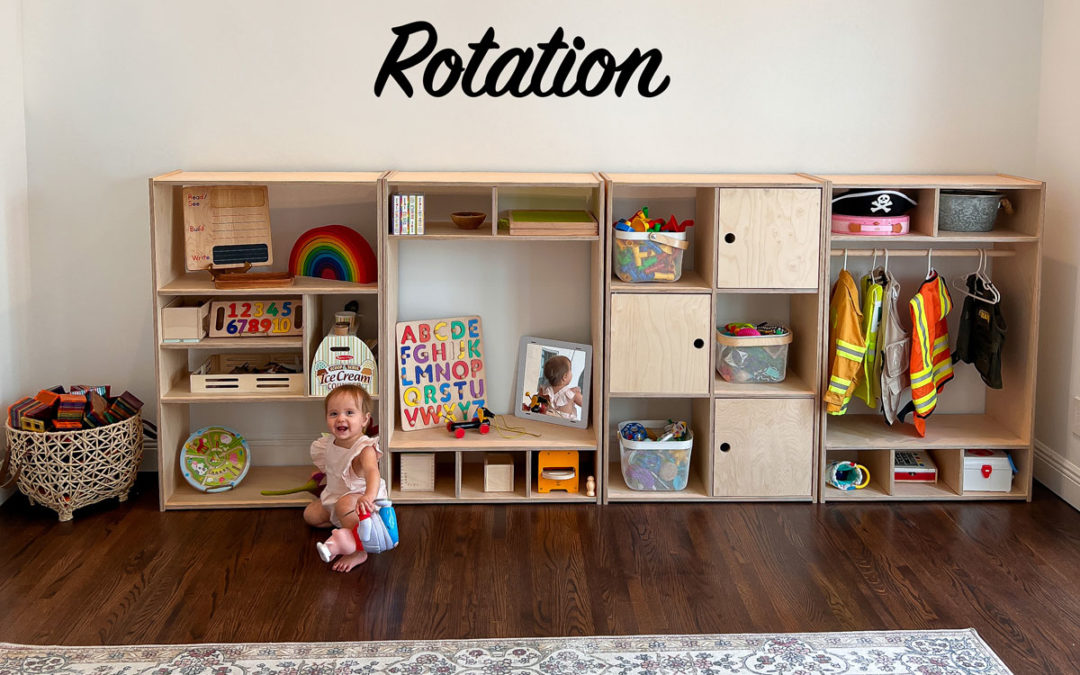
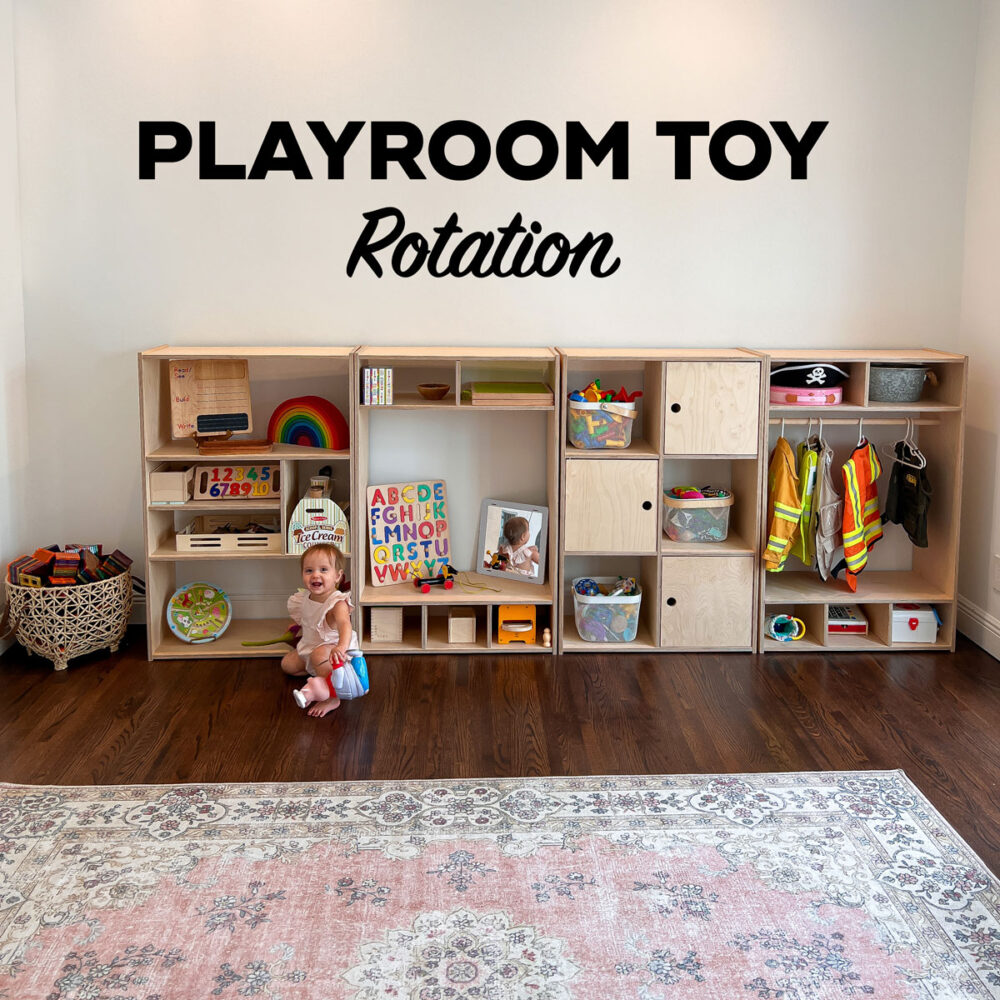
      About Our Play Room Shelves

      We love these Montessori-inspired play room shelves. You can get them in 4 different configurations as pictured.

      They are wooden, handmade, and are the following dimensions:

      • Width: 28 1/2 inches
      • Height: 43 1/8 inches
      • Depth: 13 1/2 inches

      I love how there are so many sections with varying sizes to accommodate different types of toy shapes and lengths – they make rotating toys so easy to display. The clothing rack is a wonderful accessory for being able to display pretend play outfits! They were very easy to build and are such a beautiful way to display toys!

      Toy Rotation Items

      Here are the details for the toys my kids (7, 5, 4, and 10 months) had in their playroom for the month of October!

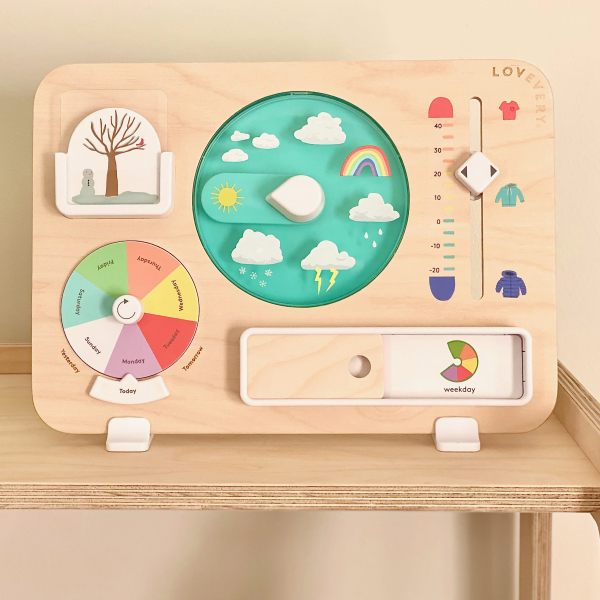
      Weather Board Toy

      Weather Board

      A visual and interactive tool to help your kiddo understand weather, seasons, days of the week, and temperature!

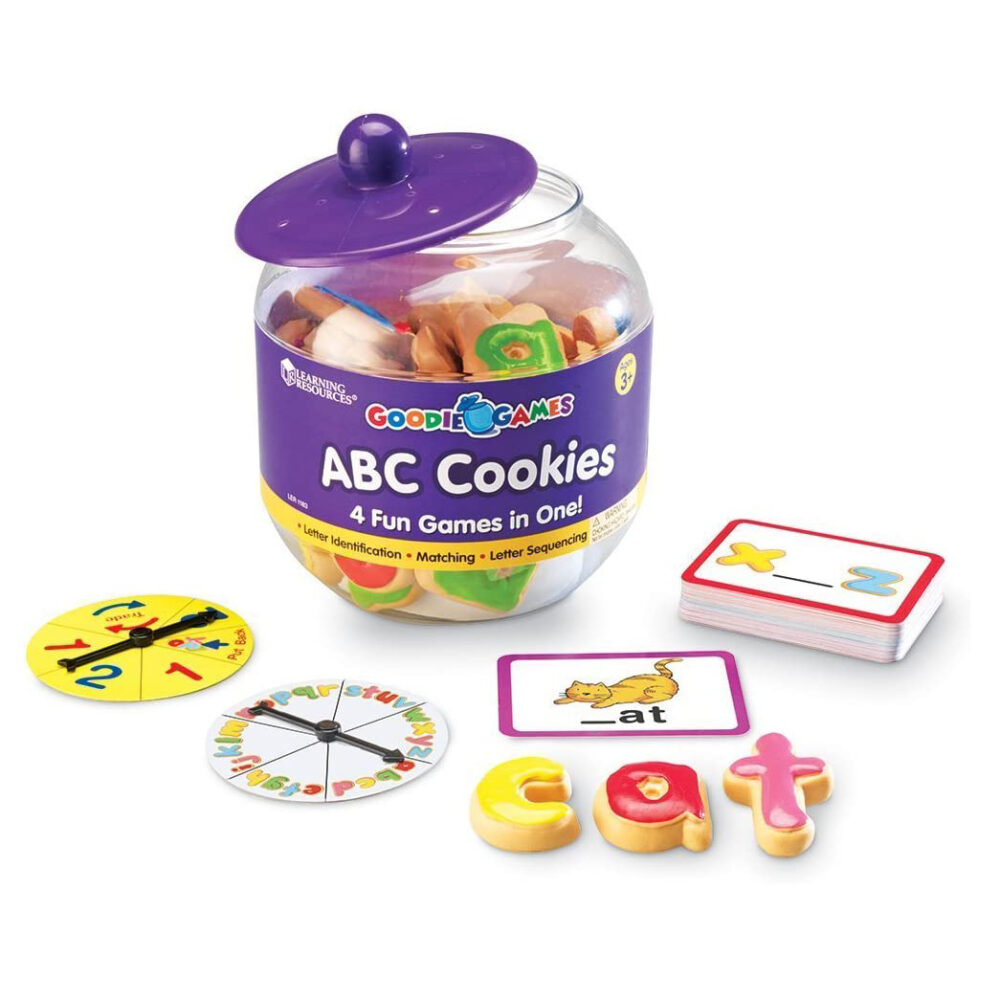
      Alphabet learning game cookie

      Alphabet Cookies

      This jar full of alphabet shaped cookies is a fun way to learn letters and build simple words!

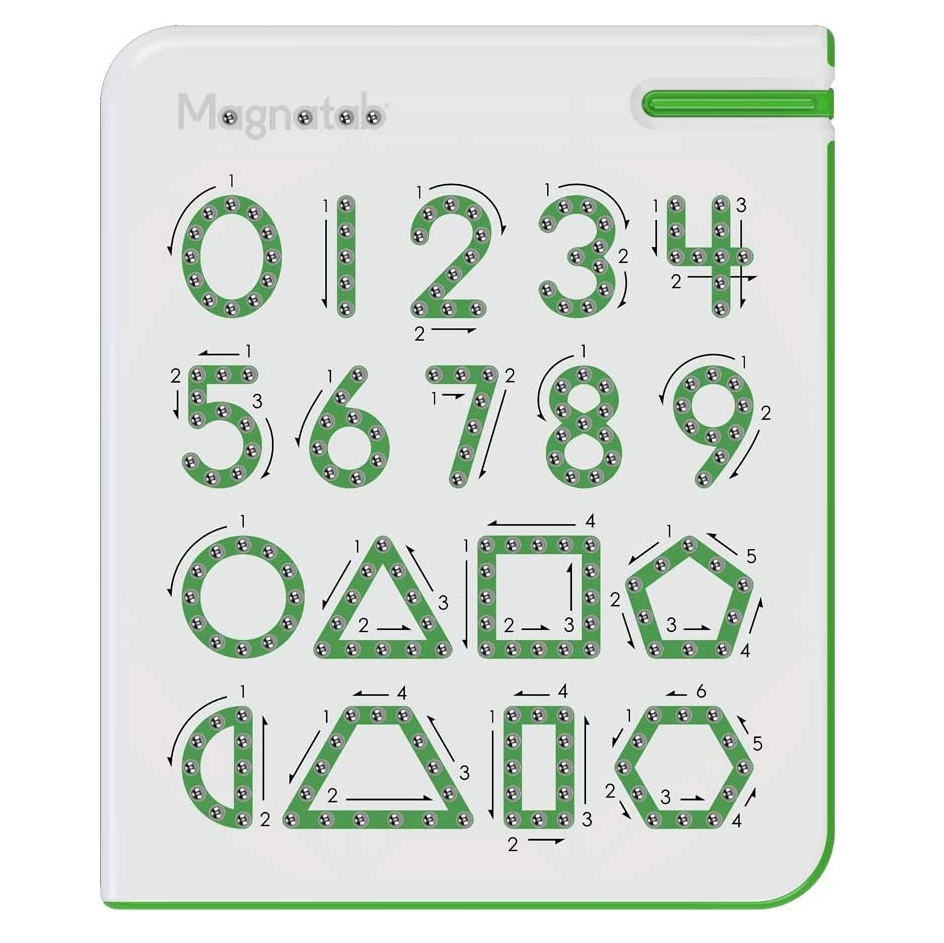
      Magnetic Number and Shape Tracing Board

      Magnetic Tracing Board

      Use a magnetic wand to learn how to trace and write numbers and shapes!

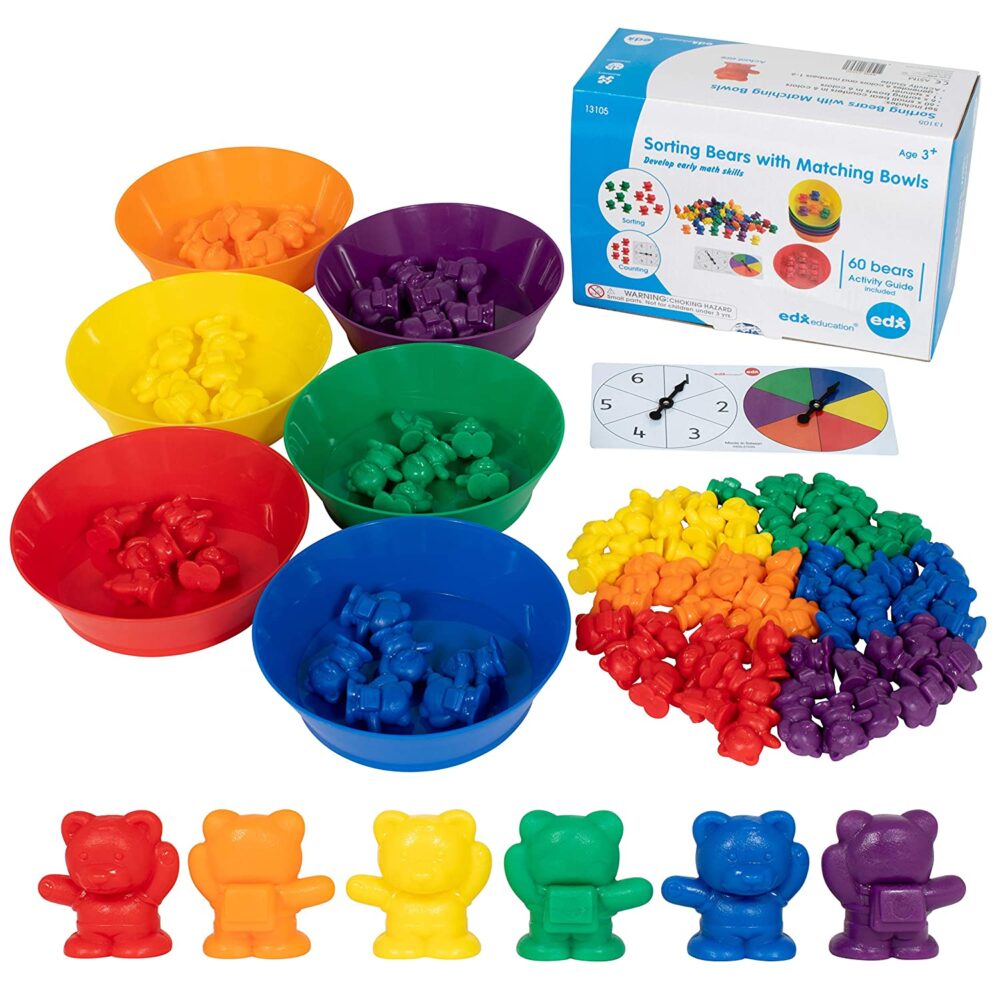
      Sorting Bear Activity Learn Numbers and Colors

      Counting Bears

      These colorful bear manipulatives are a fun way to learn counting and colors!

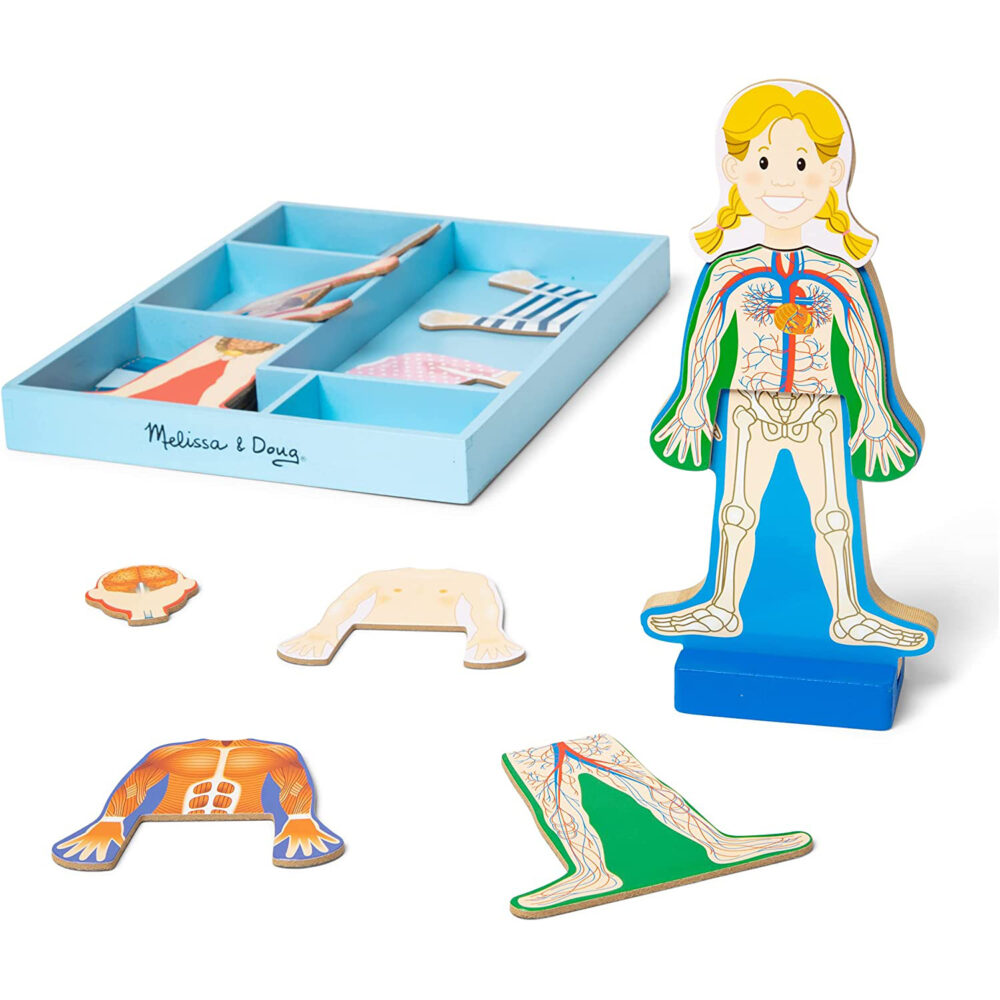
      Anatomy Puzzle for kids

      Vertical Anatomy Puzzle

      This is such a fun way to learn about the human body. The pieces are magnetic and it comes with the storage container!

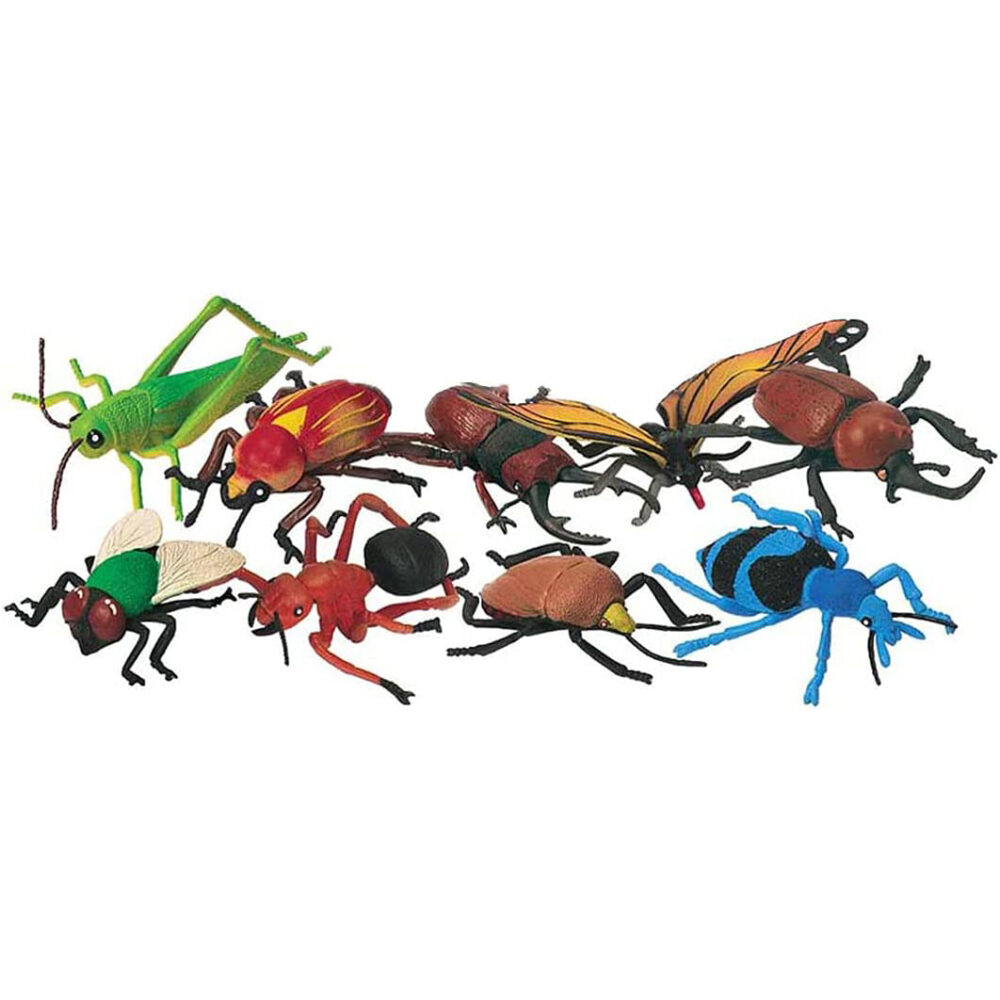
      large insect figurines

      Jumbo Insect Figurines

      These insect figurines are huge! Great for babies and toddlers. Use them with our free printable Montessori-inspired insect matching cards!

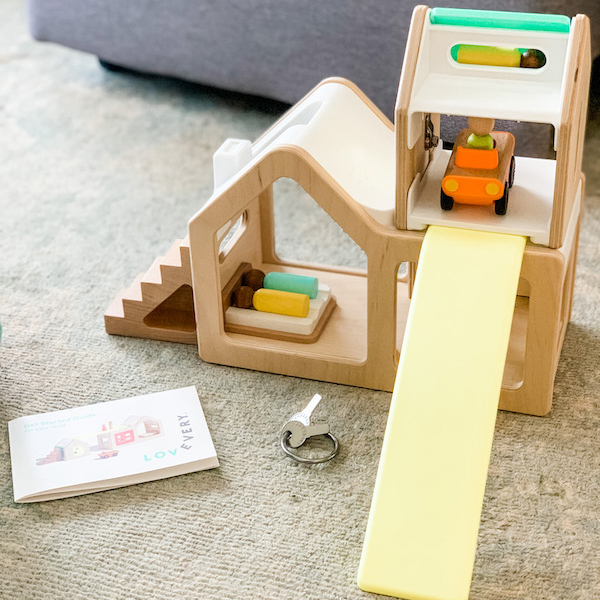
      wooden modular doll house

      Modular Doll House

      The set includes a modular house, garage, car, people, as well as wooden bed and stairs.

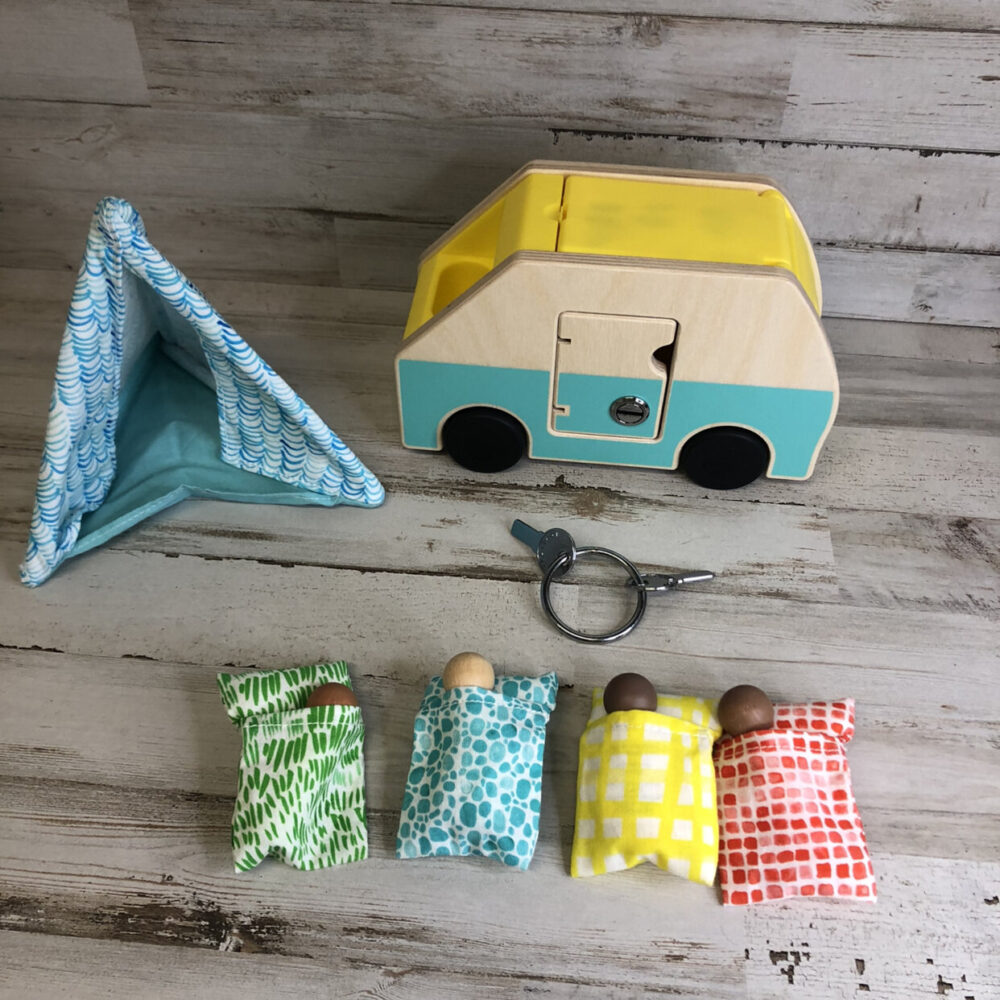
      wooden camper van and tent toy

      Wooden Camper Van and Tent

      This wooden camper has a lock and keys as well as a tent, sleeping bags and wooden people. Great for fine motor skills and pretend play!

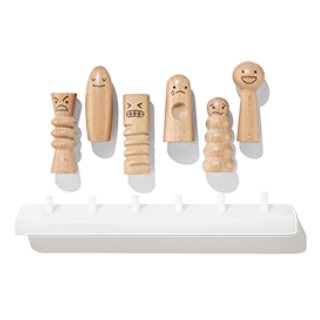
      Wooden Emotion Doll Toys

      Wooden Emotions

      This set of wooden dolls is a great way to learn the names of emotions!

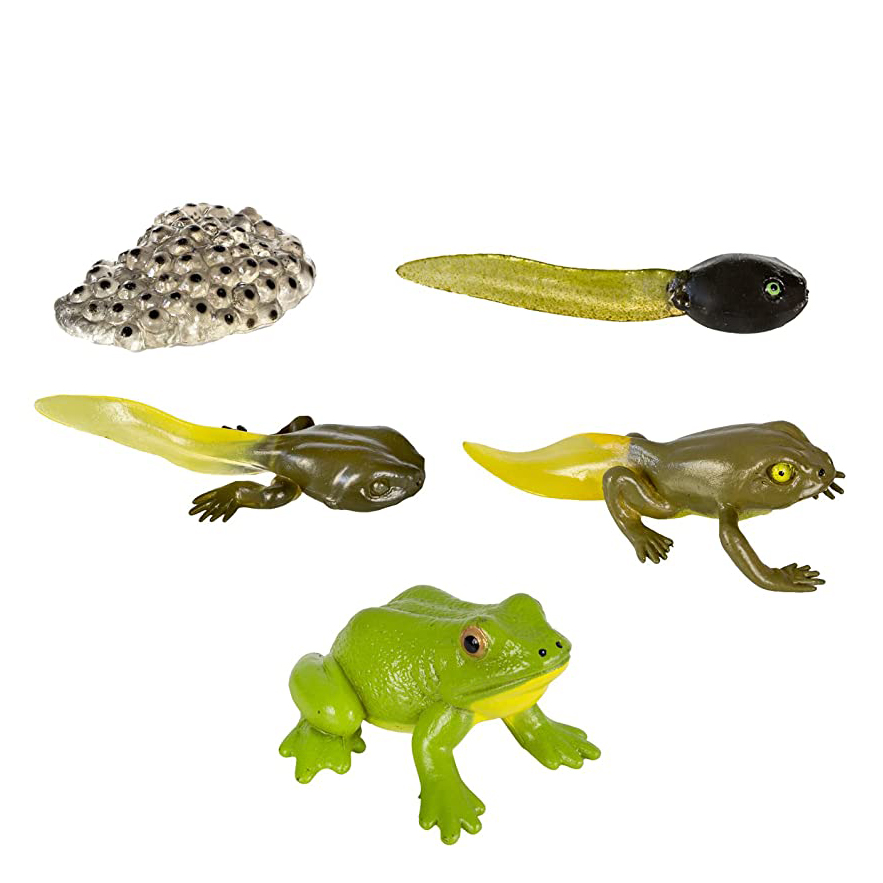
      life cycle of frog toy

      Life Cycle of Frogs

      These figurine are a great way for kids to visualize the life cycle of a frog!
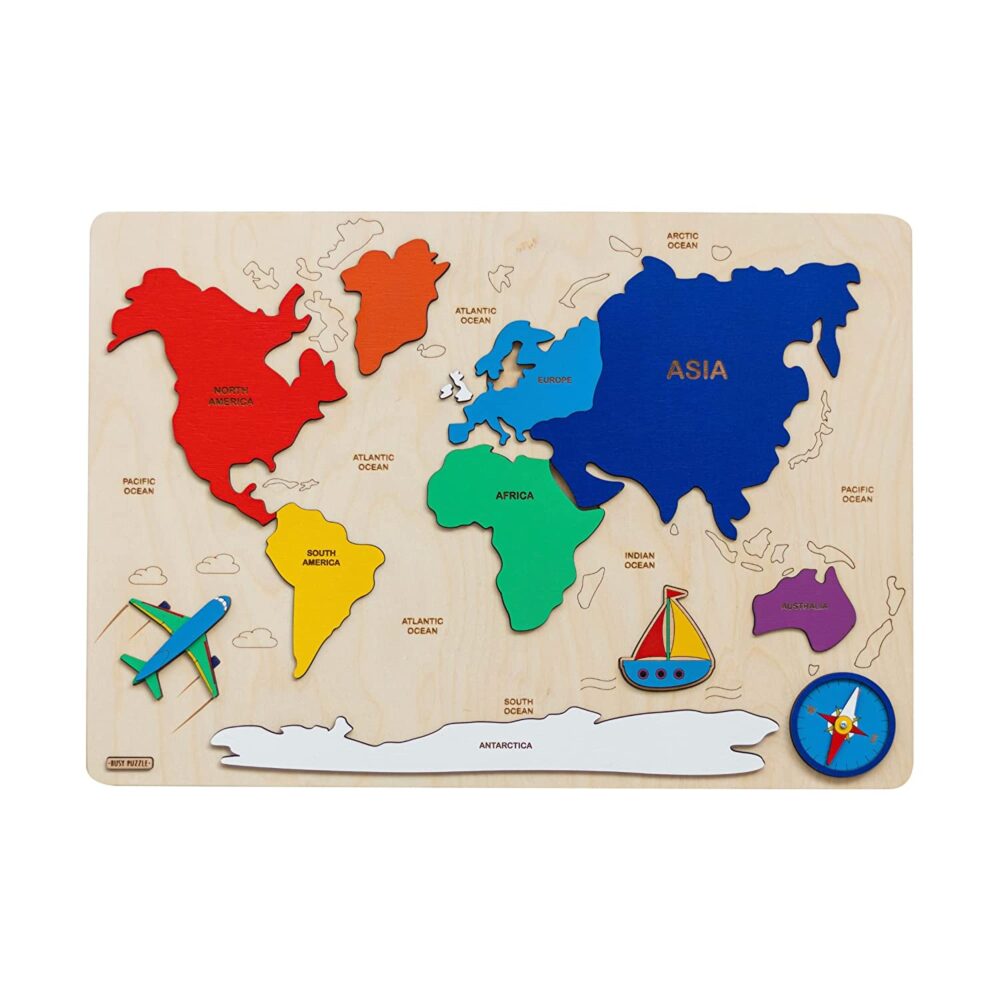
      world map puzzle

      World Map Puzzle

      This beautifully crafted puzzle is a great way for kids to learn about the world’s continents.

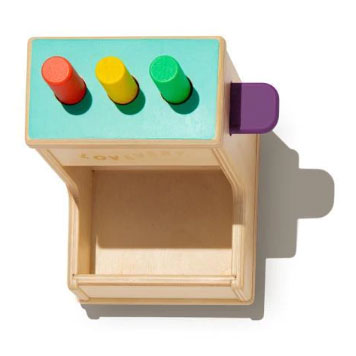
      wooden peg drop toy

      Wooden Peg Drop

      This toy. isa great way to strengthen precise fine motor skills and enage in problem solving!
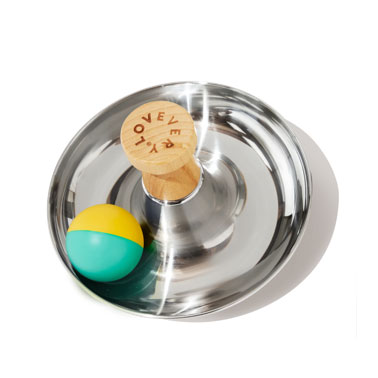
      tip and turn toy

      Tip and Turn Toy

      Made out of stainless Steel this tip and turn toy is great for practicing bilateral coordination with two-handed play.

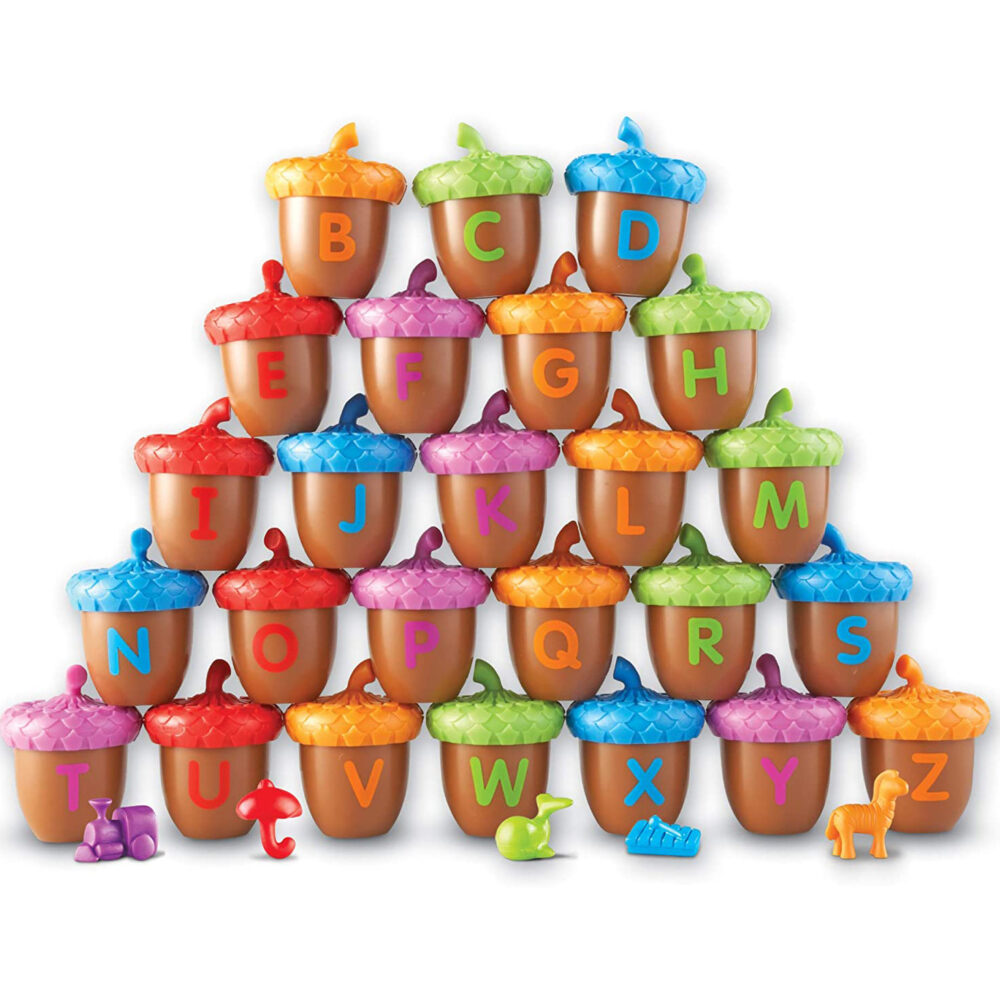
      acorn letter recognition and phonics

      Acorn Letters and Phonics

      This fun fall themed toy is great for letter recognition and phonics. Each acorn has an uppercase letter on the outisde, a lowercase letter on inside of the acorn top and a figurine to help with phonics.

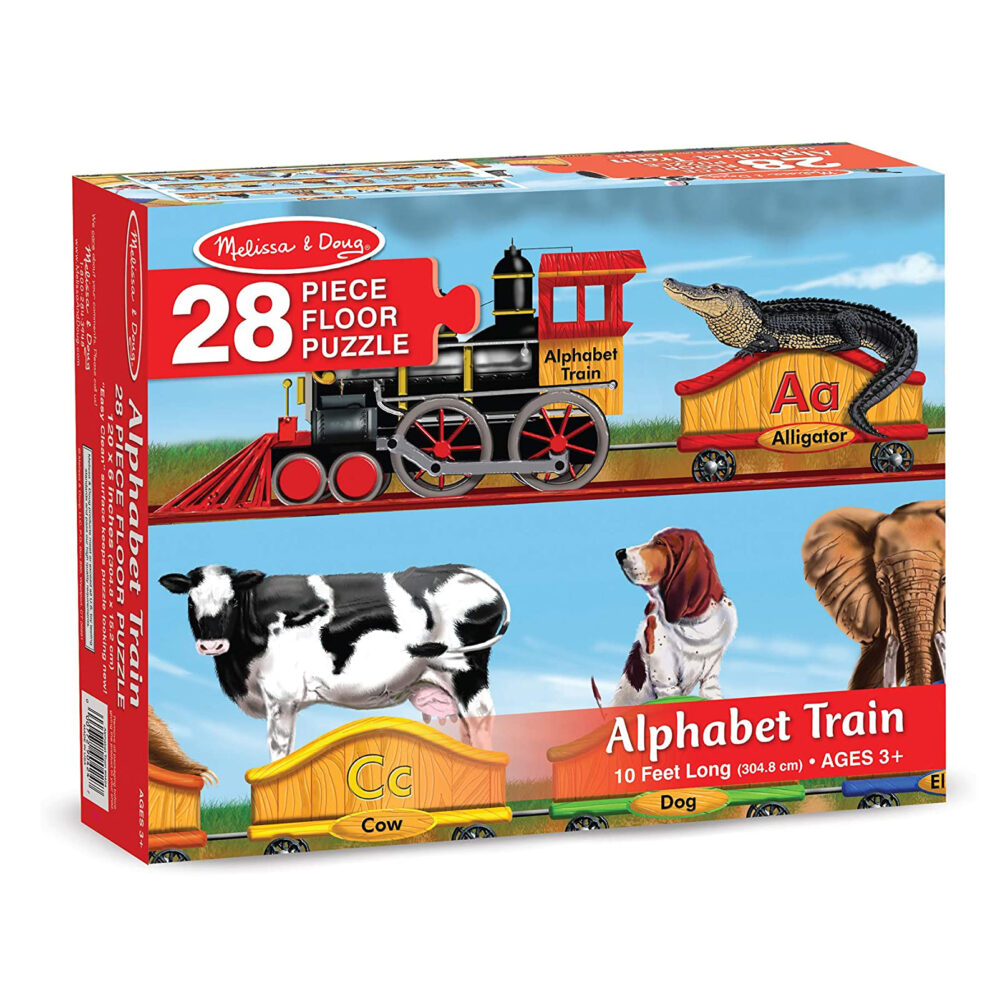
      alphabet train puzzle

      Alphabet Train Puzzle

      Learn the alphabet and phonics as you build a train. My kids loved how long the puzzle became once completed!

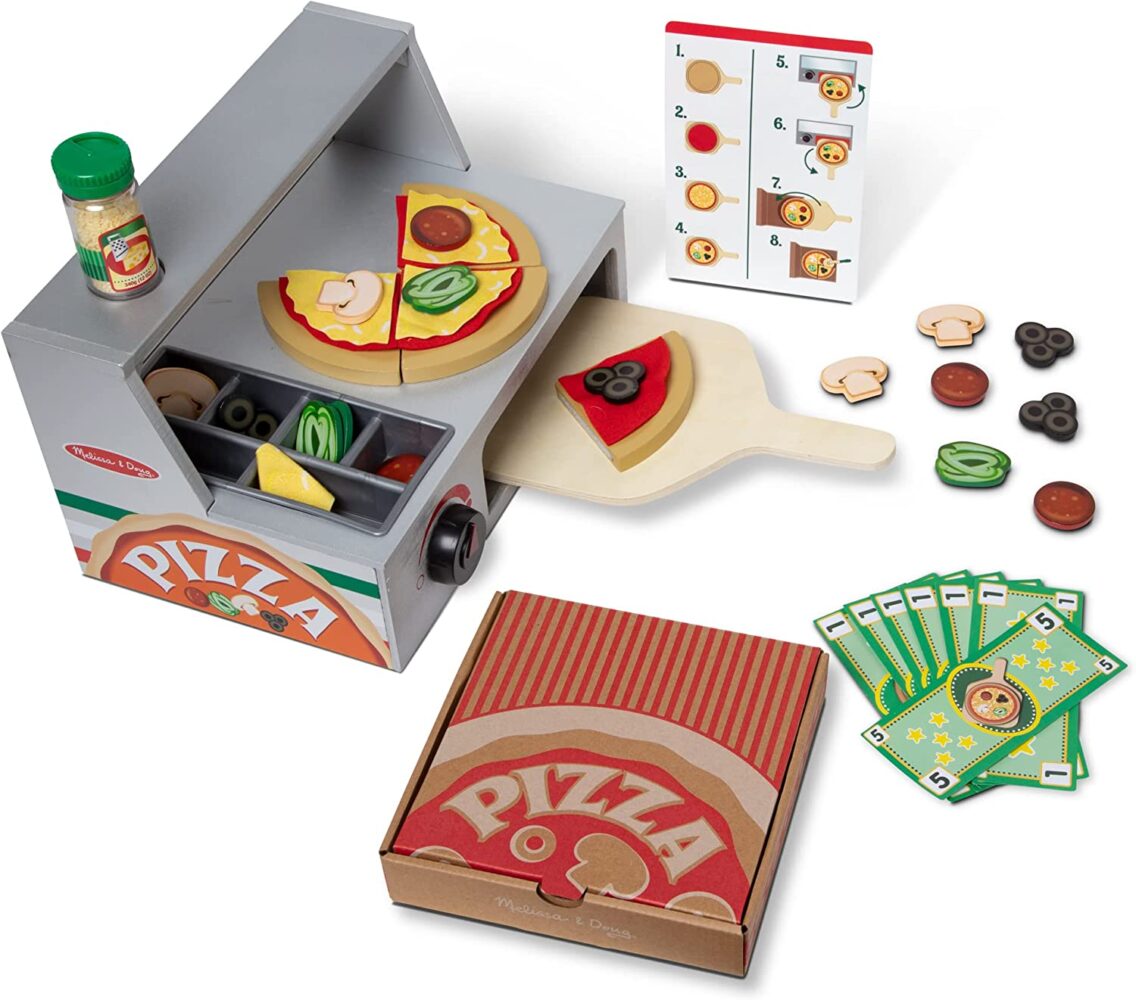
      pizza maker pretend play

      Pizza Maker

      This pizza kit is adorable with its very own pizza crafting station!

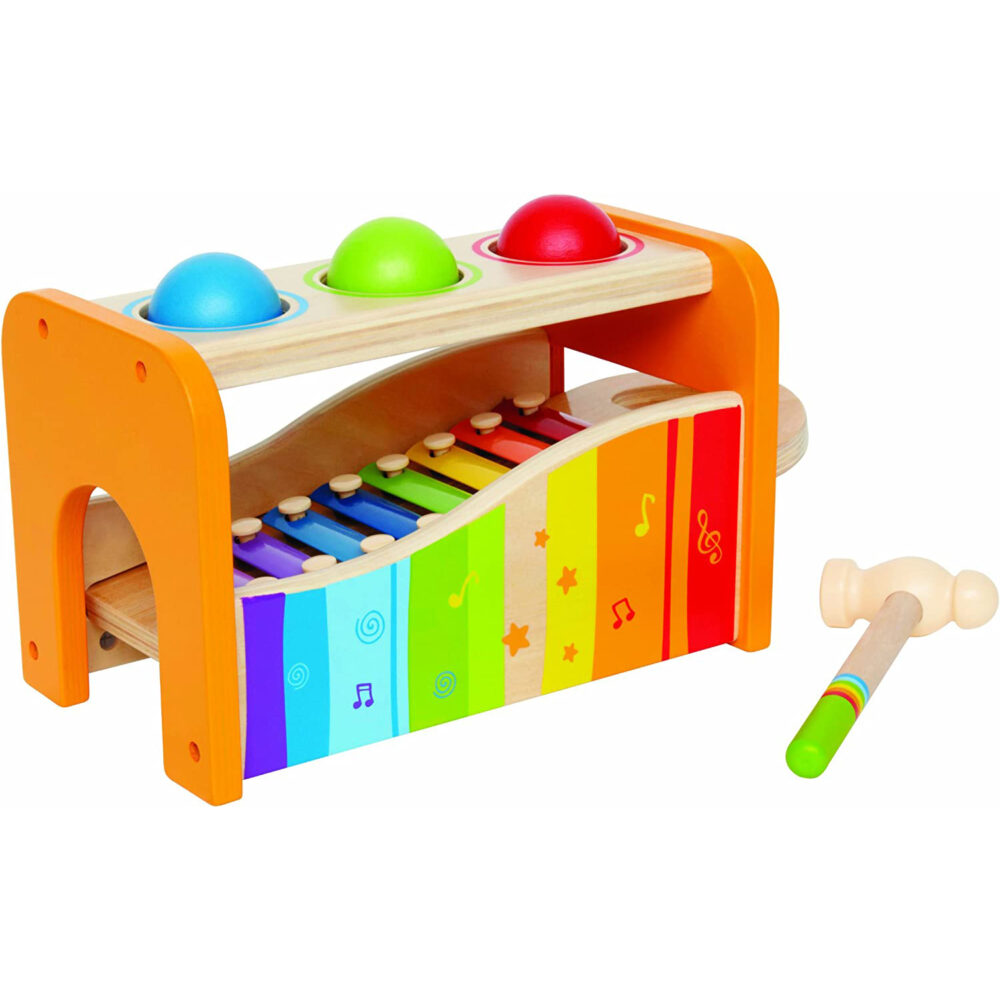
      xylophone pounding toy

      Music Pounding Toy

      Multifunctional musical instrument and pounding toy in one!

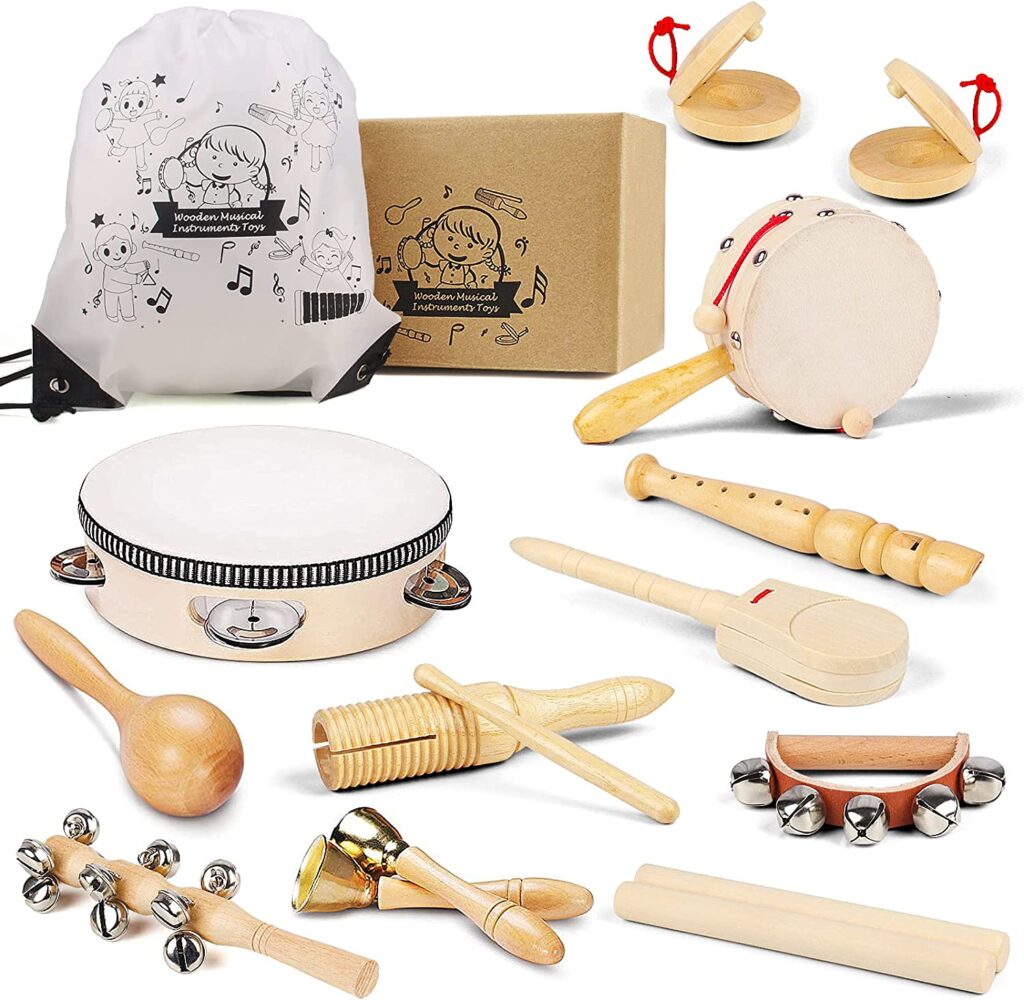
      wooden instrument set for kids

      Musical Instrument Set

      These wooden musical instrument set includes 11 pieces including pieces for shaking, tapping, beautiful and blowing!
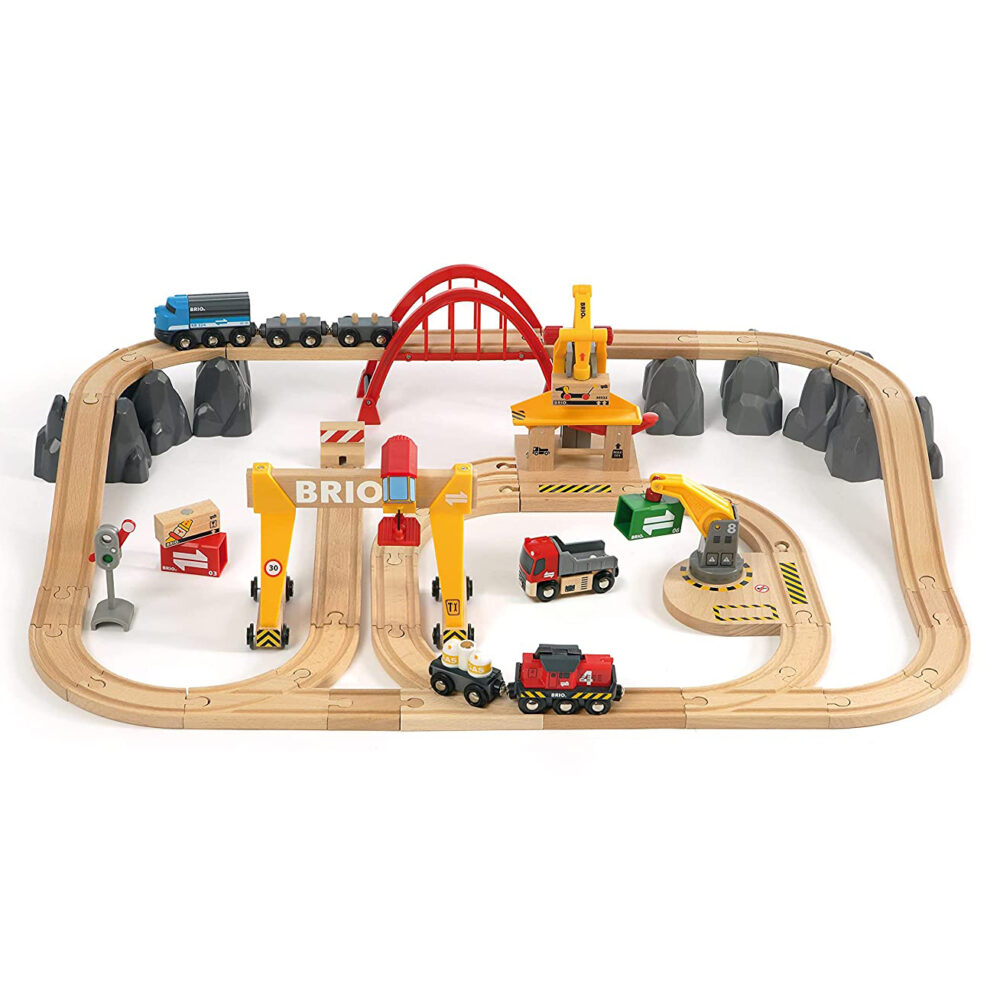
      wooden train set

      Rainbow Pebbles

      Sort them, stack them, and turn them into the pictures feautred in the included activity cards.

      texture cards for babies

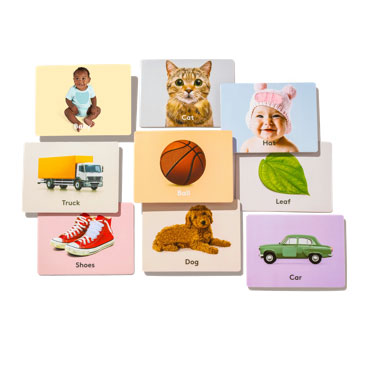
      Textured Cards

      This set of textured cards include 18 different everyday objects that babies are getting to know!

      magnetic wooden cutting and cooking toy wooden food pretend play set

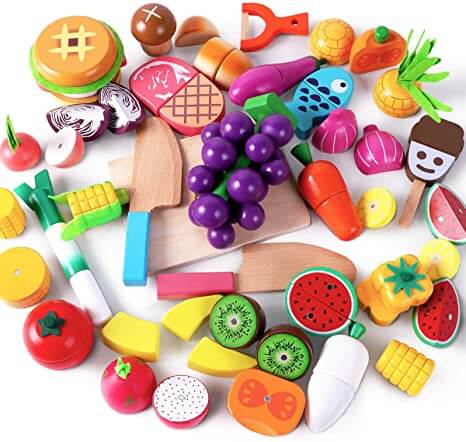
      Wooden Food

      This set of wooden food is “sliceable” and reatttaches with magnets.

      smoothie blender maker toy

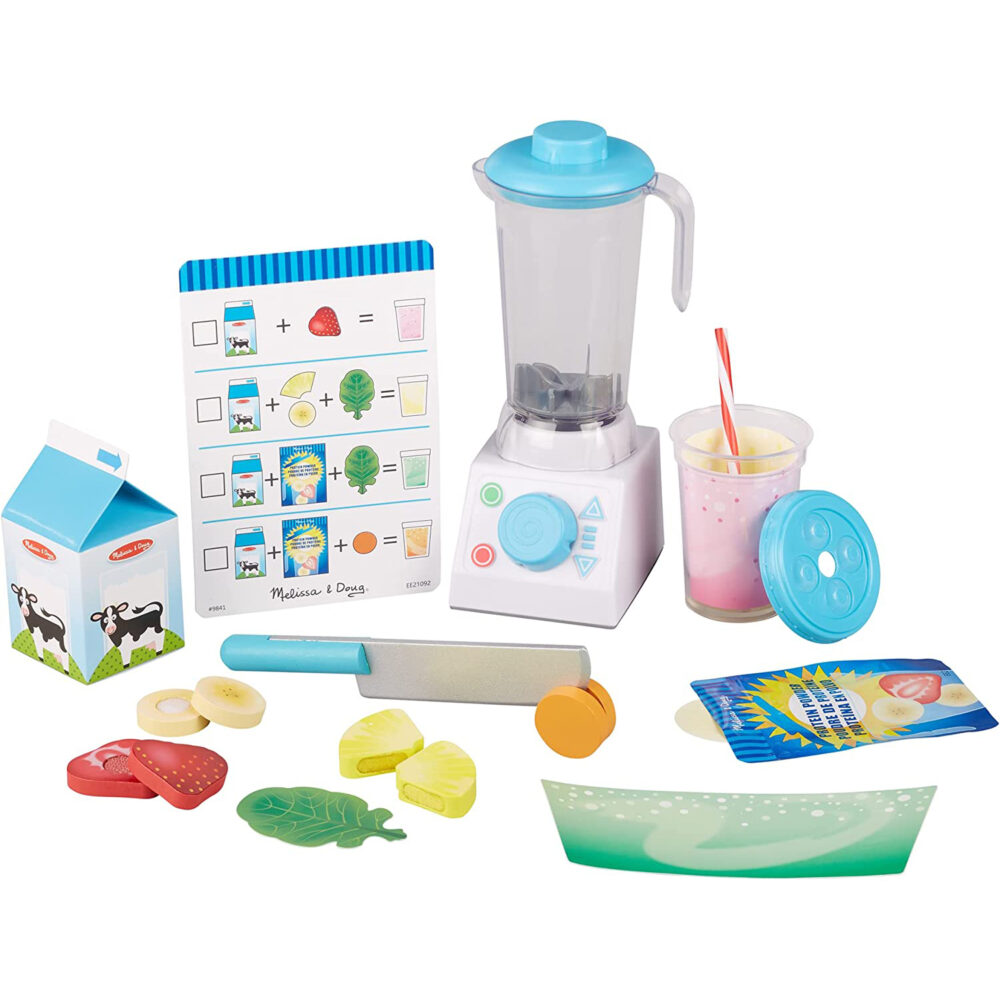
      Blender Set

      Such a fun pretend play set where kids can blend and make smoothies.

      mermaid costume

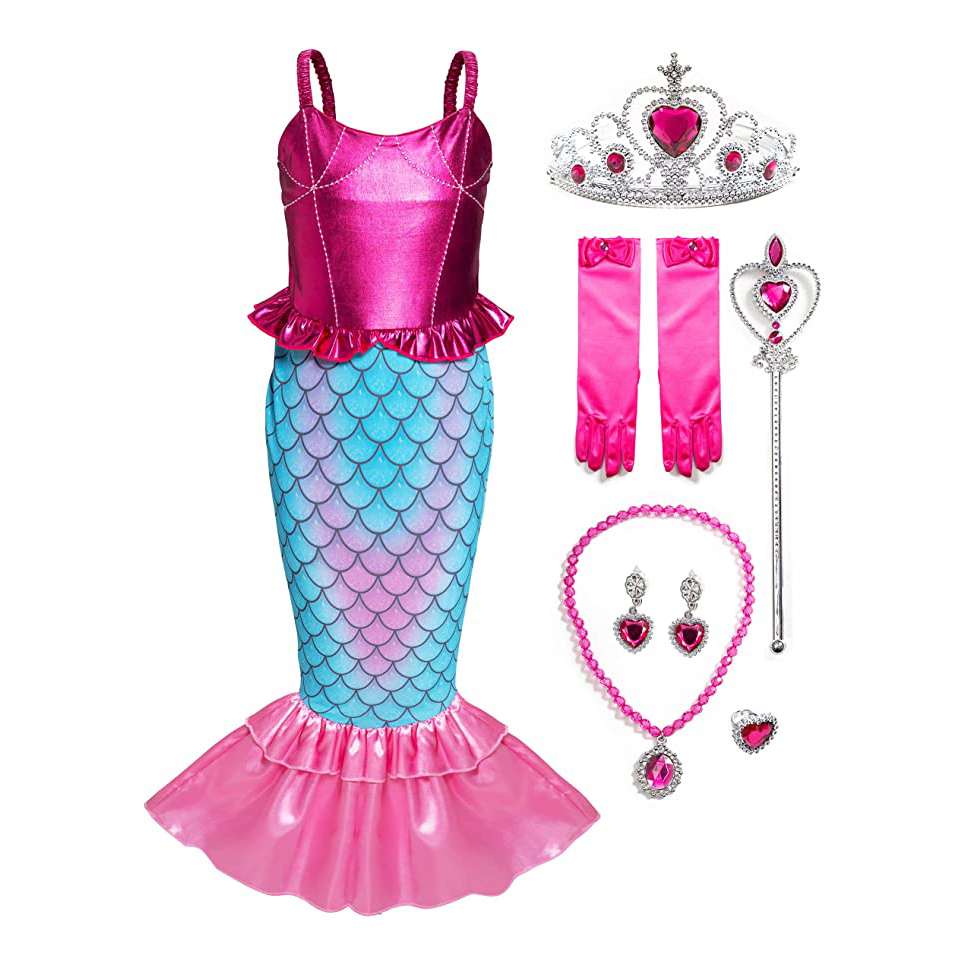
      Dress up!

      This mermaid is just one of seven different costumes I hung up on their pretend clothes rack. This is a great opportunity to reuse old Halloween costumes!

      Permanent Playroom Toys

      There are also a handful of toys that we permanently keep in the playroom. All of which are open-ended. I often find that my kids will build with these items and integrate the newly rotated items into whatever world they create!

      connetix magnetic tile

      Colorful Wooden Blocks

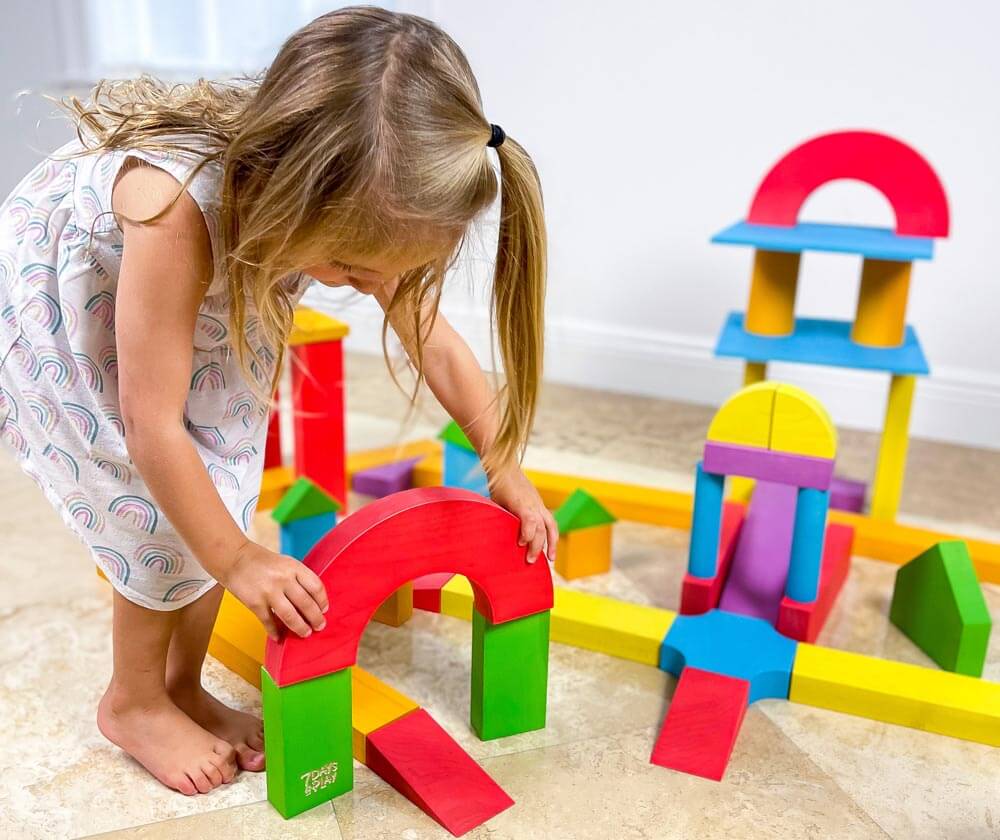
      These large unit sized blocks are our first product and are so beautifully vibrant! Check back soon to see when they will be available for sale.

      baby bike

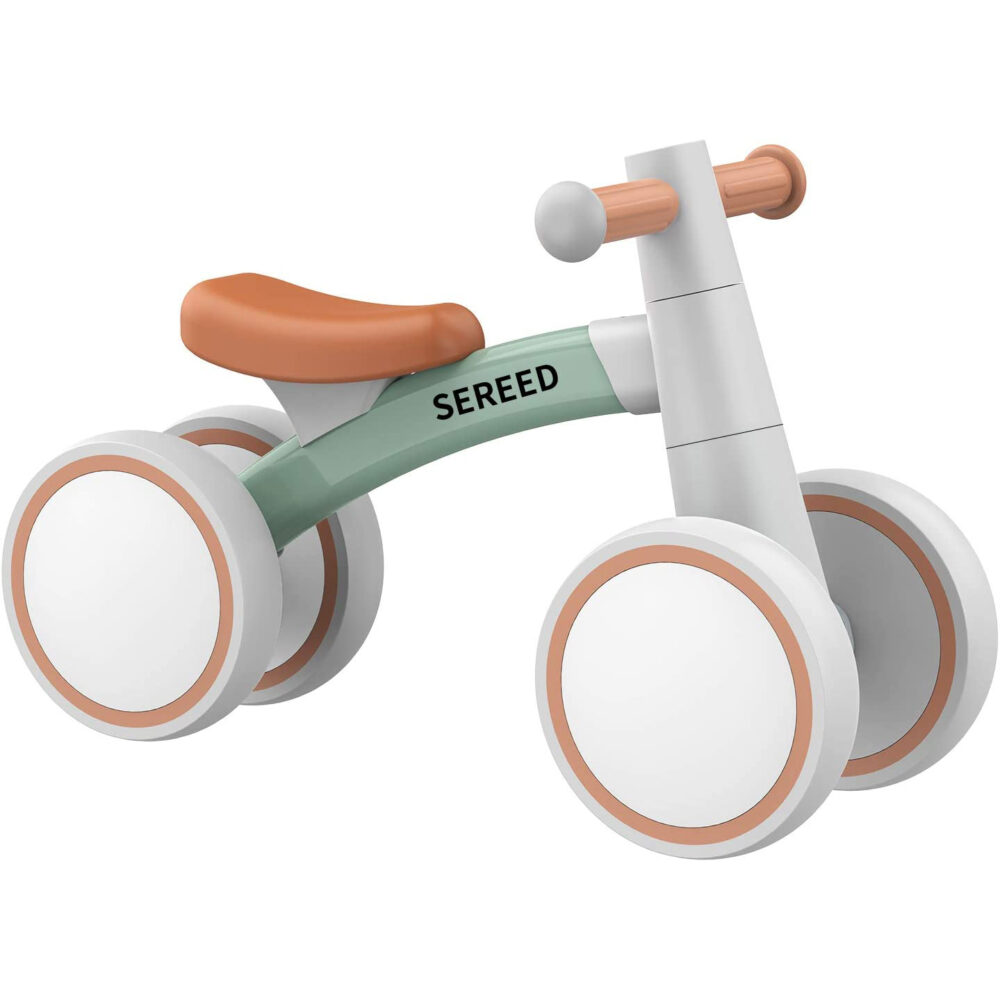
      Baby Bike

      This balance bike is a great first bike for baby where they can learn to balance their body while siting and cruising.

      double rainbow rocker

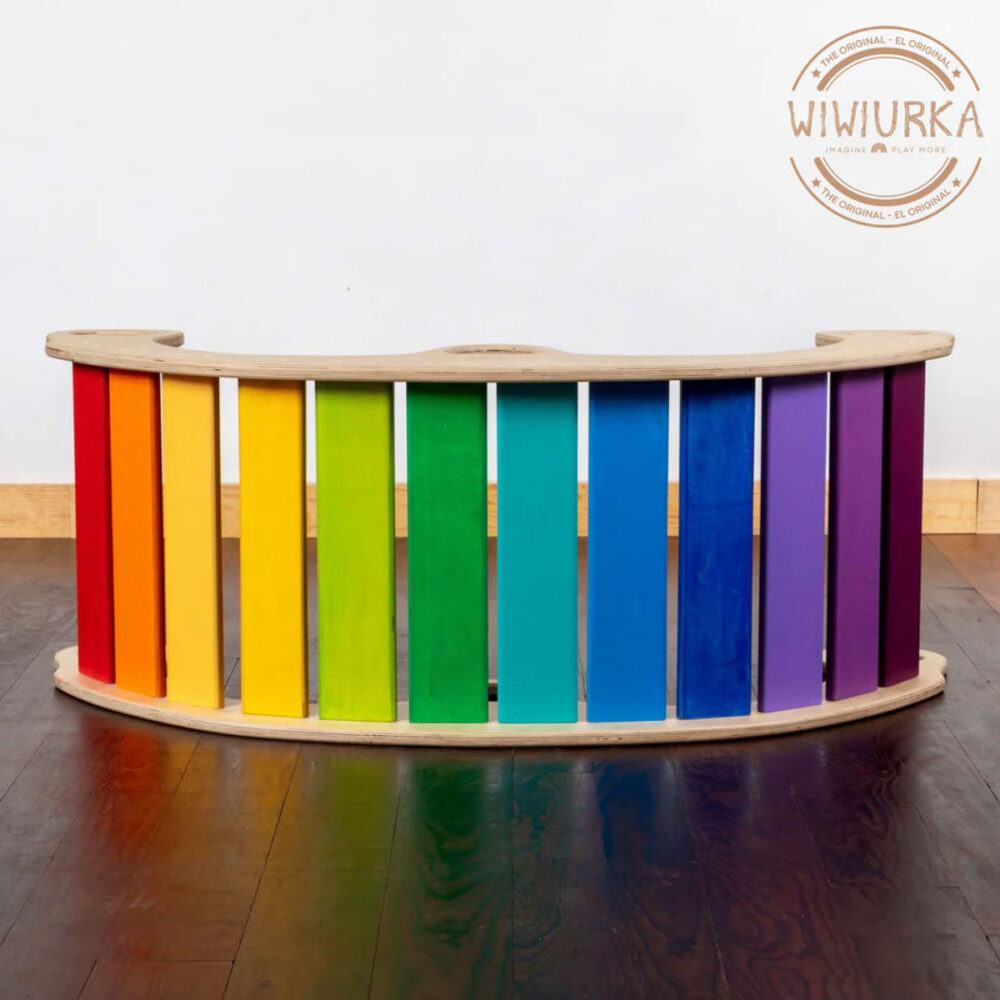
      Rainbow Rocker

      Such a beautiful open ended toy – my kids have used it as a bridge, boat, balancing board, slide, counter, and doll cradle to name a few!

      wooden balance board

      Balance Board

      Multi-use toy that helps develop balance, stimulate vetibular system, and gain body awareness. 

      connetix magnetic tile

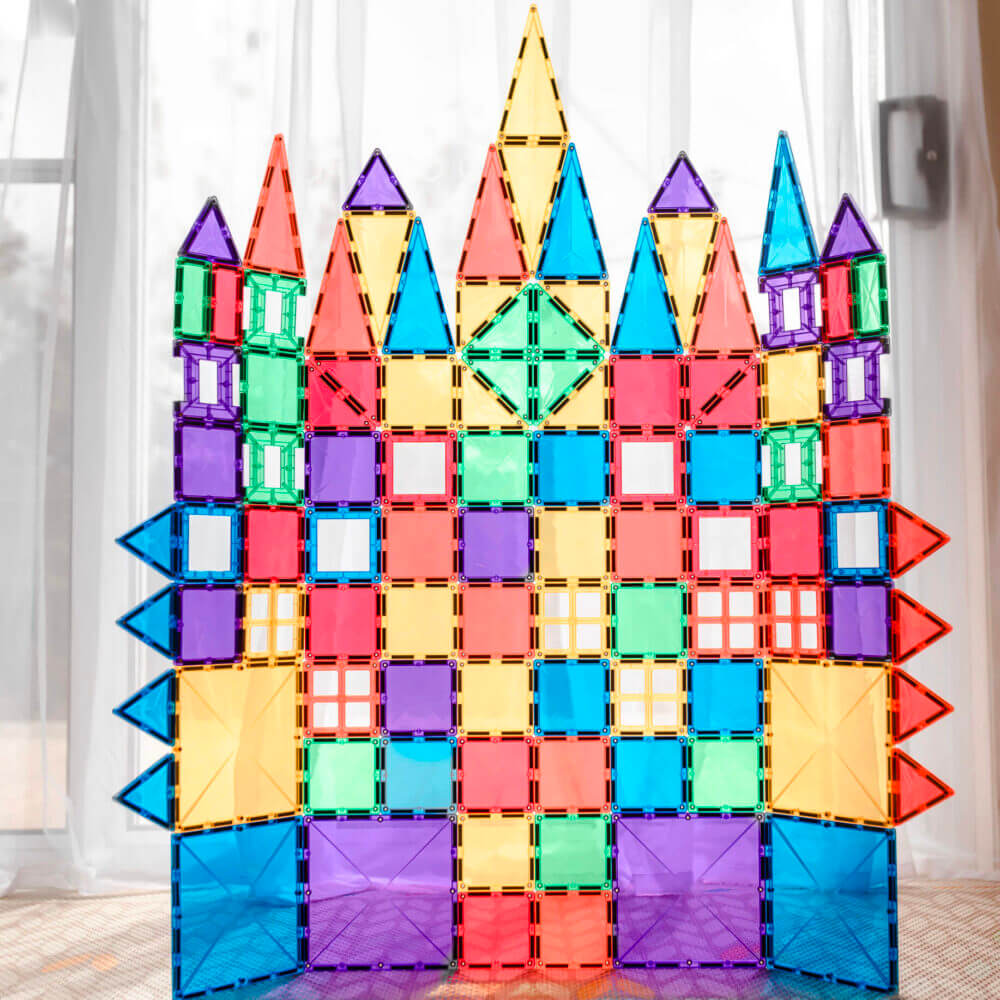
      Magnetic Tiles

      We have a huge basket of magnetic tiles and they usually stay in rotation every month since they get played with so often!

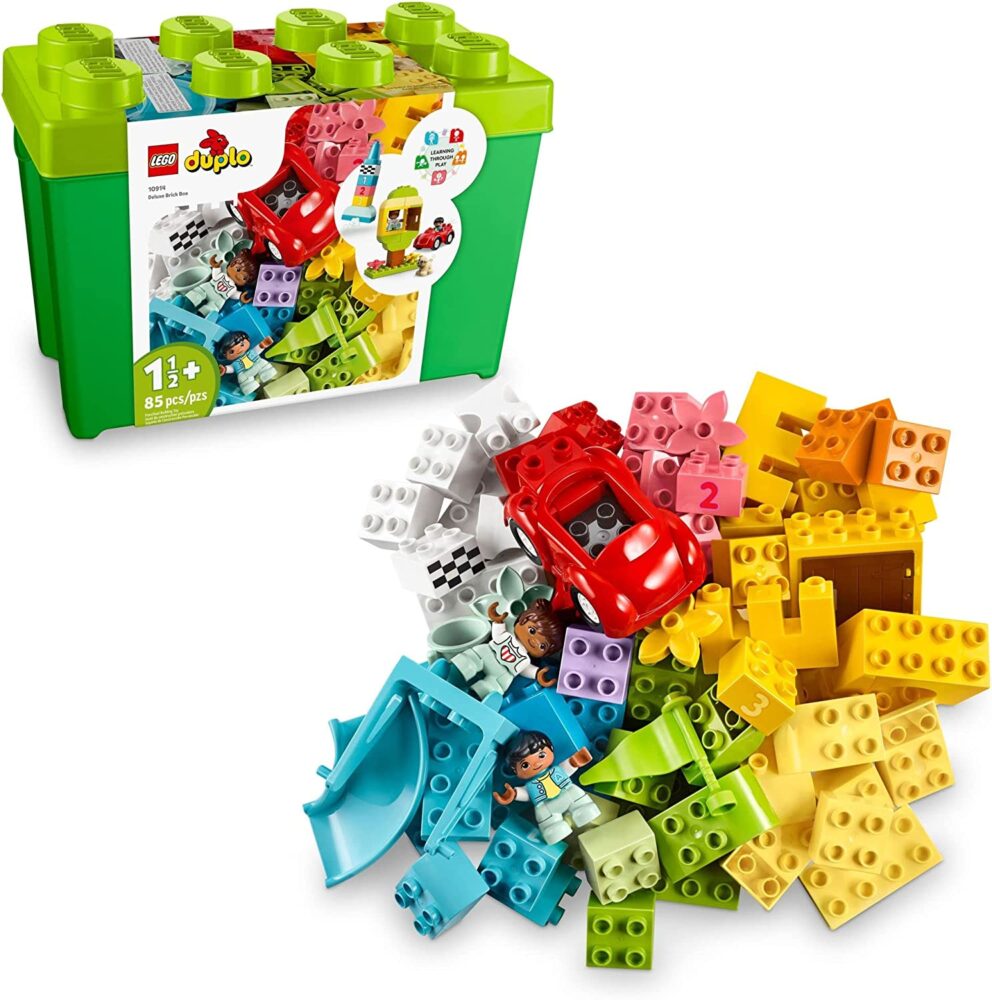
      building bricks lego duplo

      Building Bricks

      These building bricks are safe for 18 months and up – a great set for both big kids and little kids to safely play with together.

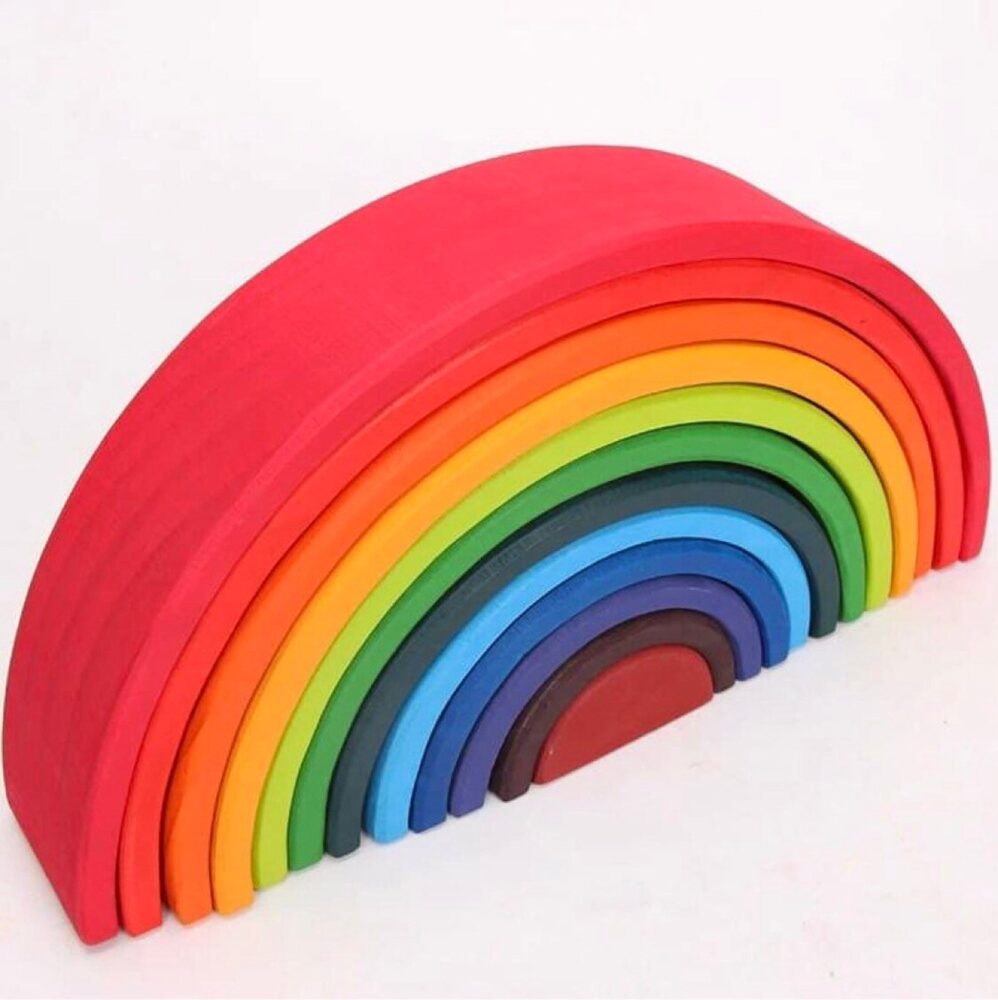
      rainbow wooden stacking toy for color recognition

      Wooden Stacking Rainbow

      My kids often use these arches as tunnels during open-ended play!

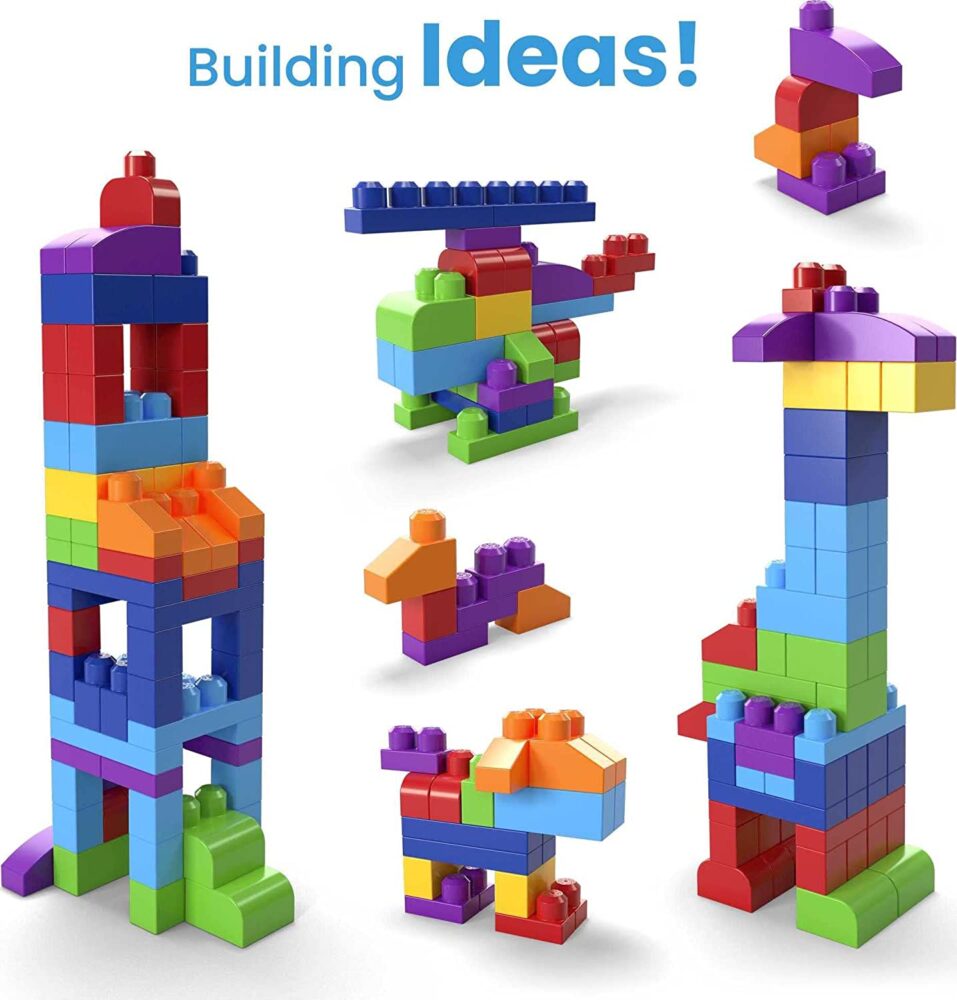
      mega blocks for babies

      Baby’s First Building Block!

      This set comes with 80 big building blocks, ideal for ages one and up.

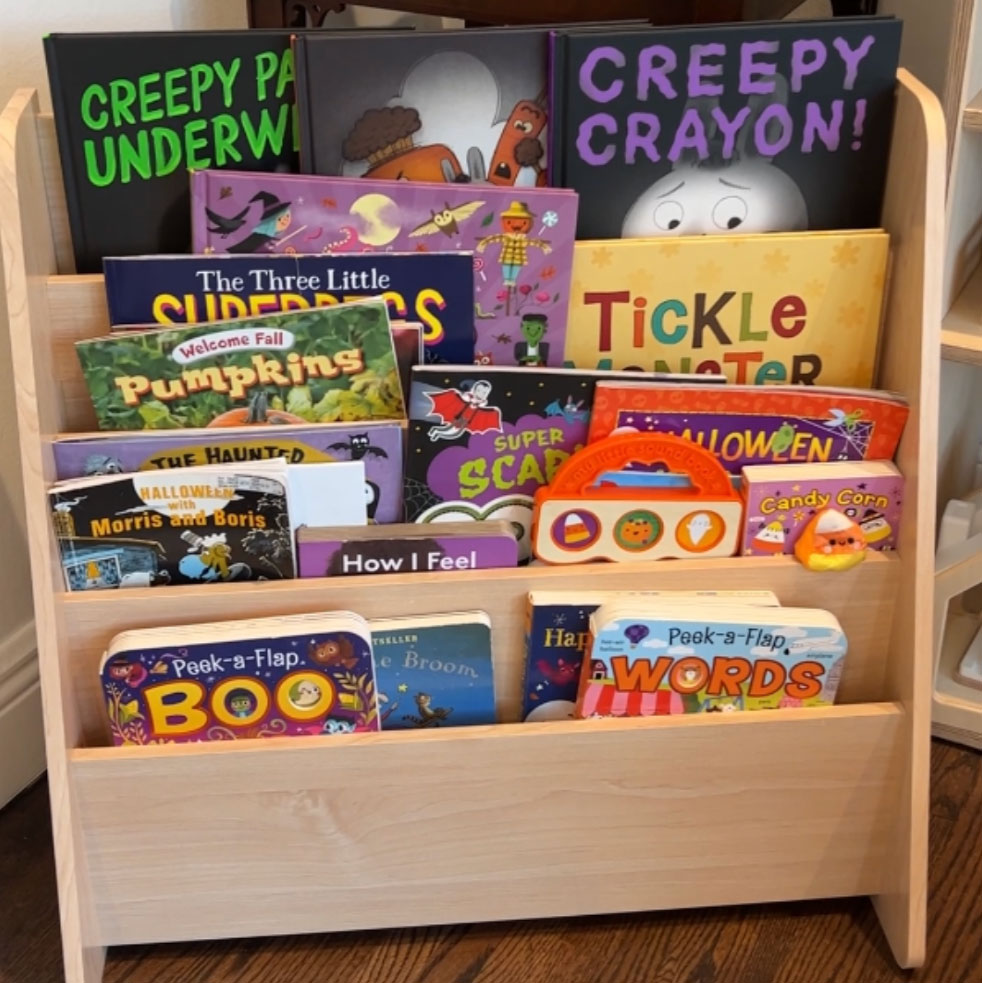
      Not Just Rotating Toys – Rotate Books Too!

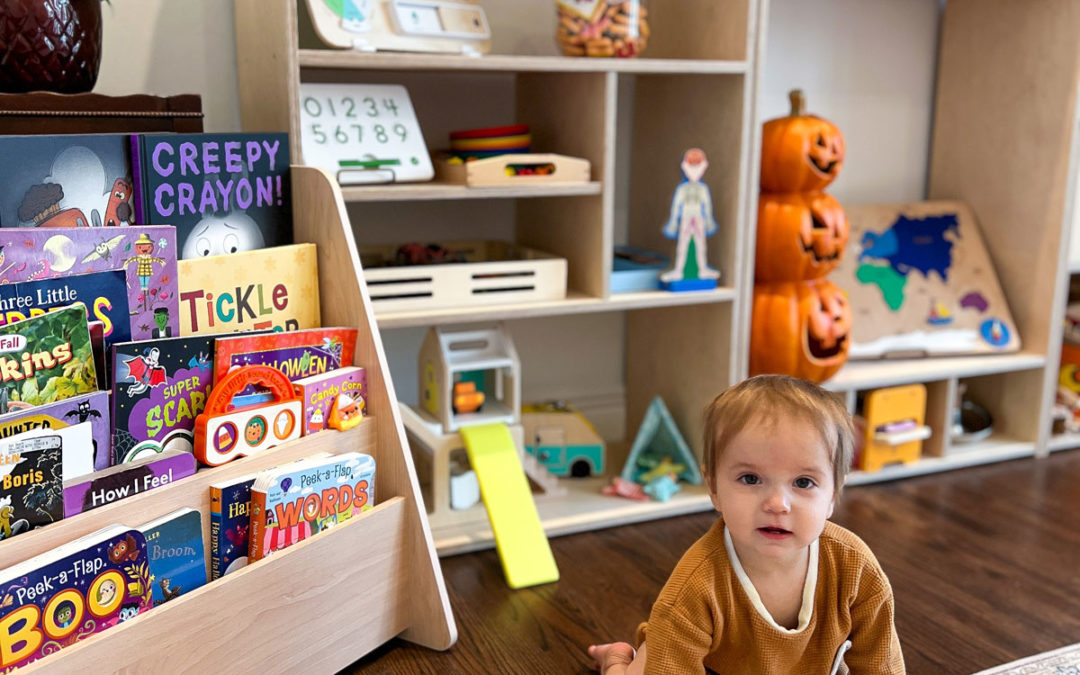
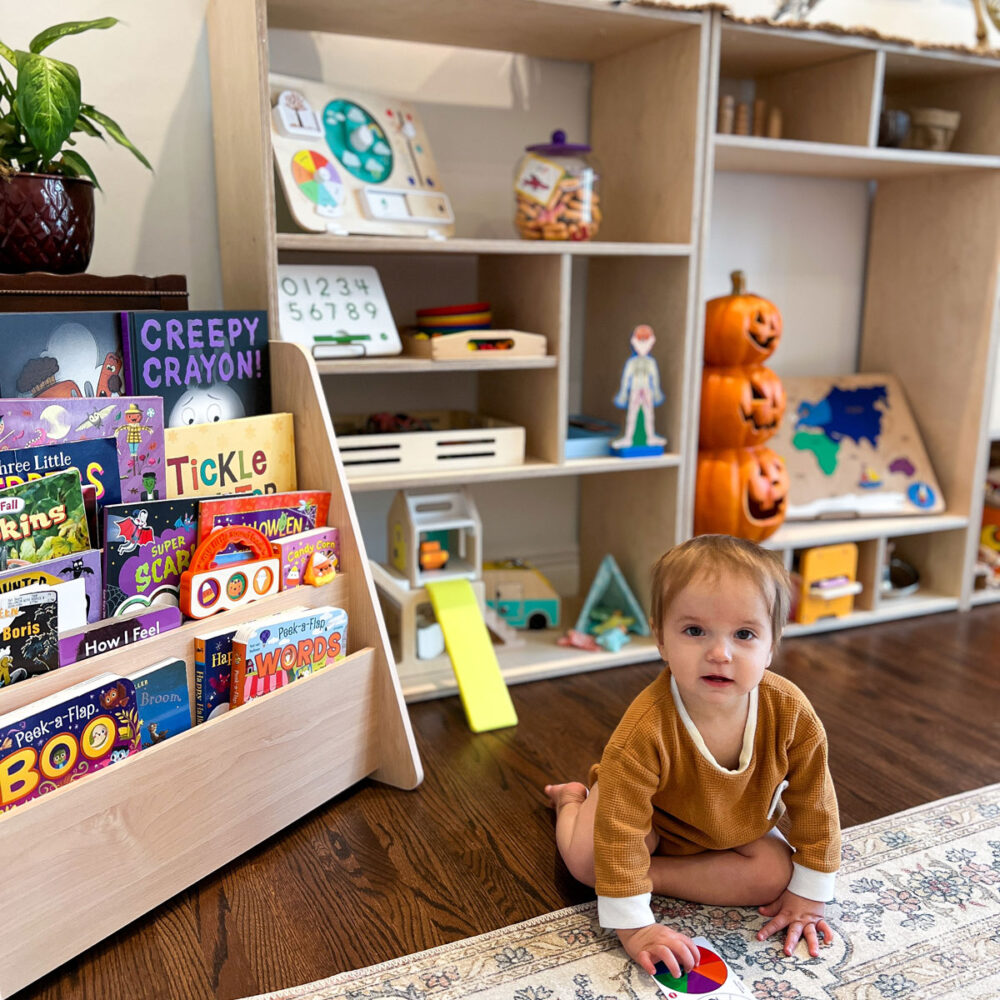
      We have a ton of books, but the kids didn’t really start appreciating them until I began to rotate them and place them in a book display that showcased the book cover. Where books were once collecting dust, they are now getting so much more love!

      Since we celebrate Halloween in October, all of the books in our the display had a spooky theme. You can find our Halloween Book List Here.


      Halloween book display

      What’s Next?

      Toy Rotation Ideas for Kids – Month 1

      Toy Rotation Ideas for Kids – Month 1

      Toy Rotation Ideas for Kids – Month 1

      toy rotation shelves playroom
      Do you need some ideas for toy rotations? Every month, I plan on sharing our playroom and how I rotate the toys. Welcome to our first month!

      Why do a toy rotation?

      Toy rotations are a great way to keep kids engaged with a limited amount of toys to avoid overwhelming a child with too many choices which can often result in clutter, disorganization, and toys not being played with at all.

      A rotation could be weekly, monthly, every other month. There is no set way to do it, but I personally aim to do it monthly! 

      Toy rotations are not just about changing up the specific toys they are playing with, it is about displaying them in a simple way so they are in sight. In fact, some times you don’t even need to switch all of the toys out, but instead change the placement of a toy to spark a new interest in it!

      Watch to See This Month’s Toy Rotation

      In this video you’ll see all the toys the kids got to play with and enjoy during the month of September! Keep on reading to see a full list and details on each of these toys along with links in case you want to get them too!

      All activities should be supervised by an adult. As an Amazon Associate, I earn from qualifying purchases. This post may contain affiliate links.

      montessori play shelves rotation

      About Our Play Room Shelves

      We love these Montessori-inspired play room shelves. You can get them in 4 different configurations as pictured.

      They are wooden, handmade, and are the following dimensions:

      • Width: 28 1/2 inches
      • Height: 43 1/8 inches
      • Depth: 13 1/2 inches

      I love how there are so many sections with varying sizes to accommodate different types of toy shapes and lengths. The clothing rack is a wonderful accessory for being able to display pretend play outfits! They were very easy to build and are such a beautiful way to display toys!

      Toy Rotation Items

      Here are the details for the toys my kids (7, 5, 4, and 9 months) had in their playroom for the month of September!

      connetix magnetic tile

      Magnetic Tiles

      We have a huge basket of magnetic tiles and they usually stay in rotation every month since they get played with so often!

      read build write board

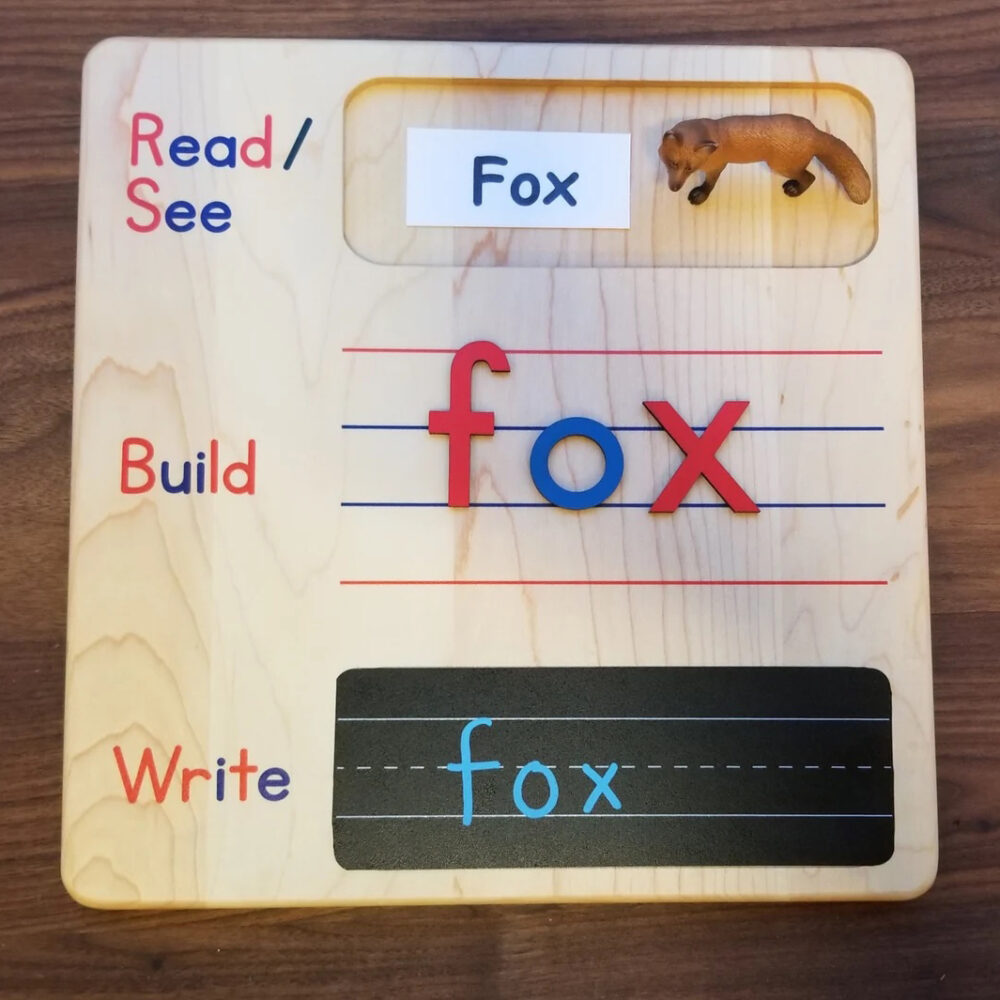
      Reading and Writing Board

      I paired this wooden board with letters for my kiddos to explore reading and building words.

      rainbow wooden stacking toy for color recognition

      Wooden Stacking Rainbow

      My kids often use these arches as tunnels during open-ended play!

      wooden counting box

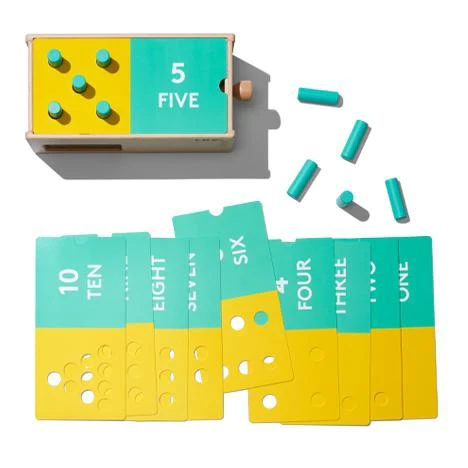
      Wooden Counting Box

      Count the pegs while you place them, then pull the handle to hear them fall.

      number puzzle

      Number Puzzle

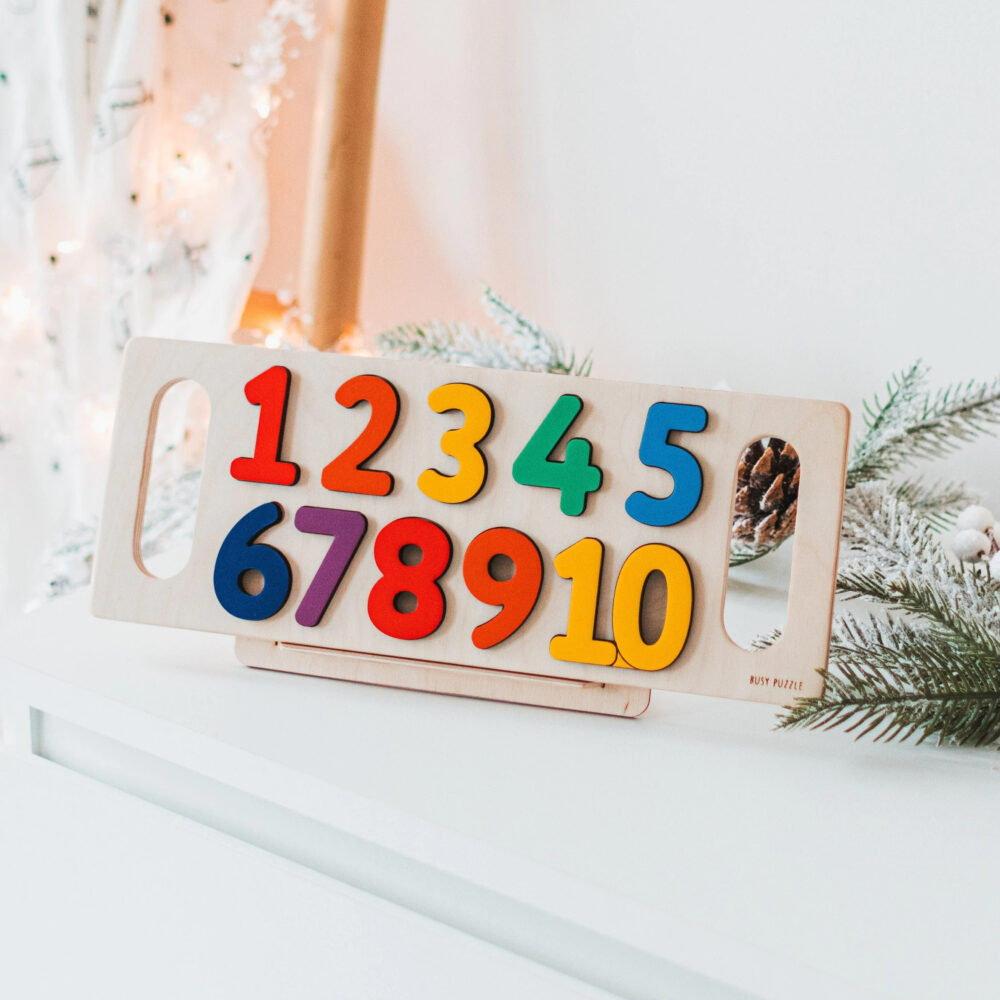
      We love this super colorful, wooden board and numbers puzzle.

      marine creatures

      Marine Creature Figurines

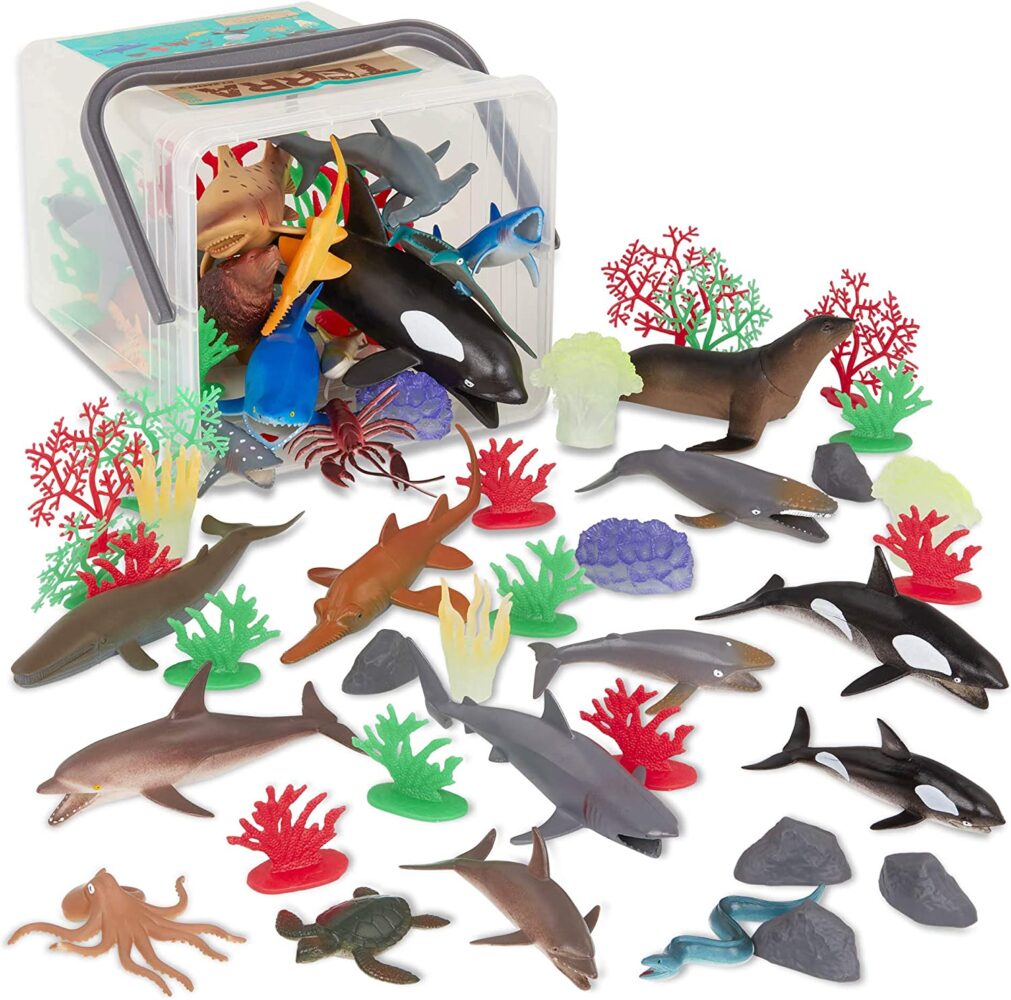
      We have a collection of figurines, most of which come from this set. I paired them with our free printable marine creature Montessori matching cards.

      ice cream toy

      Ice Cream Counter

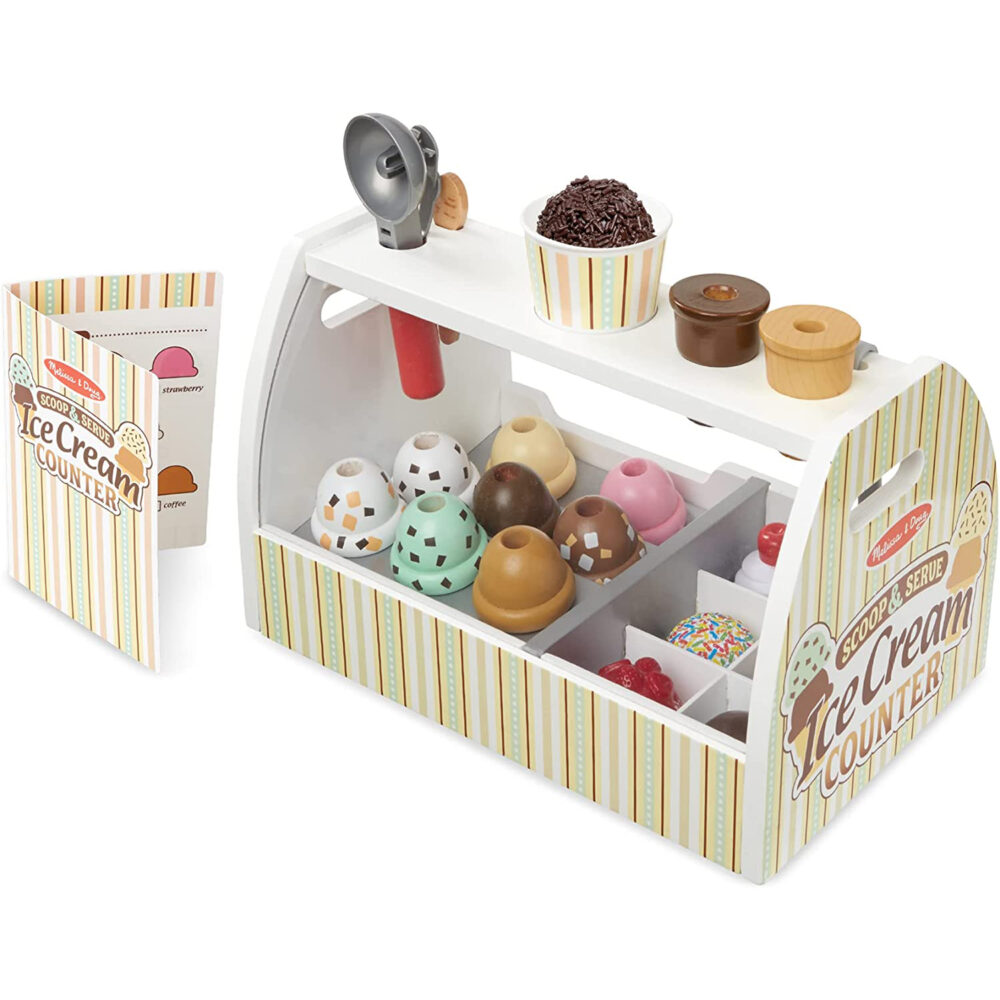
      A favorite in our house! Kids can scoop and serve wooden ice cream cones or a cup!

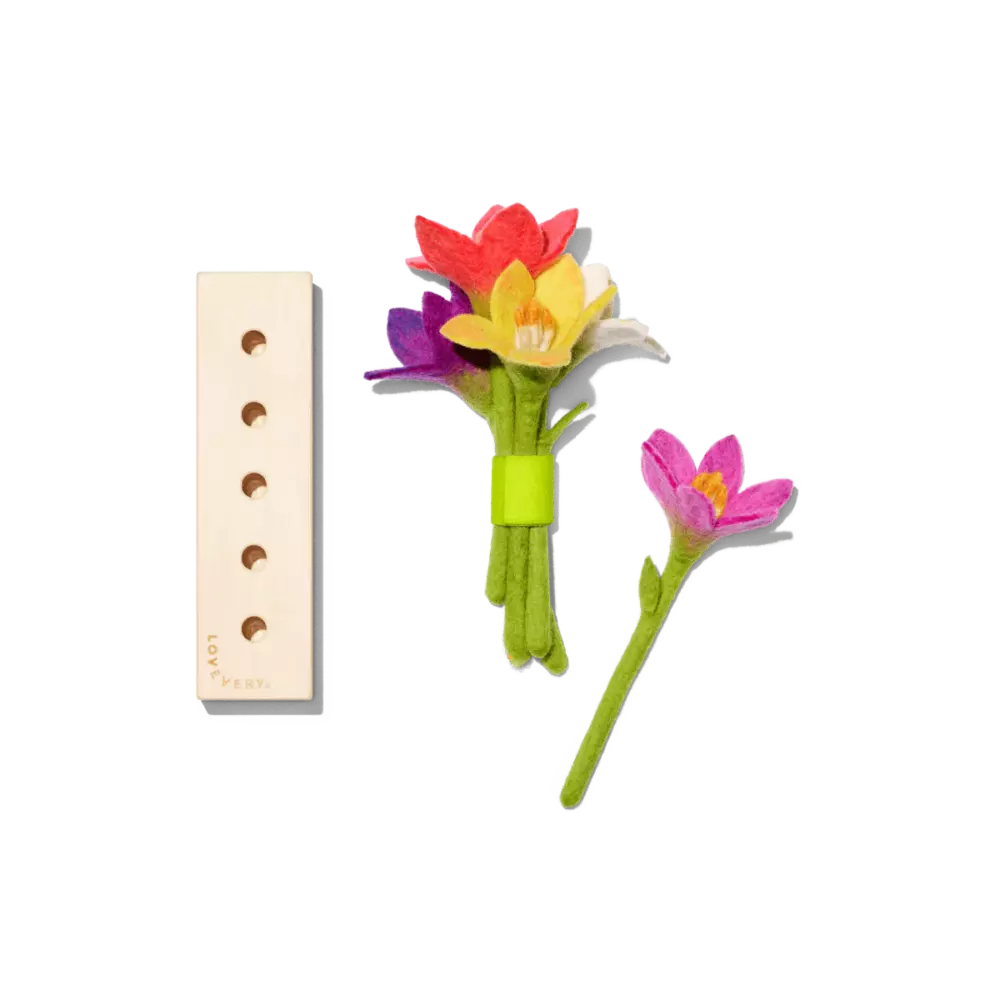
      felt flowers in a row

      Felt Flowers

      Plant them, pick them, and make a bouquet! 

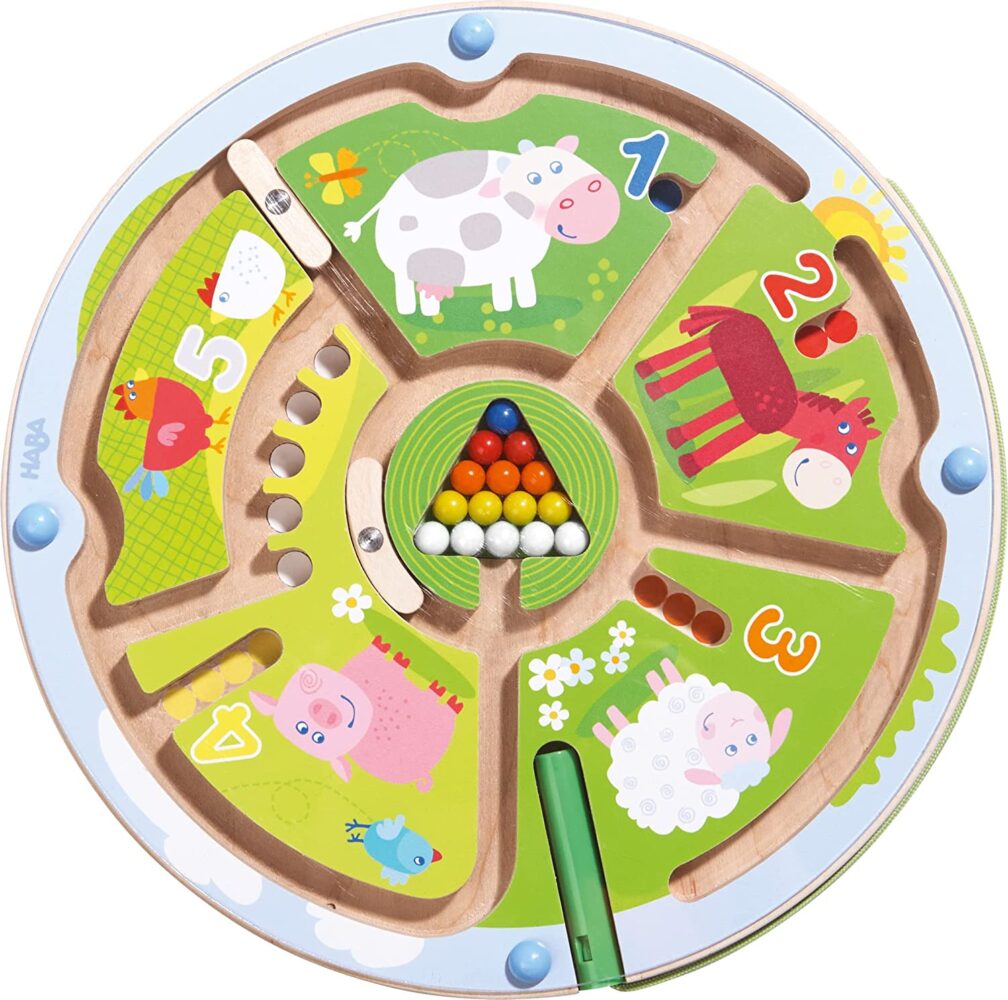
      magnetic tracing maze

      Number Maze

      This wooden maze has a magnetic pen. Great for fine motor skills, number learning, and color recognition!

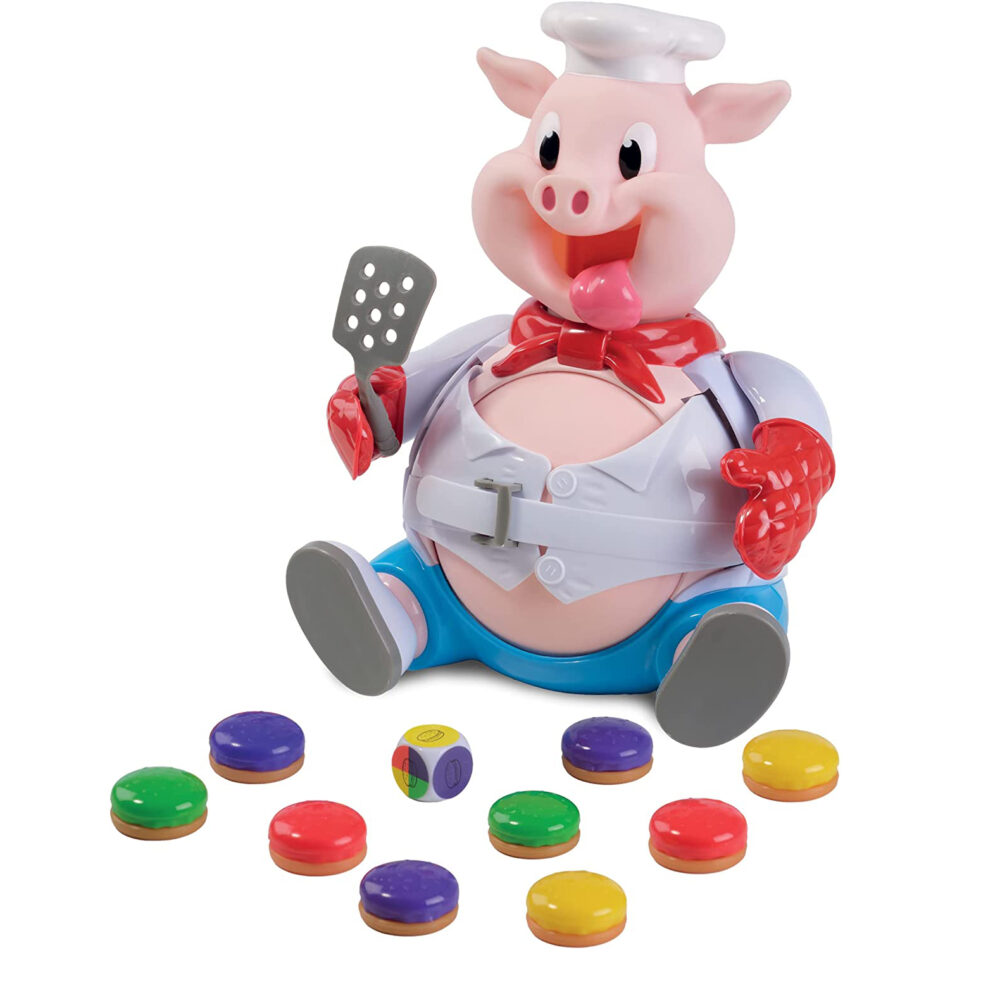
      pop the pig game

      Pop the Pig Game

      Great for number recognition. To make the game more challenging, I covered up some numbers with dot stickers and hand wrote higher numbers.

      babies first books

      Babies First Books!

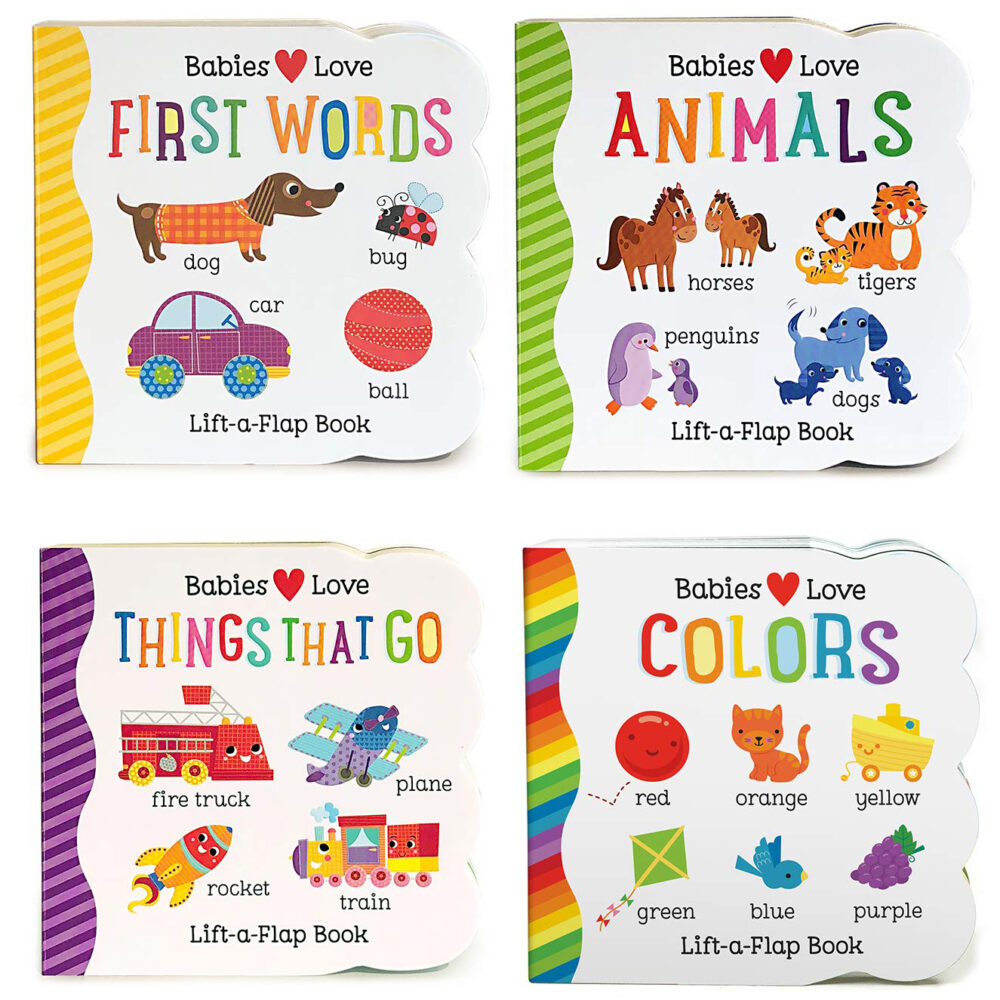
      I love this set which includes colors, animals, things that go, and first words!

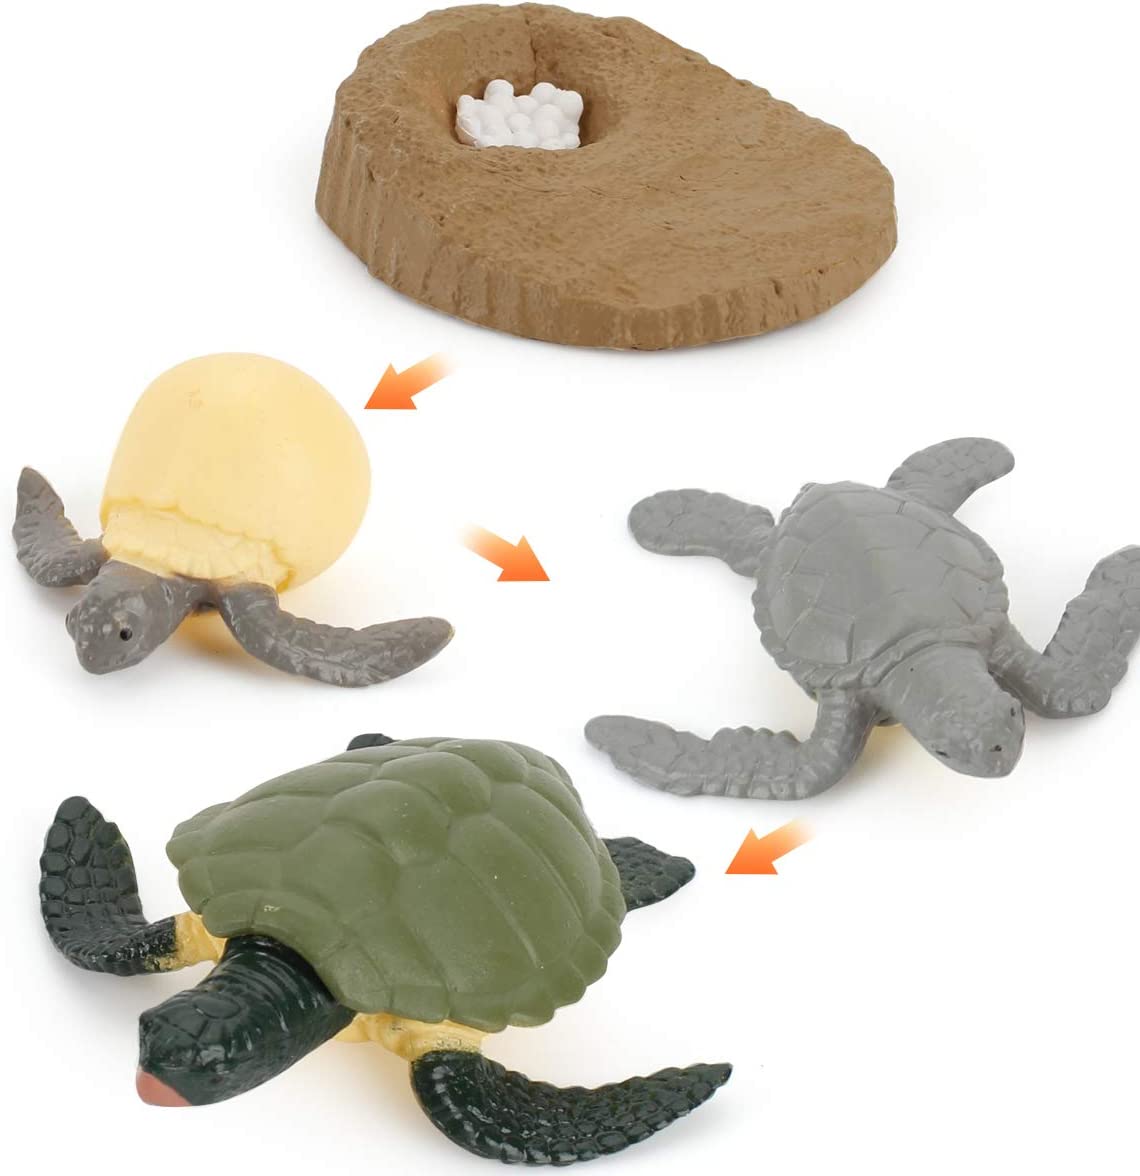
      life cycle of sea turtle

      Life Cycle of Sea Turtle

      This set comes with 4 pieces to show how animals change and grow.

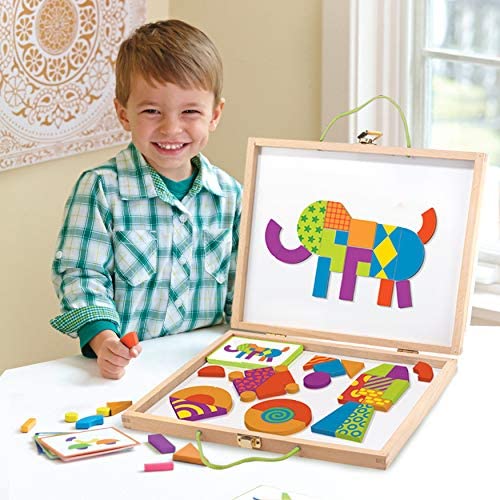
      pattern building toy puzzle

      Magnetic Patterns and Shapes

      Contains colorful cards for creating patterns and real life objects!

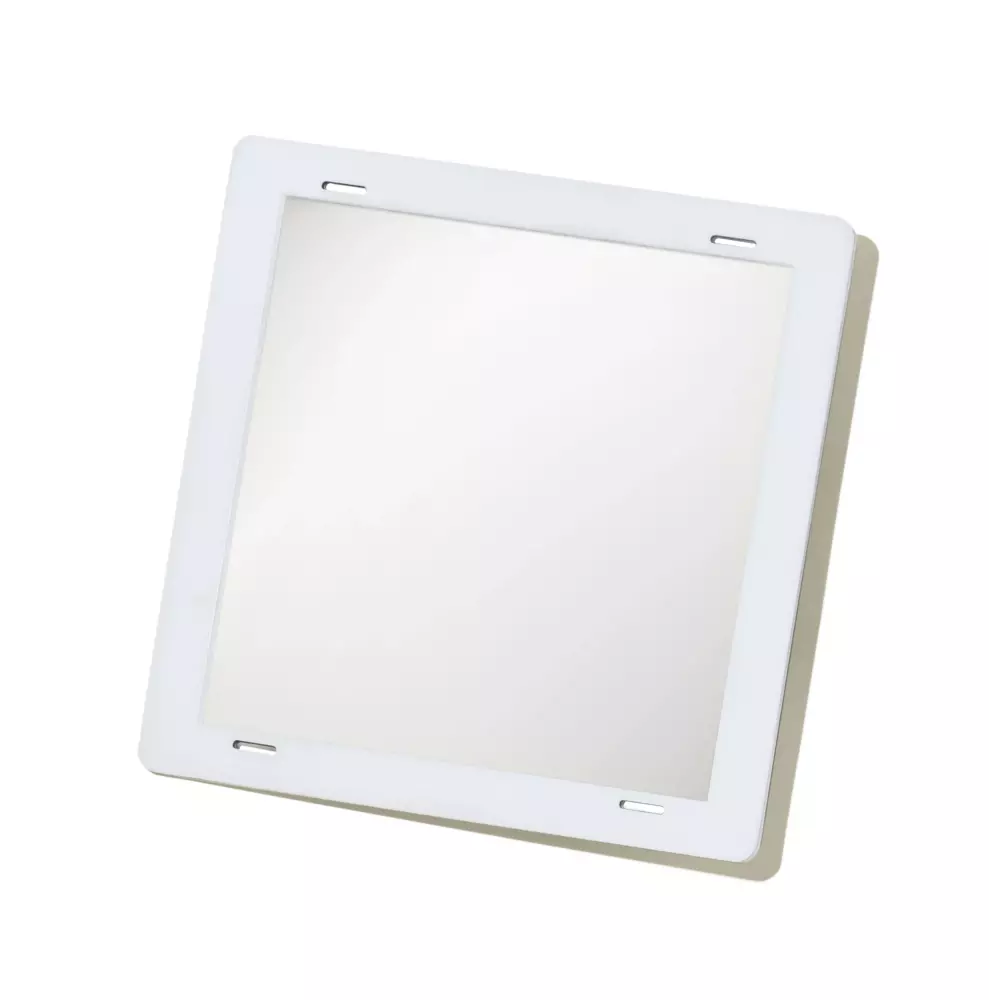
      mirror for baby

      Mirror for Baby

      My baby loves looking at herself in this mirror. She first started using it for tummy time! 

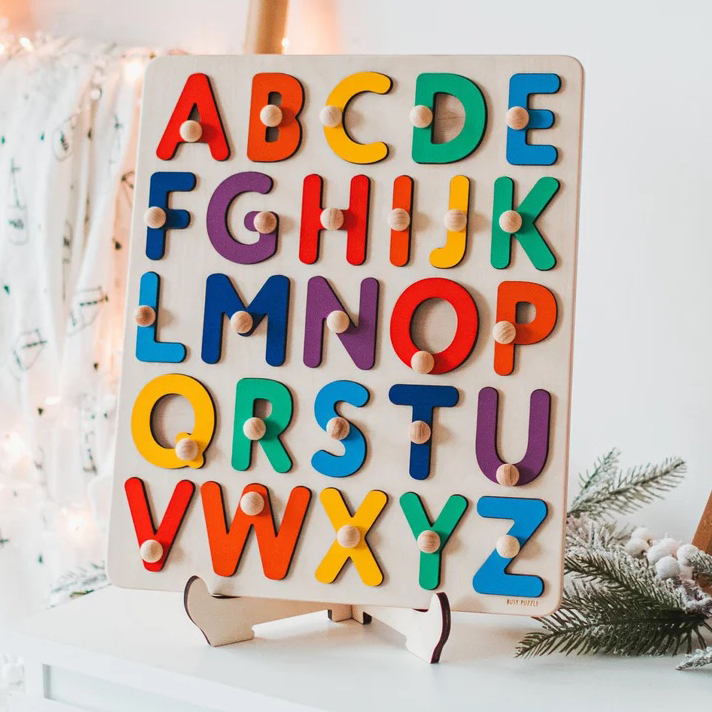
      alphabet puzzle

      Alphabet Puzzle

      This is a beautifully crafted wooden puzzle for classic letter learning!
      toy tissue box for baby

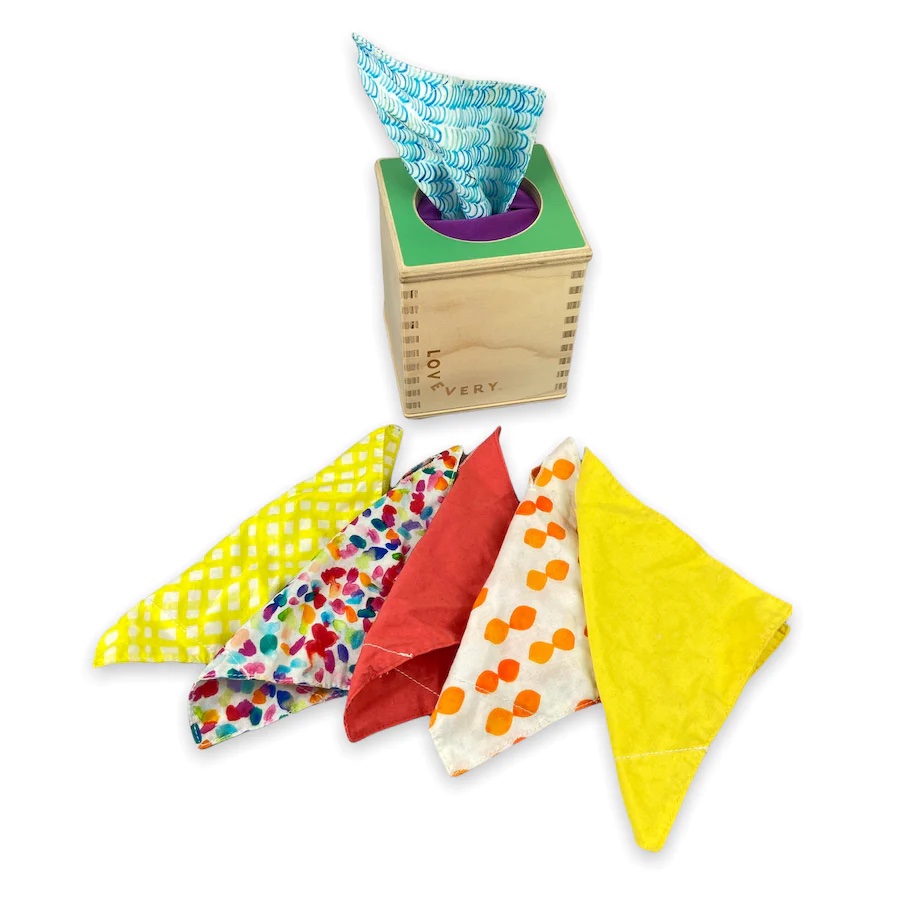
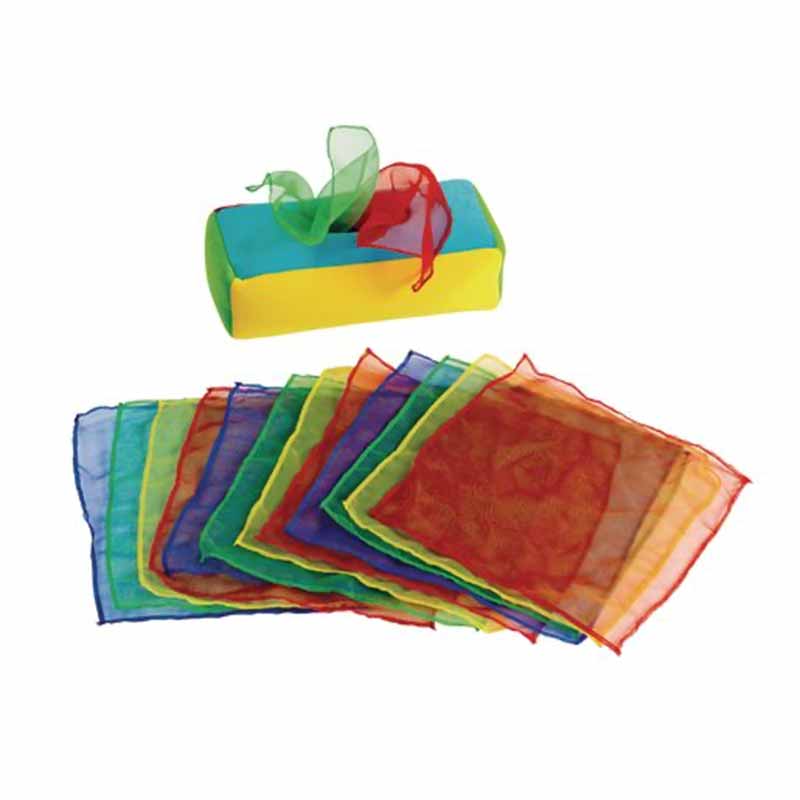
      Toy Tissue Box

      This wooden toy tissue box has linkable tissues that are also fun for peekaboo and mouthing.

      sliding top box

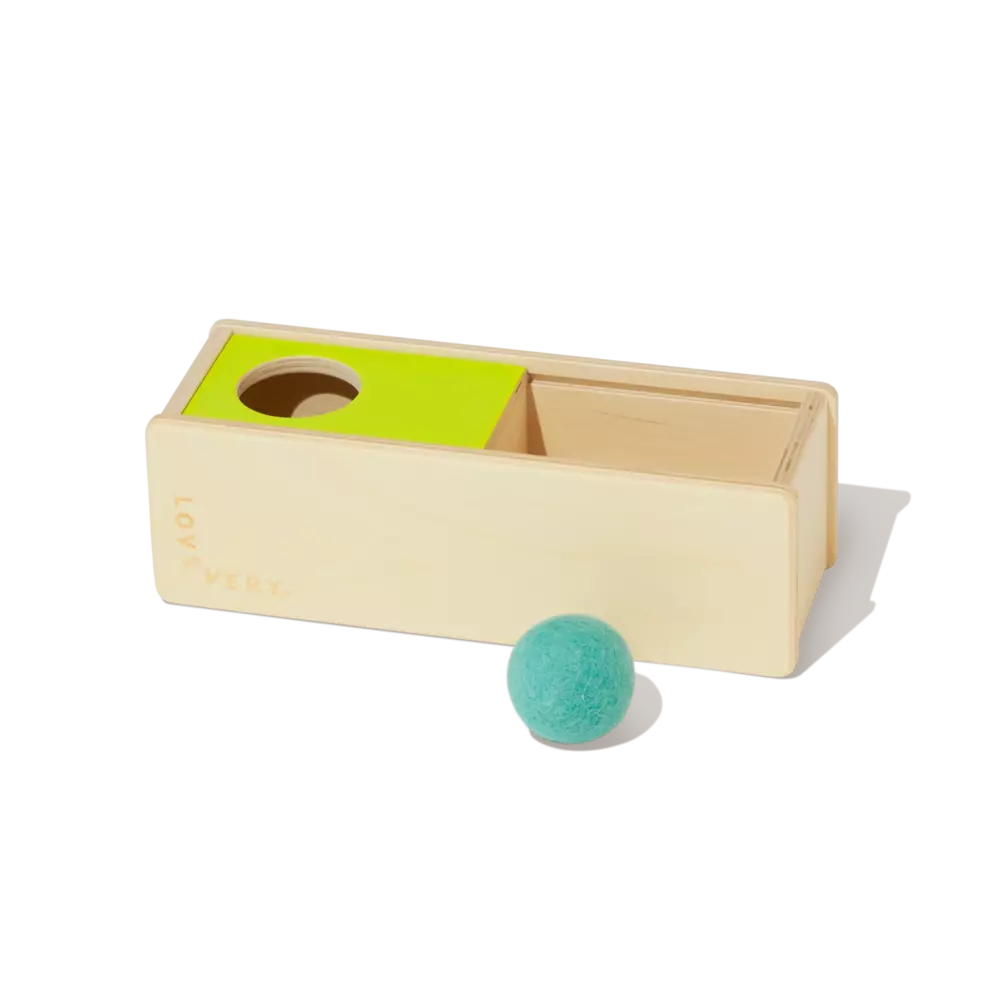
      Sliding Top Box

      Build strength, hand-eye coordination and problem solving skils with this surprising box.

      xylophone pounding toy

      Music Pounding Toy

      Multifunctional musical instrument and pounding toy in one!
      stem building toys tubes

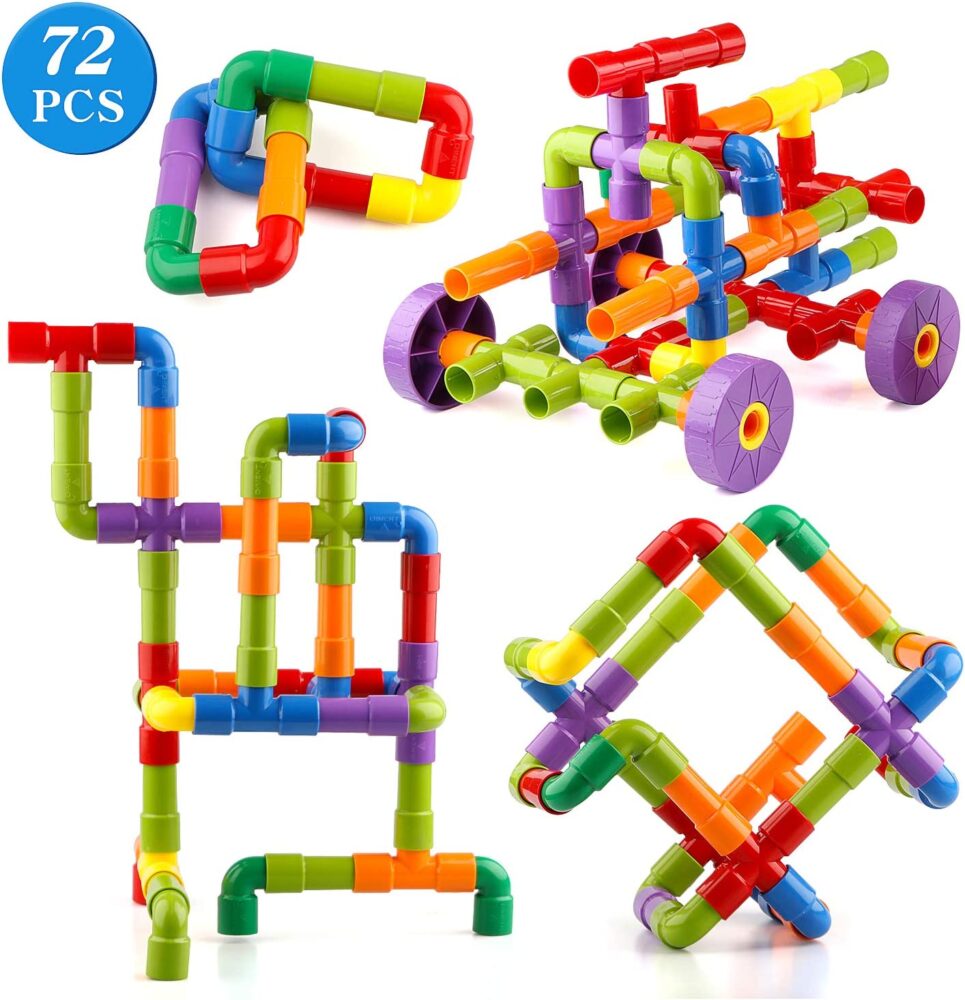
      Tube Building Toys

      These tube building toys can be turned into different shapes, cars, animals, etc.

      rainbow pebbles

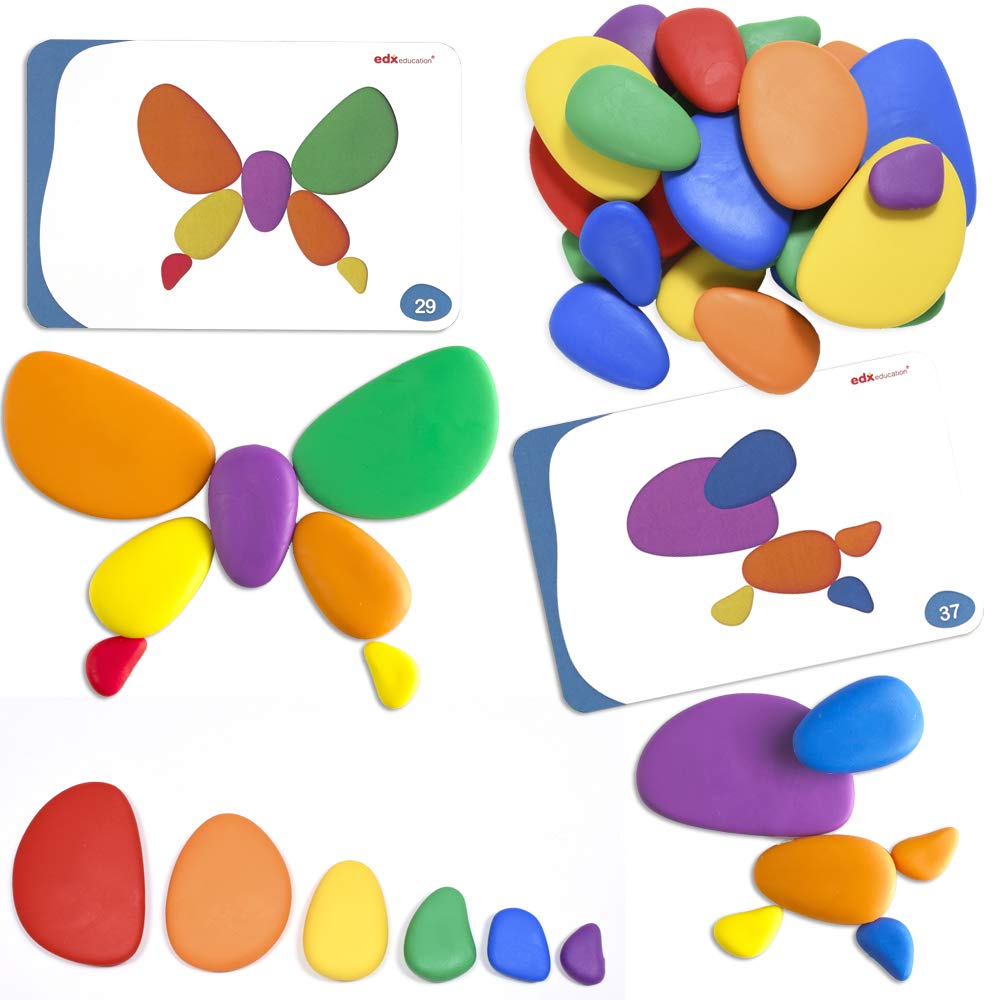
      Rainbow Pebbles

      Sort them, stack them, and turn them into the pictures feautred in the included activity cards.

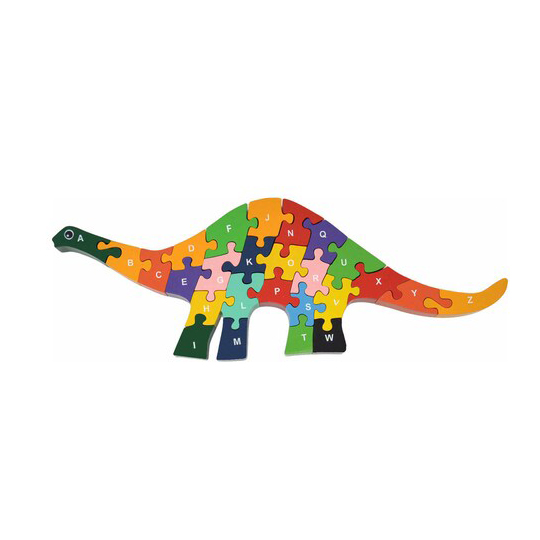
      alphabet dinosaur puzzle

      Wooden Dinosaur Alphabet Puzzle

      Build a dinosaur while working on alphabet fluency!

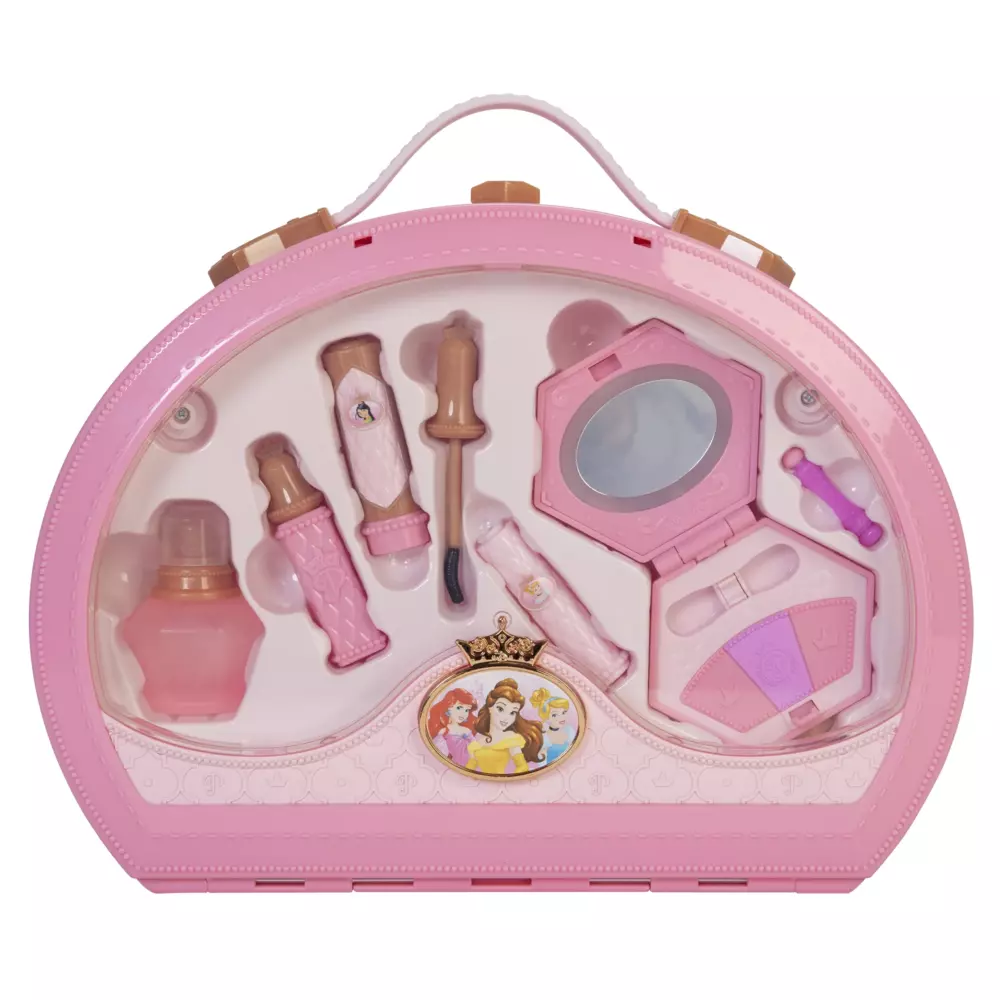
      disney princess make up kit

      Pretend Make Up Kit

      This is a princess themed pretend play make up kit.

      magnetic wooden cutting and cooking toy wooden food pretend play set

      Wooden Food

      This set of wooden food is “sliceable” and reattaches with magnets.

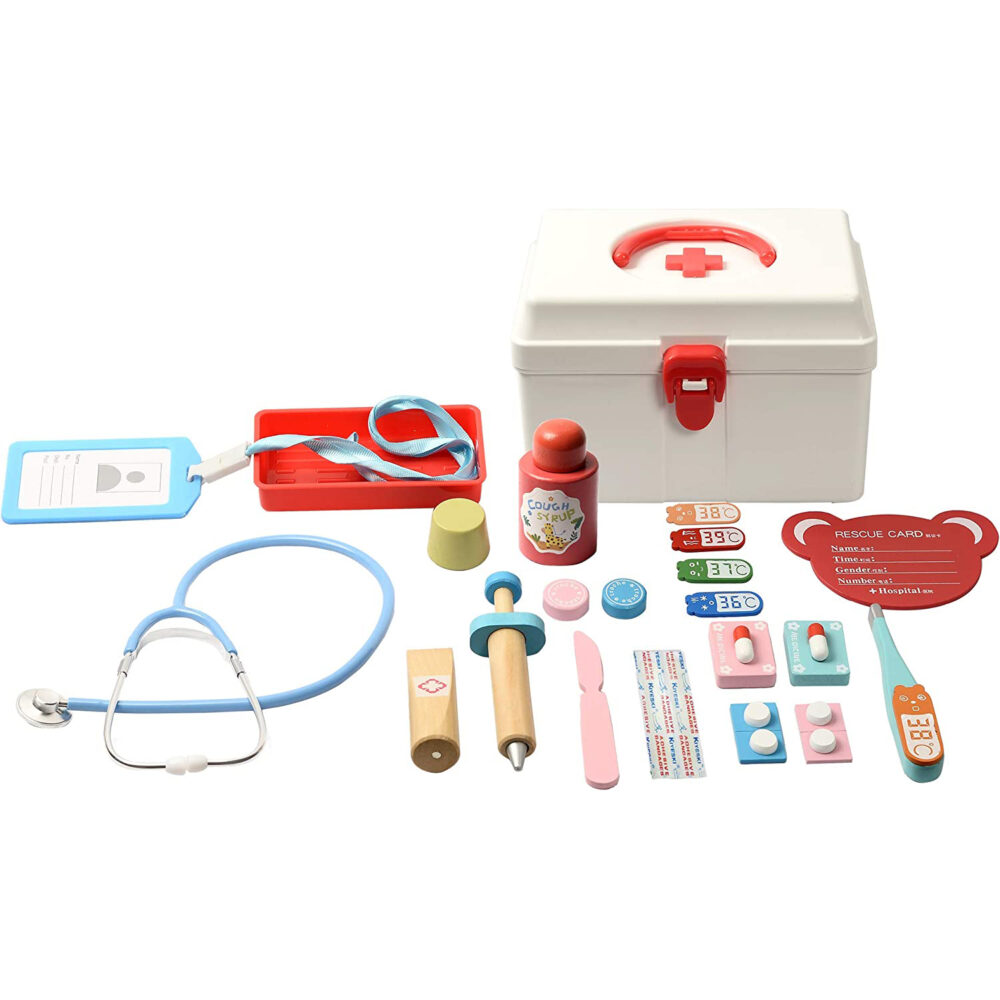
      doctor's kit pretend play

      Doctor’s Kit

      This pretend play doctor’s kit is a fun set of wooden pieces including a real stethoscope. 

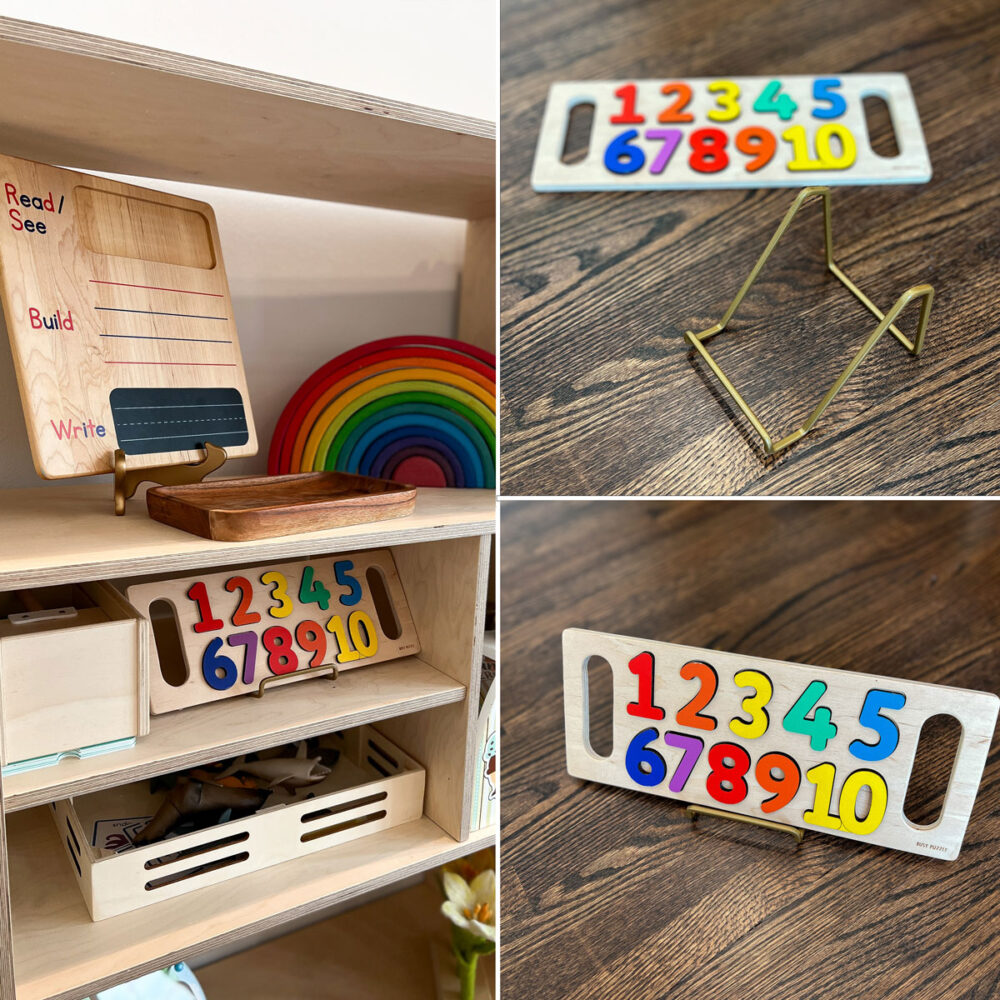
      Toy Rotation Puzzle Display Hack!

      The best way to display puzzles during toy rotations is with a plate stand! The puzzles are much more visible and inviting to play with.

      If they are big enough, you can also try to prop them up against the back wall, but the wire plate stand is a much more secure option. 

      You can also display books in it as well!

      how to display puzzles in the playroom

      What’s Next?

      Sensory Bags for Babies – Helpful Tummy Time Distractions

      Sensory Bags for Babies – Helpful Tummy Time Distractions

      Sensory Bags for Babies – Helpful Tummy Time Distractions!

      These sensory bags for babies are so easy to make and are such a great distraction during tummy time. Here are 4 ways you can make them!

      These sensory bags for babies are so easy to make and are such a great tool to use during tummy time. Here are 4 ways you can make them! 

      Benefits of Sensory Bags for Babies

      Even babies can enjoy sensory play! Not only are these sensory bags for babies a fun distraction during that critical tummy time, but sensory play in general, is so beneficial for baby! This type of sensory play can help build neural connections in the brain as those young hands explore new textures, colors, and sounds.

      They will also strengthen hand-eye coordination, and generally, are great for baby’s rapidly developing vision.

      Tummy time will be a success as they will be so curious to see and try to feel what’s inside the bags!

      All activities should be supervised by an adult. As an Amazon Associate I earn from qualifying purchases. This post may contain affiliate links.


      Skills:
      Ages: 
      Prep Time:

      Watch How to Make Sensory Bags for Babies

      In this quick video, you’ll see how easy it is to make sensory bags for babies.

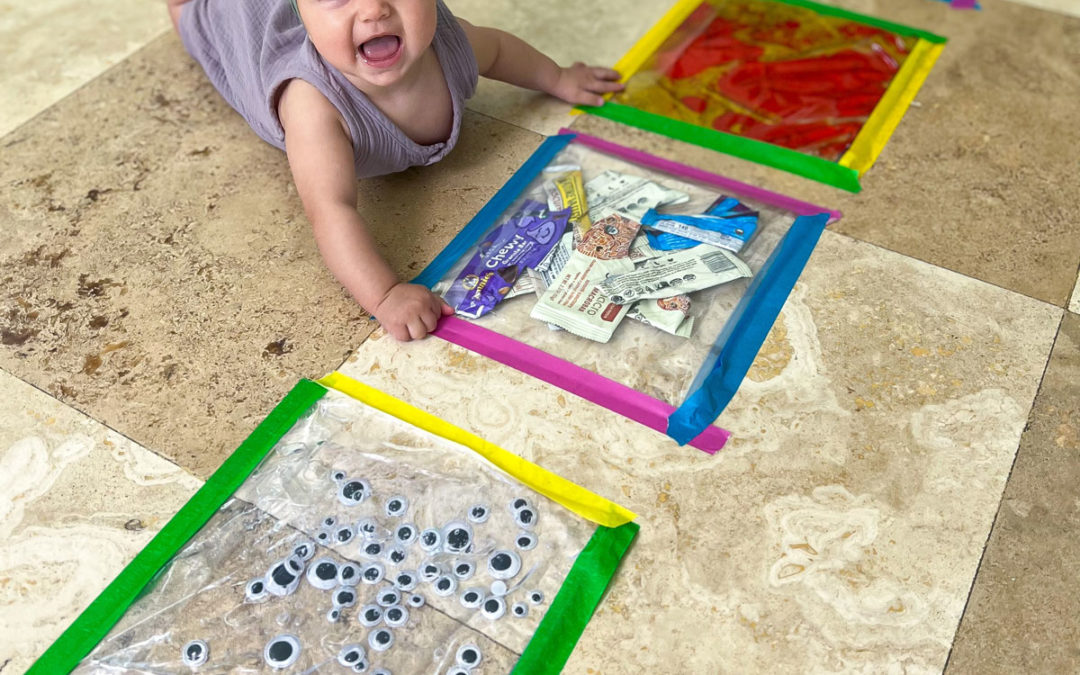
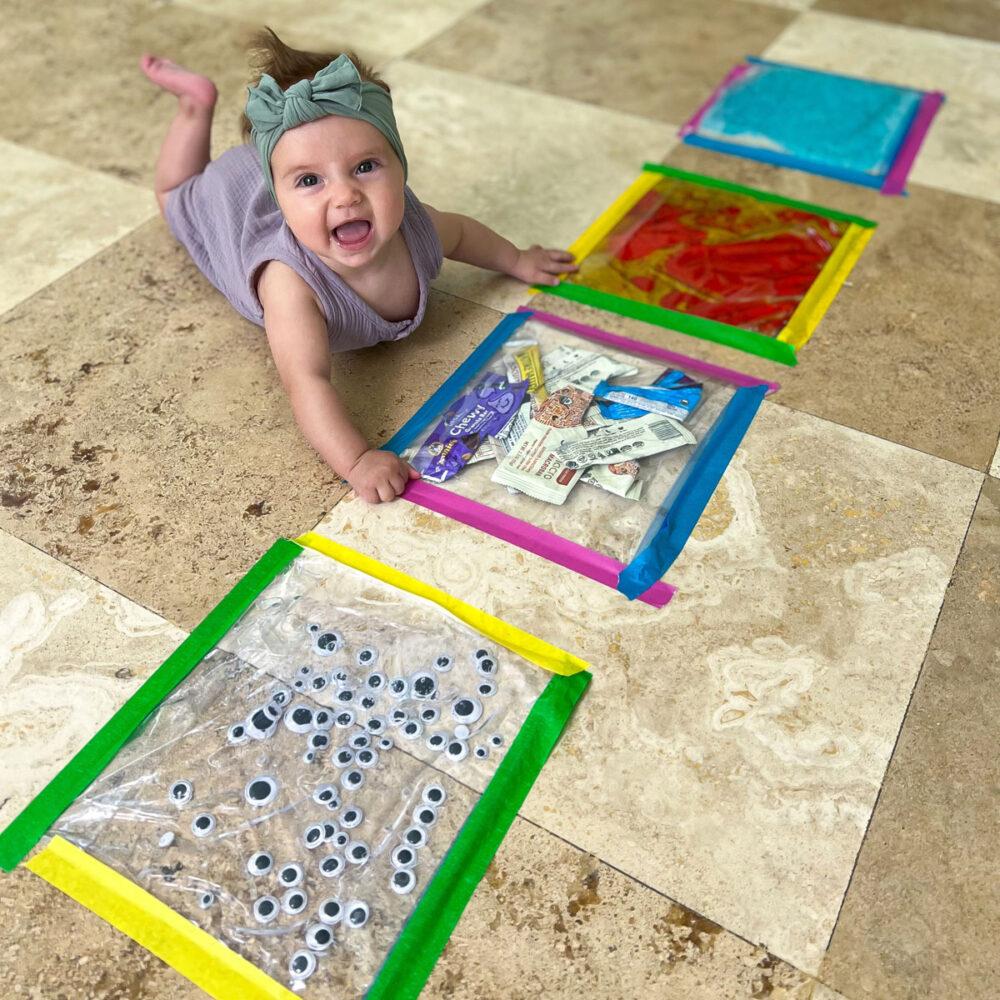
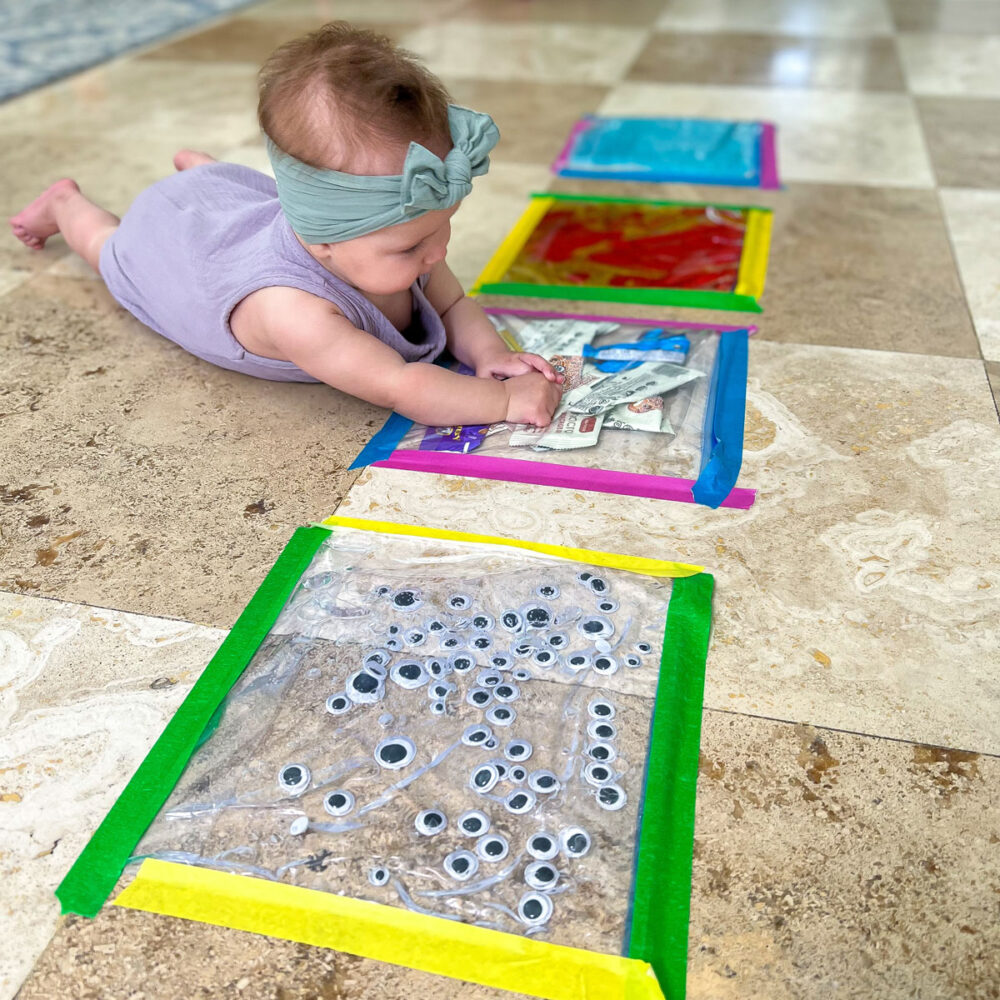
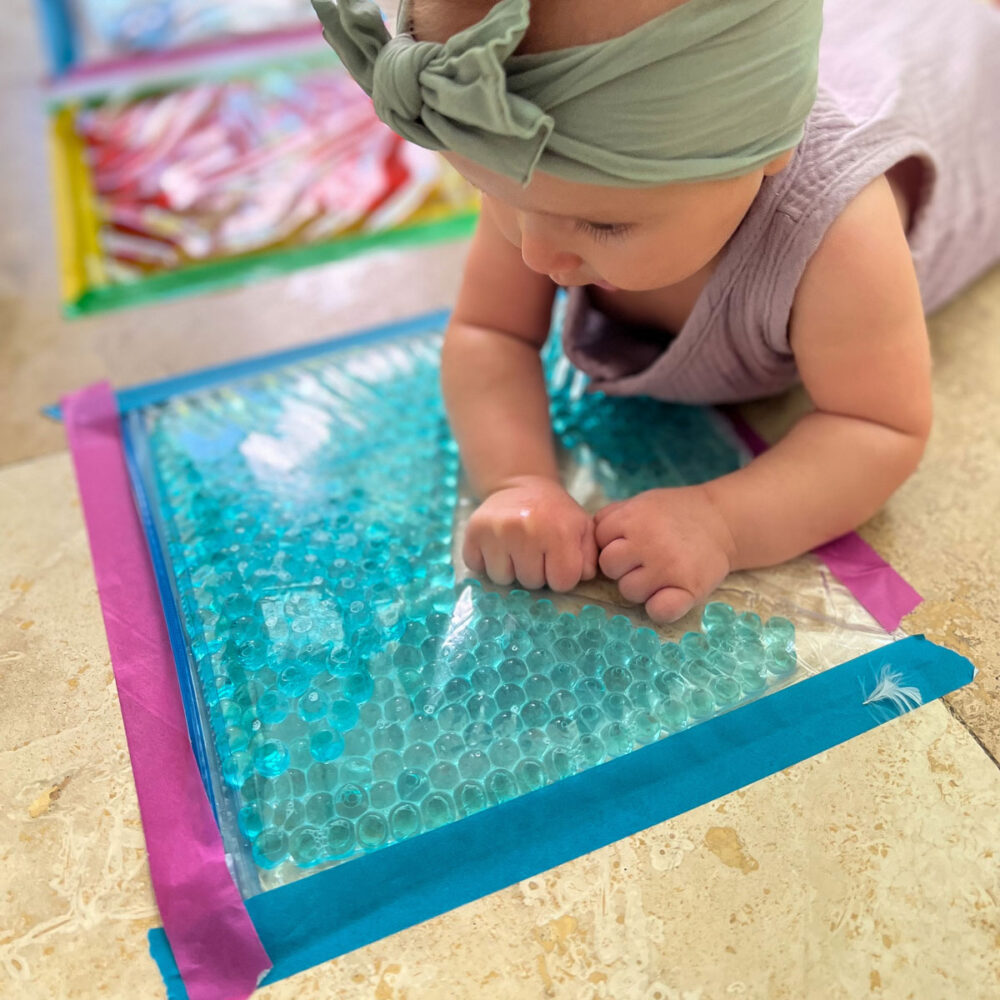
      The 4 bags I created were all based on items I had in my home, which included a bag filled up with cheap hair gel and googly eyes, one filled with water beads, another one filled with oil, water, and food coloring; and finally, one filled up with leftover wrappers that made a crinkly sound! 

      For more baby activities, visit our comprehensive list of ideas.

      These sensory bags for babies are so easy to make and are such a great distraction during tummy time. Here are 4 ways you can make them!

      Tips for Setting Up This Activity

      Use What You’ve Got! As mentioned above, these sensory bags for babies were made of items I found around the house (including granola bar wrapper trash!). They do not need to be fancy, so feel free to adapt them based on what is available! Water, oil, shaving cream, water beads, hair gel, rainbow rice, paint – anything that makes a great sensory base will work well in a sensory bag!

      Seal and Secure with Tape. For using sensory bags during tummy time, you’ll not only want to tape the plastic bags to the floor, but you’ll also want to first seal the zipper edge of the plastic bag with tape to prevent any spillage! Use an easy to remove masking tape for the floor, and something more strong like gorilla tape for sealing bags shut.

      Make the Bag Label-Free. Both acetone, aka nail polish remover, and rubbing alcohol will remove the white label found on most plastic bags!

      Materials

      Step-by-Step Instructions 

      Step 1

      Remove the label on plastic bags using nail polish remover.

      Step 2

      Fill up your sensory bags with different sensory materials including water beads or crinkly leftover granola wrappers! You can also fill one up with oil, water and food coloring. Or you could fill one up with cheap hair gel and something like googly eyes!


      Step 3

      Seal the bags shut with strong tape. This is especially important when using liquids. Plastic bag’s built in zipper are not fool proof and are prone to breaking, so this will help prevent a clean up headache!

      Step 4

      Tape the sensory bags to the ground so that baby can enjoy looking at them and touching them during tummy time without the bags sliding around!

      Step 1

      Remove the label on plastic bags using nail polish remover.

      Step 2

      Fill up your sensory bags with different sensory materials including water beads or crinkly leftover granola wrappers! You can also fill one up with oil, water and food coloring. Or you could fill one up with cheap hair gel and something like googly eyes!

      Step 3

      Seal the bags shut with strong tape. This is especially important when using liquids. Plastic bag’s built in zipper are not fool proof and are prone to breaking, so this will help prevent a clean up headache!

      Step 4

      Tape the sensory bags to the ground so that baby can enjoy looking at them and touching them during tummy time without the bags sliding around!

      Get FREE Printable Black and White Patterns for Babies

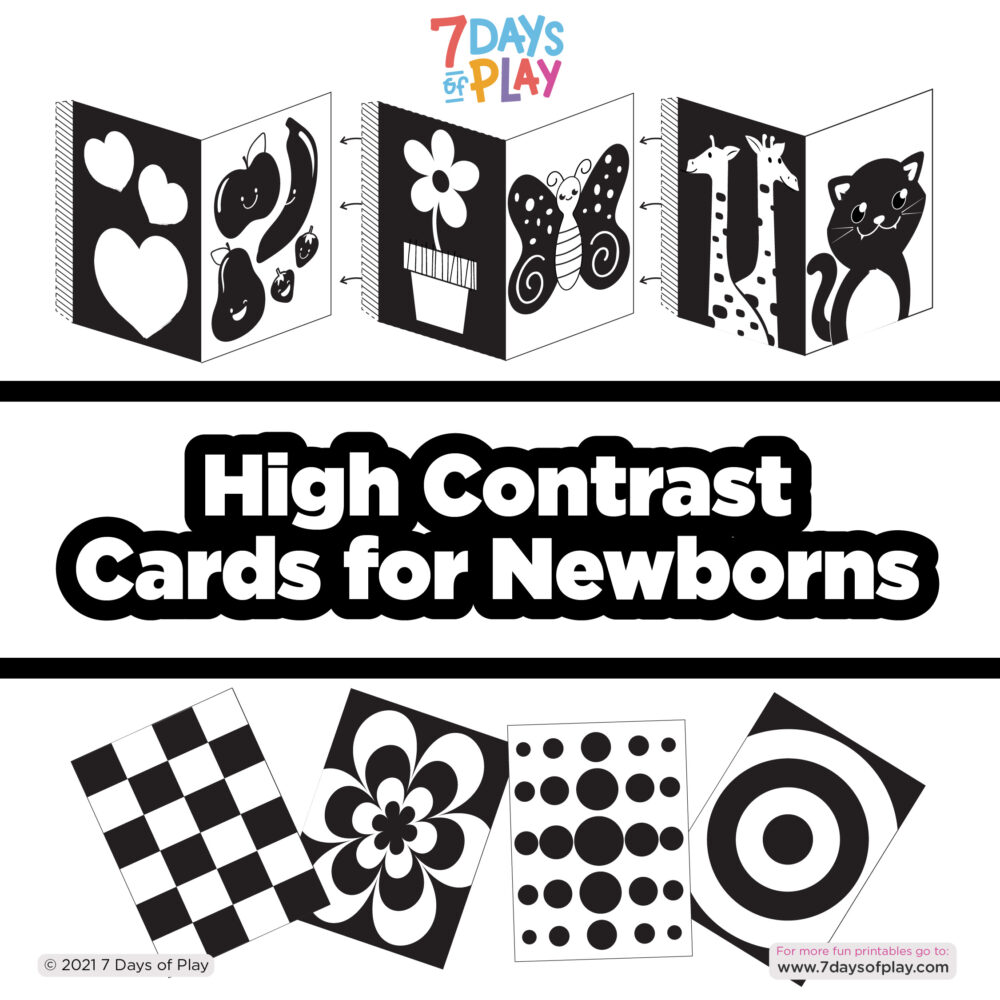
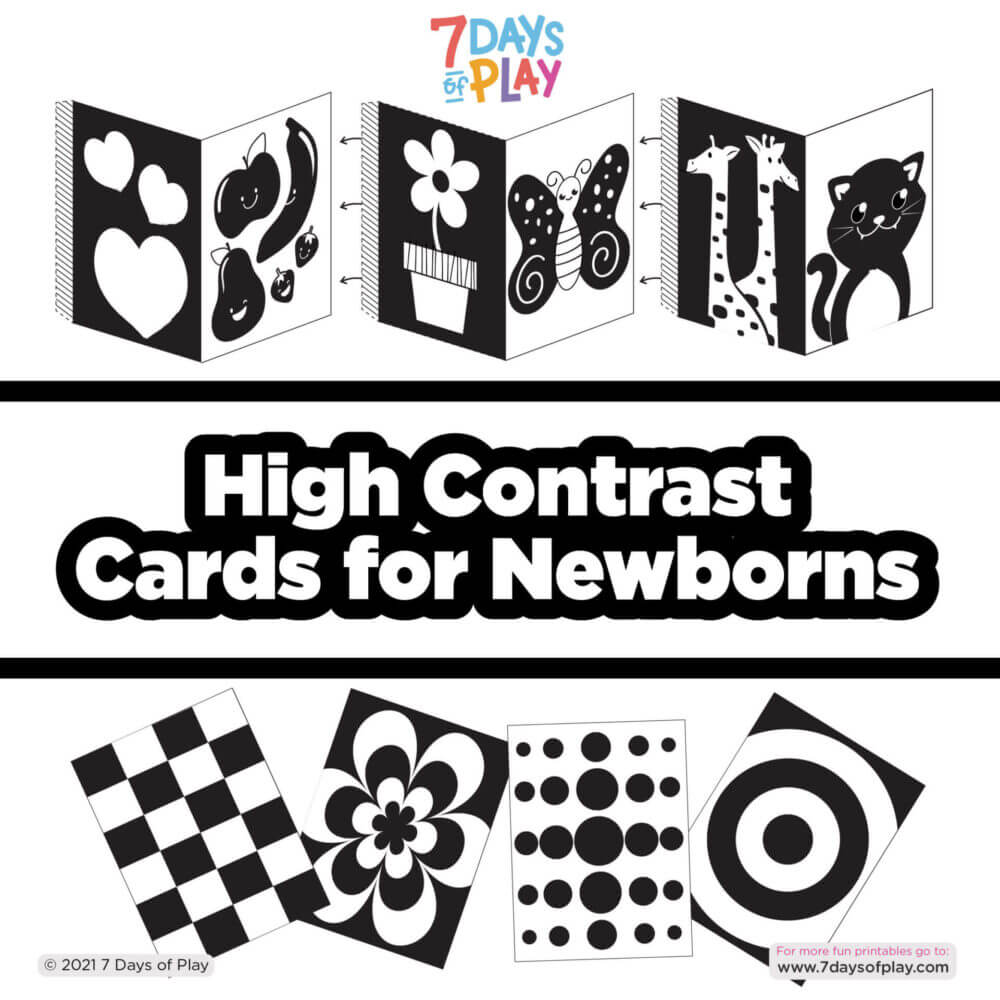
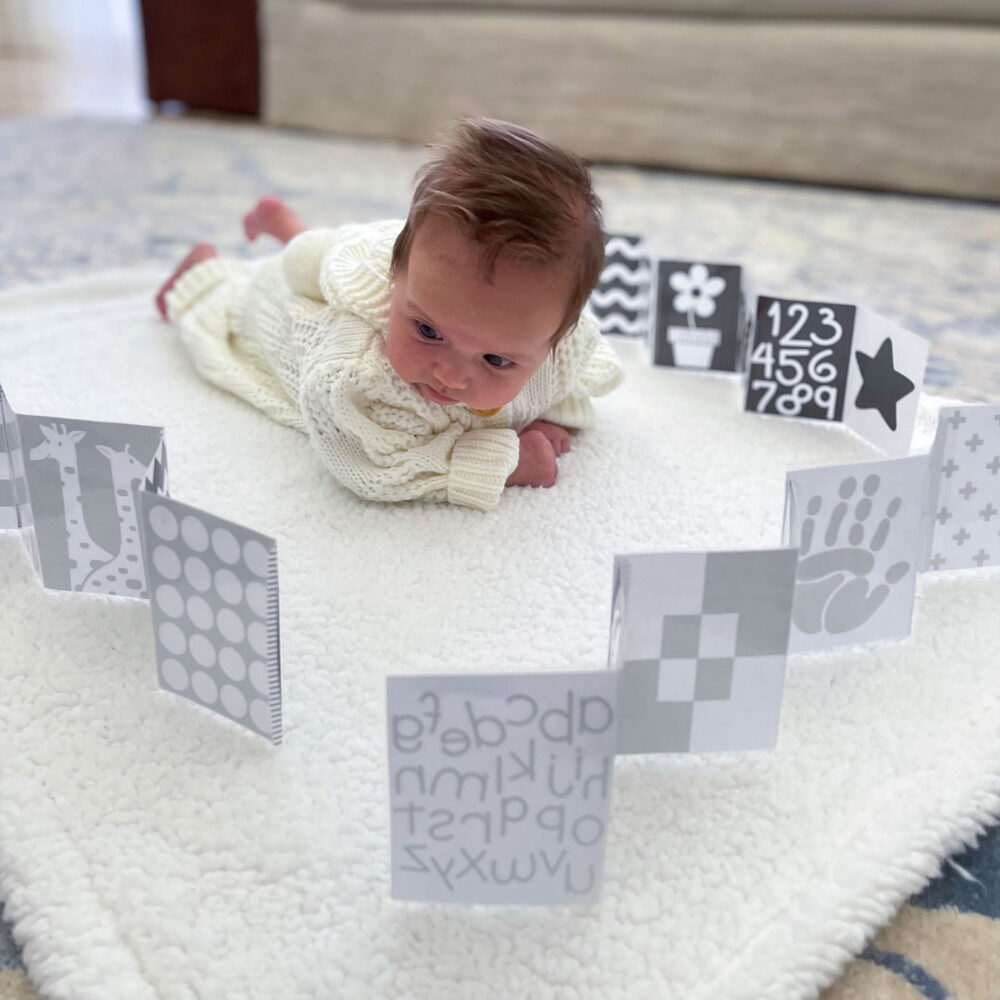
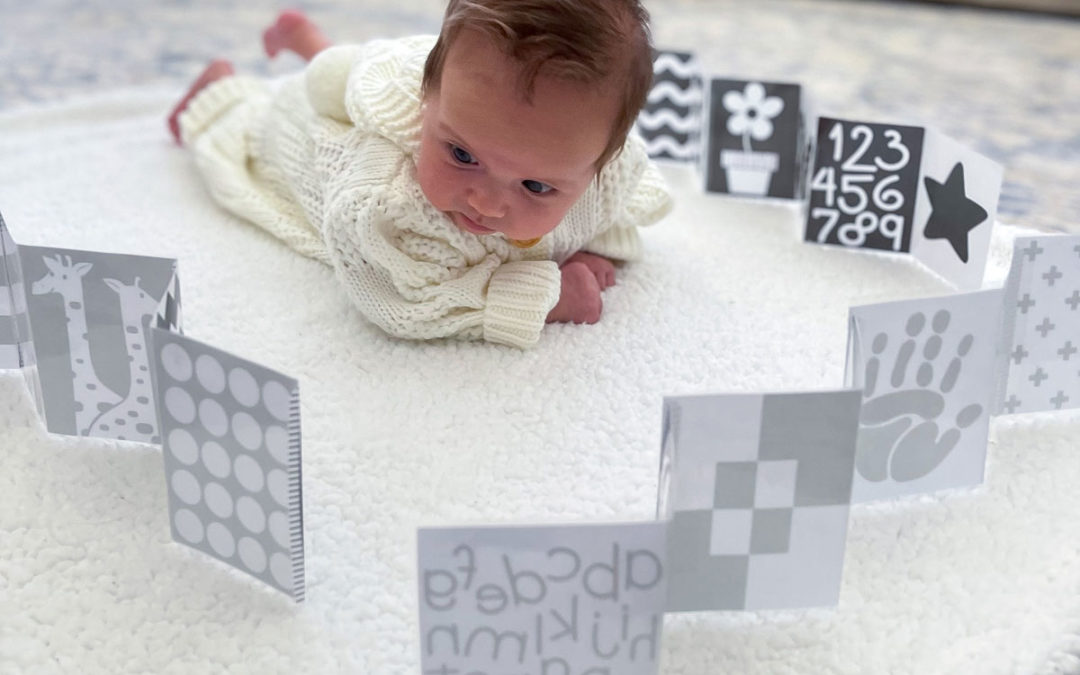
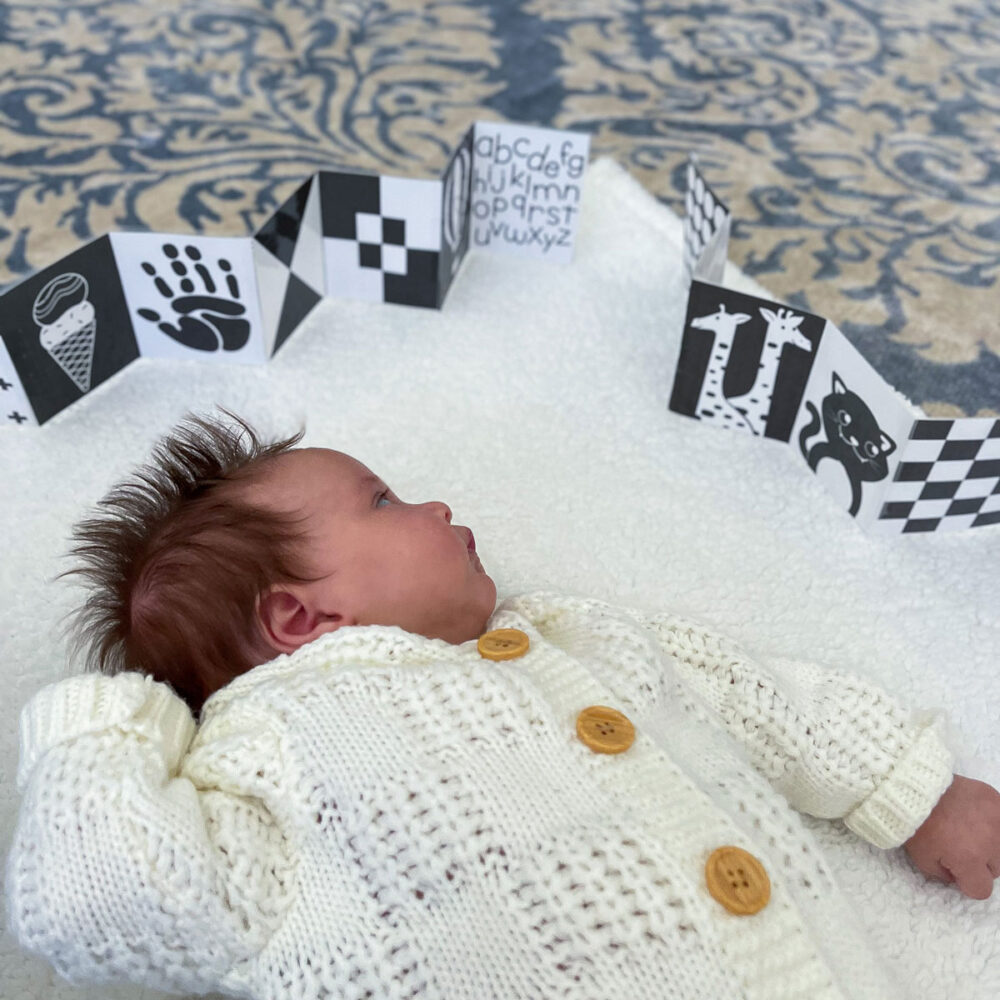
      Need more fun things to do with baby? This free printable set of black and white cards for babies includes 12 different high contrast images. Plus, tape them together to make them stand up on their own – perfect for tummy time!

      Make sure that you are allowing your baby to view them at a close distance. Remember, everything gets very blurry after 12-15 inches away from them! 

      And for even more printable activities, visit our Printable Shop. It is filled with easy to set-up activities that help strengthen early childhood education skills!

      These sensory bags for babies are so easy to make and are such a great distraction during tummy time. Here are 4 ways you can make them!
      These sensory bags for babies are so easy to make and are such a great distraction during tummy time. Here are 4 ways you can make them!

      Get FREE Printable Black and White Patterns for Babies

      Need more fun things to do with baby? This free printable set of black and white cards for babies includes 12 different high contrast images. Plus, tape them together to make them stand up on their own – perfect for tummy time!

      Make sure that you are allowing your baby to view them at a close distance. Remember, everything gets very blurry after 12-15 inches away from them! 

      And for even more printable activities, visit our Printable Shop. It is filled with easy to set-up activities that help strengthen early childhood education skills!

      Top Baby Toy Picks

      Here are a few of our top picks for toys that are great for baby development!

      black and white baby activities

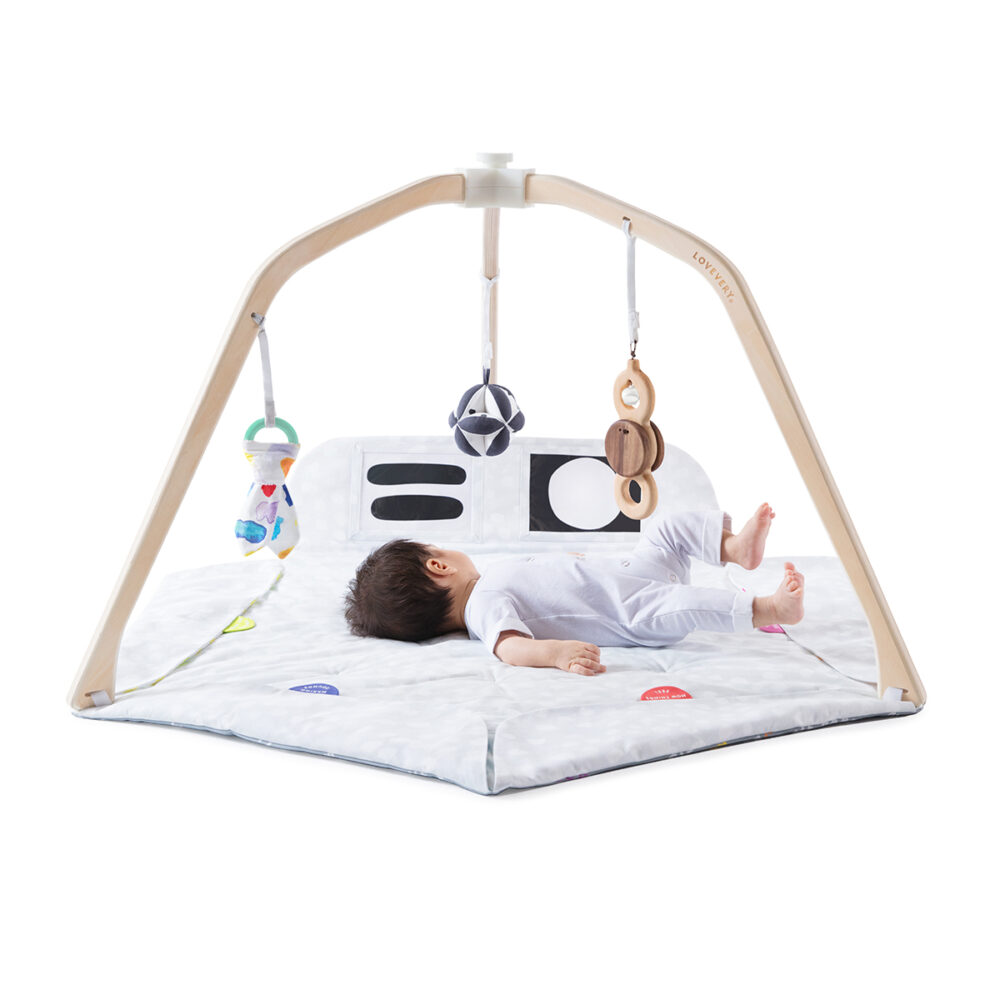
      Play Gym

      This item is the ultimate play gym for babies with multi-sensory areas, 3 rattles, and lots of black and white cards!

      black and white baby activities

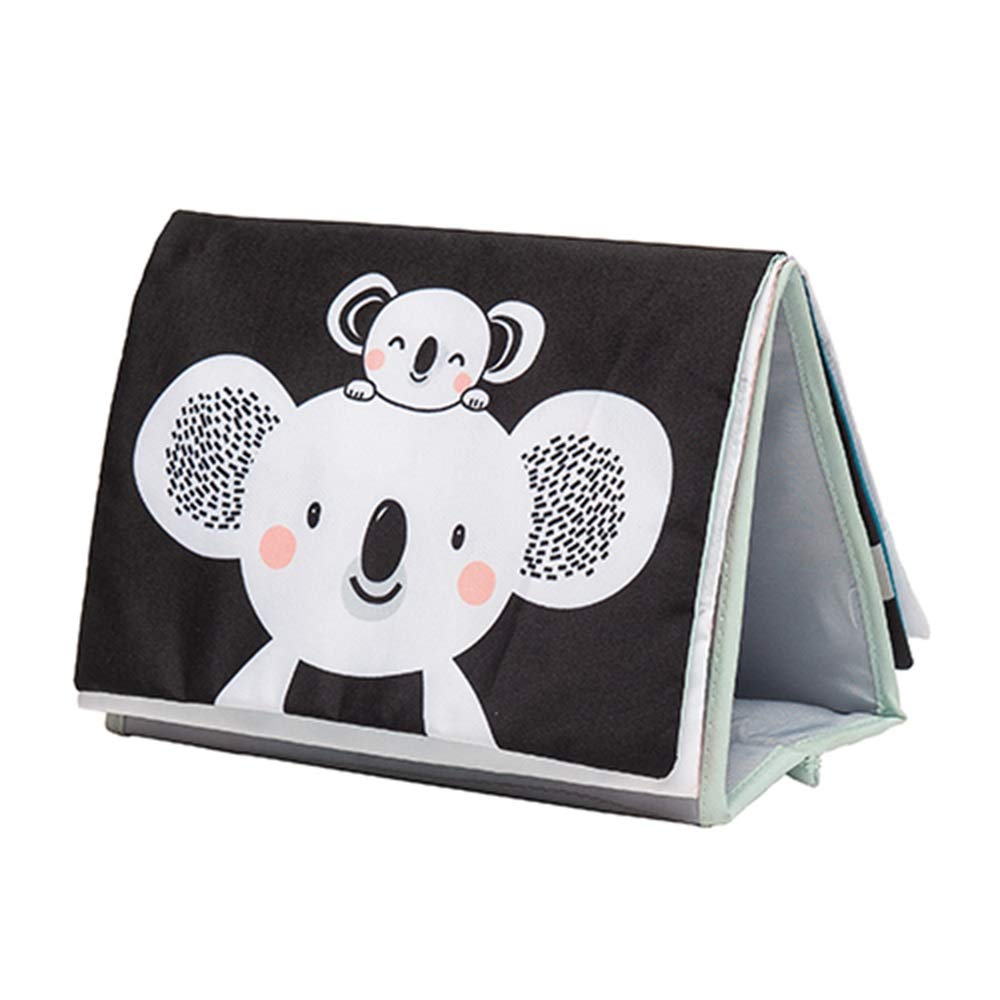
      Crinkle Activity Book

      This black and white activity book includes a mirror as well as black and white images that prop up easily.

      sensory play for babies

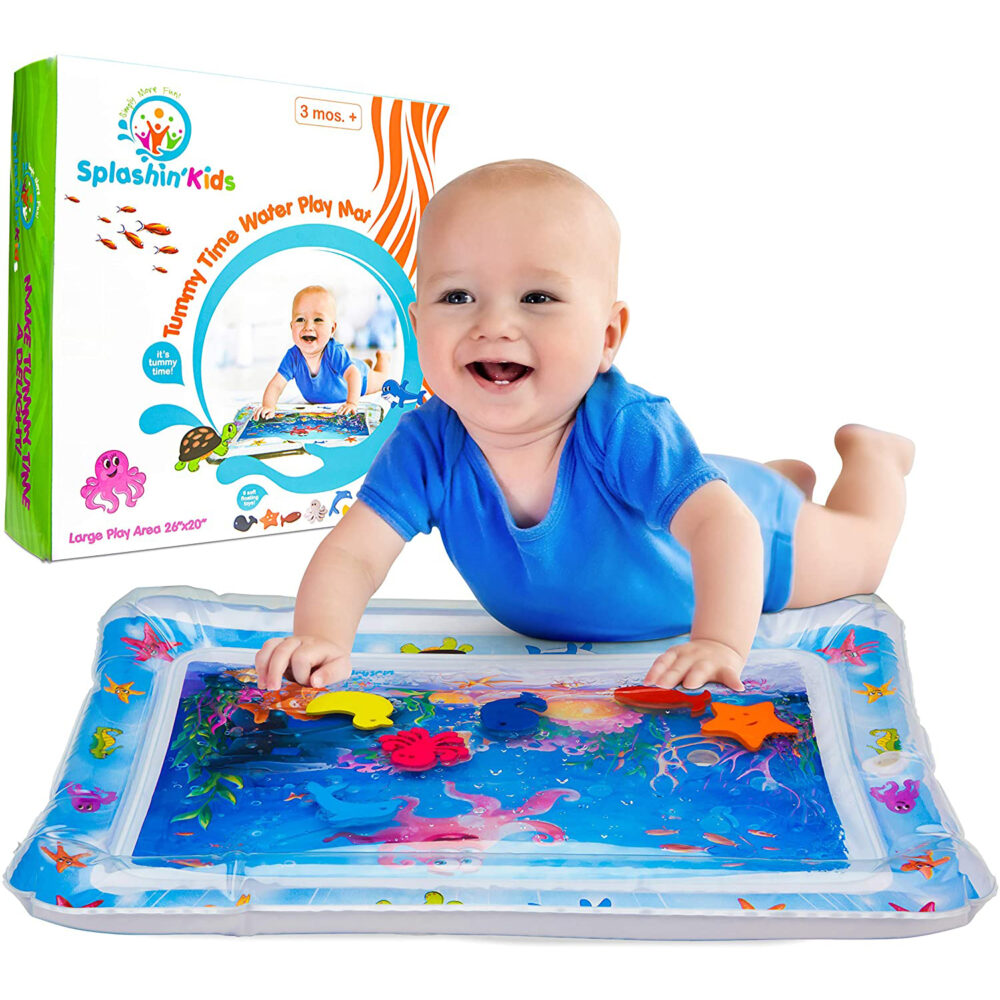
      Tummy Time Splash-Free Mat

      This mess-free aquatic themed water mat is great for tummy time and strengthening baby’s neck and shoulders! 

      baby toy ball

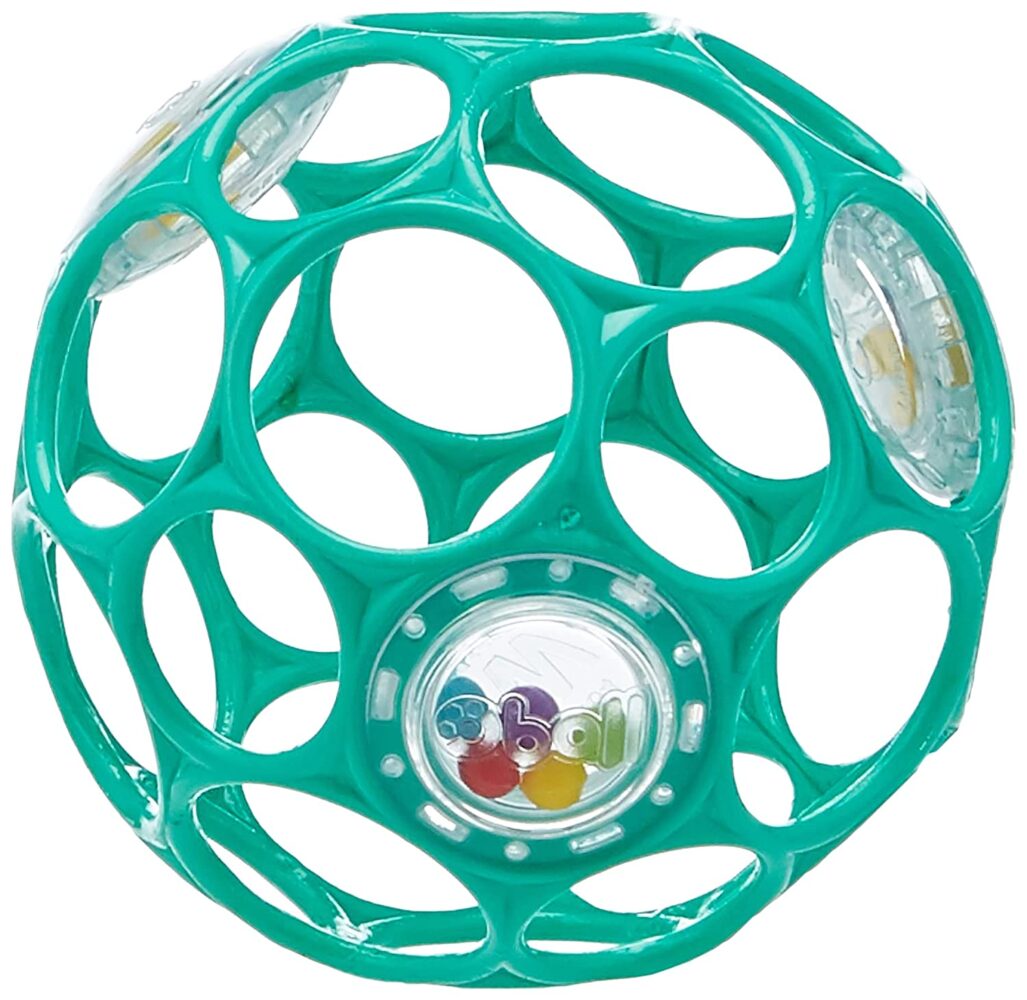
      Baby’s 1st Ball

      This easy to grasp ball is perfect for young babies just learning how to hold objects and later transfer them from hand to hand.

      What’s Next?

      DIY Baby Toy – How to Make Sensory Wrist Bands

      DIY Baby Toy – How to Make Sensory Wrist Bands

      DIY Baby Toy – How to Make Sensory Wrist Rattles

      diy baby toy how to make black and white wrist rattles

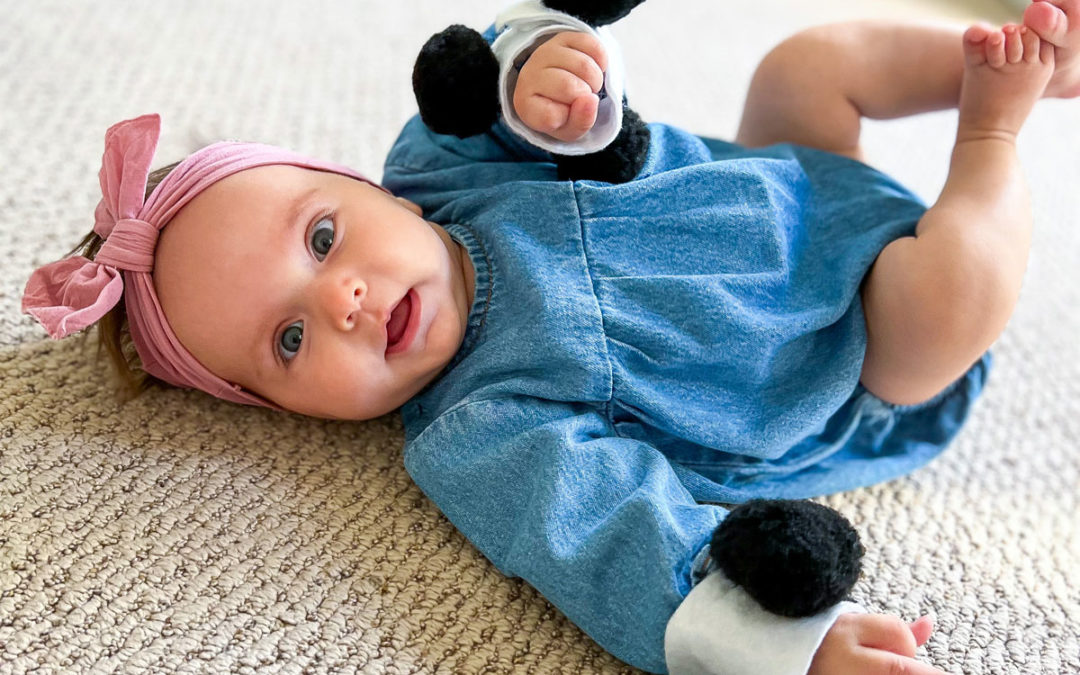
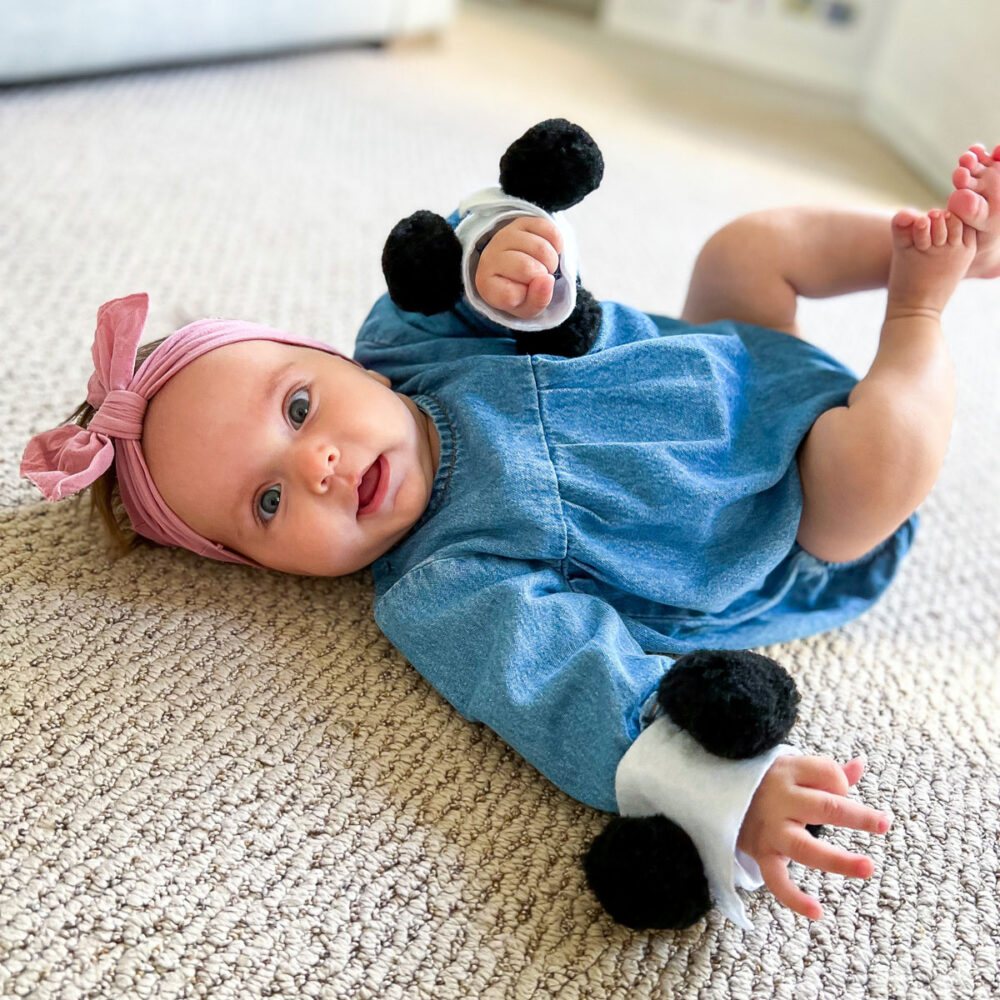
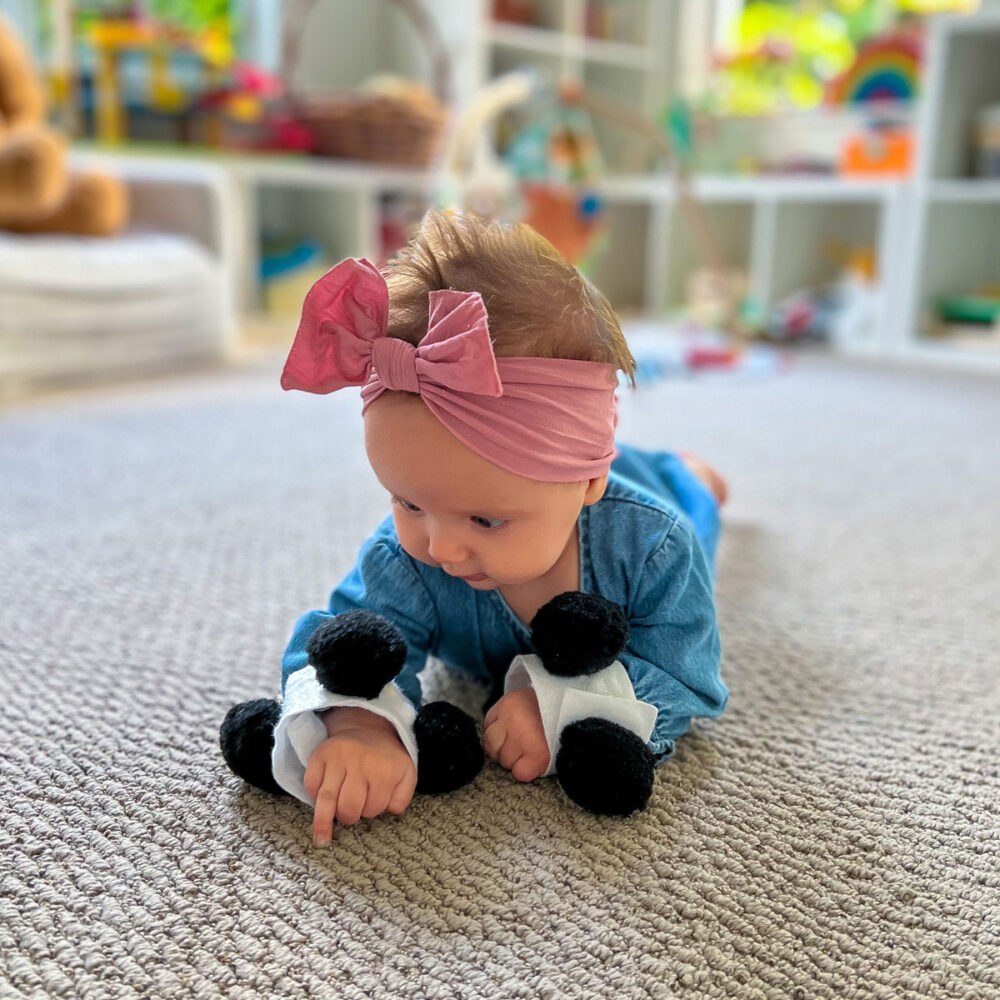
      This DIY baby toy is so easy to make! Babies will enjoy exploring the high contrast colors and jingly sounds of these homemade rattles that can be placed on their wrists or feet! 

      Benefits of this DIY Baby Toy

      Around 2 months, babies begin to discover their hands. This DIY baby toy is a great way for babies to continue to explore those hands and develop their strength through sound and high contrast colors! With bells enclosed inside the felt band, they can hear rattling. Plus, the high contrast colors of the white band with the black jumbo pom poms is great for vision development in babies.

      The wrist bands attach with velcro making them easy to put on and off by adults, but not easy for babies to take off! So they perfect for bringing on-the-go because they are secure and won’t be easily lost!

      All activities should be supervised by an adult. As an Amazon Associate I earn from qualifying purchases. This post may contain affiliate links.


      Skills:
      Ages: 
      Prep Time:

      Watch How to Make This DIY Baby Toy

      In this quick video, you’ll see how easy this DIY baby toy is to make!

      We attached them to the wrist, but you could make them for the feet too! I used high contrast colors because they are great for younger babies, but you could also use other more vibrant colors especially for older babies whose vision is more developed.

      For more baby activities, visit our comprehensive list of ideas

      diy baby toy how to make black and white wrist rattles

      Tips for Setting Up This Activity

      Extra Large Pom Poms. As babies develop their hand control, they usually bring them straight to their mouths. This is why using extra large pom poms, 1.75 inches and larger, is important to avoid any concerns for choking hazards.

      Parts Need to Be Secured. The bells inside the velcro straps need to be firmly secured as they are small parts and it would be very dangerous if they were to get loose. Therefore, strong glue must be used or, alternatively, the pieces can be sewed together. Either way, supervision is required at all times.

      Wake Windows. A wake window is that short time in between feeding and sleeping (or being changed!). Between 0-12 weeks wake windows can be between 60-75 minutes and up to 2 hours by 4 months. During this time, babies will benefit greatly from activities like this that not only stimulate their bodies, but their brains too. Be sure to grab these moments during the wake windows or else baby may get tired and cranky and may not want to play!

      Materials

      Step-by-Step Instructions 

      Step 1

      Firmly secure bells onto a strip of felt.

      Step 2

      Glue another strip of felt on top to enclose the bells.


      Step 3

      Glue extra large pom poms onto the felt band.

      Step 4

      Use velcro stickers on the ends so that the band can open and close around baby’s wrist.

      Step 1

      Firmly secure bells onto a strip of felt.

      Step 2

      Glue another strip of felt on top to enclose the bells.

      Step 3

      Glue extra large pom poms onto the felt band.

      Step 4

      Use velcro stickers on the ends so that the band can open and close around baby’s wrist.

      Get FREE Printable Black and White Patterns for Babies

      Need more fun things to do with baby? This free printable set of black and white cards for babies includes 12 different high contrast images. Plus, tape them together to make them stand up on their own – perfect for tummy time!

      Make sure that you are allowing your baby to view them at a close distance. Remember, everything gets very blurry after 12-15 inches away from them! 

      And for even more printable activities, visit our Printable Shop. It is filled with easy to set-up activities that help strengthen early childhood education skills!

      black and white high contrast stimulation cards for babies newborns free printable
      black and white high contrast stimulation cards for babies newborns free printable

      Get FREE Printable Black and White Patterns for Babies

      Need more fun things to do with baby? This free printable set of black and white cards for babies includes 12 different high contrast images. Plus, tape them together to make them stand up on their own – perfect for tummy time!

      Make sure that you are allowing your baby to view them at a close distance. Remember, everything gets very blurry after 12-15 inches away from them! 

      And for even more printable activities, visit our Printable Shop. It is filled with easy to set-up activities that help strengthen early childhood education skills!

      More High Contrast Activities

      Here are my top picks for more ways babies can play with black and white!

      black and white baby activities

      Play Gym

      This item is the ultimate play gym for babies with multi-sensory areas, 3 rattles, and lots of black and white cards!

      black and white baby activities

      Crinkle Activity Book

      This black and white activity book includes a mirror as well as black and white images that prop up easily.

      black and white baby activities

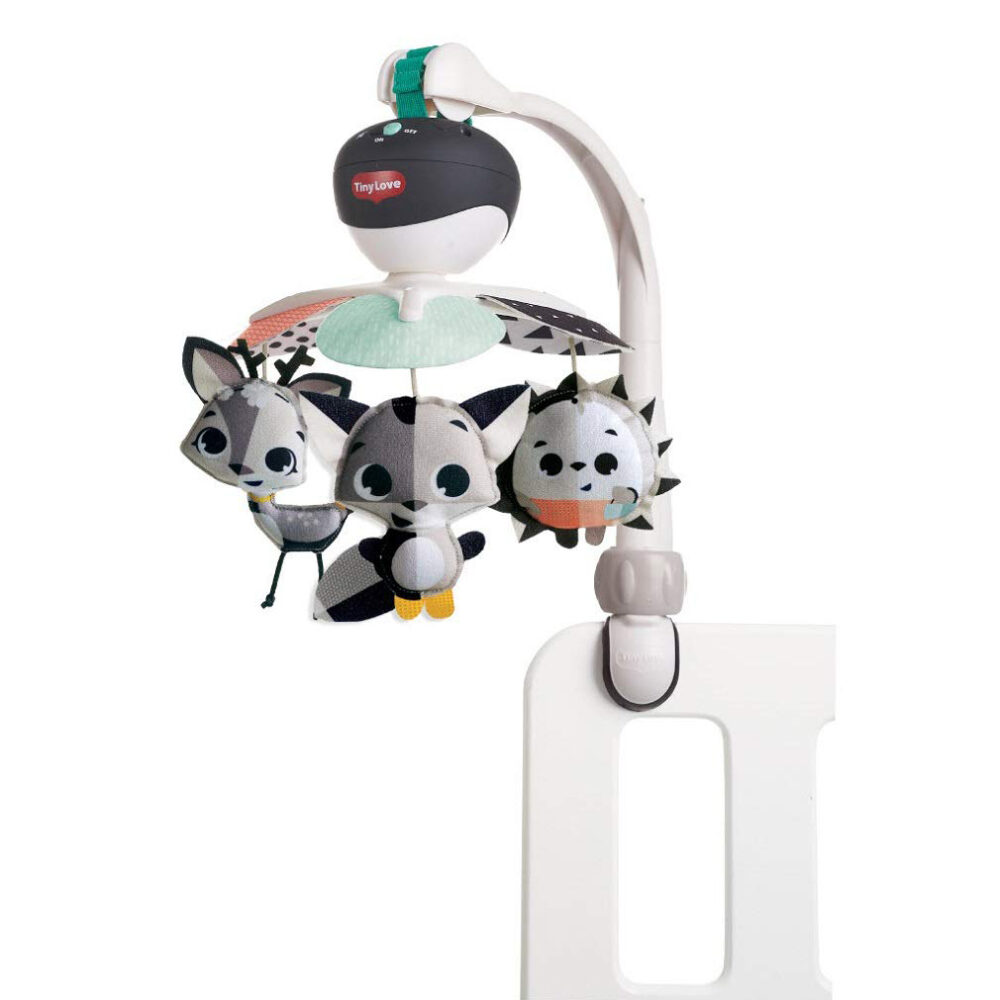
      Take Along Mobile

      This mobile has black and white colors, calming music, and an adjustable arm that can fit many different environments.

      black and white baby activities

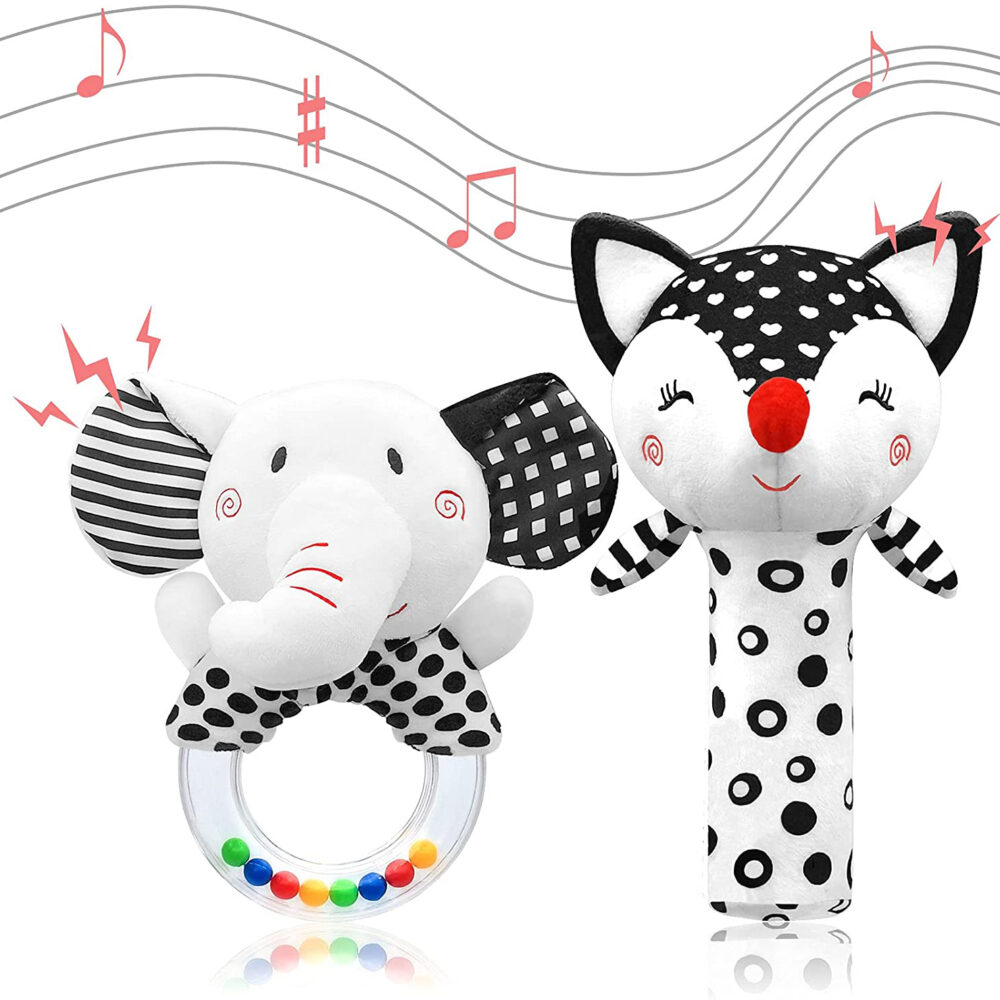
      Rattles

      This set of plush rattles have an animal design, black and white patterns, crinkly paper, and other sounds that are perfect for babies.

      What’s Next?

      Baby Activity at 3 months – Fun with Balloons

      Baby Activity at 3 months – Fun with Balloons

      Baby Activity at 3 Months – Fun with Balloons

      baby activity at 3 months balloon kicking

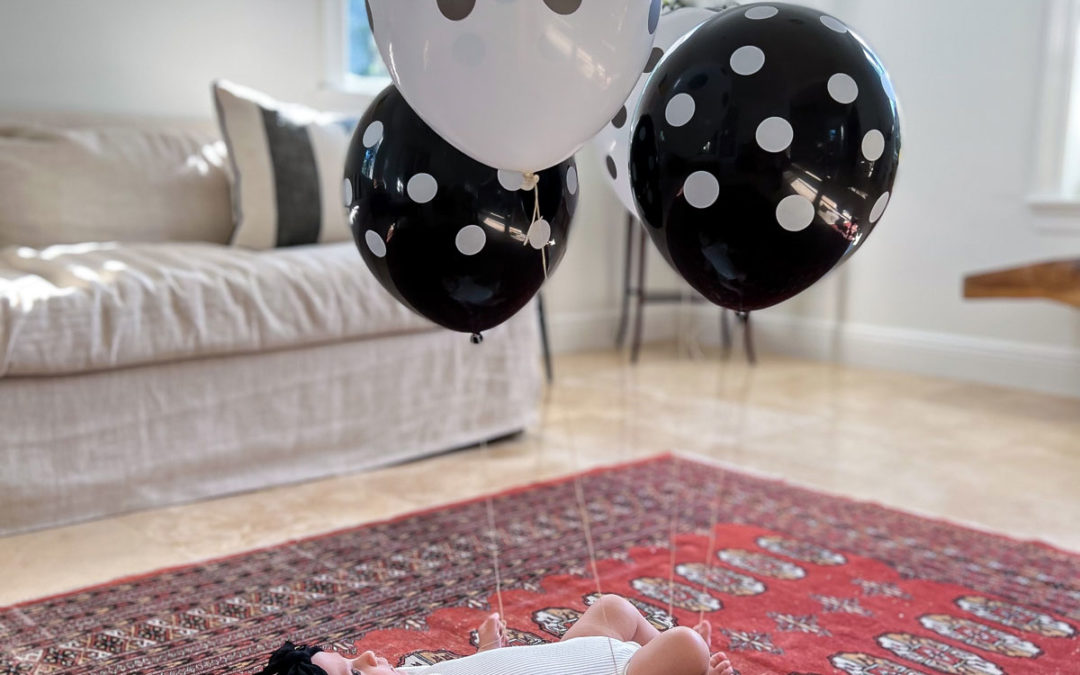
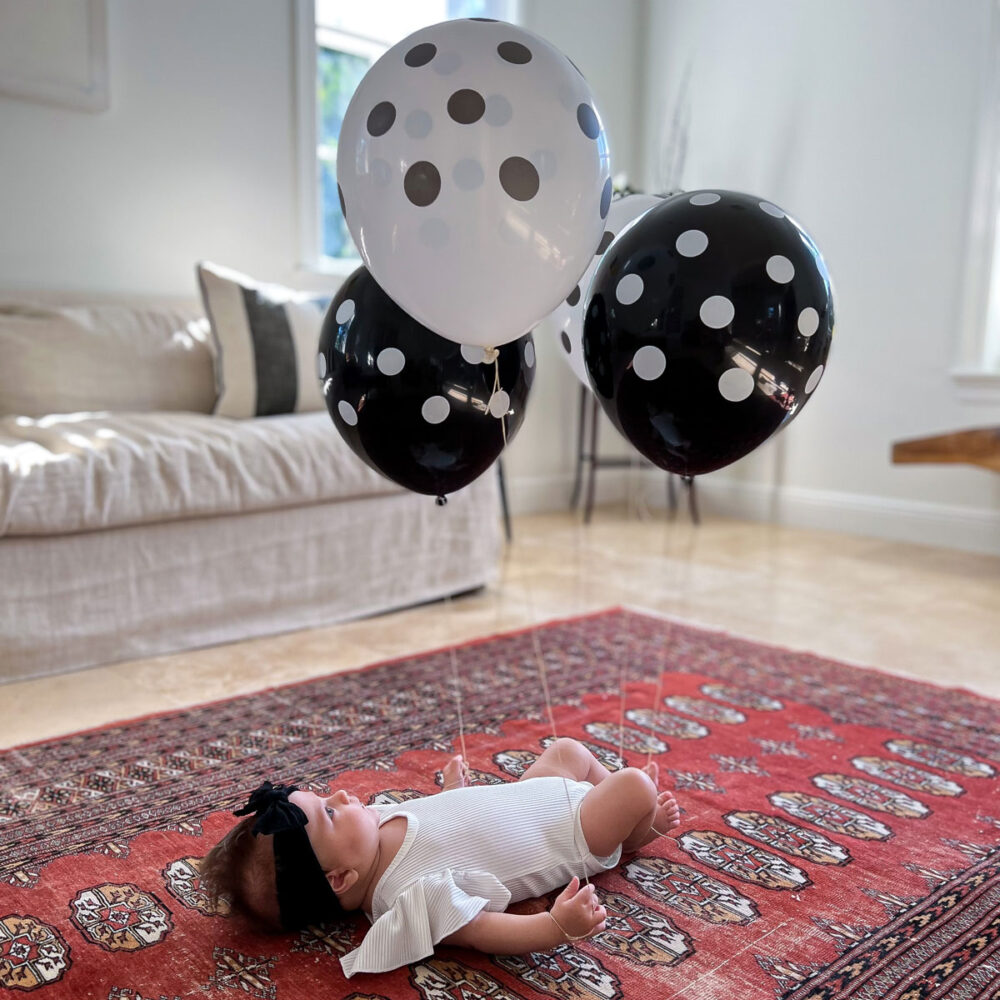
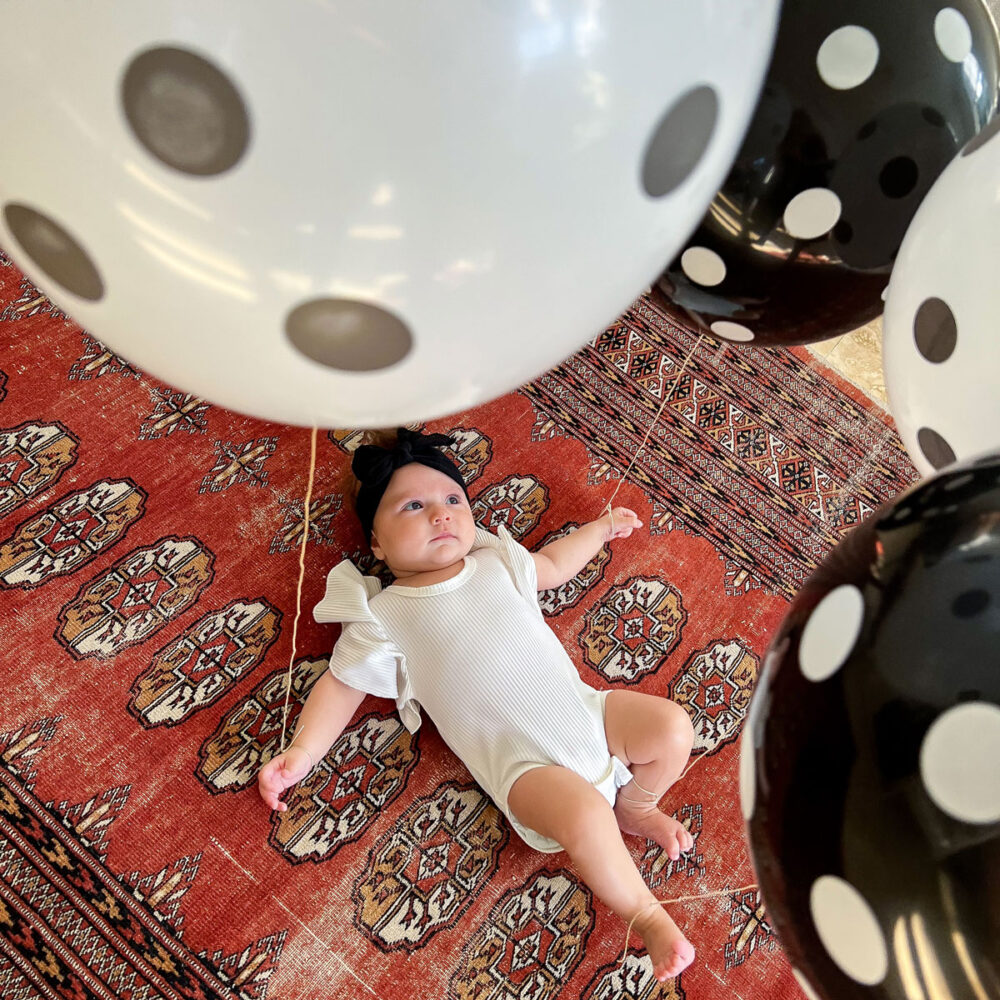
      Tying balloons to the hands and feet is a great baby activity at 3 months. Keep on reading to find out all the benefits of this activity for babies!

      Benefits of This Balloon Activity for Babies

      During the first three months of a babies life, they sleep quite often, but there are some precious wake windows where babies can start to have fun and begin to strengthen important skills!

      This is a great baby activity at 3 months because it’s an important time for babies to improve their visual tracking skills, and stay on the back before they begin rolling over from stomach to back.

      It’s also a great way to keep baby busy, engaged, and strengthening gross motor skills with every kick and punch! As each arm and leg raise and move the balloons around, babies will also be developing an understanding of cause and effect!


      Skills:
      Ages: 
      Prep Time:

      How to Set Up This Baby Activity at 3 Months

      This activity is as easy as grabbing some balloons, using helium to blow them up, and tying 2-4 of them with string to baby’s hands and feet.

      In this video you’ll see how my 3 month old enjoyed kicking, moving her arms, and tracking the balloons as they moved up, down, and side to side.

      For more baby activities, visit our comprehensive list of ideas

      All activities should be supervised by an adult. As an Amazon Associate I earn from qualifying purchases. This post may contain affiliate links.

      baby activity at 3 months balloon kicking

      Tips for Setting Up This Activity

      Ballon Type. While you can use any color balloon, the younger the baby, the more useful black and white balloons are due to their ability to see high contrast images better. Also be sure to grab some helium to keep the balloons up high!

      Wake Windows. A wake window is that short time in between feeding and sleeping (or being changed!). Between 0-12 weeks wake windows can be between 60-75 minutes and up to 2 hours by 4 months. During this time, babies will benefit greatly from activities like this that not only stimulate their bodies, but their brains too. Be sure to grab these moments during the wake windows or else baby may get tired and cranky and may not want to play!

      Supervision. It goes without saying that supervision is key! This is not an activity for babies to be left alone doing. Once you finish playing, safely dispose of the strings and balloons in the trash.

      Get FREE Printable Black and White Patterns for Babies

      Need more fun things to do with baby? This free printable set of black and white cards for babies includes 12 different high contrast images. Plus, tape them together to make them stand up on their own – perfect for tummy time!

      Make sure that you are allowing your baby to view them at a close distance. Remember, everything gets very blurry after 12-15 inches away from them! 

      And for even more printable activities, visit our Printable Shop. It is filled with easy to set-up activities that help strengthen early childhood education skills!

      black and white high contrast stimulation cards for babies newborns free printable
      black and white high contrast stimulation cards for babies newborns free printable

      Get FREE Printable Black and White Patterns for Babies

      Need more fun things to do with baby? This free printable set of black and white cards for babies includes 12 different high contrast images. Plus, tape them together to make them stand up on their own – perfect for tummy time!

      Make sure that you are allowing your baby to view them at a close distance. Remember, everything gets very blurry after 12-15 inches away from them! 

      And for even more printable activities, visit our Printable Shop. It is filled with easy to set-up activities that help strengthen early childhood education skills!

      More High Contrast Activities

      Here are my top picks for more ways babies can play with black and white!

      black and white baby activities

      Play Gym

      This item is the ultimate play gym for babies with multi-sensory areas, 3 rattles, and lots of black and white cards!

      black and white baby activities

      Crinkle Activity Book

      This black and white activity book includes a mirror as well as black and white images that prop up easily.

      black and white baby activities

      Take Along Mobile

      This mobile has black and white colors, calming music, and an adjustable arm that can fit many different environments.

      black and white baby activities

      Rattles

      This set of plush rattles have an animal design, black and white patterns, crinkly paper, and other sounds that are perfect for babies.

      What’s Next?

      What to Put in Diaper Caddy? List of 11 Helpful Items!

      What to Put in Diaper Caddy? List of 11 Helpful Items!

      What to Put in Diaper Caddy? List of 11 Helpful Items!

      what to put in diaper caddy essential list ideas

      Do you need some ideas of what to put in a diaper caddy? Keep on reading to see my list of 11 helpful items to include inside!

      Wondering what to put in a diaper caddy?

      Perhaps you are a parent-to-be or a new parent and want to be prepared on what to have in your diaper caddy. Or perhaps you simply are fed up with running all over the house looking for supplies!

      Well, let me help you out! I’ve put together a handy list to make your life a little more convenient and easy! This list includes +10 things you may want to have in your diaper basket for when doodie calls (plus other baby-care moments with your little one)!

      All activities should be supervised by an adult. As an Amazon Associate, I earn from qualifying purchases. This post may contain affiliate links.

      Watch to See What to Put in a Diaper Caddy

      In this quick video you’ll see all the items I like to include in my diaper caddy!

      Keep on reading to get the full list below and where to get them!

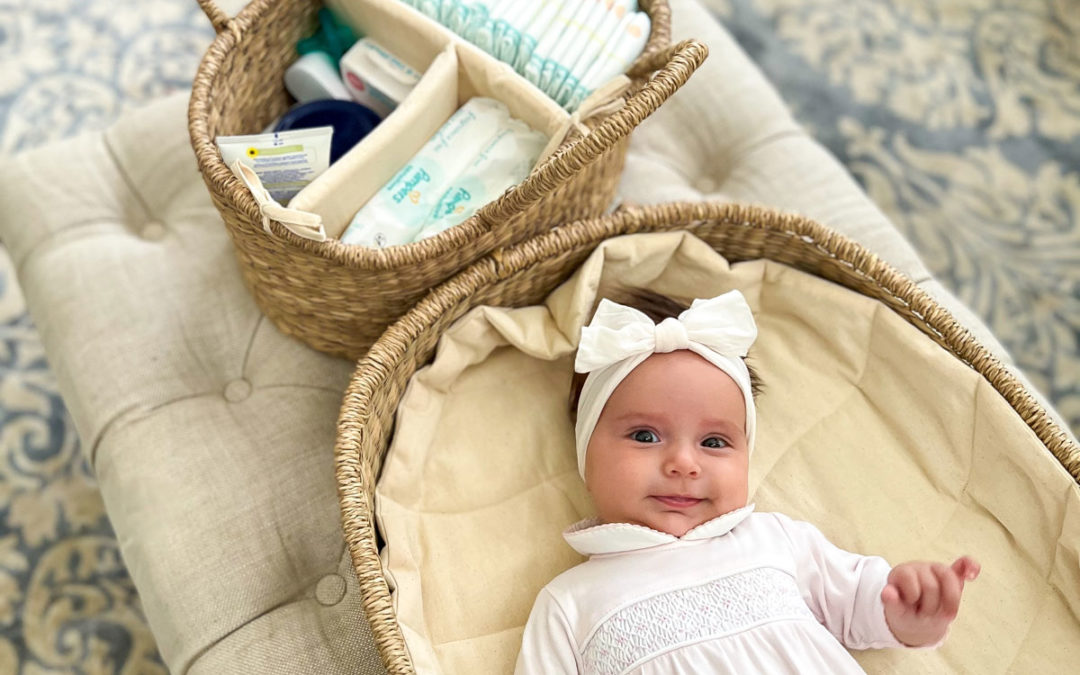
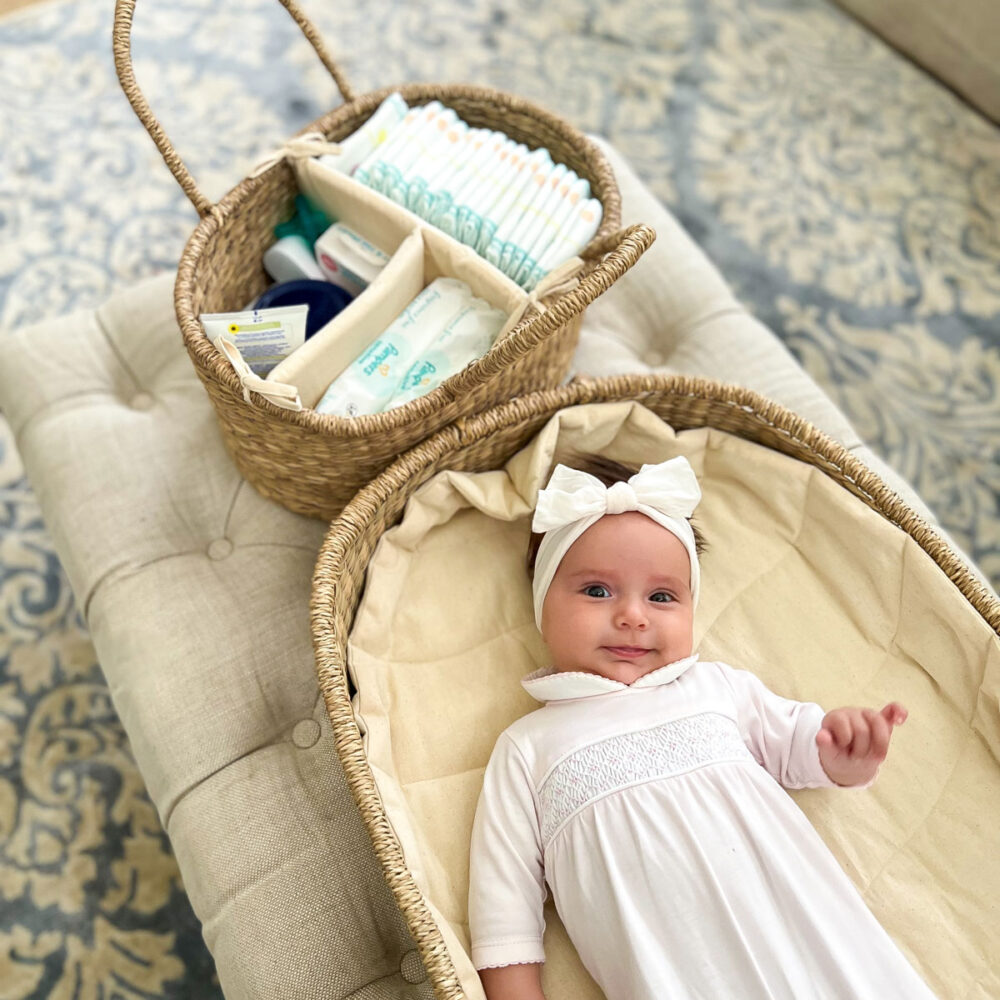
      Plus, also check out the adorable moveable diaper caddy and diaper changing basket!


      Watch to See What to Put in a Diaper Caddy

      In this quick video you’ll see all the items I like to include in my diaper basket!

      Keep on reading to get the full list below and where to get them!

      Plus, also check out the adorable moveable diaper caddy and diaper changing basket!

      List of What to Put in a Diaper Caddy

      Here are all the details for the items to include in a diaper caddy and where to get them!

      what to put in diaper caddy essential list ideas

      Diapers

      It goes without saying that diapers are an essential part of a diaper caddy!

      what to put in diaper caddy essential list ideas

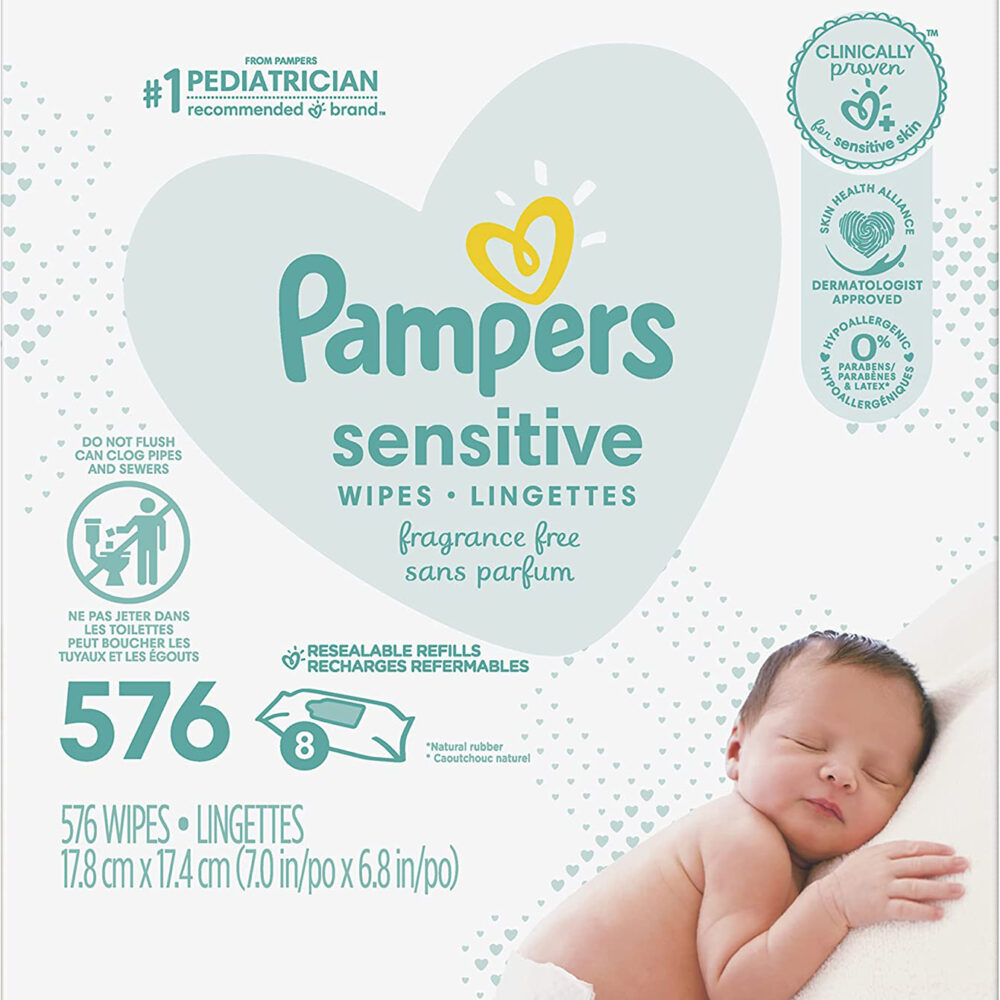
      Baby Wipes

      Along with diapers, this is another essential item that goes without saying!

      what to put in diaper caddy essential list ideas

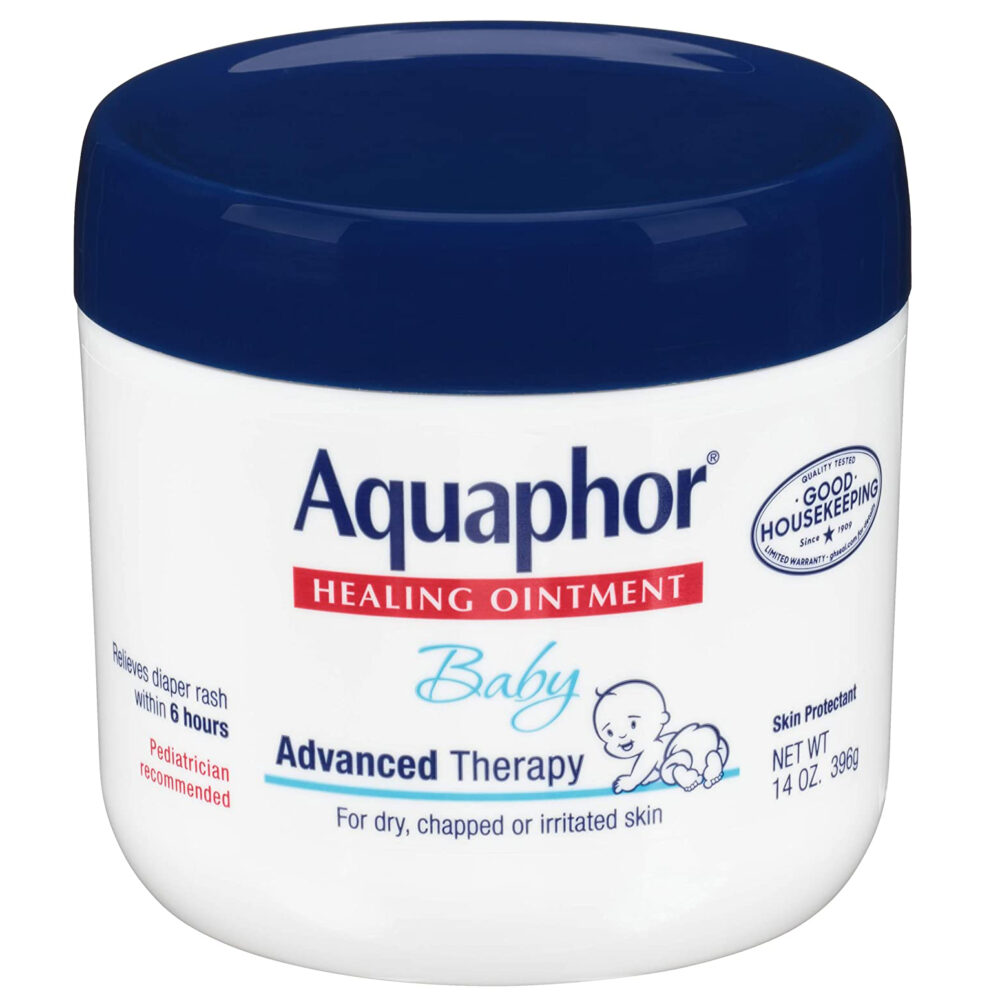
      Diaper Rash Cream

      For everyday use, this brand of aquaphor is our go-to! If a bad diaper rash develops, Triple Paste is a life saver!

      what to put in diaper caddy essential list ideas

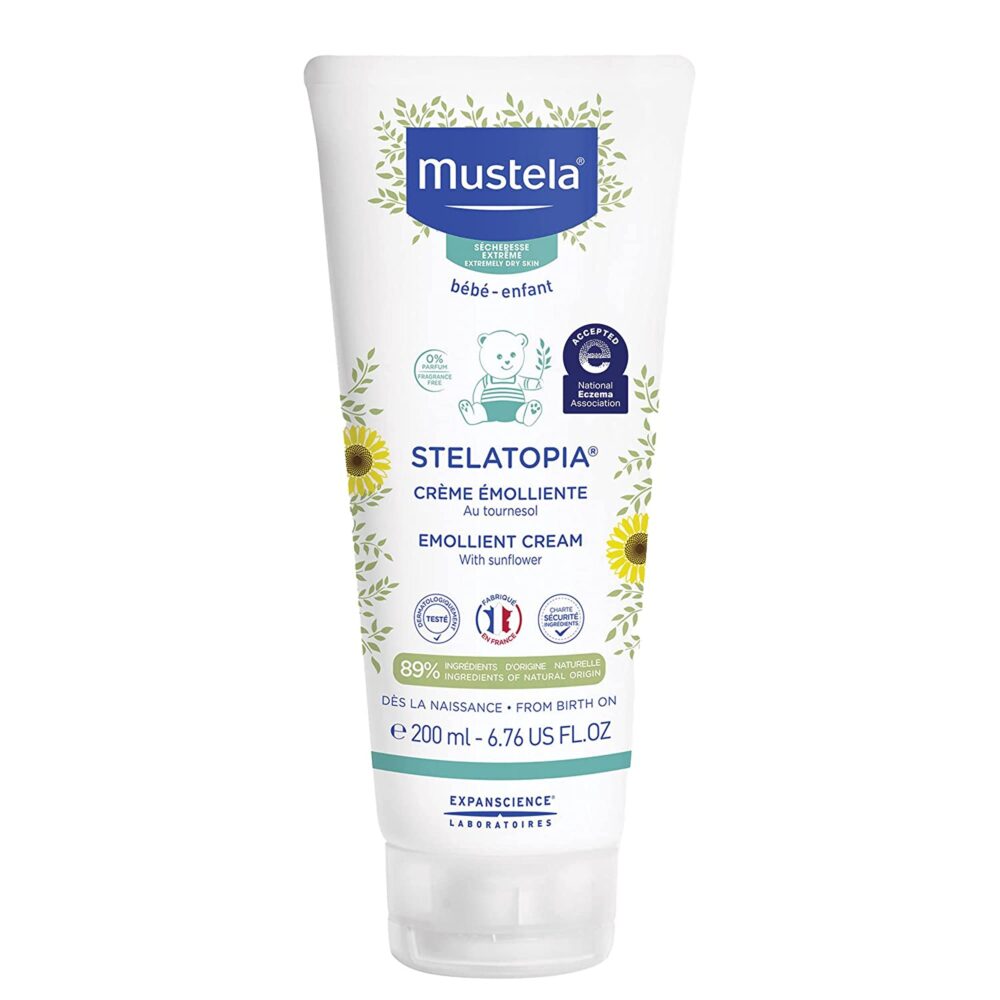
      Moisturizer

      This is our top pick for a moisturizer for babies whether they have eczema or not!

      what to put in diaper caddy essential list ideas

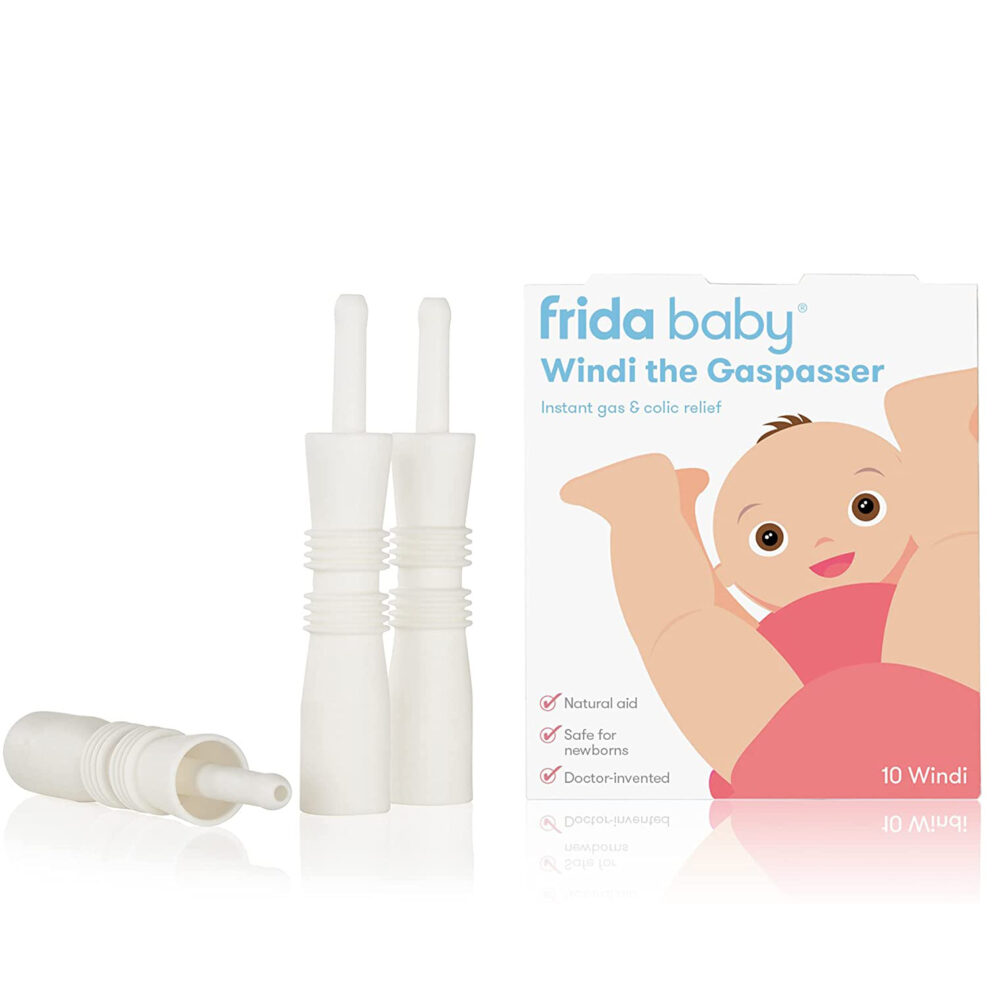
      Gas Reliever

      While this is not an essential item, it is a natural and efficeint way to relieve fussy babies. whomay have gas!

      black and white high contrast stimulation cards for babies newborns free printable

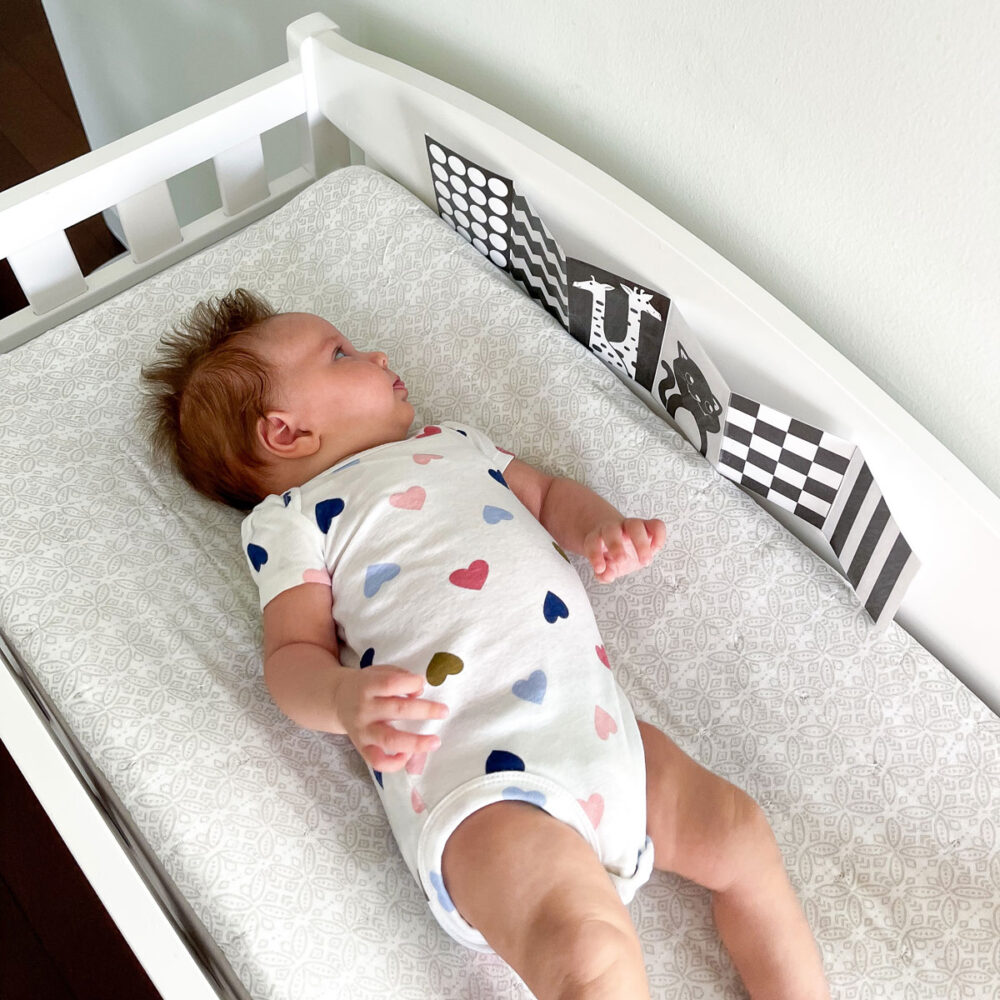
      Black and White Cards or a Toy

      Something to entertain baby! For newborns and young babies, grab our free printable black and white cards!

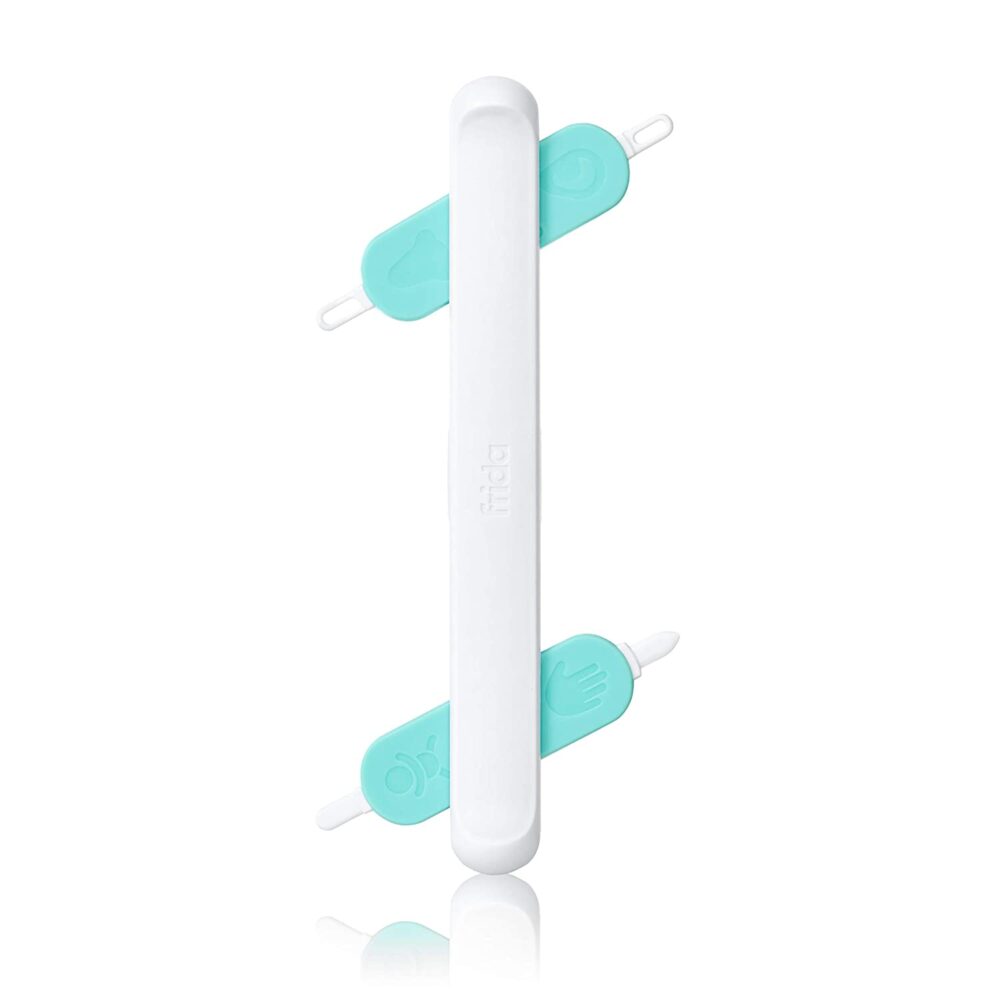
      Nose Picker

      But it doesn’t just pick hard to get boogers. It is a great tool for cleaning nails, ears, belly button, and beyond! 

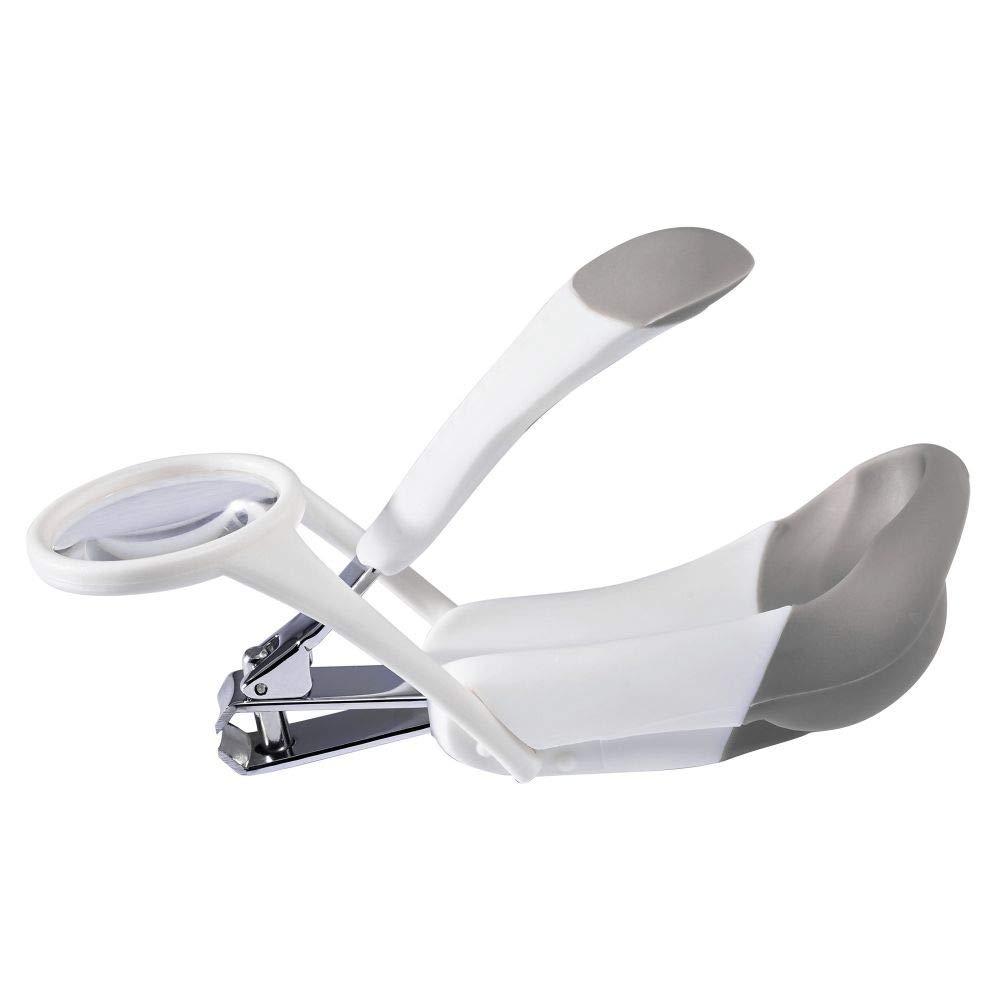
      Nail Clipper

      This baby nail clipper also has a magnifier for those who need some extra help seeing those little nails!

      what to put in diaper caddy essential list ideas

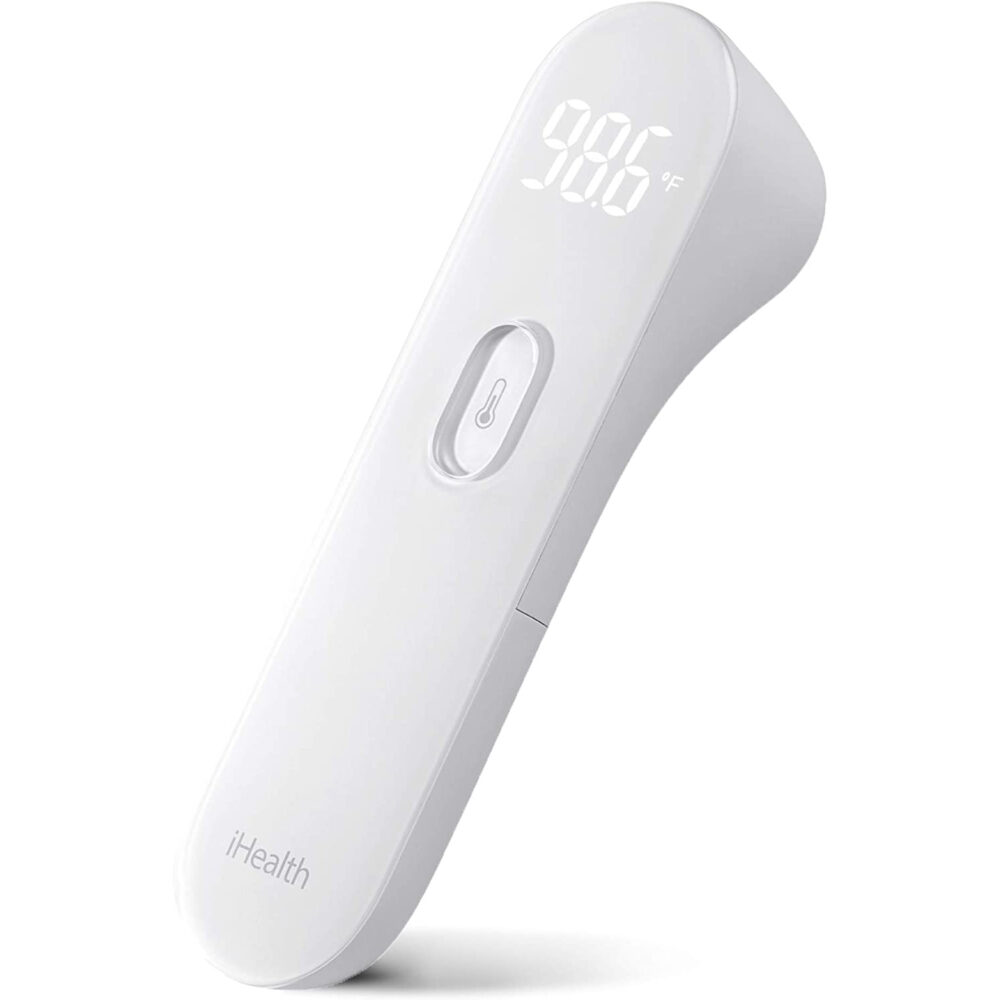
      Thermometer

      This no-touch forehead thermometer makes taking temperatures fast and easy!

      what to put in diaper caddy essential list ideas

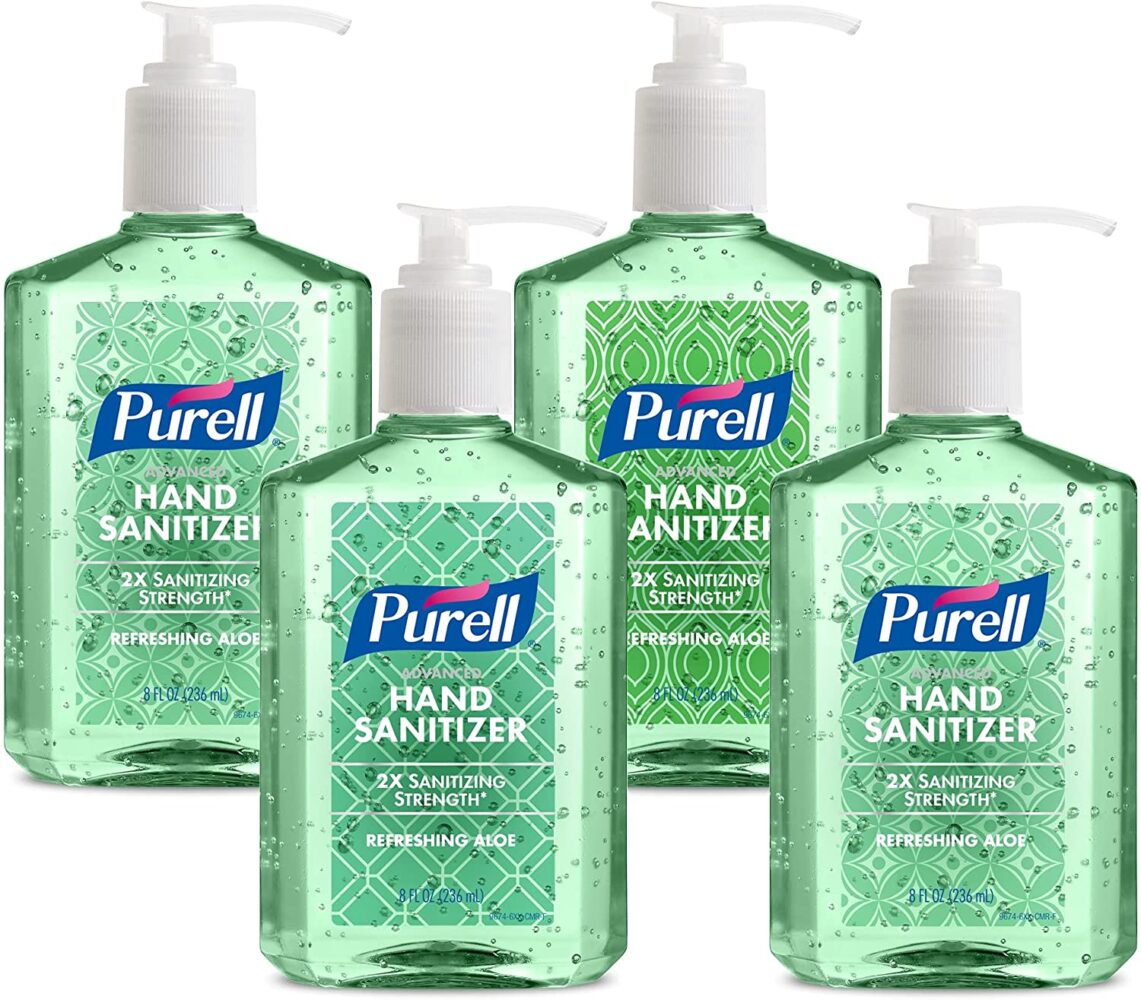
      Hand Sanitzer

      A reminder for parents to wash up after every diaper cleaning or booger picking!

      what to put in diaper caddy essential list ideas

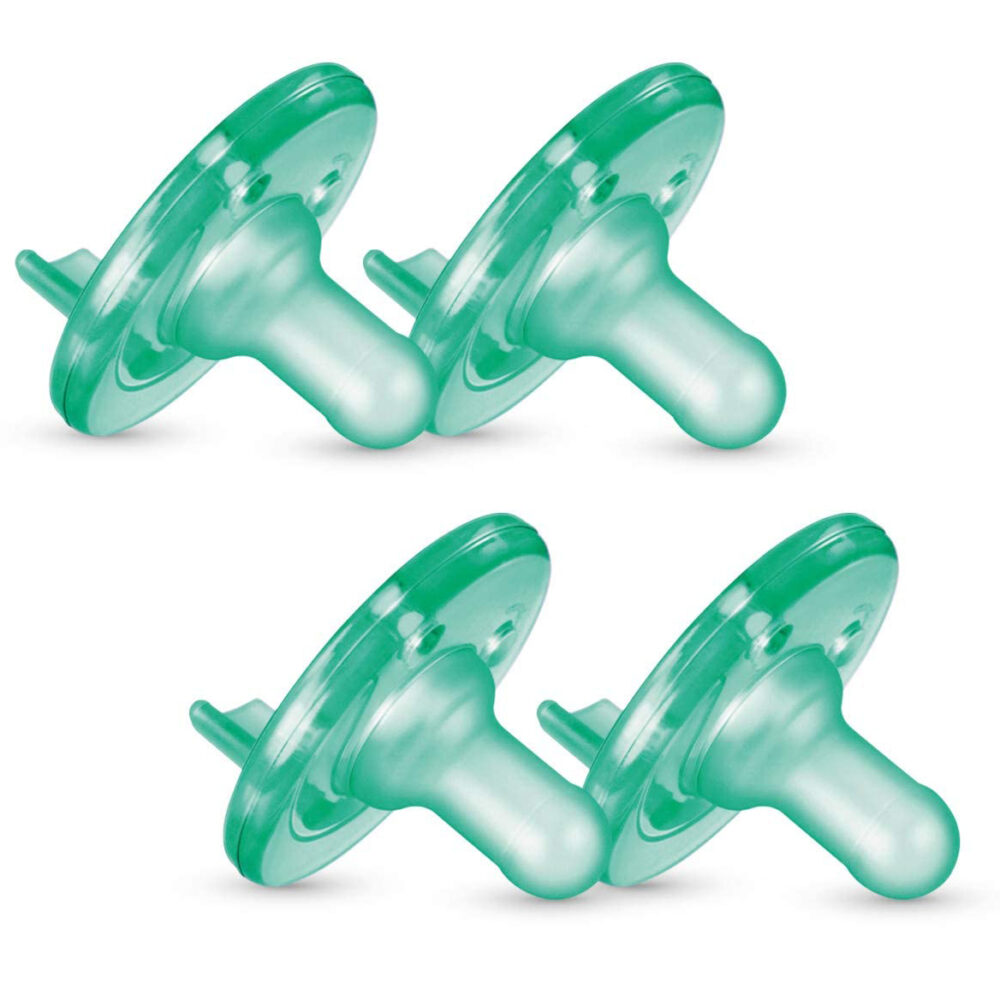
      Pacifier or Other Soother

      For a baby that is fussy, have a pacifier or other type of soother available!

      what to put in diaper caddy essential list ideas

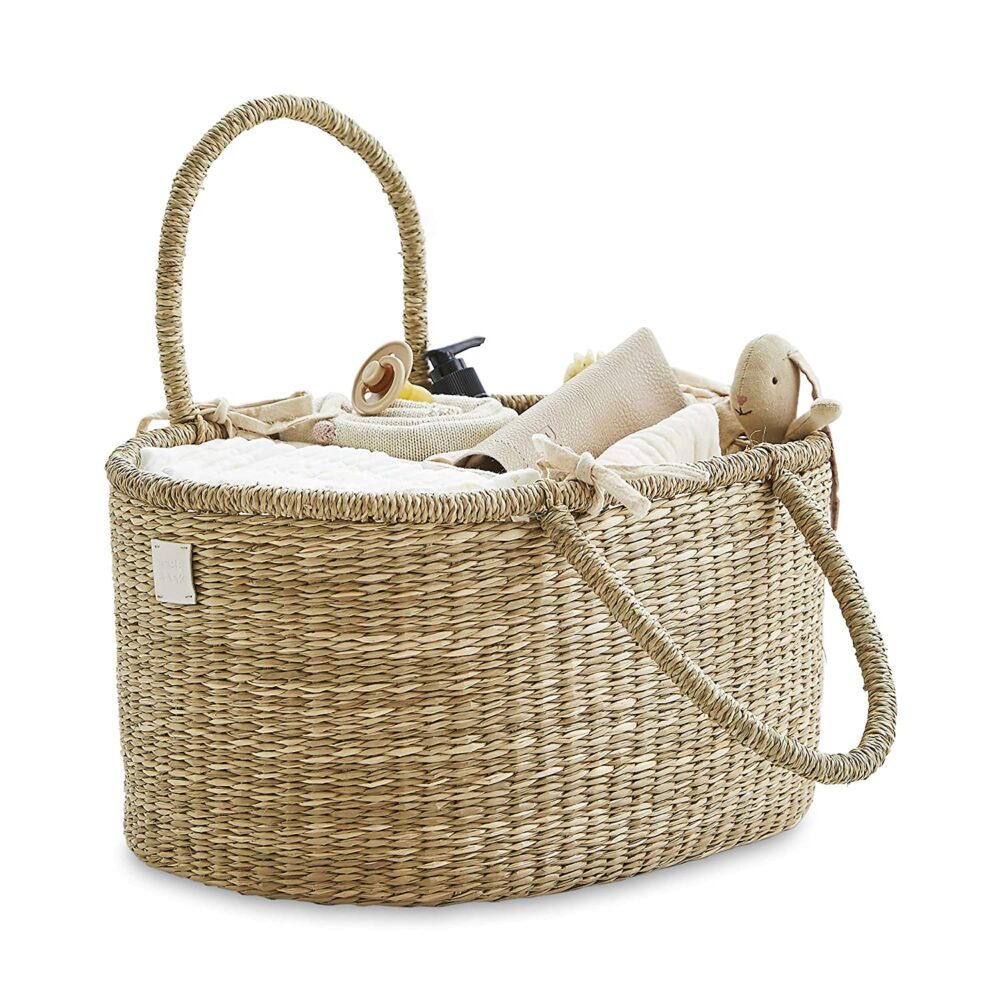
      Diaper Caddy

      Of course, we need a caddy to organize everything! I personally love this woven, sectioned moveable basket!

      What’s Next?

      Tummy Time Positions for Newborns and Babies

      Tummy Time Positions for Newborns and Babies

      Tummy Time Positions for Newborns and Babies

      tummy time positions for newborns and babies

      There isn’t just one way to do tummy time! Keep reading to find out about different tummy time positions for newborns and babies! 

      Why is Tummy Time Important?

      As you have probably heard tummy time is so important for newborns and babies! It strengthens babies neck and shoulder muscles and is, overall, fantastic for their motor skills.

      Because babies sleep so much during the day, and the recommended position for sleep is on the back, the time they have to be on their tummies is limited. It’s important to take advantage of placing baby on their stomachs during wakeful moments so they can work on these important skills!

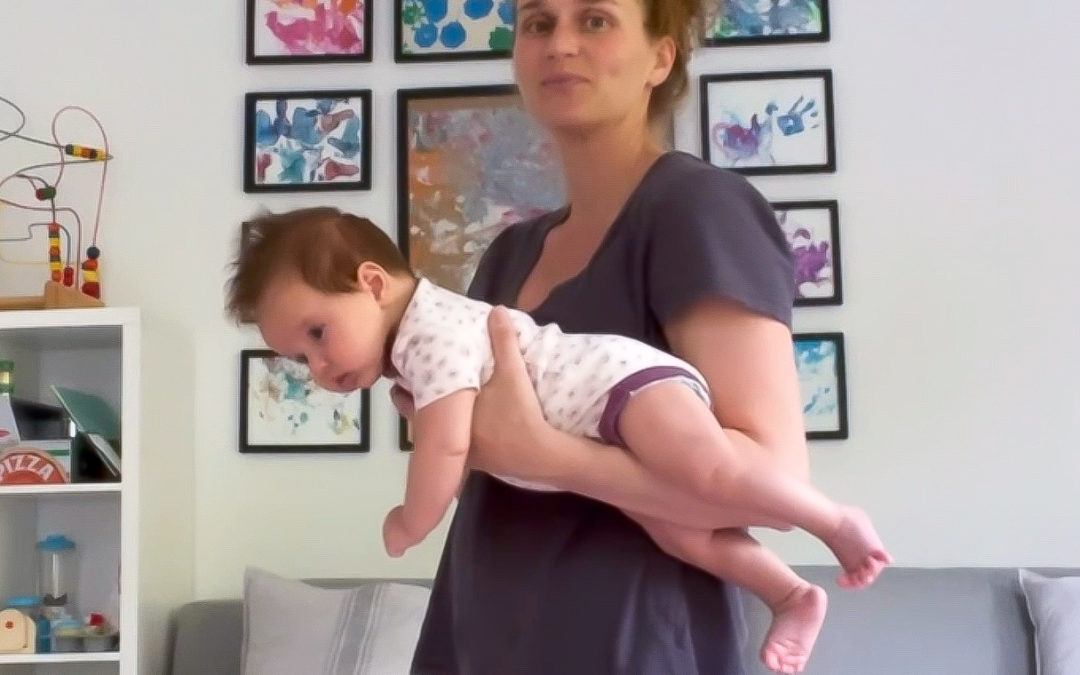
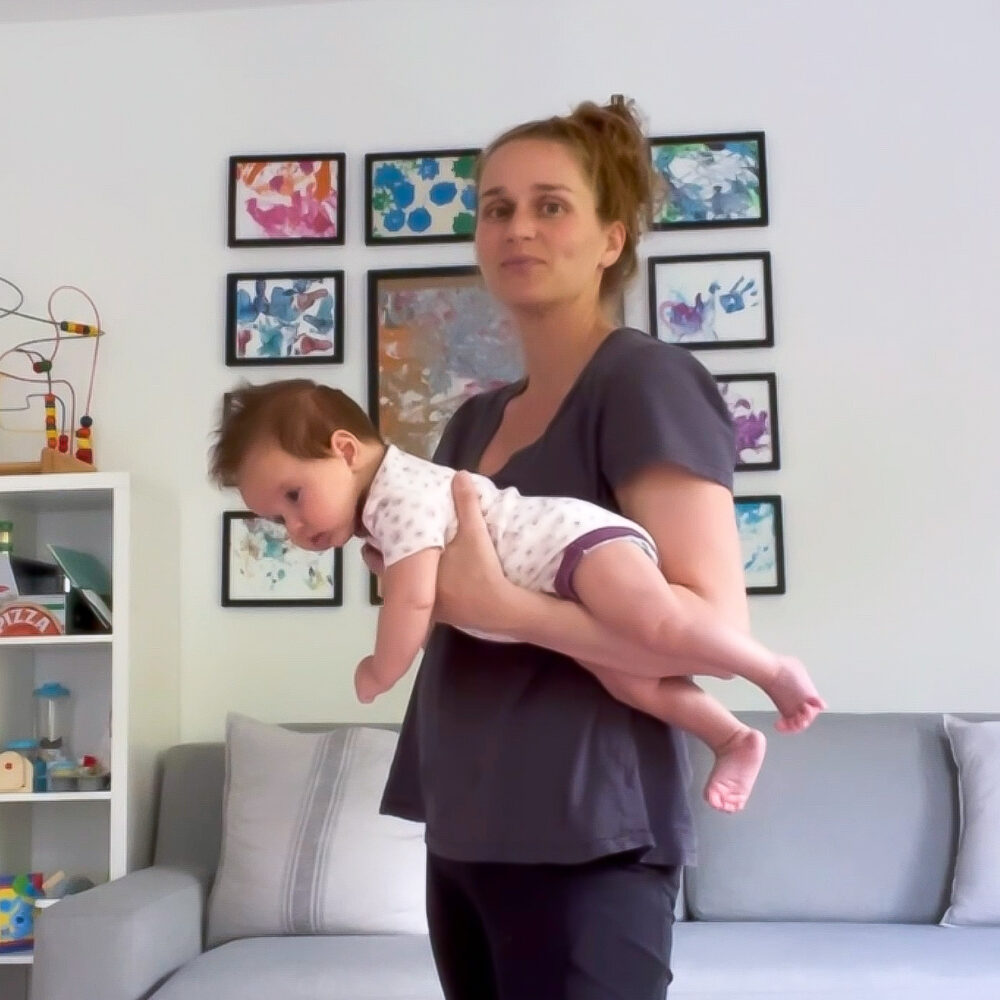
      However, tummy time is not limited to being on the floor. You can also explore doing the football hold, tummy to tummy, and tummy to lap positions!

      By 2 months, it’s recommended to do tummy time for 15 minutes a day, in 5 minute increments. However, I have found that I don’t need to count the minutes if I rotate all the different ways of doing tummy time throughout the day.

      Skills:
      Ages: 
      Prep Time:

      3 Alternative Tummy Time Positions for Newborns and Babies

      In this quick video you’ll see the 3 alternative tummy time positions for newborns and babies that aren’t on the floor: the football hold, tummy to tummy, and tummy to lap.

      All activities should be supervised by an adult. As an Amazon Associate I earn from qualifying purchases. This post may contain affiliate links.

      black and white high contrast stimulation cards for babies newborns free printable

      Get the FREE Printable Black and White Patterns for Babies

      This free printable set of black and white cards for babies are a great way to keep babies alert and interested during tummy time. The set includes 12 different high contrast images. Plus, tape them together to make them stand up on their own.

      Make sure that you are allowing your baby to view them at a close distance. Remember, everything gets very blurry after 12-15 inches away from them! 

      And for even more printable activities, visit our Printable Shop. It is filled with easy to set-up activities that help strengthen early childhood education skills!

      Other Benefits of Tummy Time Positions for Newborns and Babies

       In addition to strengthening neck and shoulder muscles, tummy time gets babies on track for developing other motor skills including rolling over, sitting up, crawling, and ultimately walking.

      Another benefit of placing babies on their tummy during wakeful periods is that it can help them avoid developing flat spots on the back of their head!

      For more activities for babies visit our comprehensive list!  

      black and white high contrast stimulation cards for babies newborns free printable
      black and white high contrast stimulation cards for babies newborns free printable

      Other Benefits of Tummy Time Positions for Newborns and Babies

       In addition to strengthening neck and shoulder muscles, tummy time gets babies on track for developing other motor skills including rolling over, sitting up, crawling, and ultimately walking.

      Another benefit of placing babies on their tummy during wakeful periods is that it can help them avoid developing flat spots on the back of their head!

      For more activities for babies visit our comprehensive list!  

      More Activities for Newborn and Young Babies

      Here are my top picks for more ways babies can play!

      black and white baby activities

      Play Gym

      This item is the ultimate play gym for babies with multi-sensory areas, 3 rattles, and lots of black and white cards!

      black and white baby activities

      Crinkle Activity Book

      This black and white activity book includes a mirror as well as black and white images that prop up easily.

      black and white baby activities

      Take Along Mobile

      This mobile has black and white colors, calming music, and an adjustable arm that can fit many different environments.

      black and white baby activities

      Rattles

      This set of plush rattles have an animal design, black and white patterns, crinkly paper, and other sounds that are perfect for babies.

      What’s Next?

      Black and White Patterns for Babies – Printable Cards

      Black and White Patterns for Babies – Printable Cards

      Black and White Patterns for Babies – Printable Cards

      black and white high contrast stimulation cards for babies newborns free printable

      There are a ton of benefits to providing black and white patterns for babies. Keep on reading to find out what they are and to get your printable set of 12 dozen cards here. 

      Why Black and White Patterns for Babies Are Important!

      Did you know that for the first months of a baby’s life their vision is super blurry! In fact, they can only see about 12 inches in front of them. Plus it isn’t until around 3 months when they can start to see colors. Before that, all they can see is black, white, and grays.

      But during the time between birth and 6 months, a baby’s eyesight is developing at super speed! And allowing for your baby to look at black and white, high contrast images and toys provides them a great opportunity to stimulate their vision, strengthen optic nerves, and help their brains and eyes to coordinate.

      Skills:
      Ages: 
      Prep Time:

      How to Use the Printable Black and White Patterns for Babies

      This activity can be set up in no time! Since it is a printable, all you have to do is grab the printable from the link below, print it, and tape it together to have it stand alone (if you so choose!). In the video, you will see that I also laminated the cards before taping them to make them more durable and long lasting.

      My baby at one and a half months old was mesmerized by the patterns and enjoyed looking at them during tummy time, when her diaper was changed, and in the car!

      black and white high contrast stimulation cards for babies newborns free printable

      Get the Printable Black and White Patterns for Babies

      This printable set of black and white cards for babies includes 12 different high contrast images. Plus, tape them together to make them stand up on their own.

      Make sure that you are allowing your baby to view them at a close distance. Remember, everything gets very blurry after 12-15 inches away from them! 

      And for even more printable activities, visit our Printable Shop. It is filled with easy to set-up activities that help strengthen early childhood education skills!

      All activities should be supervised by an adult. As an Amazon Associate I earn from qualifying purchases. This post may contain affiliate links.

      Where to Use the Black and White Cards

      There are so many great opportunities to use these black and white cards, here are just a few ideas! 

      Tummy Time. These cards definitely help to hold and lengthen attention span during tummy time!

      Diaper Changing. Prop some up on the side of your table to make diaper changing a little easier!

      Car Seat. Safely tape some images to the seat in front of the baby to give them some car ride entertainment!

      black and white high contrast stimulation cards for babies newborns free printable
      black and white high contrast stimulation cards for babies newborns free printable

      Where to Use the Black and White Cards

      There are so many great opportunities to use these black and white cards, here are just a few ideas! 

      Tummy Time. These cards definitely help to hold and lengthen attention span during tummy time!

      Diaper Changing. Prop some up on the side of your table to make diaper changing a little easier!

      Car Seat. Safely tape some images to the seat in front of the baby to give them some car ride entertainment!

      More High Contrast Activities

      Here are my top picks for more ways babies can play with black and white!

      black and white baby activities

      Play Gym

      This item is the ultimate play gym for babies with multi-sensory areas, 3 rattles, and lots of black and white cards!

      black and white baby activities

      Crinkle Activity Book

      This black and white activity book includes a mirror as well as black and white images that prop up easily.

      black and white baby activities

      Take Along Mobile

      This mobile has black and white colors, calming music, and an adjustable arm that can fit many different environments.

      black and white baby activities

      Rattles

      This set of plush rattles have an animal design, black and white patterns, crinkly paper, and other sounds that are perfect for babies.

      What’s Next?

      Jelly Sensory Play – Make a Zombie Brain with Bugs

      Jelly Sensory Play – Make a Zombie Brain with Bugs

      Jelly Sensory Play – How to Make a Zombie Brain with Bugs

      jelly sensory play spooky halloween fine motor skills bugs brain zombie with oobleck

      This jelly sensory play is all about making an ooey gooey zombie brain that is full of creepy critters! Keep on reading to find out how to make it, as well as an alternative version with frozen oobleck!

      A Spooky Jelly Sensory Play

      Kiddos will channel their inner surgeon with this spooky jelly sensory play set-up! Creating a jelly brain is anything but complicated – it takes all of a few minutes to mix up and then just pop it in the fridge to set!

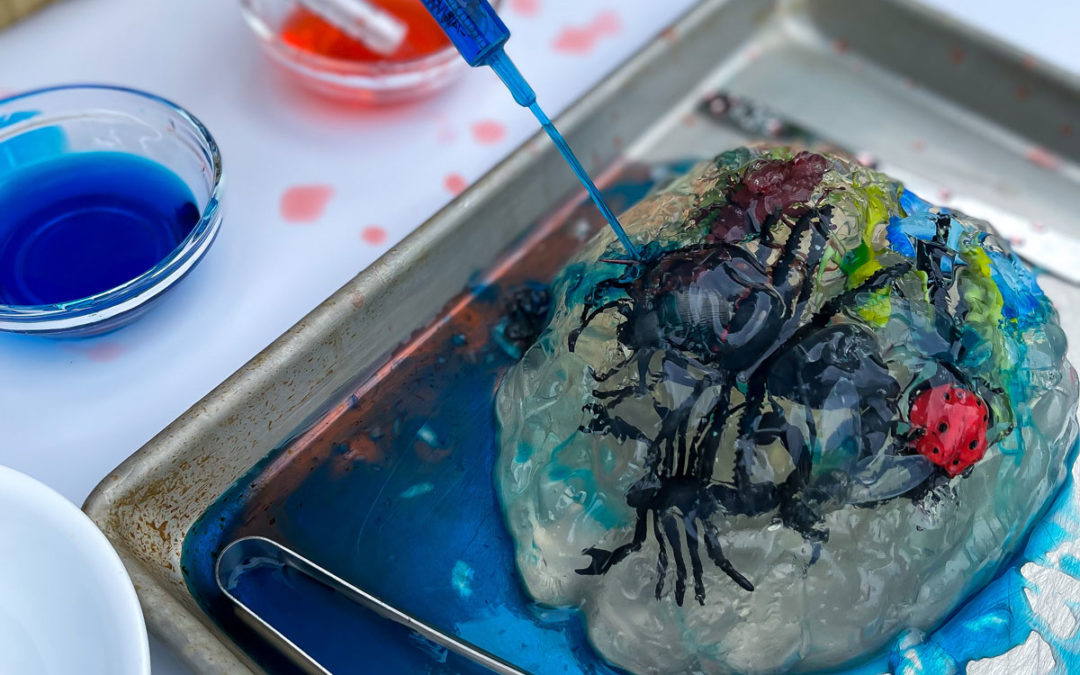
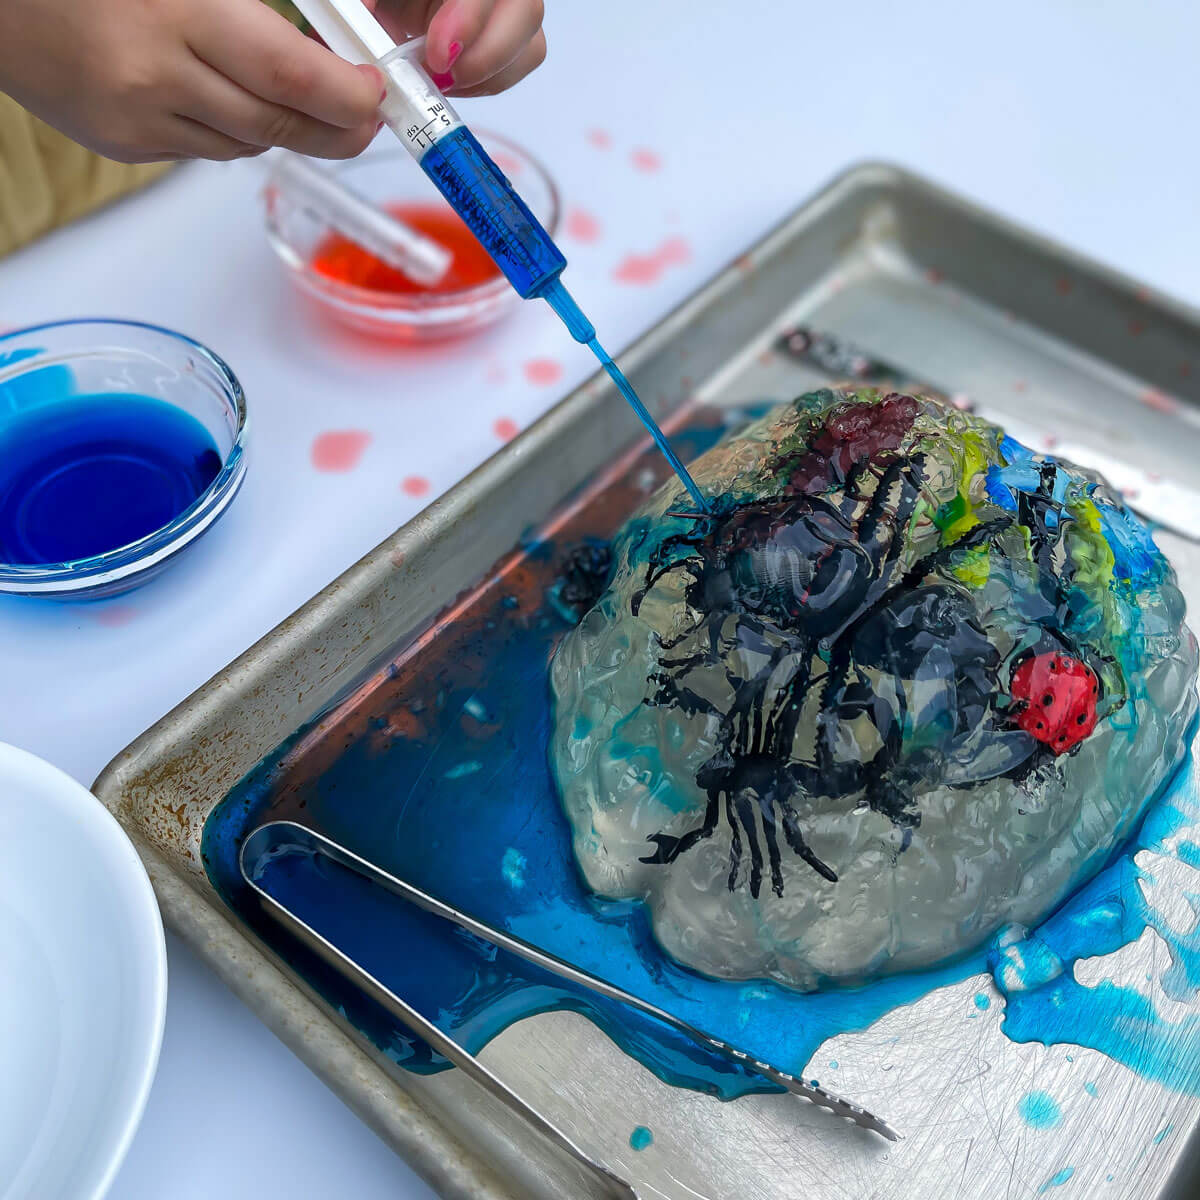
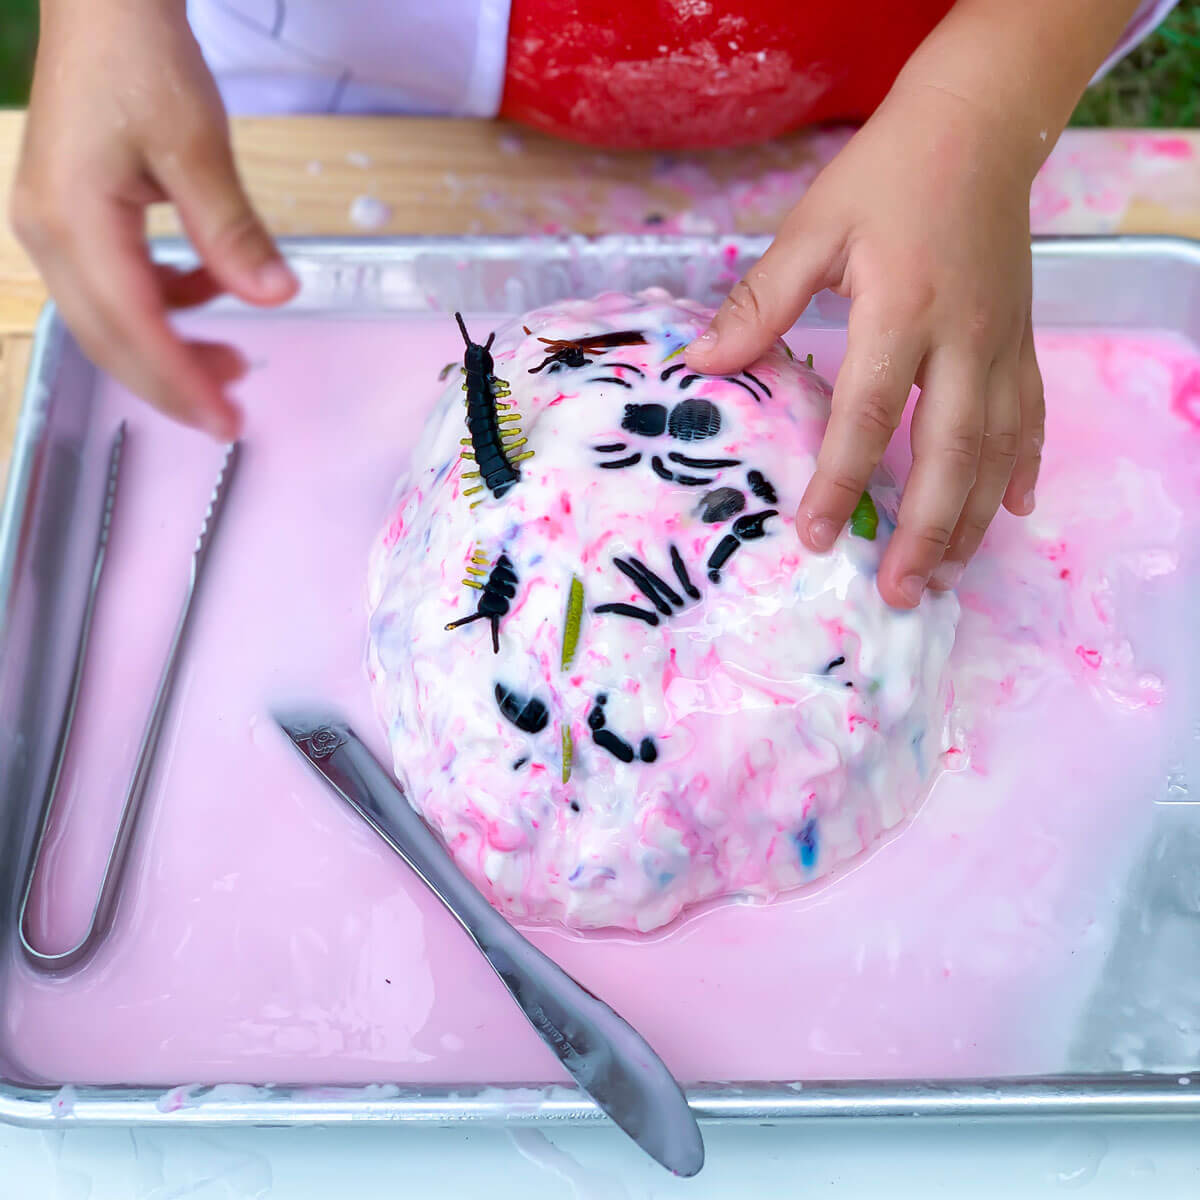
      Once set, the texture is so fun to explore and poke syringes full of colored water! Plus, including bugs inside the brain is a fun way to work on fine motor skills using tongs and a knife as a tool!

      All activities should be supervised by an adult. As an Amazon Associate I earn from qualifying purchases. This post may contain affiliate links.

      Skills:
      Ages: 
      Prep Time:

      How to Make This Jelly Sensory Play Activity

      Watch the video to see how easy this jelly brain is to make, and how fun it is to play with!

      You’ll see how my daughter, age 3, enjoyed injecting the brain with colored water, using the tongs to pick out each bug and wash them! These tools are so great for fine motor skills!

      Once she removed all the bugs she explored the sensory properties of the leftover jelly!

      jelly sensory play spooky halloween fine motor skills bugs brain zombie

      Tips for Making This Ooey Gooey Sensory Activity!

      Whether you want a spooky, creepy activity for Halloween, or you simply have a bug fan who will love digging for bugs, this will be a fun activity for you!

      Keep in mind that gelatin takes time to set, so be sure to look at the directions on your packaging and plan accordingly!

      There is no need for sugary gelatin! We used the most simple, non-flavored gelatin. After all, sensory play is not about eating sensory bases, so we wouldn’t want to encourage that with presenting a yummy jello! Instead, we opted for a flavorless brand. The good news for young toddlers and older babies is that if they do happen to put the jelly in their mouth, it is harmless and taste-safe!

      If your kiddo absolutely loves all things bugs, we have a few activities you won’t want to miss! Like our DIY Mud Bug Activity, a spider handprint craft, and our printable all about insects!


      Materials

      Step-by-Step Instructions 

      Step 1

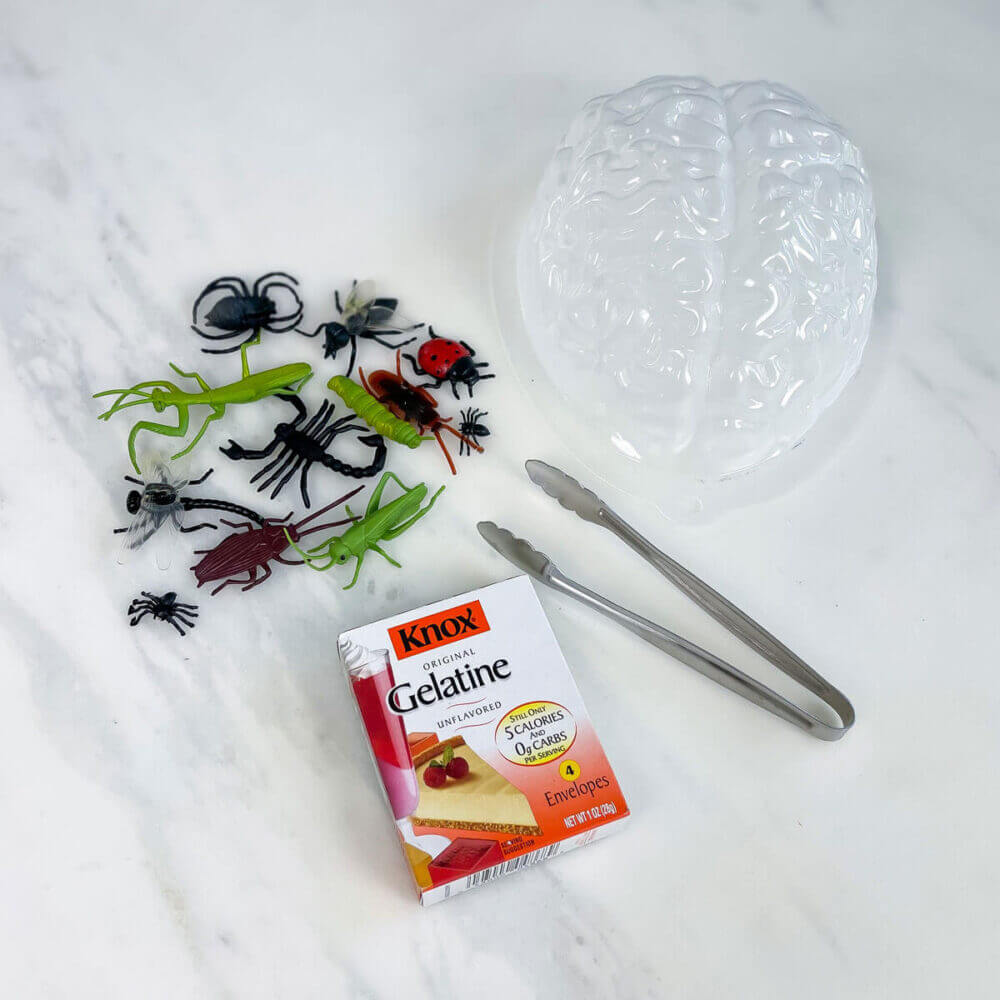
      If using Gelatine brand of gelatin, pour 1 cup water into the brain mold and sprinkle one packet of gelatin on top. (a box of Gelatine comes with 4 packets and you will use them all!).

      Step 2

      Arrange the insects into the mold.

      Step 3

      Mix 3 cups water and the remaining 3 packets of Gelatine into a saucepan or microwave safe container and bring to a boil. We used the microwave method.

      Step 4

      Pour the gelatin mixture into the mold.

      Step 5

      Pop it in the refrigerator for several hours until the gelatin is set.

      Step 6

      Once set, use a spatula to carefully remove the gelatin brain from the mold. If necessary, place the mold in warm water to loosen. Set up the activity with a few surgical tools and colored water, and it’s time to dissect!

      Frozen Oobleck Brain Alternative

      This jelly sensory play isn’t the only way to explore the brain! We’ve also hidden bugs inside a frozen oobleck brain!

      This activity great for learning about the states of matter and viscosity. In other words, playing with oobleck can teach kids about how solids and liquids can change states, as well as learn about the thickness of the oobleck.

      Here’s how you can make this version!

      Step 1

      Combine 2 cups corn starch with 1 cup water.

      Step 2

      Add a few drops of food coloring if you’d like.

      Step 3

      Add creepy critters to a mold.

      jelly sensory play spooky halloween fine motor skills bugs brain zombie with oobleck

      Step 4

      Pour the oobleck mixture into the mold.

      Step 5

      Pop it in the freezer for an hour.

      Step 6

      Once frozen, set it up with a few surgical tools and it’s time to dissect!

      jelly sensory play spooky halloween fine motor skills bugs brain zombie with oobleck

      Frozen Oobleck Brain Alternative

      This jelly sensory play isn’t the only way to explore the brain! We’ve also hidden bugs inside a frozen oobleck brain!

      This activity great for learning about the states of matter and viscosity. In other words, playing with oobleck can teach kids about how solids and liquids can change states, as well as learn about the thickness of the oobleck.

      Here’s how you can make this version!

      Step 1

      Combine 2 cups corn starch with 1 cup water.

      Step 2

      Add a few drops of food coloring if you’d like.

      Step 3

      Add creepy critters to a mold.

      Step 4

      Pour the oobleck mixture into the mold.

      Step 5

      Pop it in the freezer for an hour.

      Step 6

      Once frozen, set it up with a few surgical tools and it’s time to dissect!


      More Sensory Bases to Explore

      Beyond this creepy jelly sensory play. Here are some more sensory bases to explore!

      slime kit sensory play for kids

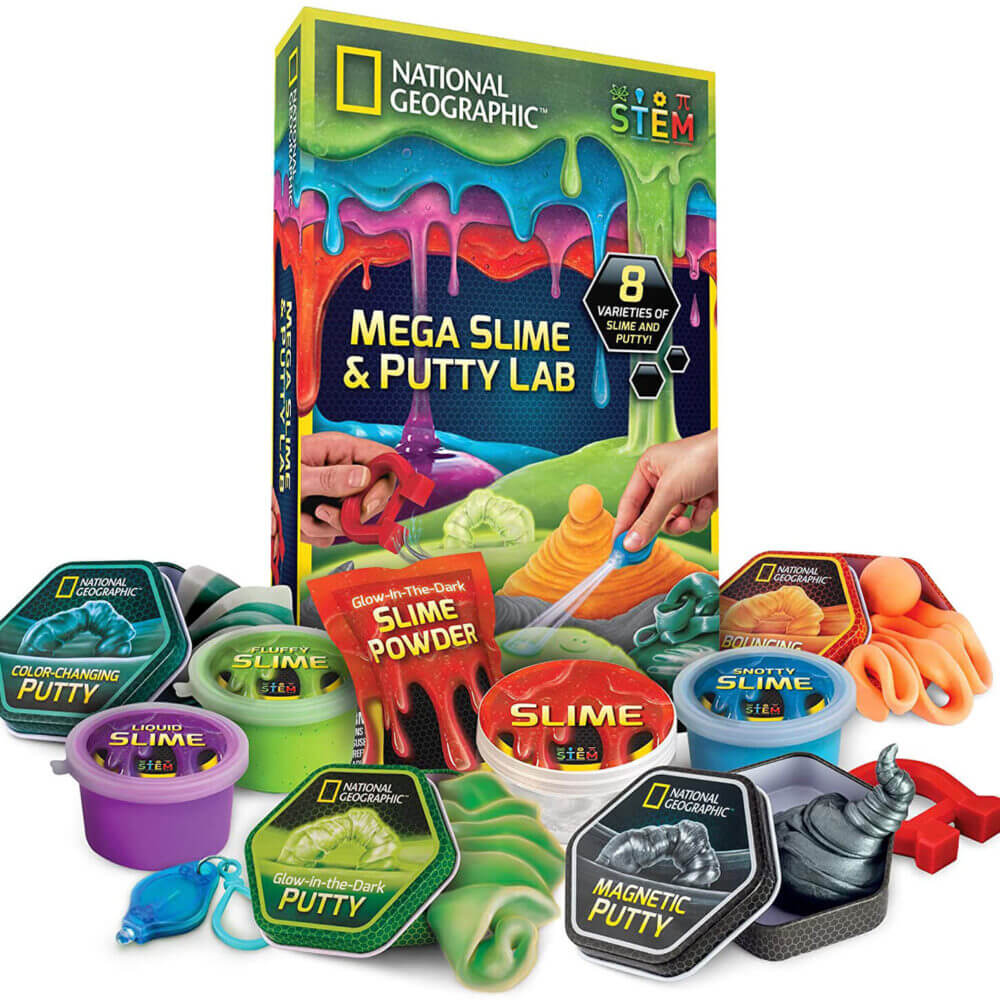
      The Ultimate Slime and Putty Kit

      This kit includes 8 fascinating varieties of slime and putty, including premade putty, magnetic slime, glow in the dark putty, and so much more.

      sensory sand play for kids

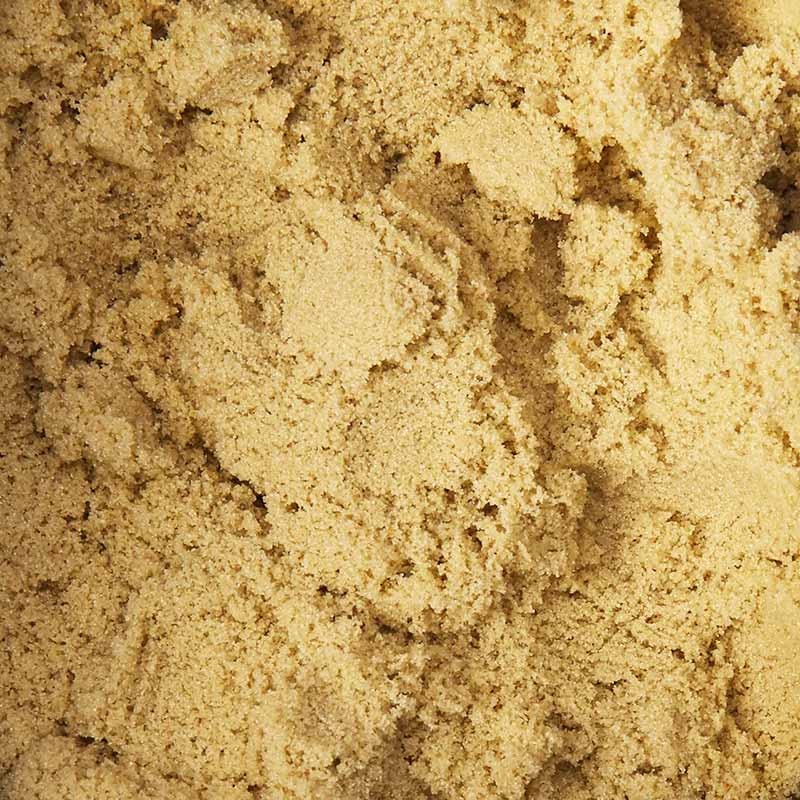
      Sensory Sand

      Sensory sand is moldable! This bulk pack comes with enough to fill an entire bin for lasting fun! Bonus points for including a storage bin!

      mad mattr sensory dough modeling dough

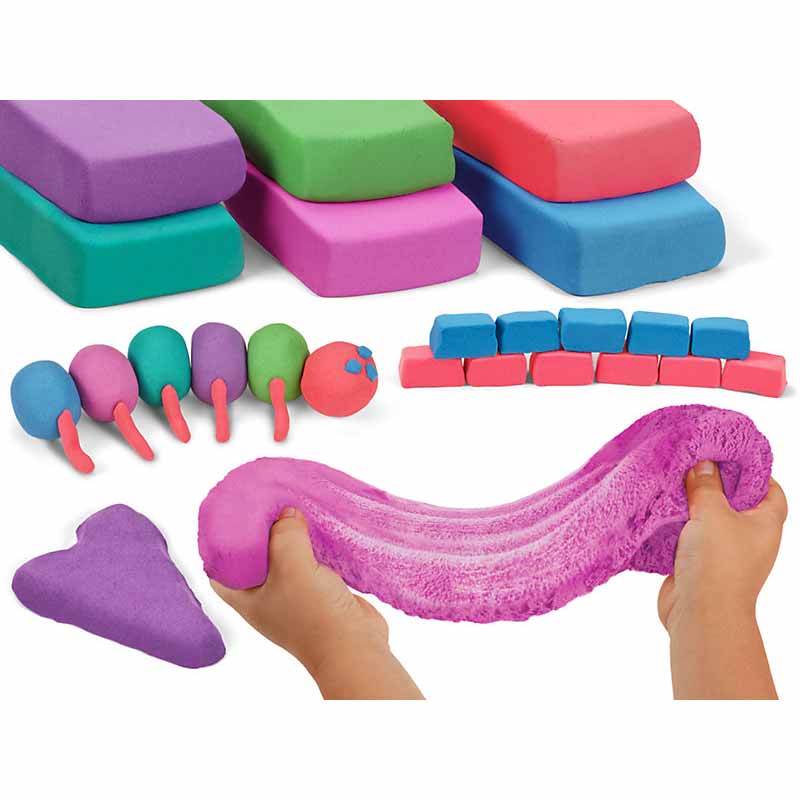
      Modelling Dough

      This modelling dough compound NEVER dries out! It is a fun texture – it is stretchy like play dough, moldable like kinetic sand, and odorless.

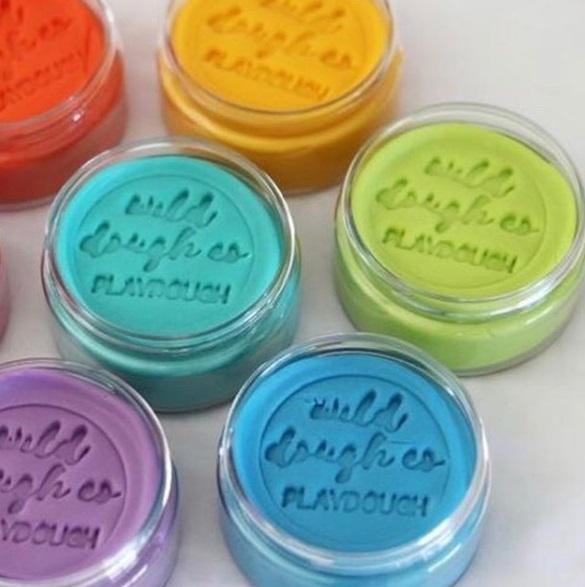
      play dough wild dough sensory

      Premium Play Dough

      This play dough is the cream of the crop! It is ridiculously silky and smooth, lasts for 6 months, and is scented!

      What’s Next?

      Oobleck Experiment – Everything You Need to Know!

      Oobleck Experiment – Everything You Need to Know!

      Oobleck Experiment – Everything You Need to Know!

      oobleck science experiment with corn starch and water

      Have you ever heard of oobleck, also known as goop? It is one of the coolest sensory bases! This oobleck experiment only take a few minutes to set up, but will results in such lasting fun and playtime! Since the ingredients are non toxic it is safe for even the littlest of toddlers, but still so fun for older kids! Keep on reading for all the details you ever need to know about oobleck!

      Oobleck Experiment – Discovering a Non Newtonian Fluid

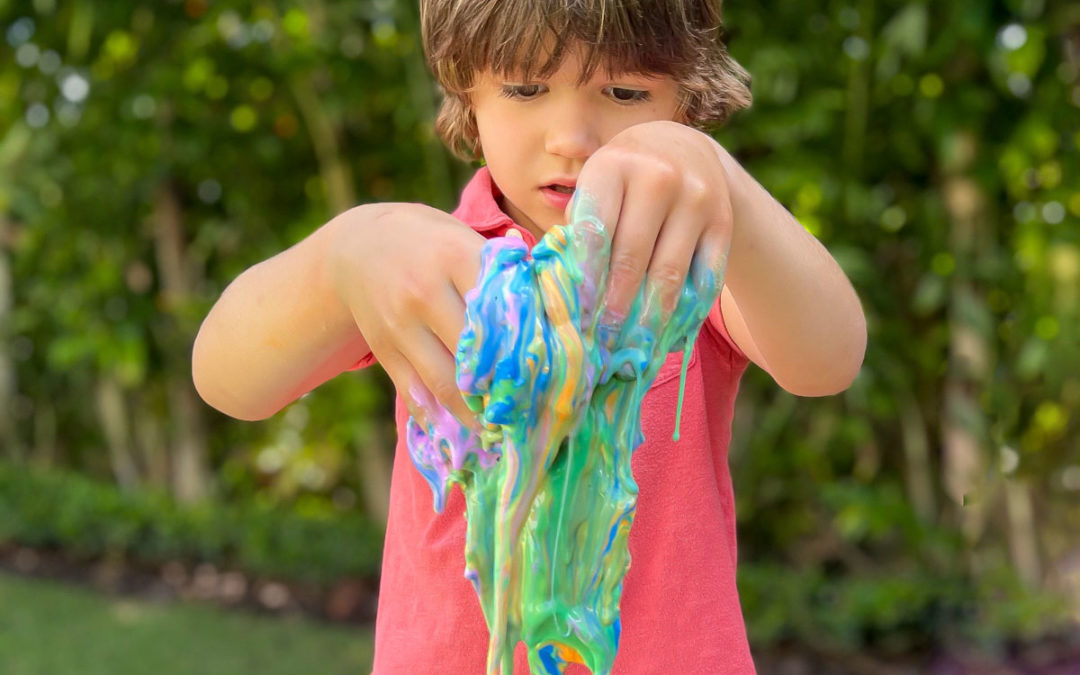
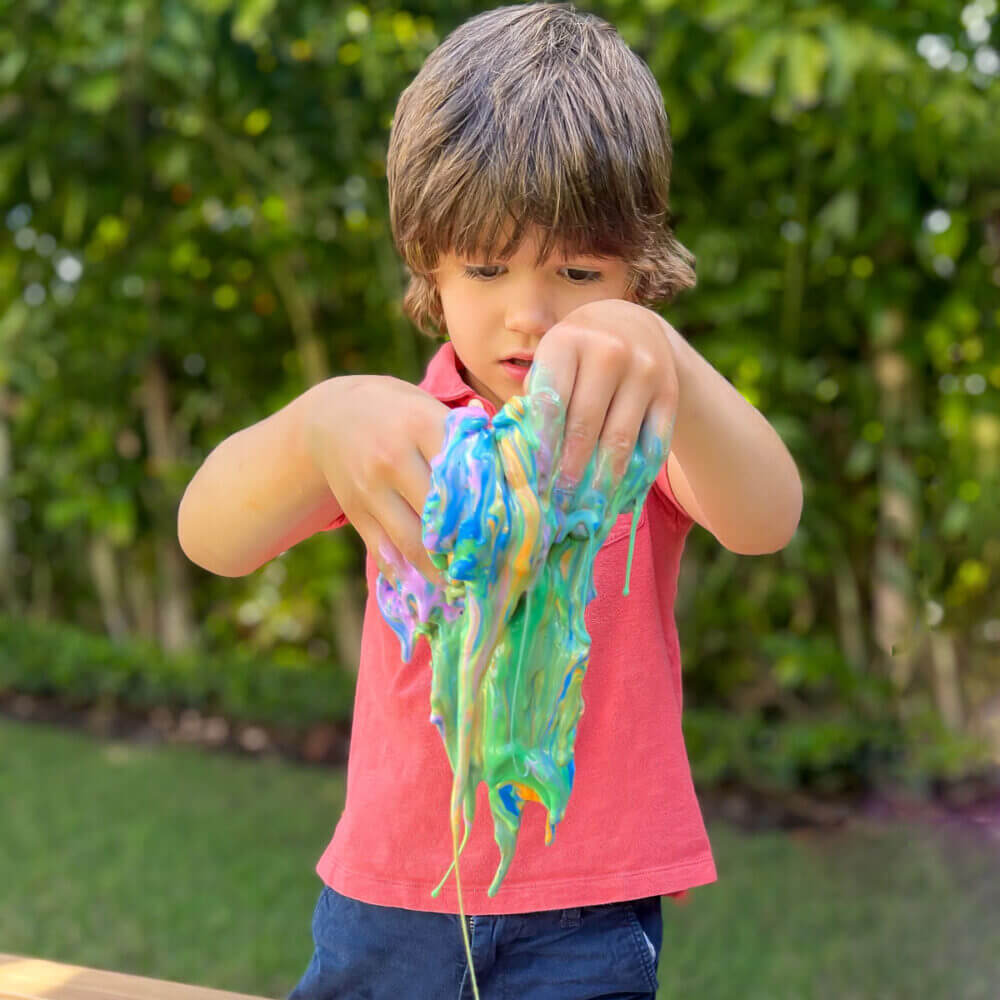
      If you are looking to do a fun messy sensory play activity with your little one, then this oobleck experiment is for you! The consistency of this rainbow oobleck is the best! It’s both a liquid and a solid depending on how you play with it. This type of fluid is called Non Newtonian.

      All activities should be supervised by an adult. As an Amazon Associate I earn from qualifying purchases. This post may contain affiliate links.

      Skills:
      Ages: 
      Prep Time:

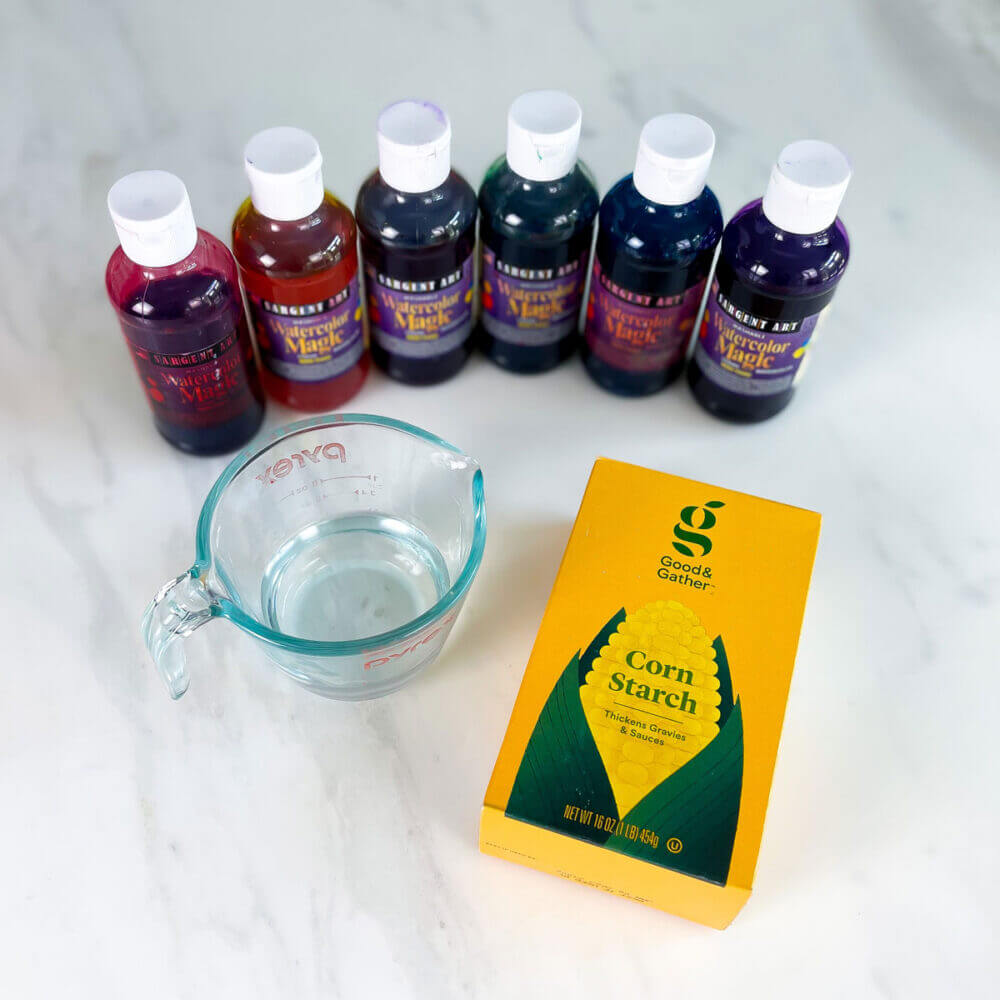
      How to Make This Oobleck Experiment


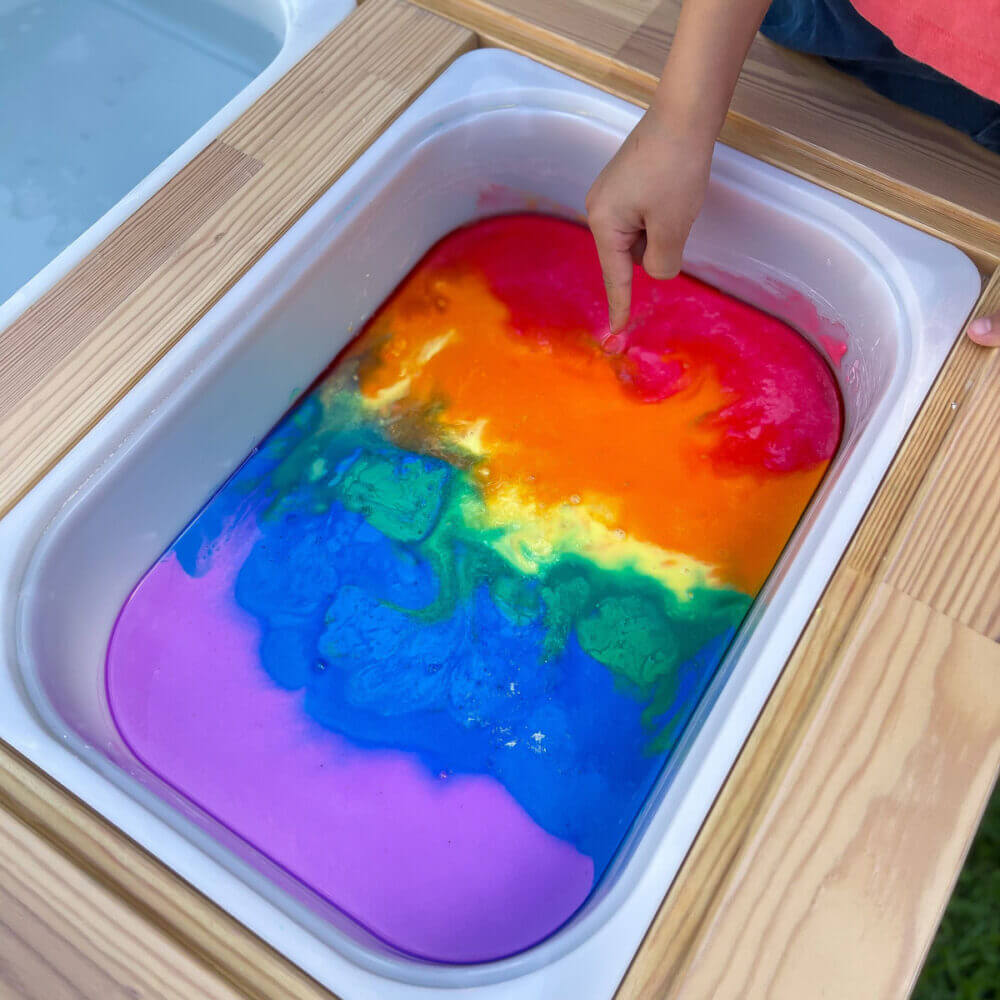
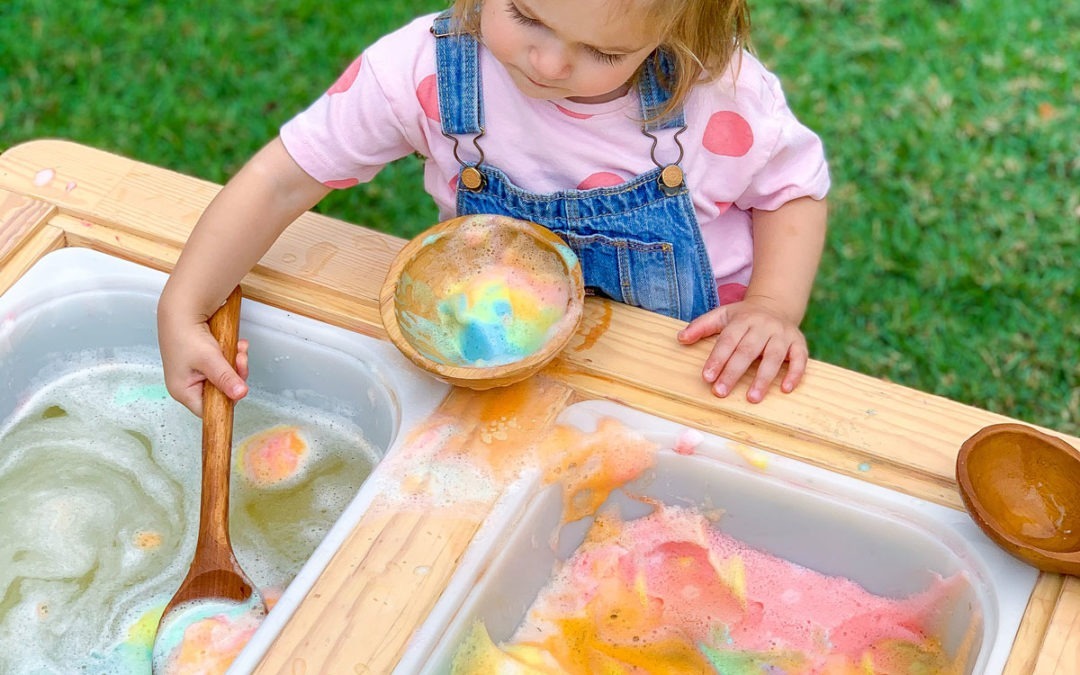
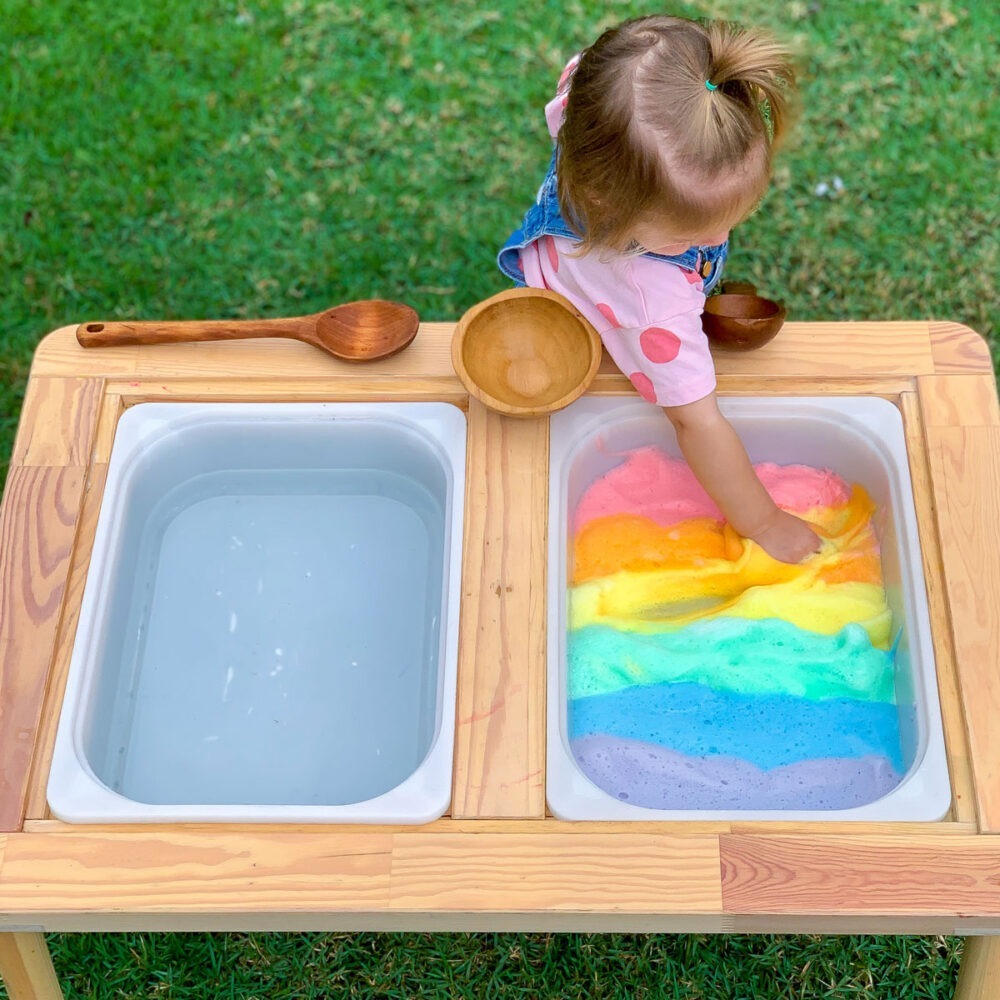
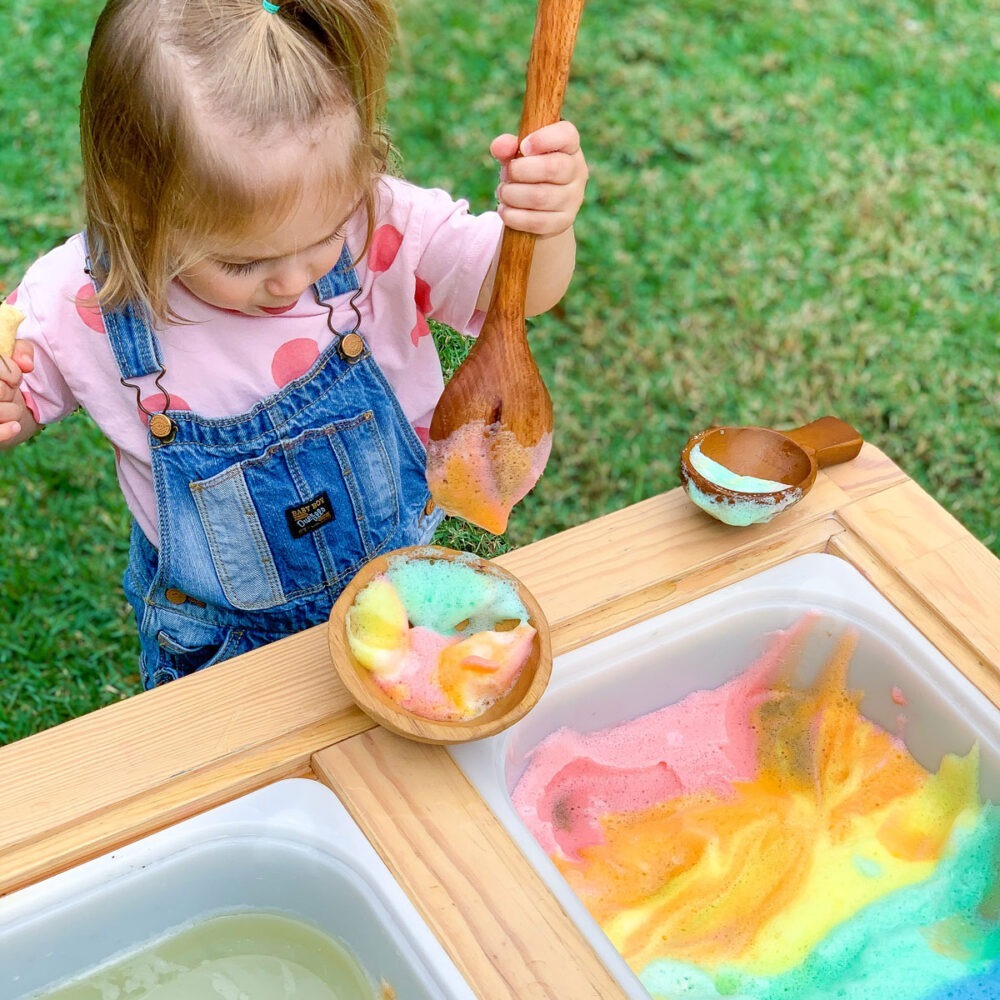
      Oobleck is simply the combination of water and corn starch. You can also make it more vibrant by adding in a pop of color. Make one color, or make them all like we did! Once I made the rainbow oobleck (see the how-to below!), I added it to one bin, then added some water into the other bin. The bin of water is critical! Even my mess-loving kids still want to clean their hands after playing with this ooey gooey oobleck! Having the water nearby was a lifesaver because my kiddos can easily wash his hands when they got too sticky and then keep on playing!

      How to Make This Oobleck Experiment

      Oobleck is simply the combination of water and corn starch. You can also make it more vibrant by adding in a pop of color. Make one color, or make them all like we did! Once I made the rainbow oobleck (see the how-to below!), I added it to one bin, then added some water into the other bin. The bin of water is critical! Even my mess-loving kids still want to clean their hands after playing with this ooey gooey oobleck! Having the water nearby was a lifesaver because my kiddos can easily wash his hands when they got too sticky and then keep on playing!

      oobleck science experiment with corn starch and water

      Tips on Making and Disposing Oobleck

      What color to use? Making oobleck is so simple, it only takes a few minutes! When adding color, I prefer to use diluted liquid watercolor because it is washable! Using it prevents stubborn stains that are more likely with food coloring. When mixing in the color, I like to add the color first to the water as it is easier to mix in!

      Should I use a 1:1 ratio? Lots of recipes will say to do a one to one ratio of corn starch to water. However, since I add the color into the water, I prefer to slowly add the water into the corn starch mixture. Stop adding the water when the mixture can be squeezed into a solid and then turns into a liquid when your palm is open.

      Mixture too soupy or too hard? If your mixture is not turning into a solid when squeezed, just add a little more corn starch. If your mixture is too hard and not turning into a liquid when held in a relaxed hand, then add a little water!

      If I make all the colors in one bin, will they mix up? Yes they will! To avoid all of your beautiful colors immediately combining into a green or brown, use separate containers. One of my kids favorite. setups was when I made only the primary colors in separate bins and then they experimented with color mixing and creating secondary colors.

      What if my kid tastes the oobleck? When using food coloring, oobleck is taste-safe. However, your child will quickly realize it tastes disgusting! As with all sensory bases, do not encourage tasting and always supervise.

      How do I clean oobleck up? For these types of activities, it’s best if you set them up outside for easy clean up. I literally just hose everything down. It is safe for the grass. If playing outdoor is not an option, place some towels on the ground. Mix what is left of the oobleck with enough hot water to completely dilute it. With the water running in the sink, add small amounts of the mixture at a time to avoid the cornstarch from re-solidfying and clogging the drain. For oobleck on the floor, it can be easily wiped up or vacuumed when dried.

      Can I store oobleck for later? Yes, you can store it in an air tight container. However, the cornstarch will separate from the water so it will have to be remixed. Discard if black dots are visible as this is mold.

      If I make all the colors in one bin, will they mix up? Yes they will! To avoid all of your beautiful colors immediately combining into a green or brown, use separate containers. One of my kids favorite. setups was when I made only the primary colors in separate bins and then they experimented with color mixing and creating secondary colors.

      What if my kid tastes the oobleck? When using food coloring, oobleck is taste-safe. However, your child will quickly realize it tastes disgusting! As with all sensory bases, do not encourage tasting and always supervise.


      How do I clean oobleck up? For these types of activities, it’s best if you set them up outside for easy clean up. I literally just hose everything down. It is safe for the grass. If playing outdoor is not an option, place some towels on the ground. Mix what is left of the oobleck with enough hot water to completely dilute it. With the water running in the sink, add small amounts of the mixture at a time to avoid the cornstarch from re-solidfying and clogging the drain. For oobleck on the floor, it can be easily wiped up or vacuumed when dried.

      Can I store oobleck for later? Yes, you can store it in an air tight container. However, the cornstarch will separate from the water so it will have to be remixed. Discard if black dots are visible as this is mold.

      Materials

      • Water for mixture
      • Water for separate hand-washing bin

      Step-by-Step Instructions 

      Step 1

      Place 1 cup of corn starch in a bowl.

      Step 2

      Measure 1 cup of water and add in your color.


      Step 3

      Gradually add the water to the corn starch, but do not add all at one time. You’ll want to slowly mix it in so as not to add too much water. The mixture is ready when it becomes a solid in your hand when you squeeze it and then a liquid when you relax your palm.

      Step 4

      Place a bucket of water nearby for a quick hand-washing station!

      Step 1

      Place 1 cup of corn starch in a bowl.

      Step 2

      Measure 1 cup of water and add in your color.

      Step 3

      Gradually add the water to the corn starch, but do not add all at one time. You’ll want to slowly mix it in so as not to add too much water. The mixture is ready when it becomes a solid in your hand when you squeeze it and then a liquid when you relax your palm.

      Step 4

      Place a bucket of water nearby for a quick hand-washing station!

      Educational Benefits of This Oobleck Experiment

      Yes, even creative messy play can be educational for your kids! Making oobleck is a fun science experiment, sensory experience, and allows for great opportunities to learn colors and strengthen fine motor skills!

      Did you know that sensory play can cause the brain to make new connections and grow? This is one of the many reasons I love sensory play! Add some cups and spoons and this will also help your child strengthen their fine motor skills. See our full list of sensory activities for more sensory play ideas!

      Older kids can enjoy making the oobleck, experimenting with the amount of corn starch to water to make the perfect non newtonian fluid. They will be amazed to see how the mixture. can be both a solid and a liquid at the same time.

      oobleck science experiment with corn starch and water

       If you makes lots of oobleck, you could even try to walk on top of it! Kids will see that if they walk quickly it will stay solid, but if they walk slowly, their feet will sink into the liquid!

      oobleck science experiment with corn starch and water

      Educational Benefits of This Oobleck Experiment

      Yes, even creative messy play can be educational for your kids! Making oobleck is a fun science experiment, sensory experience, and allows for great opportunities to learn colors and strengthen fine motor skills!

      Did you know that sensory play can cause the brain to make new connections and grow? This is one of the many reasons I love sensory play! Add some cups and spoons and this will also help your child strengthen their fine motor skills. See our full list of sensory activities for more sensory play ideas!

      Older kids can enjoy making the oobleck, experimenting with the amount of corn starch to water to make the perfect non newtonian fluid. They will be amazed to see how the mixture. can be both a solid and a liquid at the same time.

      If you makes lots of oobleck, you could even try to walk on top of it! Kids will see that if they walk quickly it will stay solid, but if they walk slowly, their feet will sink into the liquid!

      More Sensory Bases to Explore

      Here are my top picks for toys you can buy that strengthen toddler fine motor skills!

      slime kit sensory play for kids

      The Ultimate Slime and Putty Kit

      This kit includes 8 fascinating varieties of slime and putty, including premade putty, magnetic slime, glow in the dark putty, and so much more.

      sensory sand play for kids

      Sensory Sand

      Sensory sand is moldable! This bulk pack comes with enough to fill an entire bin for lasting fun! Bonus points for including a storage bin!

      mad mattr sensory dough modeling dough

      Modelling Dough

      This modelling dough compound NEVER dries out! It is a fun texture – it is stretchy like play dough, moldable like kinetic sand, and odorless.

      play dough wild dough sensory

      Premium Play Dough

      This play dough is the cream of the crop! It is ridiculously silky and smooth, lasts for 6 months, and is scented!

      What’s Next?

      Fine Motor Activity for Toddlers – Poke the Porcupine

      Fine Motor Activity for Toddlers – Poke the Porcupine

      Fine Motor Activity for Toddlers – Poke the Porcupine

      child plays game to strengthen pincer grasp

      This fine motor activity for toddlers is a fun way to strengthen pincer grasp, hand eye coordination, and more!

      Setting it up is simple, but we made it even easier with a free printable porcupine that you can just tape to a box! Read on to get it!

      A Fun Fine Motor Activity for Toddlers 

      If you are looking for a way to help your toddler strengthen their fingers and pincer graps, then this the perfect activity!

      Picking up toothpicks takes some serious concentration for toddlers. Sticking them into the porcupine will give them satisfaction and encourage them to keep going! For safety, use toothpicks that have a blunt tip, I link to one below! 

      Don’t miss our full list of fine motor activities for more fun ideas! 

      Skills:
      Ages: 
      Prep Time:

      Watch the Video to See This Fine Motor Activity for Toddlers in Action!


      Here’s a quick video of my toddler pushing the toothpicks into the cardboard porcupine. As you can see, she loves adding all the sticky quills to the cute little porcupine. Remember, it is always important to supervise an activity like this!

      All activities should be supervised by an adult. As an Amazon Associate, I earn from qualifying purchases. This post may contain affiliate links.

      Watch the Video to See This Fine Motor Activity for Toddlers in Action!

      Here’s a quick video of my toddler pushing the toothpicks into the cardboard porcupine. As you can see, she loves adding all the sticky quills to the cute little porcupine. Remember, it is always important to supervise an activity like this!

      All activities should be supervised by an adult. As an Amazon Associate, I earn from qualifying purchases. This post may contain affiliate links.

      printable fine motor skills activity with animals

      Make Your Own Cardboard Porcupine Activity or Grab Our Free Printable!

      The prep work and set-up could not be easier! You don’t have to spend a lot of time buying lots of supplies either. And since we know grown ups are busy, we also have a free printable with spikey animals that you can just pop on a box instead of drawing one!

      For more activities you can easily print visit our Printable Shop.

      The pointy ends of the toothpicks make this a fantastic sensory activity for toddlers. Be careful though – use blunt toothpicks and always supervise. If you can’t find blunt toothpicks, use cotton swabs, paper straws, or pipe cleaners instead!

      Read on for the step by step instructions and the educational benefits of this fine motor activity for toddlers!

      Materials

      • Toothpicks (or pipe cleaners)

      Step-by-Step Instructions 

      Step 1

      Draw a porcupine on a small box or tape our free printable porcupine instead!

      Step 2

      Use a small screwdriver or sharp knife to create the holes. Remember to keep them small because they will expand as your kiddo pokes the toothpick through.  

      Step 3

      Stick toothpicks or pipe cleaners through the holes you made in the porcupine. 

      Step 4

      Younger toddlers can pull the spikes out of the porcupine or push them through the holes. Older toddlers and preschoolers can enjoy putting the toothpicks in the holes themselves!

      Step 1

      Draw a porcupine on a small box or tape our free printable porcupine instead!

      Step 2

      Use a small screwdriver or sharp knife to create the holes. Remember to keep them small because they will expand as your kiddo pokes the toothpick through. 

      Step 3

      Stick toothpicks or pipe cleaners through the holes you made in the porcupine. 

      Step 4

      Younger toddlers can pull the spikes out of the porcupine or push them through the holes. Older toddlers and preschoolers can enjoy putting the toothpicks in the holes themselves!

      Educational Benefits of the Porcupine Activity

      You are going to love how many early childhood education benefits there are of this simple little activity. 

      Picking up or pushing down on the toothpicks is sensory play. Not only do they see the toothpicks, but they feel the edges too. When toddlers feel different textures, it creates new connections in their minds. 

      Not only does it engage their mind, but it strengthens their fine motor skills. That movement of trying to pinch the toothpicks with their thumb and fingers is called the pincer grasp. It’s important for other skills like tying their shoes and holding a pencil. 

      child playing game to strengthen fine motor skills by poking toothpicks or cotton swabs into a box shaped like a porcupine

      Add some letters and numbers to the porcupine for older kids. Then, ask them to poke the toothpicks through each letter and number. This is a fun activity that can grow with your child!  

      child playing game to strengthen fine motor skills by poking toothpicks or cotton swabs into a box shaped like a porcupine

      Educational Benefits of the Porcupine Activity

      You are going to love how many early childhood education benefits there are of this simple little activity. 

      Picking up or pushing down on the toothpicks is sensory play. Not only do they see the toothpicks, but they feel the edges too. When toddlers feel different textures, it creates new connections in their minds. 

      Not only does it engage their mind, but it strengthens their fine motor skills. That movement of trying to pinch the toothpicks with their thumb and fingers is called the pincer grasp. It’s important for other skills like tying their shoes and holding a pencil. 

      Add some letters and numbers to the porcupine for older kids. Then, ask them to poke the toothpicks through each letter and number. This is a fun activity that can grow with your child!

      Store-Bought Fine Motor Activities For Toddlers

      Here are my top picks for toys you can buy that strengthen toddler fine motor skills!

      Buckle and Threading Pillow

      This colorful pillow is fantastic for fine motor skills with 12 buckles to explore as well as a threading exercise!

      Spike the Fine Motor Hedgehog 

      These chunky spikes are easy for little hands to grasp while strengthening muscles as they fit into the back of the hedgehog!

      Big Lacing Beads 

      Threading large wooden beads are great for strengthening fine motor skills! This set includes 30 beads and 2 colorful laces!

      Pull and Play Tissue Box

      This fun toy is a play tissue box that comes with 12 reusable scarves to encourage grasping and fine motor skills!

      What’s Next?

      How To Make Taste-Safe Foam For Sensory Play

      How To Make Taste-Safe Foam For Sensory Play

      How To Make Taste-Safe Foam For Sensory Play  

      Use this recipe to make taste-safe foam for toddlers and preschoolers. It is so easy to make and is truly the perfect sensory base for young kids who put everything in their mouth! 

      If you want to do sensory-based activities with your little one, but worry that he or she puts everything in their mouth, then this recipe is for you! I had the same worry! Making foam out of dish soap or shaving cream simply isn’t safe, but everything changed when I discovered that you could make a foam using bean water (you read that right!)!

      The Magic of Aquafaba  

      What is aquafaba? It’s a fluffy foam created from whipped up bean water. The translation is literally, “bean water.” People who are allergic to eggs use this as an egg replacement in food recipes. 

      Aquafaba is also used to replace shaving cream and dish soap in sensory bins so that toddlers can dig right in without any worries of toxicity. 

      Skills:
      Ages: 
      Prep Time:

      Watch the Video to See the Foam in Action

      Once I made the foam (see the how-to below!), I added it to one bin, and then added water to the other bin. My little girl enjoyed playing with it – scooping, splashing, and squeezing. Having the water nearby allowed her to wash her hands if they felt too icky! 

      Watch the video and you’ll see how much this foam looks like soap foam or shaving cream! Best part, of course, is she can stick her fingers in her mouth without me worrying!.

      Watch the Video to See the Foam in Action

      Once I made the taste-safe foam (see the how-to below!), I added it to one bin, and then added water to the other bin. My little girl enjoyed playing with it – scooping, splashing, and squeezing. Having the water nearby allowed her to wash her hands if they felt too icky! 

      Watch the video and you’ll see how much this foam looks like soap foam or shaving cream! Best part, of course, is she can stick her fingers in her mouth without me worrying!.

      How to Make Your Own Taste-Safe Foam

      This is going to be something you use for lots of other sensory-based activities, so bookmark it! 

      All you need to make this foam is a can of beans. If you only have dried beans, then soak 1 cup of dried beans in 2.5 cups of water overnight and use the liquid the beans soaked in.  I have found the can of water works best though.

      One thing I love about this foam is how safe it is for the environment. I don’t feel bad dumping it out in the yard or letting it go down the drain – it’s just water from beans.

      All activities should be supervised by an adult. As an Amazon Associate I earn from qualifying purchases. This post may contain affiliate links. 

      Materials

      • Water from 1 can of beans, I’ve found chickpeas work best!
      • Electric Mixer

      Step-by-Step Instructions 

      Step 1

      Place the water from the can of beans in a bowl. 

      Step 2

      Whip up the water with an electric mixer. 

      Step 3

      Keep whipping for 3-6 minutes or until stiff peaks form in the water. 


      Step 4

      If you want a firmer texture, add a dash of cream of tartar.

      Step 5

      Color the foam with food coloring for some vibrancy!

      Step 1

      Place the water from the can of beans in a bowl. 

      Step 2

      Whip up the water with an electric mixer. 

      Step 3

      Keep whipping for 3-6 minutes or until stiff peaks form in the water. 

      Step 4

      If you want a firmer texture, add a dash of cream of tarter.

      Step 5

      Color the foam with food coloring for some vibrancy!


      Educational Benefits of Sensory Play

      What I love about this taste-safe foam is that it allows my toddler to engage safely in sensory play, while learning that sensory materials aren’t to put in her mouth. In other words, adults do not have to worry if a child does put the foam in their mouth, but they should use this as an opportunity to teach the child that sensory materials aren’t for the mouth.

      Sensory play is so educational for toddlers. When they feel different textures, they are actively interacting with their environment. This causes their mind to create new connections and grow. Anytime you want to set up sensory play for your little one, don’t forget about the power of bean water! 

      It is also the very first steps of scientific curiosity. They begin to wonder, “what is this” and explore it. Toddlers use all 5 senses to understand what it is. That’s why it’s so important to give them a safe way to explore when they play.  

      Educational Benefits of Sensory Play

      What I love about this taste-safe foam is that it allows my toddler to engage safely in sensory play, while learning that sensory materials aren’t to put in her mouth. In other words, adults do not have to worry if a child does put the foam in their mouth, but they should use this as an opportunity to teach the child that sensory materials aren’t for the mouth.

      Sensory play is so educational for toddlers. When they feel different textures, they are actively interacting with their environment. This causes their mind to create new connections and grow. Anytime you wan to set up sensory play for your little one, don’t forget about the power of bean water! 

      It is also the very first steps of scientific curiosity. They begin to wonder, “what is this” and explore it. Toddlers use all 5 senses to understand what it is. That’s why it’s so important to give them a safe way to explore when they play.  

      More Sensory Activities For Young Kids

      Here are my top picks for sensory play items for toddlers and babies!

      Premium Play Dough

      This play dough is the cream of the crop! It is ridiculously silky and smooth, lasts for 6 months, and is scented!

      Sensory Bin Tools

      This set comes with 7 items including bowls, scoops, and a tong. A great set for learning practical life skills through sensory play.

      Ultimate Play Sink

      This battery powered sink recirculates water for a fun sensory play that will hold your toddler’s attention span!

      Colorful Spaghetti

      This is another super simple way to create a taste safe sensory play for your little one! All the links and info you need for this below!

      What’s Next?

      Color Mixing Activity – The Color Path

      Color Mixing Activity – The Color Path

      Color Mixing Activity – The Colorful Path

      color mixing activity sensory path

      This color mixing activity is a fun way to get kids on their feet! This is where gross motor, sensory play, and science collide to discover how primary colors mix to form secondary colors!

      Even the littlest of kids can enjoy this one! Using plastic bags to mix the paint is low prep and keeps things mess free!

      Plus, Once your kiddo stamps on the bags to create a secondary color, you can use that paint for an art project!

      Read on to see how simple this is to set up and what materials I used, including paint and tape!

      All activities should be supervised by an adult. As an Amazon Associate I earn from qualifying purchases. This post may contain affiliate links.


      Skills:
      Ages: 
      Prep Time:

      Watch the Video to See the Color Mixing Activity in Action

      Back and forth, back and forth! My kids enjoyed running on top of the colorful bags, mixing them with their feet as well as getting on the floor and mixing them with their hands!

      They made guesses of what colors were going to form, and enjoyed the mess-free sensory experience!

      color mixing activity for kids sensory path

      How to Make Your Own Gross Motor Color Mixing Activity for Kids

      Making this color mixing activity requires the simplest of materials! Everything we used, you likely already have in your home!

      If you’ve been following along on our play journey, you know we constantly save and use cardboard! So naturally, this is what we used as the foundation of our sensory path!

      In addition, I will break down everything that we used to keep this color mixing activity vibrant, yet mess-free!

      Materials

      Step-by-Step Instructions 

      Step 1

      Use an alcohol swab to remove the white label on top of the plastic bag. This is optional, but it allows you to see into the bag more clearly!

      Step 2

      Fill plastic bags up with paint, each with 2 colors that will form a secondary color. Blue and yellow to form green. Yellow and red to form orange. And blue and red to form purple.

      Step 3

      Tape the bags over the zipper portion to give extra security in case of the bag opening. 


      Step 4

      Tape the bags onto the floor, or first on to cardboard (like we did!) as an extra security in case a bag ruptures.

      Step 5

      Task children with mixing up the paint using their feet. Walking back and forth until the colors combine. Make guesses, and enjoy discovering the results!

      Step 1

      Use an alcohol swab to remove the white label on top of the plastic bag. This is optional, but it allows you to see into the bag more clearly!

      Step 2

      Fill plastic bags up with paint, each with 2 colors that will form a secondary color. Blue and yellow to form green. Yellow and red to form orange. And blue and red to form purple.

      Step 3

      Tape the bags over the zipper portion to give extra security in case of the bag opening. 

      Step 4

      Tape the bags onto the floor, or first on to cardboard (like we did!) as an extra security in case a bag ruptures.

      Step 5

      Task children with mixing up the paint using their feet. Walking back and forth until the colors combine. Make guesses, and enjoy discovering the results!


      color mixing activity printable worksheet for kids

      Color Mixing Activity Printable

      We created a super fun printable that explores color mixing. The set includes 5 hands on activities all about colors and color mixing!

      Enjoy coloring and distinguishing each of the colors in the rainbow! Then, learn all about what happens when primary colors mix to form secondary colors. Next, learn about shades (making colors darker) and tints (making colors lighter). And finally, go over all those concepts in a final round up review!

      For this printable color mixing activity set plus many other printables visit our Printable Shop

      Educational Benefits of Color Mixing

      There are so many benefits a child can gain through color mixing activities, especially gross motor ones like this!

      They will experience the concept of cause and effect. When they cause the two primary colors mix, they will see the effects visually in the new color they created!

      This activity is also a great way for even the youngest of kids to learn color recognition. Not only will they be able to distinguish primary colors from secondary colors, but will enjoy the process of creating them!

      This is also a great opportunity for language development. Asking questions, making predictions, and discussing the names of the different colors is key!


      color mixing activity for toddlers sensory path

      Last but not least there are both gross motor and fine motor skills being experienced in this color mixing activity. My having children walk over the color path, they are exercising their gross motor skills. Then, they can sit down on the ground and use their hands to mix the colors, exercising their fine motor skills too! 

      Educational Benefits of Sensory Play

      There are so many benefits a child can gain through color mixing activities, especially gross motor ones like this!

      They will experience the concept of cause and effect. When they cause the two primary colors mix, they will see the effects visually in the new color they created!

      This activity is also a great way for even the youngest of kids to learn color recognition. Not only will they be able to distinguish primary colors from secondary colors, but will enjoy the process of creating them!

      This is also a great opportunity for language development. Asking questions, making predictions, and discussing the names of the different colors is key!

      Last but not least there are both gross motor and fine motor skills being experienced in this color mixing activity. My having children walk over the color path, they are exercising their gross motor skills. Then, they can sit down on the ground and use their hands to mix the colors, exercising their fine motor skills too! 


      Store-Bought Color Mixing Activities

      Here are my top picks for toys you can buy that are all about color mixing!

      Color Mixing Glasses

      Layer colored lenses in the plastic glasses to see different shades of colors all around you!

      Splash of Color Kit

      This great kit includes a mini mixing tray, color mixing tablets, and pipettes for creating an amazing splash of colors!

      Watercolor Set

      This set includes paint, brushes, and paper. Watercolors are a classic way to watch colors mix and create new shades.

      Steve Spangler Science Color Fizzers

      This set of 100 tablets comes in primary colors. You can mix the colored water to create different colors.

      What’s Next?

      Peg People Color Matching Game

      Peg People Color Matching Game

      Learn Colors with Peg People Color Matching Game

      Peg people colour matching game

      This simple peg people color matching game with peg people is a great way for toddlers to learn colors! Plus, it is a budget-friendly activity that can be set up in seconds!

      I love being able to create easy-to-set-up activities, especially if toddlers and young kids complete it quickly!

      Plus, this colorful piece of cardboard can now be used time and time again whether playing with peg people, cars, or other colorful objects found around the house!

      Where Open-Ended Peg People Collide with Color Recognition

      After my kiddo was able to complete the color matching activity, the set up evolved into the most wonderful imaginative play! Peg people are such a great open-ended play item and one of the most treasured toys in our collection!

      Skills:
      Ages: 
      Prep Time:

      Watch the Video to See How to Learn Colors and Spark Imaginative Play with Peg People Color Matching Game

      My girl (26 months) impressed me with her ability to swiftly match the colors on this DIY puzzle – distinguishing from the light and dark shades too! It is such a great way to learn colors using objects you have at home.

      Even though she completed the puzzle quickly, when she was done, the most magical thing happened — it sparked  an independent, imaginative play!  Watch to see what I mean!

      All activities should be supervised by an adult. As an Amazon Associate I earn from qualifying purchases. This post may contain affiliate links.

      Watch the Video to See the Peg Color Matching Game

      My girl (26 months) impressed me with her ability to swiftly match the colors on this DIY puzzle – distinguishing from the light and dark shades too! It is such a great way to learn colors using objects you have at home.

      Even though she completed the puzzle quickly, when she was done, the most magical thing happened — it sparked  an independent, imaginative play!  Watch to see what I mean!

      All activities should be supervised by an adult. As an Amazon Associate I earn from qualifying purchases. This post may contain affiliate links.

      Peg people color matching recognition game

      How to Make Your Own DIY Color Matching Puzzle

      It truly doesn’t get easier than this! Just grab some paper, or cardboard if you want more durability! We always have an abundance of cardboard, so you’ll often see us using it. I personally love how strong it is, plus it doesn’t cost me anything extra!

      When coloring on cardboard, I love using tempera paint sticks. They roll on like a crayon, are vibrant like paint, but dry in seconds! Truly an amazing art supply that I suggest everyone have in their craft box! Whenever I use regular paint on cardboard it ends up drying in really dull colors!

      Materials

      Step-by-Step Instructions 

      Step 1

      On a piece of paper or cardboard make marks for each color you want to match. I made circles so the peg dolls could fit right inside;

      Step 2

      Make a black outline around your color to give it an extra pop!


      Step 3

      Set up your colorful objects for matching. We used peg dolls which I highly recommend because they are such a versatile open ended toy!

      Step 1

      On a piece of paper or cardboard make marks for each color you want to match. I made circles so the peg dolls could fit right inside;

      Step 2

      Make a black outline around your color to give it an extra pop!

      Step 3

      Set up your colorful objects for matching. We used peg dolls which I highly recommend because they are such a versatile open ended toy!

      Educational Benefits of this Color Matching Puzzle

      It is important for toddlers and young kids to learn colors! Color recognition is an essential for cognitive development and readiness for preschool. Learning the different names of colors enhances a child’s language skills, preparing them for the ability to communicate.

      The ability to sort, match, and make patterns is another important skill in early childhood. They are the fundamentals of early math. These types of activities provide children a hands on way to develop the cognitive skill of distinguishing whether something is the same or different.

      Top Toys to Learn Colors

      Here are my top picks for toys you can buy to learn colors!

      Wooden Peg Dolls

      These wooden peg dolls are beautifully made, vibrant, and multi-cultural! 

      These are what we used in our activity!

      Color Sorting Rainbow

      This hand-crafted wooden color sorting rainbow is so beautifully made, and great for fine motor in addition to color recognition!

      Count and Color Match Houses

      This fun set includes 5 houses and 15 counting people. A great way to learn colors and count, while sparking imaginative play!

      Stack and Sort

      This fun puzzle is all about shape and color recognition. Stacking the pieces through the peg is great for fine motor skill development too!

      What’s Next?

      Toddler Fine Motor Skills – Spaghetti Pull Sensory Play

      Toddler Fine Motor Skills – Spaghetti Pull Sensory Play

      Toddler Fine Motor Skills – Spaghetti Pull Sensory Play

      Rainbow spaghetti sensory play baby girl pulls spaghetti from colander for fine motor development

      This spaghetti sensory play activity uses rainbow coloured spaghetti to strengthen toddler fine motor skills. Bonus points for being taste-safe! 

      This is the perfect activity for really young toddlers who are just starting to develop an understanding of cause and effect. Since it uses spaghetti they are free to put it in their mouths and experience it that way too. 

      Strengthen their Fingers with this Toddler Fine Motor Activity

      This fun activity will strengthen your toddler’s fingers muscles and help them develop their pincer grasp.

      Selecting and pulling out those colorful strands is tricky for little hands, but such great exercise! A commonly seen toddler activity is to remove pipe cleaners from colanders. I personally find the pointy metal ends of pipe cleaners not safe for young toddler play. Spaghetti is much safer (and delicious!).

      Plus, older kids can enjoy the challenge of threading the pasta through the holes themselves!

      Skills:
      Ages: 
      Prep Time:

      Watch the Video to See the Spaghetti Sensory Play Activity in Action

      Here’s a quick video of my toddler pulling the spaghetti out of the colander. As you can see, she loves pulling the spaghetti and handing them to me.

      The texture of the spaghetti makes this a fun sensory activity for older babies and toddlers too!

      All activities should be supervised by an adult. As an Amazon Associate I earn from qualifying purchases. This post may contain affiliate links.

      How to Make Your Own Toddler Fine Motor Skills Pasta Activity

      This is another super-fun educational activity for toddlers. I’ll include directions for how you can make colorful spaghetti, but you have any allergies or personally preferences against food coloring, you can always use un-dyed spaghetti too.

      One tip for the perfect pasta consistency is to not overcook it. If it gets overcooked, it may break easily and be too difficult to thread through the colander! Going al dente is best! 

      Another tip, don’t thread the entire strand of spaghetti through the colander! Break it in half or varying sizes to speed up the set up time!

      Materials

      Step-by-Step Instructions 

      Step 1

      Boil the spaghetti according to the package directions, strain, and let them cool completely.

      Step 2

      Divide the spaghetti into one bowl for each color you want to dye.

      Step 3

      Mix in natural food coloring to desired vibrancy!


      Step 4

      Rinse the spaghetti to wash away any excess food coloring;

      Step 5

      Mix dyed spaghetti together and thread each through the holes in the strainer. Break them in half  or quarters to avoid having to thread an entire strand through!

      Step 6

      Let your toddler pull each spaghetti out, and older kids can do the threading! 

      Step 1

      Boil the spaghetti according to the package directions, strain, and let them cool completely.

      Step 2

      Divide the spaghetti into one bowl for each color you want to dye.

      Step 3

      Mix in natural food coloring to desired vibrancy!

      Step 4

      Rinse the spaghetti to wash away any excess food coloring;

      Step 5

      Mix dyed spaghetti together and thread each through the holes in the strainer. Break them in half  or quarters to avoid having to thread an entire strand through!

      Step 6

      Let your toddler pull each spaghetti out, and older kids can do the threading!

      Educational Benefits of the Spaghetti Pull Game

      Not only is this game a lot of fun (and completely taste safe) but it will help your baby’s brain grow and develop too!

      Sensory play is so important for toddlers. By feeling different textures and interacting with their environment, their mind creates new connections and actually grows. This activity not only has the contrasting textures of the squishy cooked spaghetti against the hard colander, but it has bright colors and the taste element!

      It also teaches that very important pincer grasp. In order to pull out the spaghetti, they have to pinch it with their index finger and thumb. This movement is the foundation for important practical life skills like buttoning, unzipping, and holding a pencil! 

      As they pull out each spaghetti, teach your toddler the names of the colors. This will teach them color recognition and early communication skills too.

      Store-Bought Sensory Activities For Toddlers

      Here are my top picks for toys you can buy that strengthen toddler fine motor skills!

      Buckle and Threading Pillow

      This colorful pillow is fantastic for fine motor skills with 12 buckles to explore as well as a threading exercise!

      Spike the Fine Motor Hedgehog 

      These chunky spikes are easy for little hands to grasp while strengthening muscles as they fit into the back of the hedgehog!

      Big Lacing Beads 

      Threading large wooden beads are great for strengthening fine motor skills! This set includes 30 beads and 2 colorful laces! 

      Pull and Play Tissue Box

      This fun toy is a play tissue box that comes with 12 reusable scarves to encourage grasping and fine motor skills!

      What’s Next?

      error: Content is protected !!

      Pin It on Pinterest

      Skip to content