Fairy House Pumpkins – How to Make a Magical Glowing Pumpkin
We turned a few plain pumpkins into tiny fairy houses using nothing but flowers, moss and sticks from the backyard — and my kids were completely obsessed. The best part: the only sharp bit is done by a grown-up in about five minutes, and everything after that is theirs — no paint, nothing permanent, and nothing that does not wipe up.
This post contains affiliate links. As an Amazon Associate I earn from qualifying purchases.
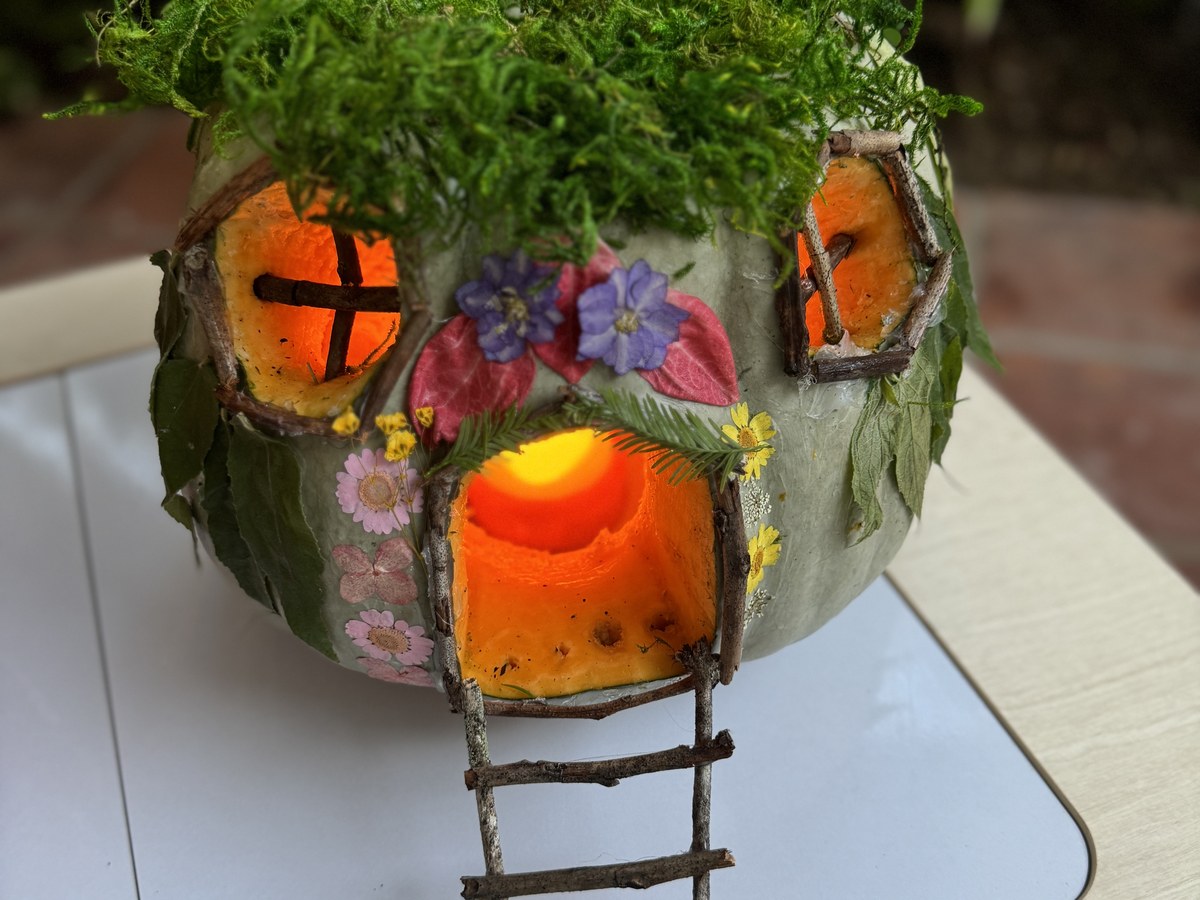
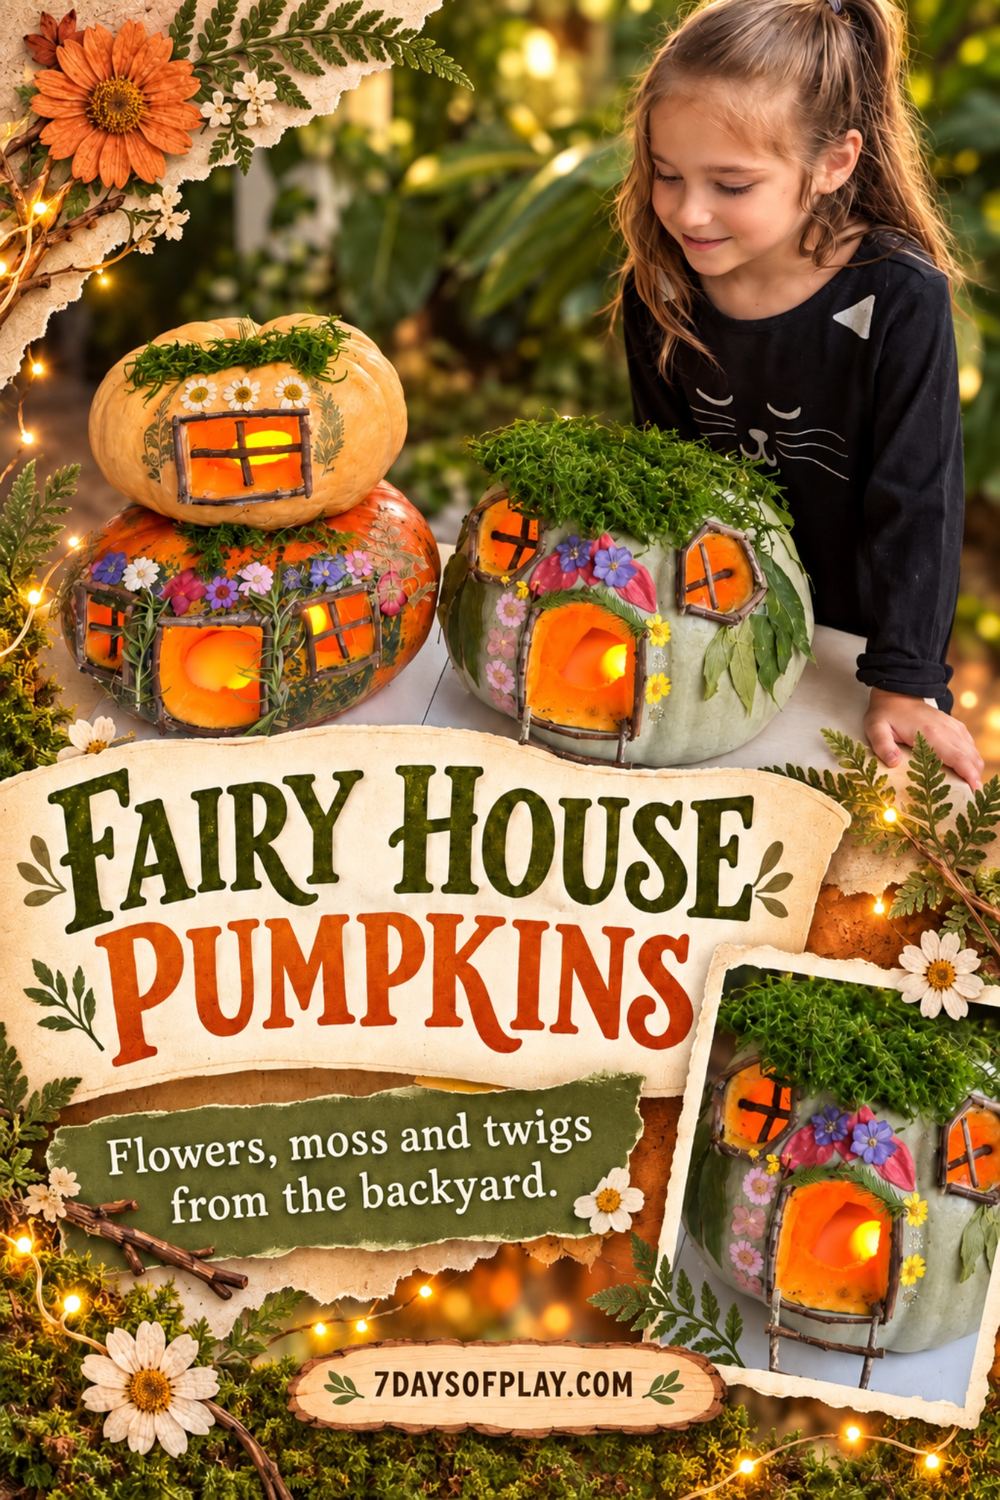
Two finished fairy houses, glowing at dusk.
Why This One Is Worth Doing
Most pumpkin crafts ask kids to either carve (too sharp) or paint (fine, but you have seen it before). This one sits right in between. You cut the door and windows, they do everything else — and because the “glue” is petroleum jelly, nothing is permanent. They can pull a flower off and move it fifteen times without ruining anything.
It also photographs beautifully, which is not nothing when it is sitting on your porch all week.
What You Need
Most of this is already in your house or your backyard.
Small pumpkinswhite and pale green look the most storybook, but orange works too
Before anything else, hand them a bowl and send them into the garden. Flowers, moss, little sticks, interesting leaves, acorn caps, small smooth stones. This takes fifteen minutes and it is genuinely half the fun. Pick flowers the same morning you build — they stay bright far longer.
Grown-up job: cut the door and windows
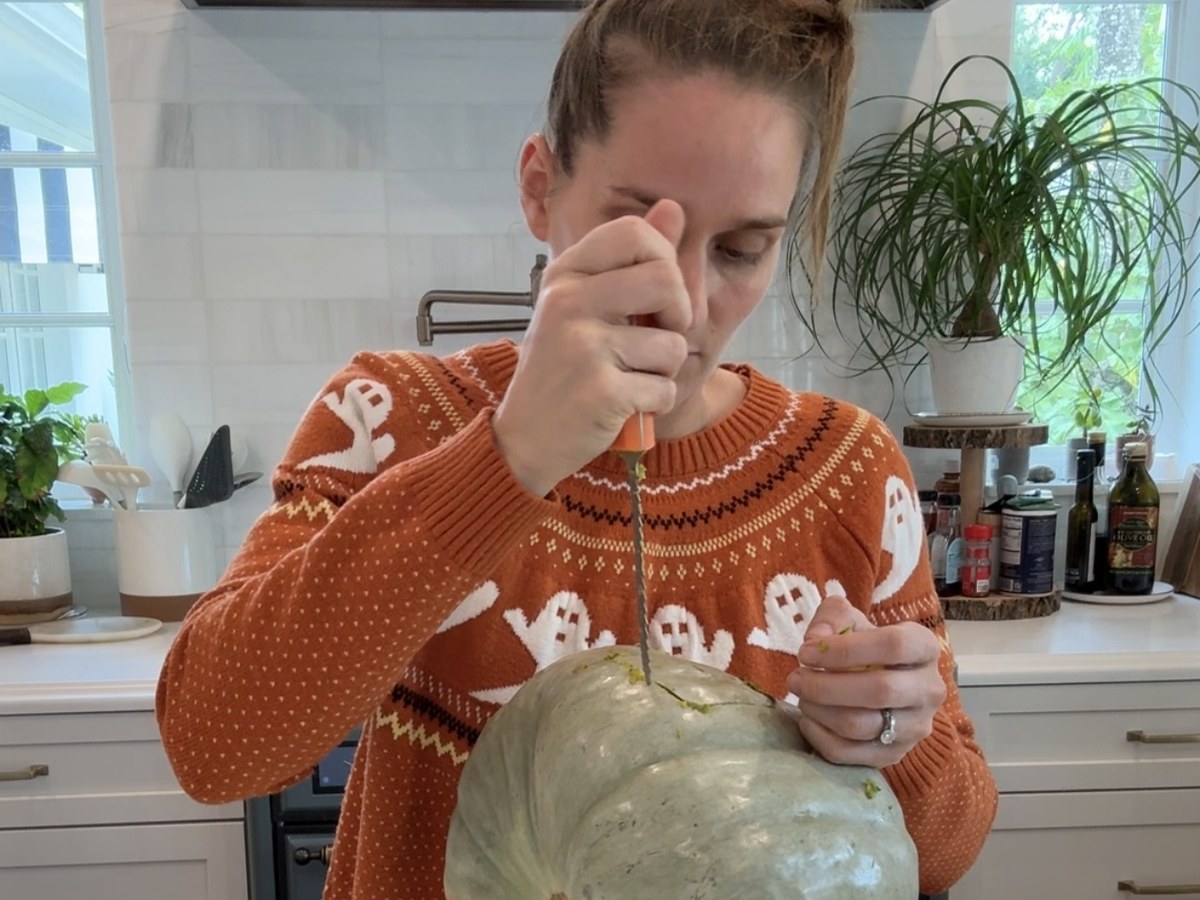
Draw a small arched door near the base and two or three square windows above it. Cut with a serrated pumpkin saw, angling the blade slightly inward so the pieces lift out cleanly and nothing drops inside. Keep the cut-out squares — they make perfect shutters later.
The only sharp step, and it takes about five minutes. Door and windows cut, ready for the fun part.
Scoop just a little
You do not need to hollow the whole thing out. Clear a hand’s width behind each opening so you can see through, and leave the rest. Less scooping means less mess and a pumpkin that holds its shape for longer. Hollow it properly only if you want to light it.
Smear on the petroleum jelly
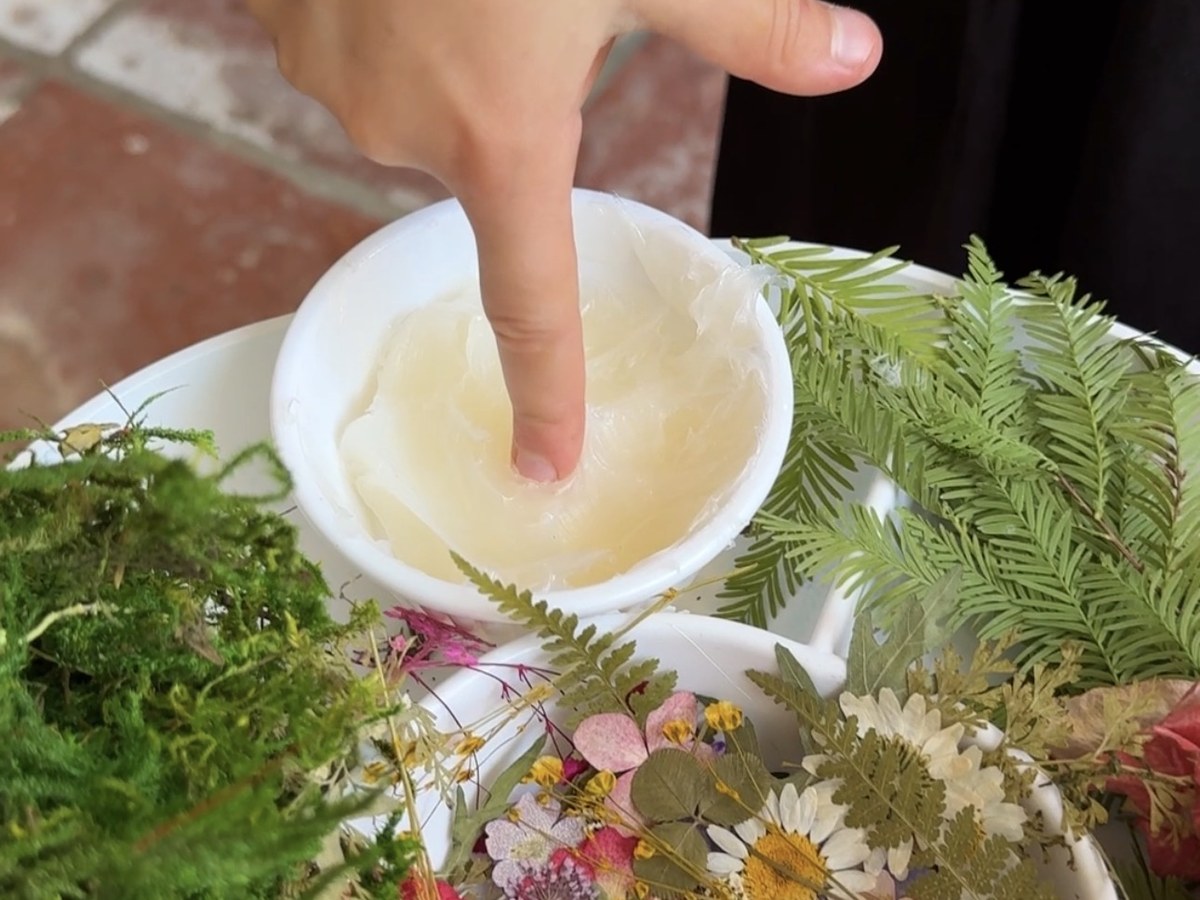
This is the bit that makes it work. Wherever a decoration is going, rub on a thin layer of petroleum jelly with a finger. It grips flowers, moss and leaves beautifully, it wipes straight off, and it will not hurt the pumpkin — so everything stays rearrangeable all week.
Petroleum jelly is the glue. It grips, it wipes off, and nothing is permanent.Watch it come together
Ten seconds — the jelly and flower step is the one worth seeing.
Build the roof and the garden
Press moss around the top of the pumpkin for a mossy roof, then more around the base so the house looks like it has grown there. Tuck flowers around the doorway. Line up pebbles into a little path leading to the door.
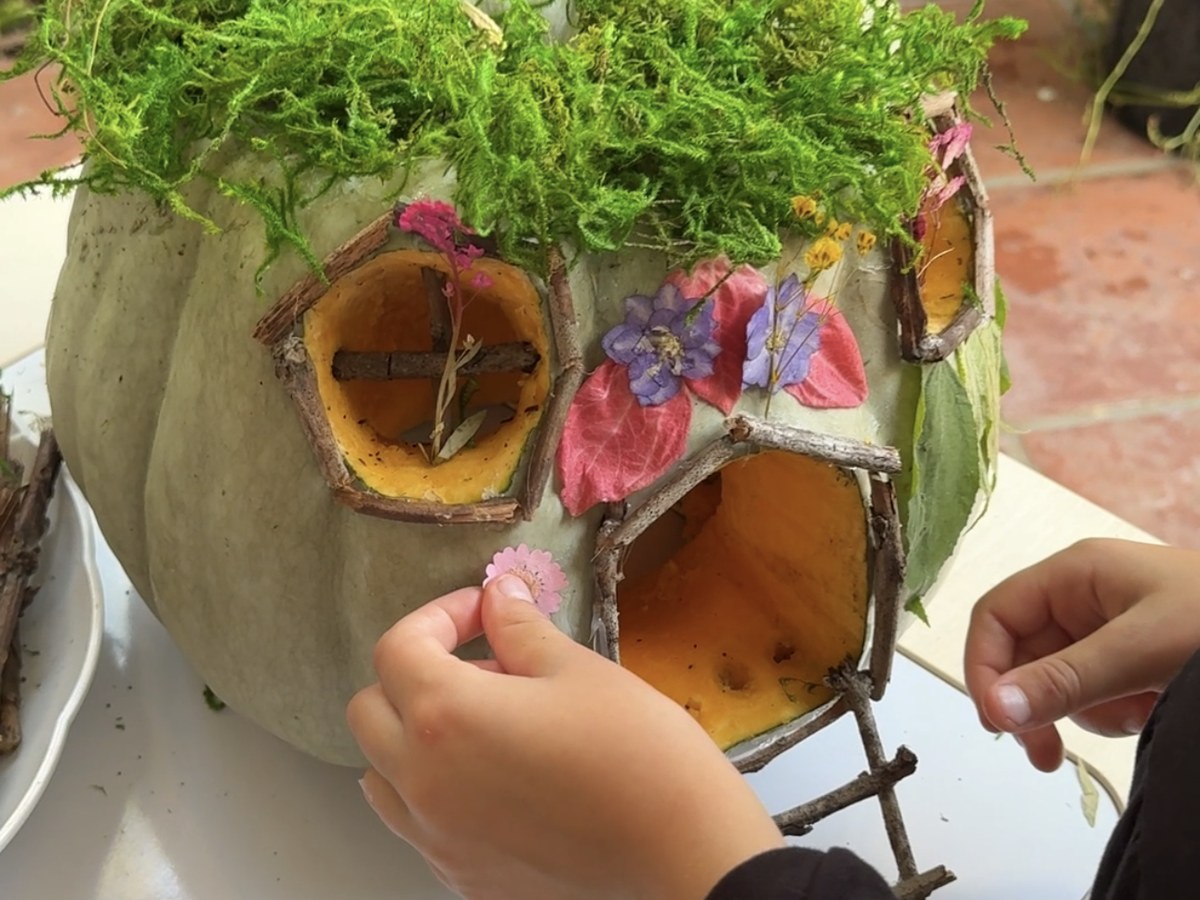
Pressed flowers go straight onto the jelly.
Add the tiny details
This is where it becomes magic. Frame the door with two twigs and a third across the top. Lean a stick ladder up to a window. Press petals into window boxes under each opening. Acorn caps make stepping stones. Bark makes a front step.
Twig frames, a moss roof and a ladder to the front door.
Light it up at dusk
Drop a battery tea light inside and the windows glow. Wait until it is getting dark outside — the first time they see it lit is the moment they remember.
One safety note
The cutting is an adult job, every time. Pumpkin flesh is slippery and the rind is tough, which is a bad combination for small hands. Cut all the openings yourself before the children come to the table, and the rest of the project is safe for them to lead.
Tips That Make a Real Difference
Pat the pumpkin dry first. A cold pumpkin brought inside sweats, and damp skin will not hold the jelly.
Thin layers of jelly. A thick blob slides; a thin smear grips.
Keep it out of direct sun. Shade keeps the flowers fresh and stops the jelly melting.
Let them redo it. Everything lifts off and goes back on. Mine rearranged theirs for three days.
Build on the surface it will live on. Finished houses do not love being carried.
Four Ways to Change It Up
The no-cut version
For toddlers, skip the knife entirely. Cut a door and windows from brown felt or paper and stick them on with petroleum jelly. Exactly as charming, zero sharp edges.
A fairy village
Three pumpkins at three different heights, pebble paths running between them. This is the one that stops people on your front path.
Gnome house
Swap the moss roof for overlapping pinecone scales and add a tiny red door. Reads as gnome rather than fairy, and the layering is satisfying work for older kids.
Keep it indoors
Build on a tray with a bed of moss around the base and it becomes a centerpiece. Indoors and cool, it will last well over a week.
Questions We Get Asked
How long does a fairy house pumpkin last?
Outdoors in mild weather, three to five days before the flowers fade — though the pumpkin itself lasts far longer. Somewhere cool and shaded, or indoors, you will easily get a week or more. The flowers go first, and they are the easiest thing to swap.
Can I use glue instead of petroleum jelly?
You can, but you lose the best part. Hot glue holds permanently, which means no rearranging and no second go. Petroleum jelly grips surprisingly well, wipes off with a paper towel, and lets children redo their house as many times as they like.
Do I have to hollow out the pumpkin?
Only if you want to light it. Otherwise clear a little space behind each opening so you can see through and leave the rest — it is less mess and the pumpkin holds its shape longer.
What if we do not have moss or flowers in the garden?
Dried flowers and craft moss work just as well, and both keep for next year. Autumn leaves, pine needles and bark are all free substitutes if you would rather not buy anything.
Please do not. There is dried moss, twigs and petals pressed against the pumpkin — all of it flammable. A battery tea light gives the same glow with none of the worry.
What age is this good for?
Three and up for the decorating, with an adult doing the cutting. Toddlers do well with the no-cut felt version. Older children tend to take over completely and start building furniture, which is its own kind of win.