How to Make a Shrinky Dink Handprint Flower Keychain

How to Make a Shrinky Dink Handprint Flower Keychain
How to Make a Shrinky Dink Handprint Flower Keychain

shrinky dink handprint flower mother's day

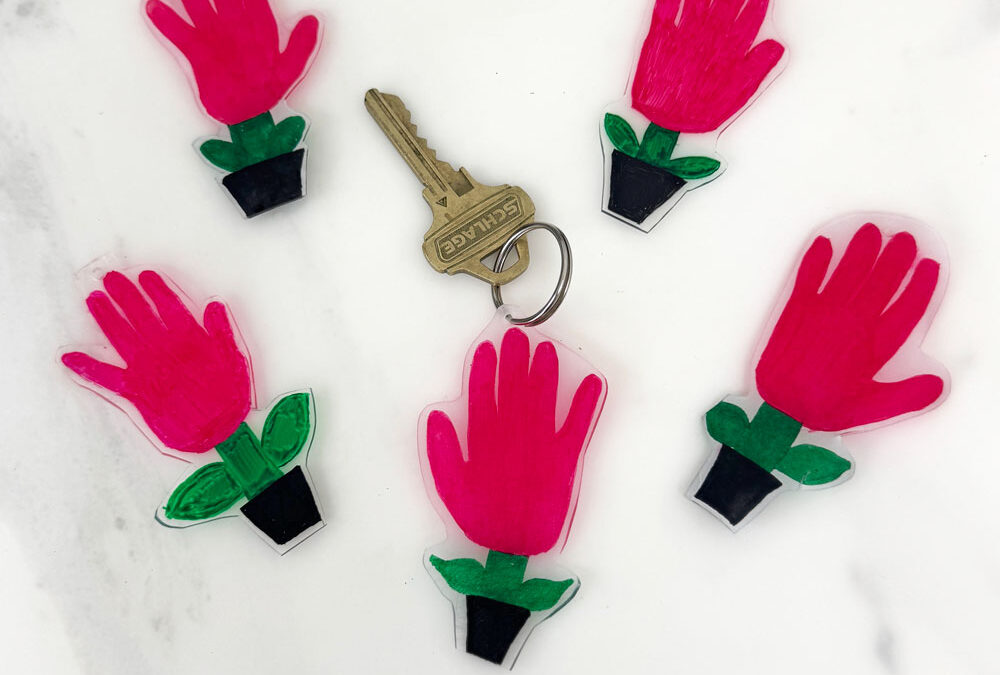
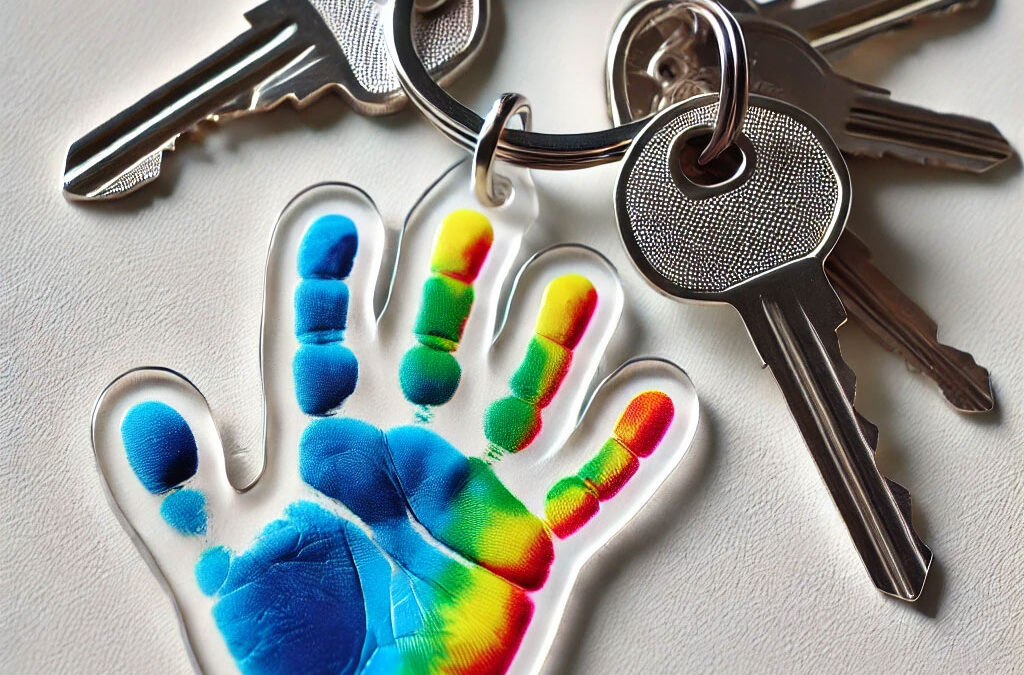
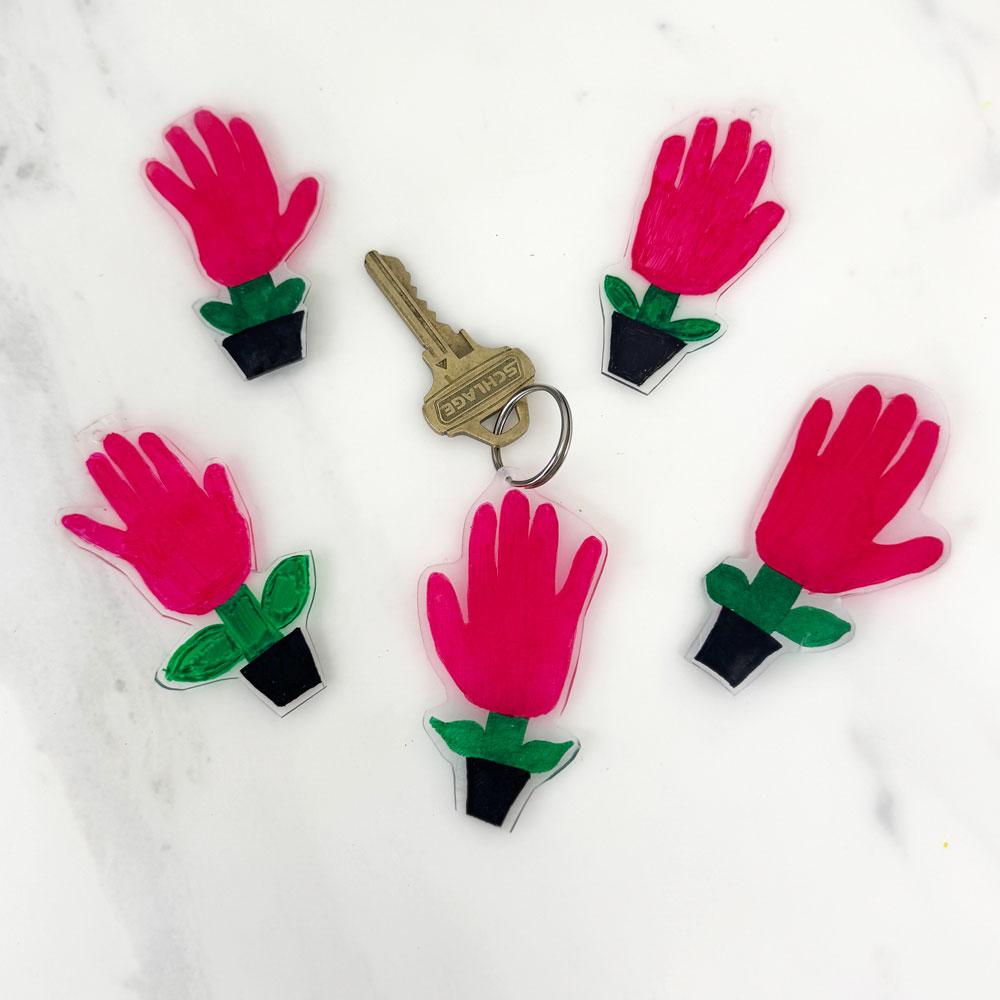
Make a keepsake handprint flower keychain using shrink art plastic—a thoughtful gift for Mother’s Day or any special occasion.

Magic Shrinking Plastic Handprint Flower Keychain Gift Idea

Looking for a sweet keepsake gift that’s easy to make and full of meaning? This handprint flower keychain uses “shrinking plastic sheets” (sometimes called Shrinky Dinks) to turn your child’s handprint into a lasting little memento. It’s perfect for Mother’s Day—or for anyone who deserves a smile! I’ll show you exactly how to do it, step by step, and share my favorite supplies for the brightest, best results.

All activities should be supervised by an adult. As an Amazon Associate, I earn from qualifying purchases. This post may contain affiliate links.

Watch the Video: Handprint Flower Keychain Tutorial + Tips for Perfect Results

Ready to see this craft in action? Check out my quick video below for a step-by-step walk-through on how to make your own handprint flower keychain with shrinking plastic. Whether you’re new to shrink art or just want some clever tricks for a flawless finish, these tips will help your keepsake turn out adorable every time!

A few tips and best practices before you start:

  • Use the rough side: Most shrink art plastic sheets have a frosted/rough side and a smooth side. Always paint and draw on the rough side—it holds paint and marker much better!

  • Keep it simple: Big, bold designs work best! Tiny details can get lost as the plastic shrinks, so encourage kids to make a clear handprint and use bright, simple accents.

  • Punch holes before baking: Don’t forget to punch your keychain hole before you put it in the oven. It’s nearly impossible to add a hole after the plastic has shrunk!

  • Watch closely while baking: The shrinking process happens fast—just a few minutes! The plastic will curl up and then flatten out. If it’s not laying flat when you take it out, gently press it down with a spatula while it’s still hot (just be careful not to burn yourself).

  • Use parchment or foil: Bake your design on parchment paper or aluminum foil to keep it from sticking to the pan.

  • Seal for durability: For extra shine and to protect your design, add a thin coat of Mod Podge or clear sealer once your piece has cooled.

shrinky dink handprint flower mother's day

Supplies Spotlight: The Best Shrink Art Plastic and Pens for This Project

If you’re new to shrink art, choosing the right supplies makes all the difference! I’ve tested a bunch of options, and here are my absolute favorites for colorful, reliable results every time.

Best Shrinking Plastic Sheets

  • Shrinking Plastic Sheets: Click HERE for my top pick! They’re sturdy, shrink evenly, and colors always come out bright and clear. You can find both clear and frosted versions; I love the frosted kind because it really holds onto marker and paint.

Best Pens and Markers

  • Permanent Markers: Click HERE for my top pick! Permanent markers are my go-to for tracing hands, adding details, names, outlines, and coloring. They dry quickly and don’t smear, even on slick plastic.

  • Paint: Click HERE for my top paint pick! These give you great coverage, and they work beautifully on both clear and frosted shrink art sheets.

Materials

Step-by-Step Instructions 

Step 1

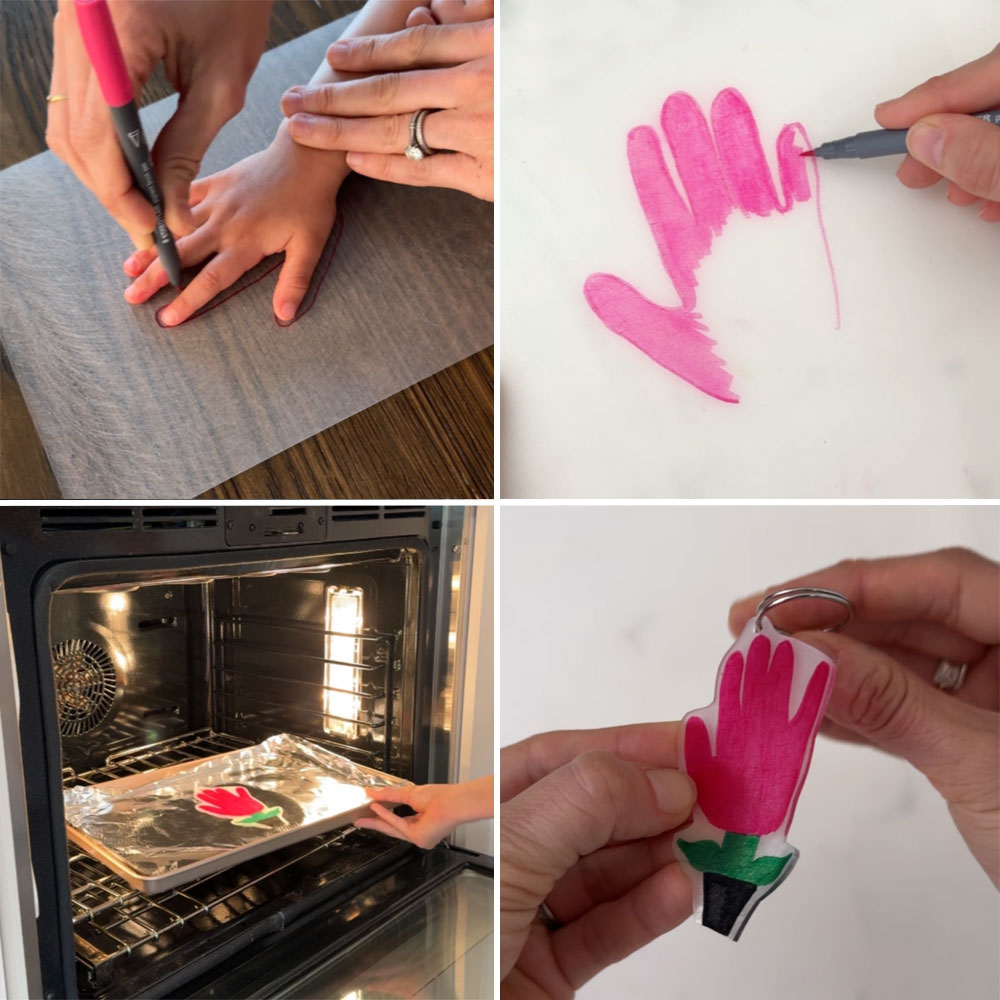
Cut your shrink art plastic sheet to your desired size. (It will shrink to about 1/3 of its original size.)

Step 2

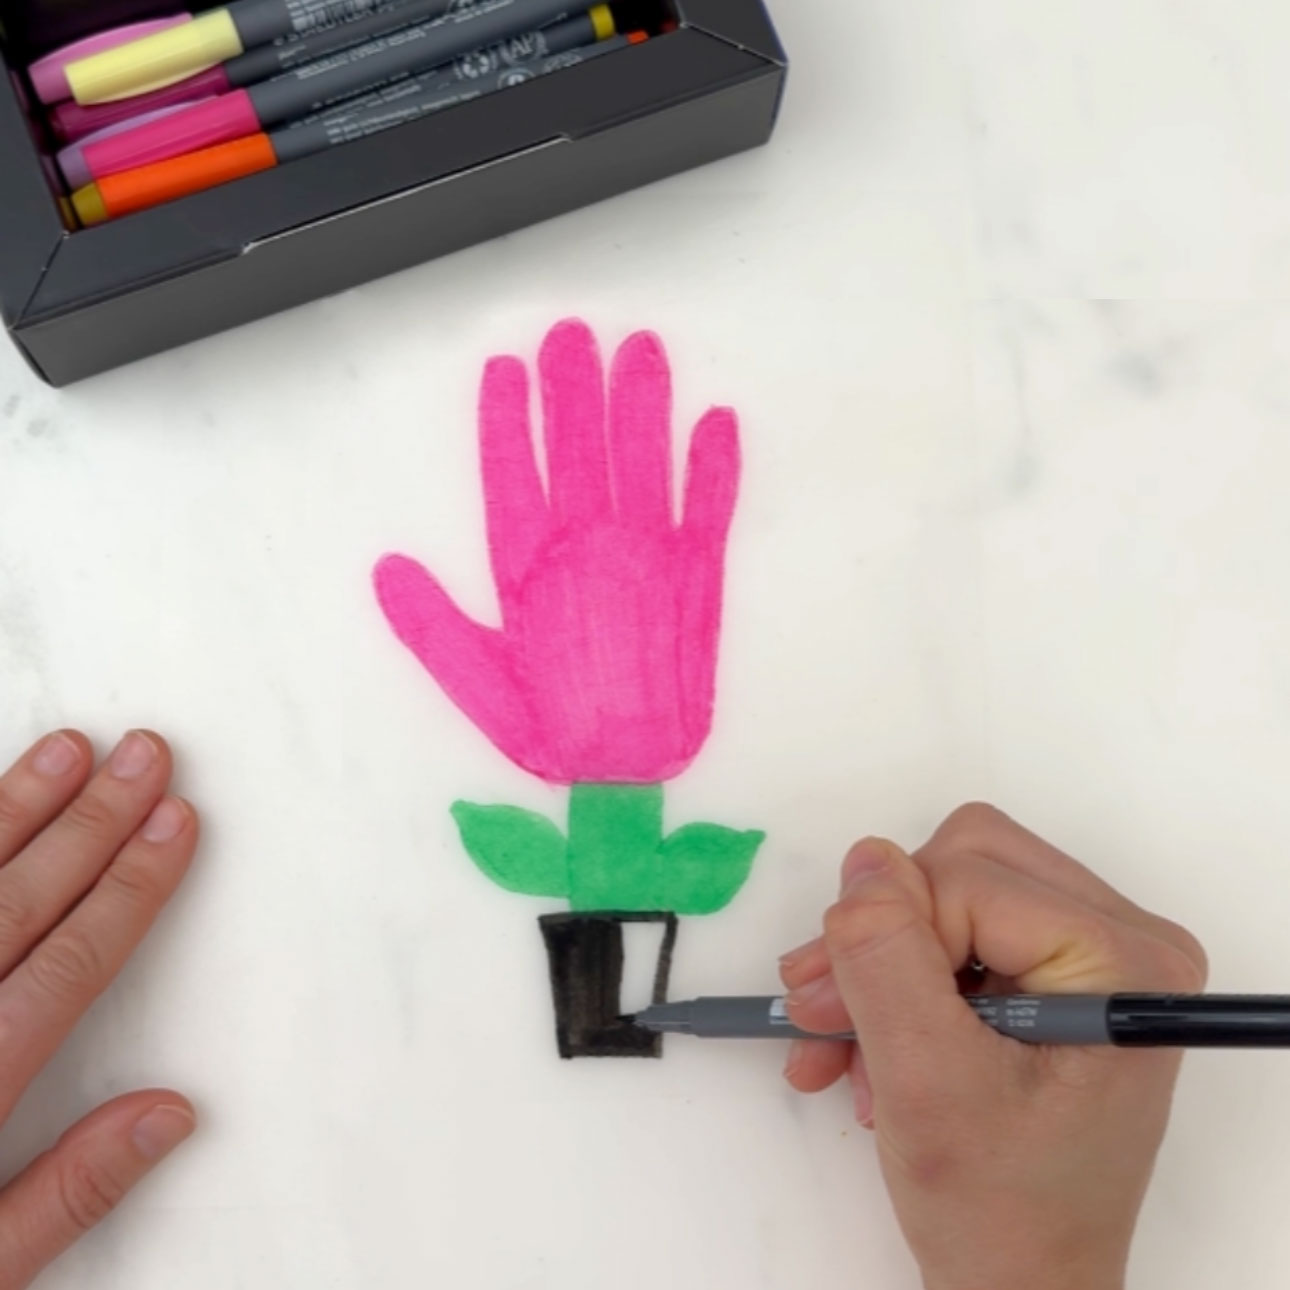
If you are using a Permanent Marker: Place your child’s hand on the rough side of the shrink art plastic sheet. Use a permanent marker to carefully trace around their hand. You can fill in the palm and fingers to look like flower petals. Remove the hand, then color and decorate as you wish.

If you are using Paint: Paint your child’s palm and fingers with acrylic paint in your chosen color. (Tip: Use a foam brush or your fingers to get an even coat.) Carefully press their painted hand onto the rough side of the shrink plastic to transfer the print. Lift their hand straight up, then let the paint dry completely before decorating or cutting.

Step 3

Cut out the handprint shape, leaving a small border and rounding the edges.

Step 4

Punch a hole near the top where you’ll attach the keychain ring—do this before baking!

Step 5

Bake in the oven according to your shrink art plastic’s directions (usually 325°F for 1–3 minutes). Place it on parchment or foil and watch the magic happen as it curls, then flattens. If it does not uncurl on its own, carefully use the bottom of a glass to manually flatten it down. Use caution as it will be hot and you must do it quickly before the plastic cools.

Step 6

Let cool for a minute or two, then (optional) seal with a clear sealer for extra shine and durability.

Step 7

Attach your keychain ring and your keepsake is ready to gift!

More Printable Mother’s Day Cards!

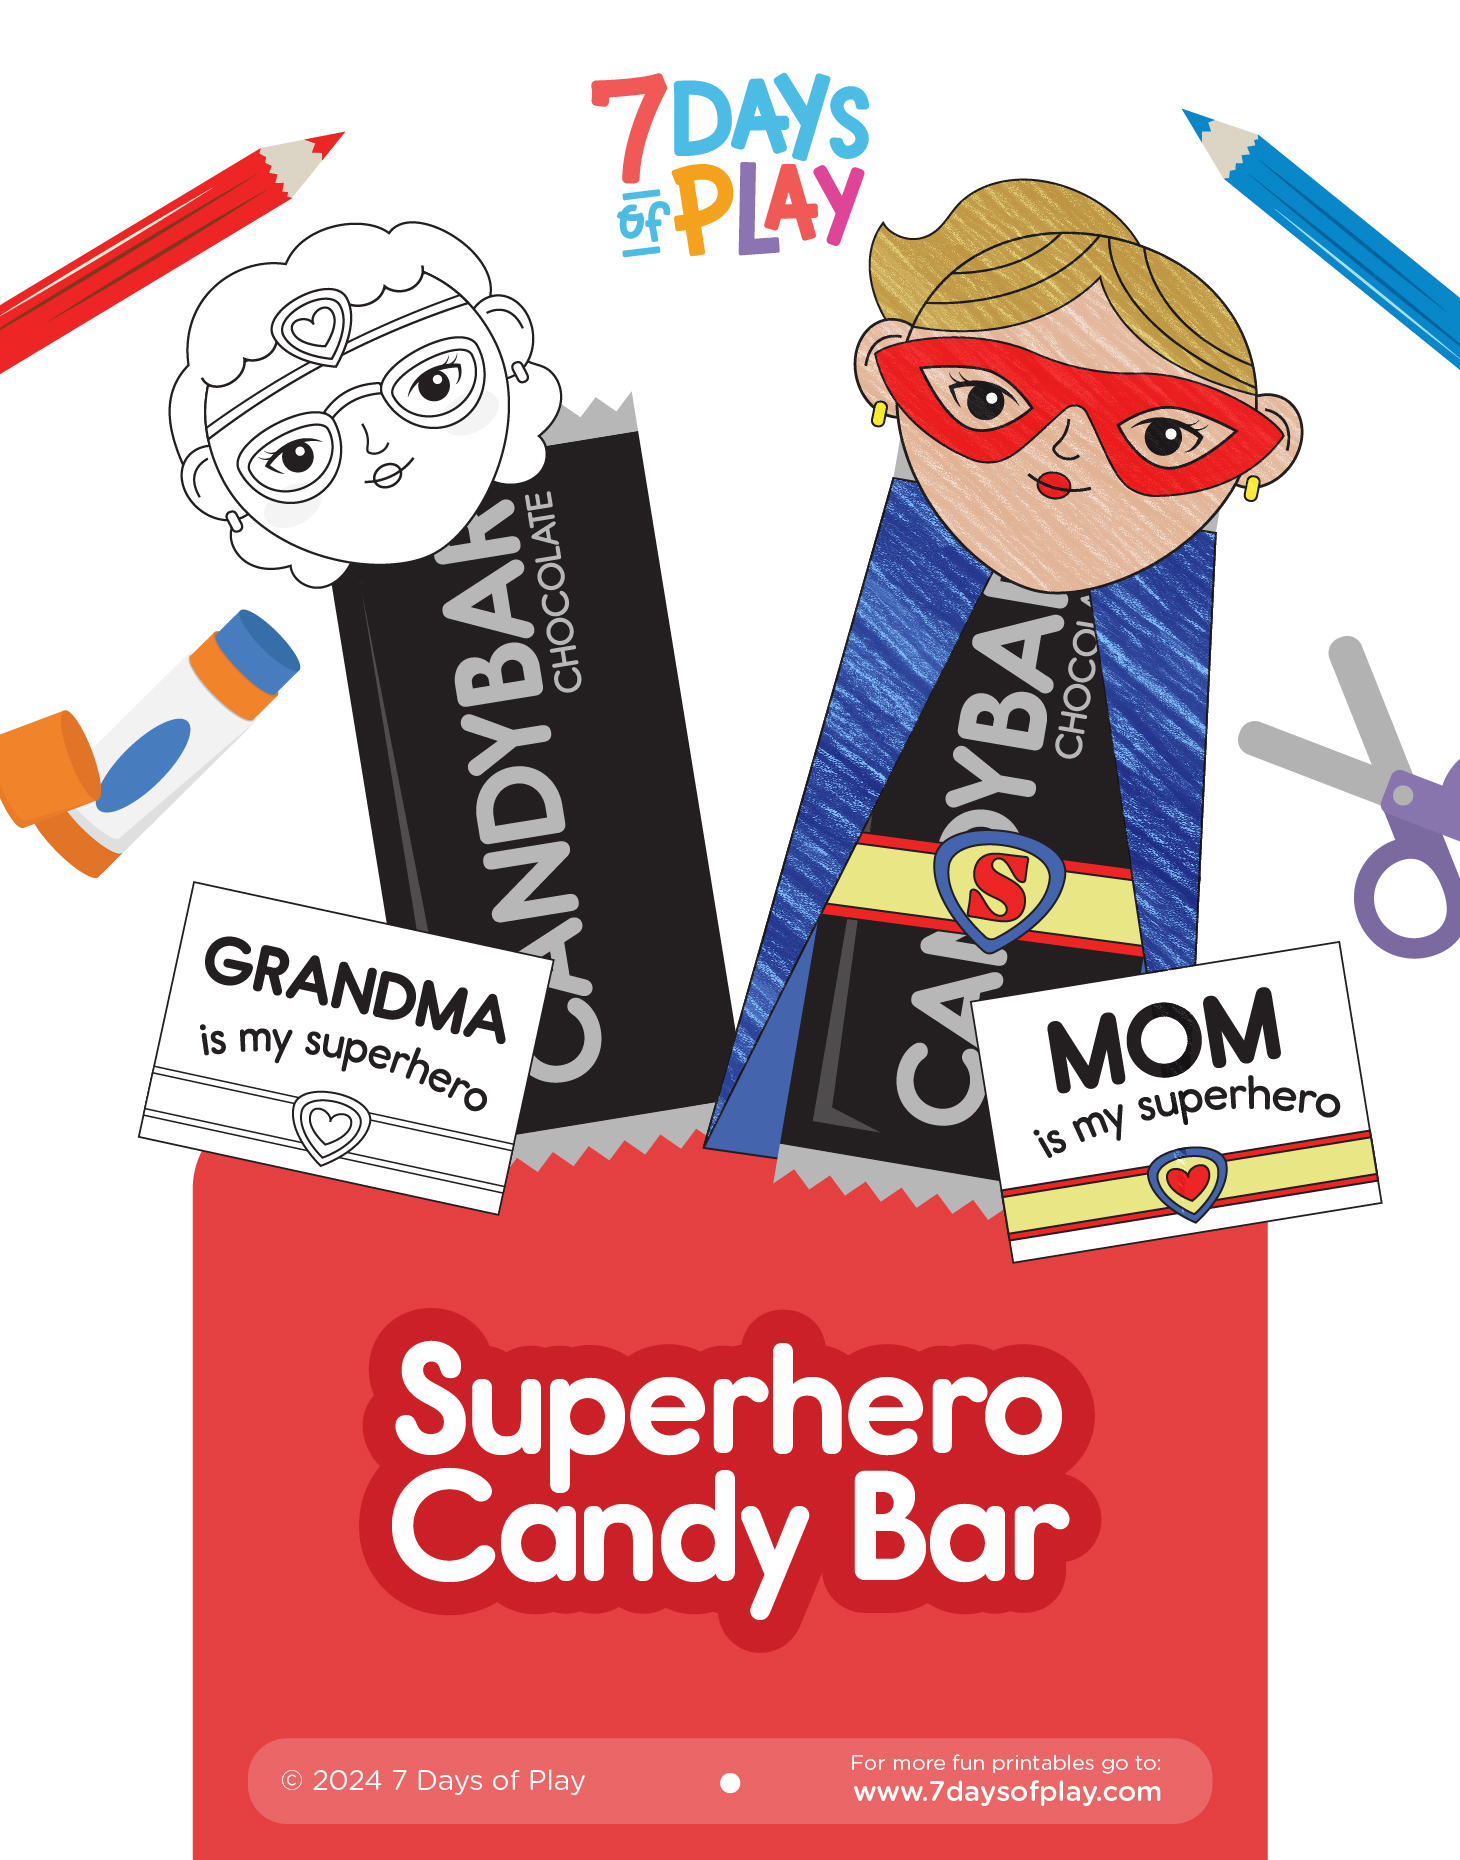
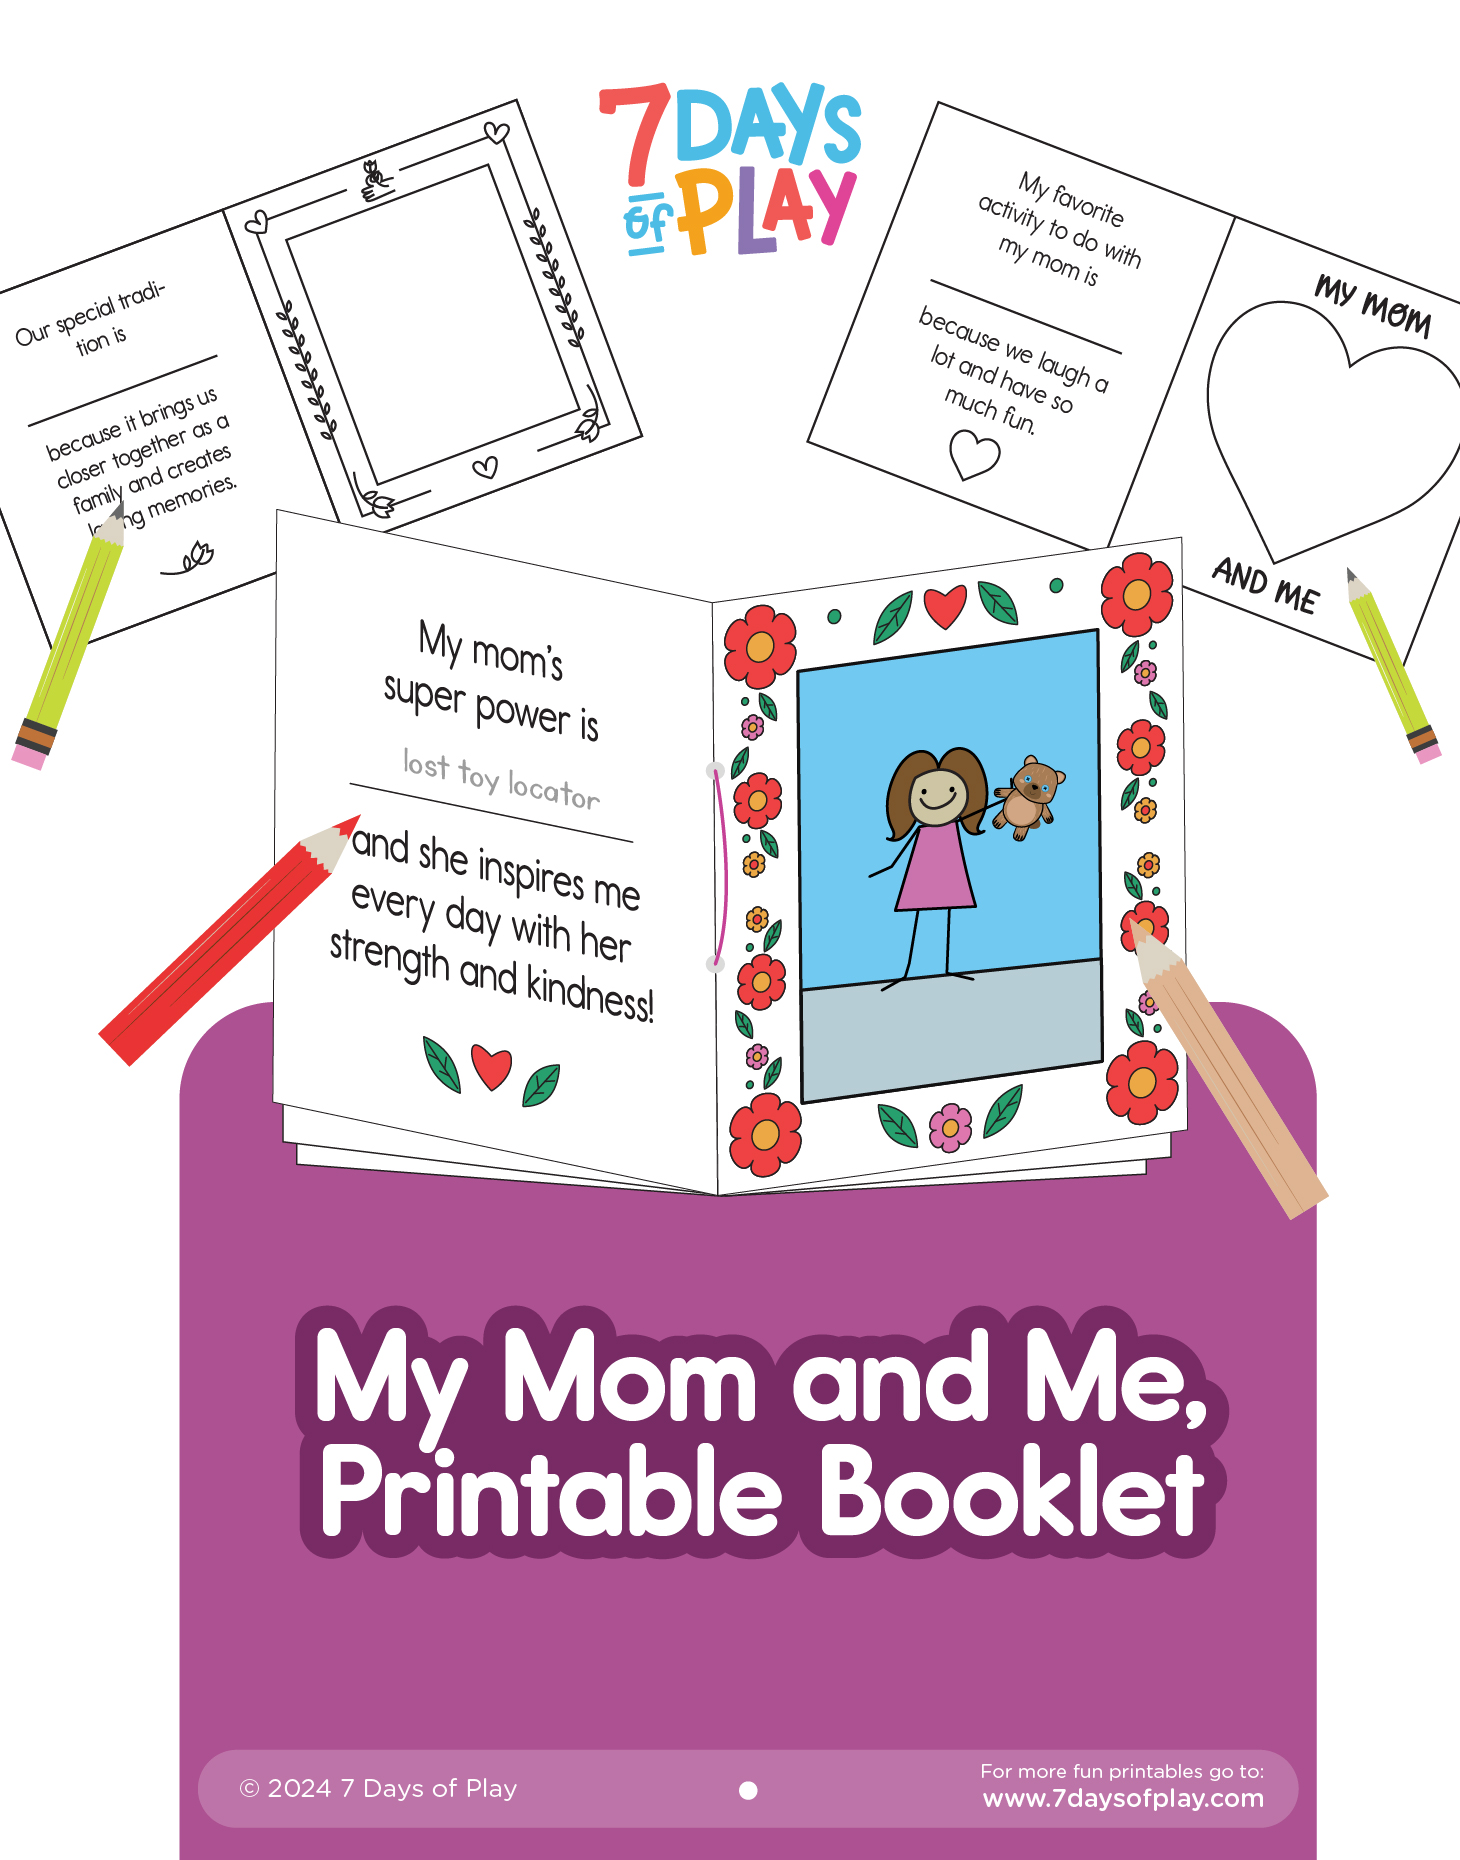
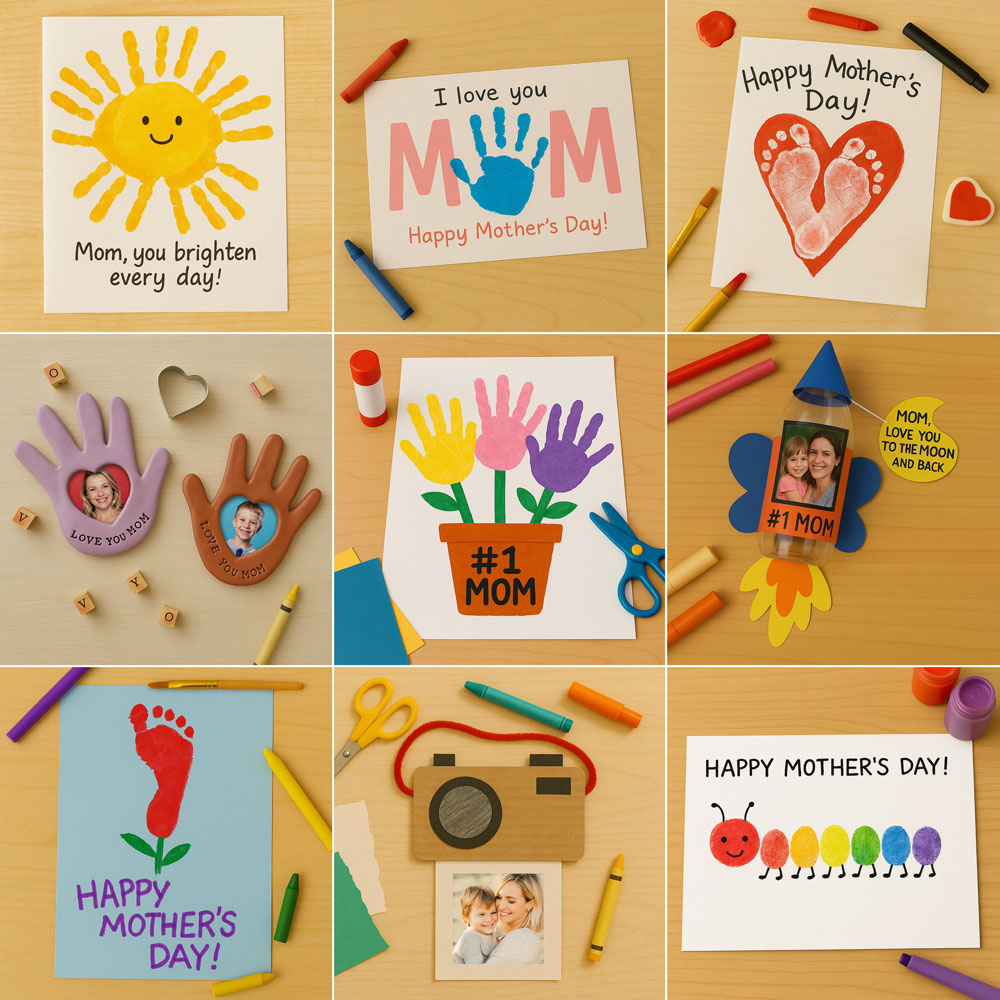
Need more printable Mother’s Day cards? We have lots more to download and print to make a Mom’s day extra special! From adorable handprint flower cards to a superhero mom candy bar template, a “My Mom and Me” printable booklet, and a personalized 3D Mother’s Day card, there’s something here to warm every mother’s heart. Let’s dive in and explore these heartfelt creations!
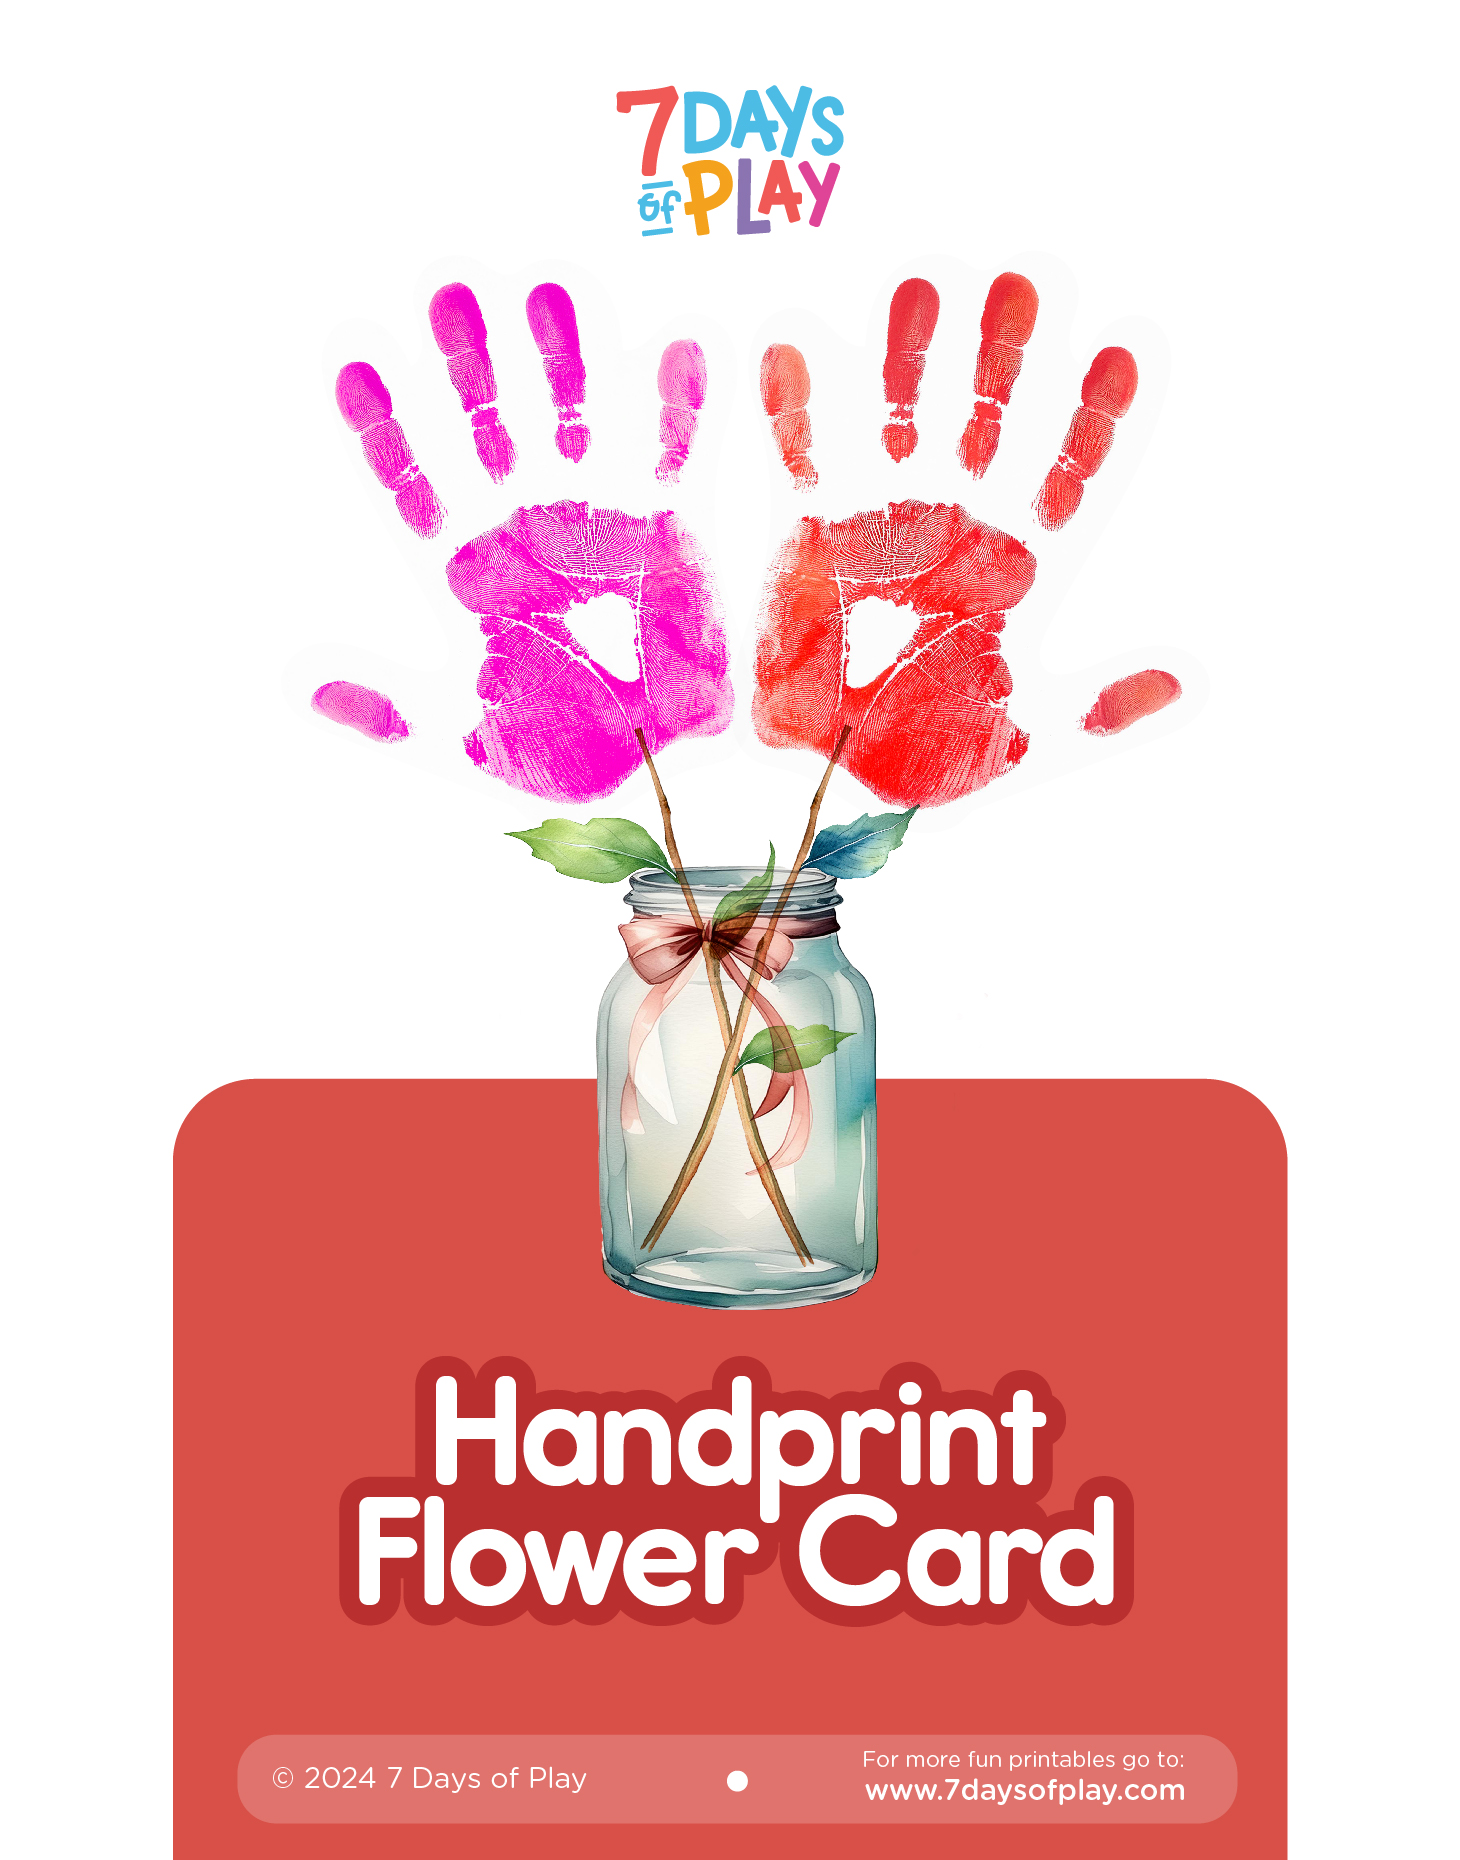
Handprint Flower Card - Printable

Handprint Card

Superhero Candy Bar - Printable

Superhero Mom Candy Template

My Mom and Me Printable Booklet - Printable
My Mom and Me Printable Booklet

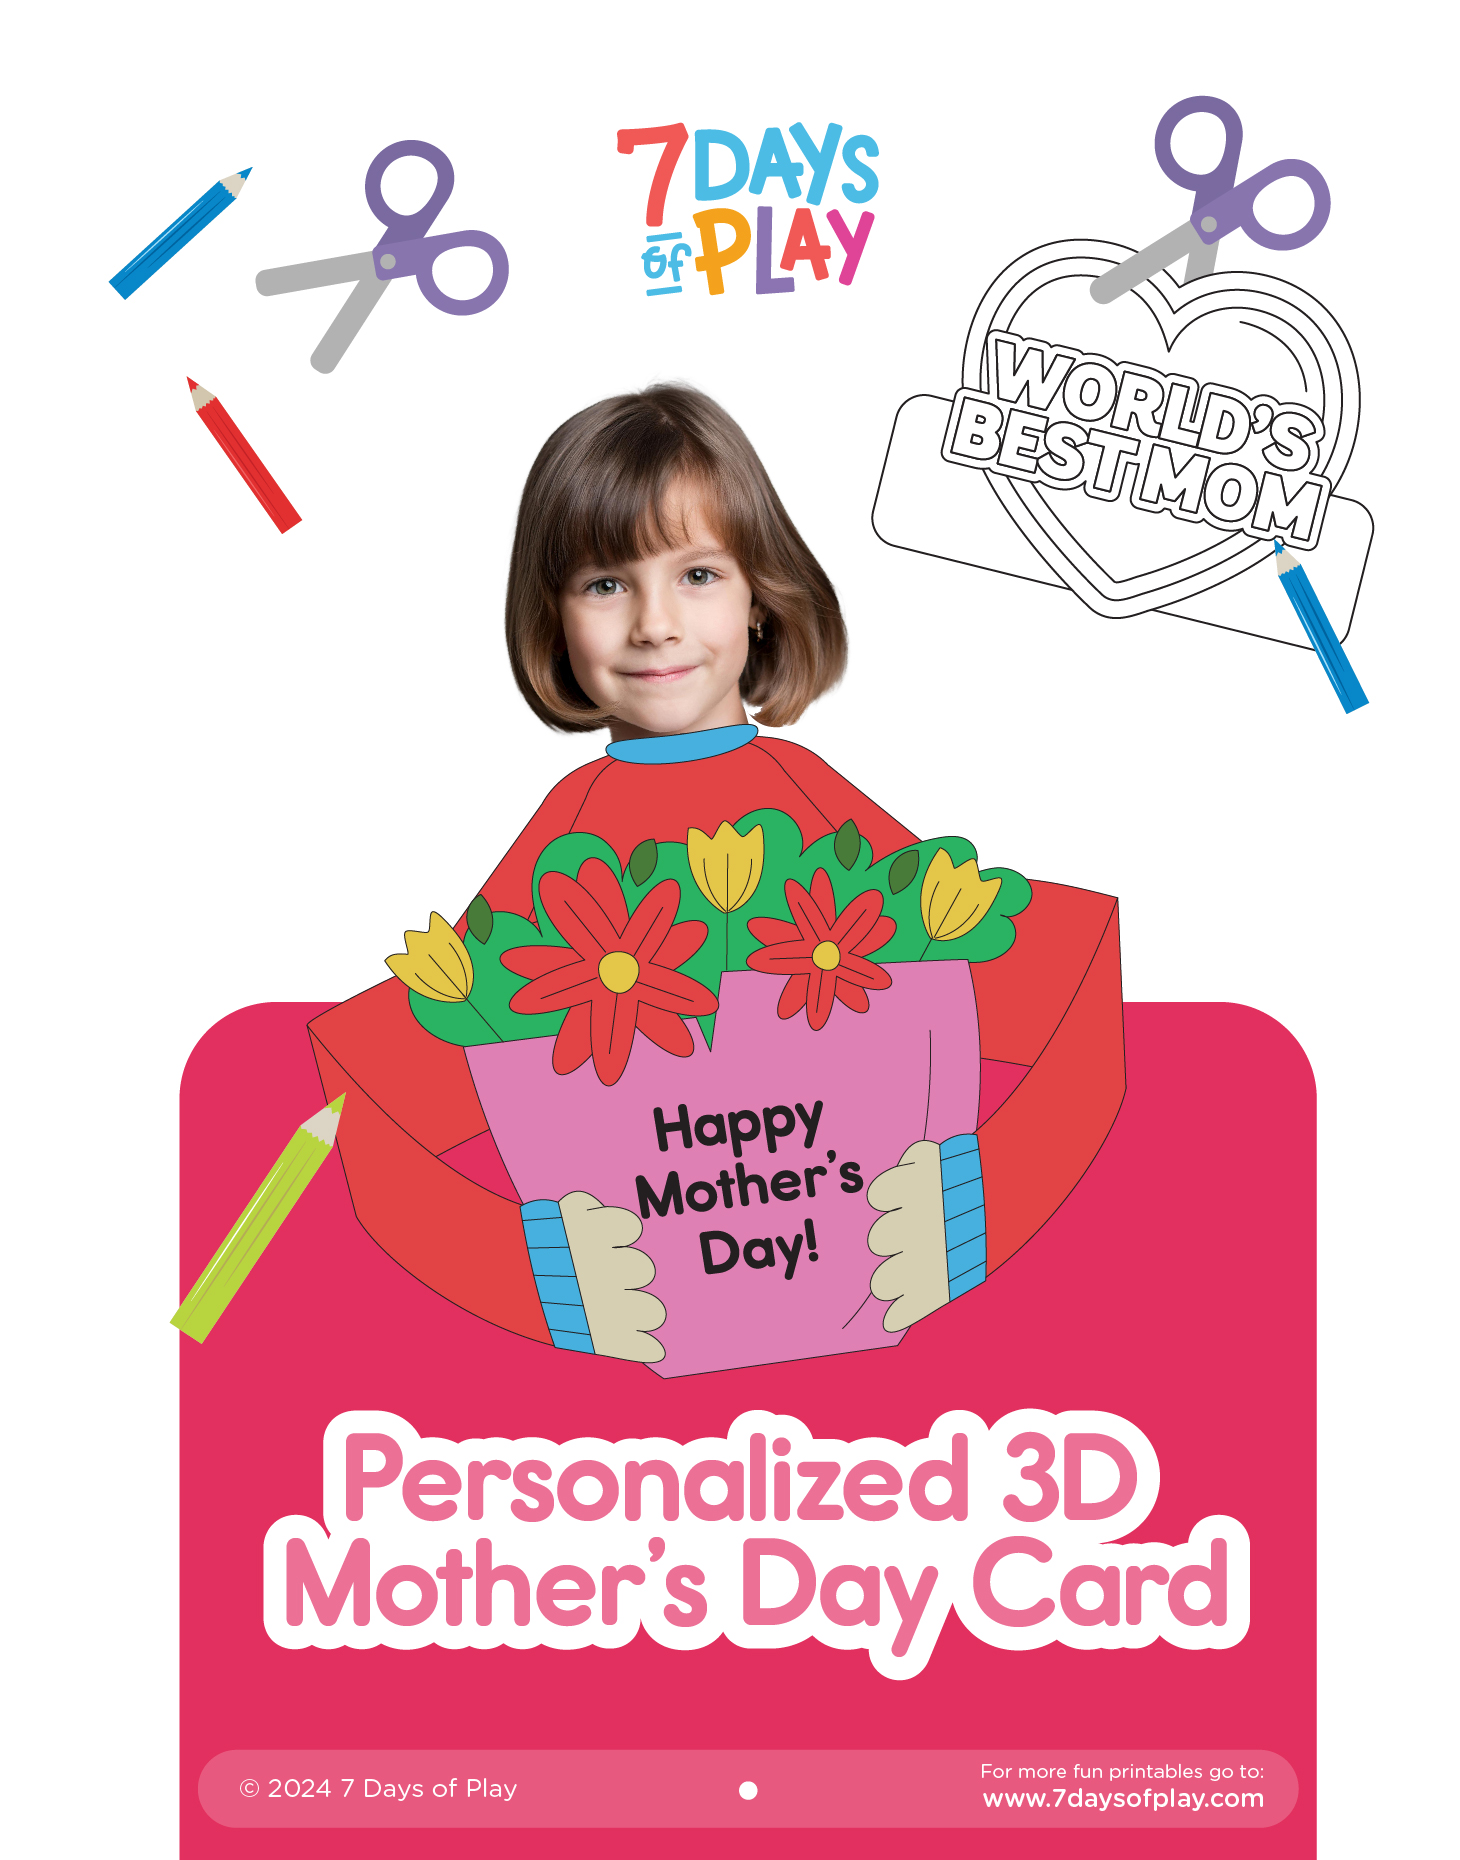
Personalized 3D Mother’s Day Card - Printable
Personalized 3D Mother’s Day Card

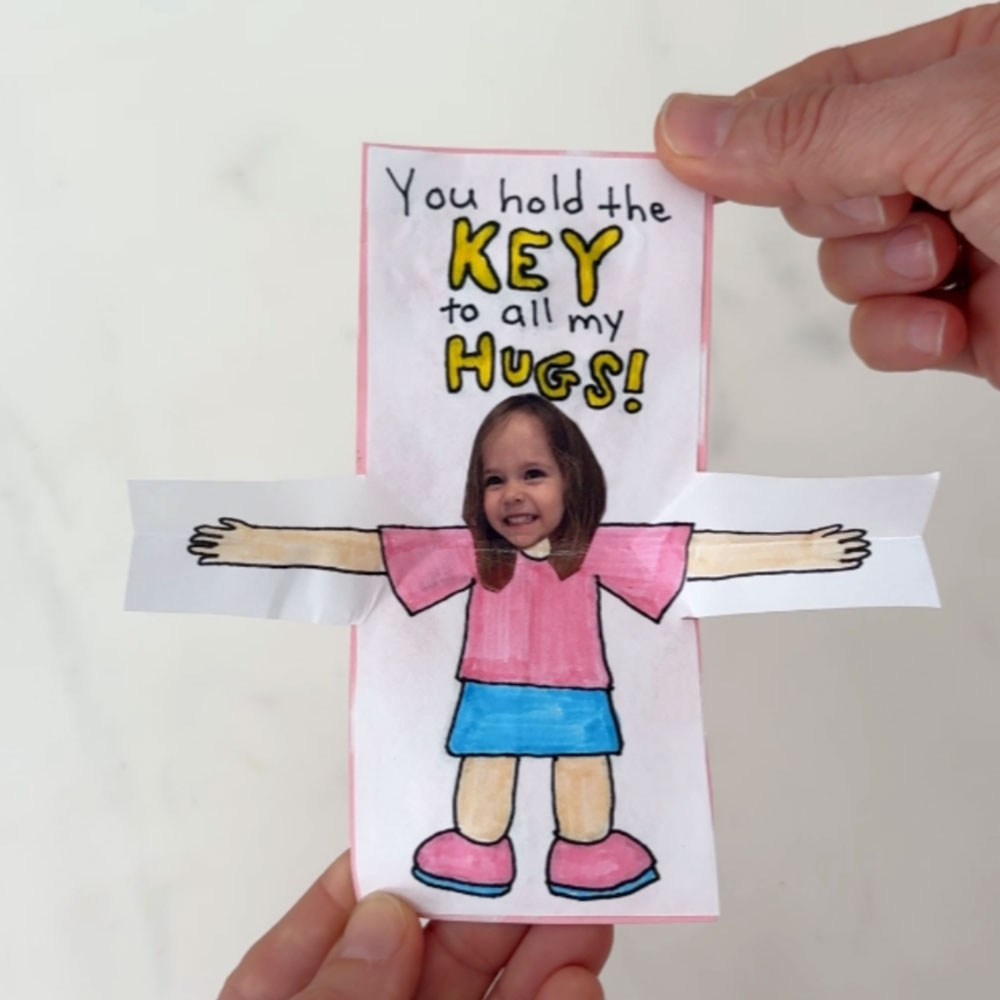
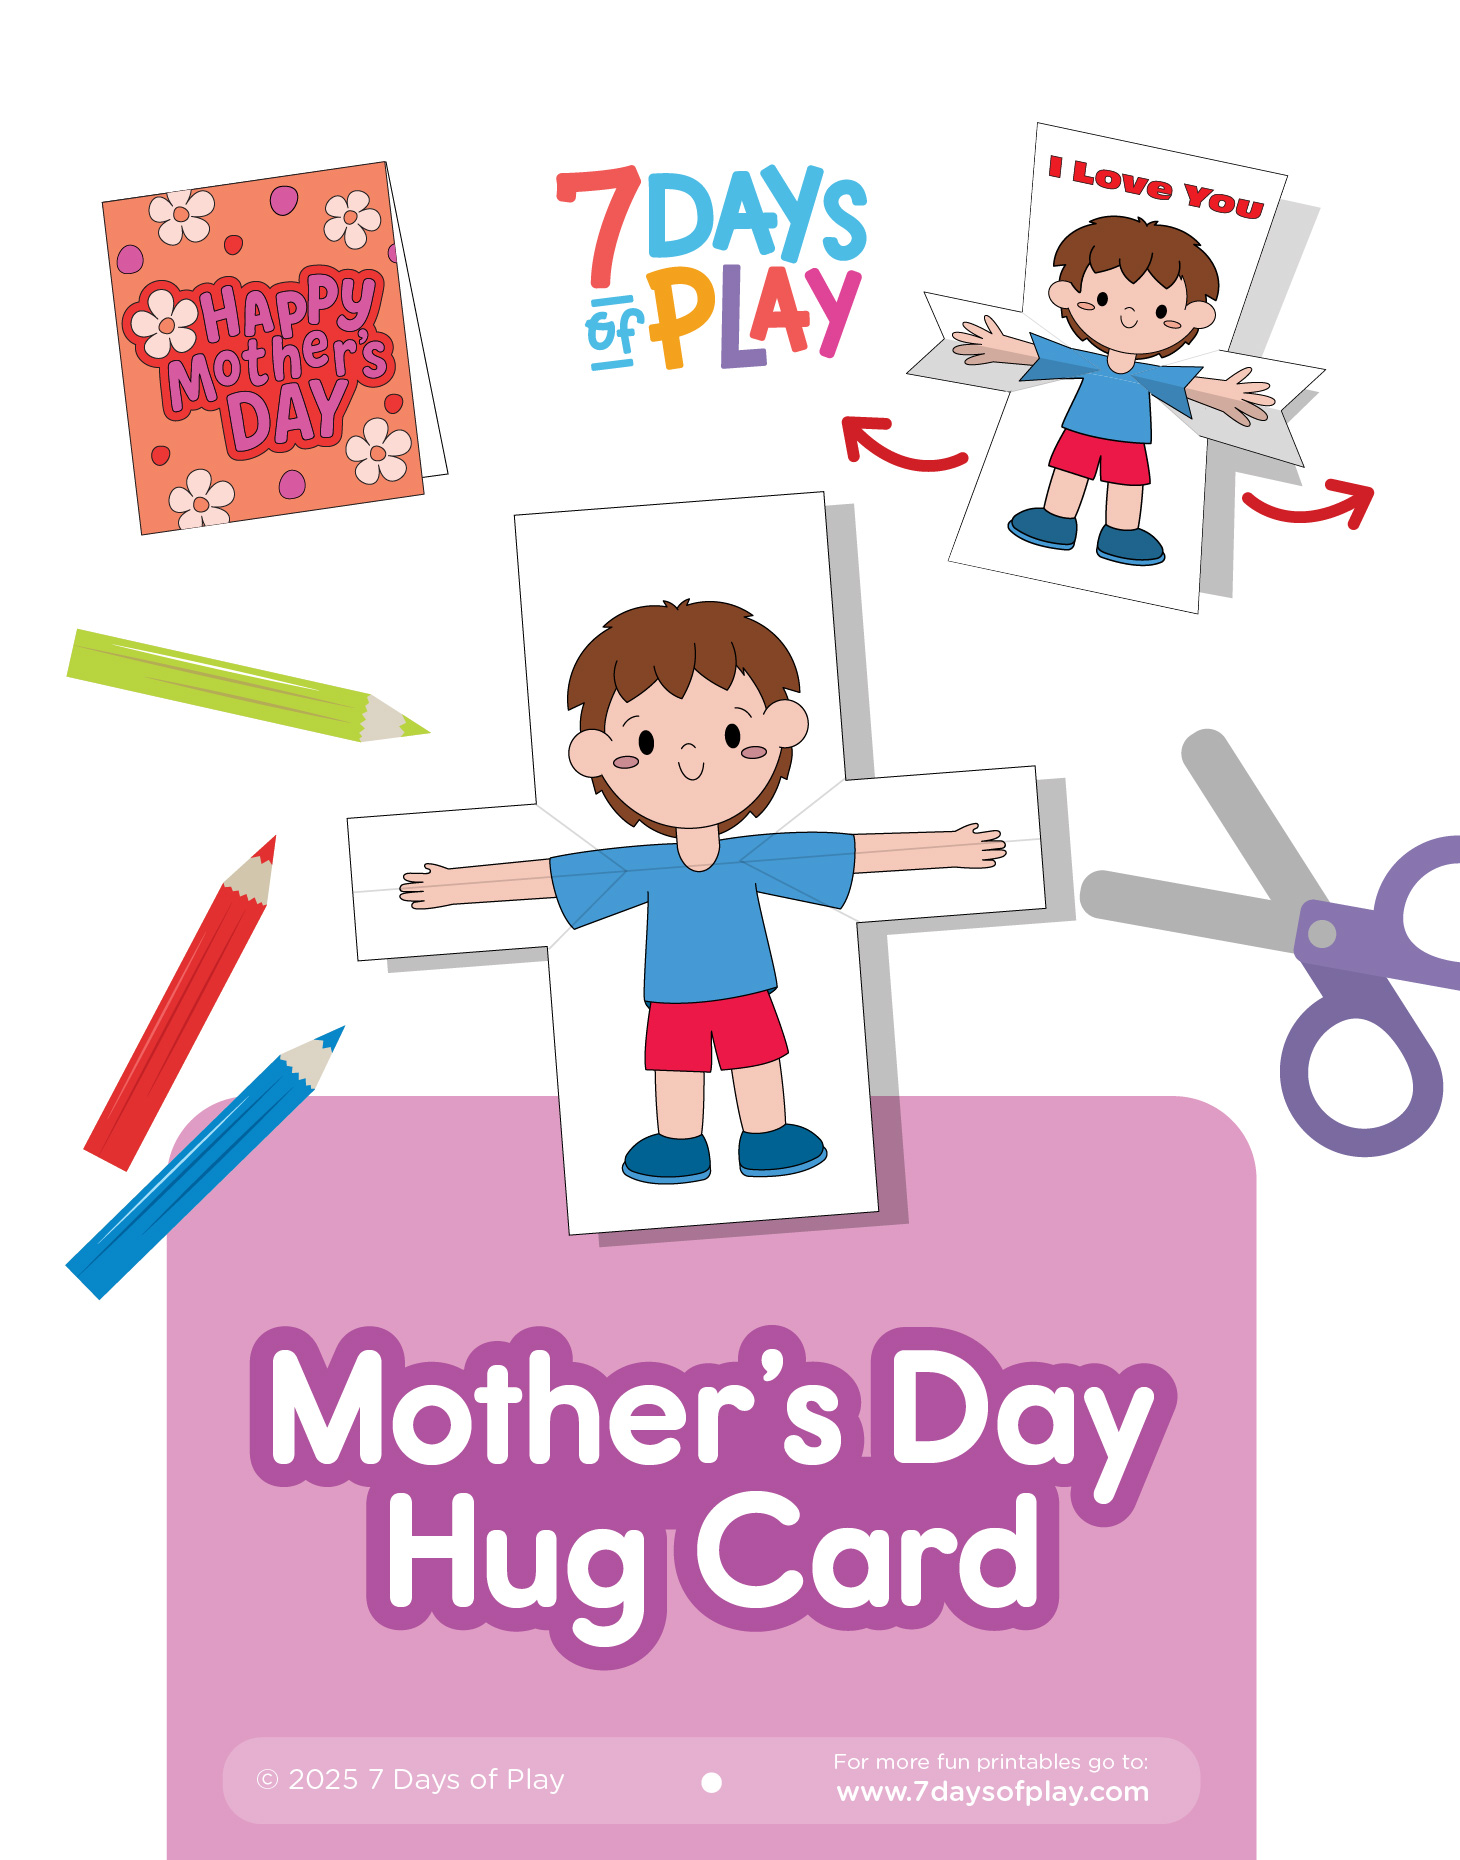
Mother’s Day Hug Card - Printabl
Mother’s Day Hug Card

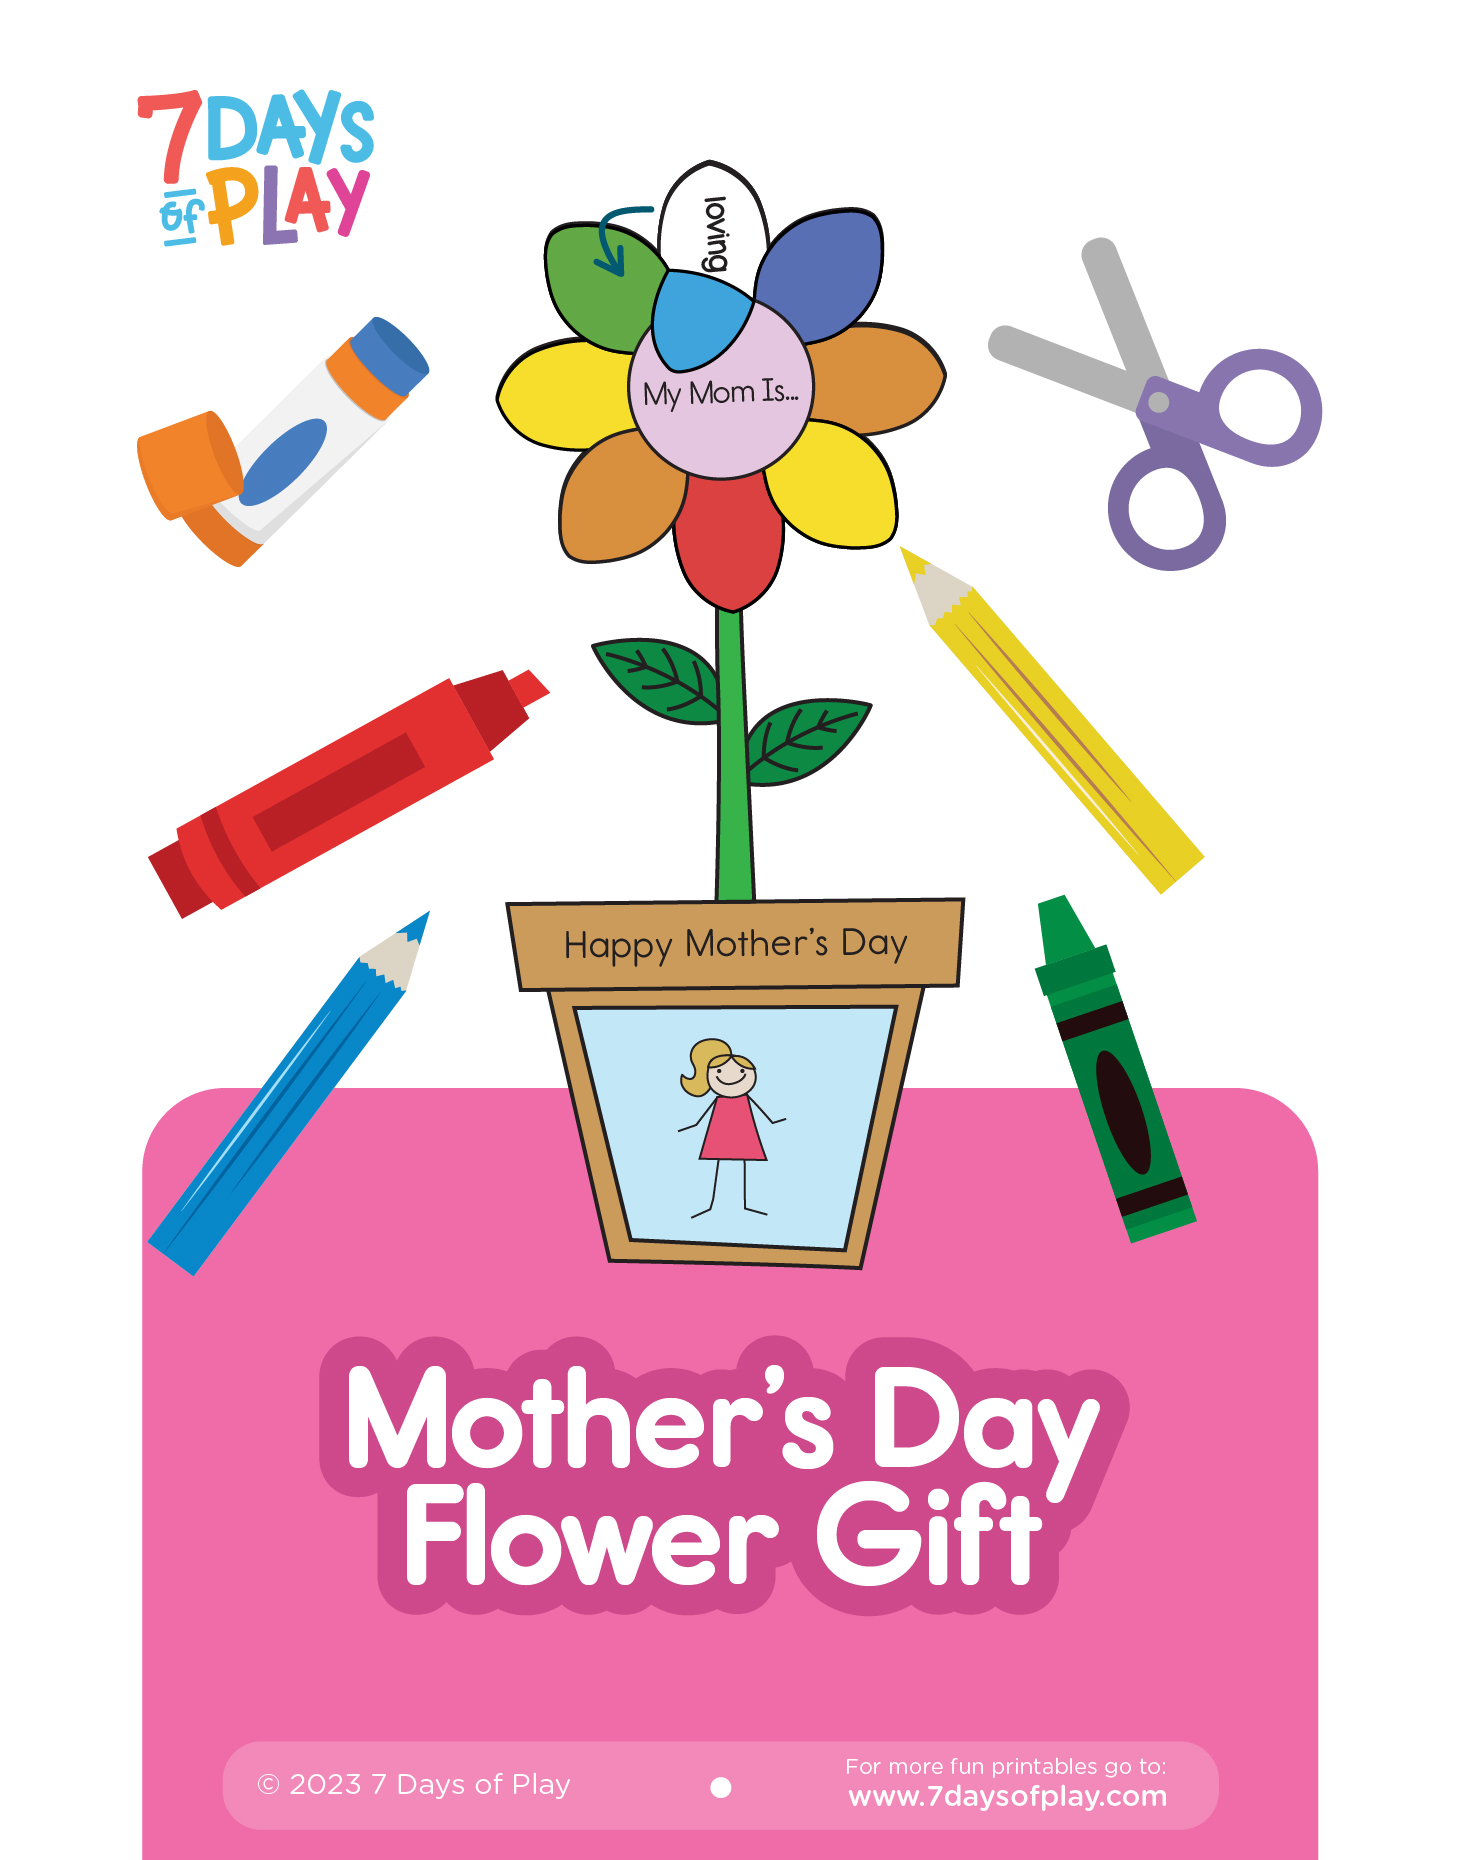
Mother’s Day Flower Gift - Printable
Mother’s Day Flower Gift

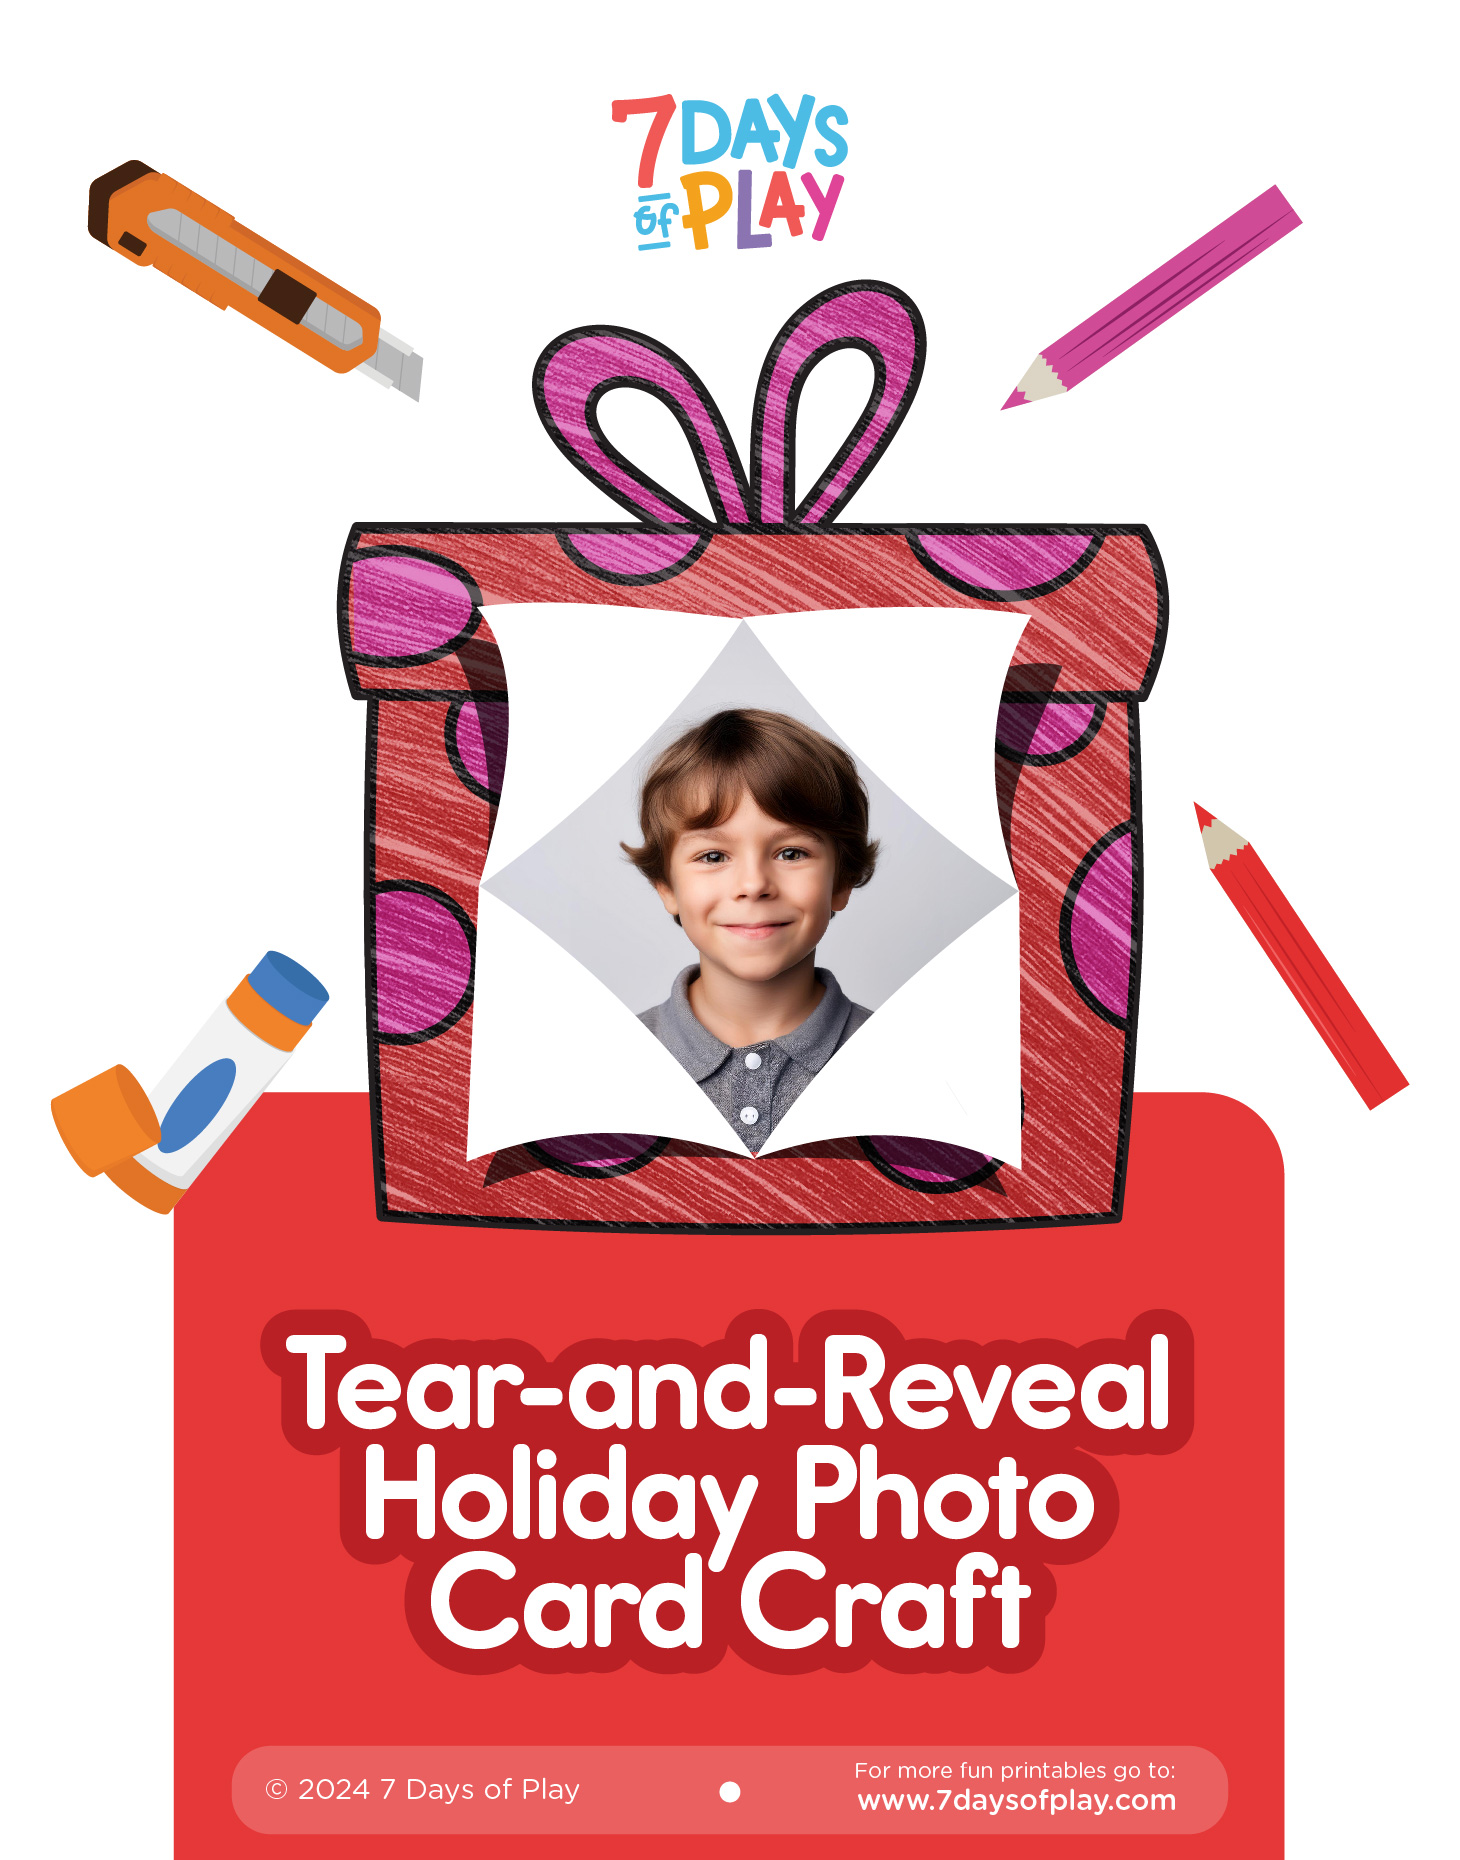
Tear-and-Reveal Holiday Photo - Printable

Tear-and-Reveal Personalized Card

Cards with threading - Printable

Thread-a-Shape Card!

Make It, Gift It, Love It!

Your handprint flower keychain is now ready to brighten someone’s day! Whether you make this craft for Mother’s Day, a birthday, or just because, it’s sure to become a treasured keepsake. Be sure to check out my favorite shrink art plastic and pens linked above for the best results—and let me know in the comments if you have any questions or want to share your own creative spin!
shrinky dink handprint flower mother's day

Make It, Gift It, Love It!

Your handprint flower keychain is now ready to brighten someone’s day! Whether you make this craft for Mother’s Day, a birthday, or just because, it’s sure to become a treasured keepsake. Be sure to check out my favorite shrink art plastic and pens linked above for the best results—and let me know in the comments if you have any questions or want to share your own creative spin!
What’s Next?

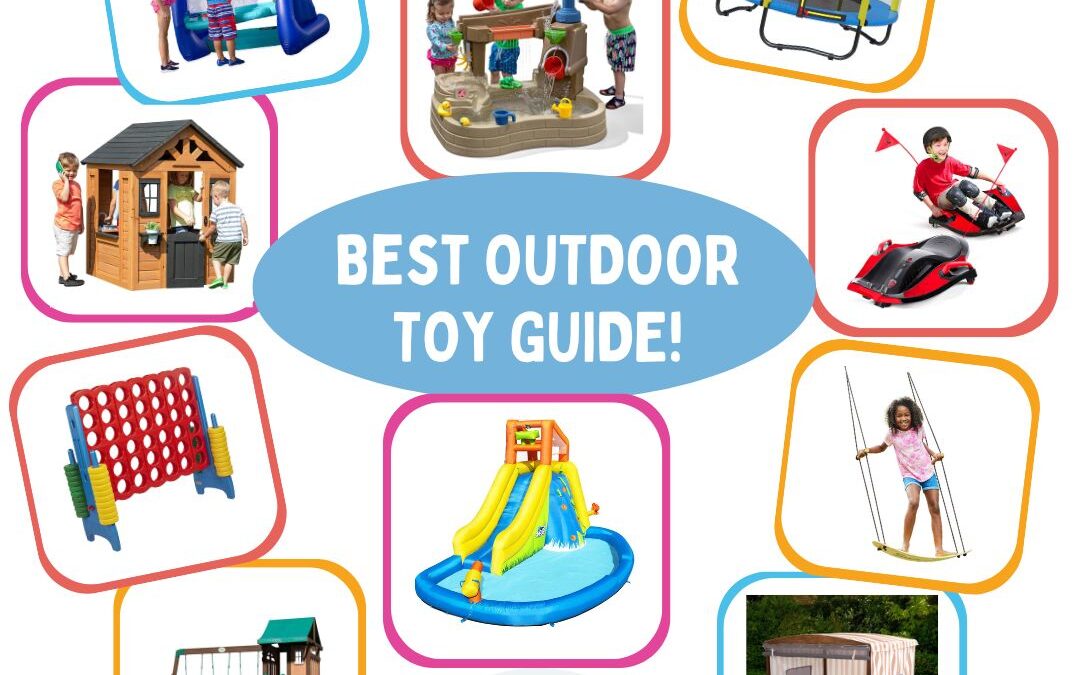
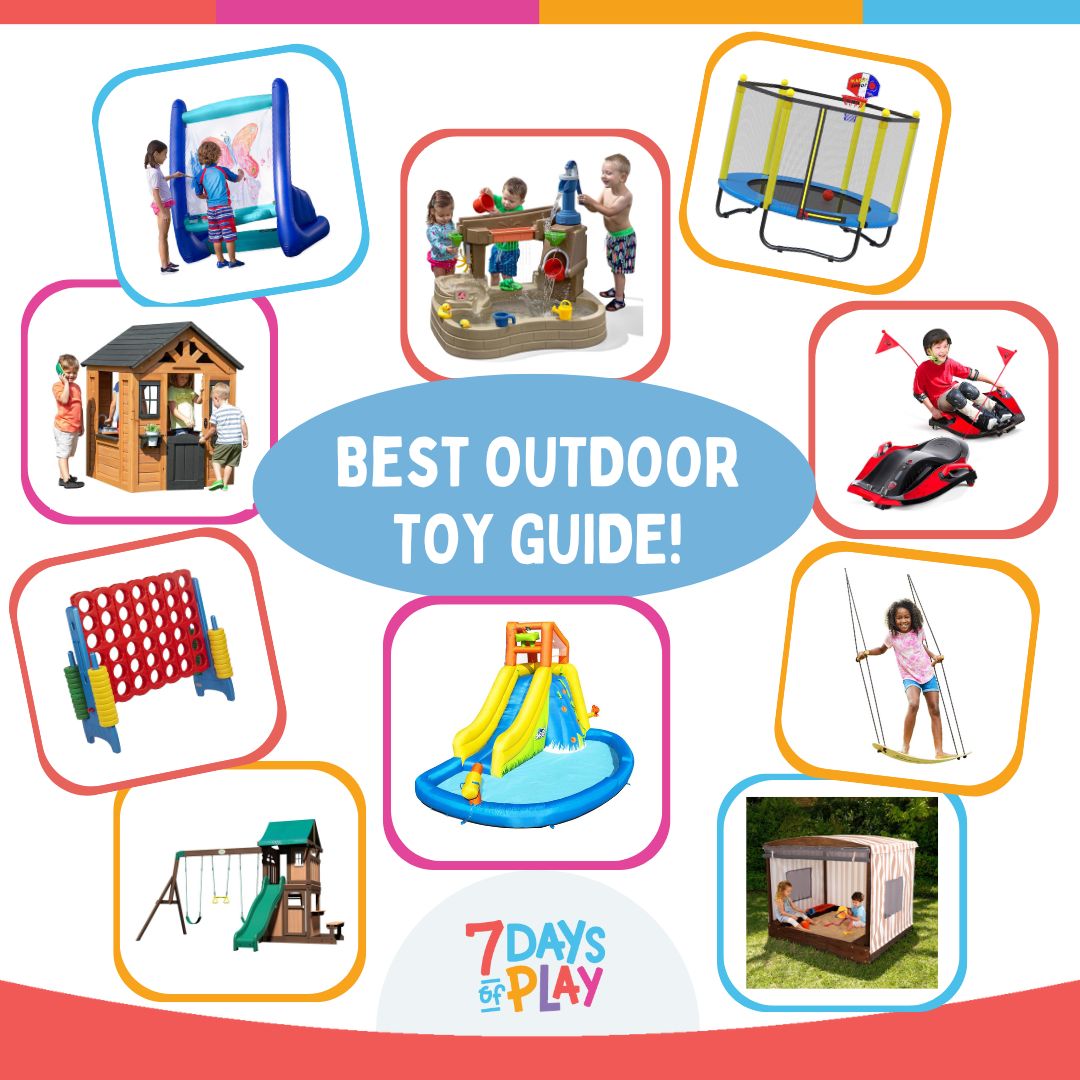
The Best Fun Outdoor Toys for Kids in 2025

The Best Fun Outdoor Toys for Kids in 2025

The Best Fun Outdoor Toys for Kids in 2025

best fun outdoor toys for kids guide

Explore fun outdoor toys for kids in 2025! From sandboxes to water toys, bikes, games, and more. Keep your kids entertained all year long!
Your Guide to Fun Outdoor Toys for Kids!

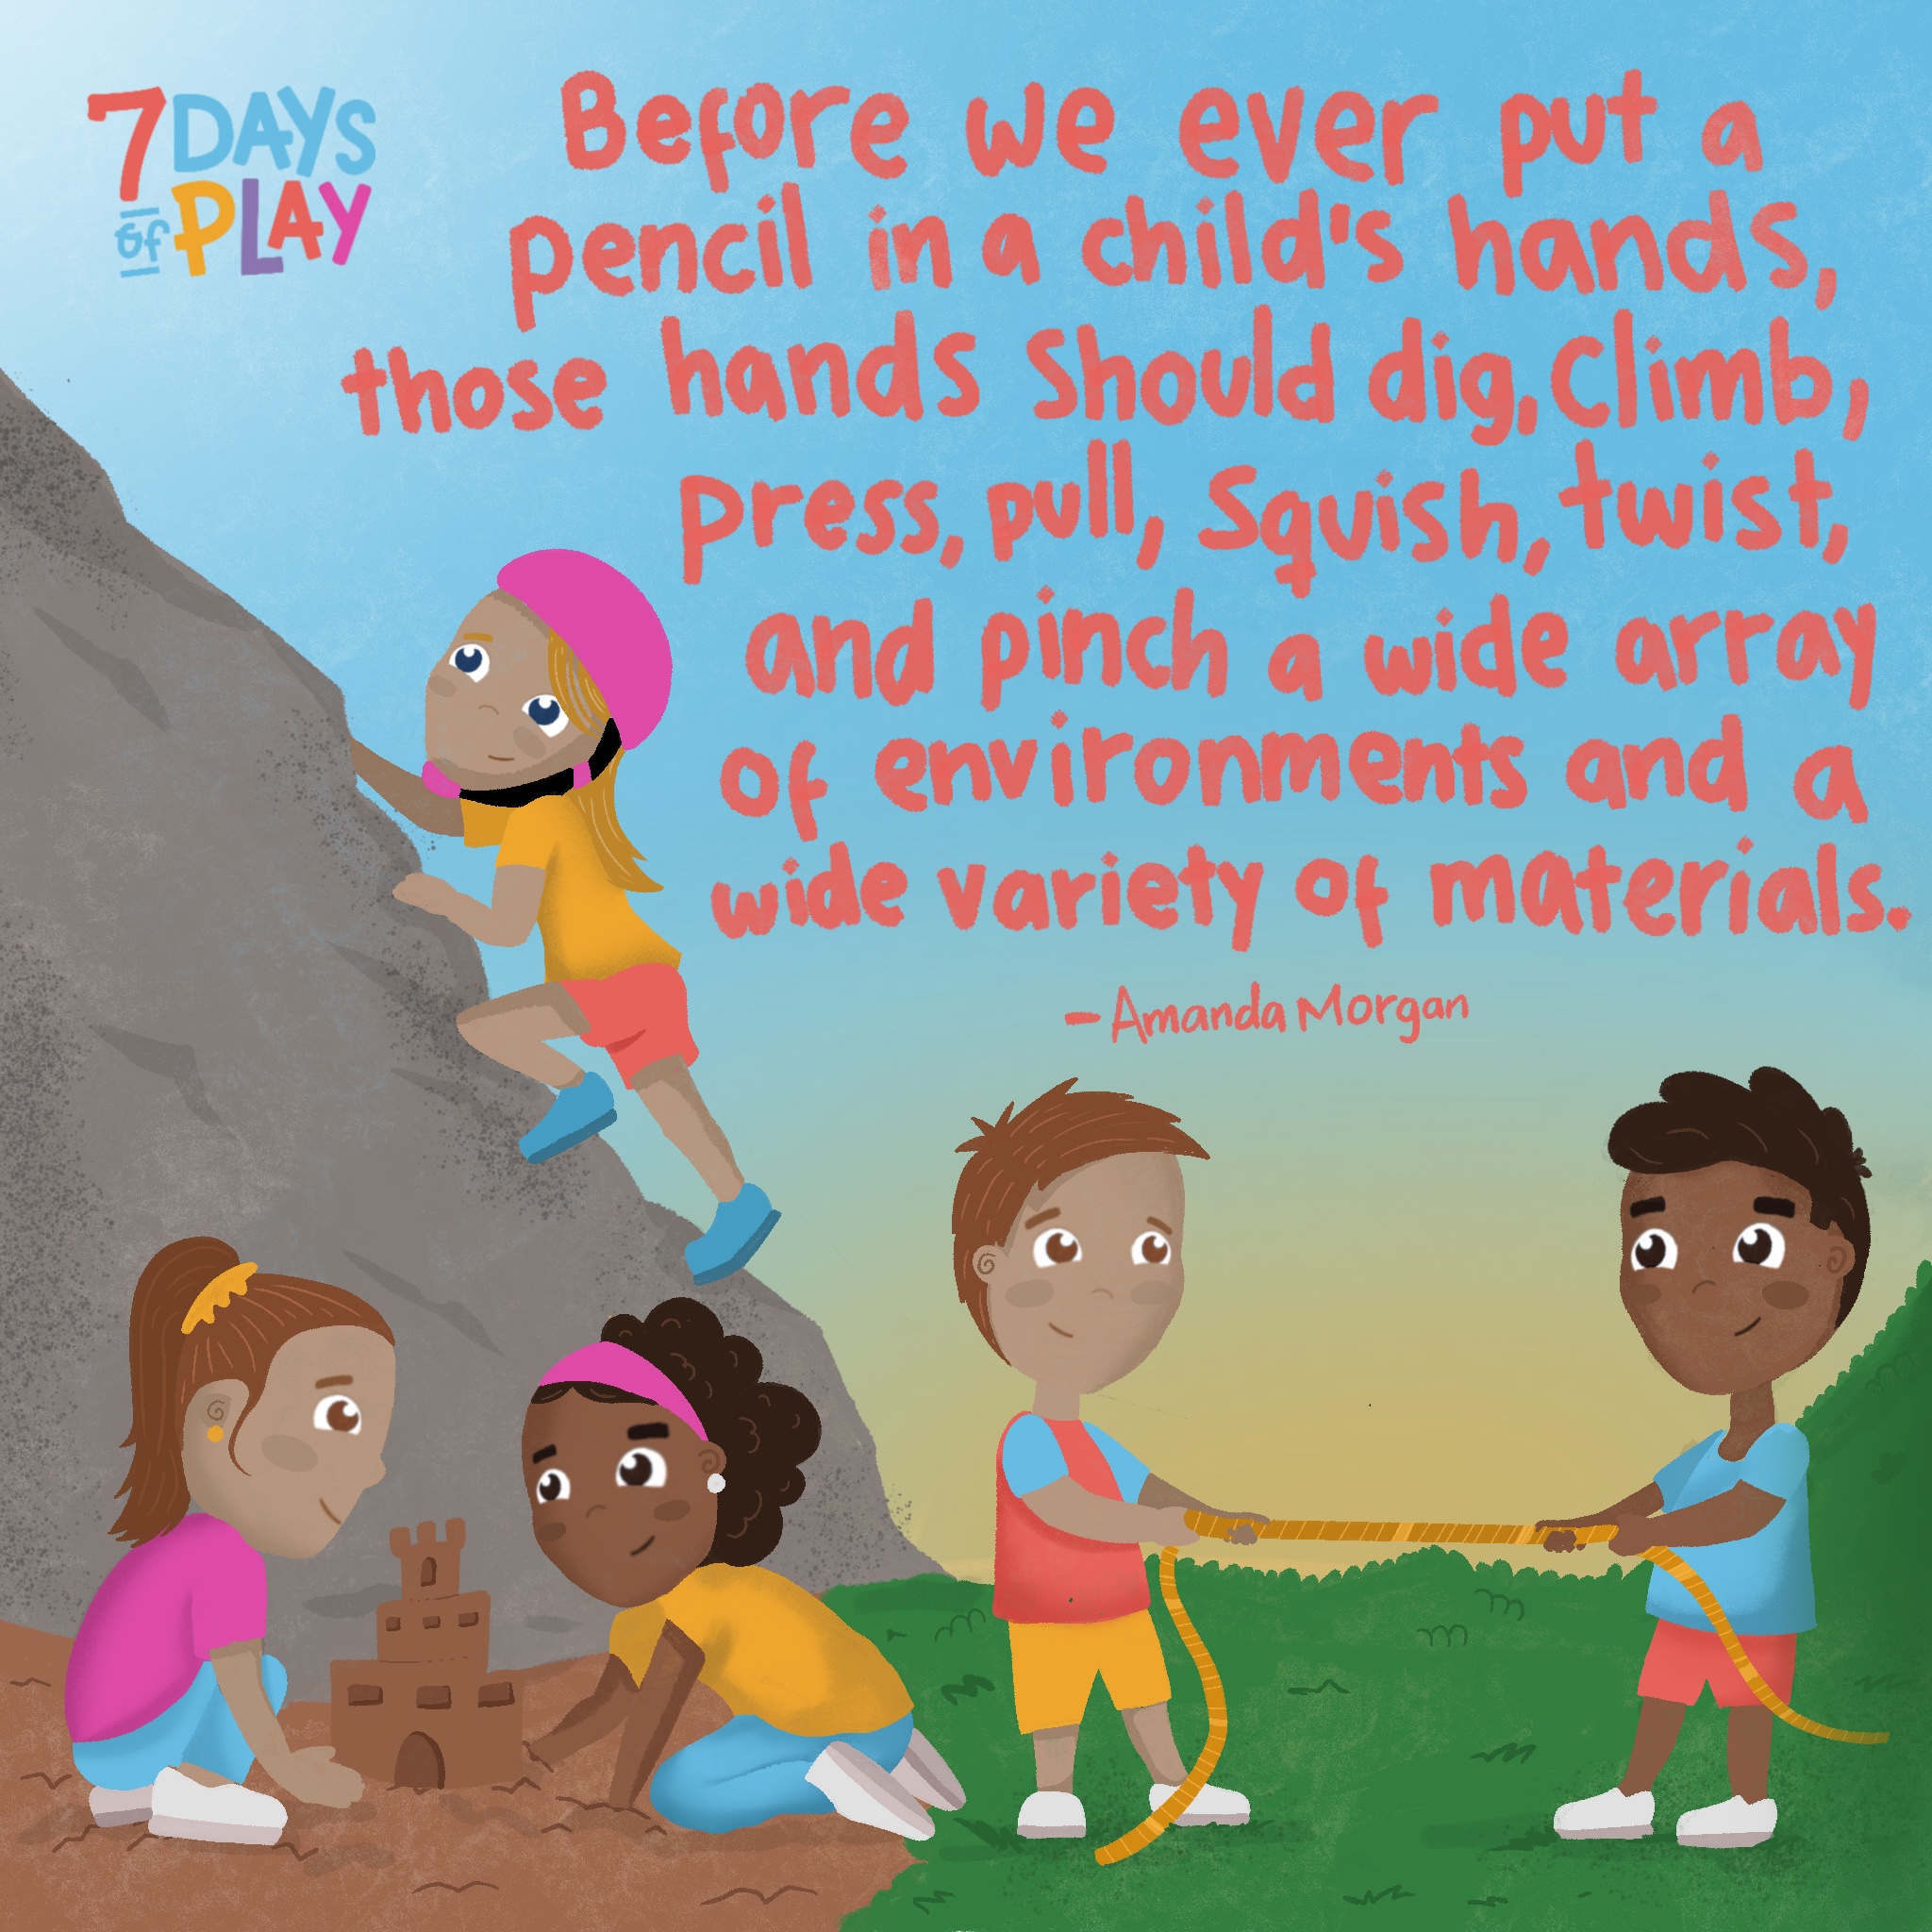
Outdoor play is not just a pastime for children; it’s an essential component of their development. The great outdoors offers a vast playground where kids can explore, learn, and grow in ways that indoor activities simply cannot replicate. From improving physical health and motor skills to fostering creativity, social skills, and resilience, the benefits of outdoor play are numerous.

Our curated list encompasses a diverse range of toys that encourage active engagement, imaginative exploration, and endless fun in the fresh air. Whether it’s splashing in water, building sandcastles, zooming around on bikes, or engaging in classic outdoor games, these toys are designed to spark joy and enrich children’s outdoor experiences.

All toys and activities should be supervised by an adult. As an Amazon Associate, I earn from qualifying purchases. This post may contain affiliate links.

For the Water and Sand Lovers!

Dive into a world of aquatic and sandy fun in this section. From building sandcastles to splashing in water, these toys promise endless summer fun for your little ones!

best outdoor toys inflatable slide

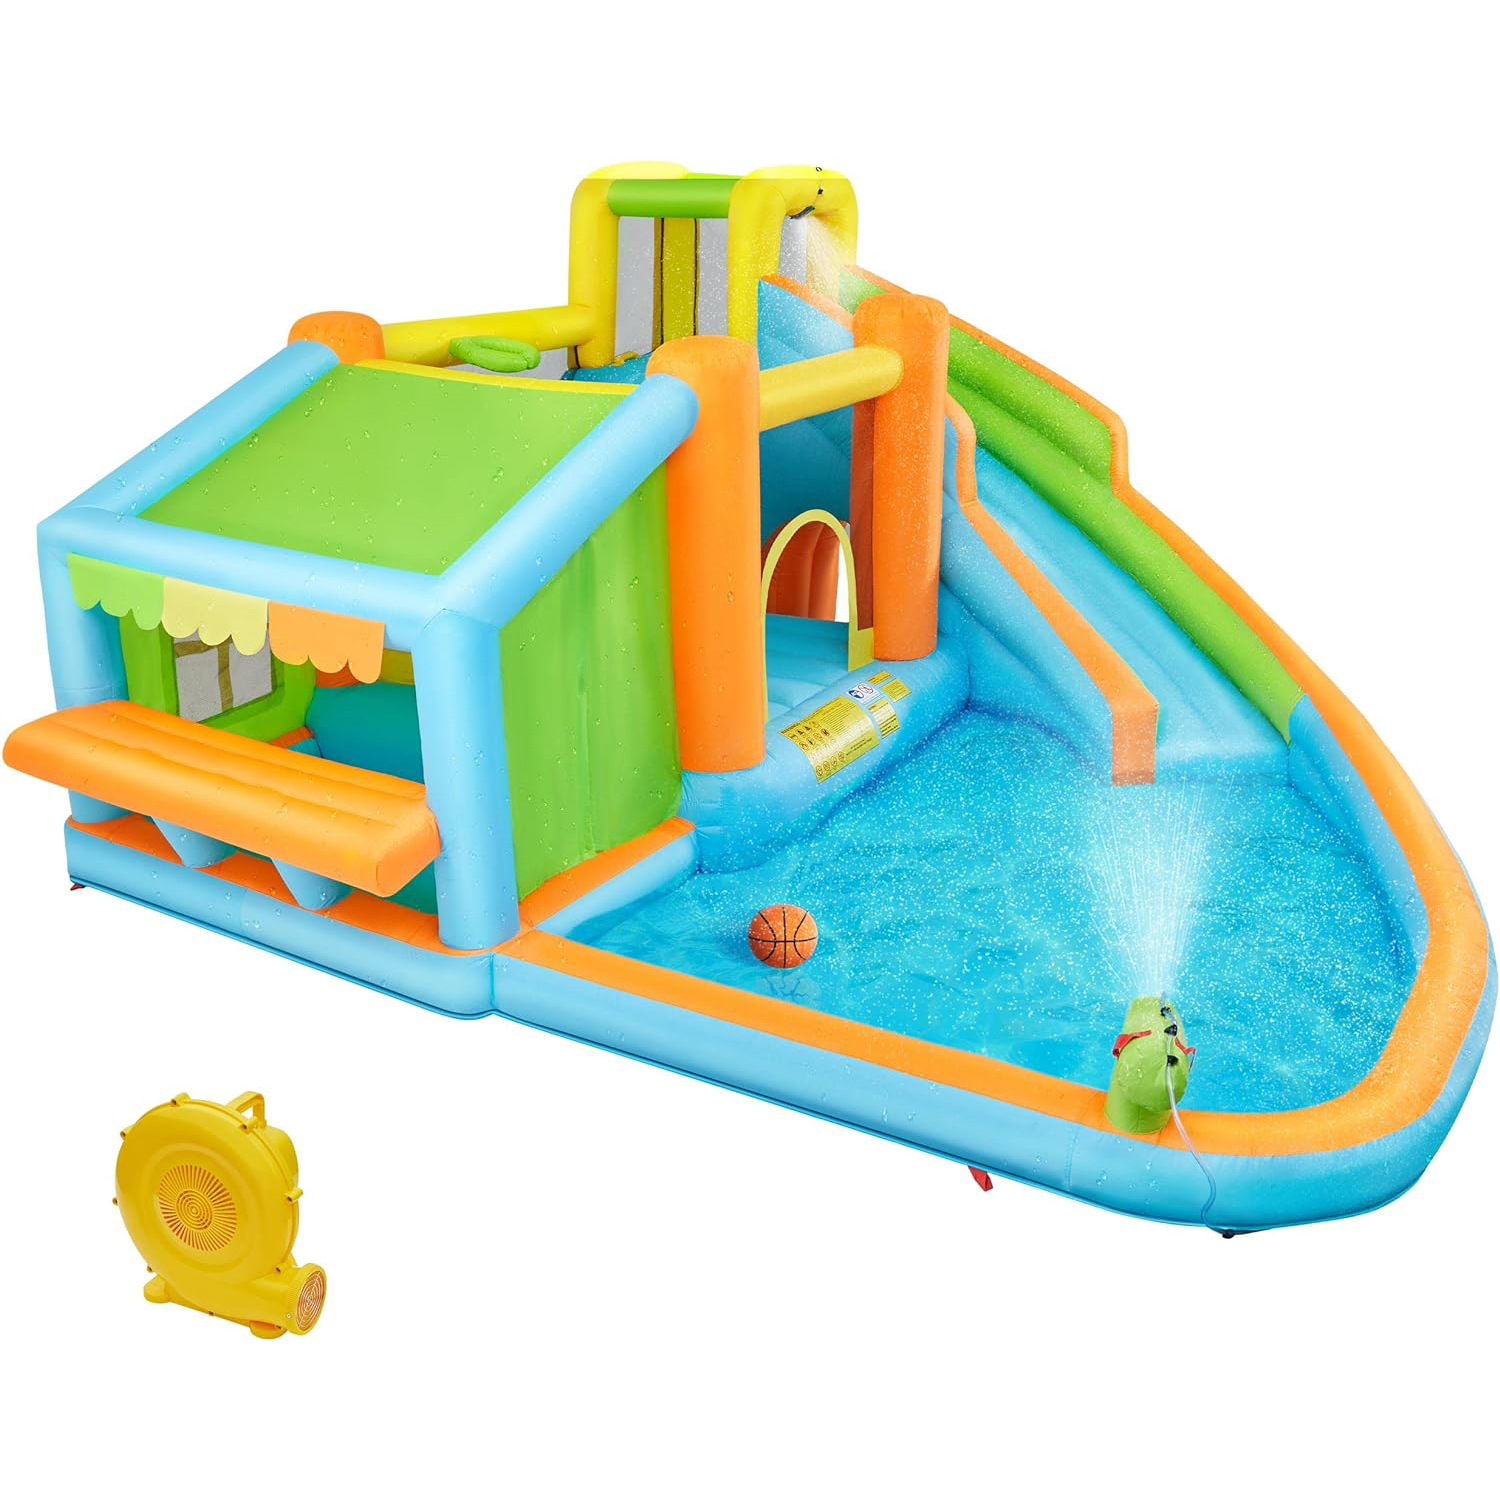
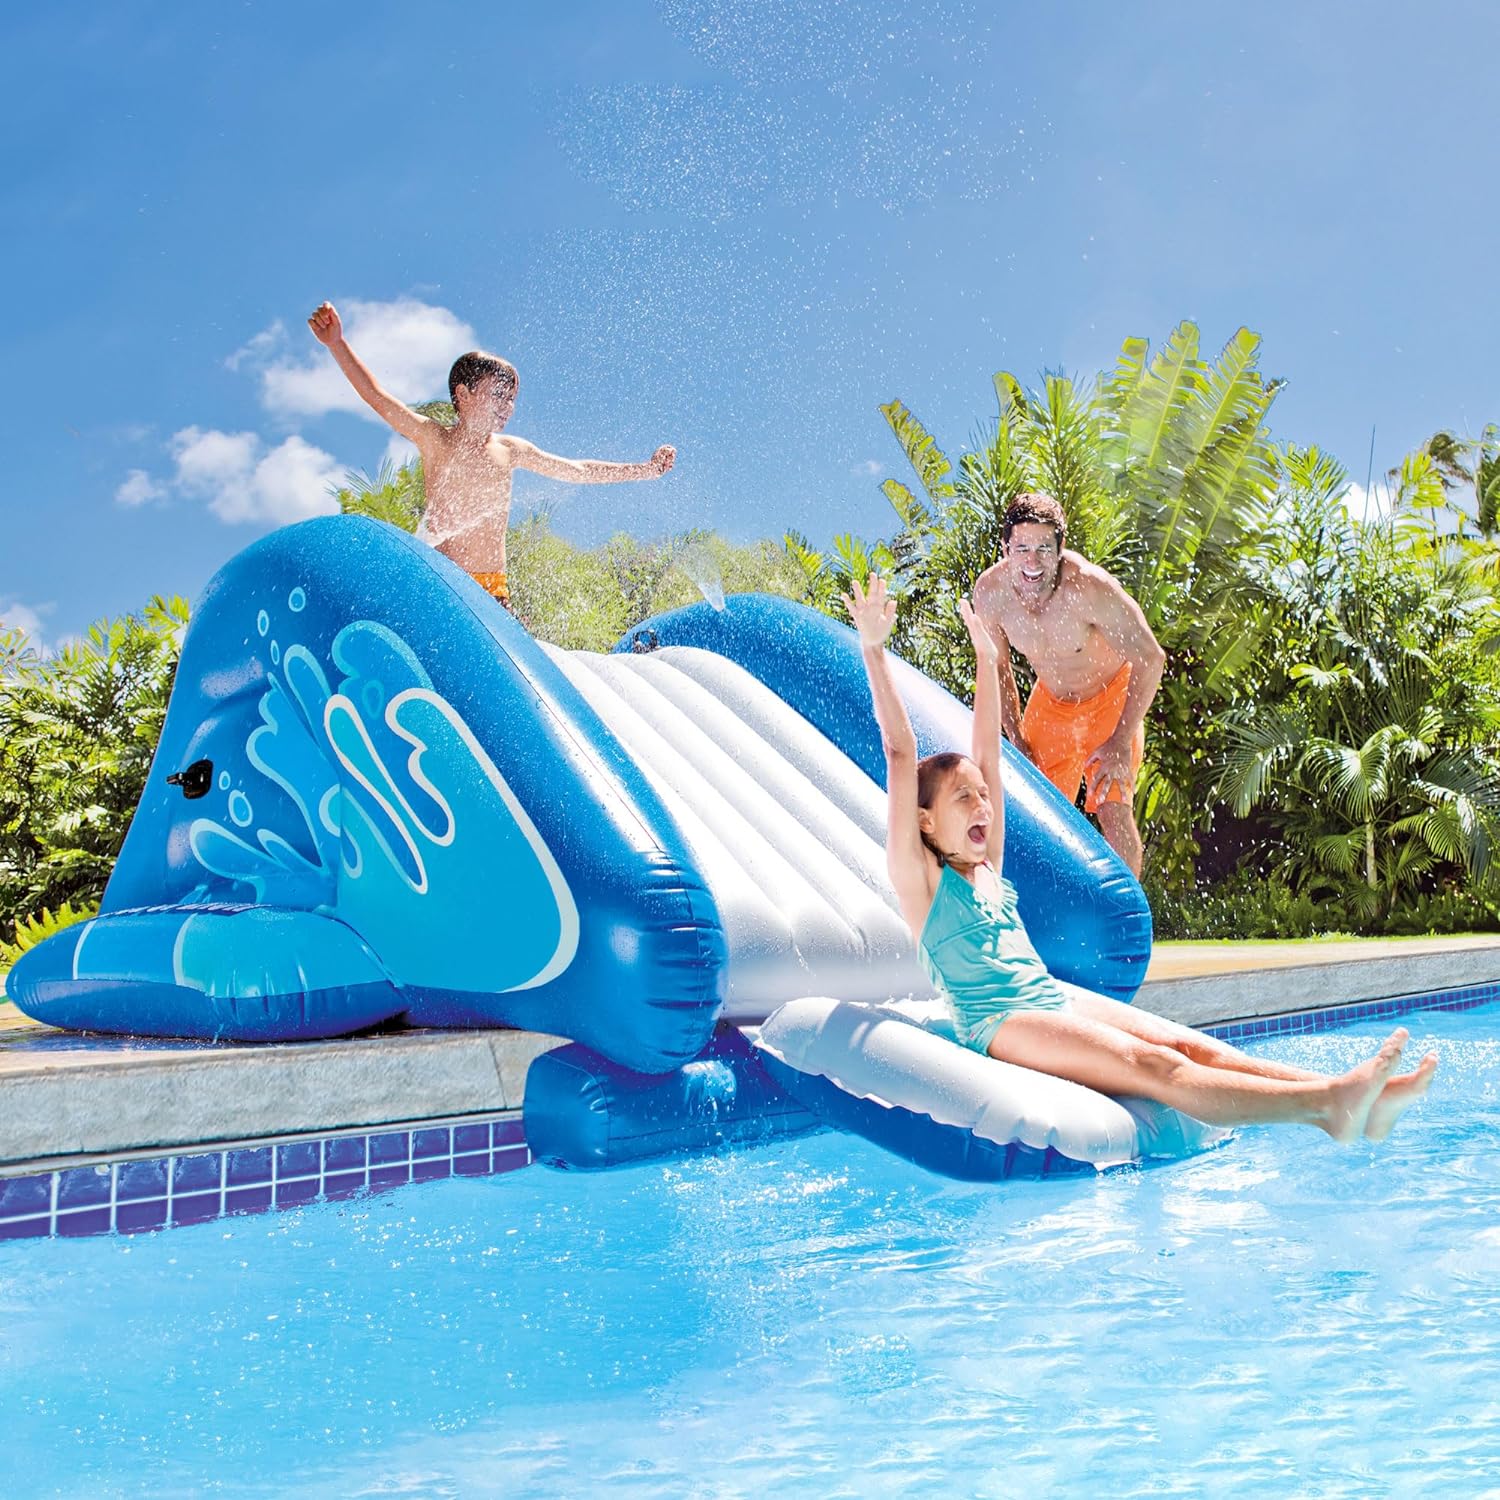
Inflatable Water Slide, Bounce House, Climbing Wall, and Pretend Market Stand Combo 

surf and slide inflatable outdoor toys

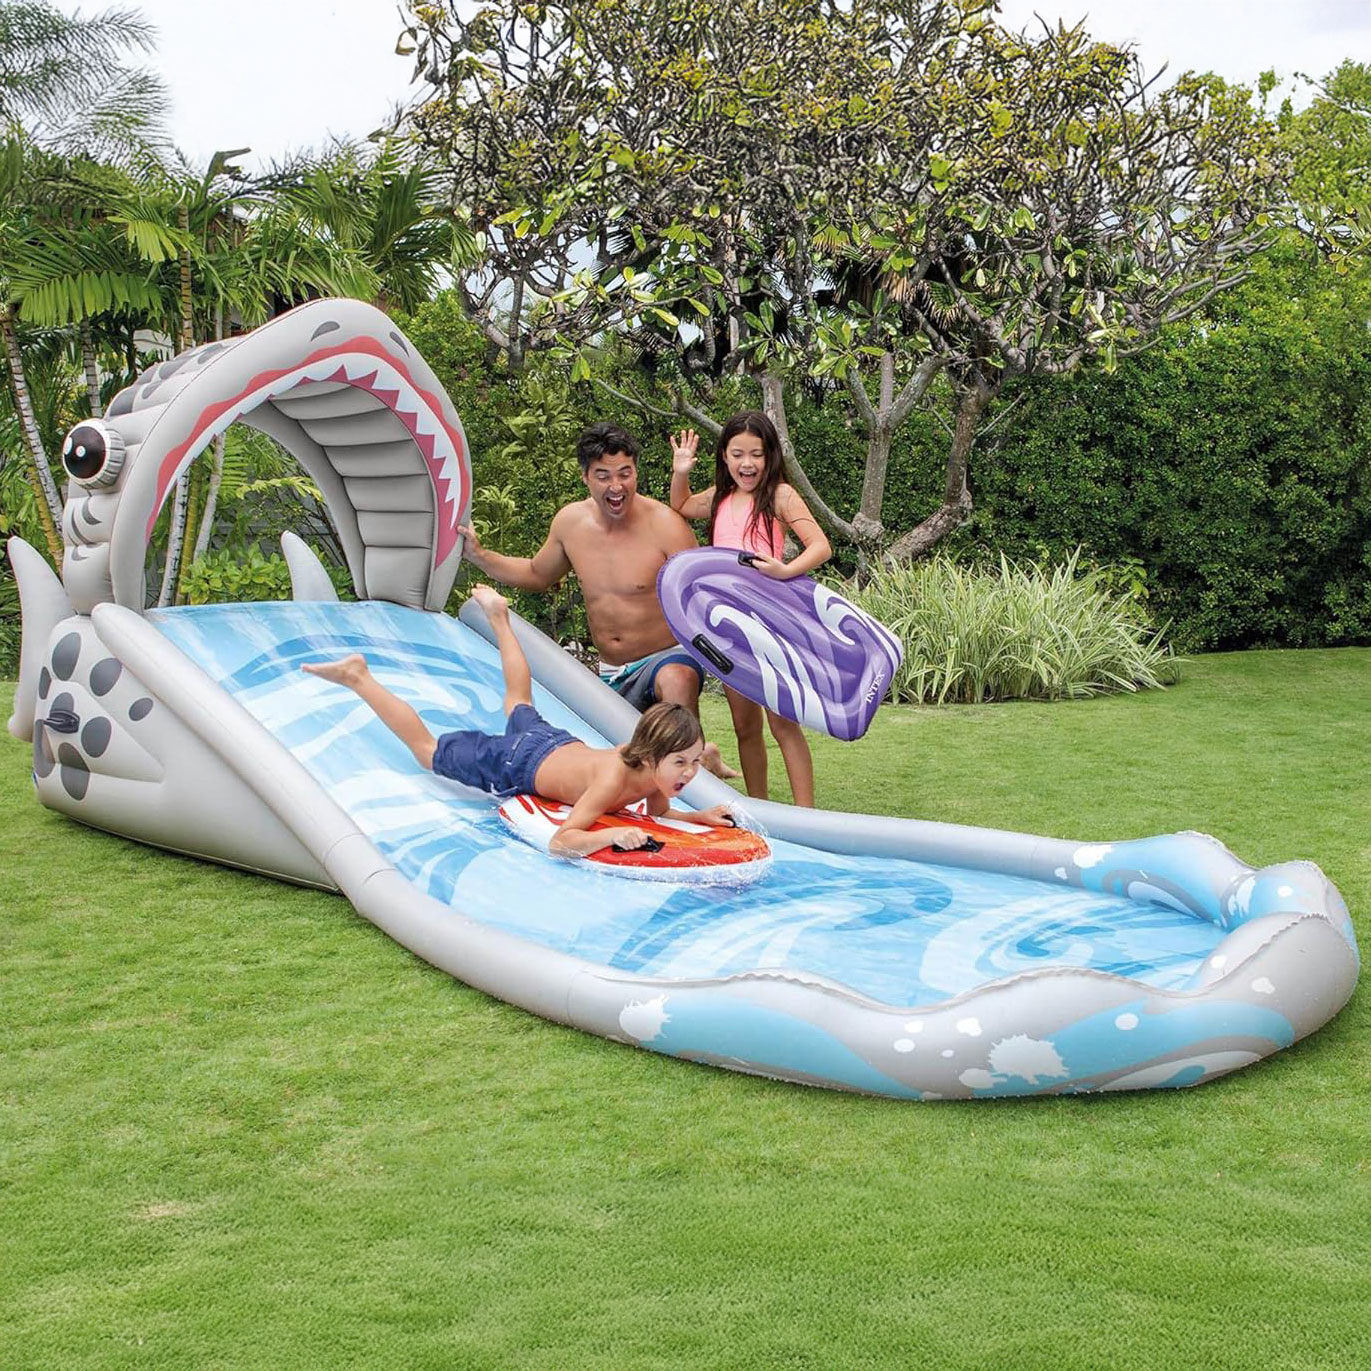
Surf and Slide

best outdoor toys inflatable water slide for toddlers

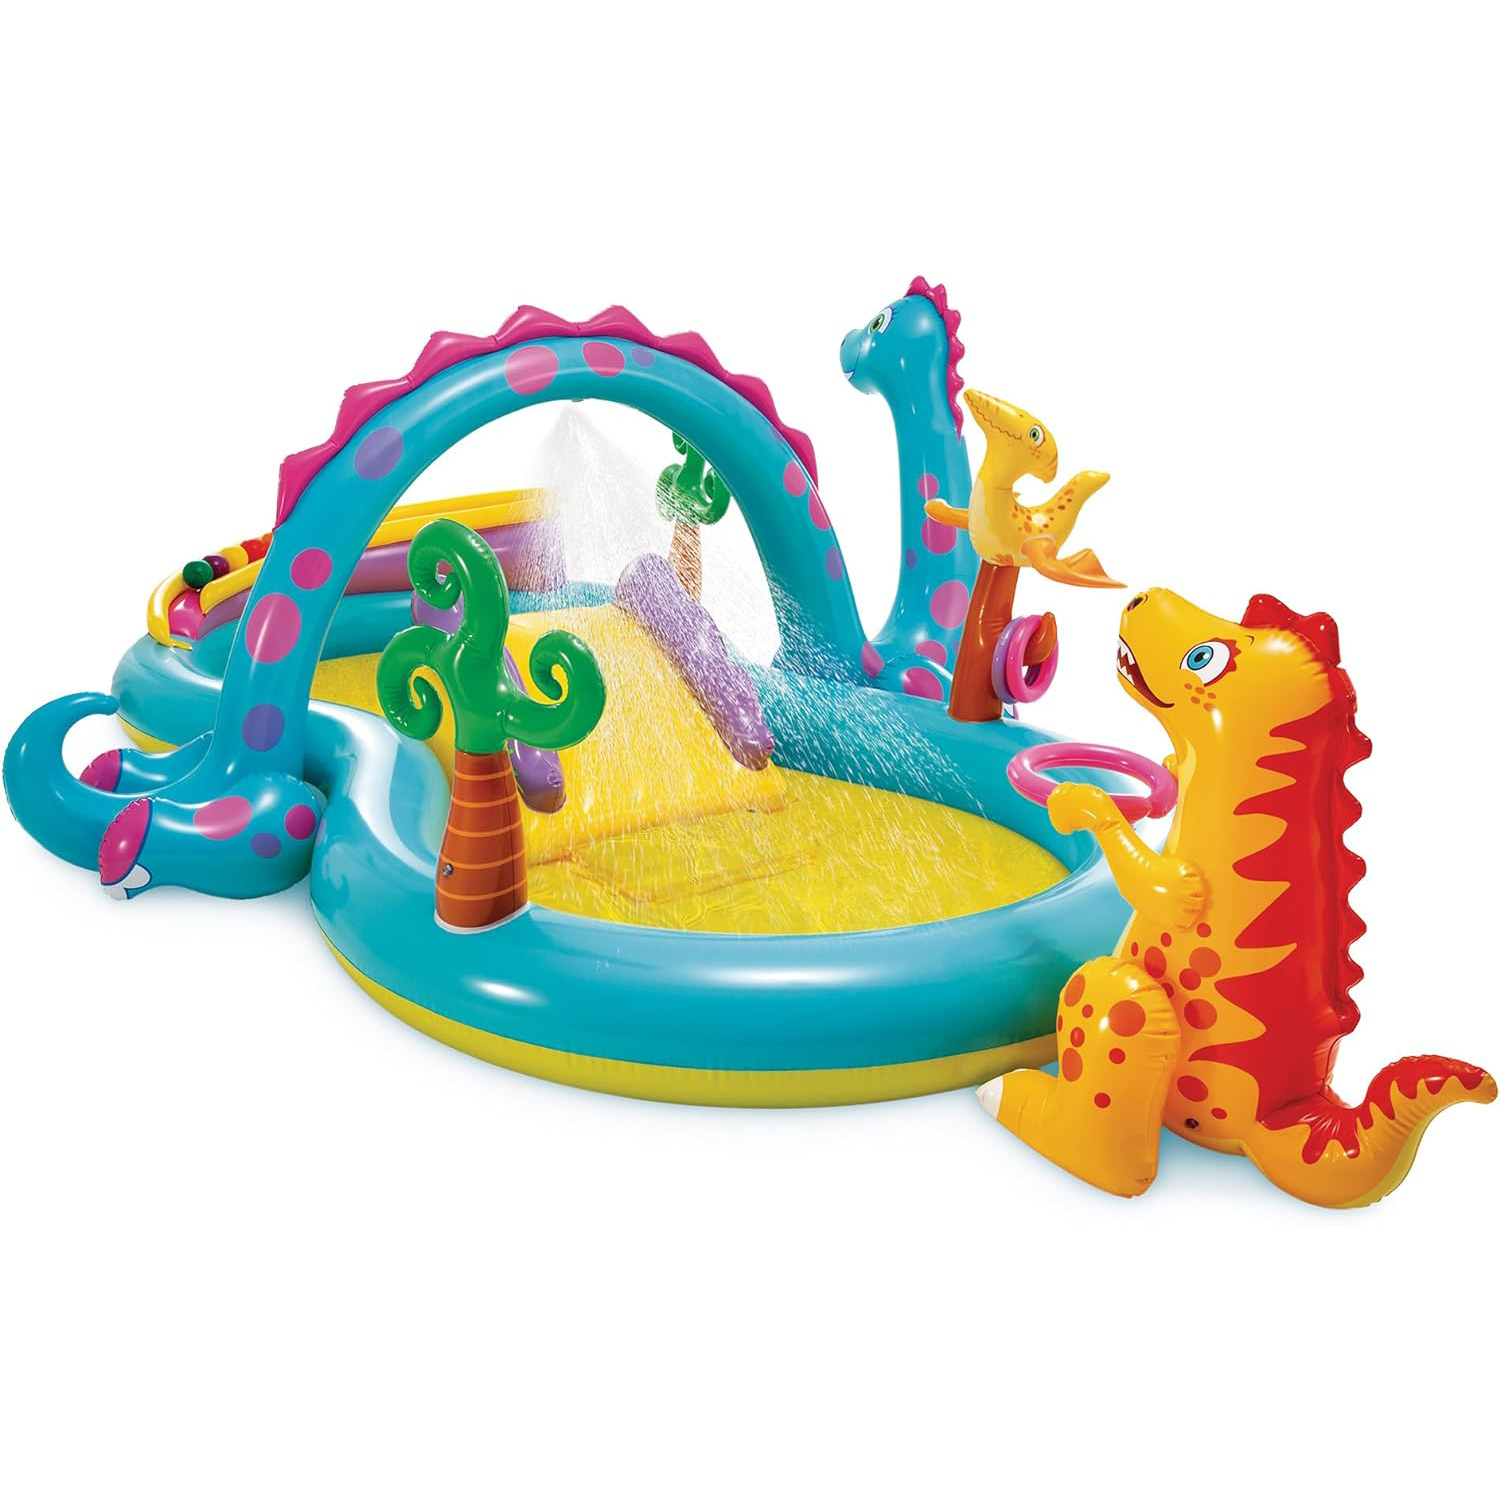
Inflatable Water Slide for Toddlers – Dinosaur Themed

fun outdoor toys for kids - water toy

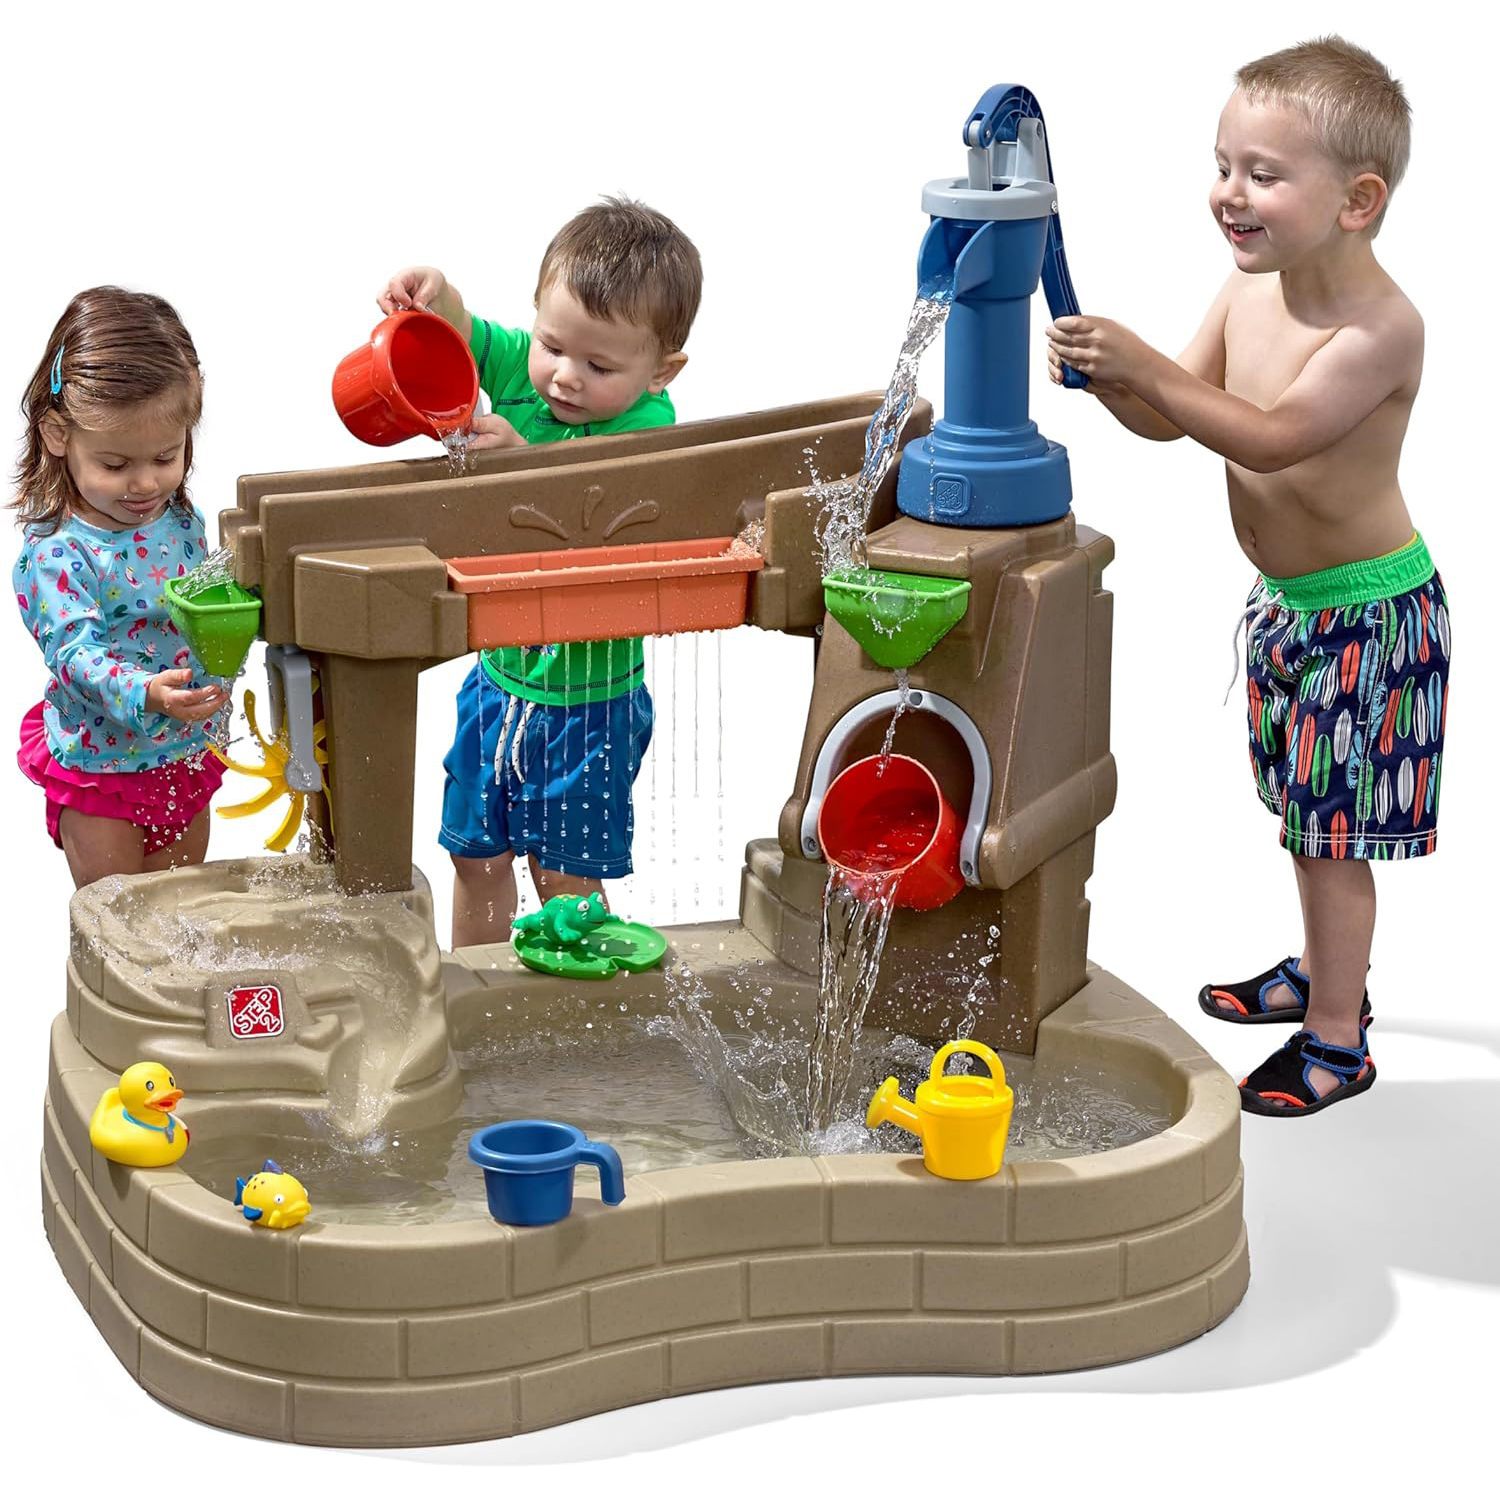
The Ultimate Water Play and Pump Toy!

water art and sand activity table chuckle and roar

Tabletop Water, Art, and Sand Activity Bin

best outdoor toys slip and slide

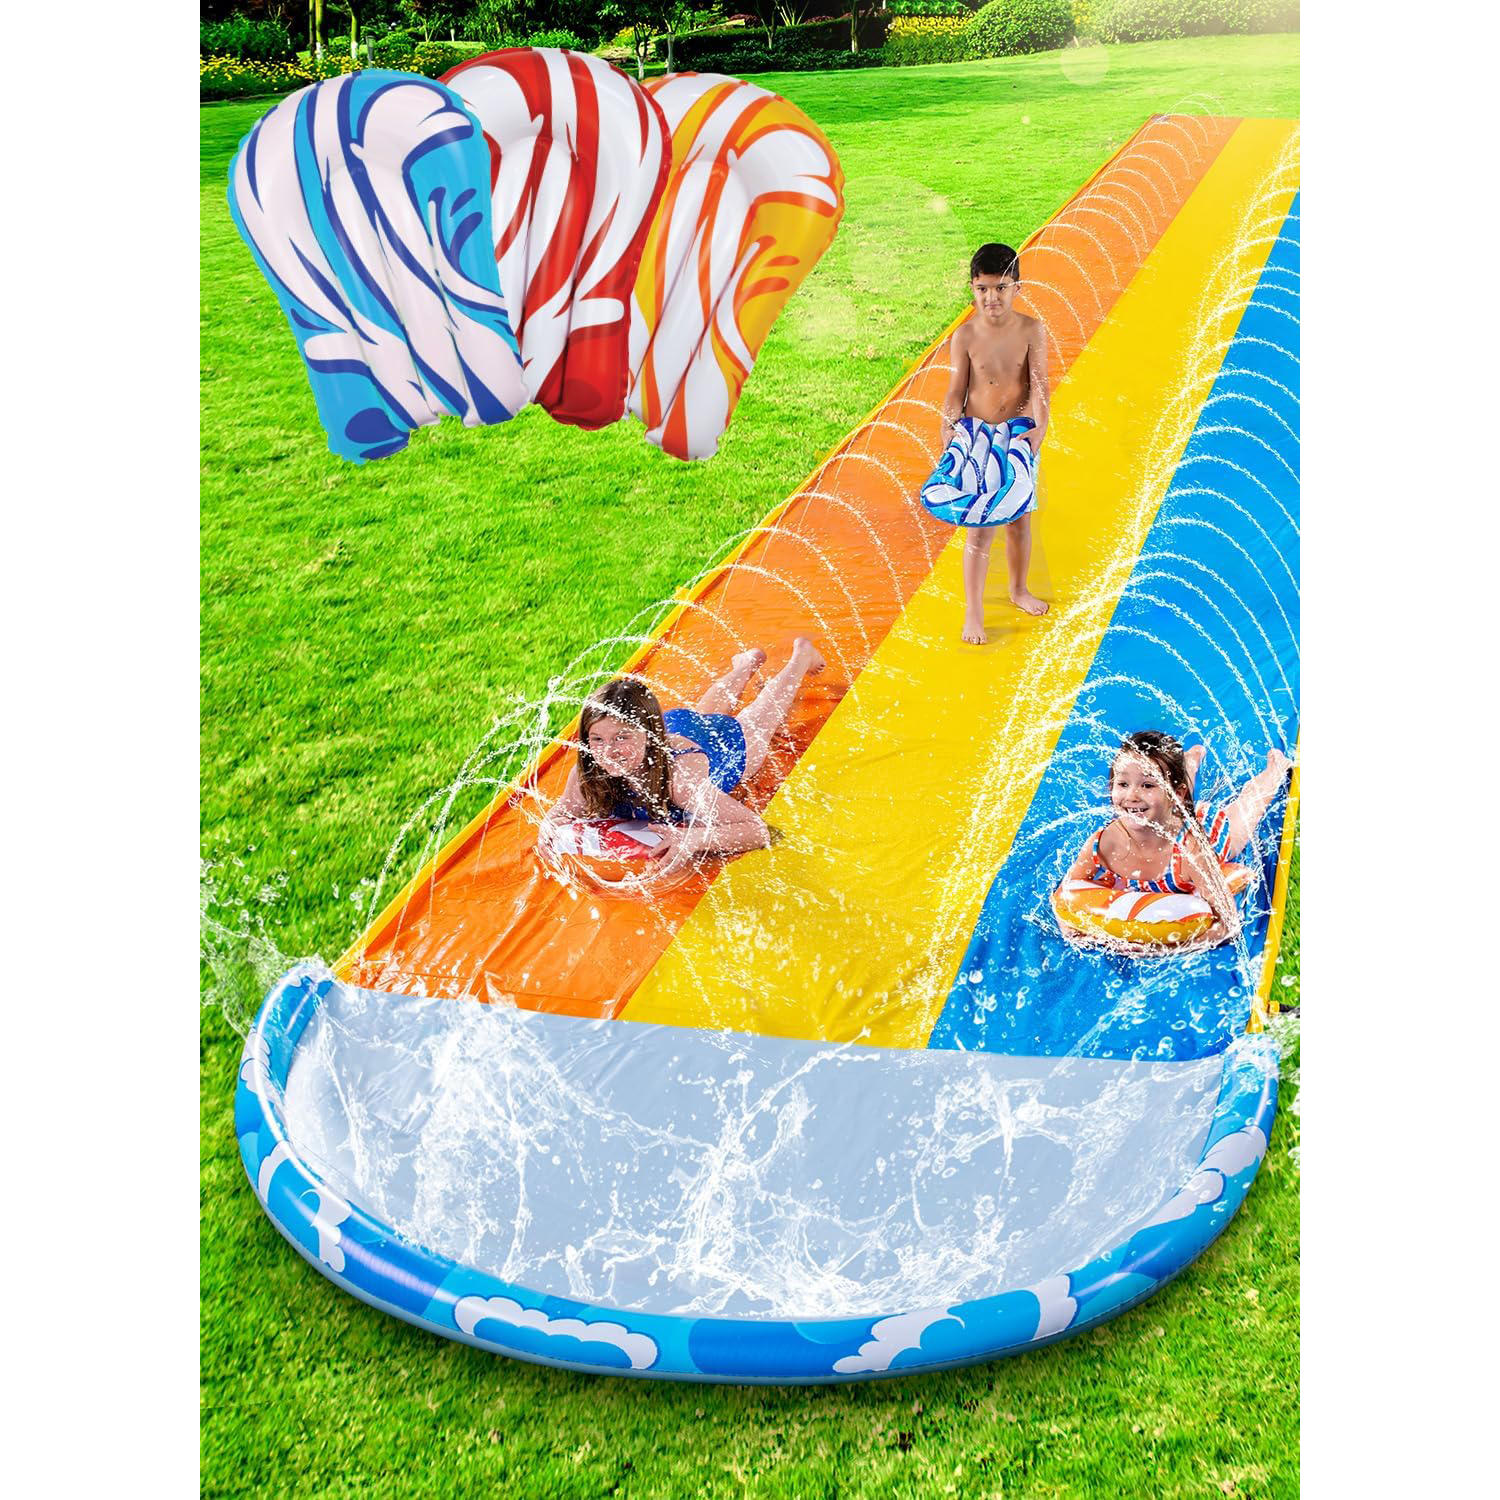
Slip and Slide

best outdoor toys splash pad

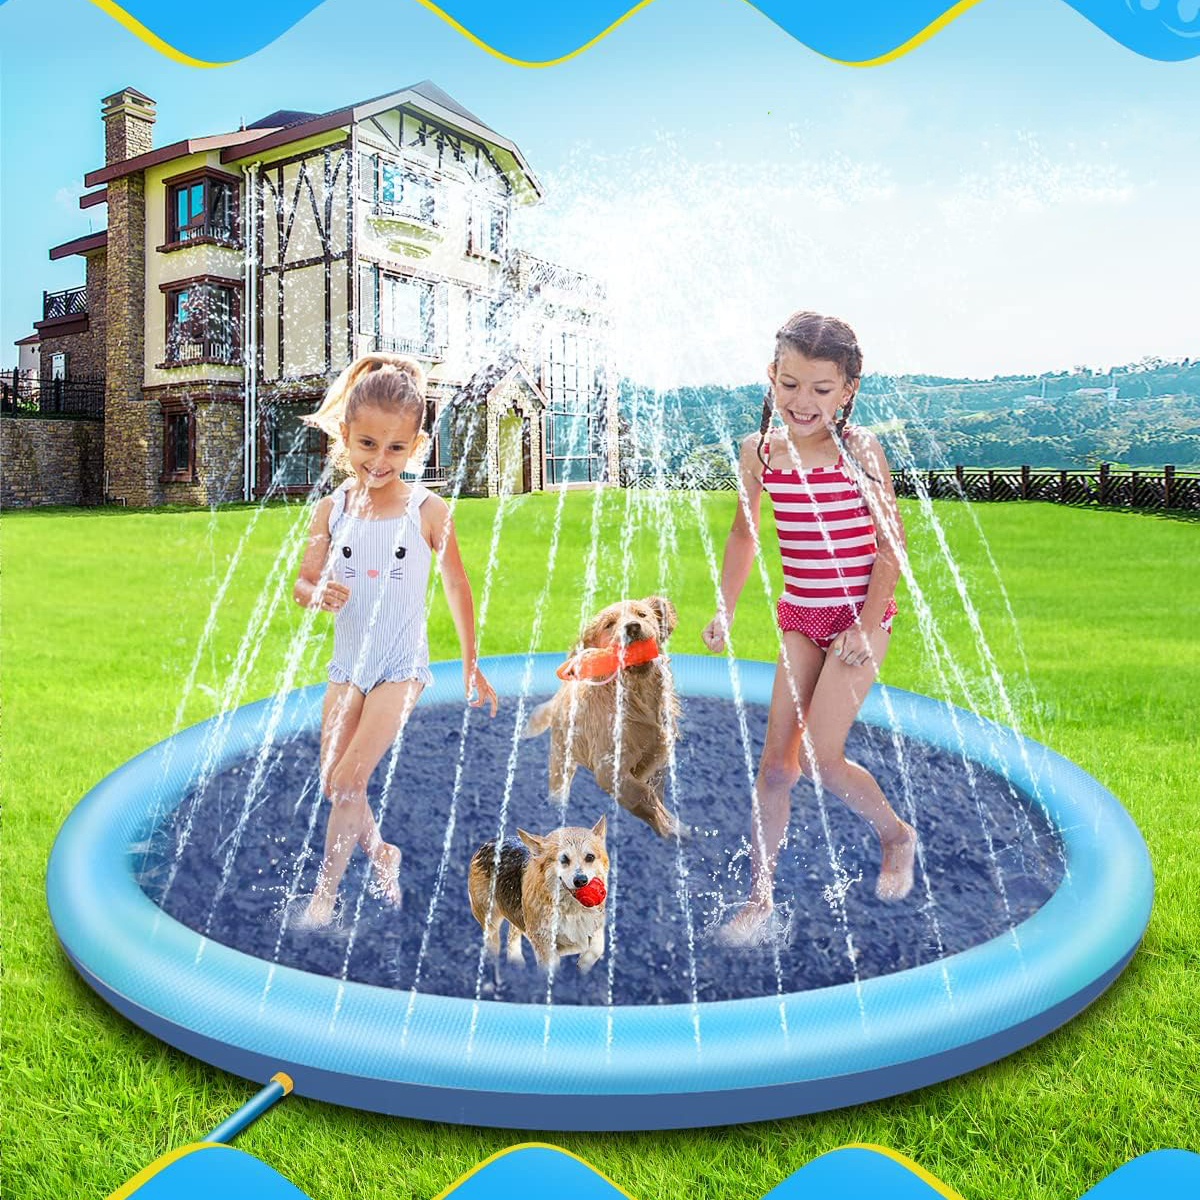
Budget Friendly Splash Pad Sprinkler

inflatable pool slide

Sensory Sand Construction Kit

shark toy remote control

Remote Control Shark

fun outdoor toys for kids - sand box

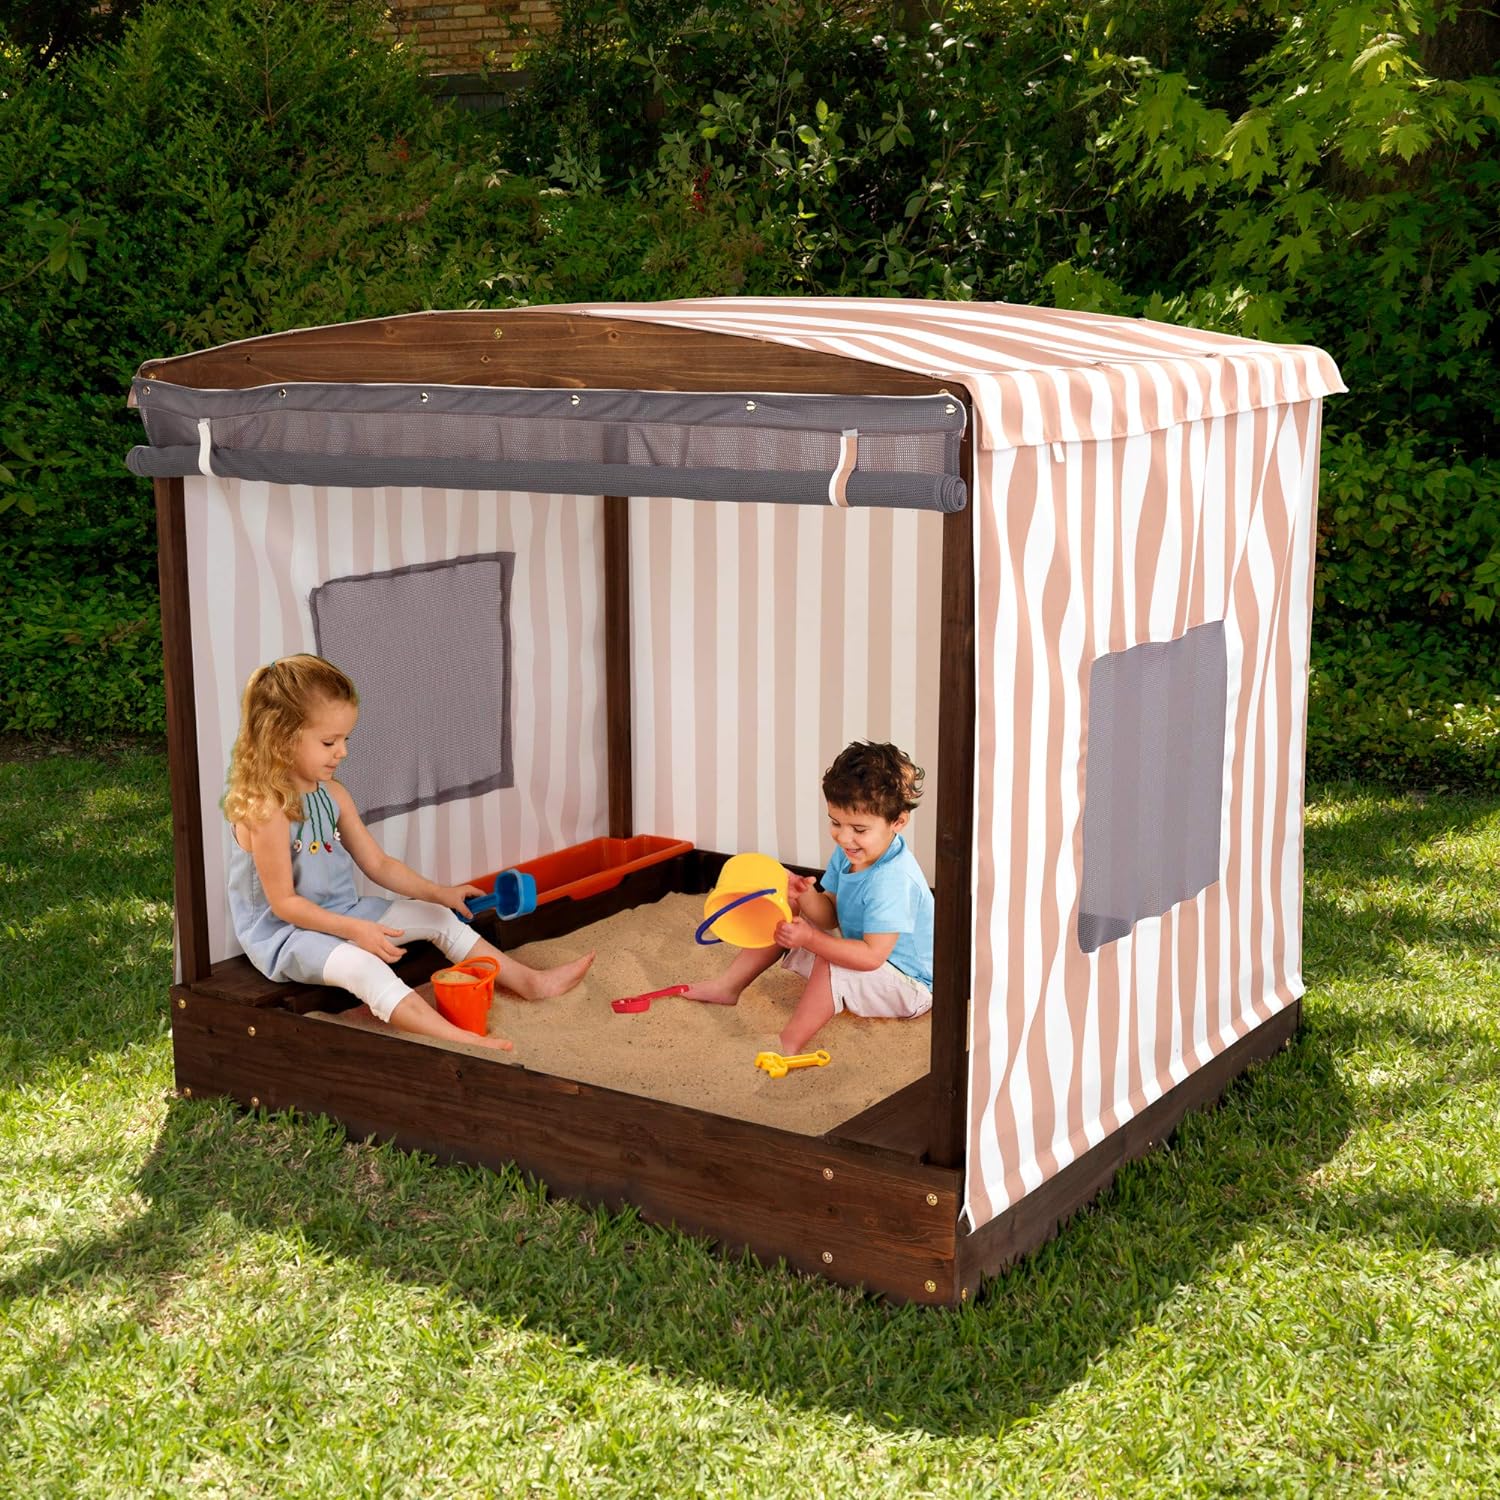
Wooden Sandbox with Sun Coverage

fun outdoor toys for kids - sand box

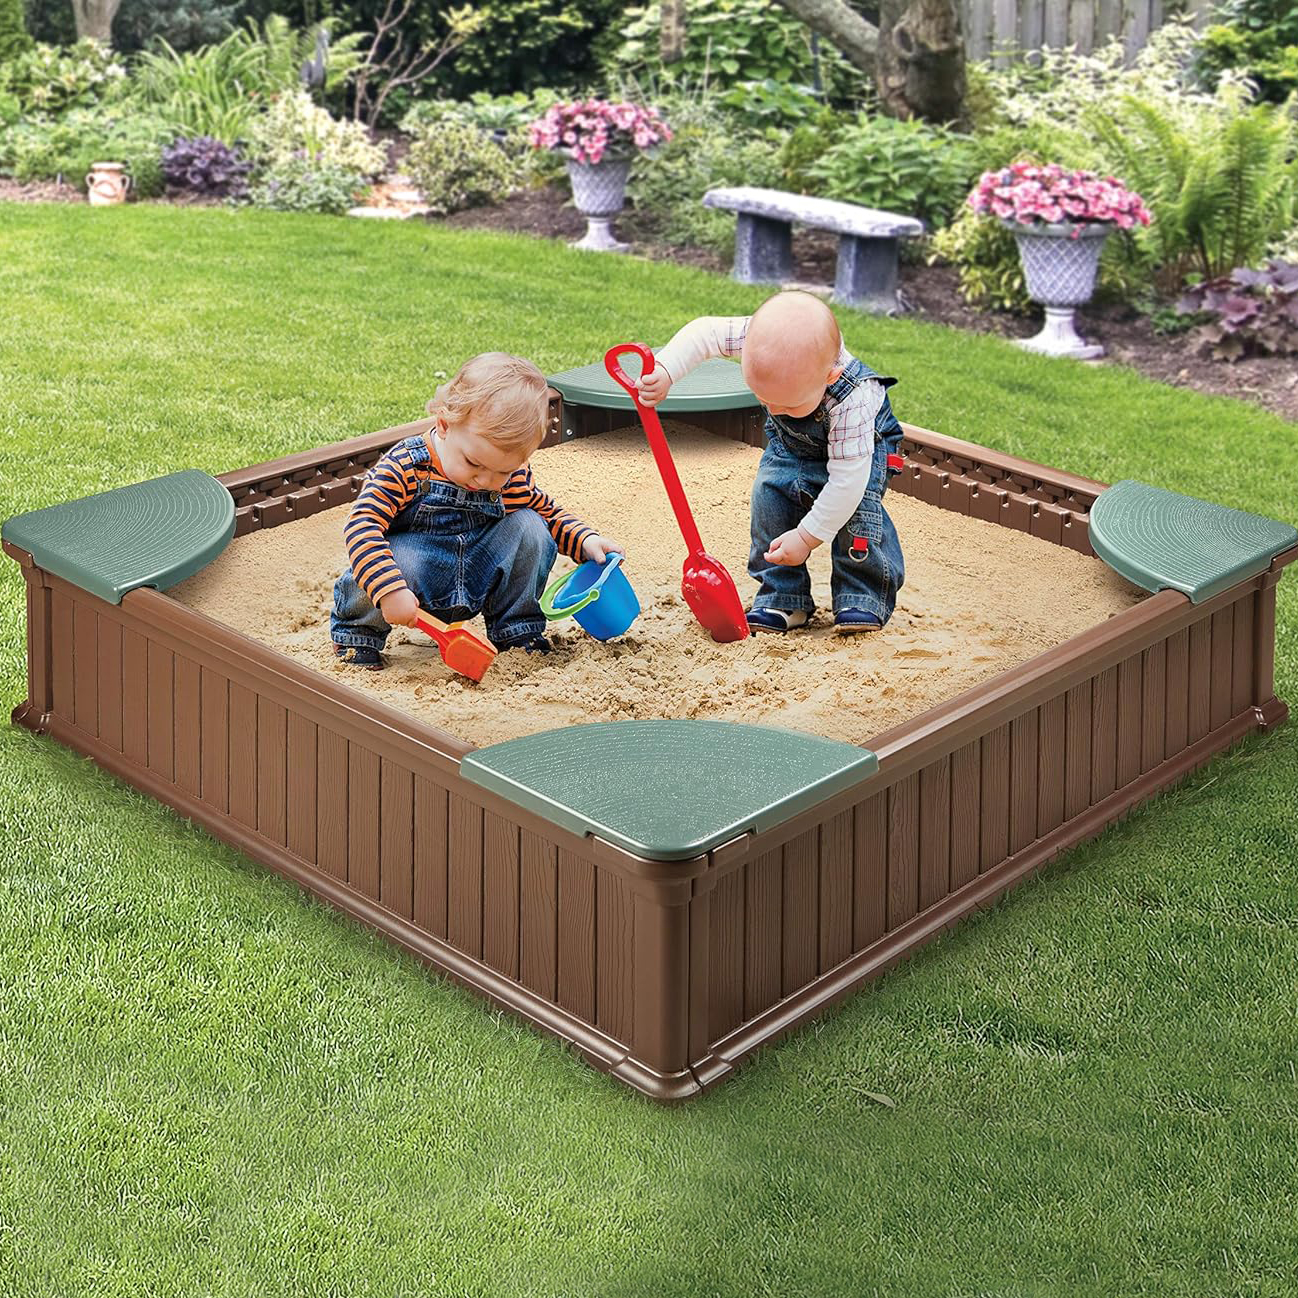
Weatherproof Sandbox (for humid climates!)

sensory sand kit outdoor play

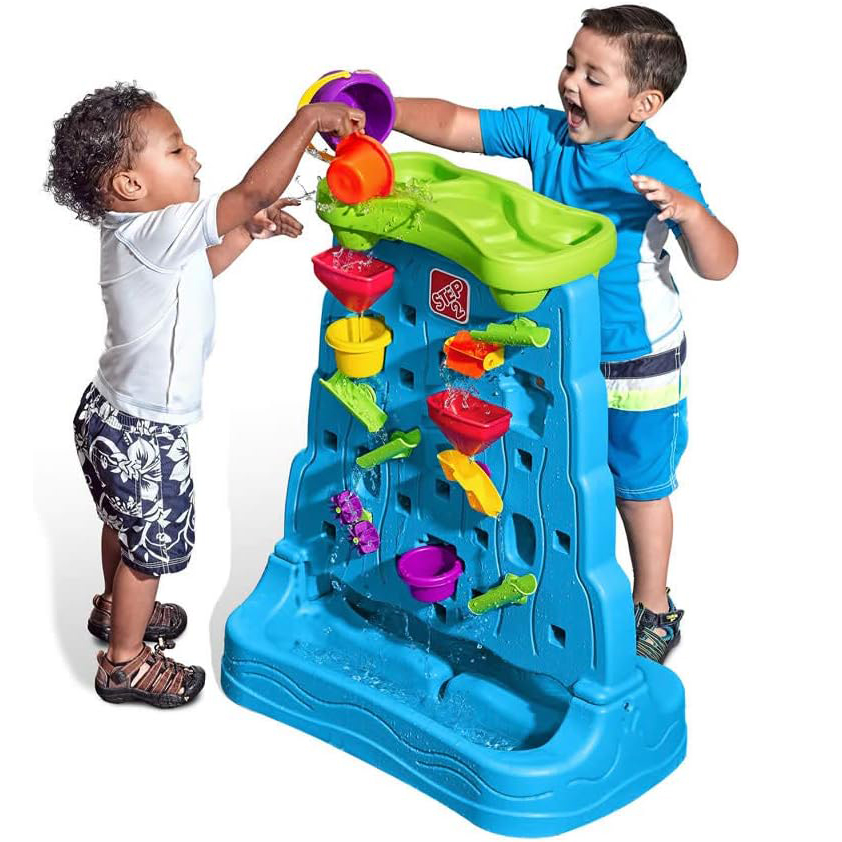
Waterfall Wall

foldable sand toy set

Foldable Sand Toy Set

sensory table small lightweight affordable

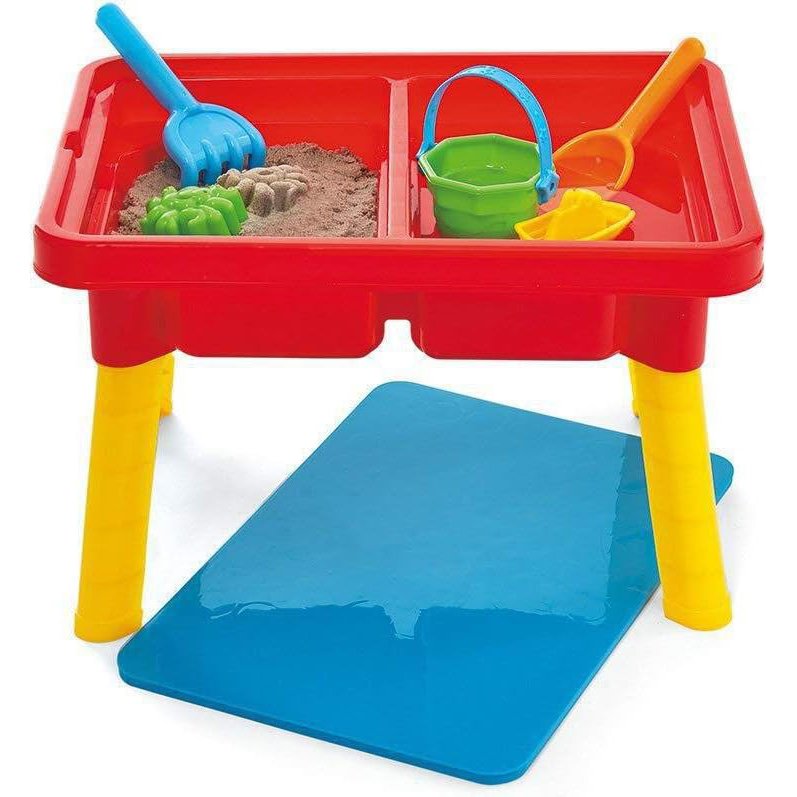
Lightweight Weatherproof Sensory Table

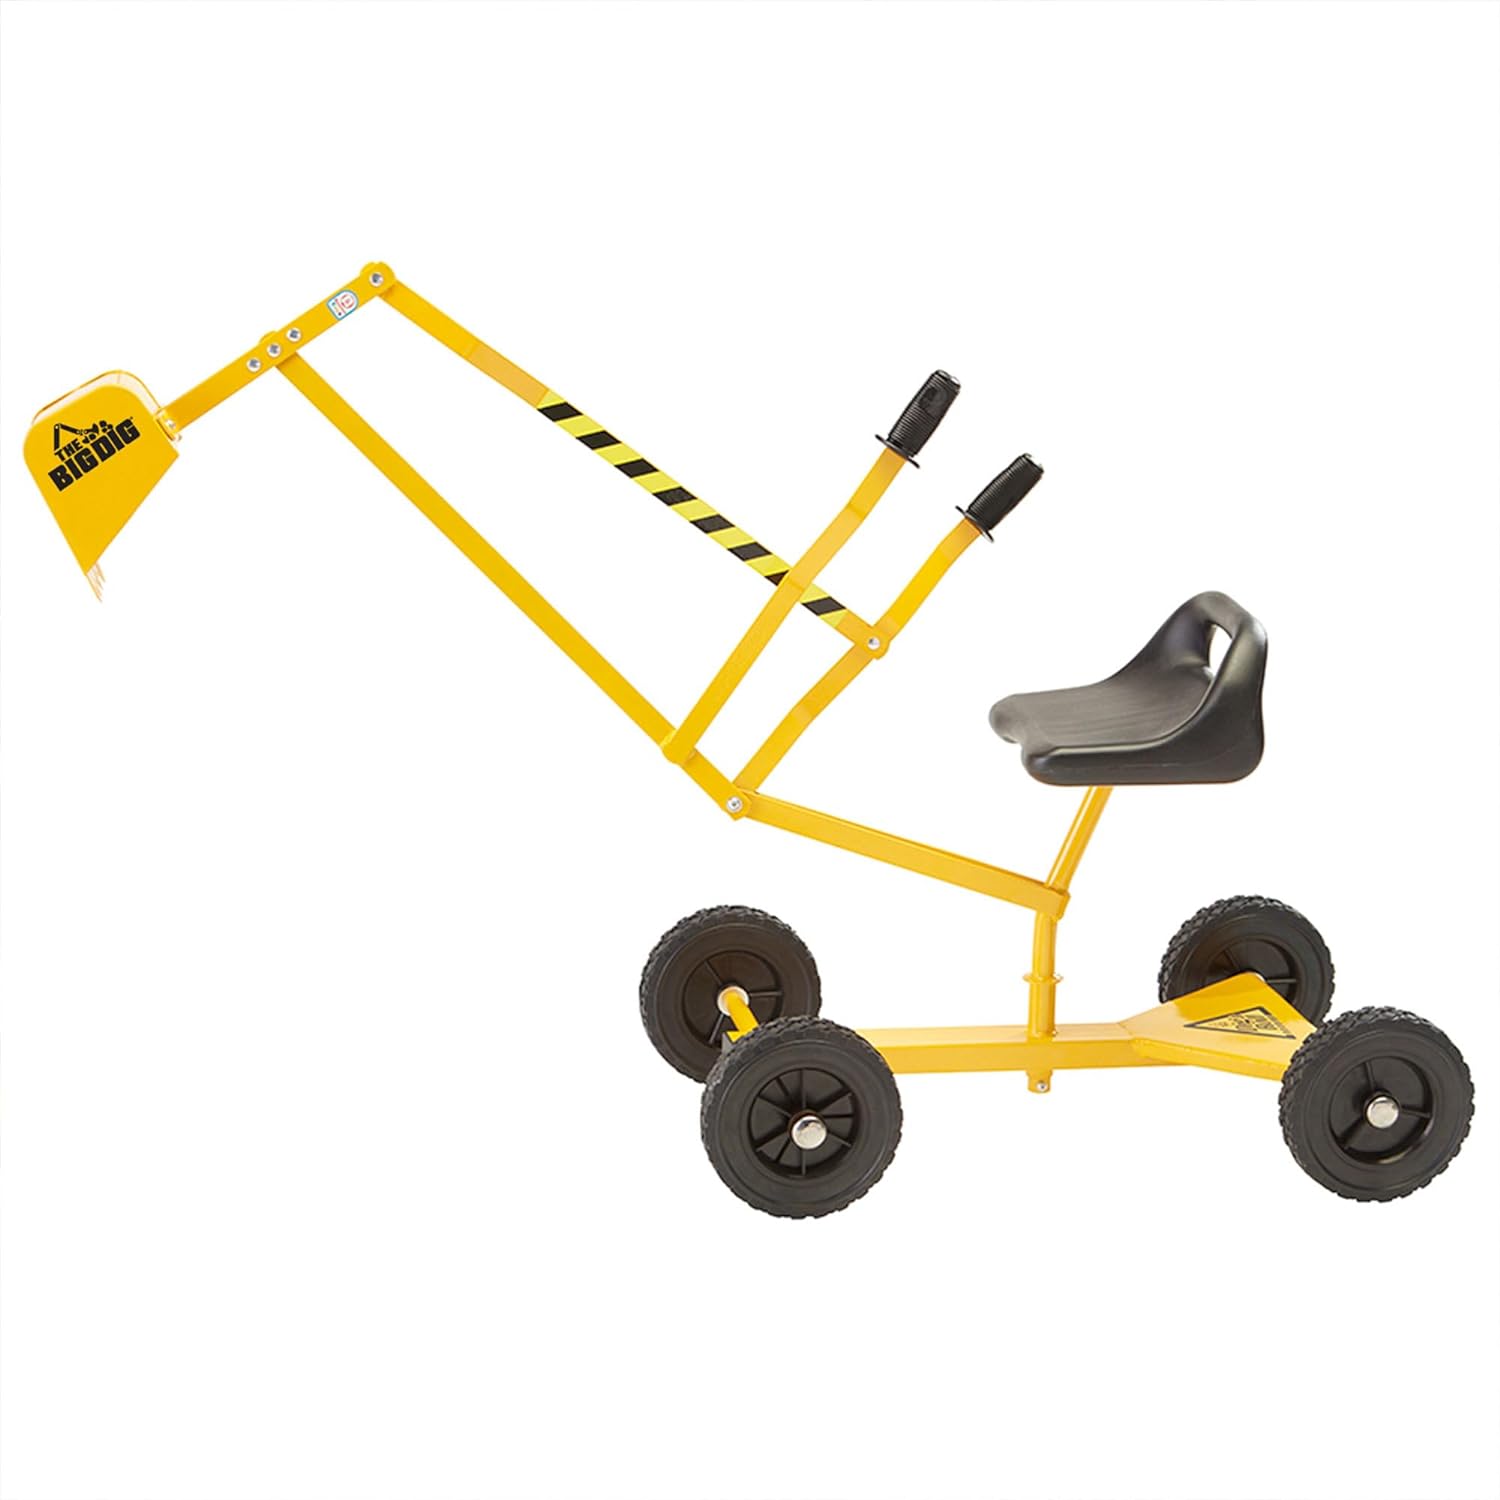
outdoor play digger

Dig / Excavator Toy Ride-On

best learning toys interactive book quiet time book

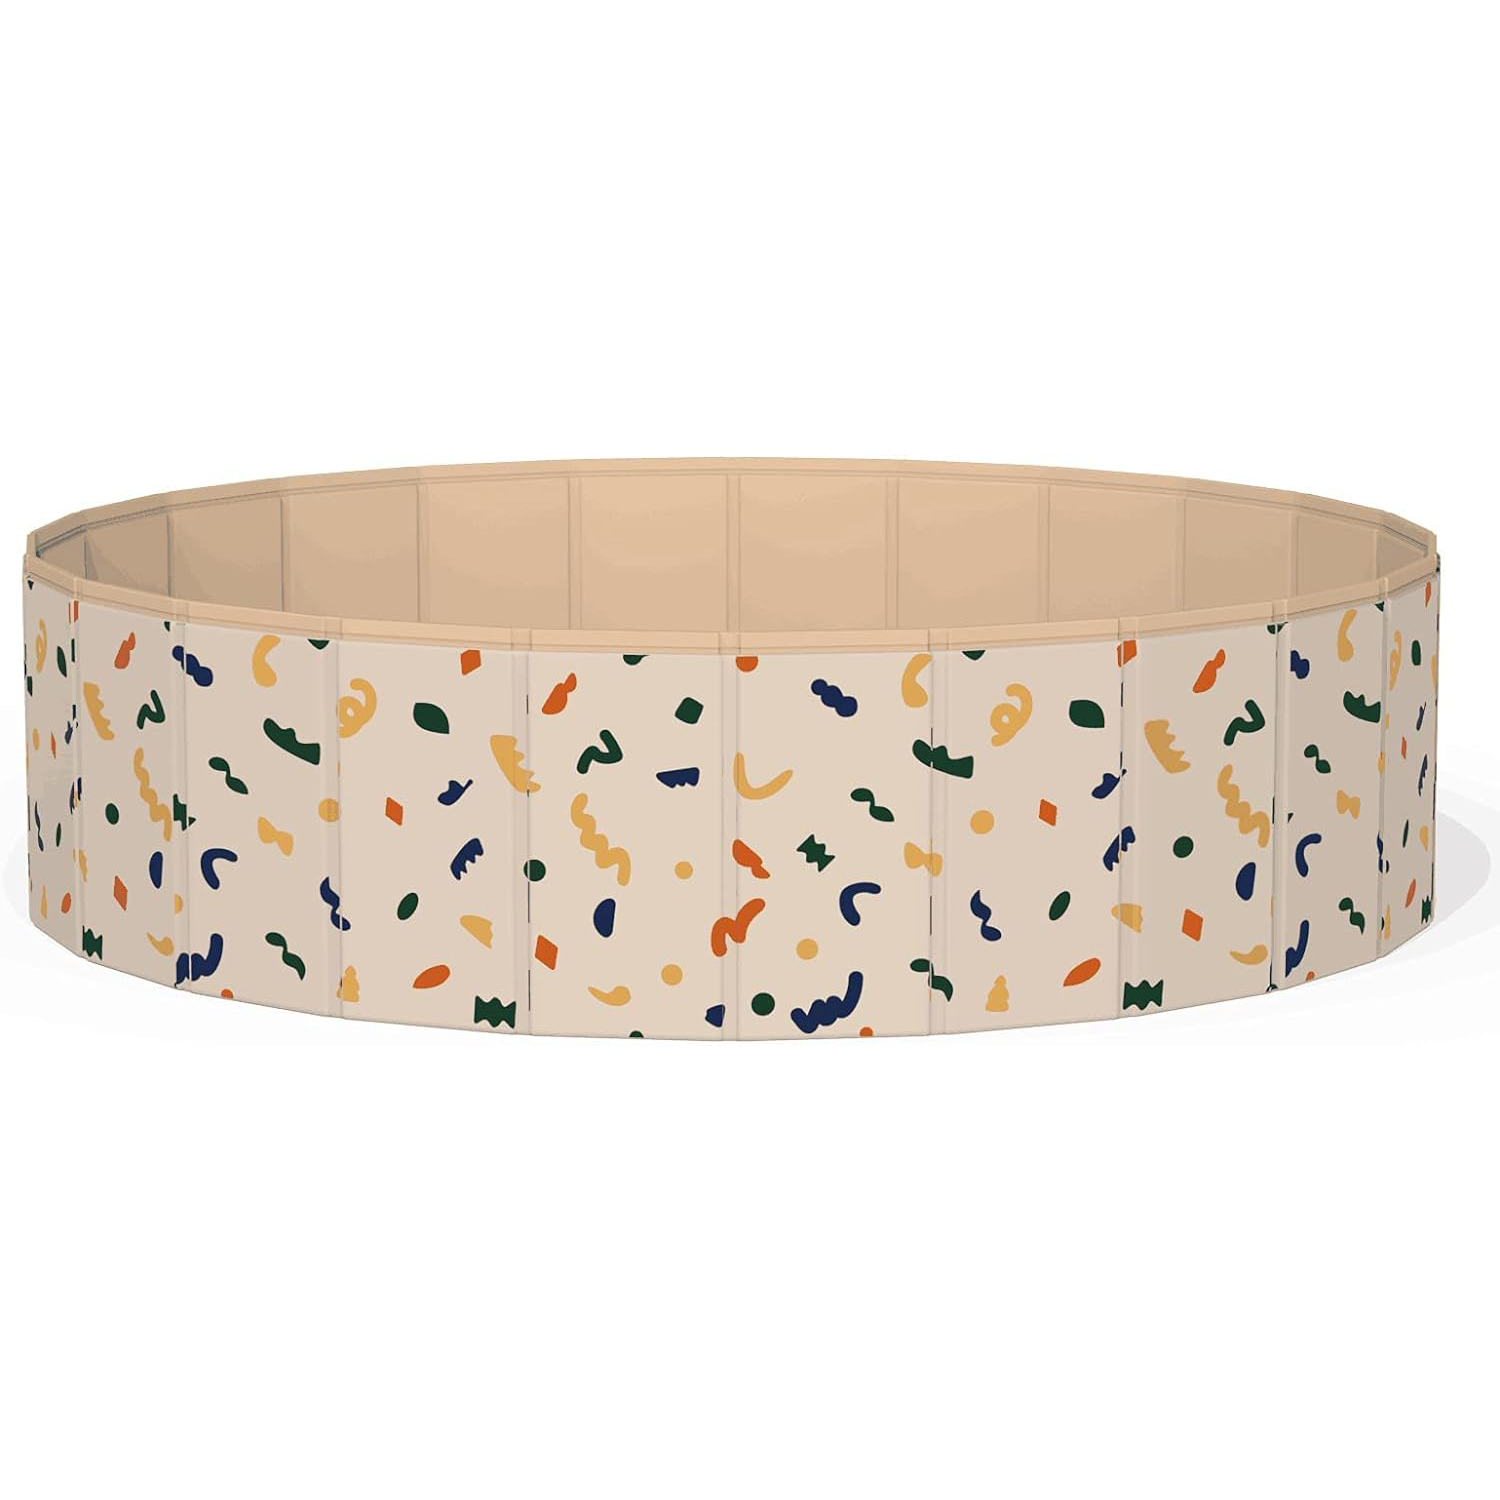
Affordable Sand, Water, and Ball Pit

Play, Move, Thrive: Top Toys for Sports and Active Outdoor Fun

Encourage an active lifestyle with our Sports and Active Play section. Whether they’re swinging a bat, shooting hoops, or zooming around on wheels, these toys will keep kids on the move and having a blast outdoors.

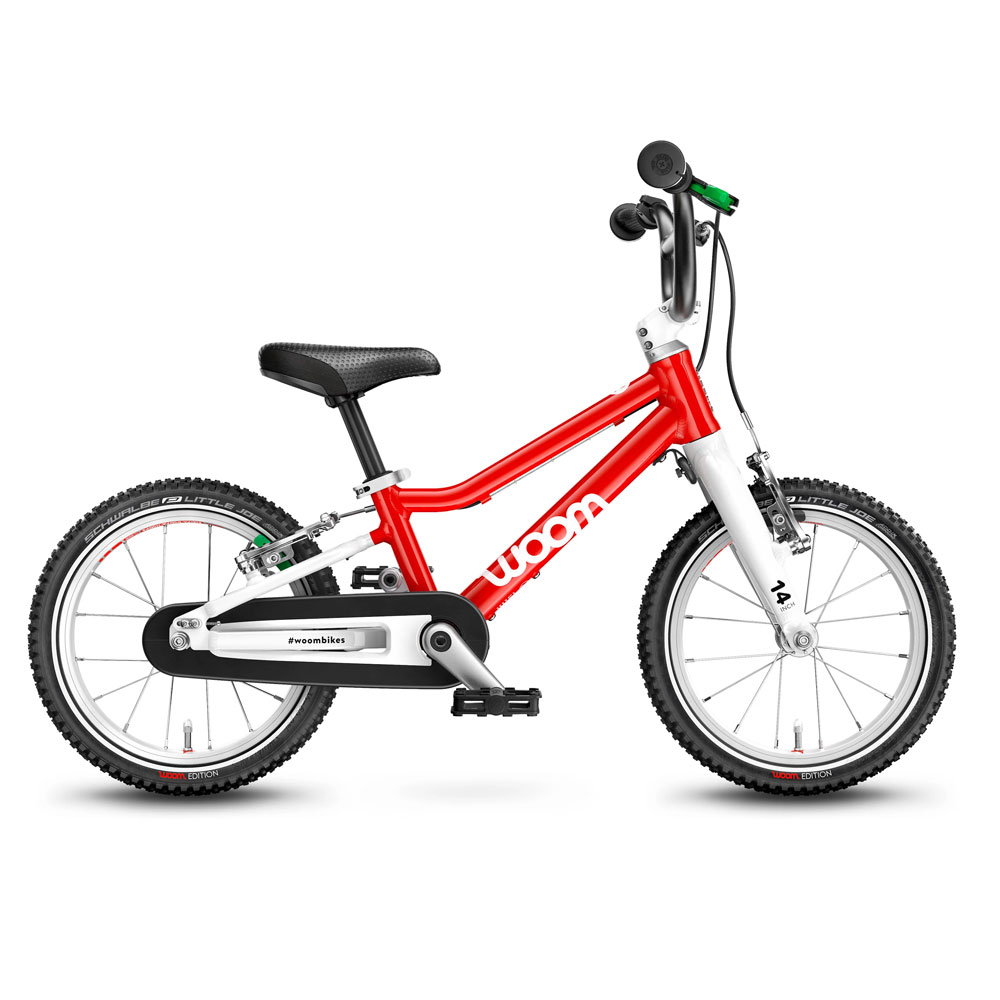
woom bike for kids discount coupon code promo

Balance Bike

$50 off code: 7days_off50

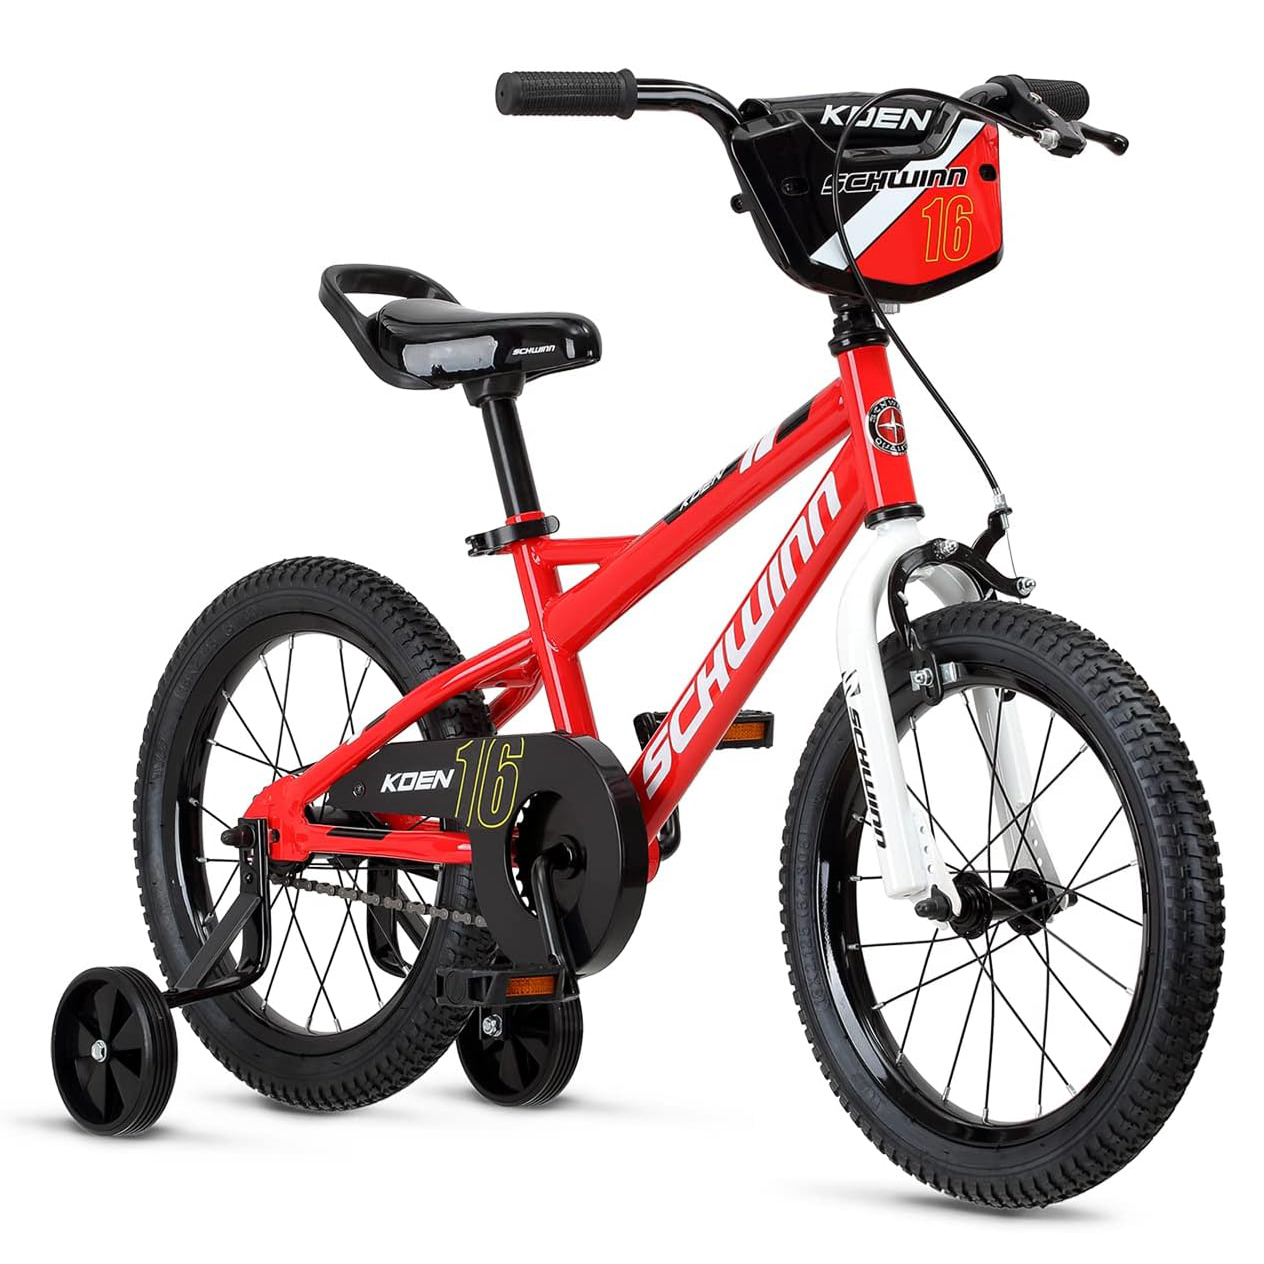
bike outdoor

Bike with Removable Training Wheels

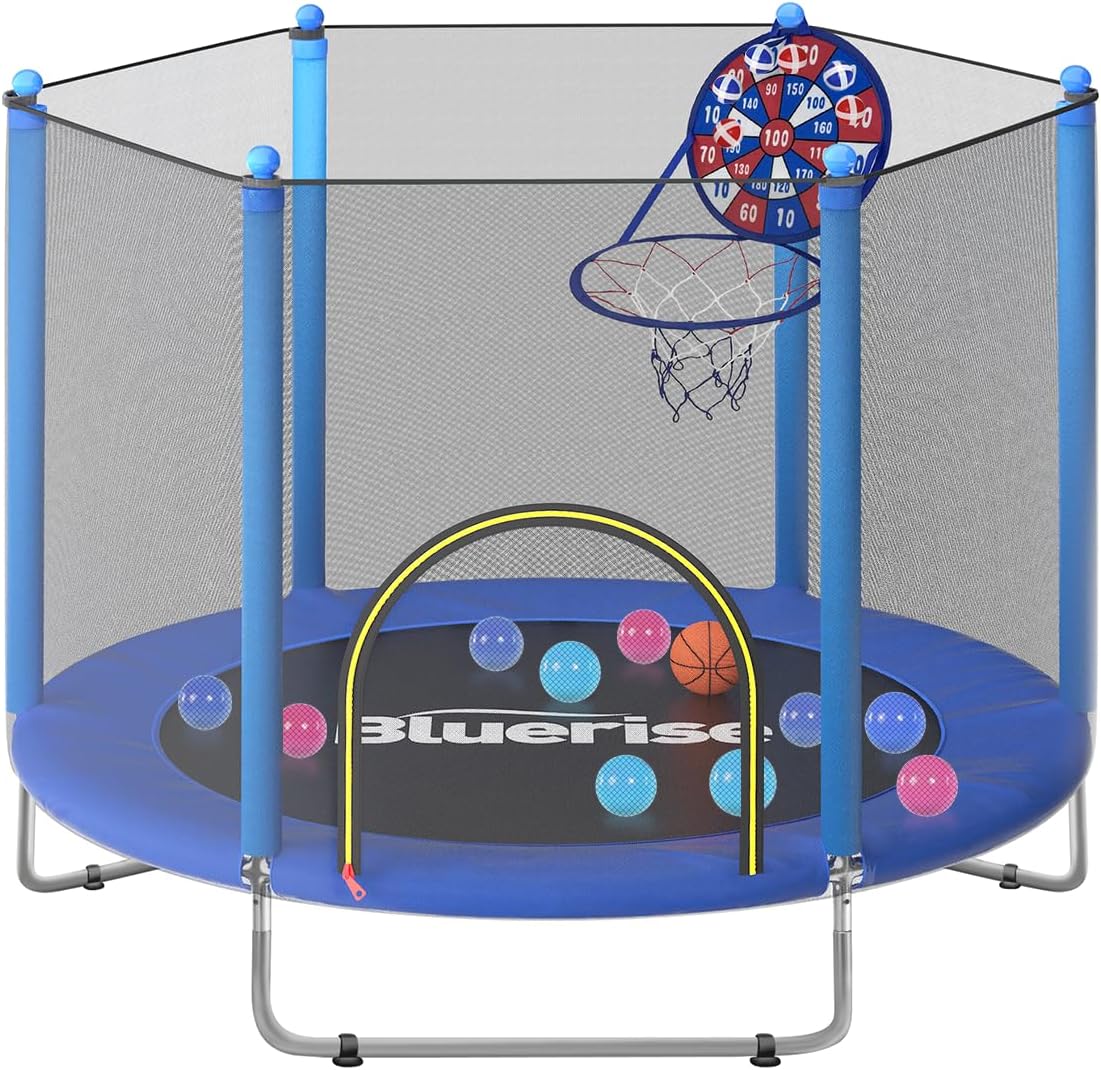
outdoor play basketball trampoline

Trampoline

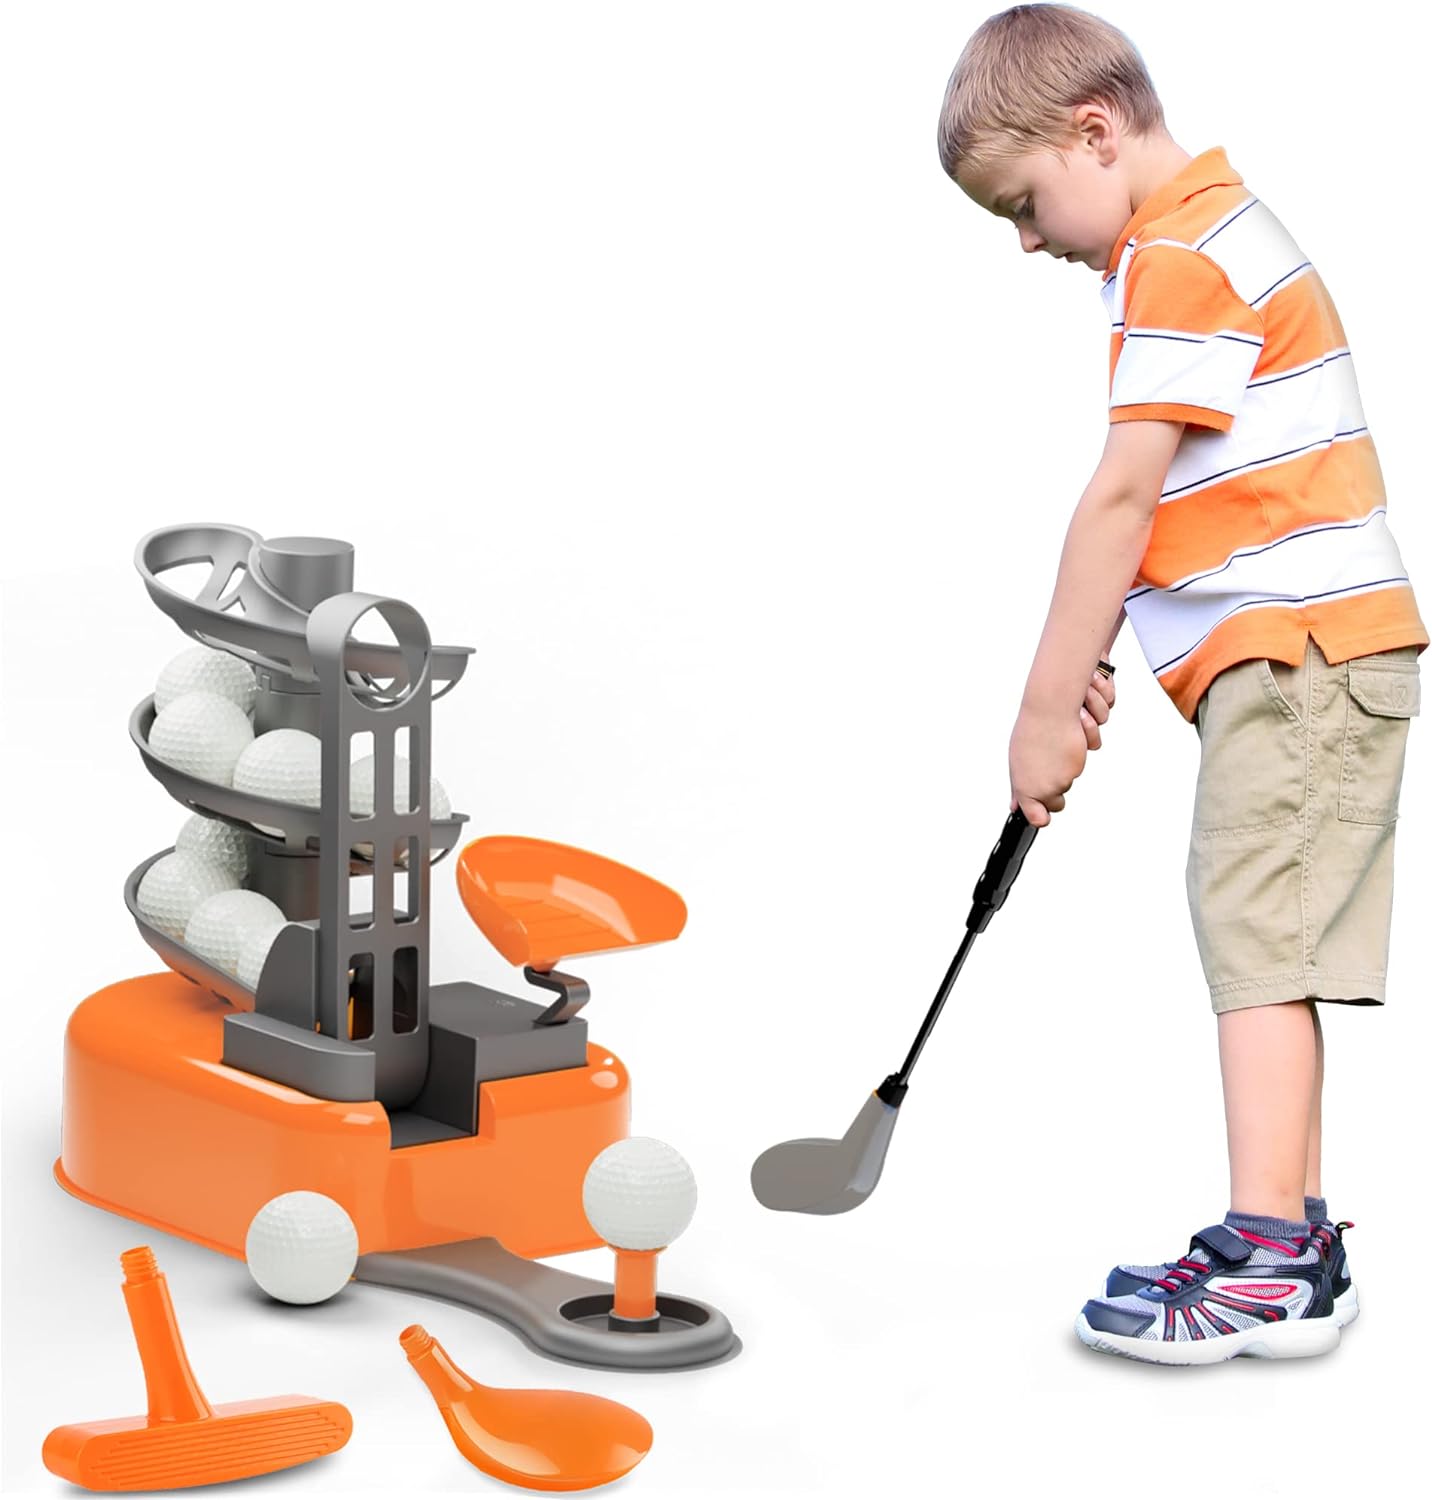
golf toy outdoor play

Golf Kit

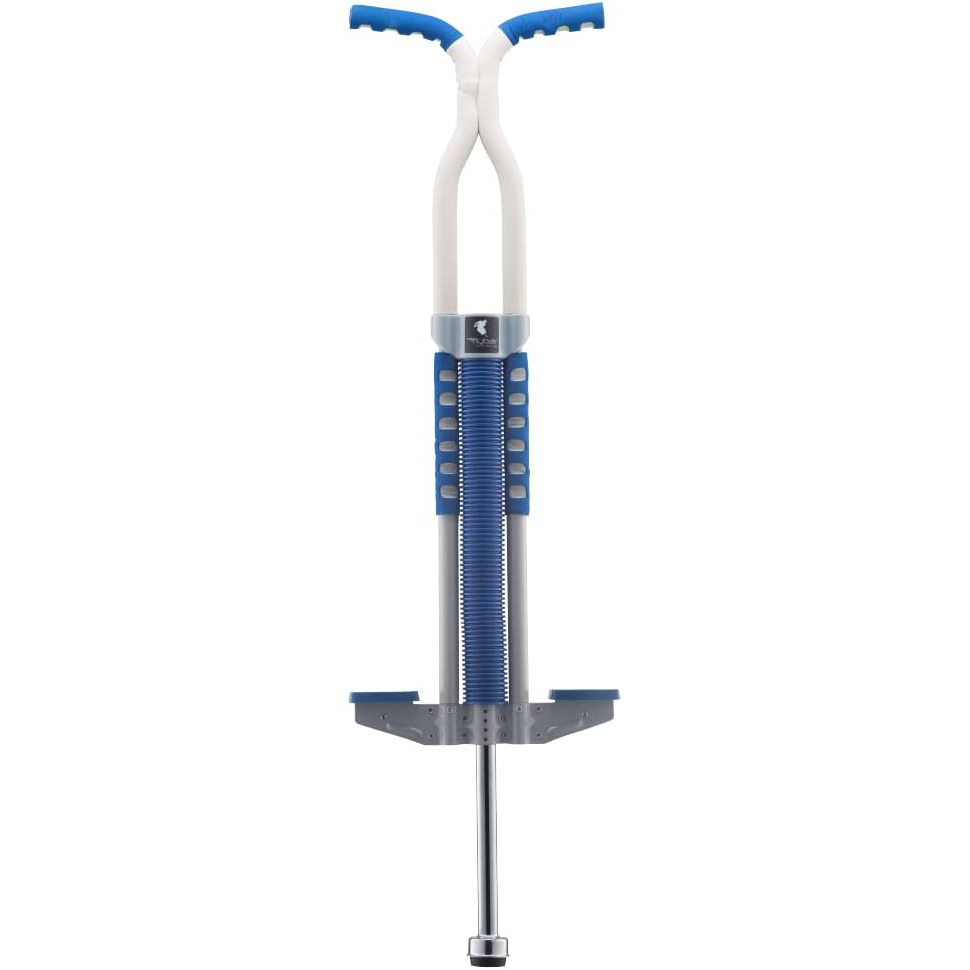
fun outdoor toys for kids - pogo stick

Pogo Stick

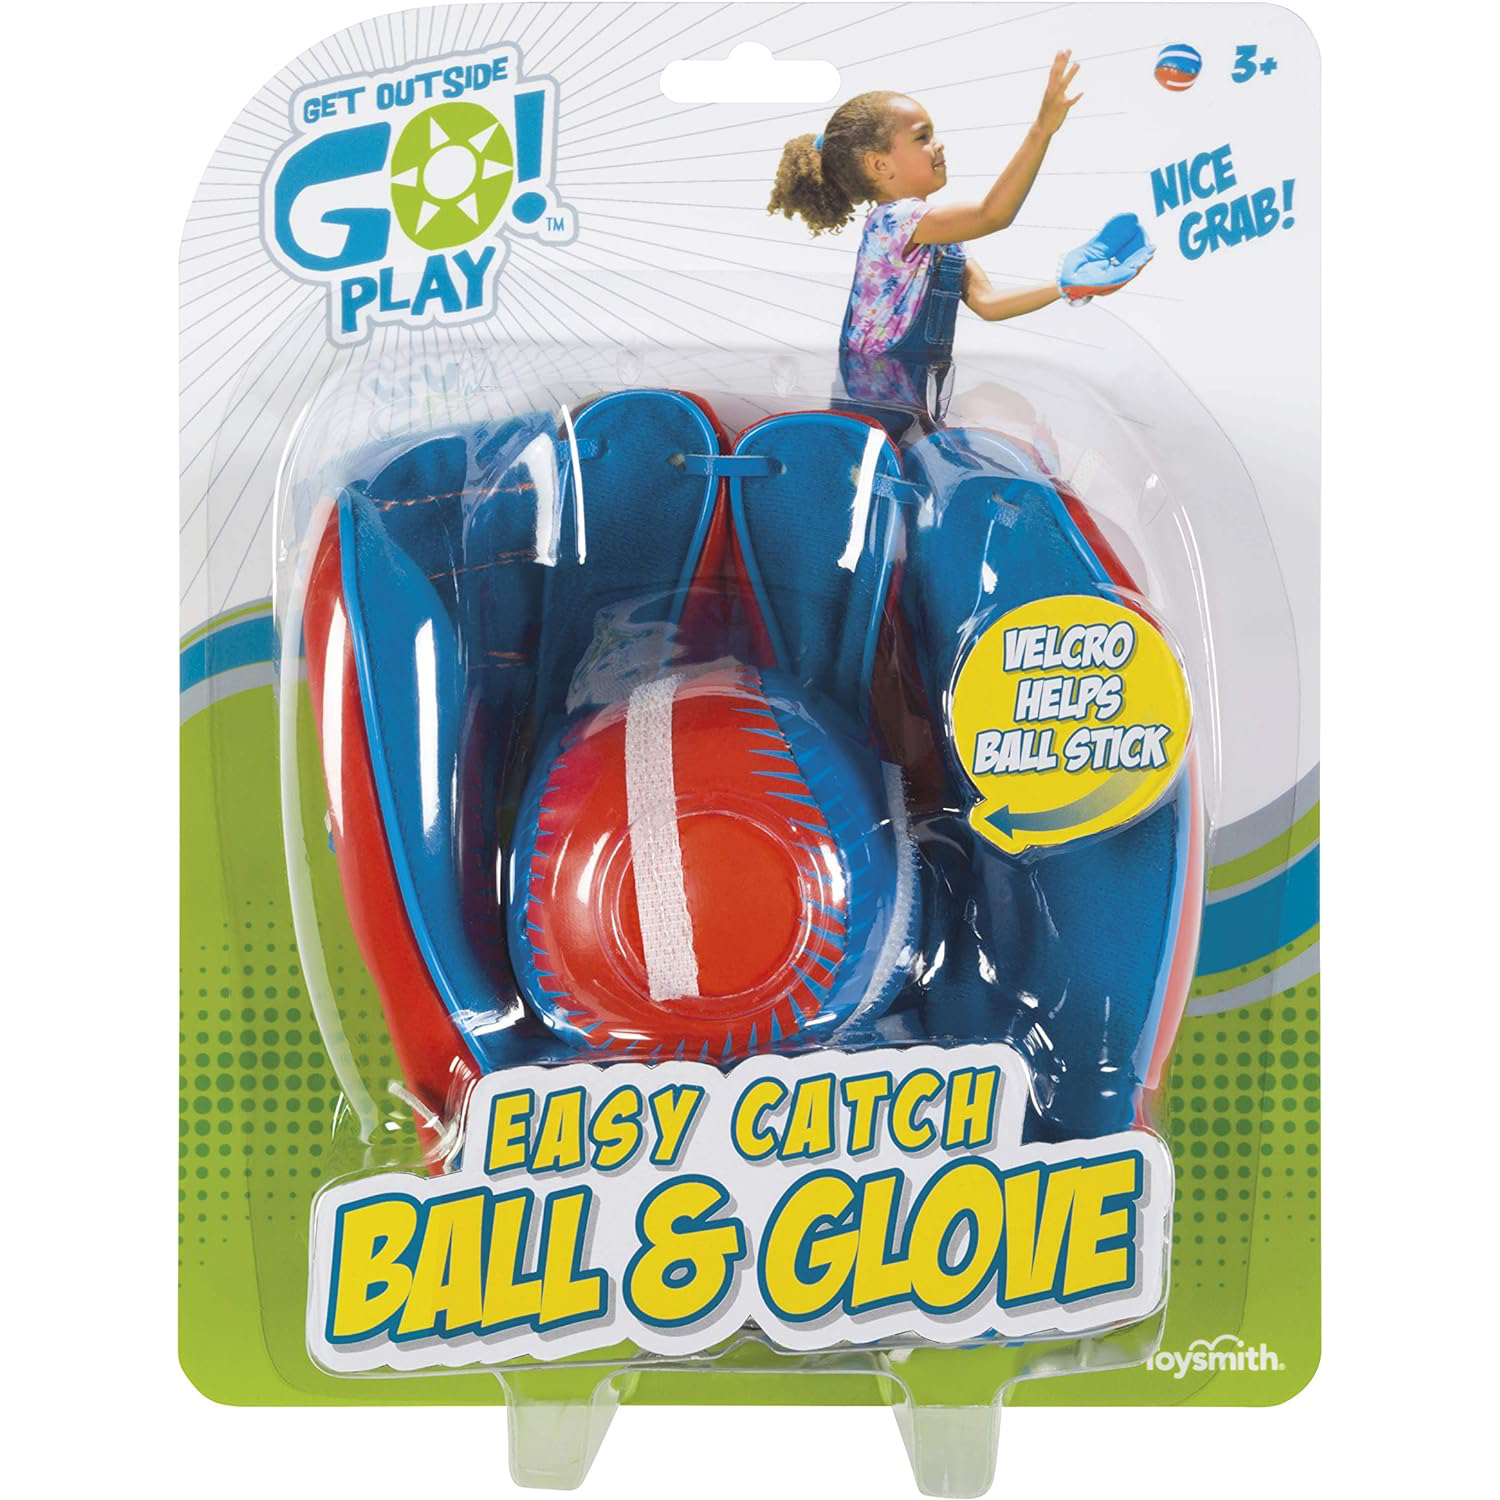
fun outdoor toys for kids - baseball ball and glove

Easy Catch Ball and Glove Set (Great for Beginners!)

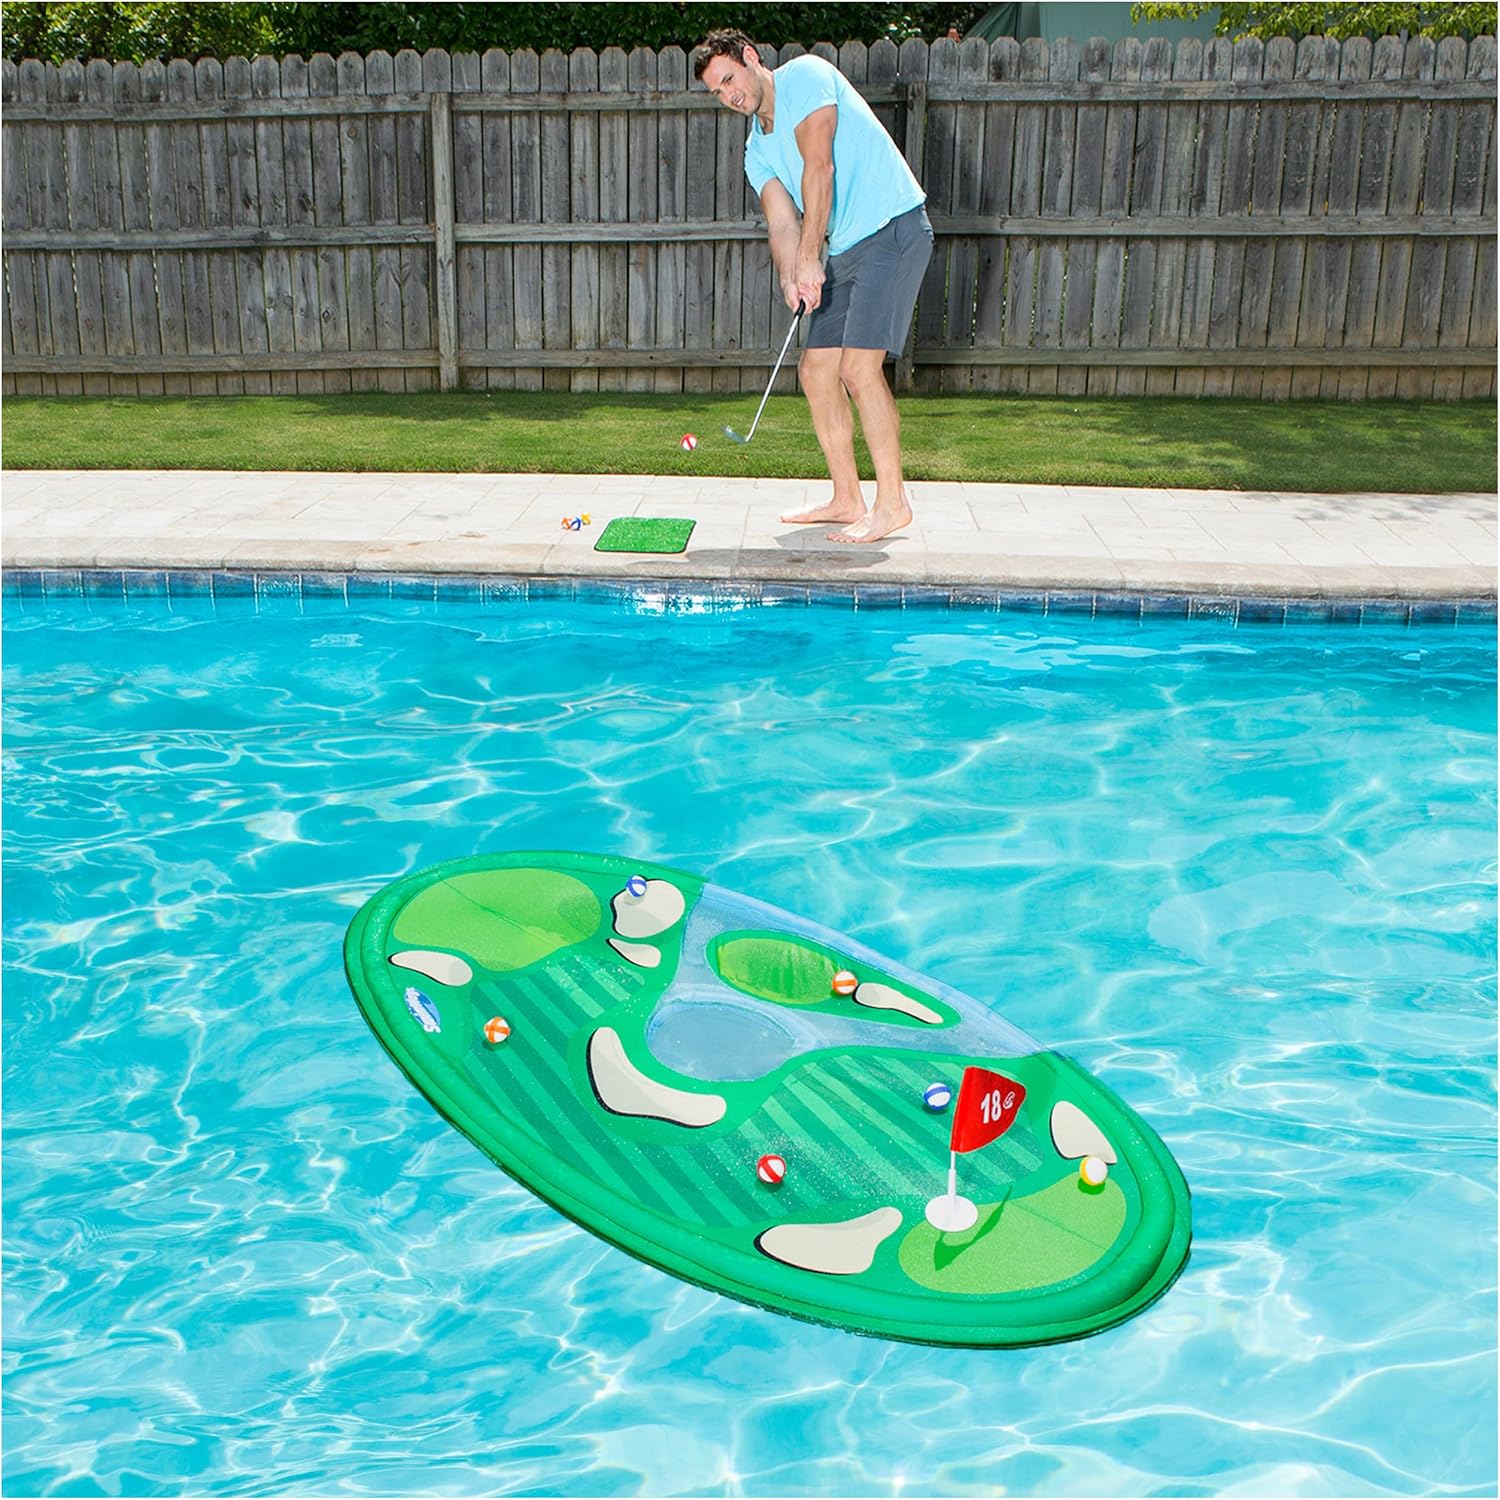
golf pool game outdoor play

Floating Golf Pool Game

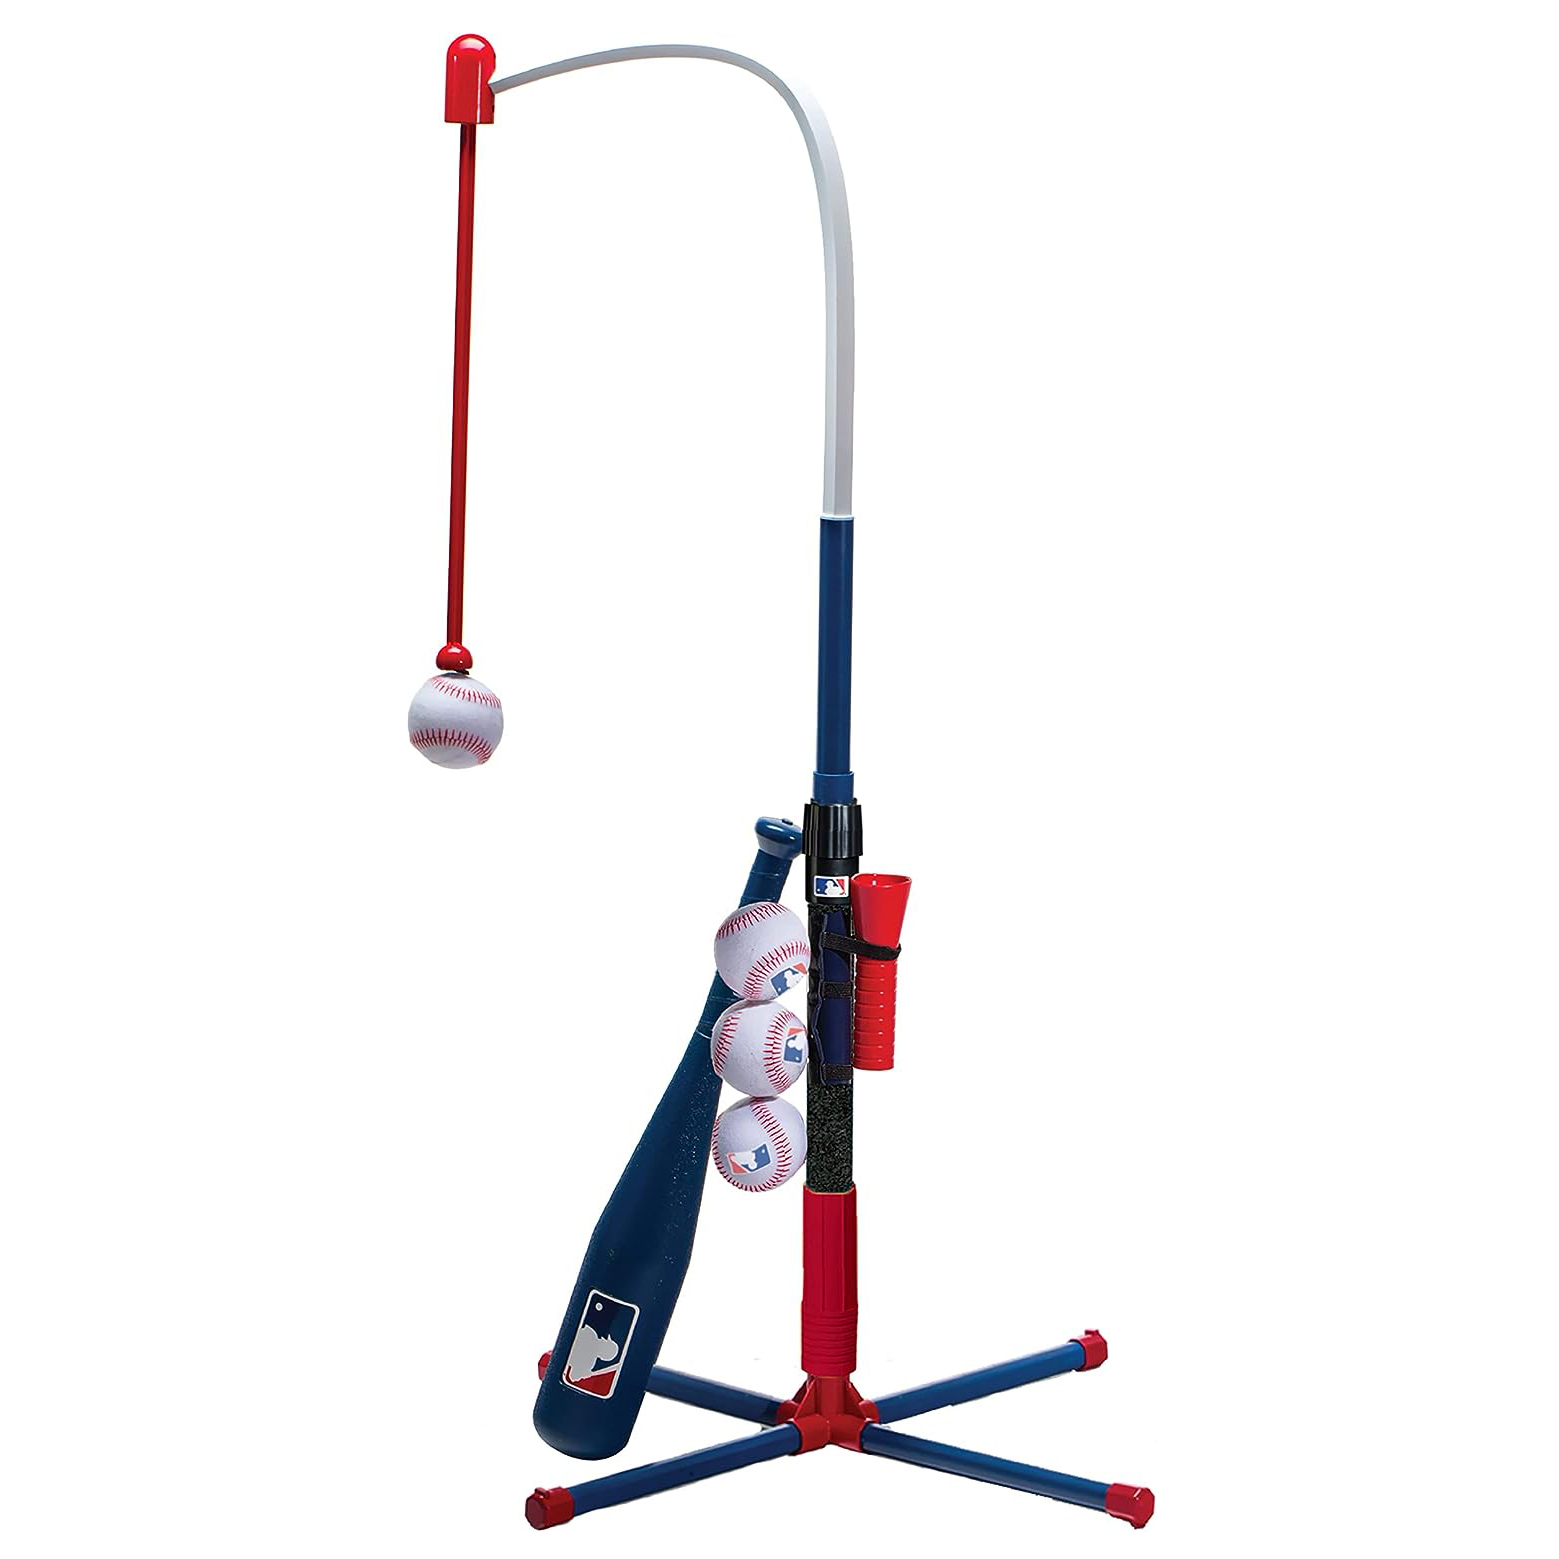
gross motor skills baseball

Baseball Tee

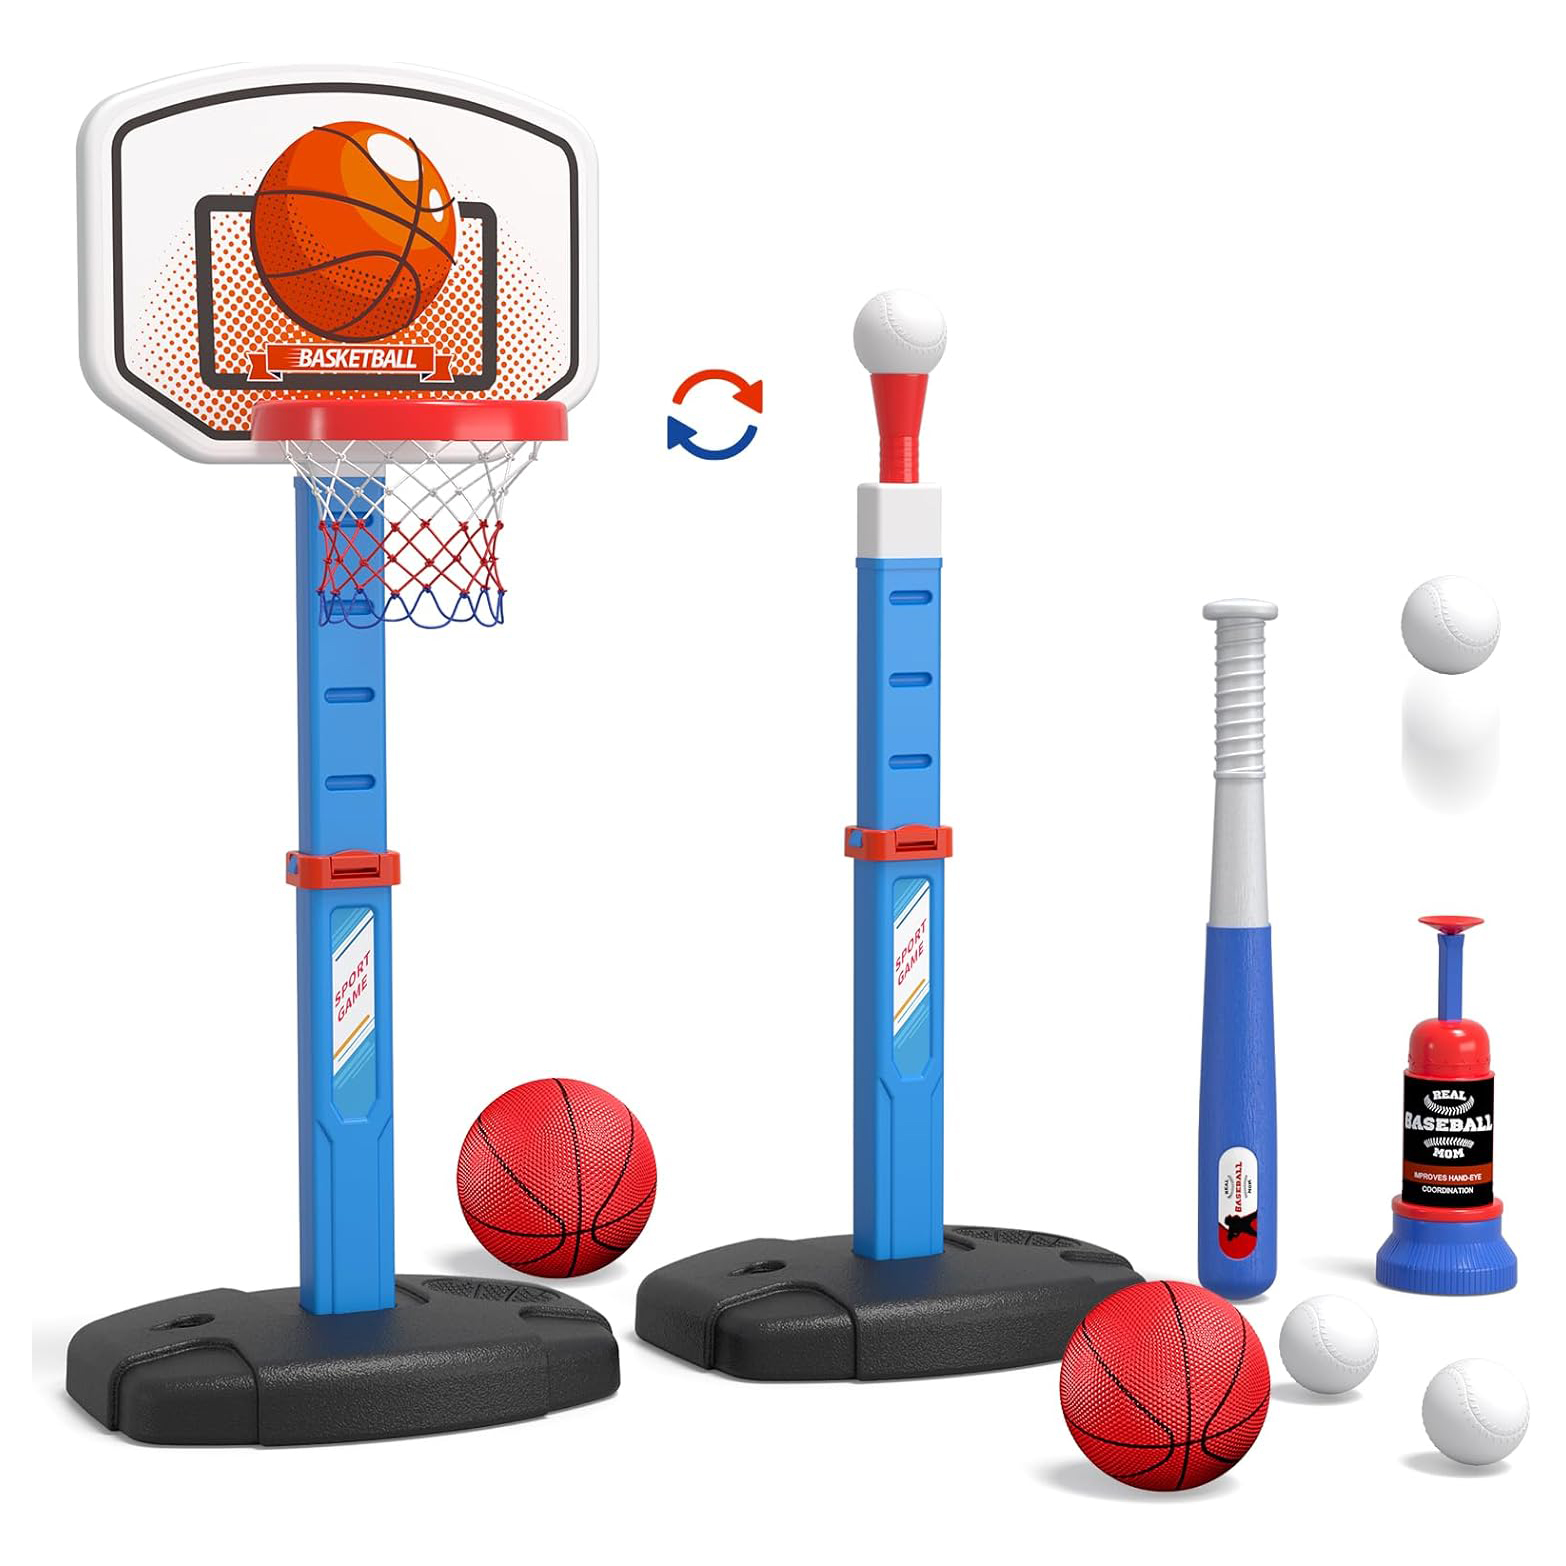
adjustable basketball hoop and baseball

2 in 1 Basketball Hoop and Baseball Tee

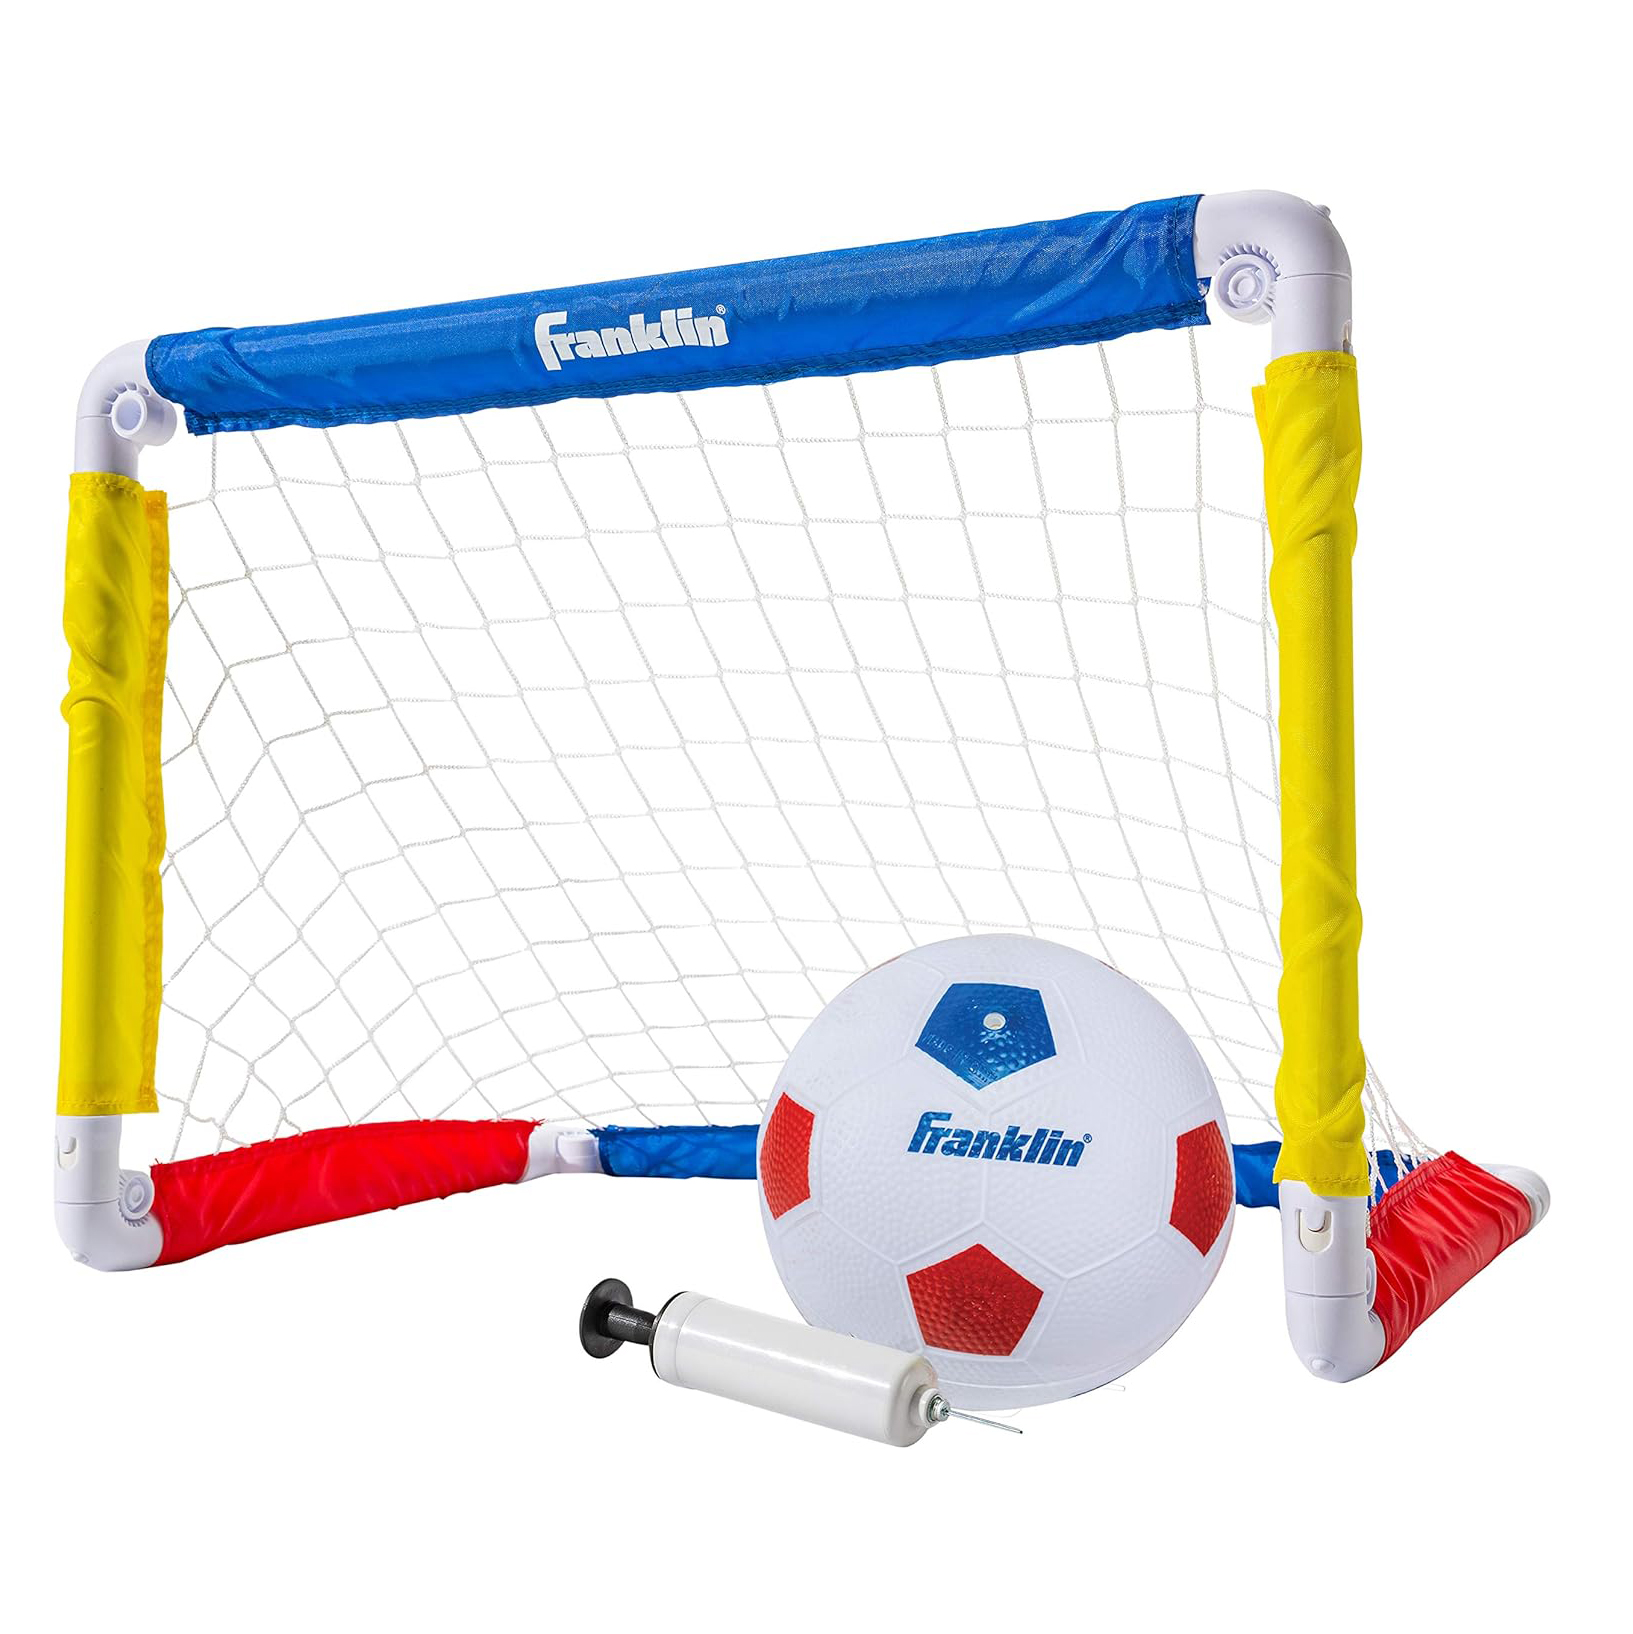
outdoor soccer goal and ball kit

Soccer Goal and Ball Set

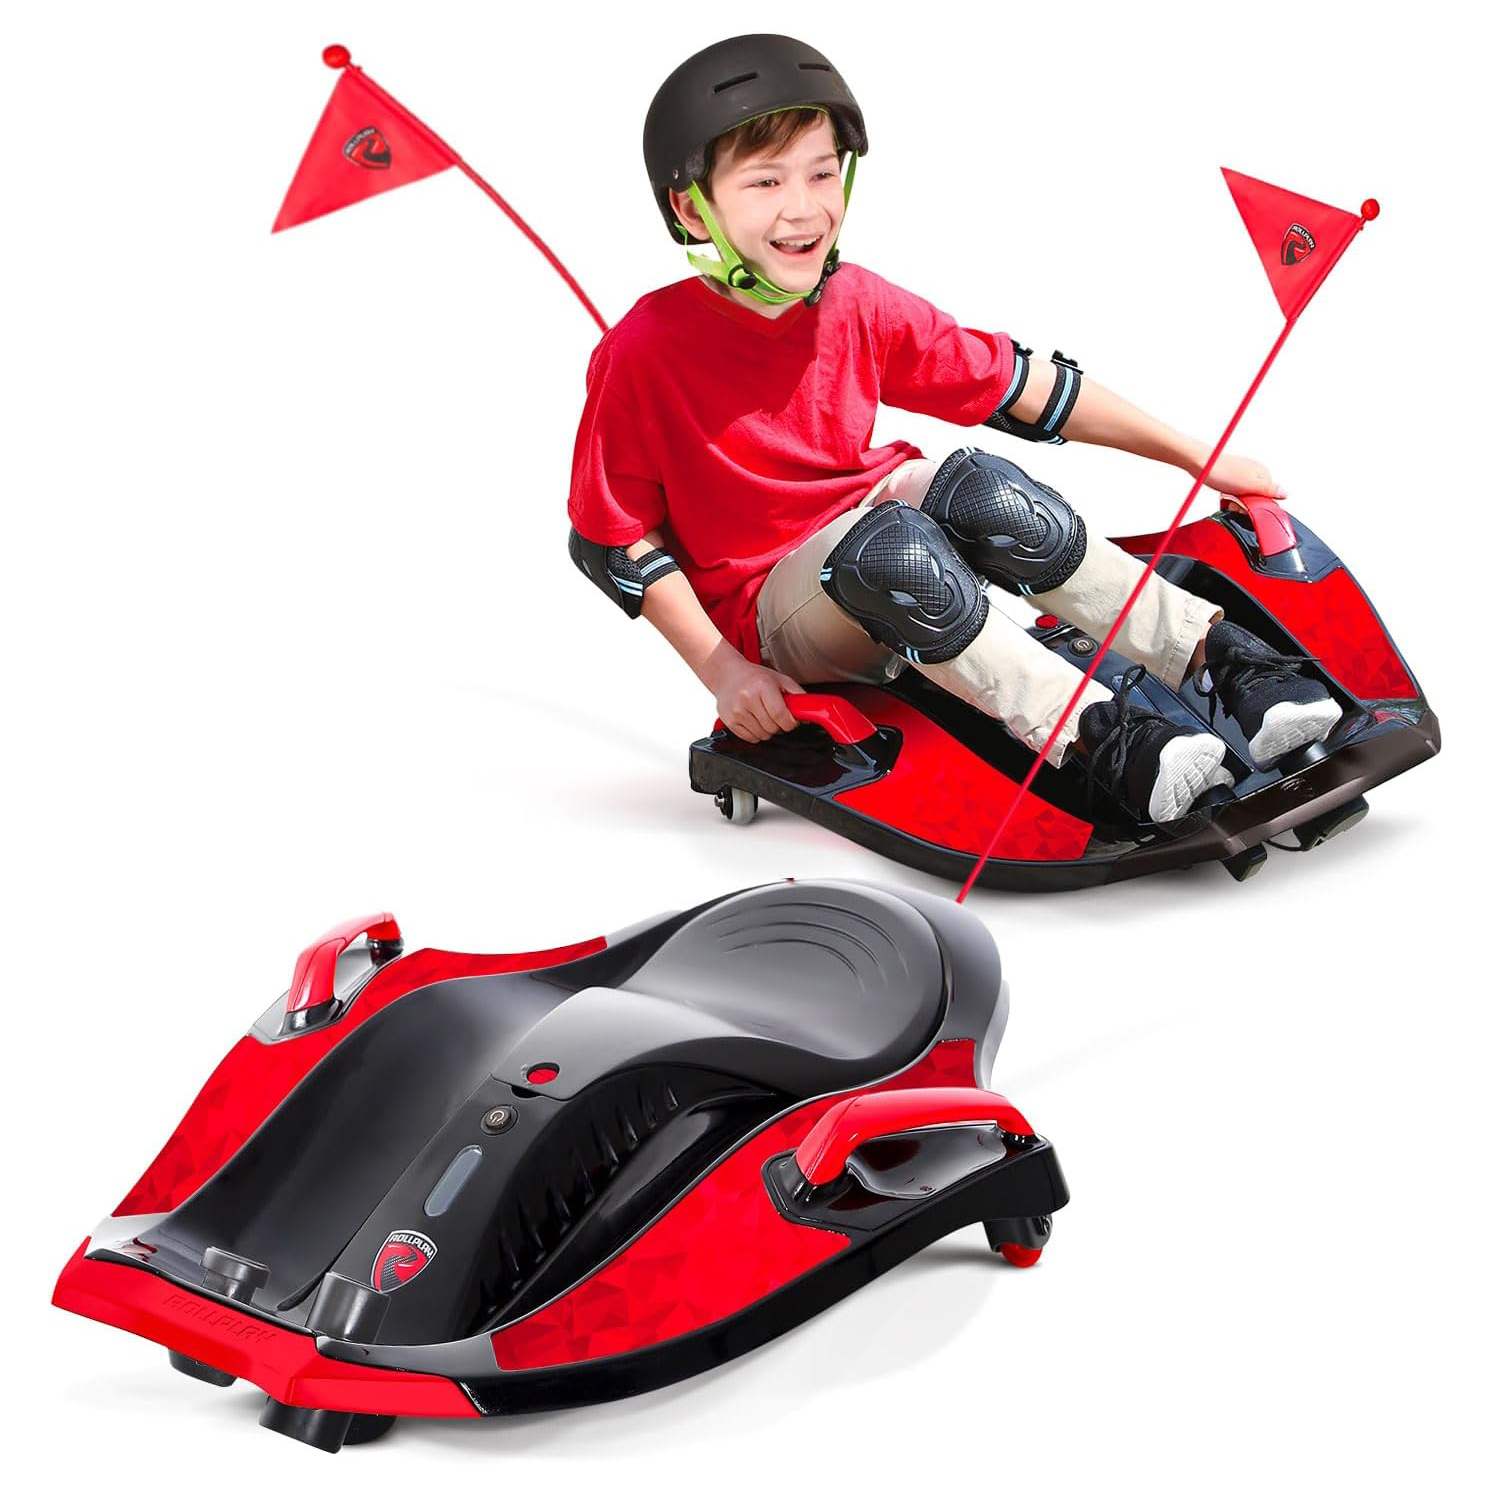
outdoor go kart

Electric Ride On with Top Speed of 6.5 MPH

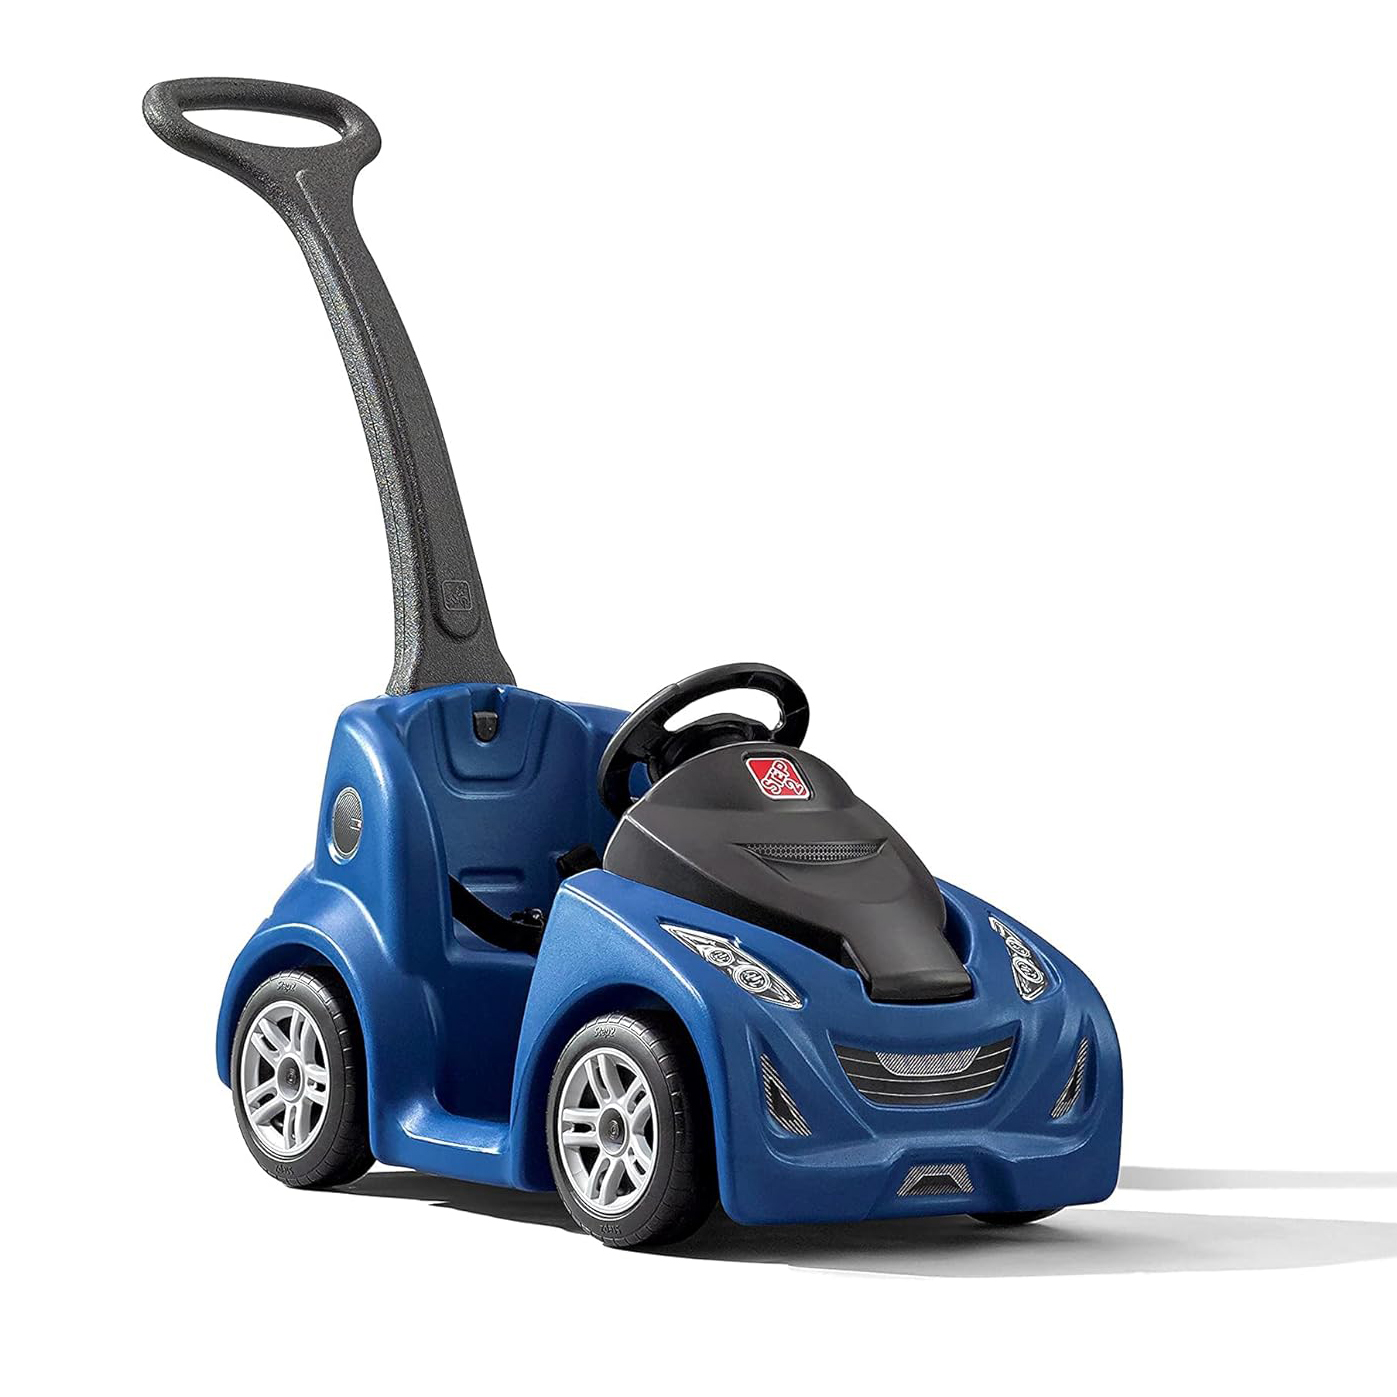
outdoor play ride on

Push Buggy for Toddlers

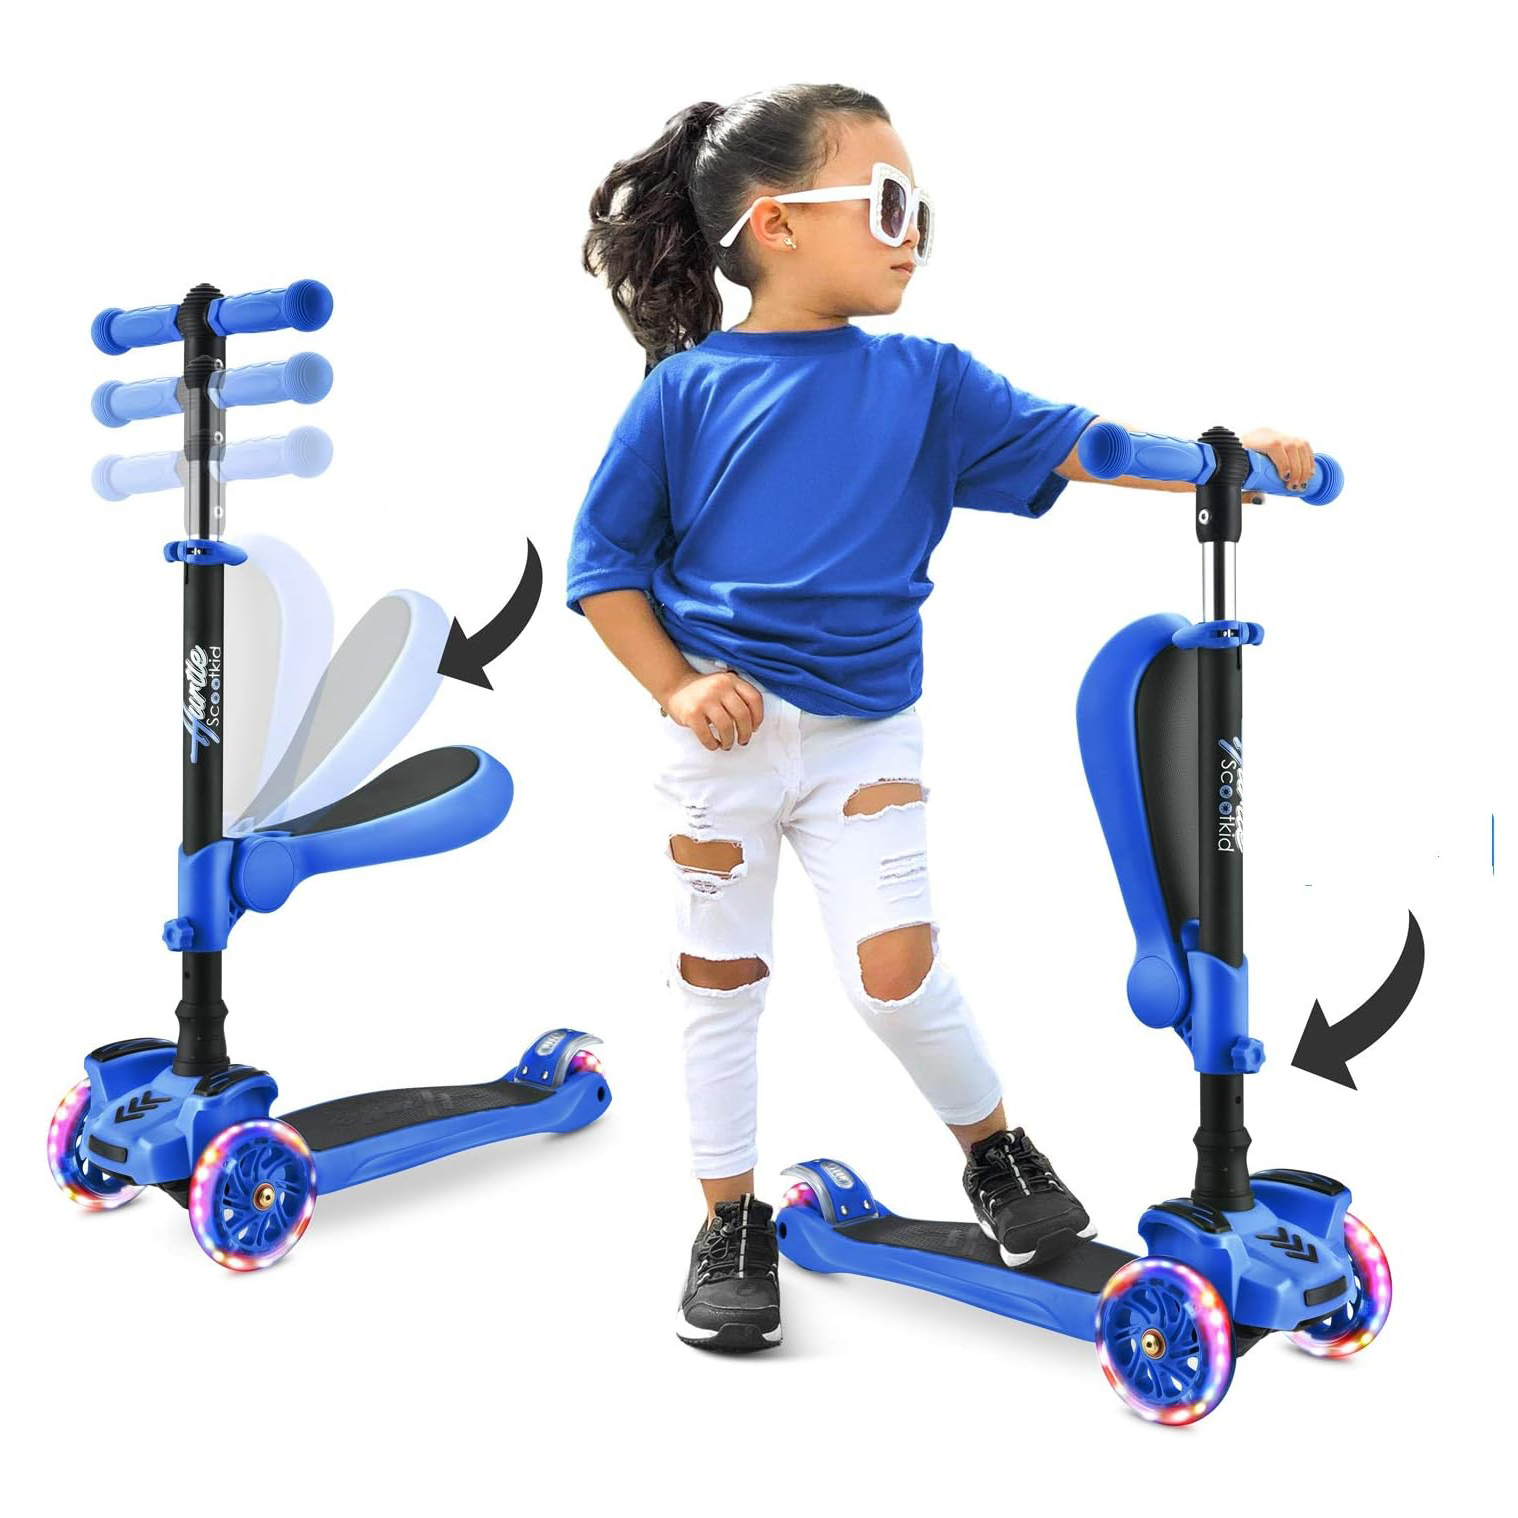
gross motor skills scooter outdoor play

Scooter with Adjustable Seat Support

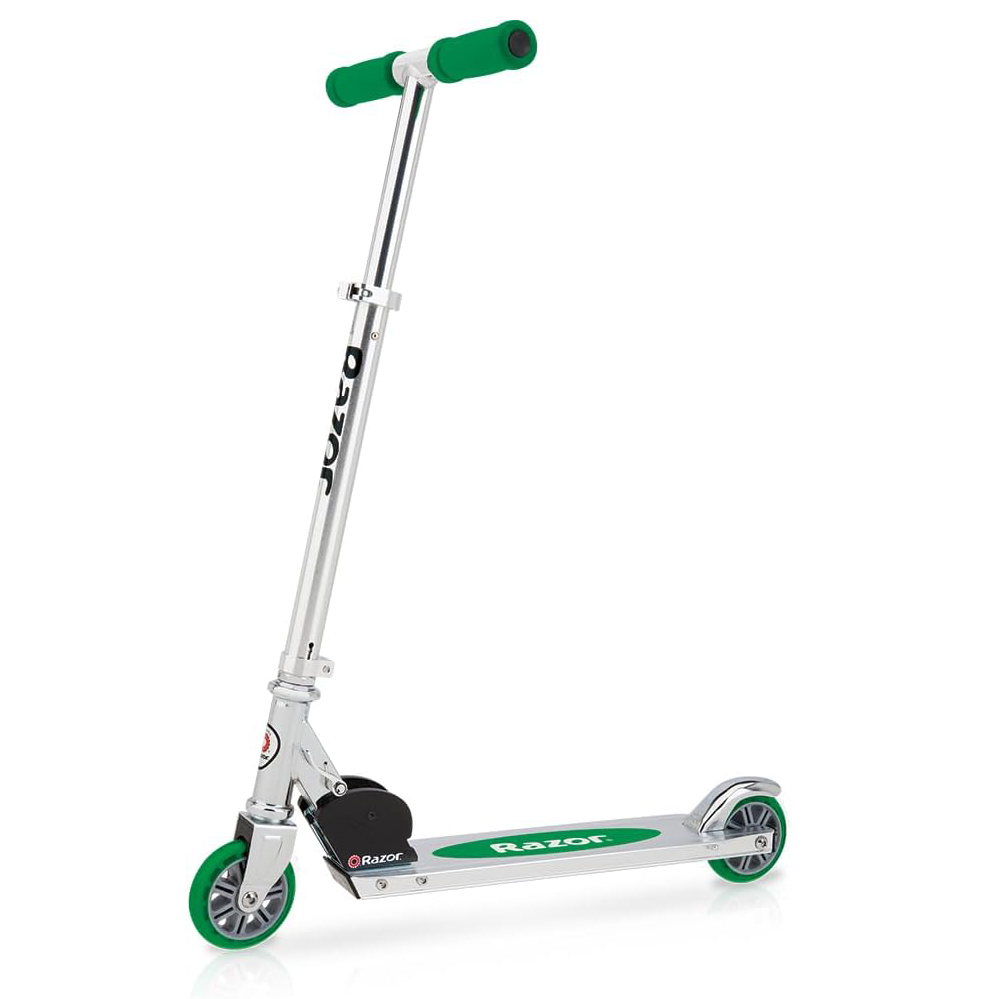
gross motor skills scooter outdoor play

Classic Scooter

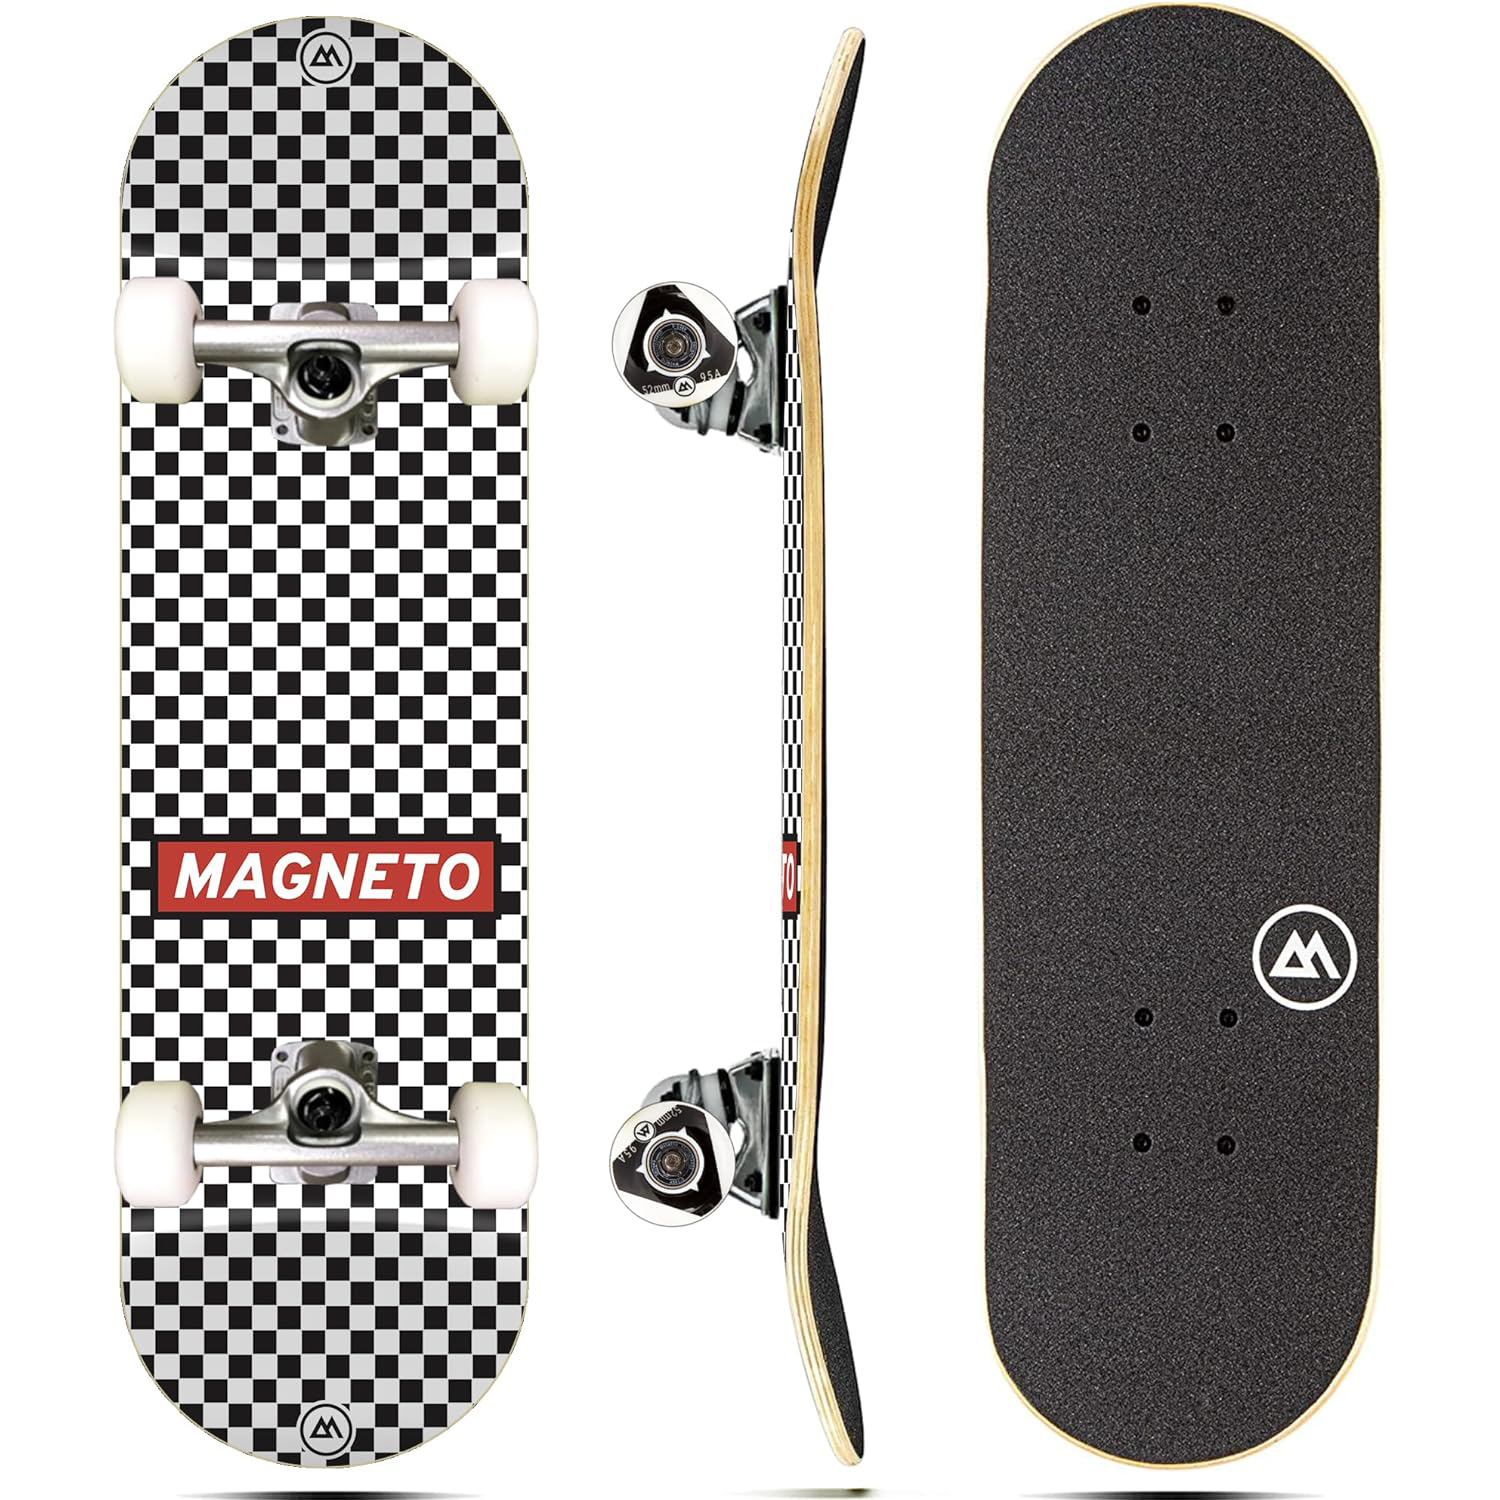
outdoor play skateboard

Skateboard

outdoor play roller skating

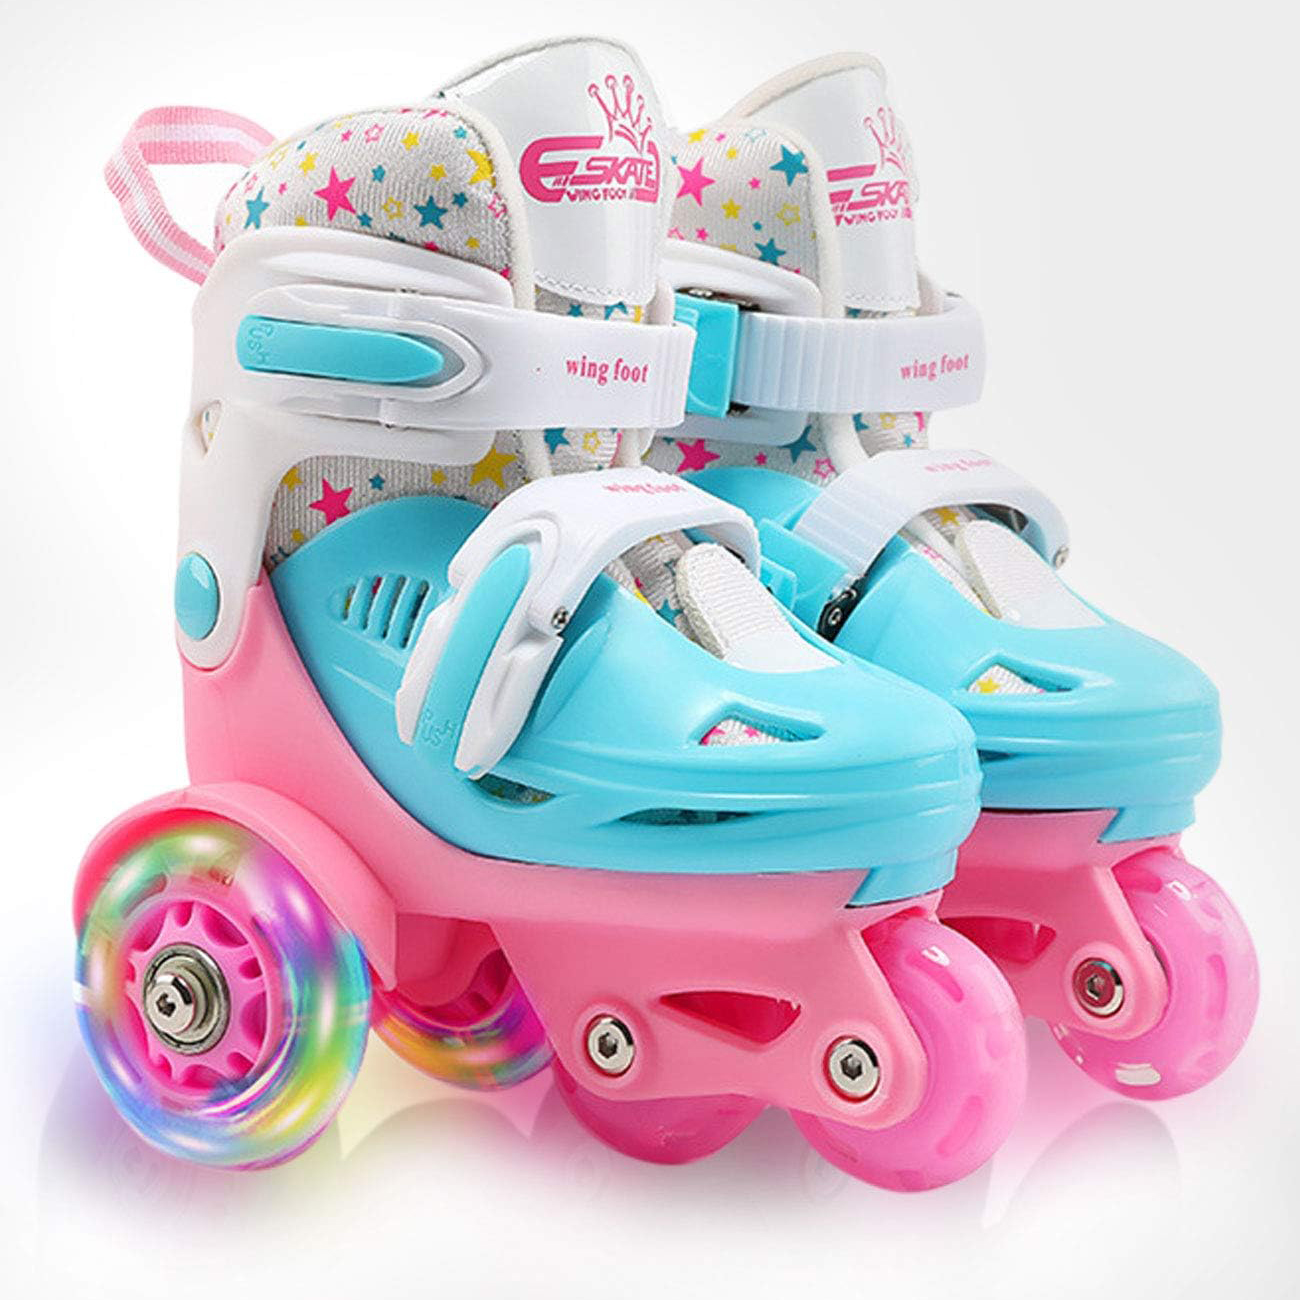
Roller Skates

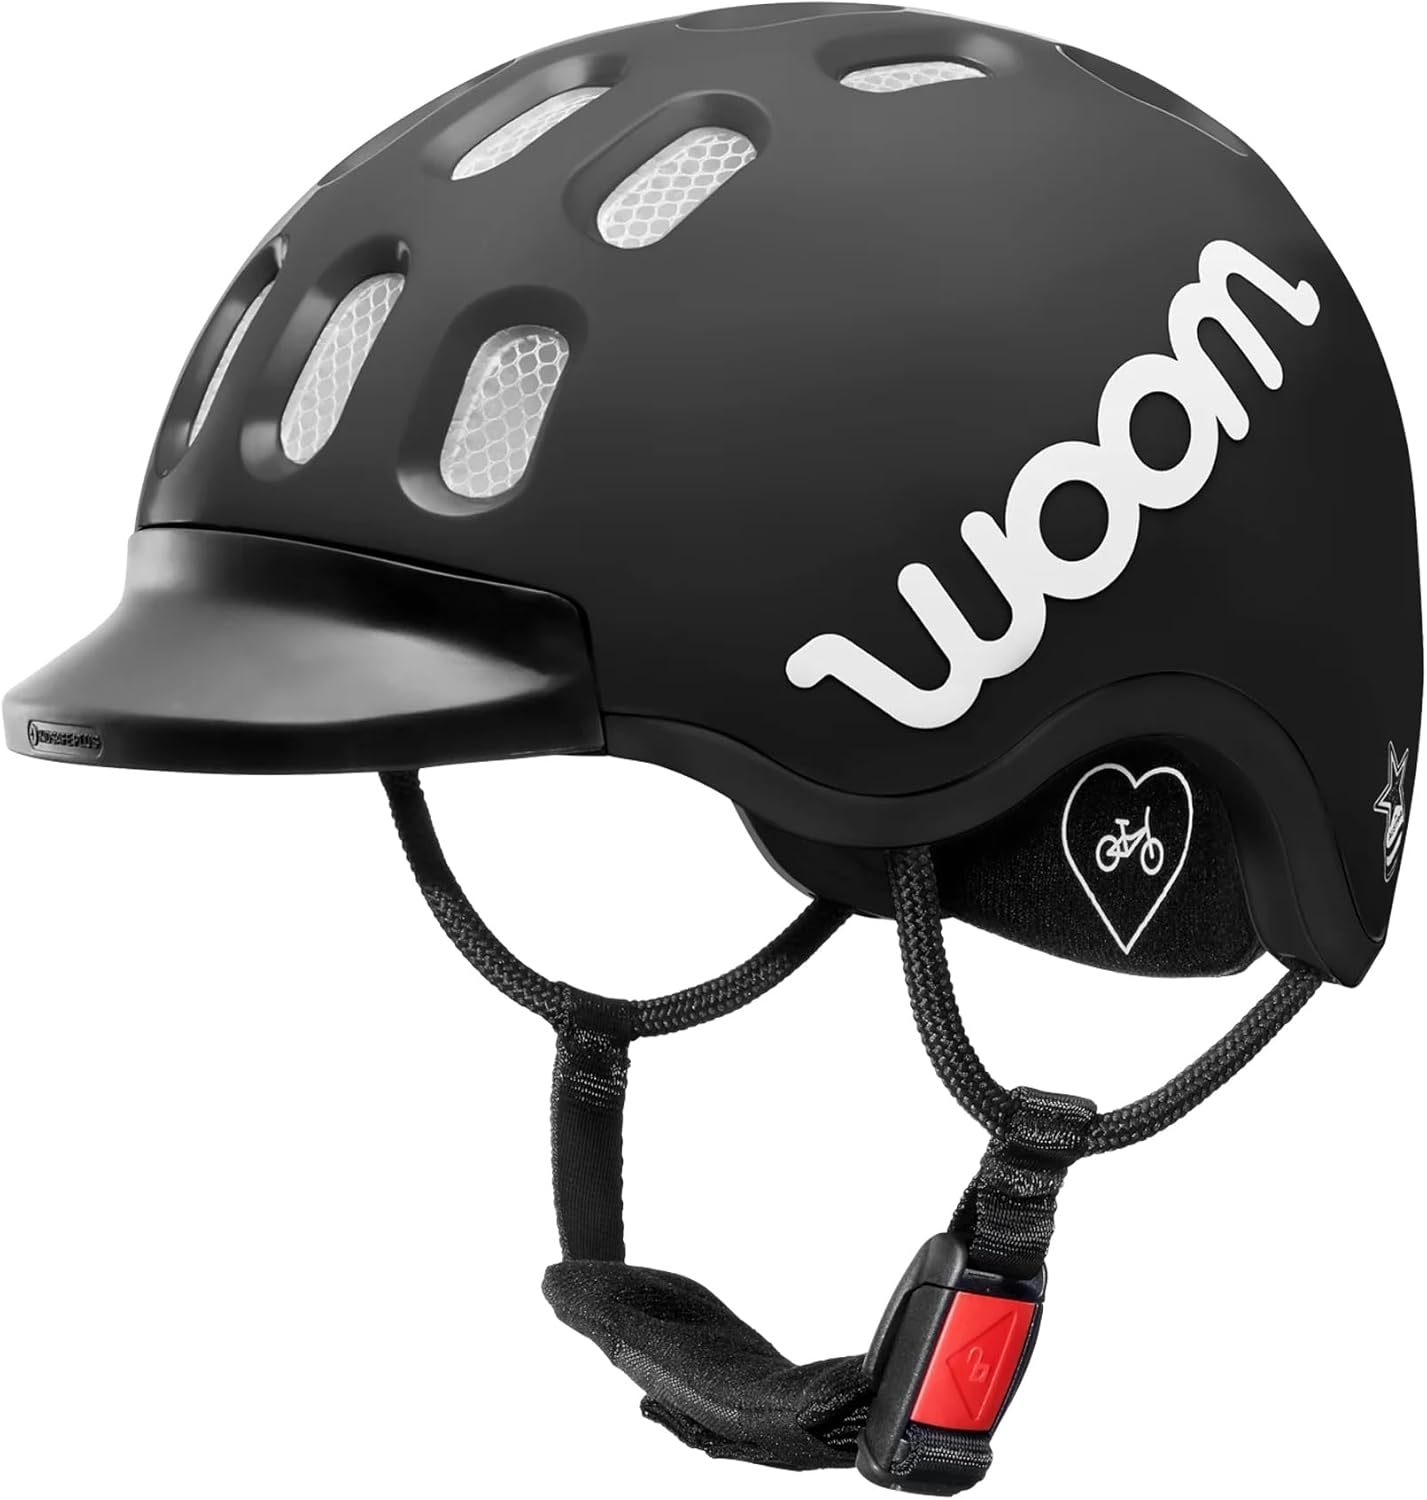
helmet biking kids

Helmet

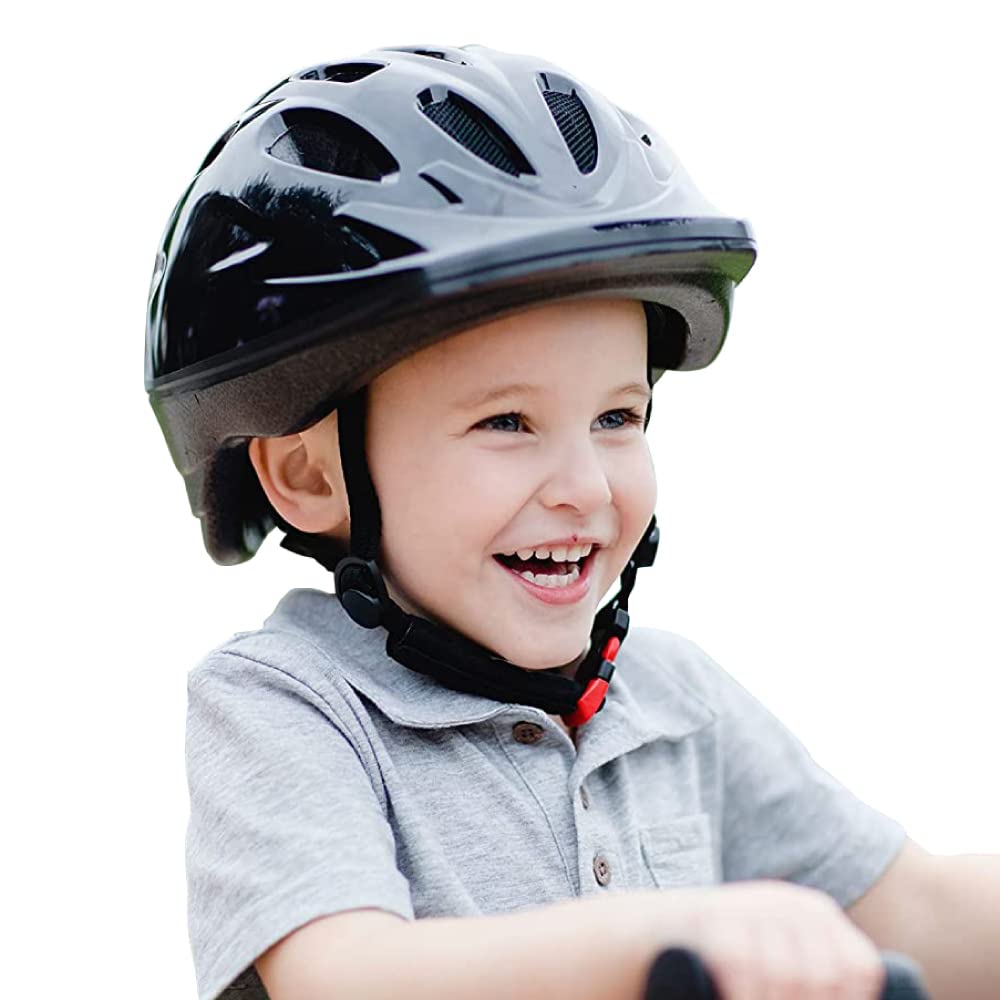
outdoor play helmet

Helmet – This one is great for little heads!

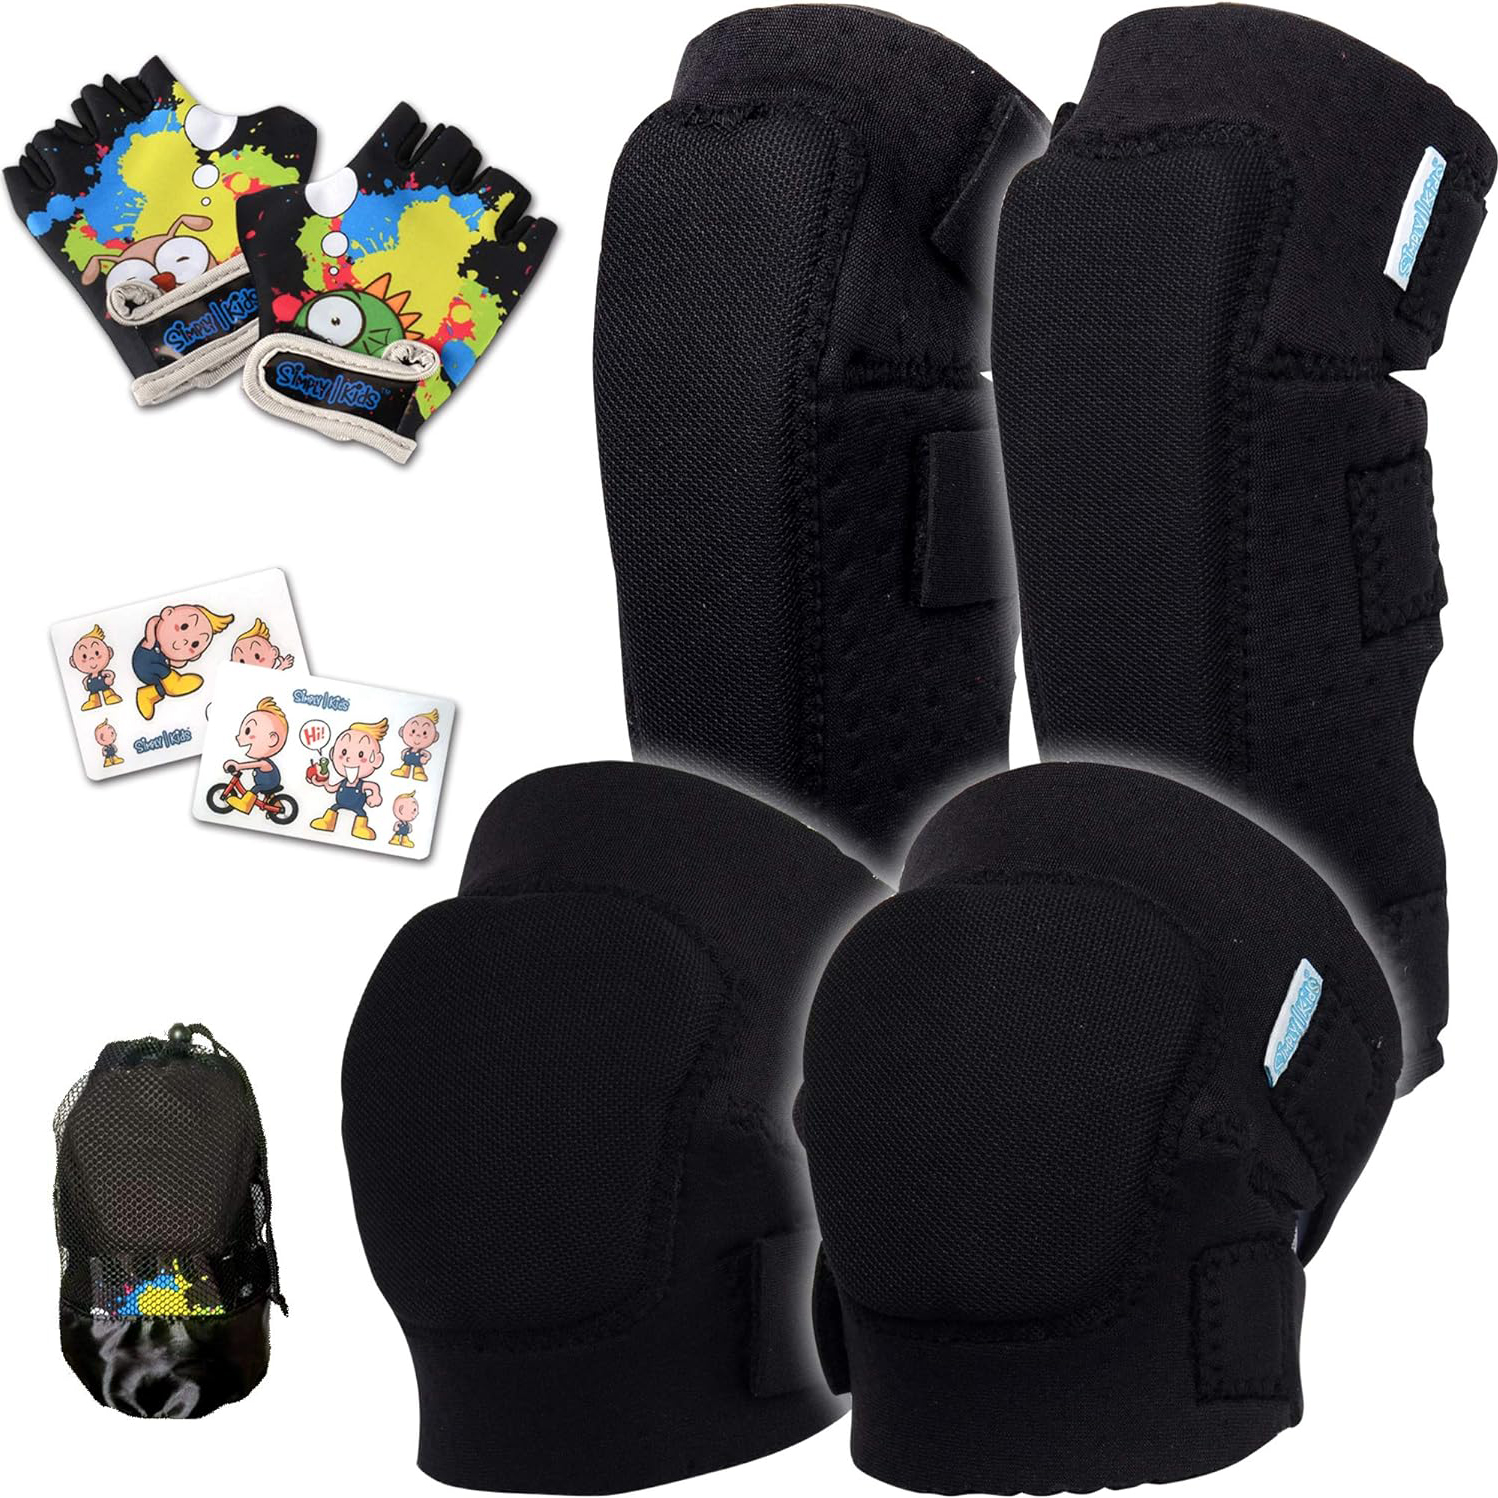
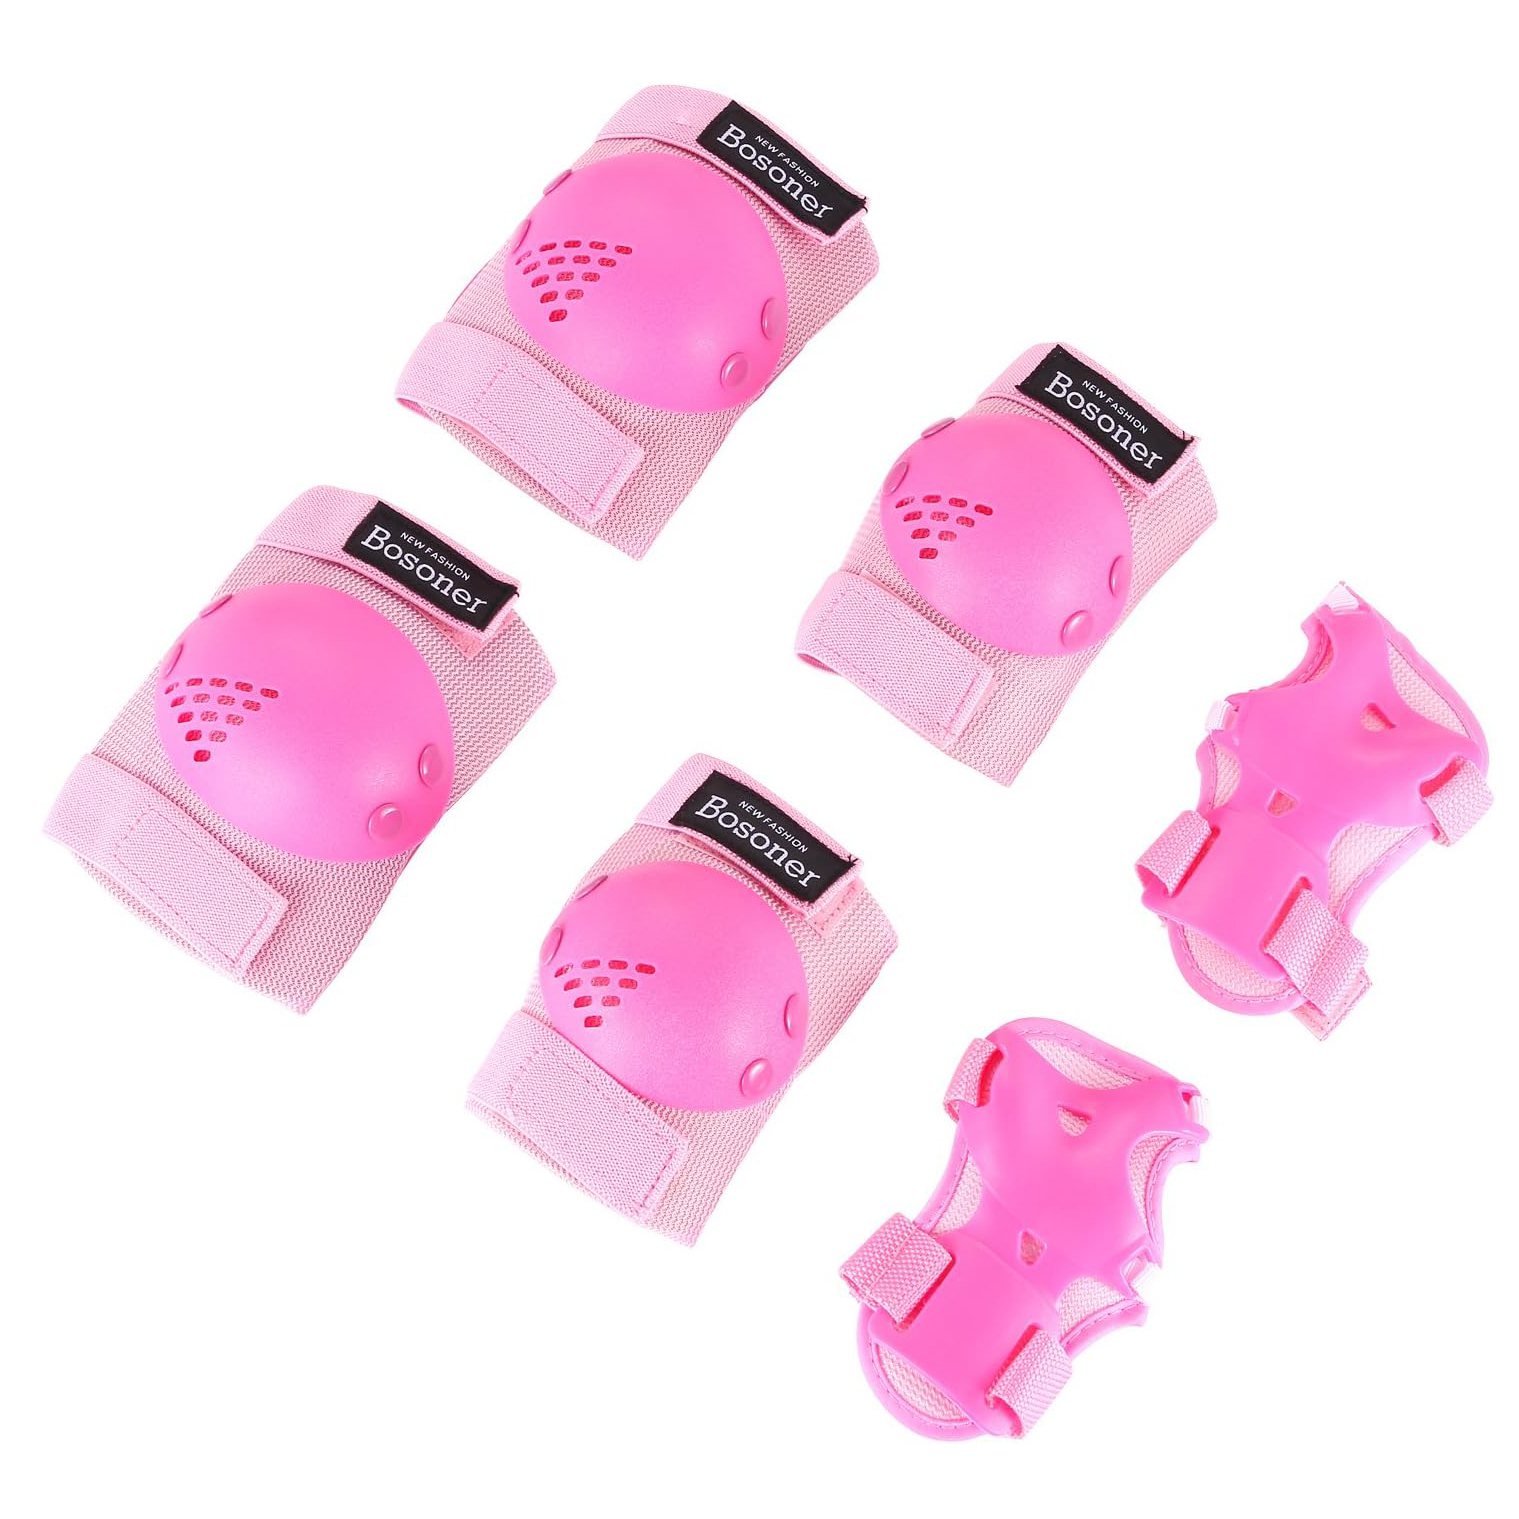
outdoor play protective pads

Protective Pads

outdoor play protective pads

Protective Pad

Game On: Top Outdoor Games and Art for Endless Entertainment

From classic favorites to exciting new challenges, our Games section offers a variety of outdoor entertainment options for kids of all ages. Get ready for hours of laughter and friendly competition with these engaging activities and art gear.

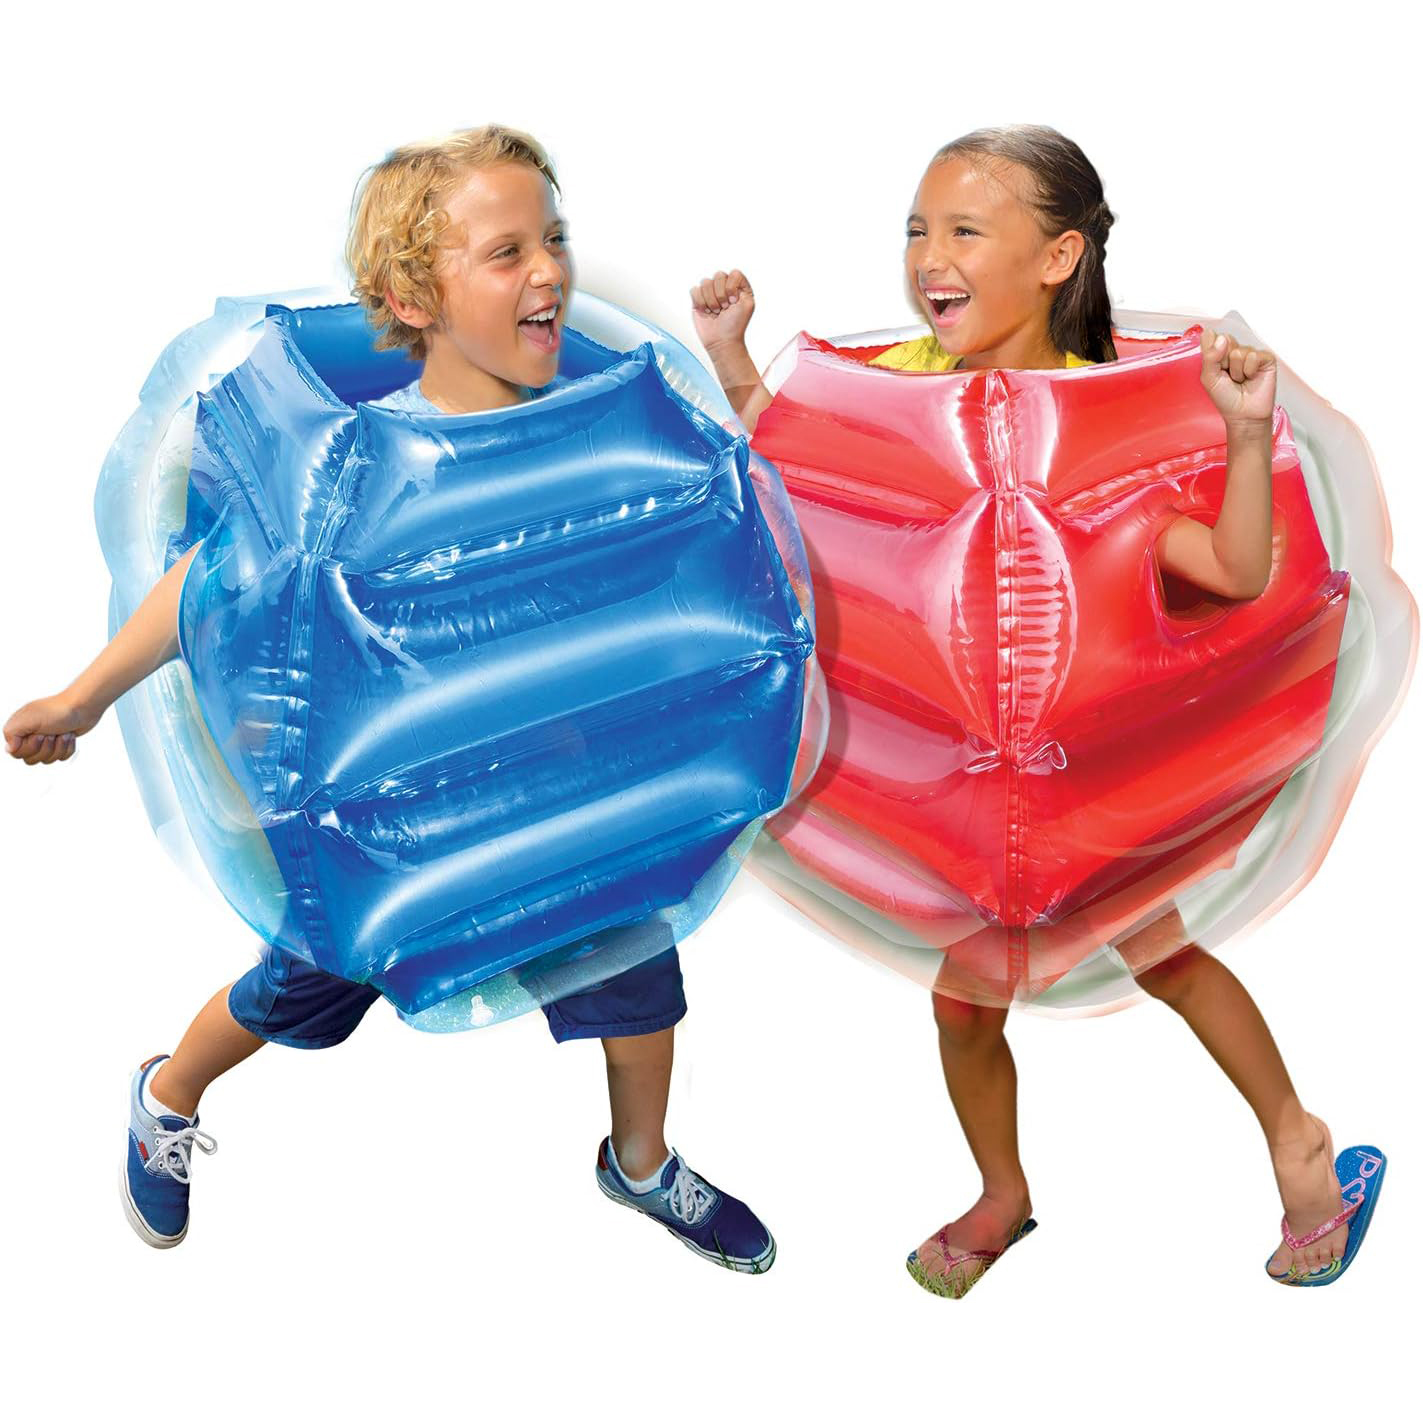
fun outdoor toys for kids - game

Inflatable Body Bump Game!

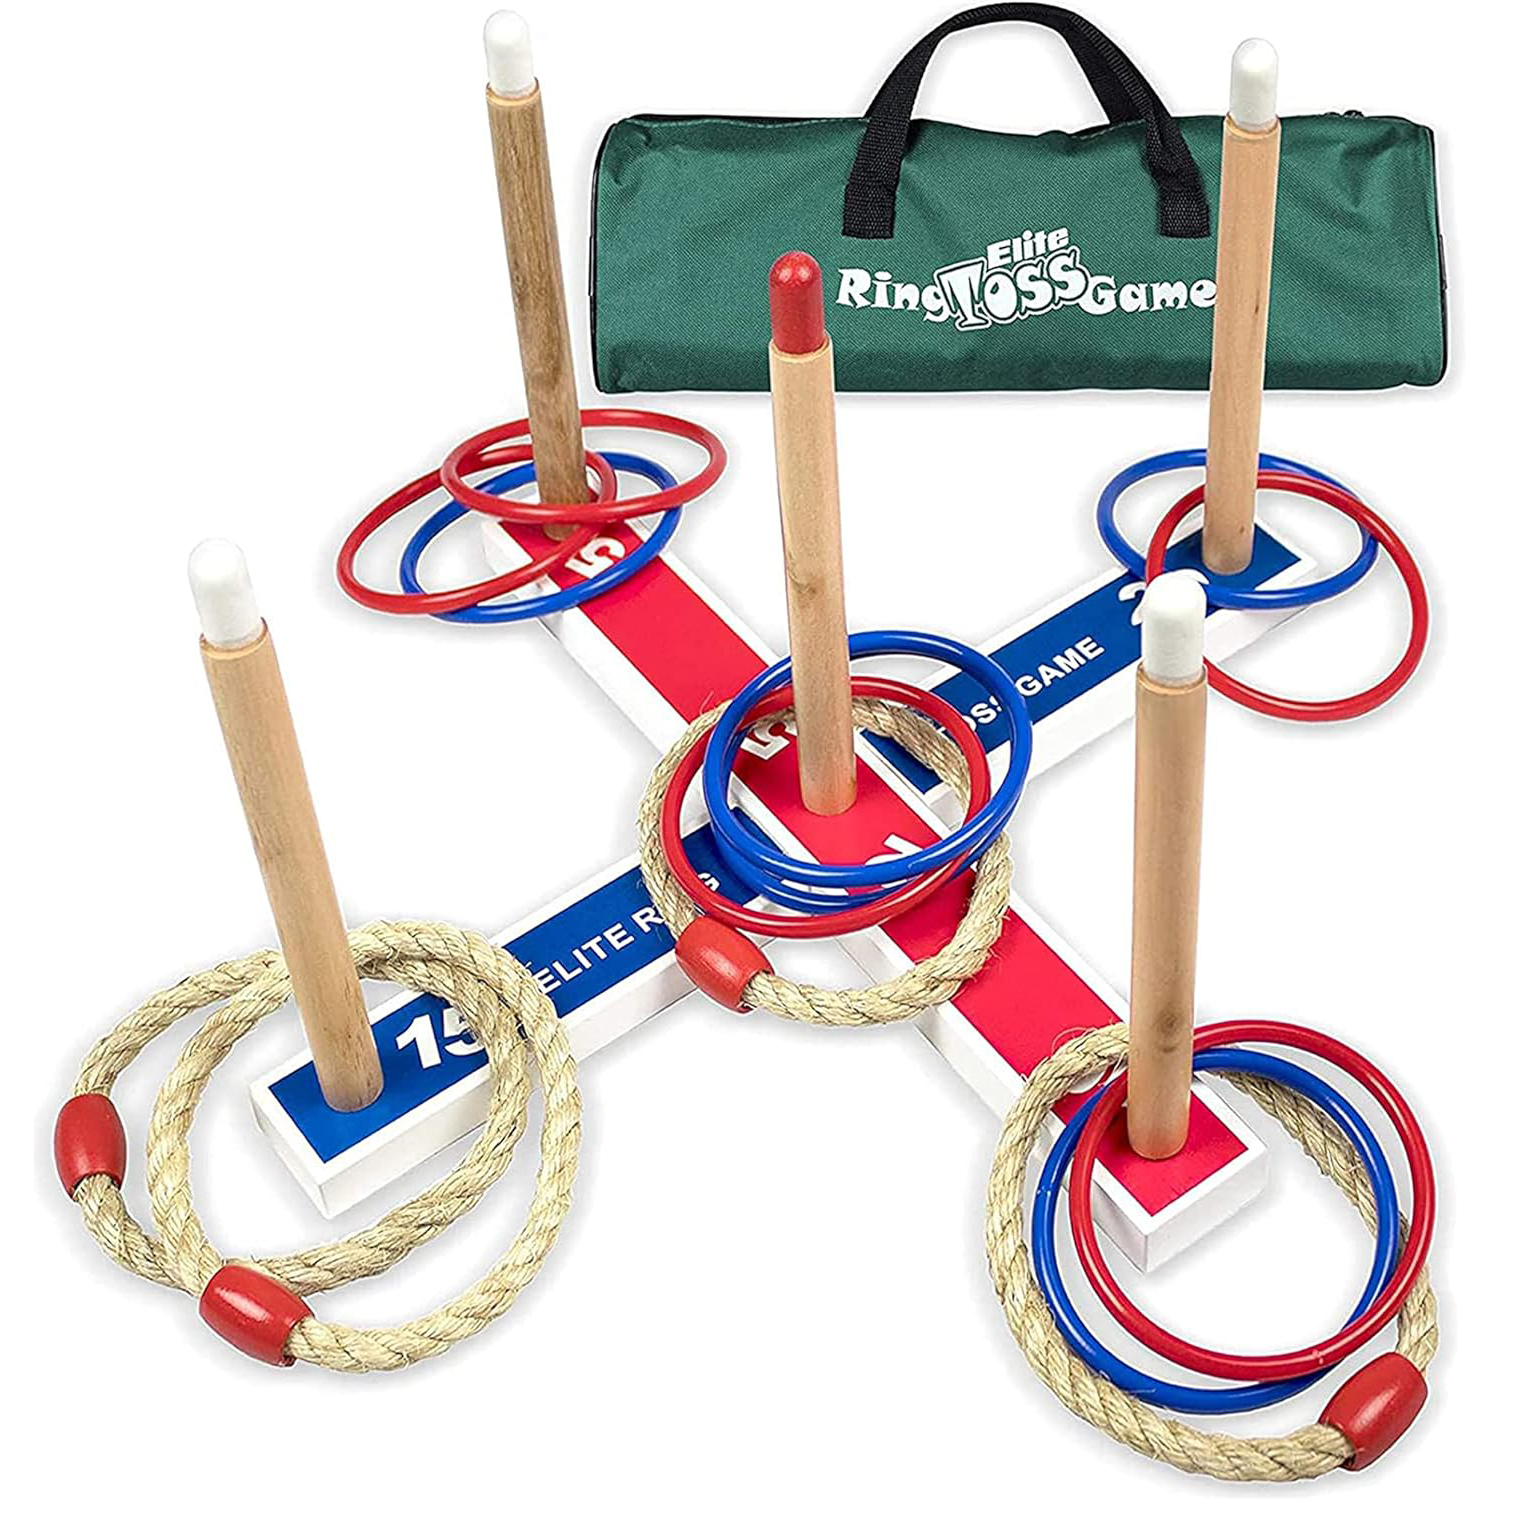
fun outdoor toys for kids - game

Ring Toss Game

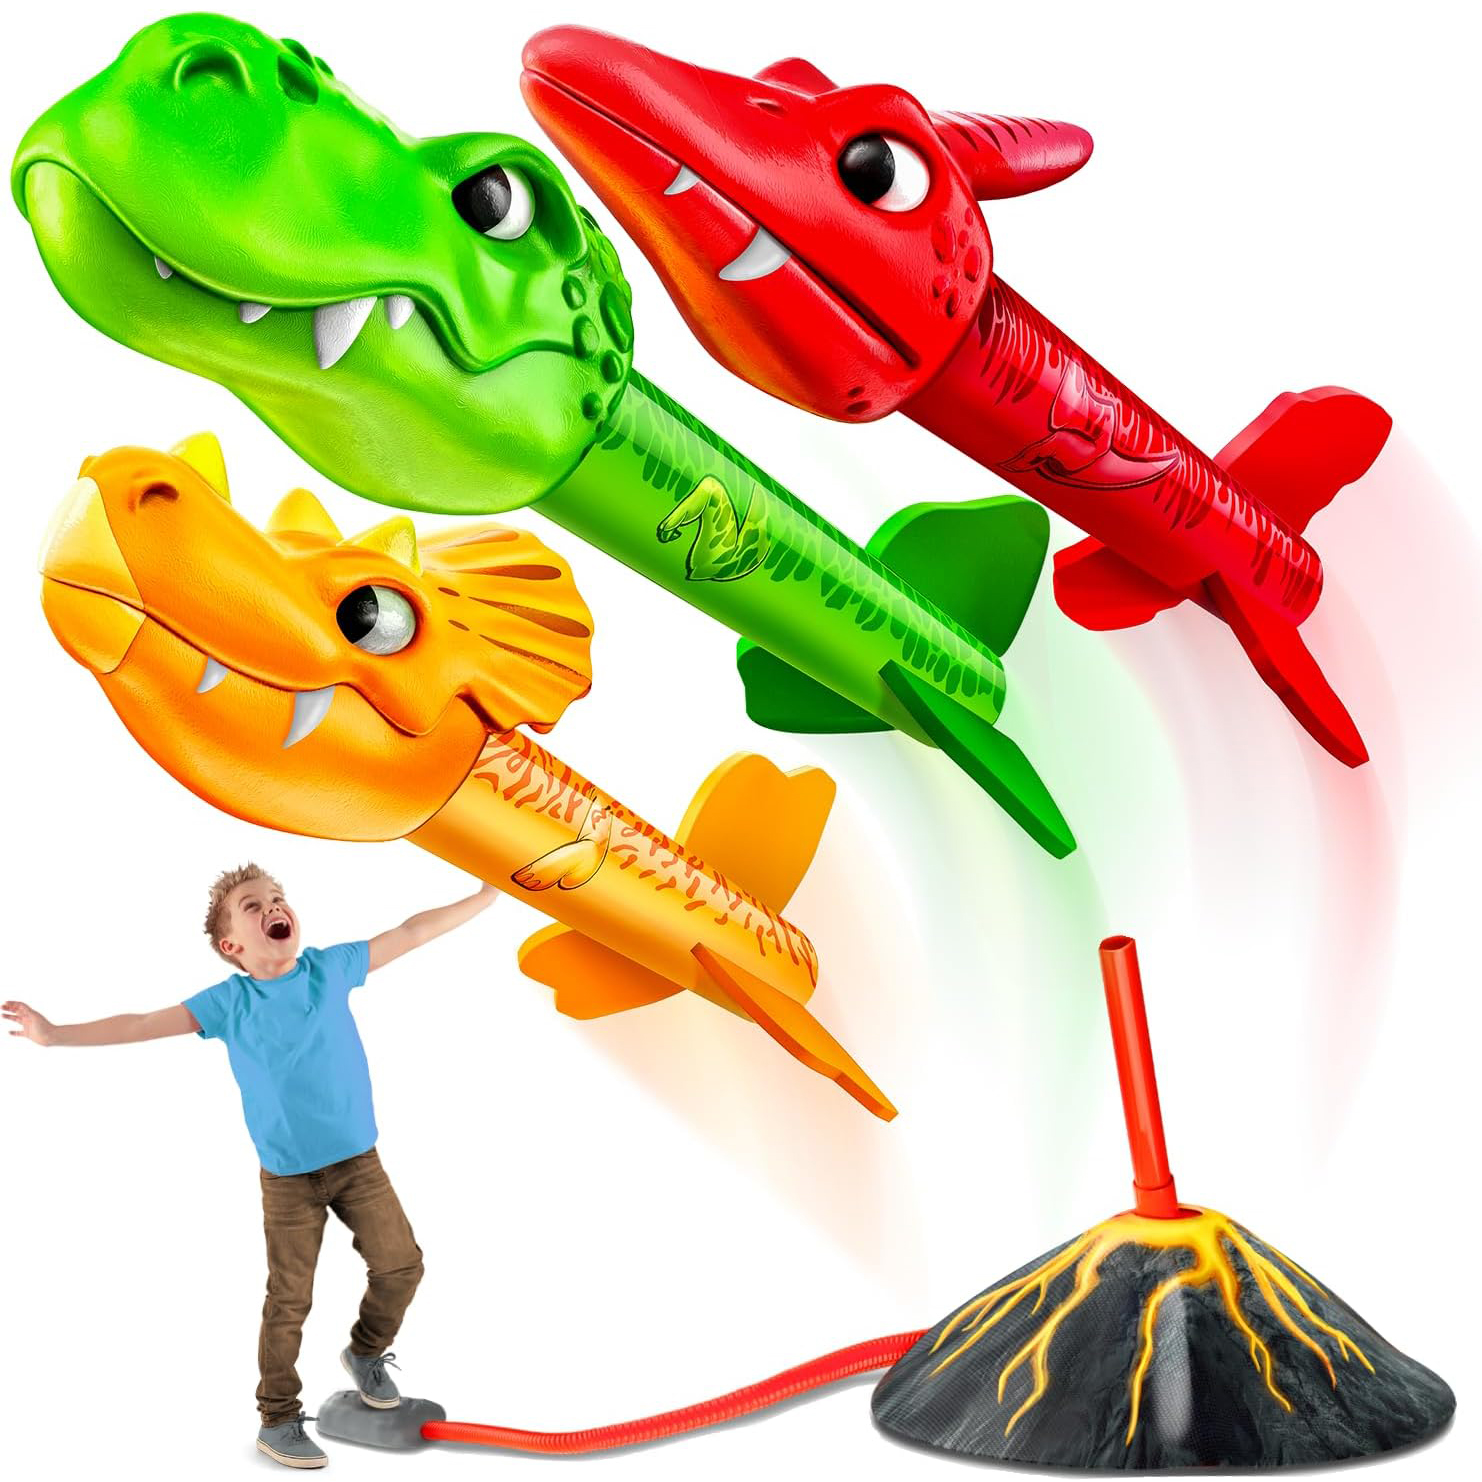
fun outdoor toys for kids - rocket launch

Dinosaur Themed Rocket Launcher

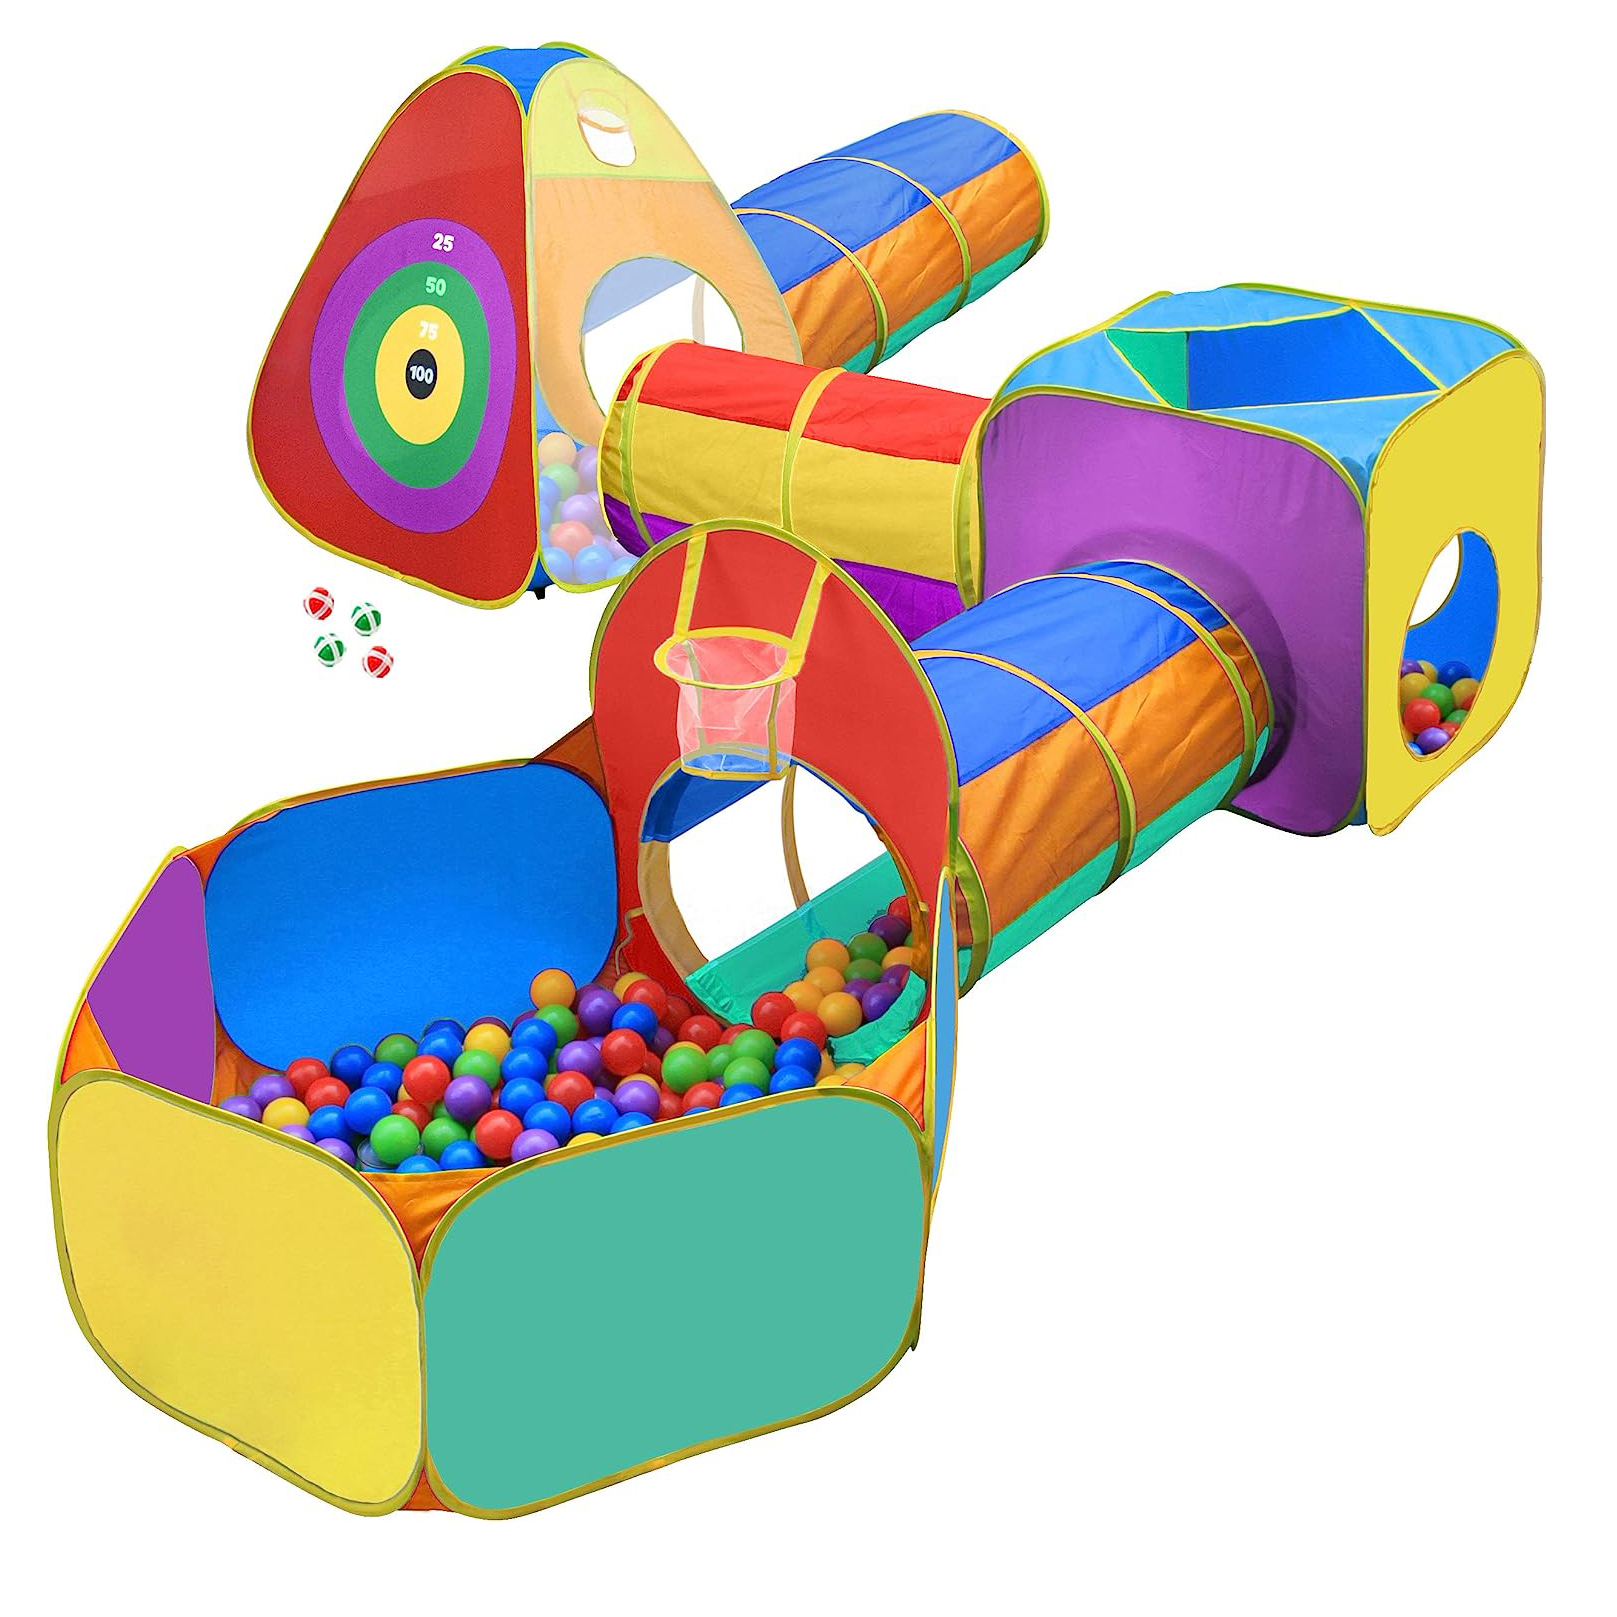
gross motor skills tunnel

Pop Up Tunnels and Tents

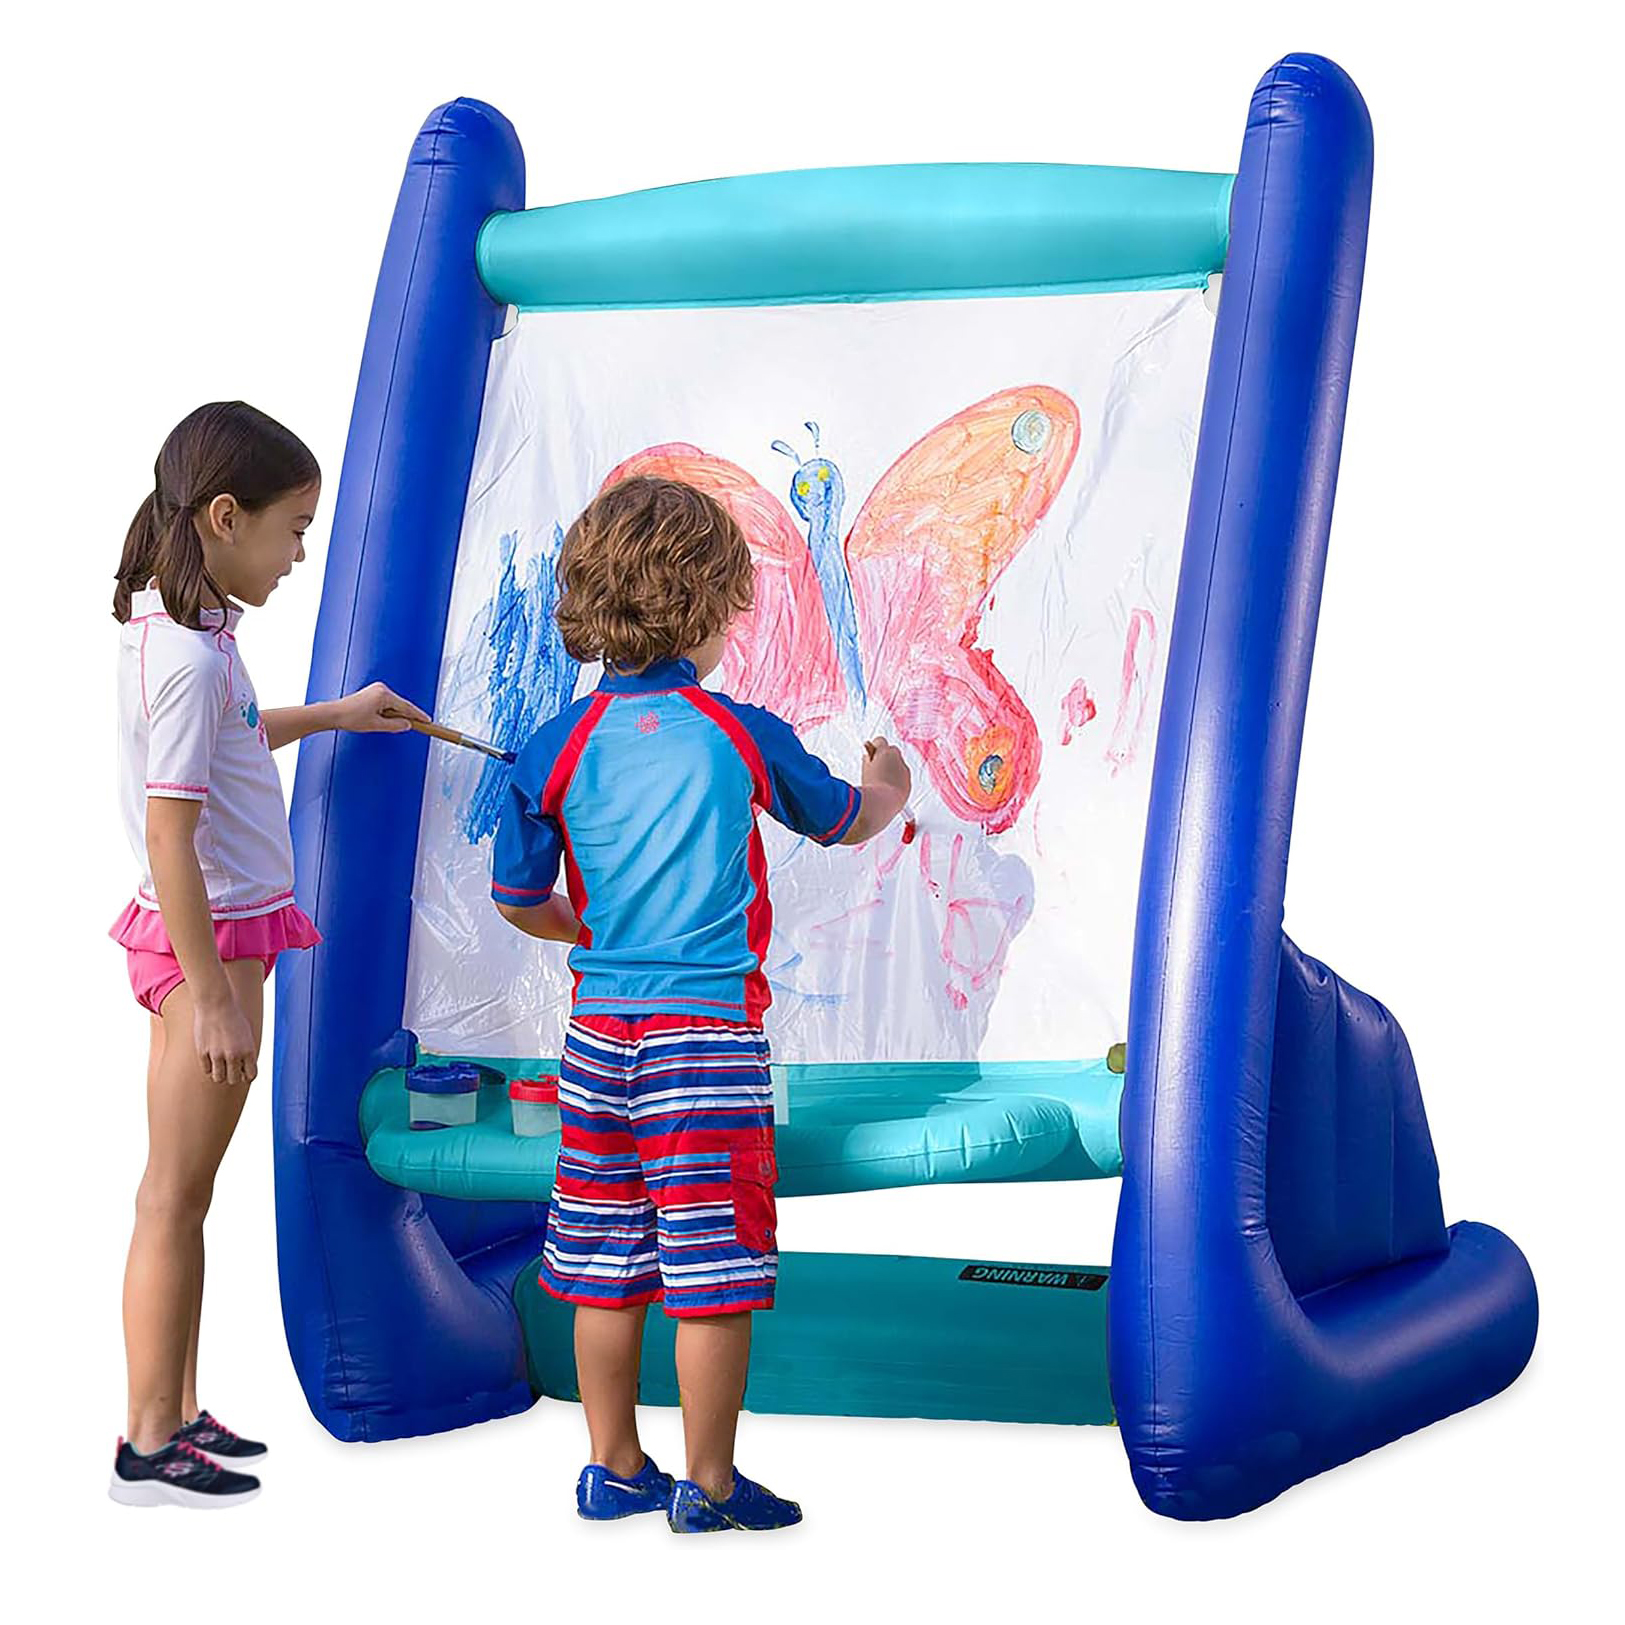
art inflatable easel outdoor play

Inflatable Easel

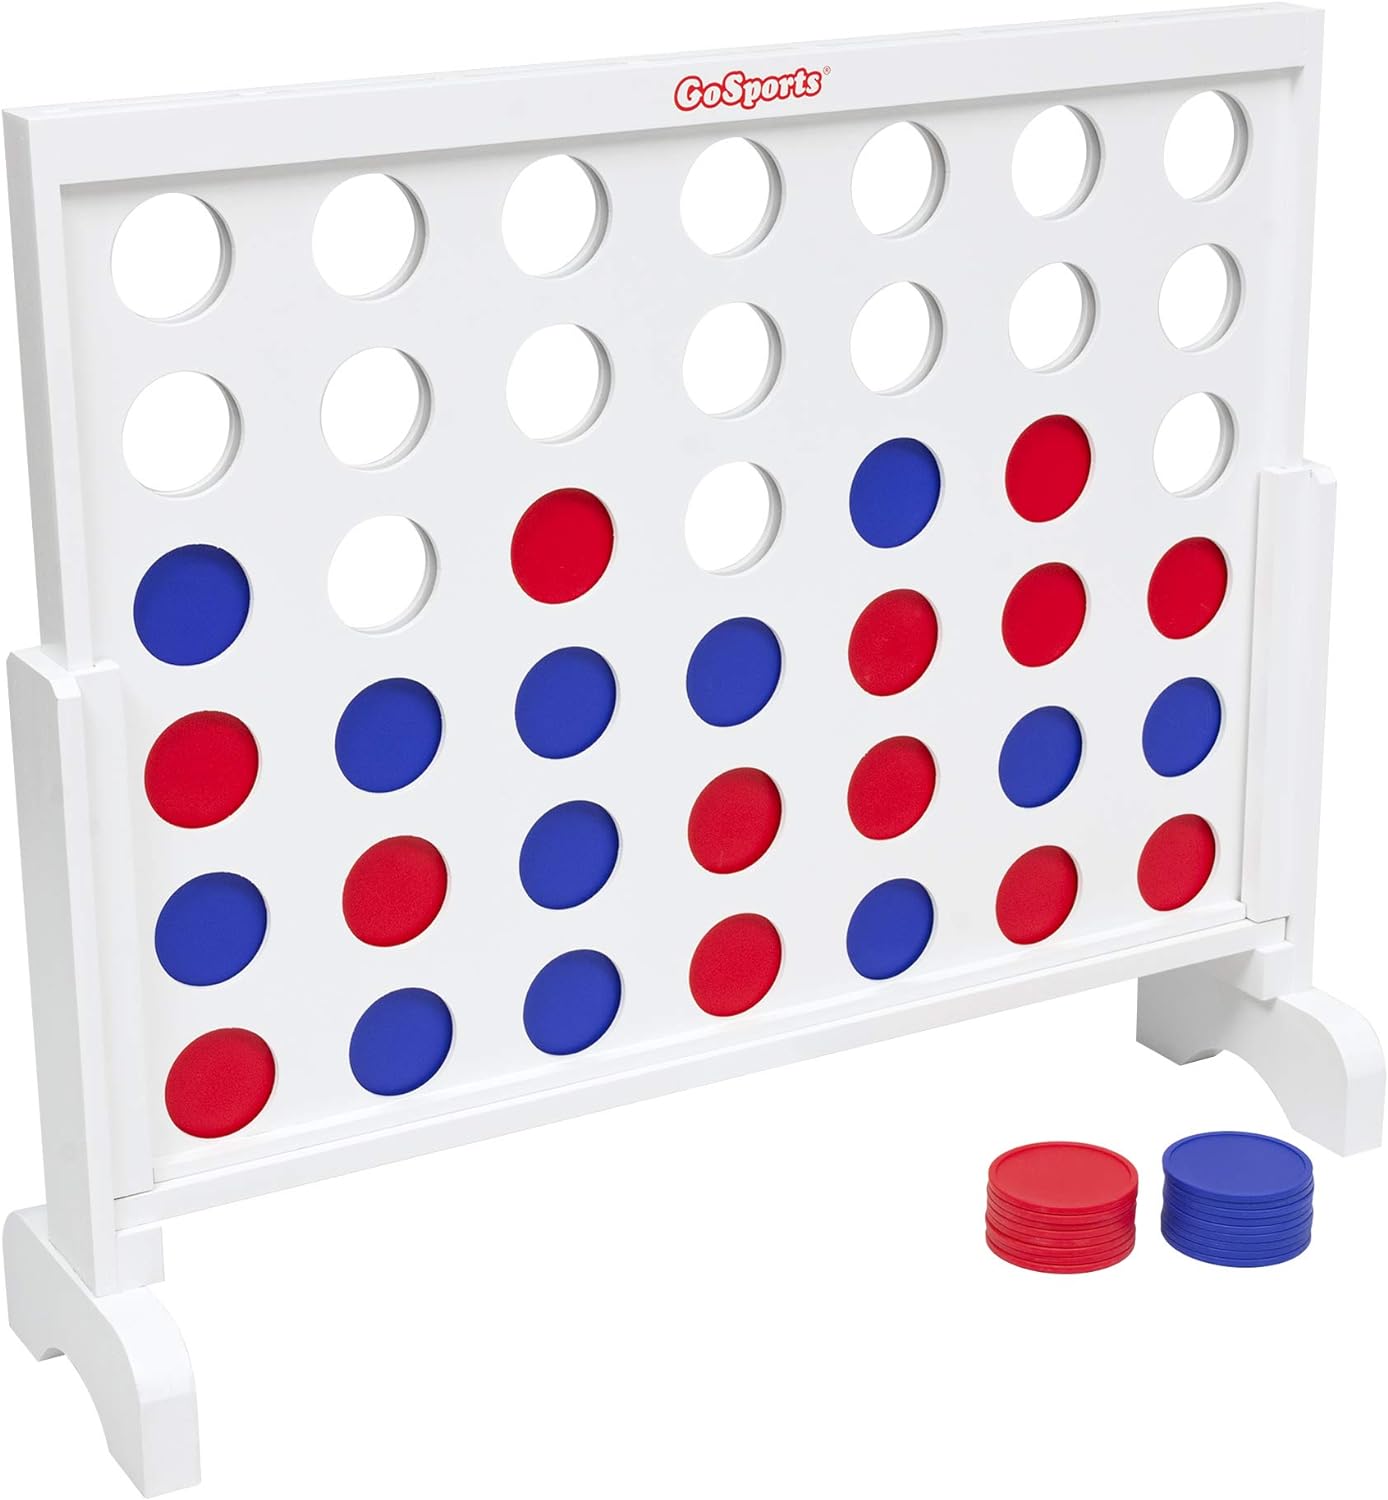
giant connect 4, outdoor toys and games

Jumbo Connect 4!

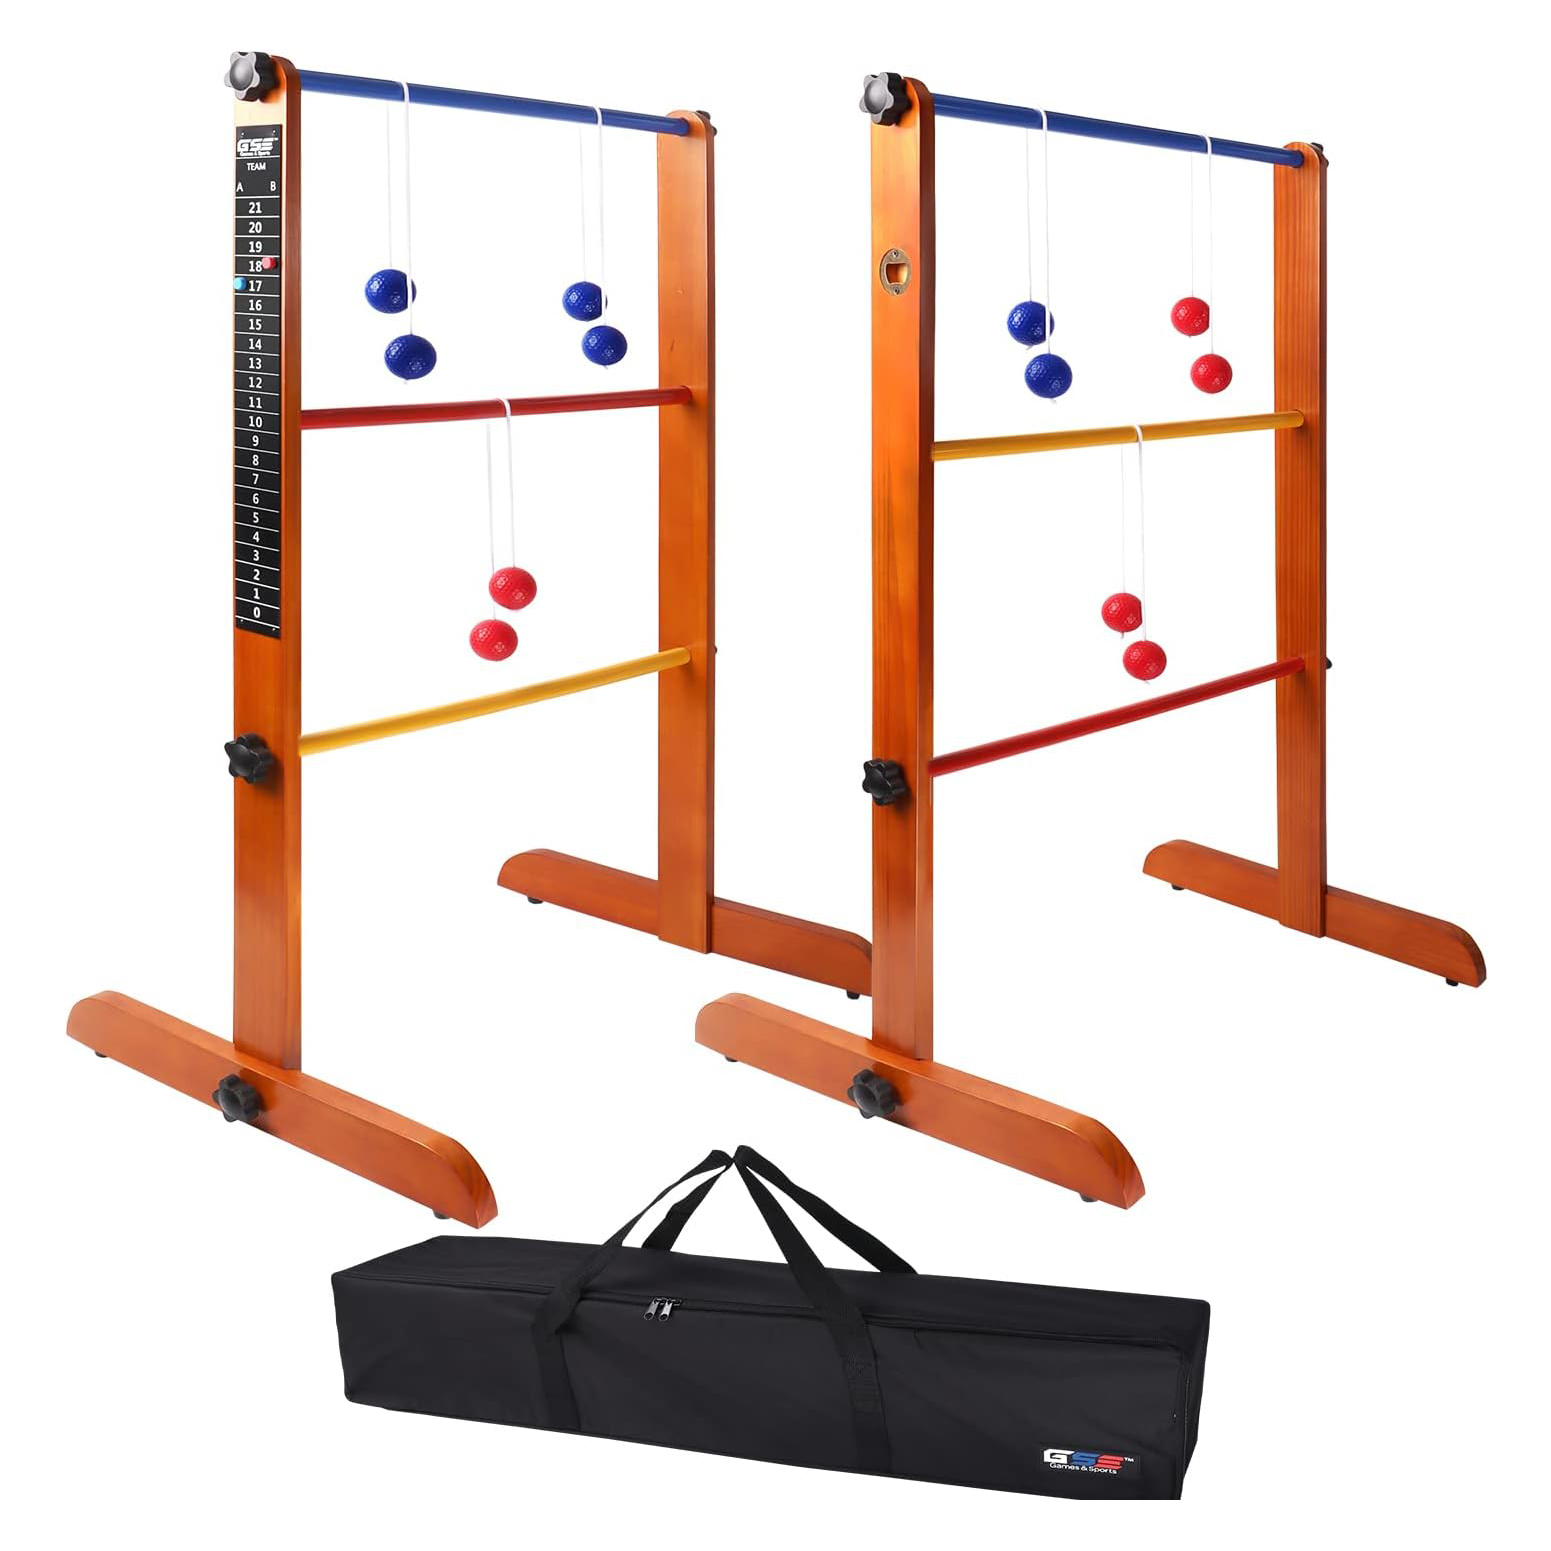
outdoor play game toss

Ladder Toss Game

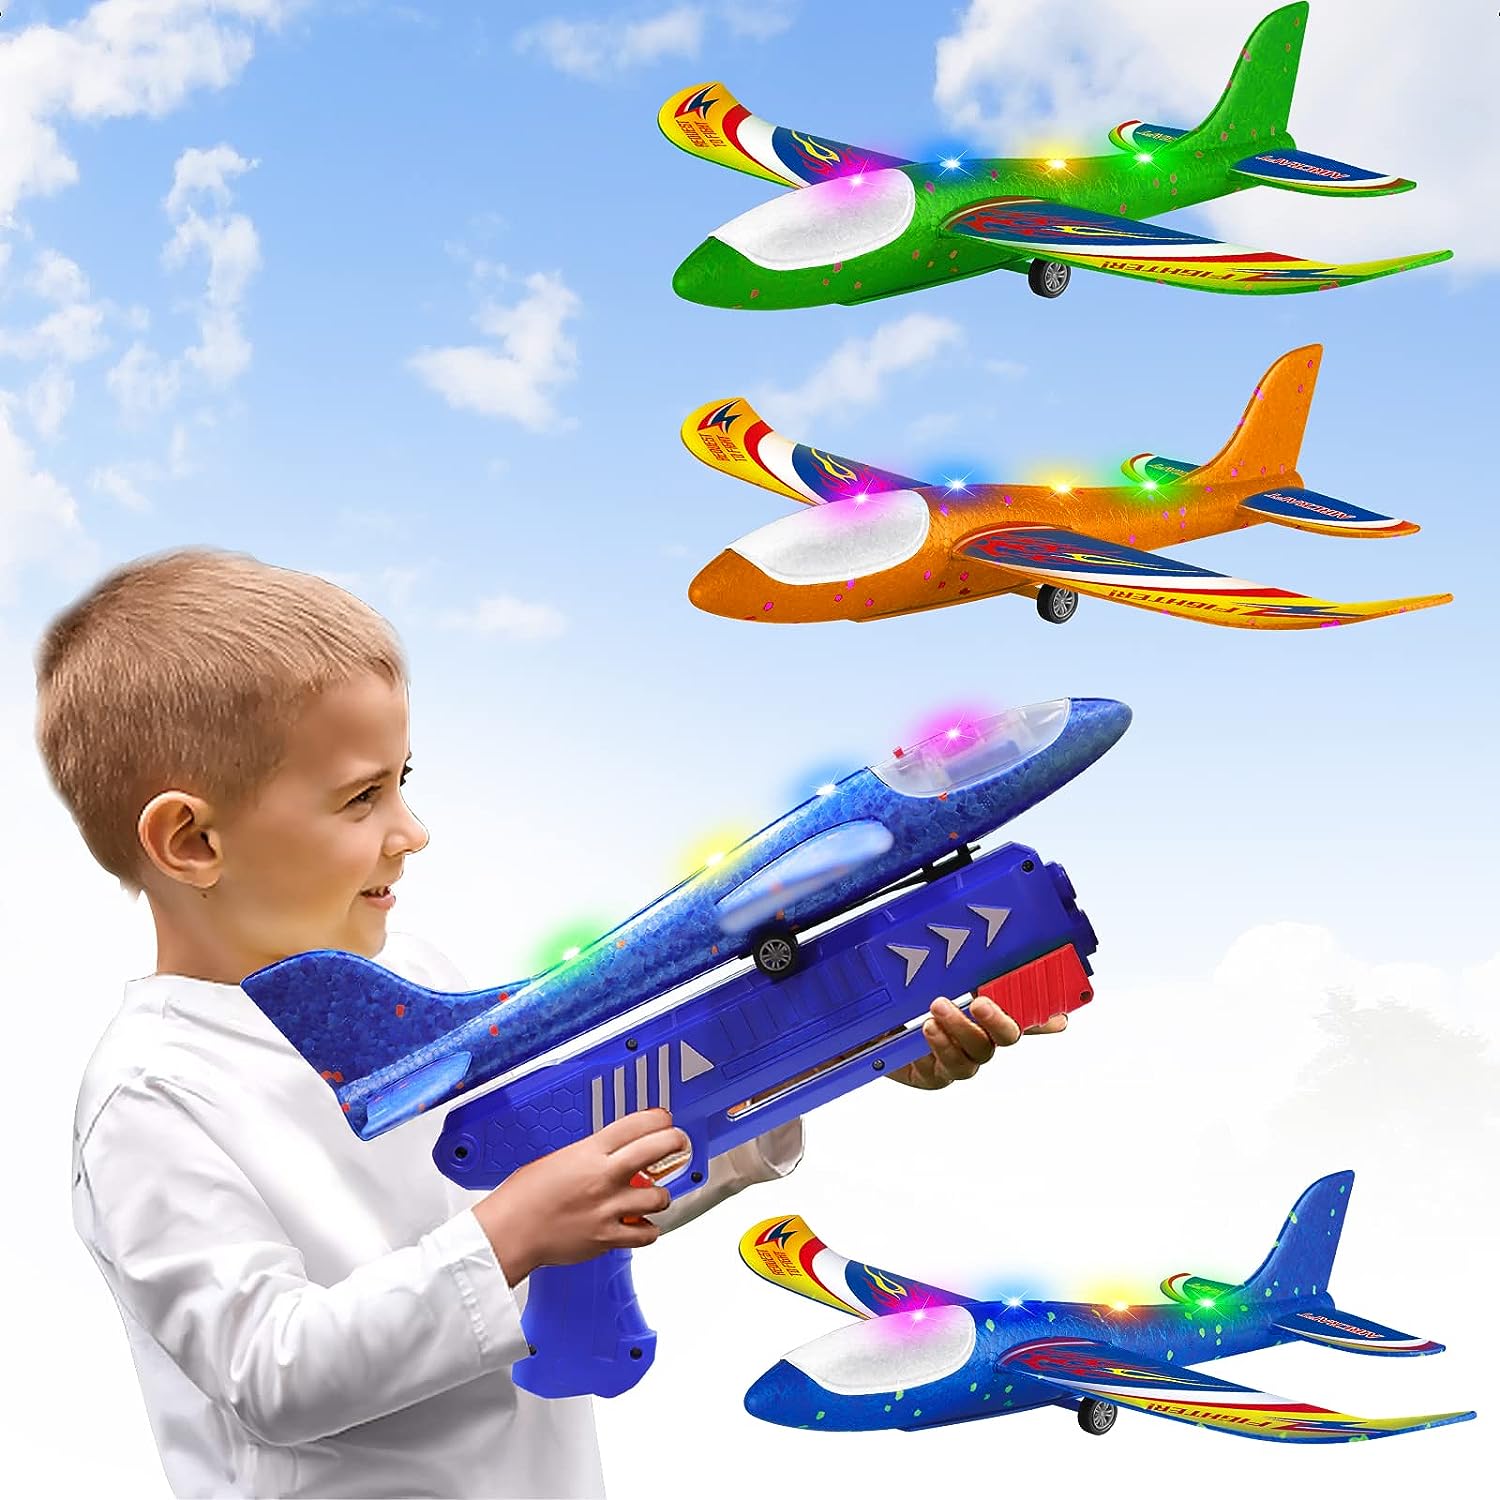
plane launcher outdoor toy

Plane Launcher

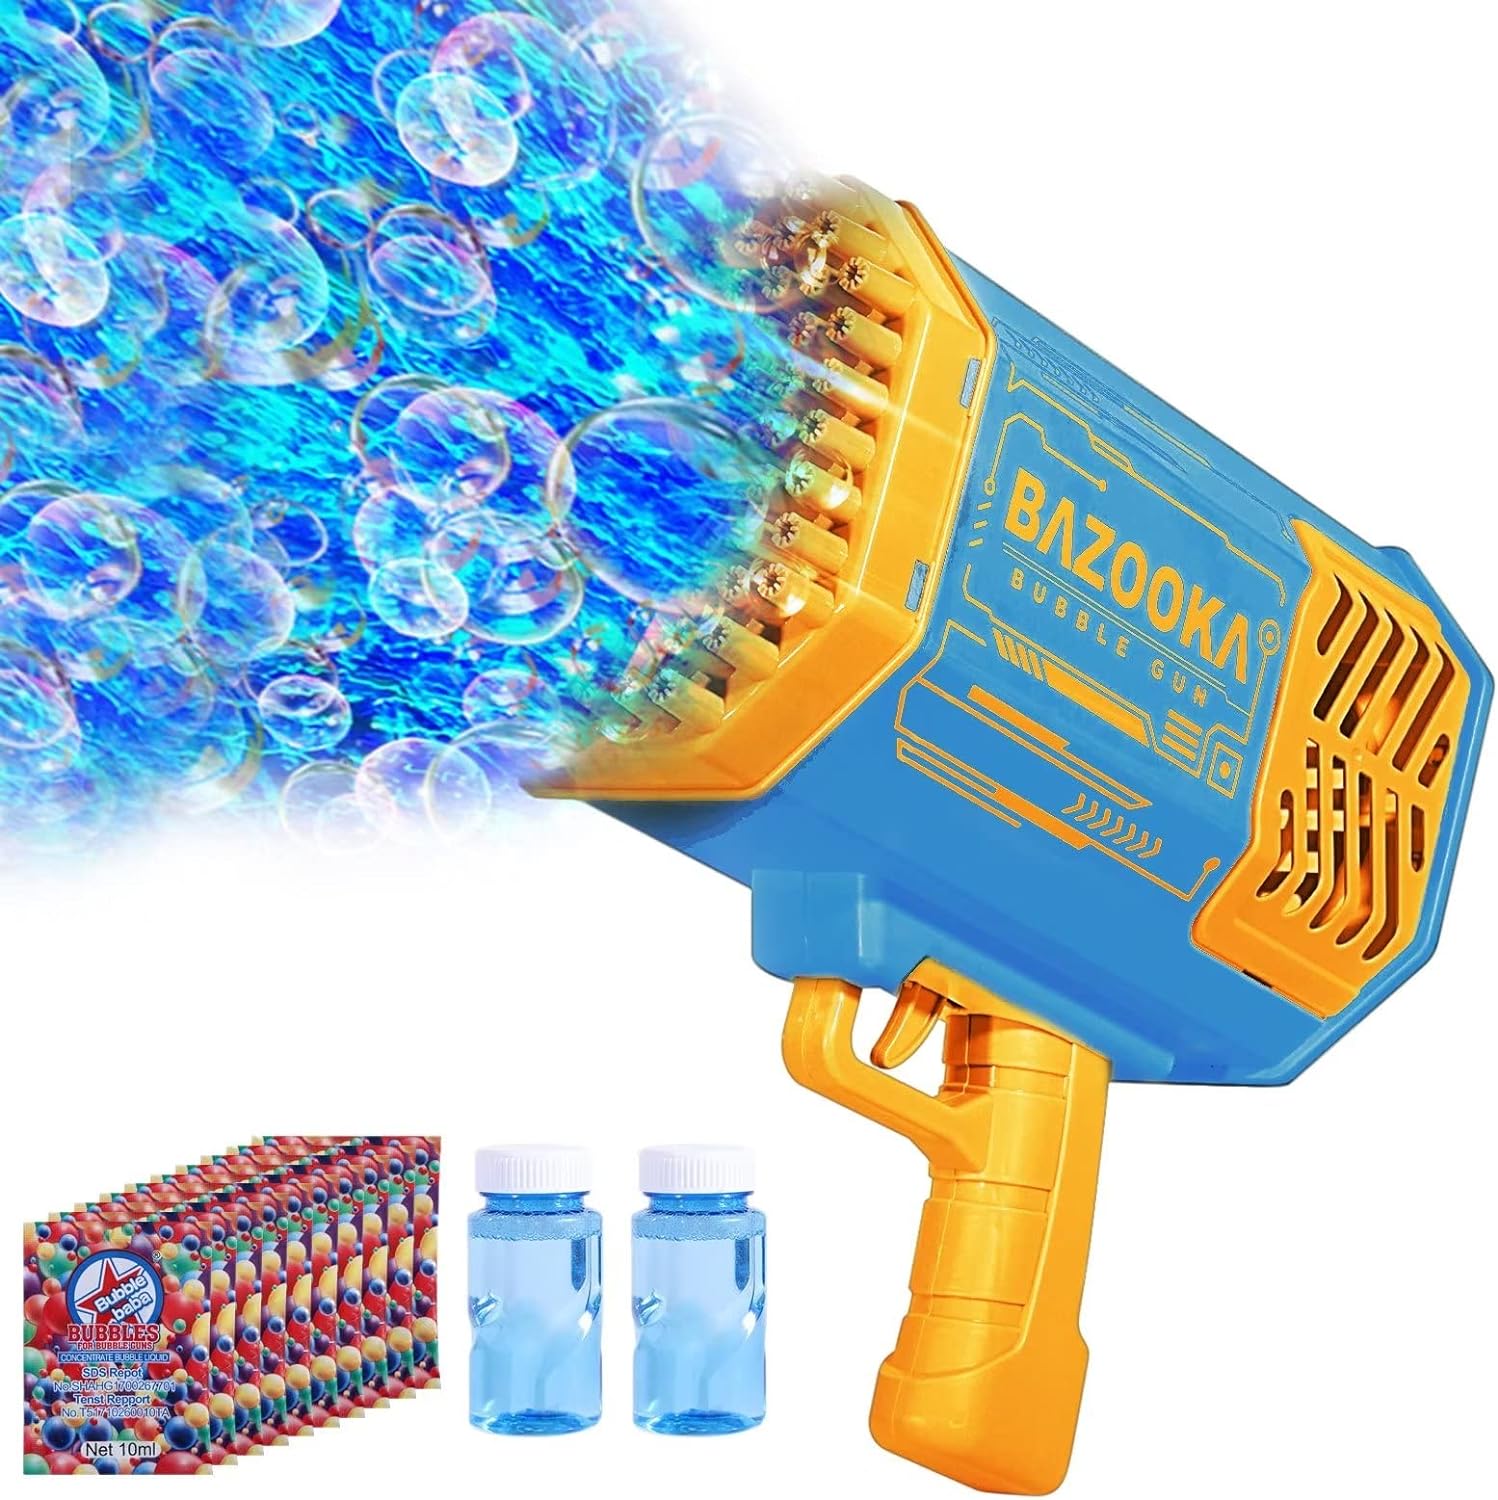
bubble maker toy outdoor play

Bubble Machine!

sidewalk chalk rollers

Sidewalk Chalk Rollers

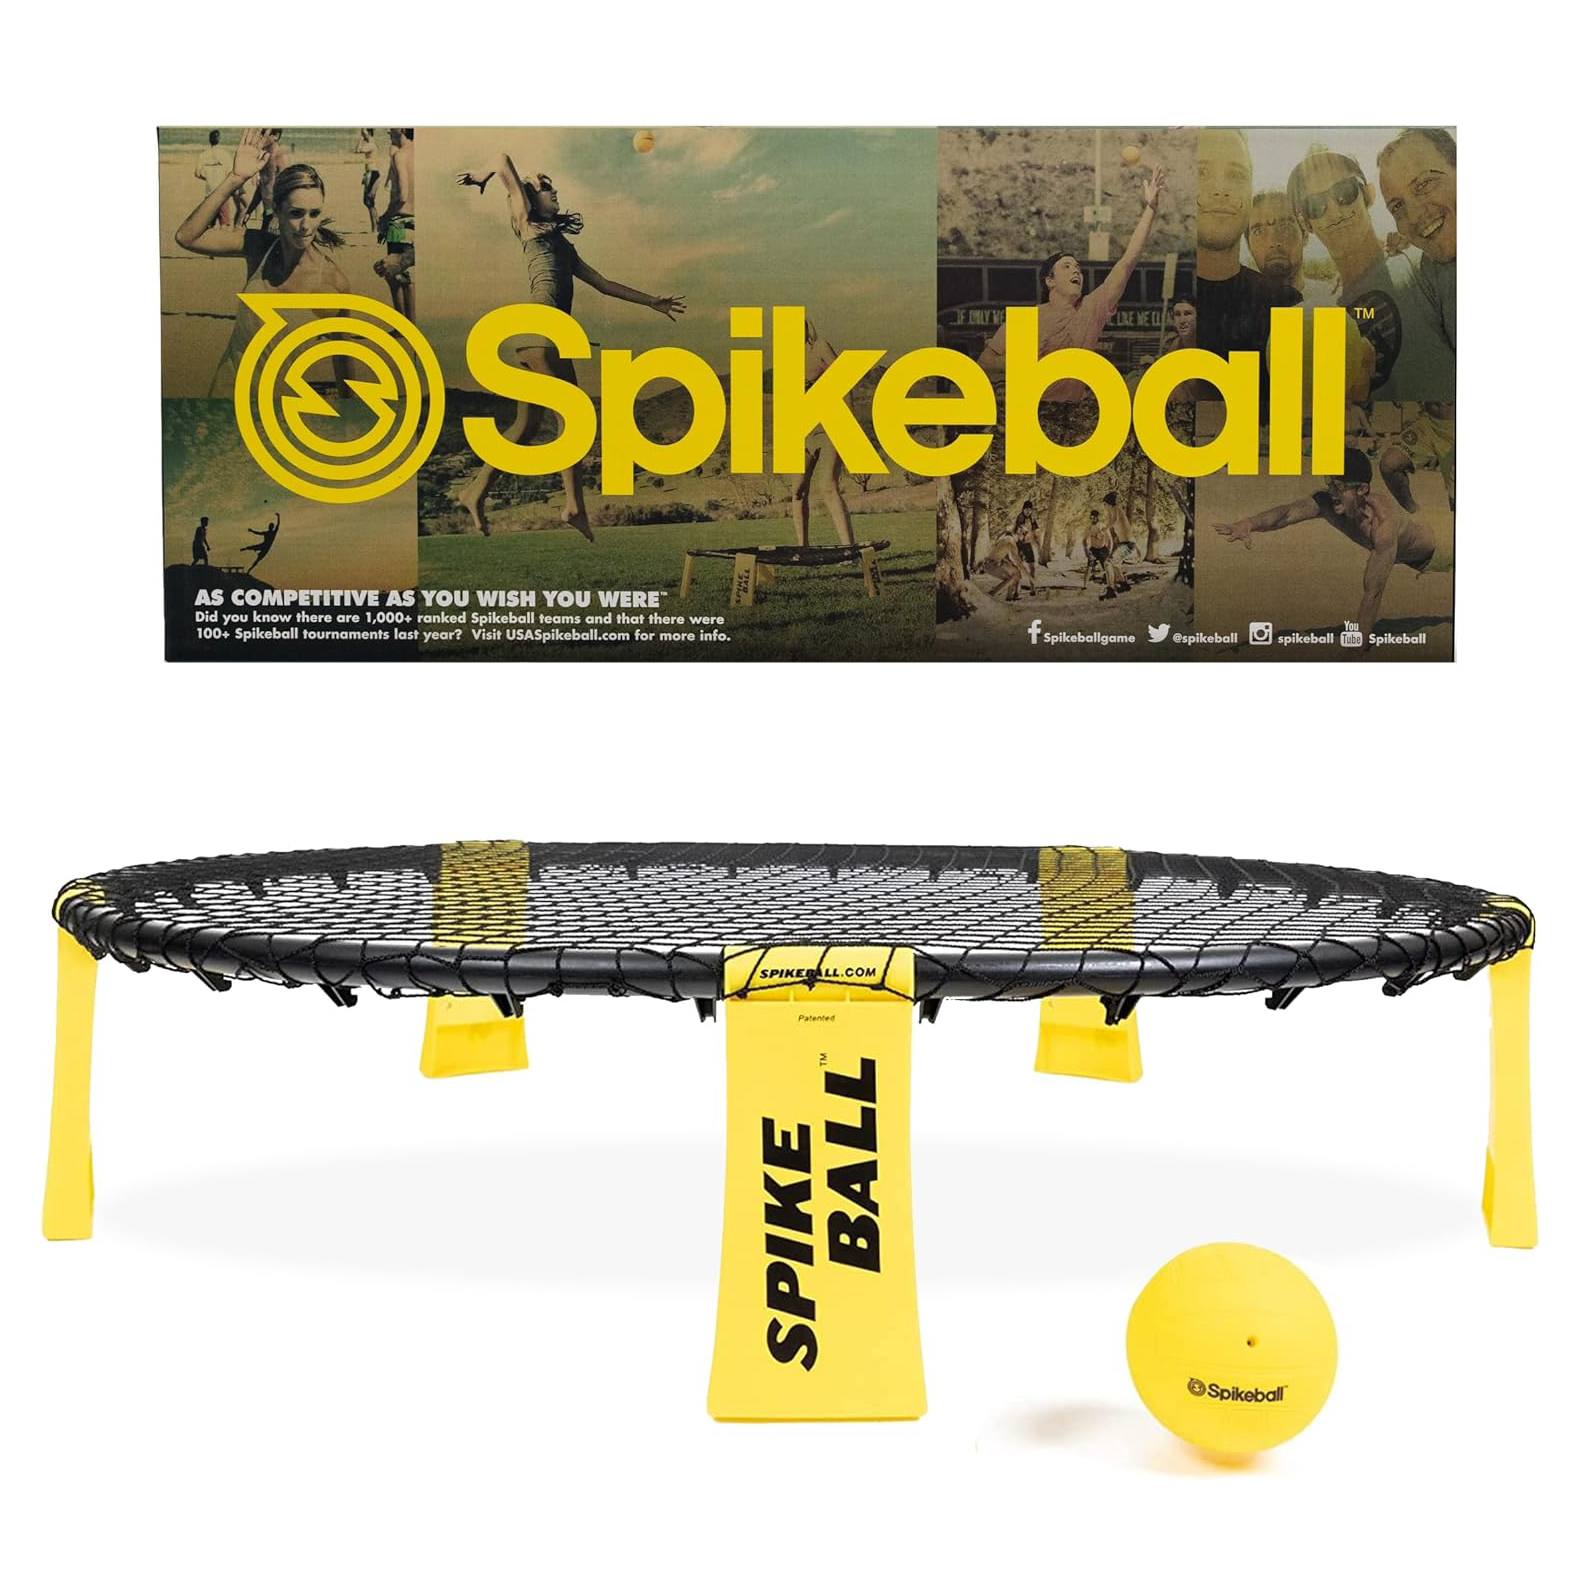
outdoor play game spikeball

Spikeball Game

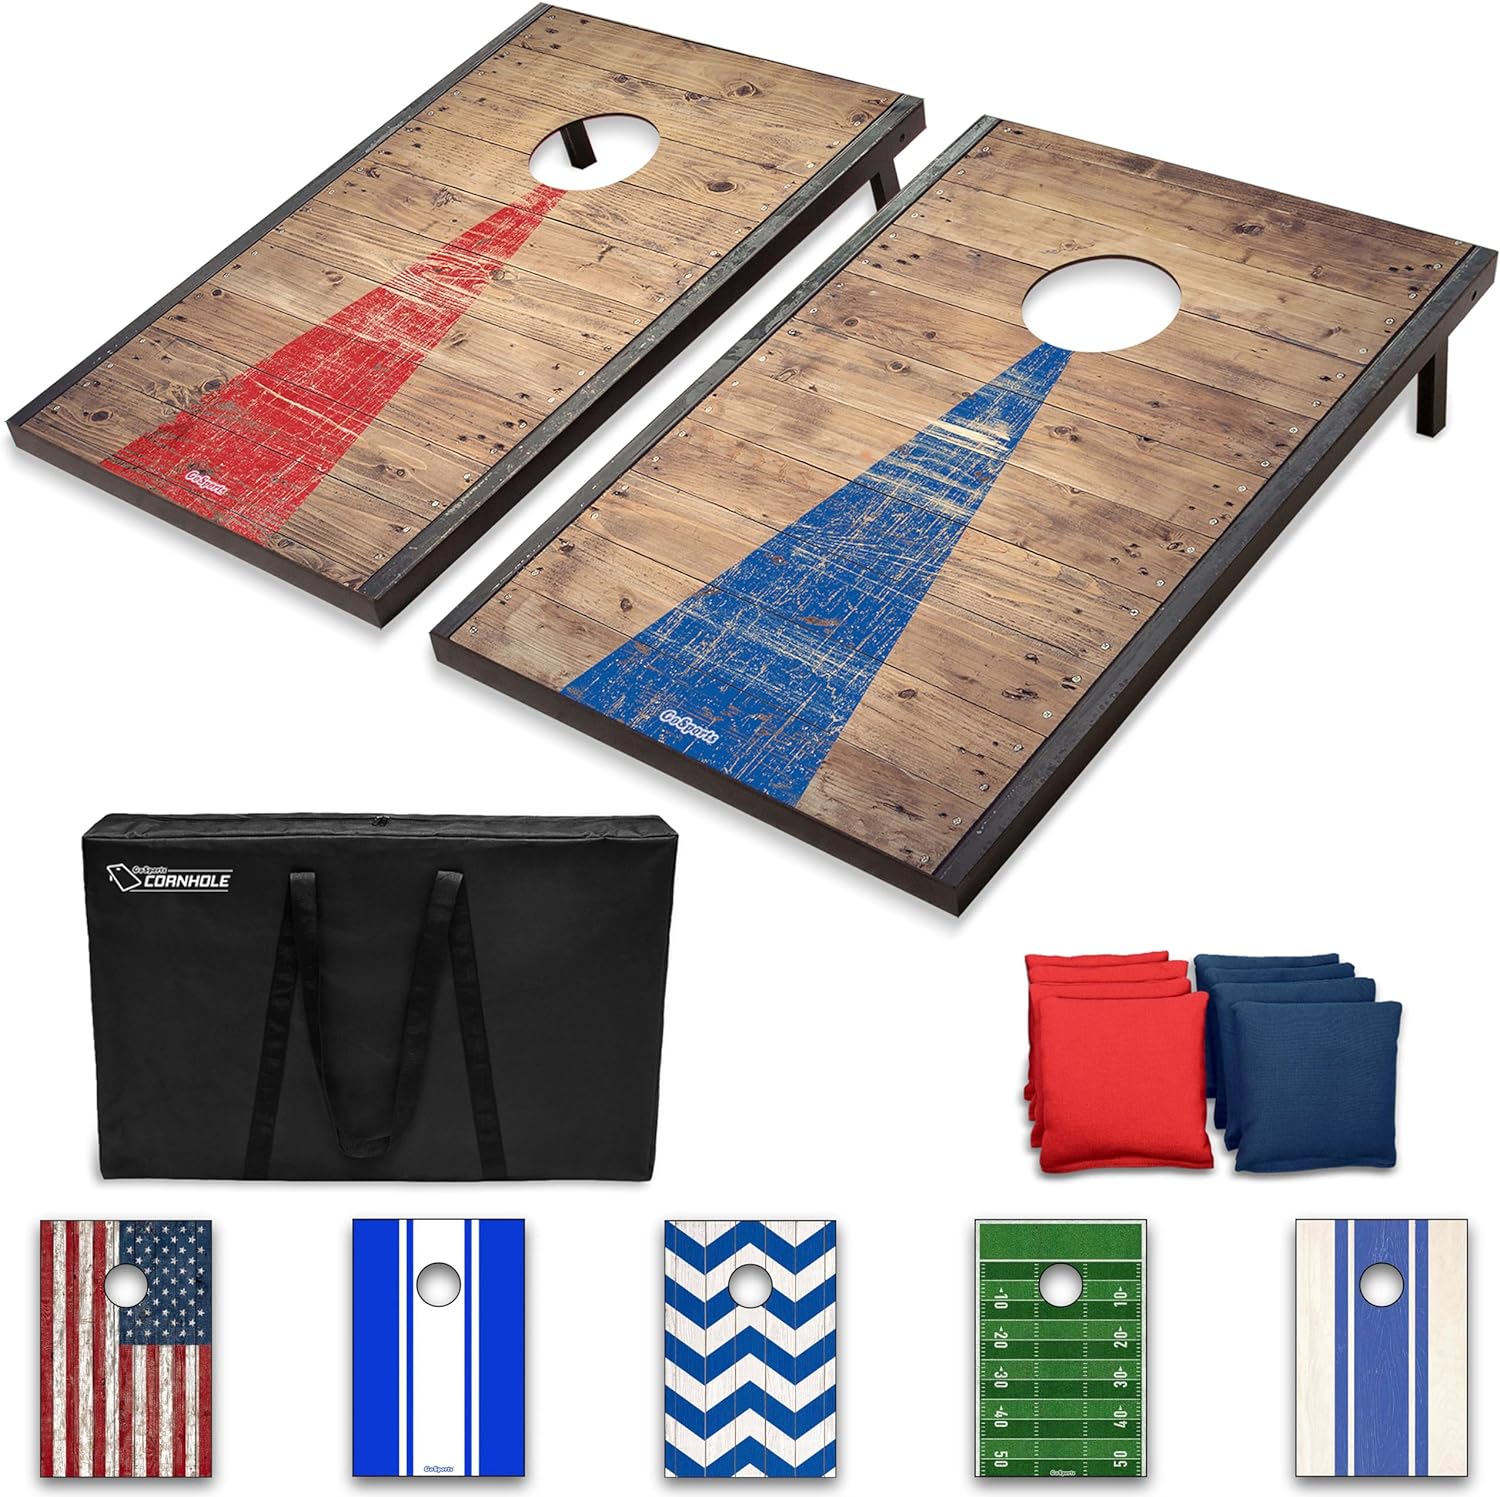
outdoor game cornhole

Cornhole

Swing, Slide, Explore: Top Toys for Outdoor Adventure Seekers

Create a backyard oasis with our Swings and Structures section. From cozy lounging spots to imaginative play structures, these toys provide the perfect setting for outdoor adventures and imaginative play.

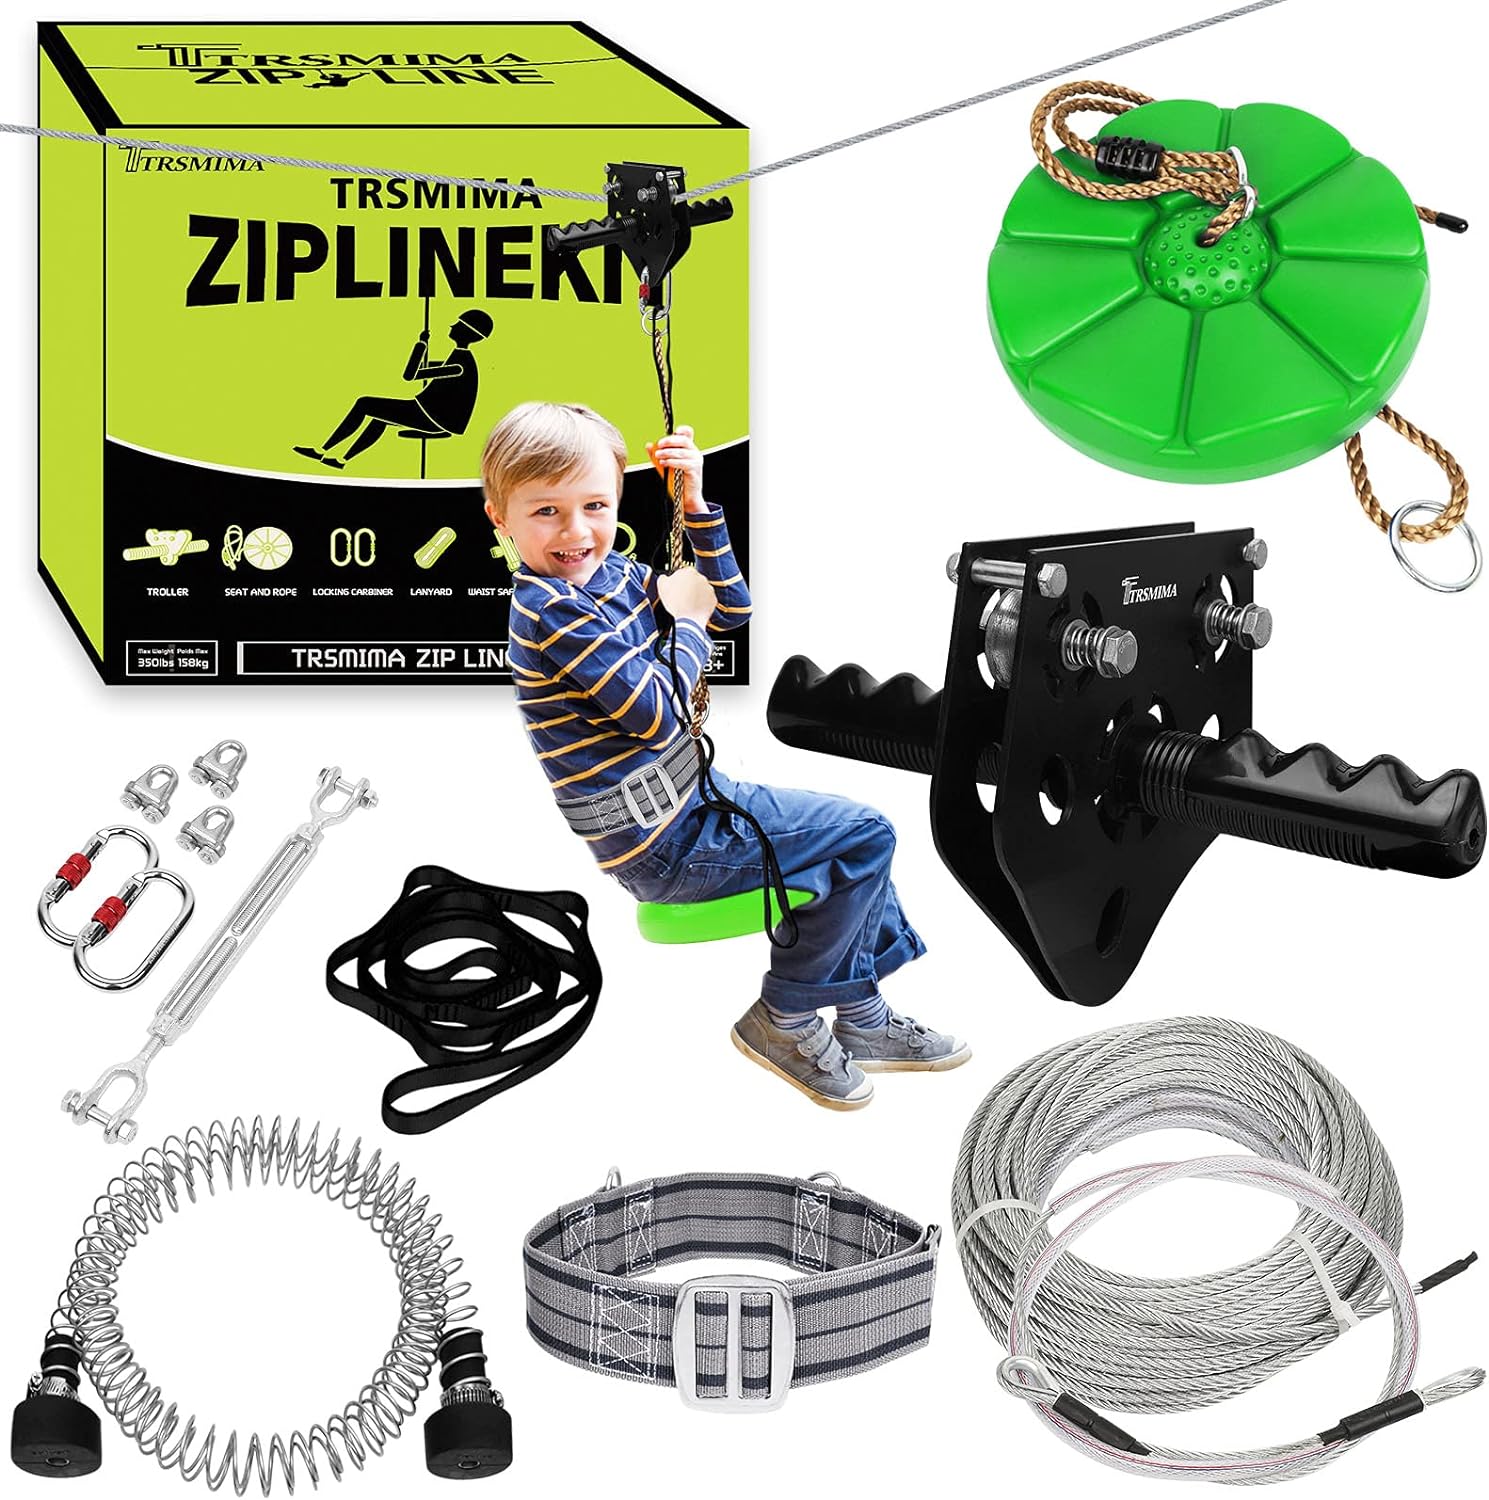
zip line kit for kids

Zip Line Kit

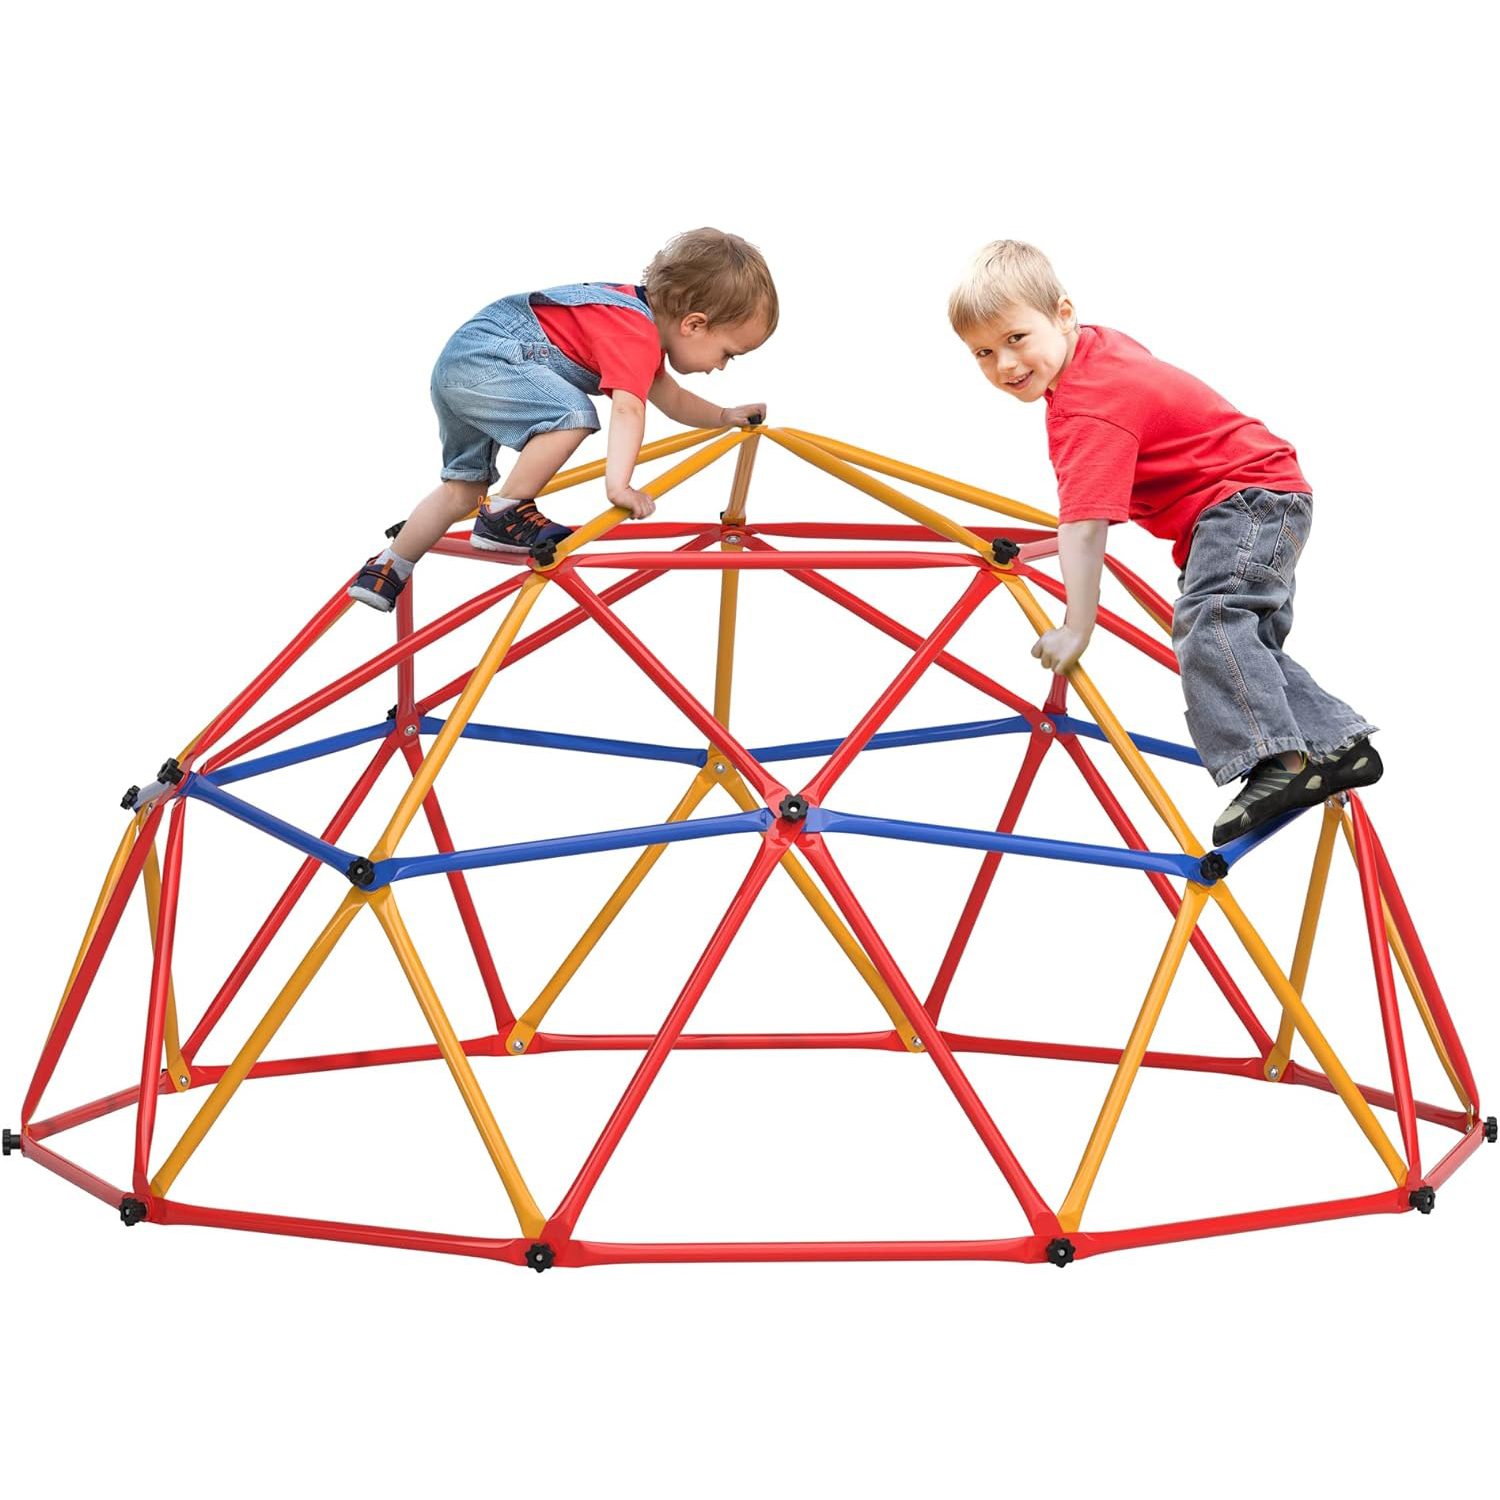
outdoor climbing toy

Geometric Dome Climber with Slide

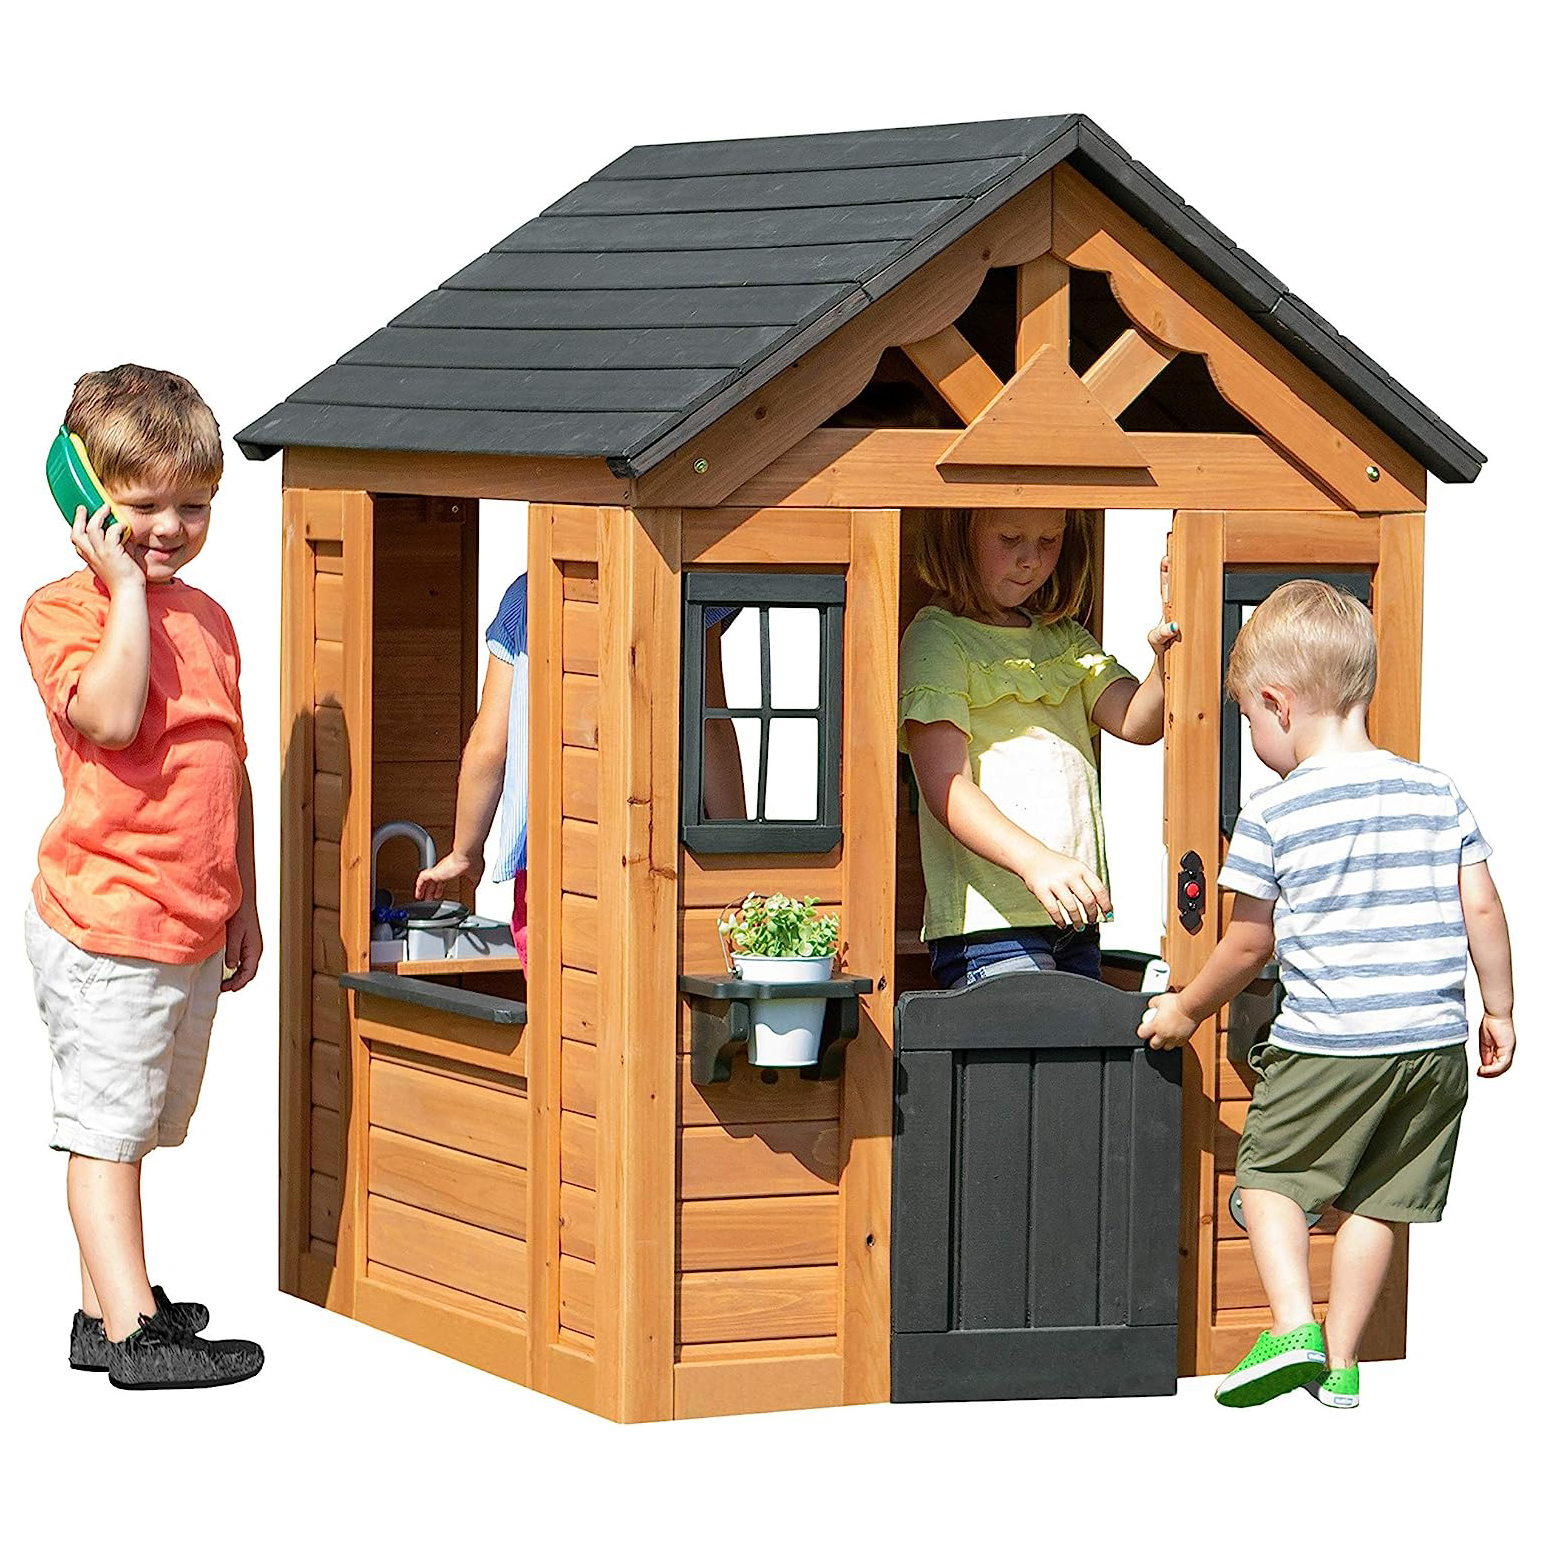
outdoor play house

Wooden Playhouse

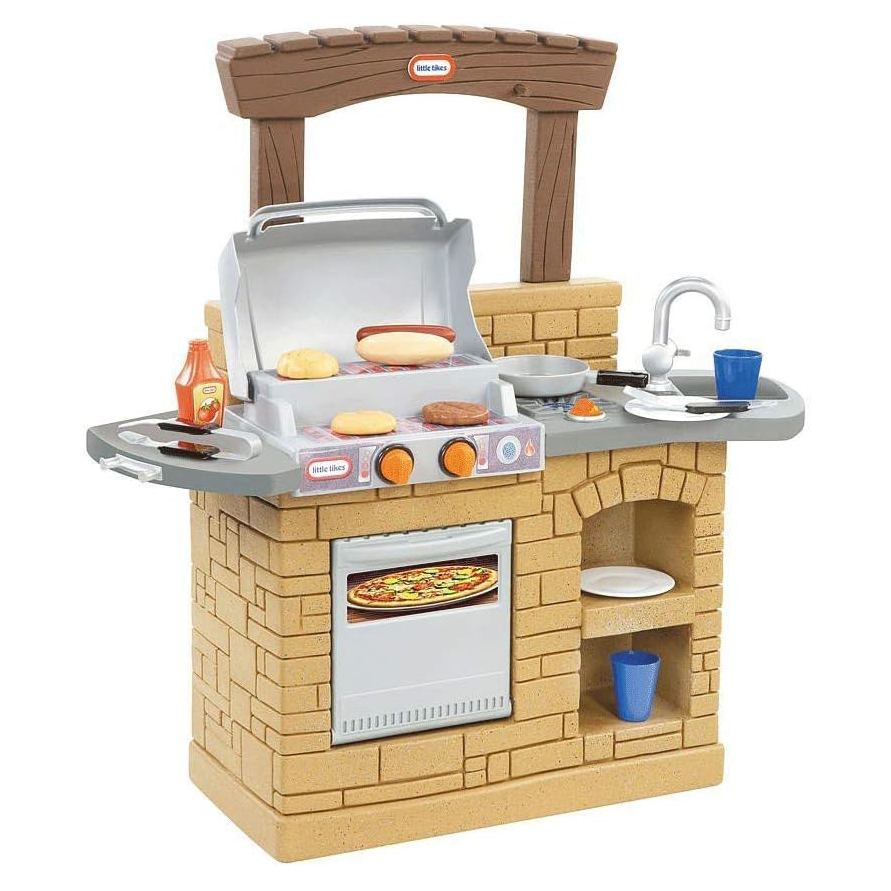
outdoor pretend play grill

BBQ Pretend Play 

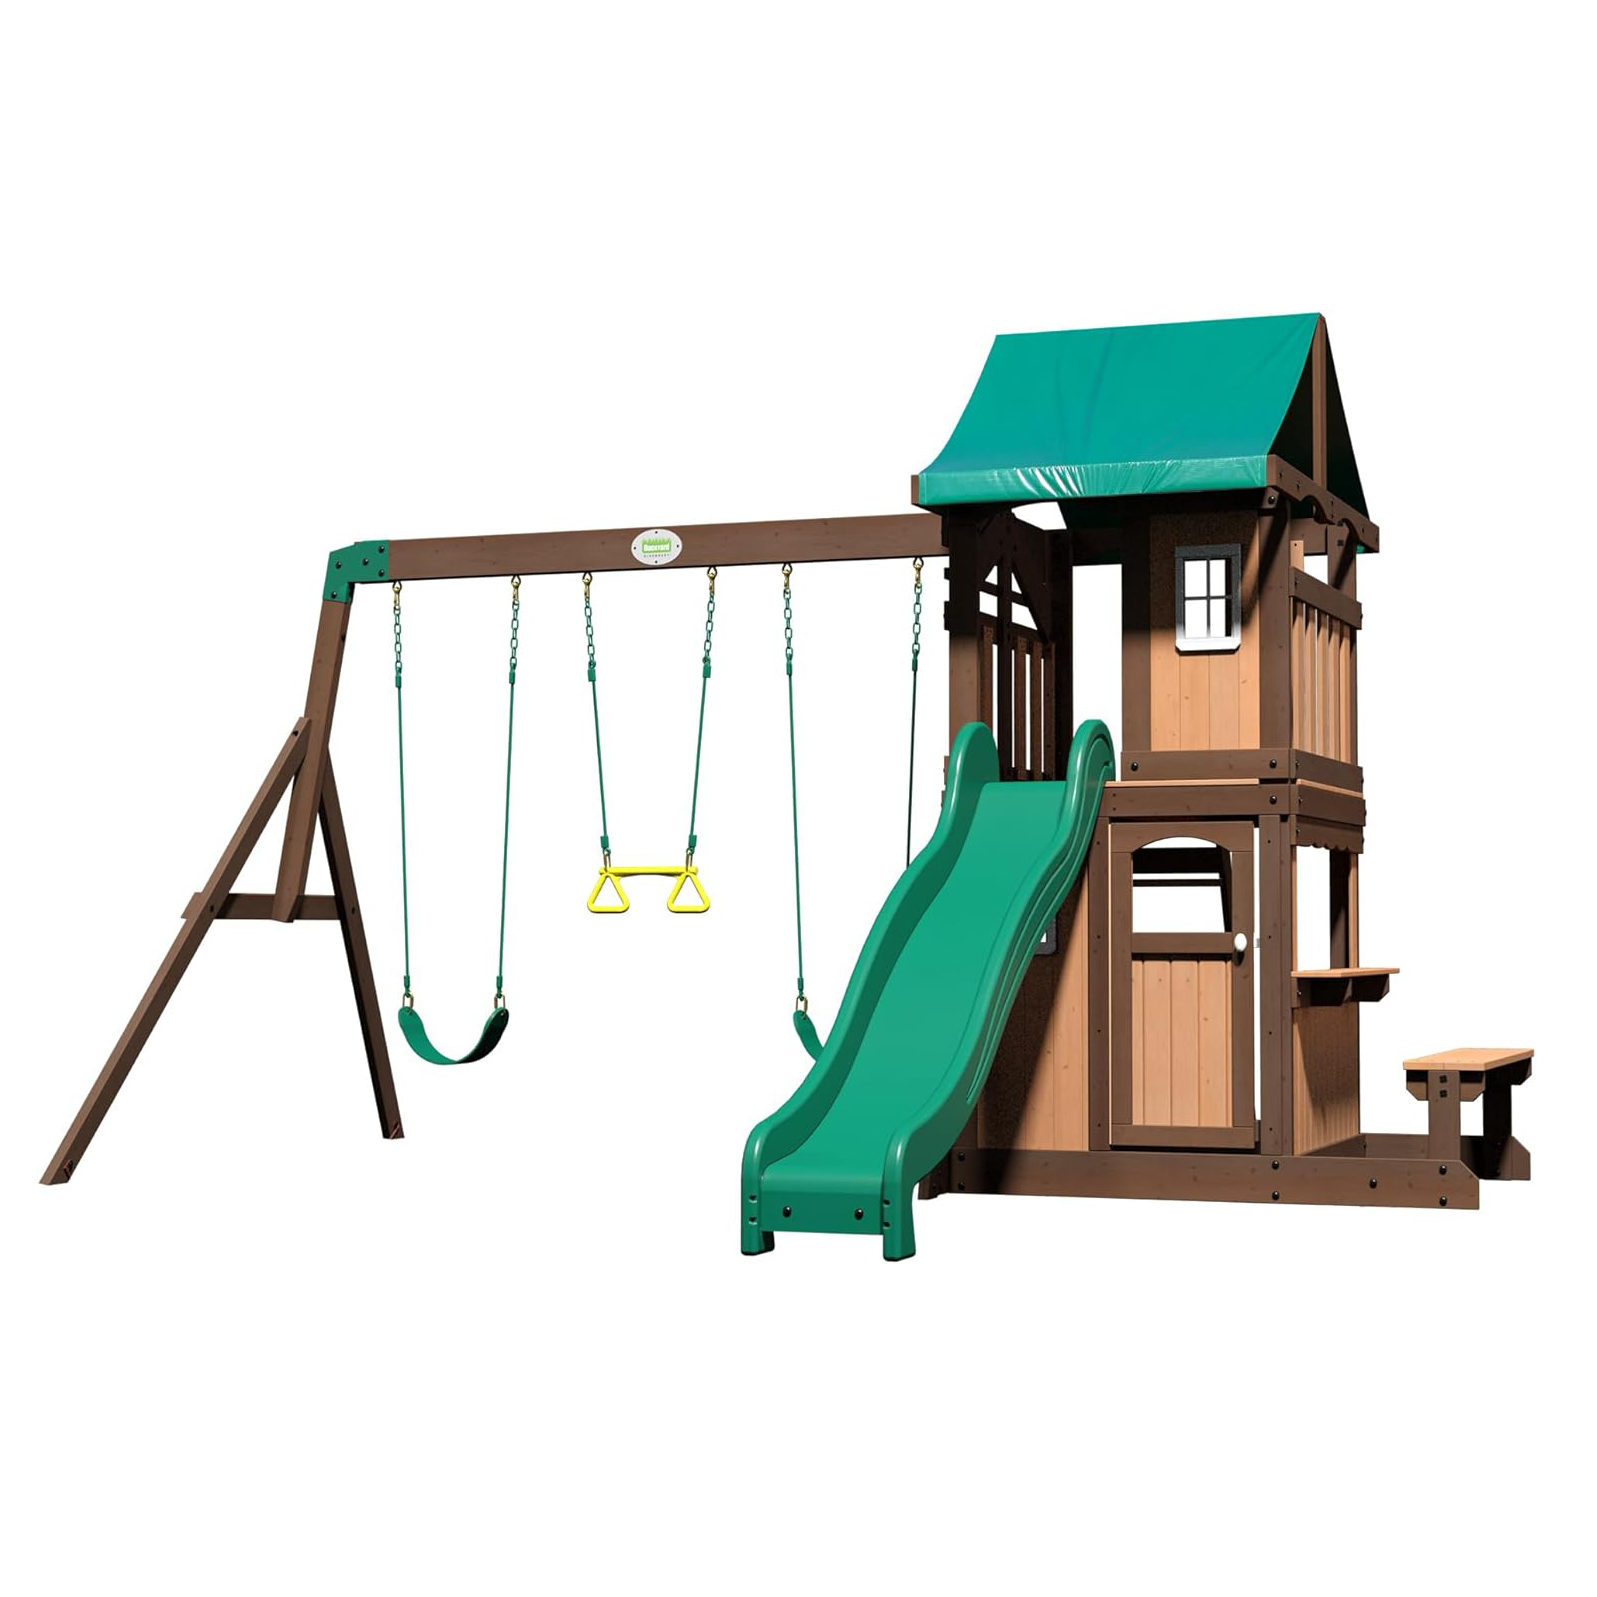
outdoor play equipment slide swing

Wooden Swing and Slide Set

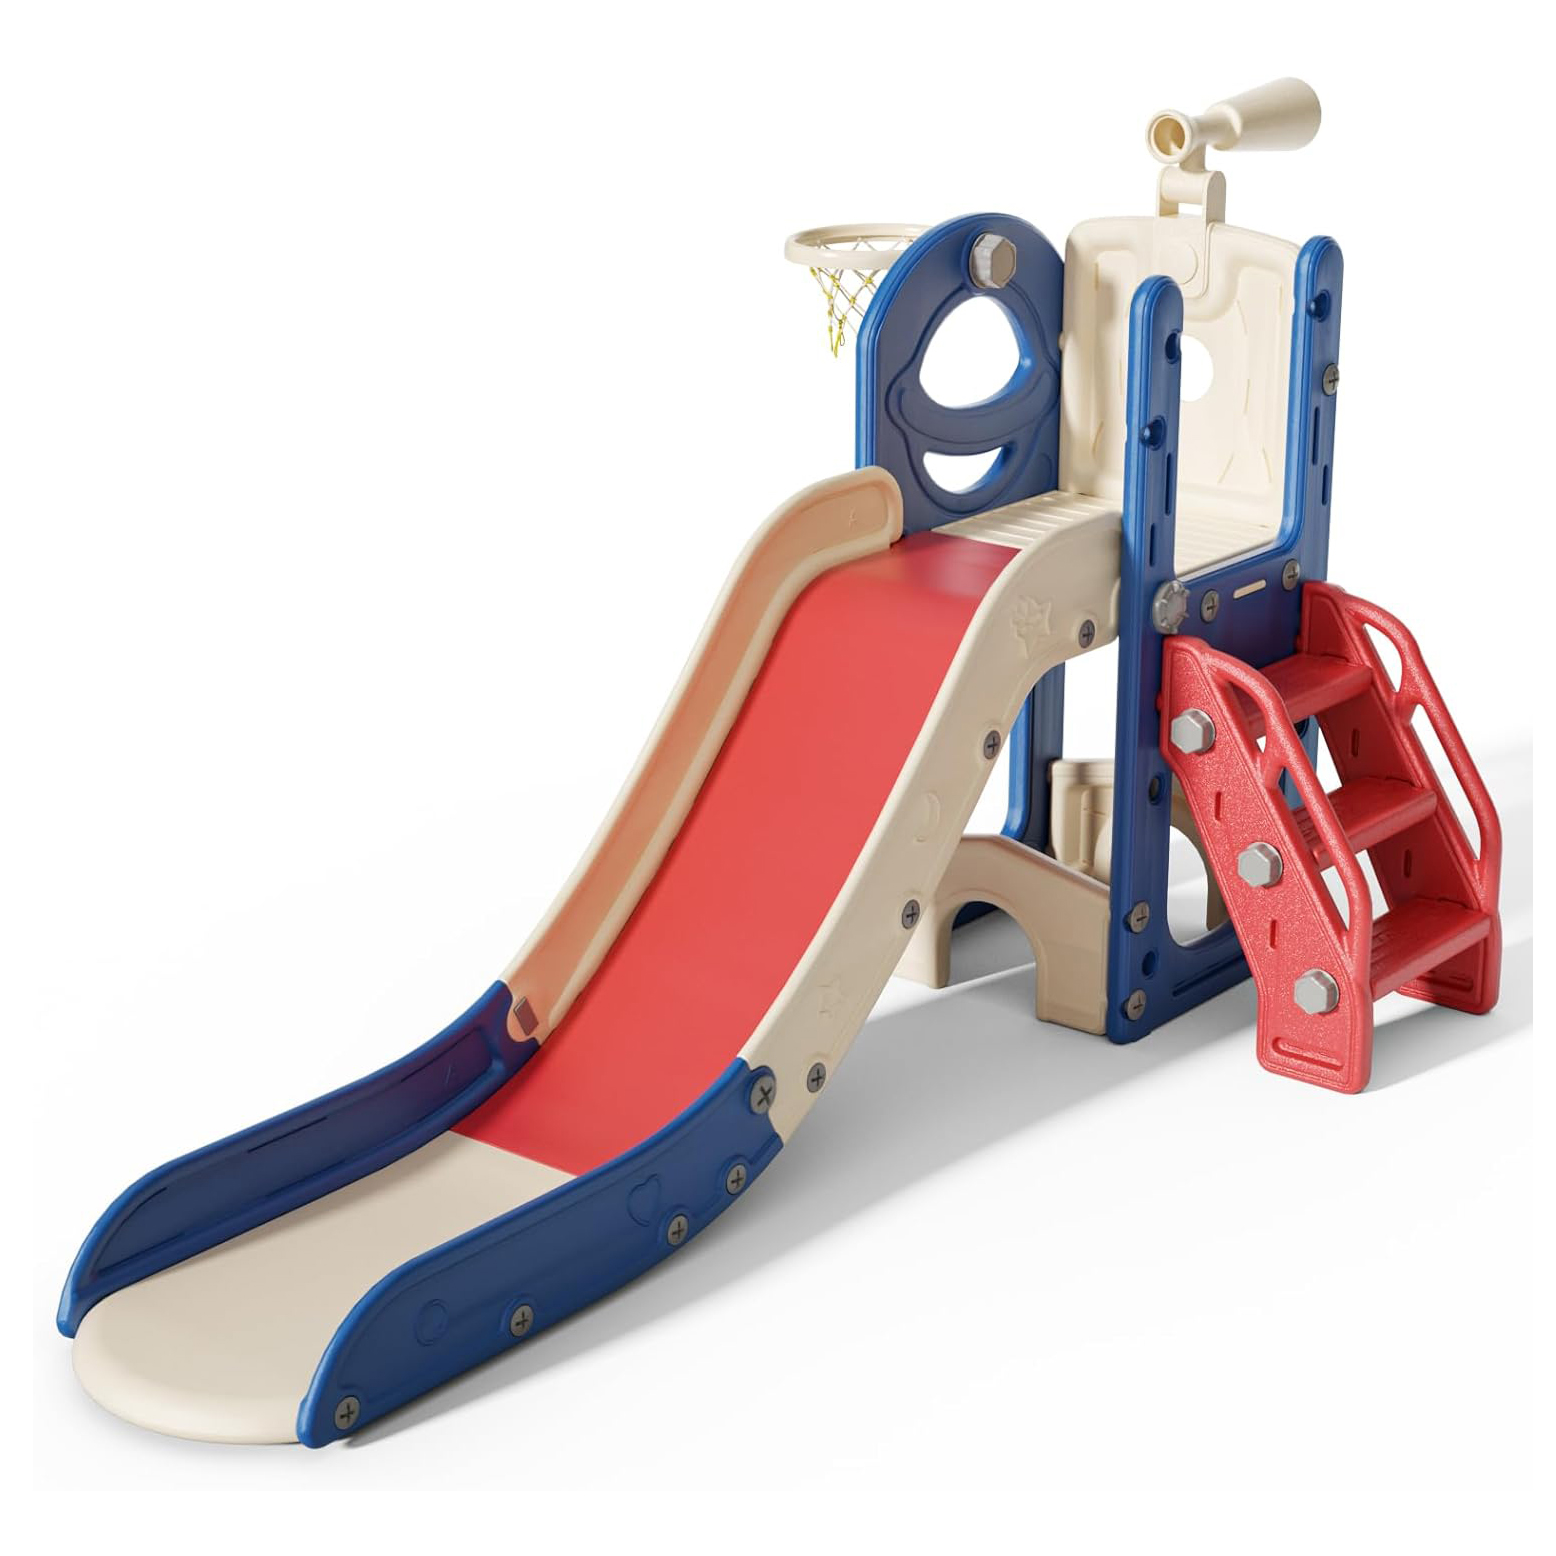
outdoor play equipment slide

6 in 1 Freestanding Toddler Slide Set

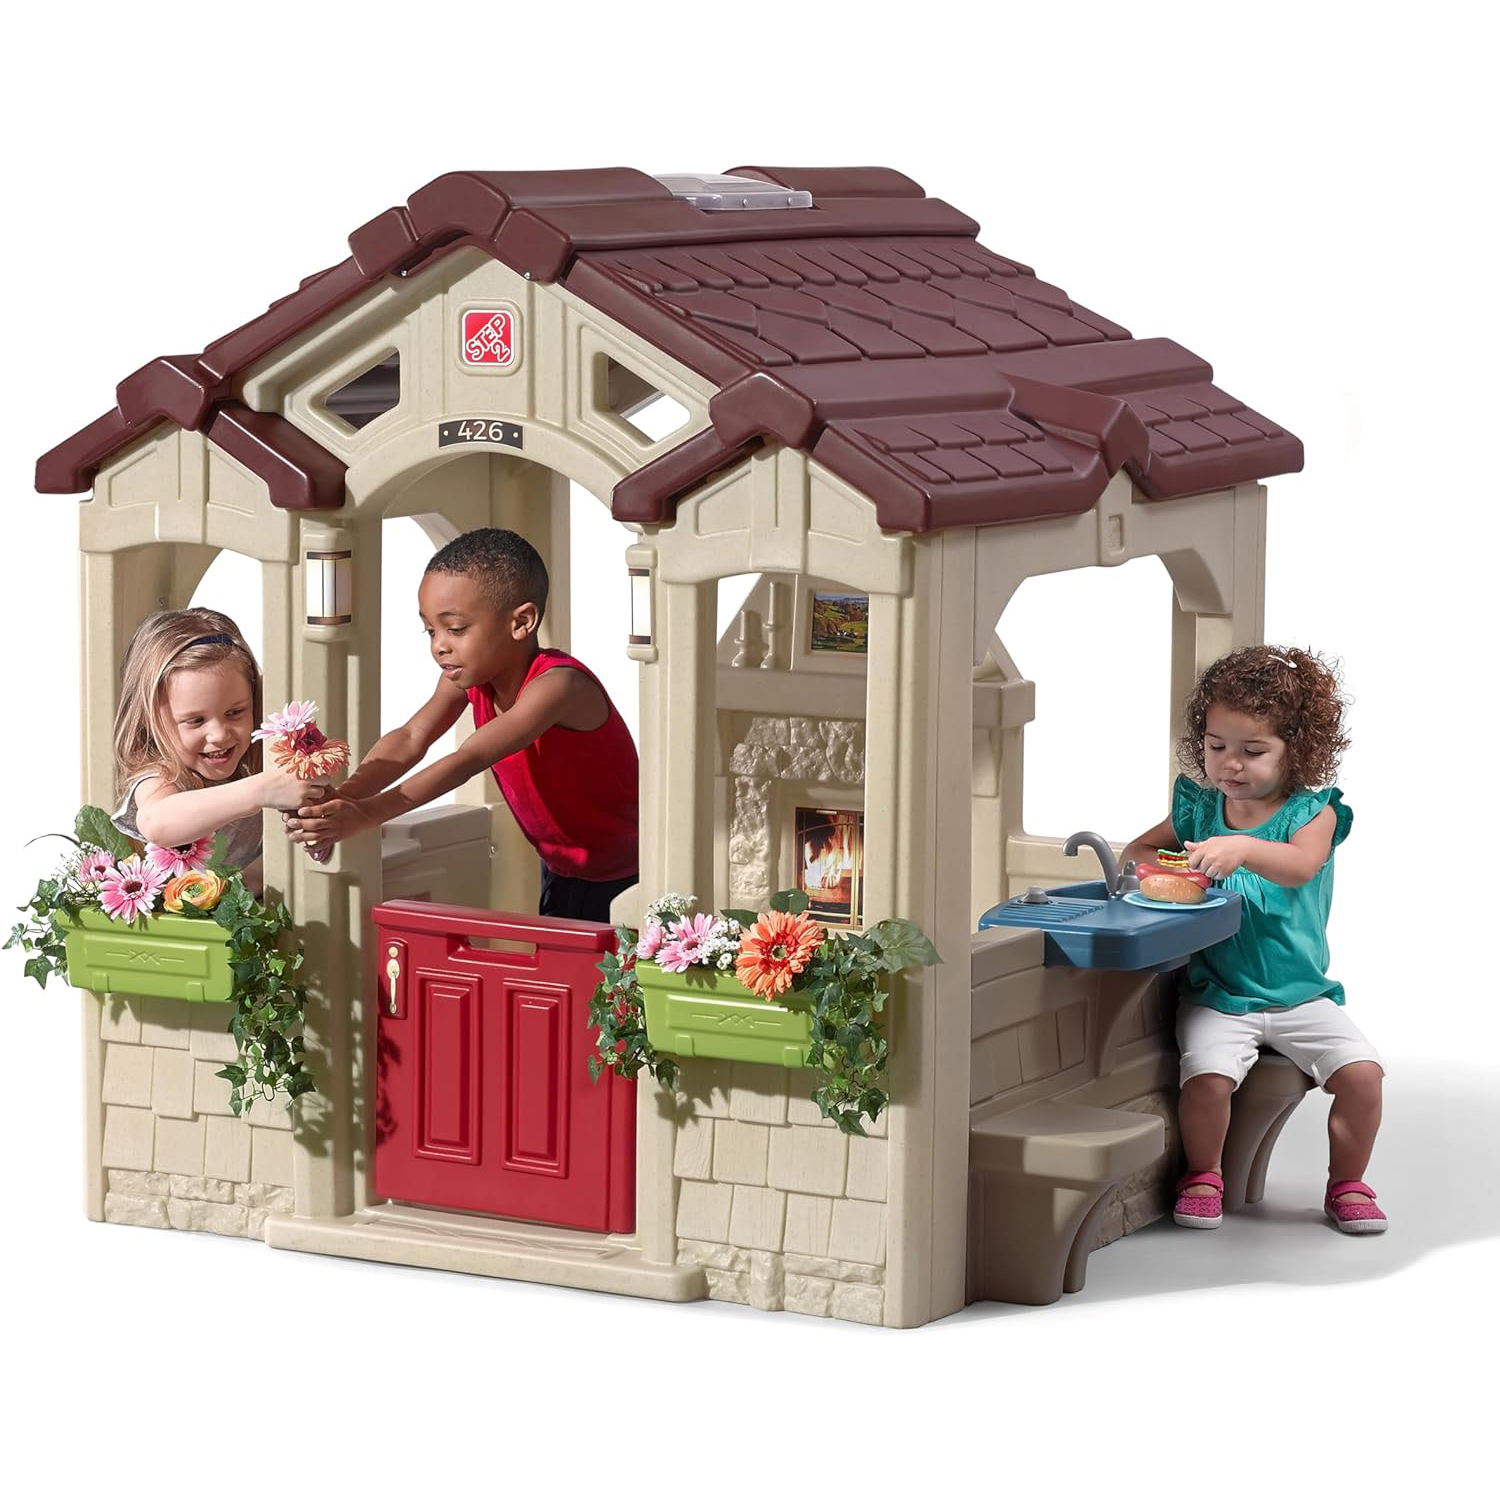
outdoor play house

Weatherproof Cottage

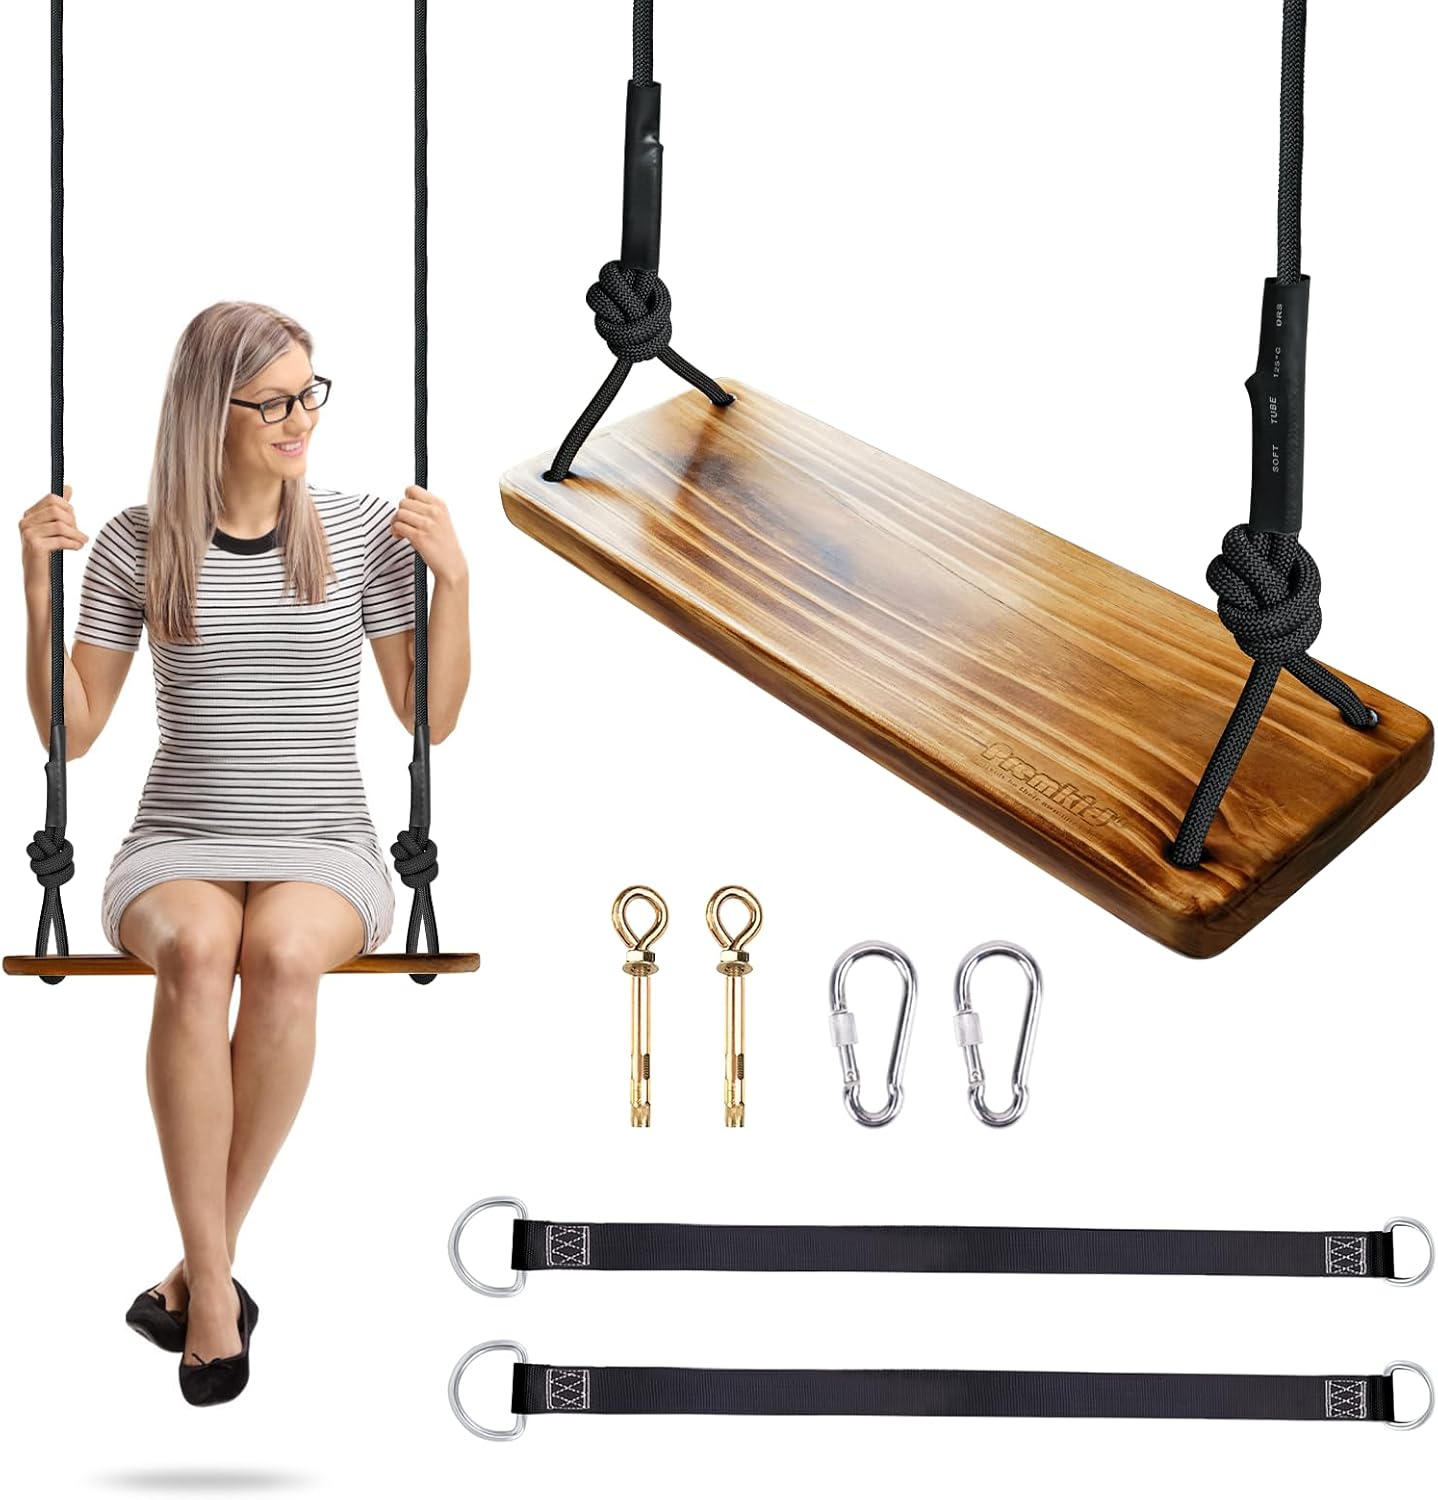
swing outdoor toys for kids

Double Seater Wooden Swing

outdoor climbing triangle

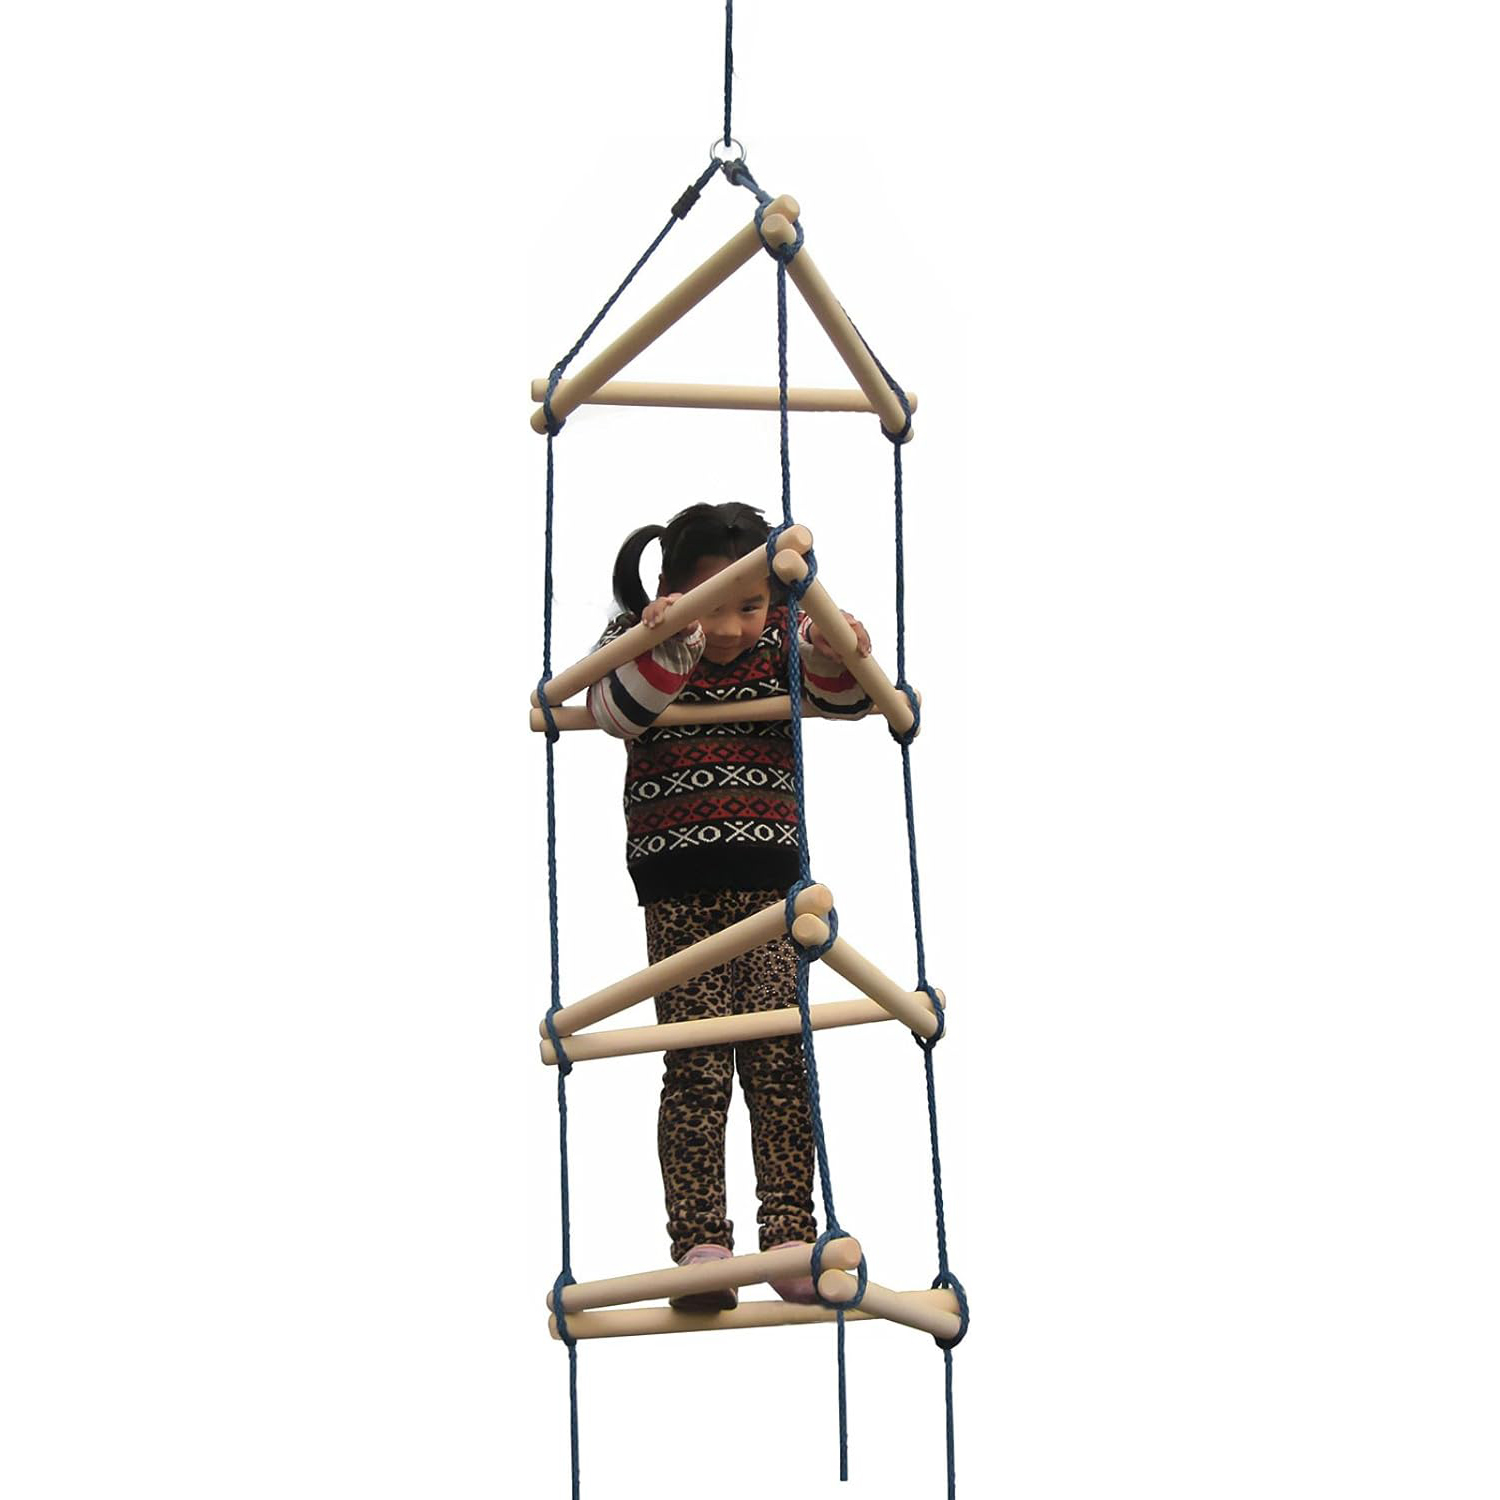
Triangle Rope Ladder

outdoor play lounge set for kids

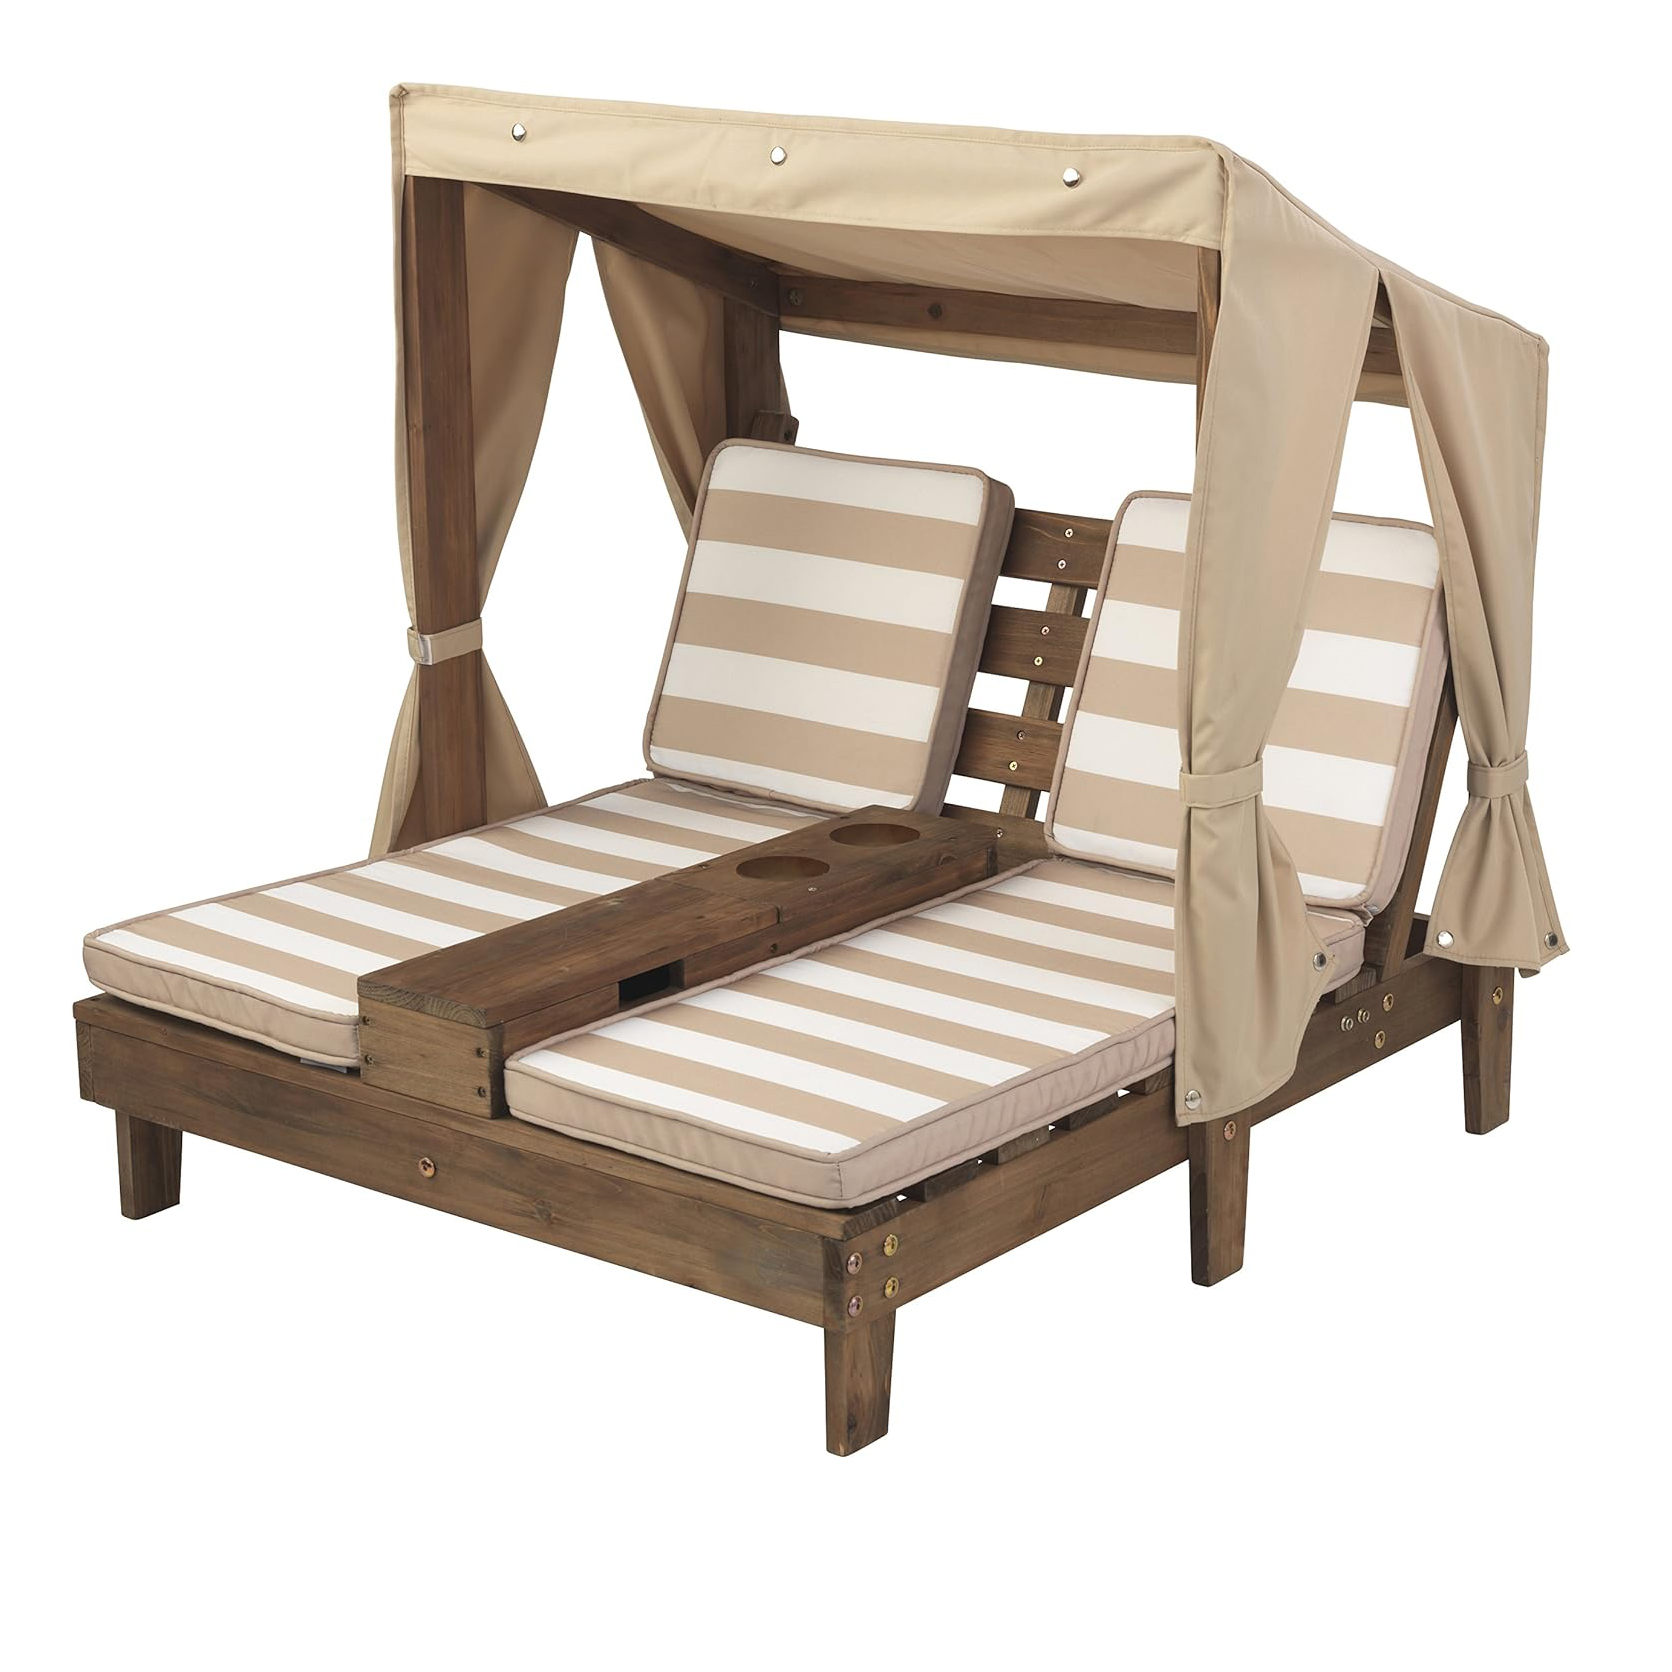
Kid’s Double Chaise Lounge Chair

outdoor play rocking swing

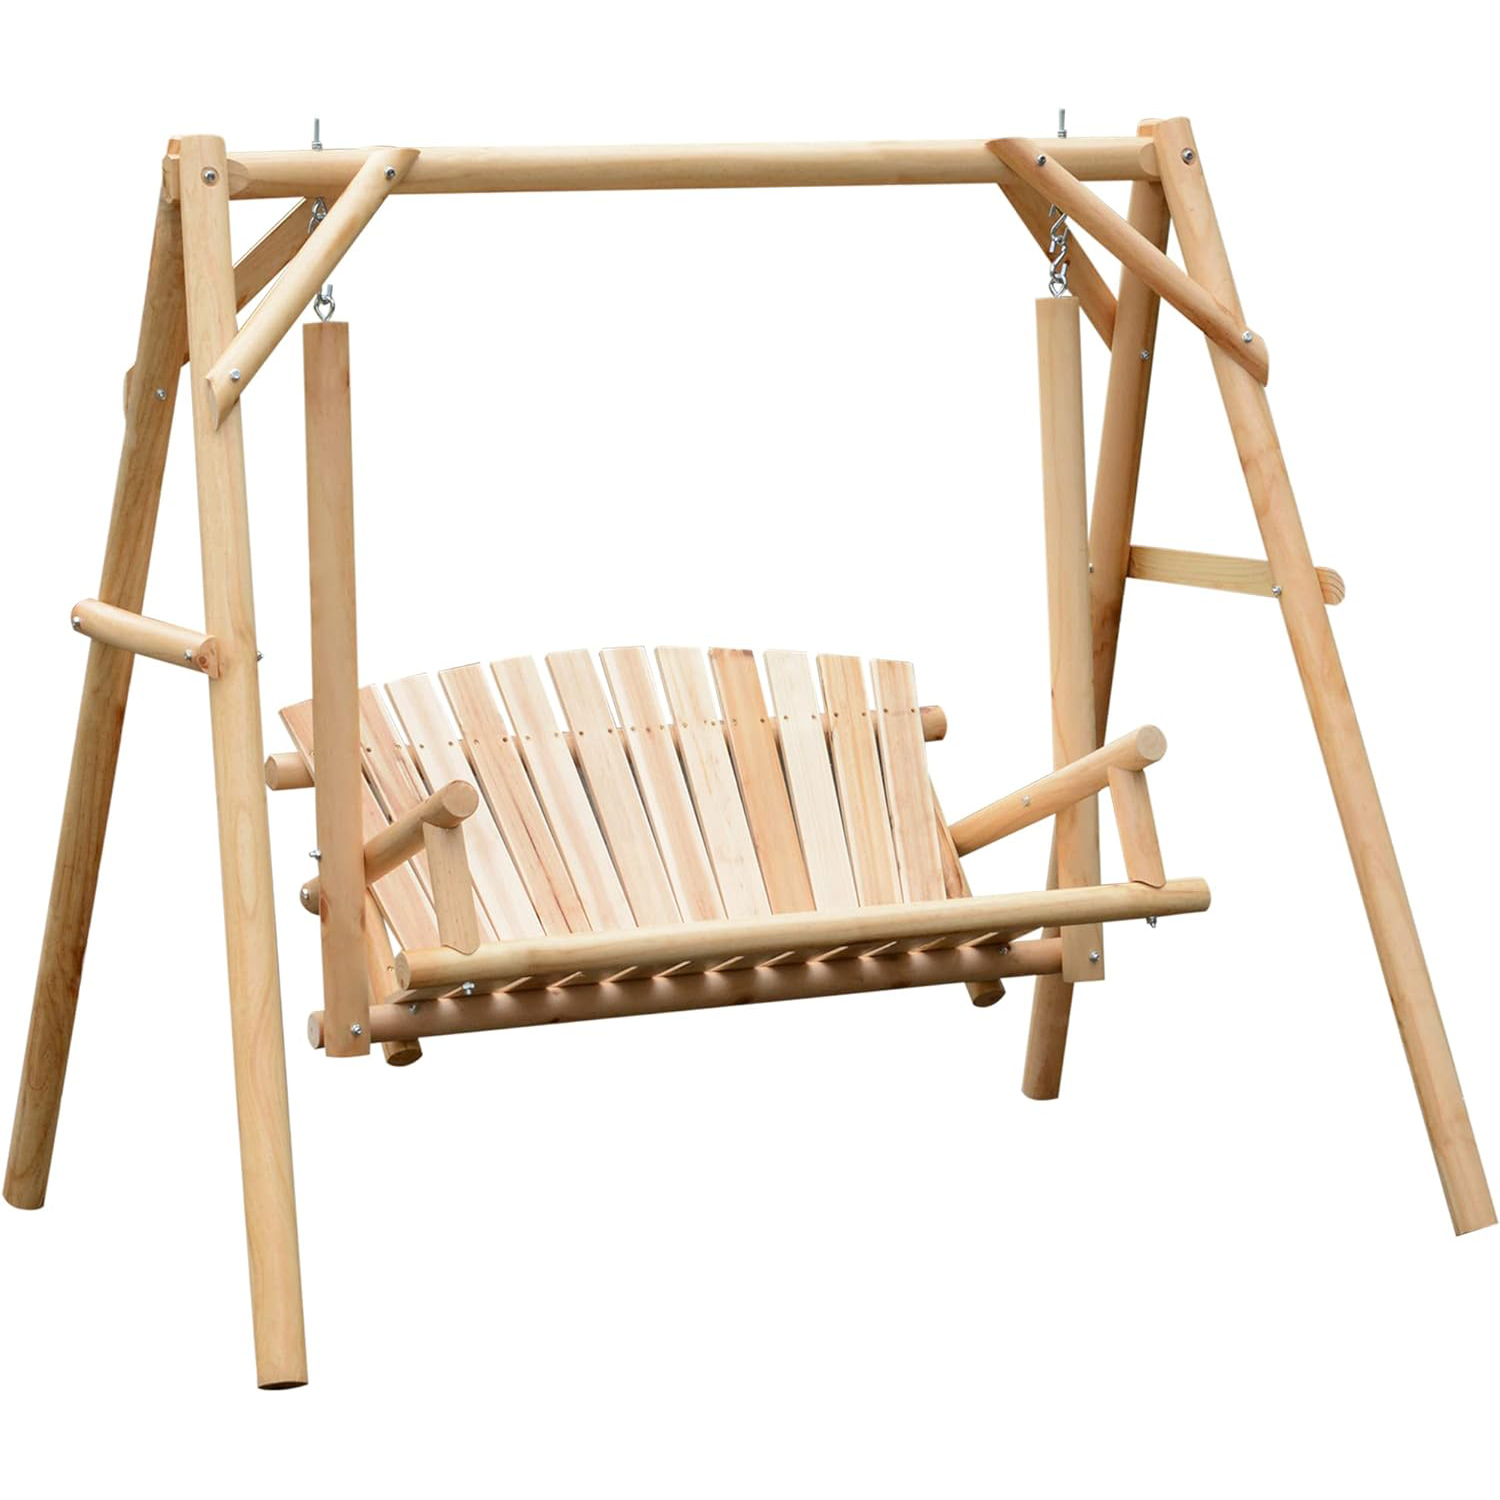
Swinging Loveseat (Free-Standing)

outdoor play swurfer swing

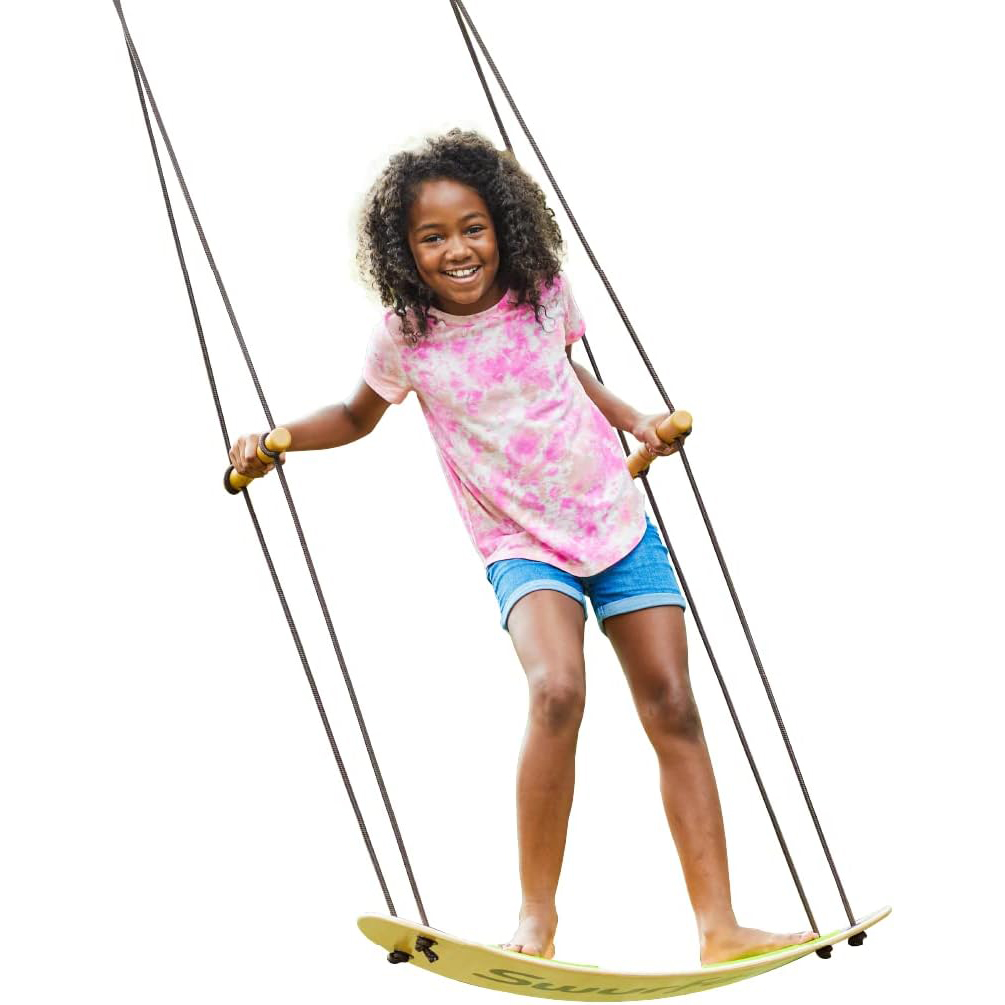
Swurfer Surf and Swing

For the Nature Explorer, Garden Lover, and Camping Fan!

Dive into the wonders of the natural world with our selection of toys that inspire exploration, camping adventures, and gardening fun. Encourage curiosity, imagination, and a lifelong love for nature with these engaging outdoor toys.

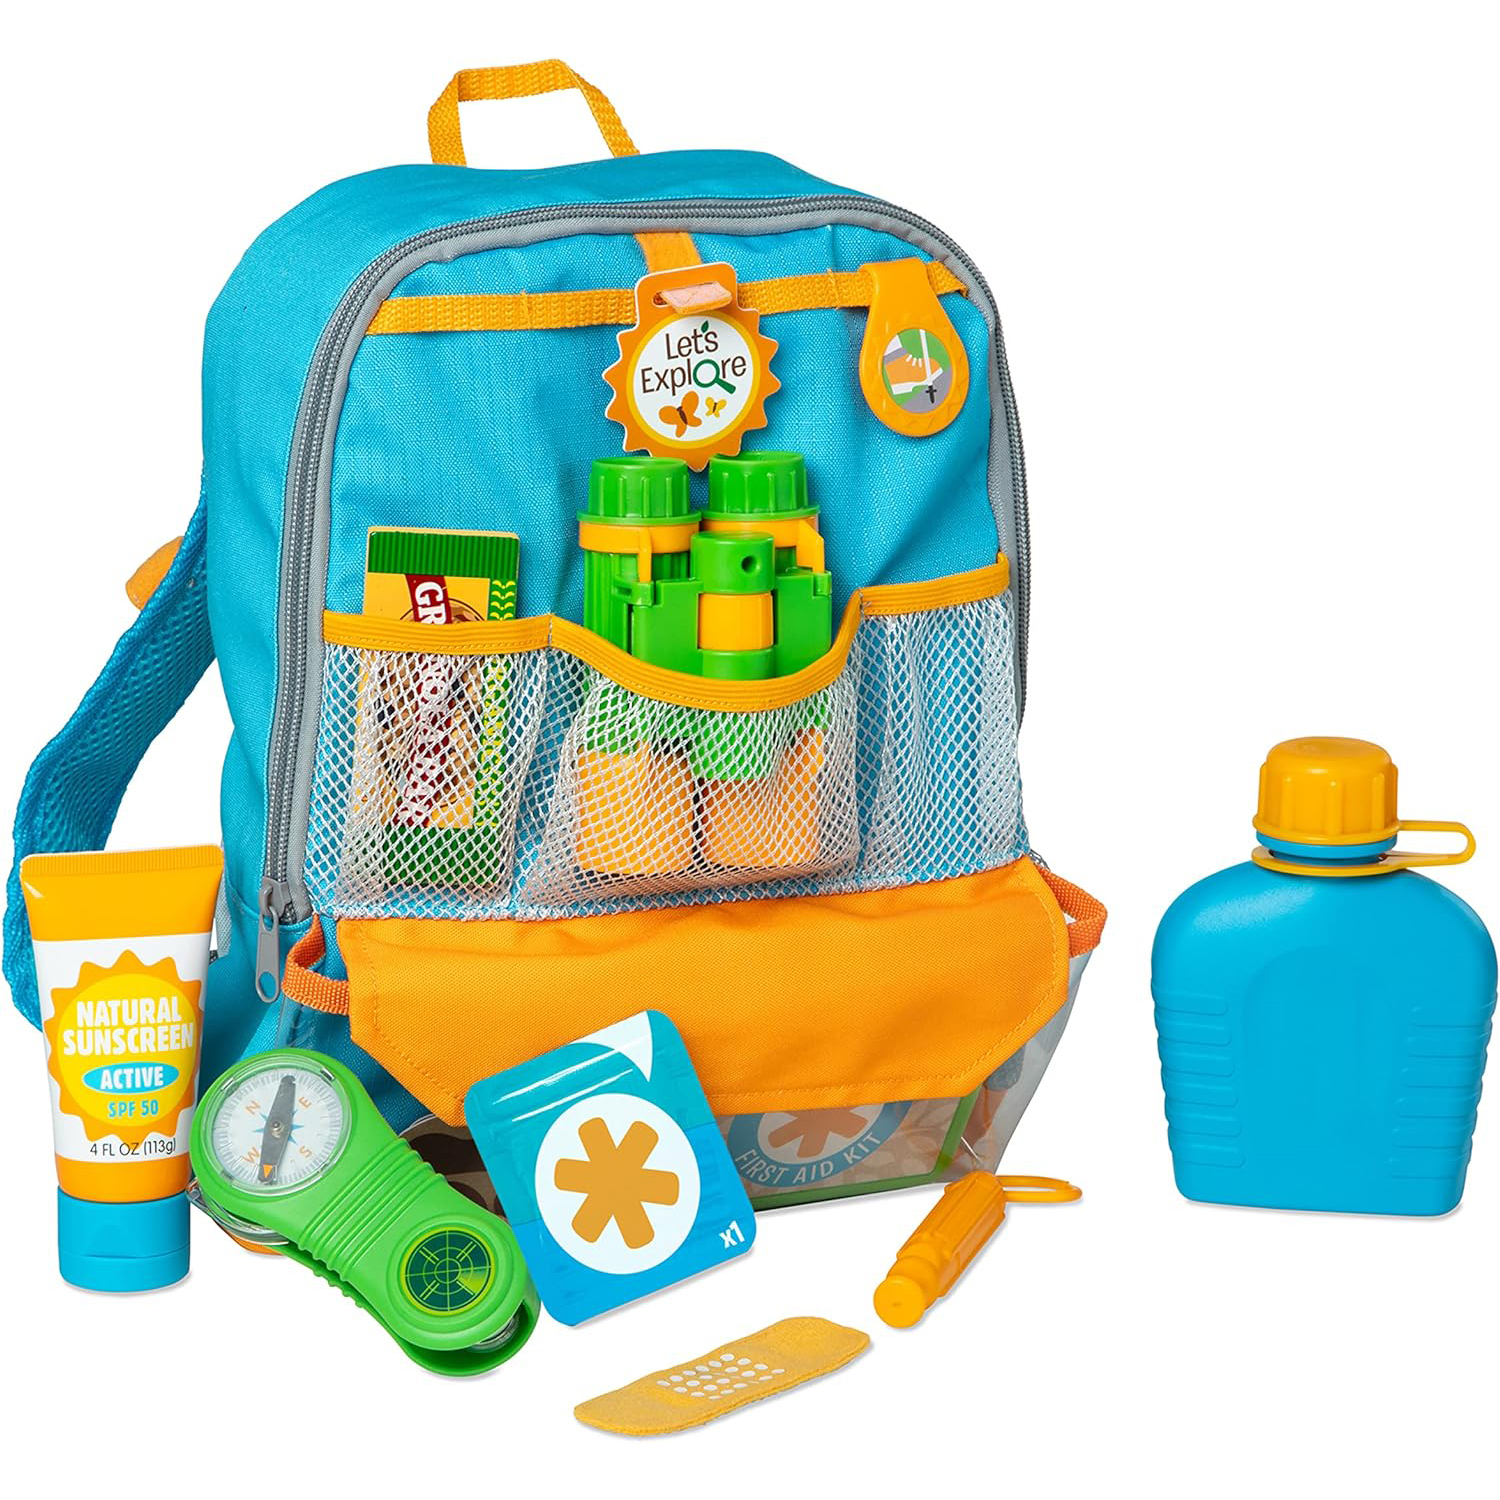
fun outdoor toys for kids - camping kit

Nature Explorer Kit

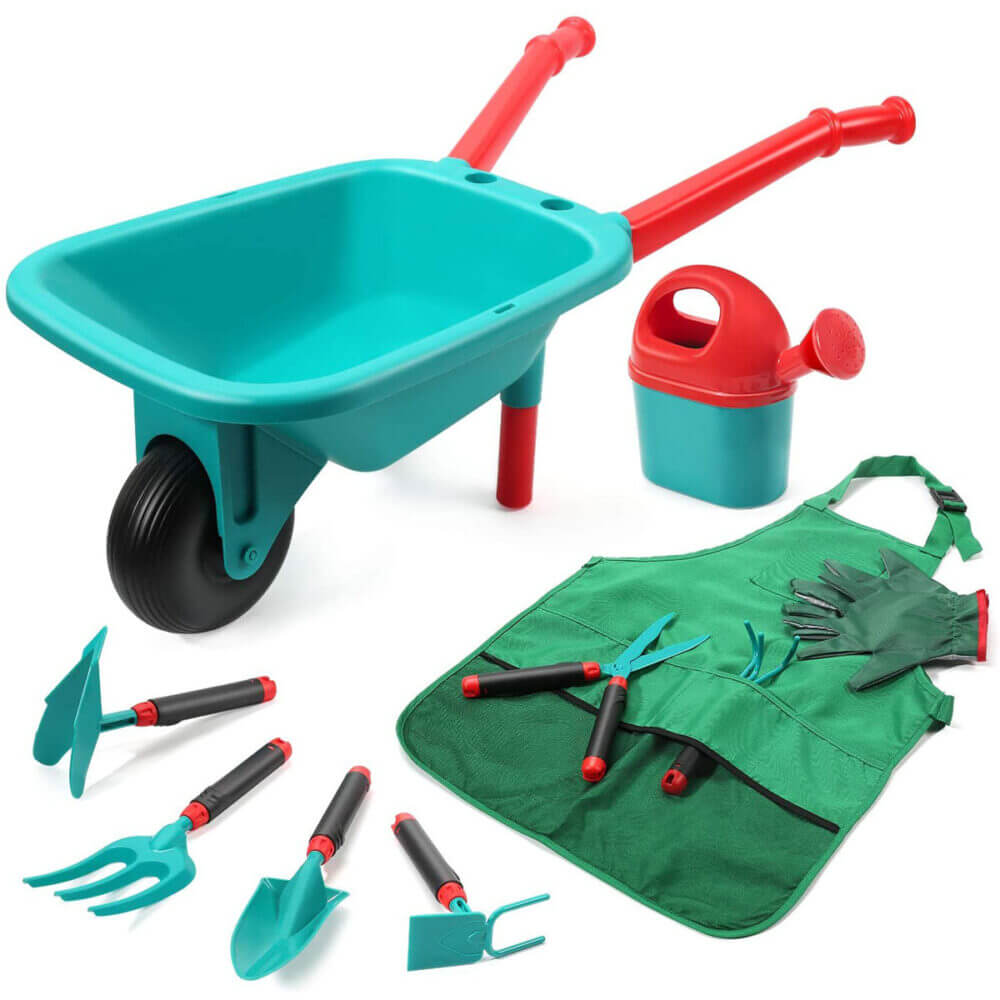
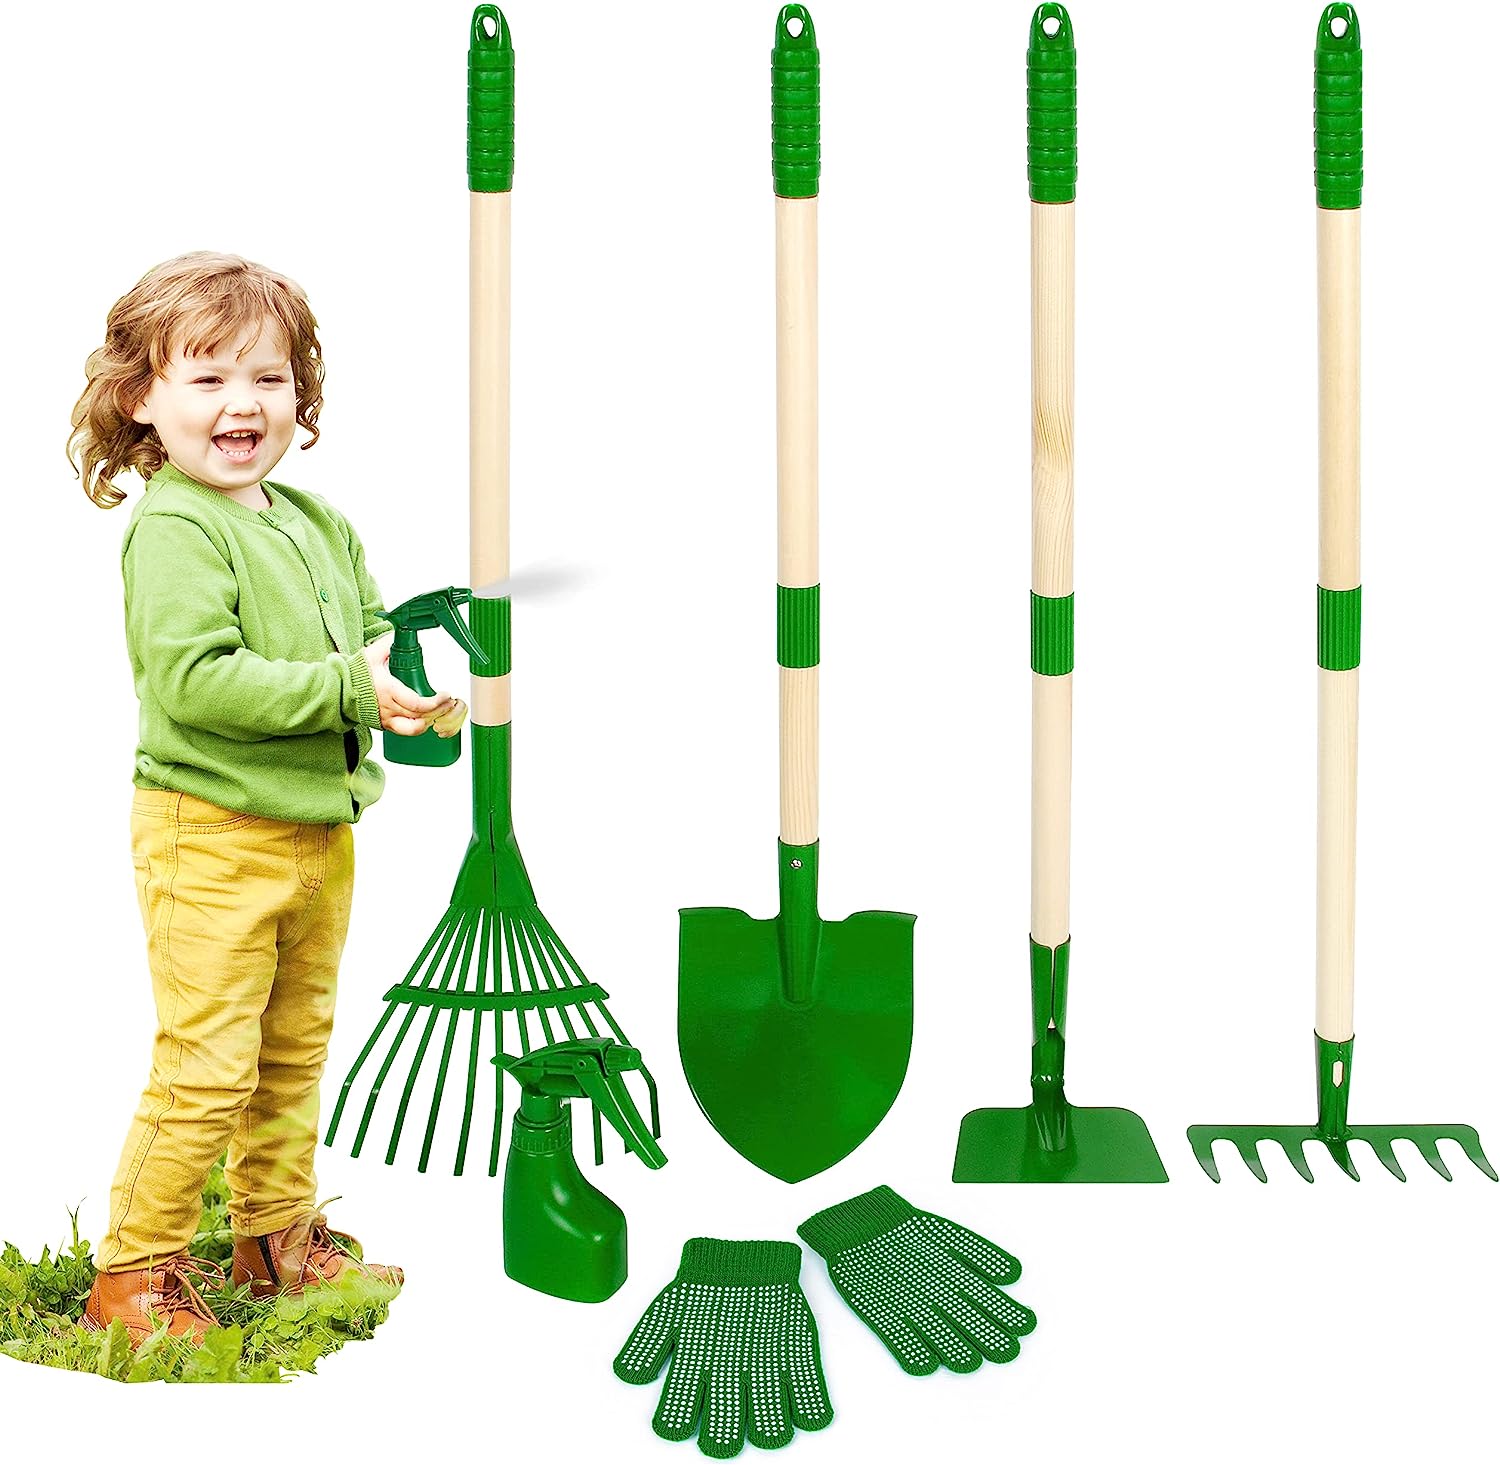
gardening kit for kids outdoor play

Gardening Kit

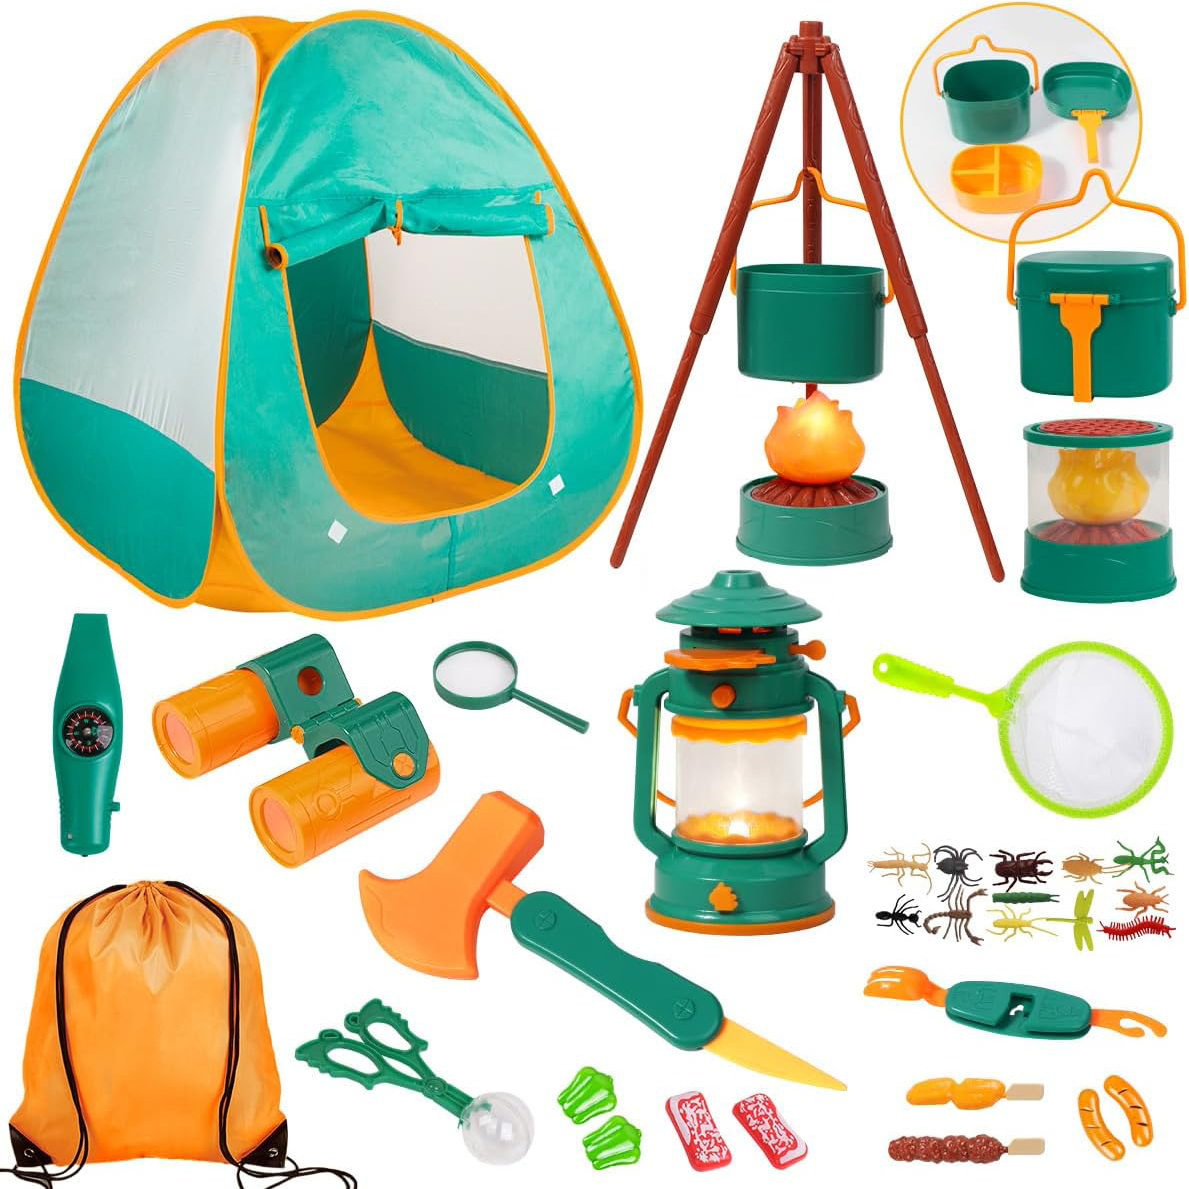
camping kit for kids outdoor play

Camping Set

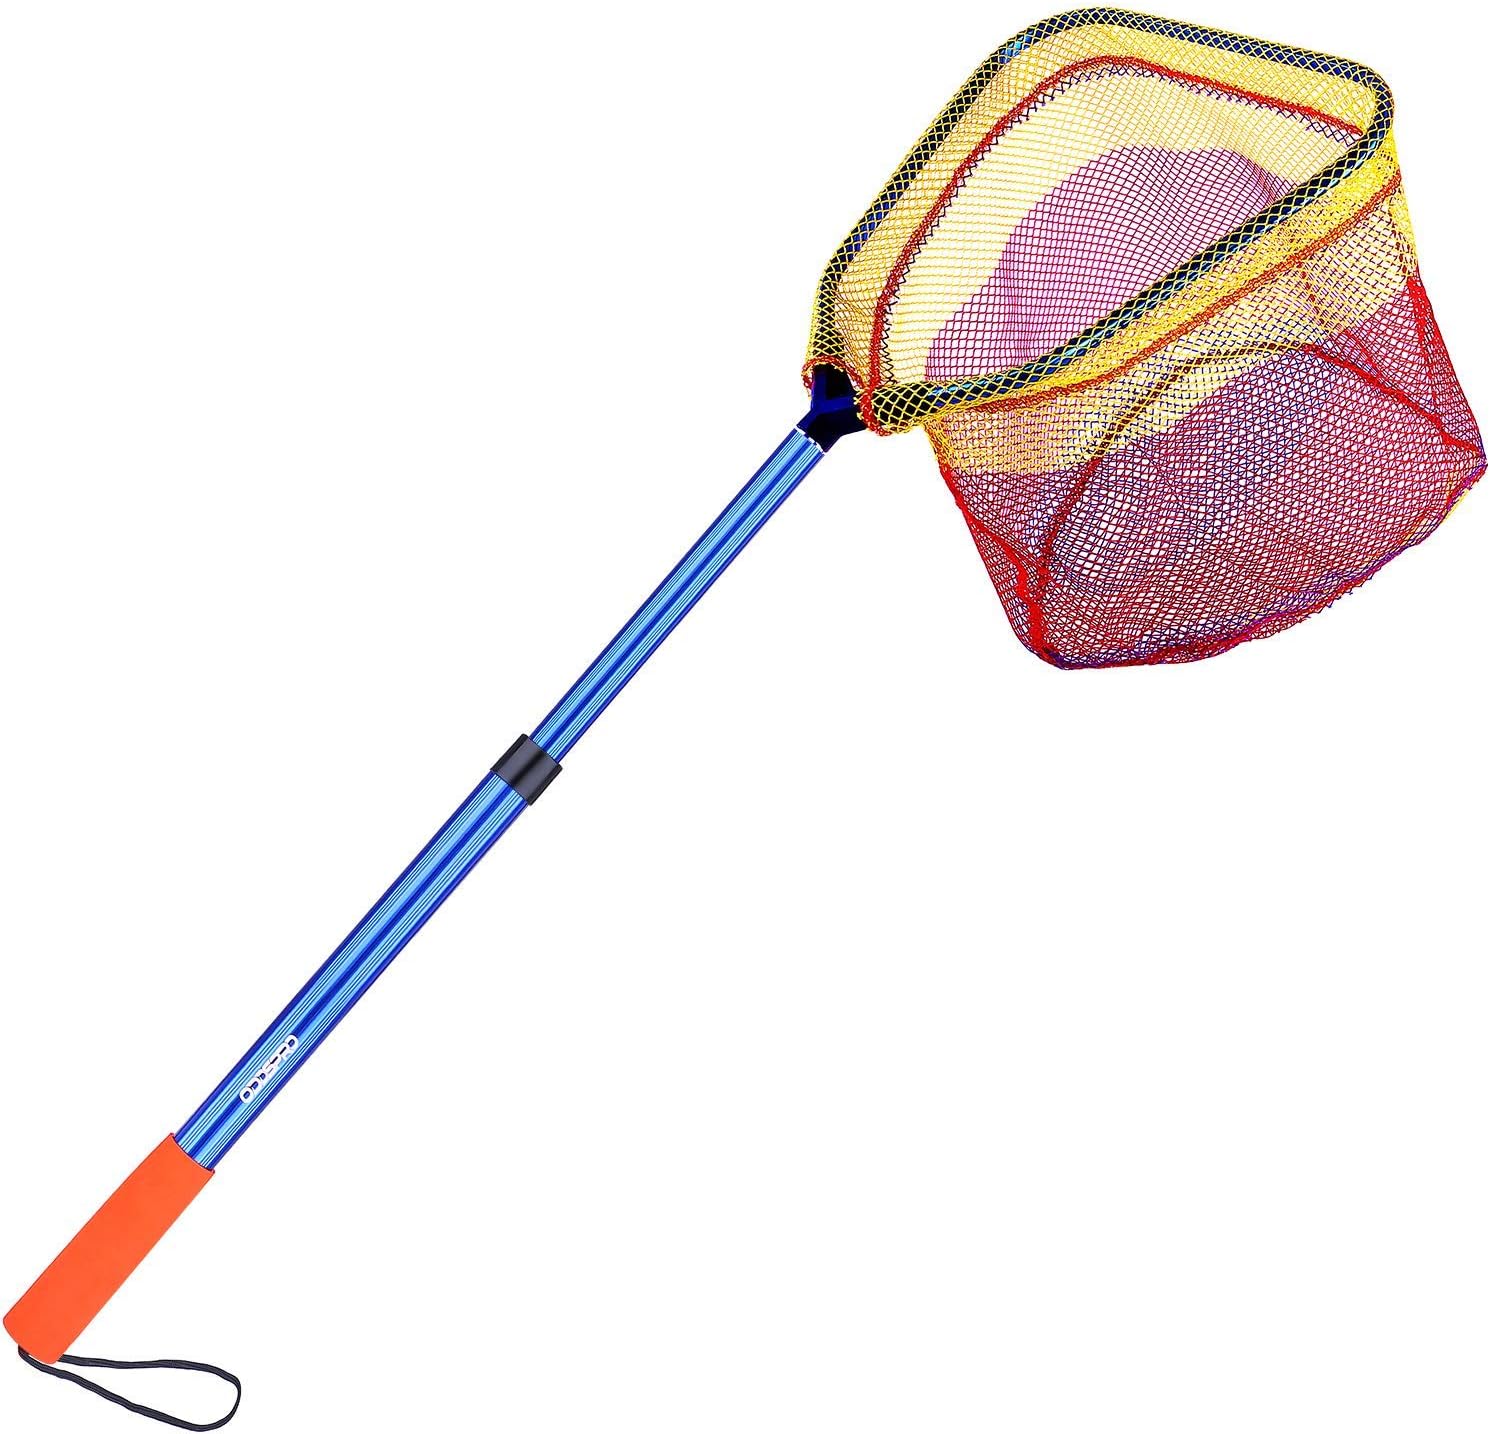
net outdoor toys kids

Insect and Butterfly Net

nature gardening toy

Gardening Tool Kit

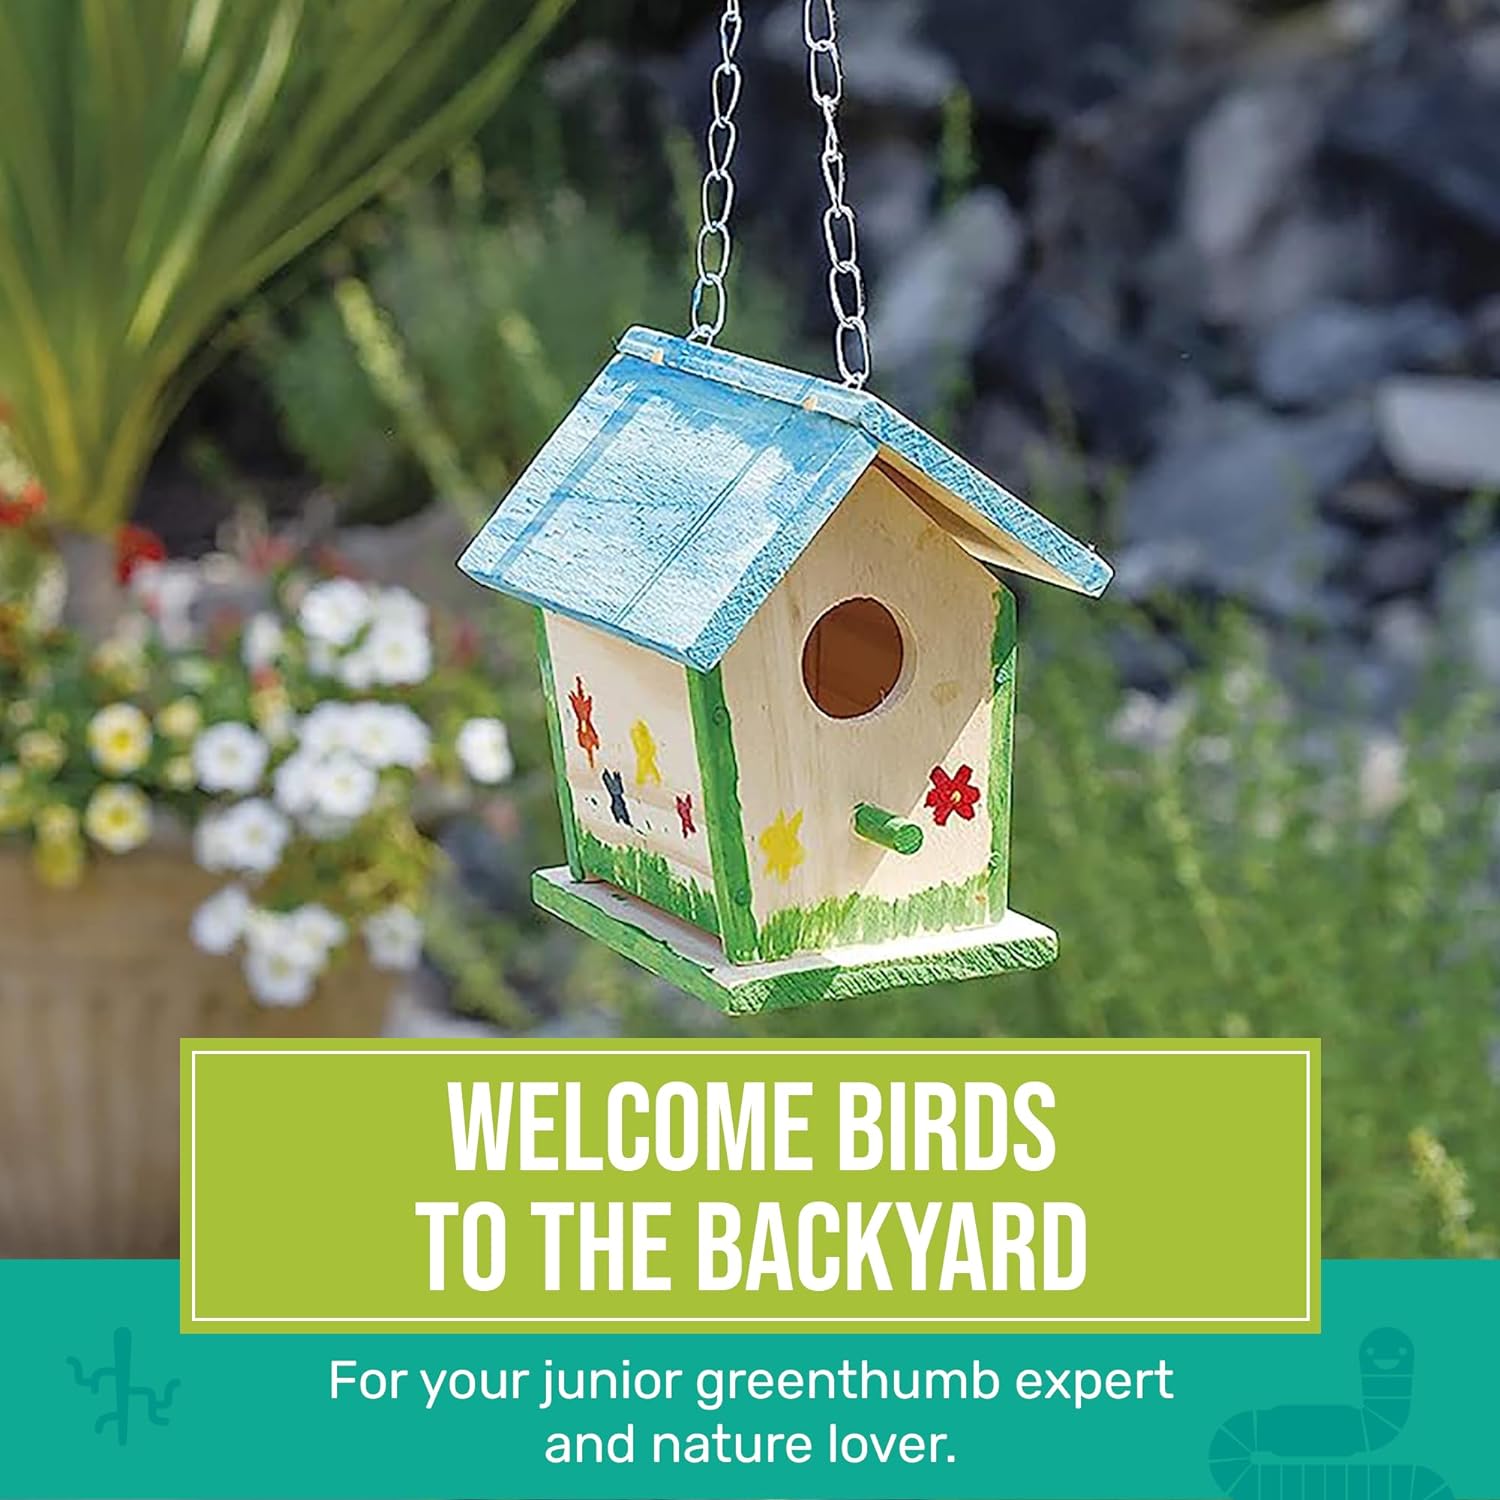
bird house art kit

Birdhouse Kit

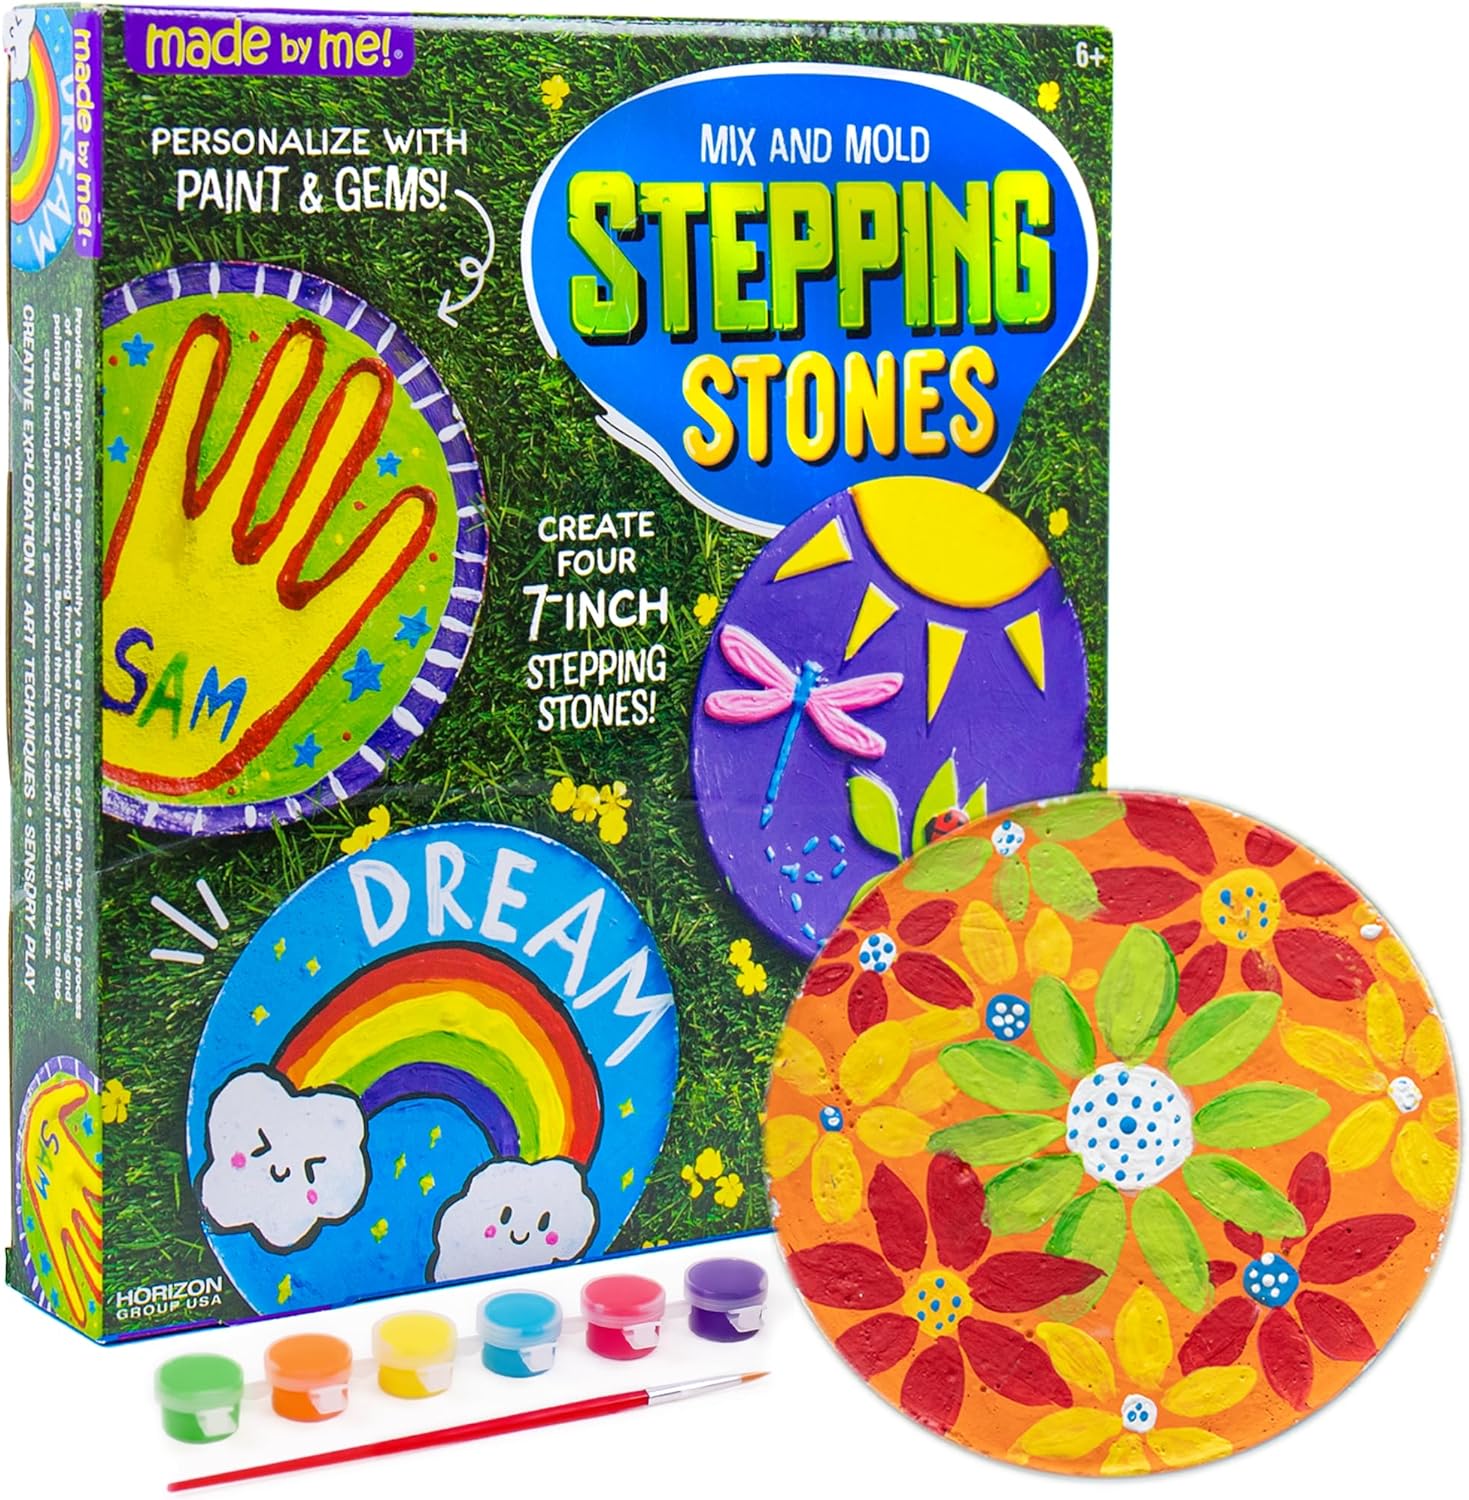
stepping stone art kit

Stepping Stone Kit

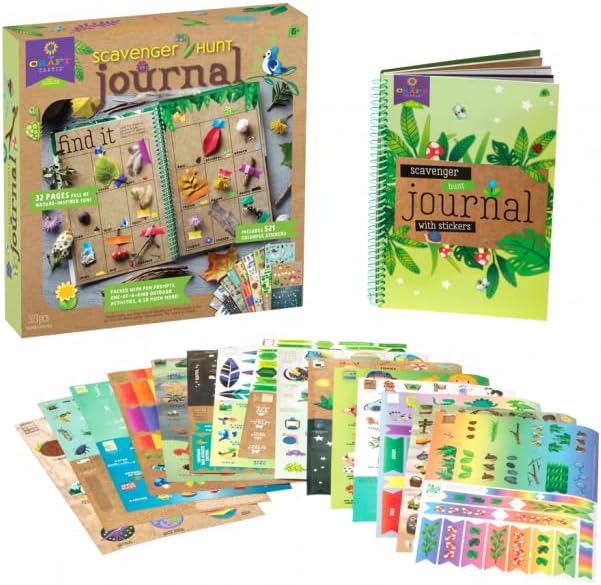
scavenger hunt journal

Scavenger Hunt Journal

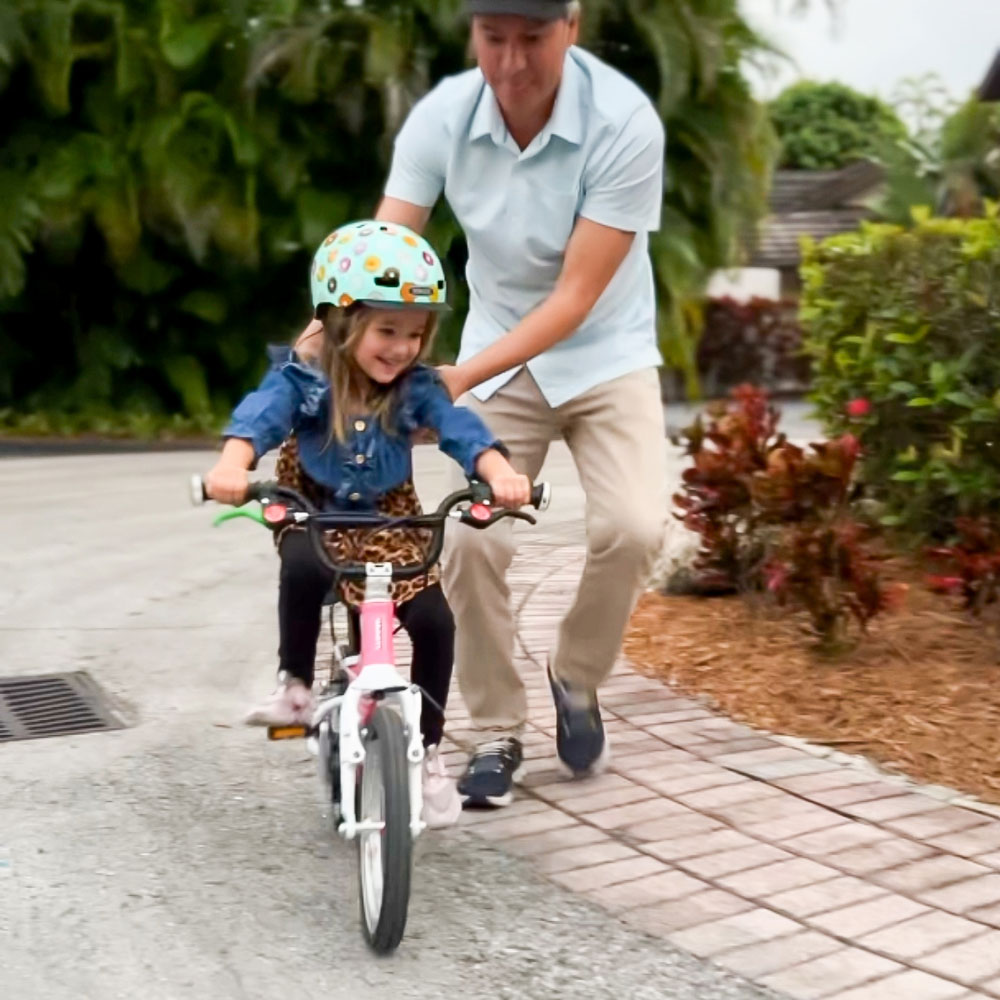
teach kid to ride bike guide

Ready for the Ultimate Outdoor Milestone?

Once your child has had plenty of fun with outdoor toys and games, it might be time to take things up a notch—by learning how to ride a bike!

If you’re not sure where to start, I’ve got you covered with a friendly, stress-free guide that walks you through each step of the process.

Click here to read How to Teach Your Kid to Ride a Bike and get rolling today!

Empowering Outdoor Adventures: Embracing Playtime & Growth

In conclusion, the importance of outdoor play cannot be overstated in nurturing the holistic development of children. As we’ve explored the top outdoor toys for kids in 2025, it’s evident that these toys offer more than just entertainment—they provide valuable opportunities for learning, growth, and exploration. By prioritizing outdoor play and incorporating these recommended toys into their children’s routines, parents and caregivers can empower them to thrive both physically and mentally.

outdoor play quote card

Empowering Outdoor Adventures: Embracing Playtime & Growth

In conclusion, the importance of outdoor play cannot be overstated in nurturing the holistic development of children. As we’ve explored the top outdoor toys for kids in 2025, it’s evident that these toys offer more than just entertainment—they provide valuable opportunities for learning, growth, and exploration. By prioritizing outdoor play and incorporating these recommended toys into their children’s routines, parents and caregivers can empower them to thrive both physically and mentally.

What’s Next?

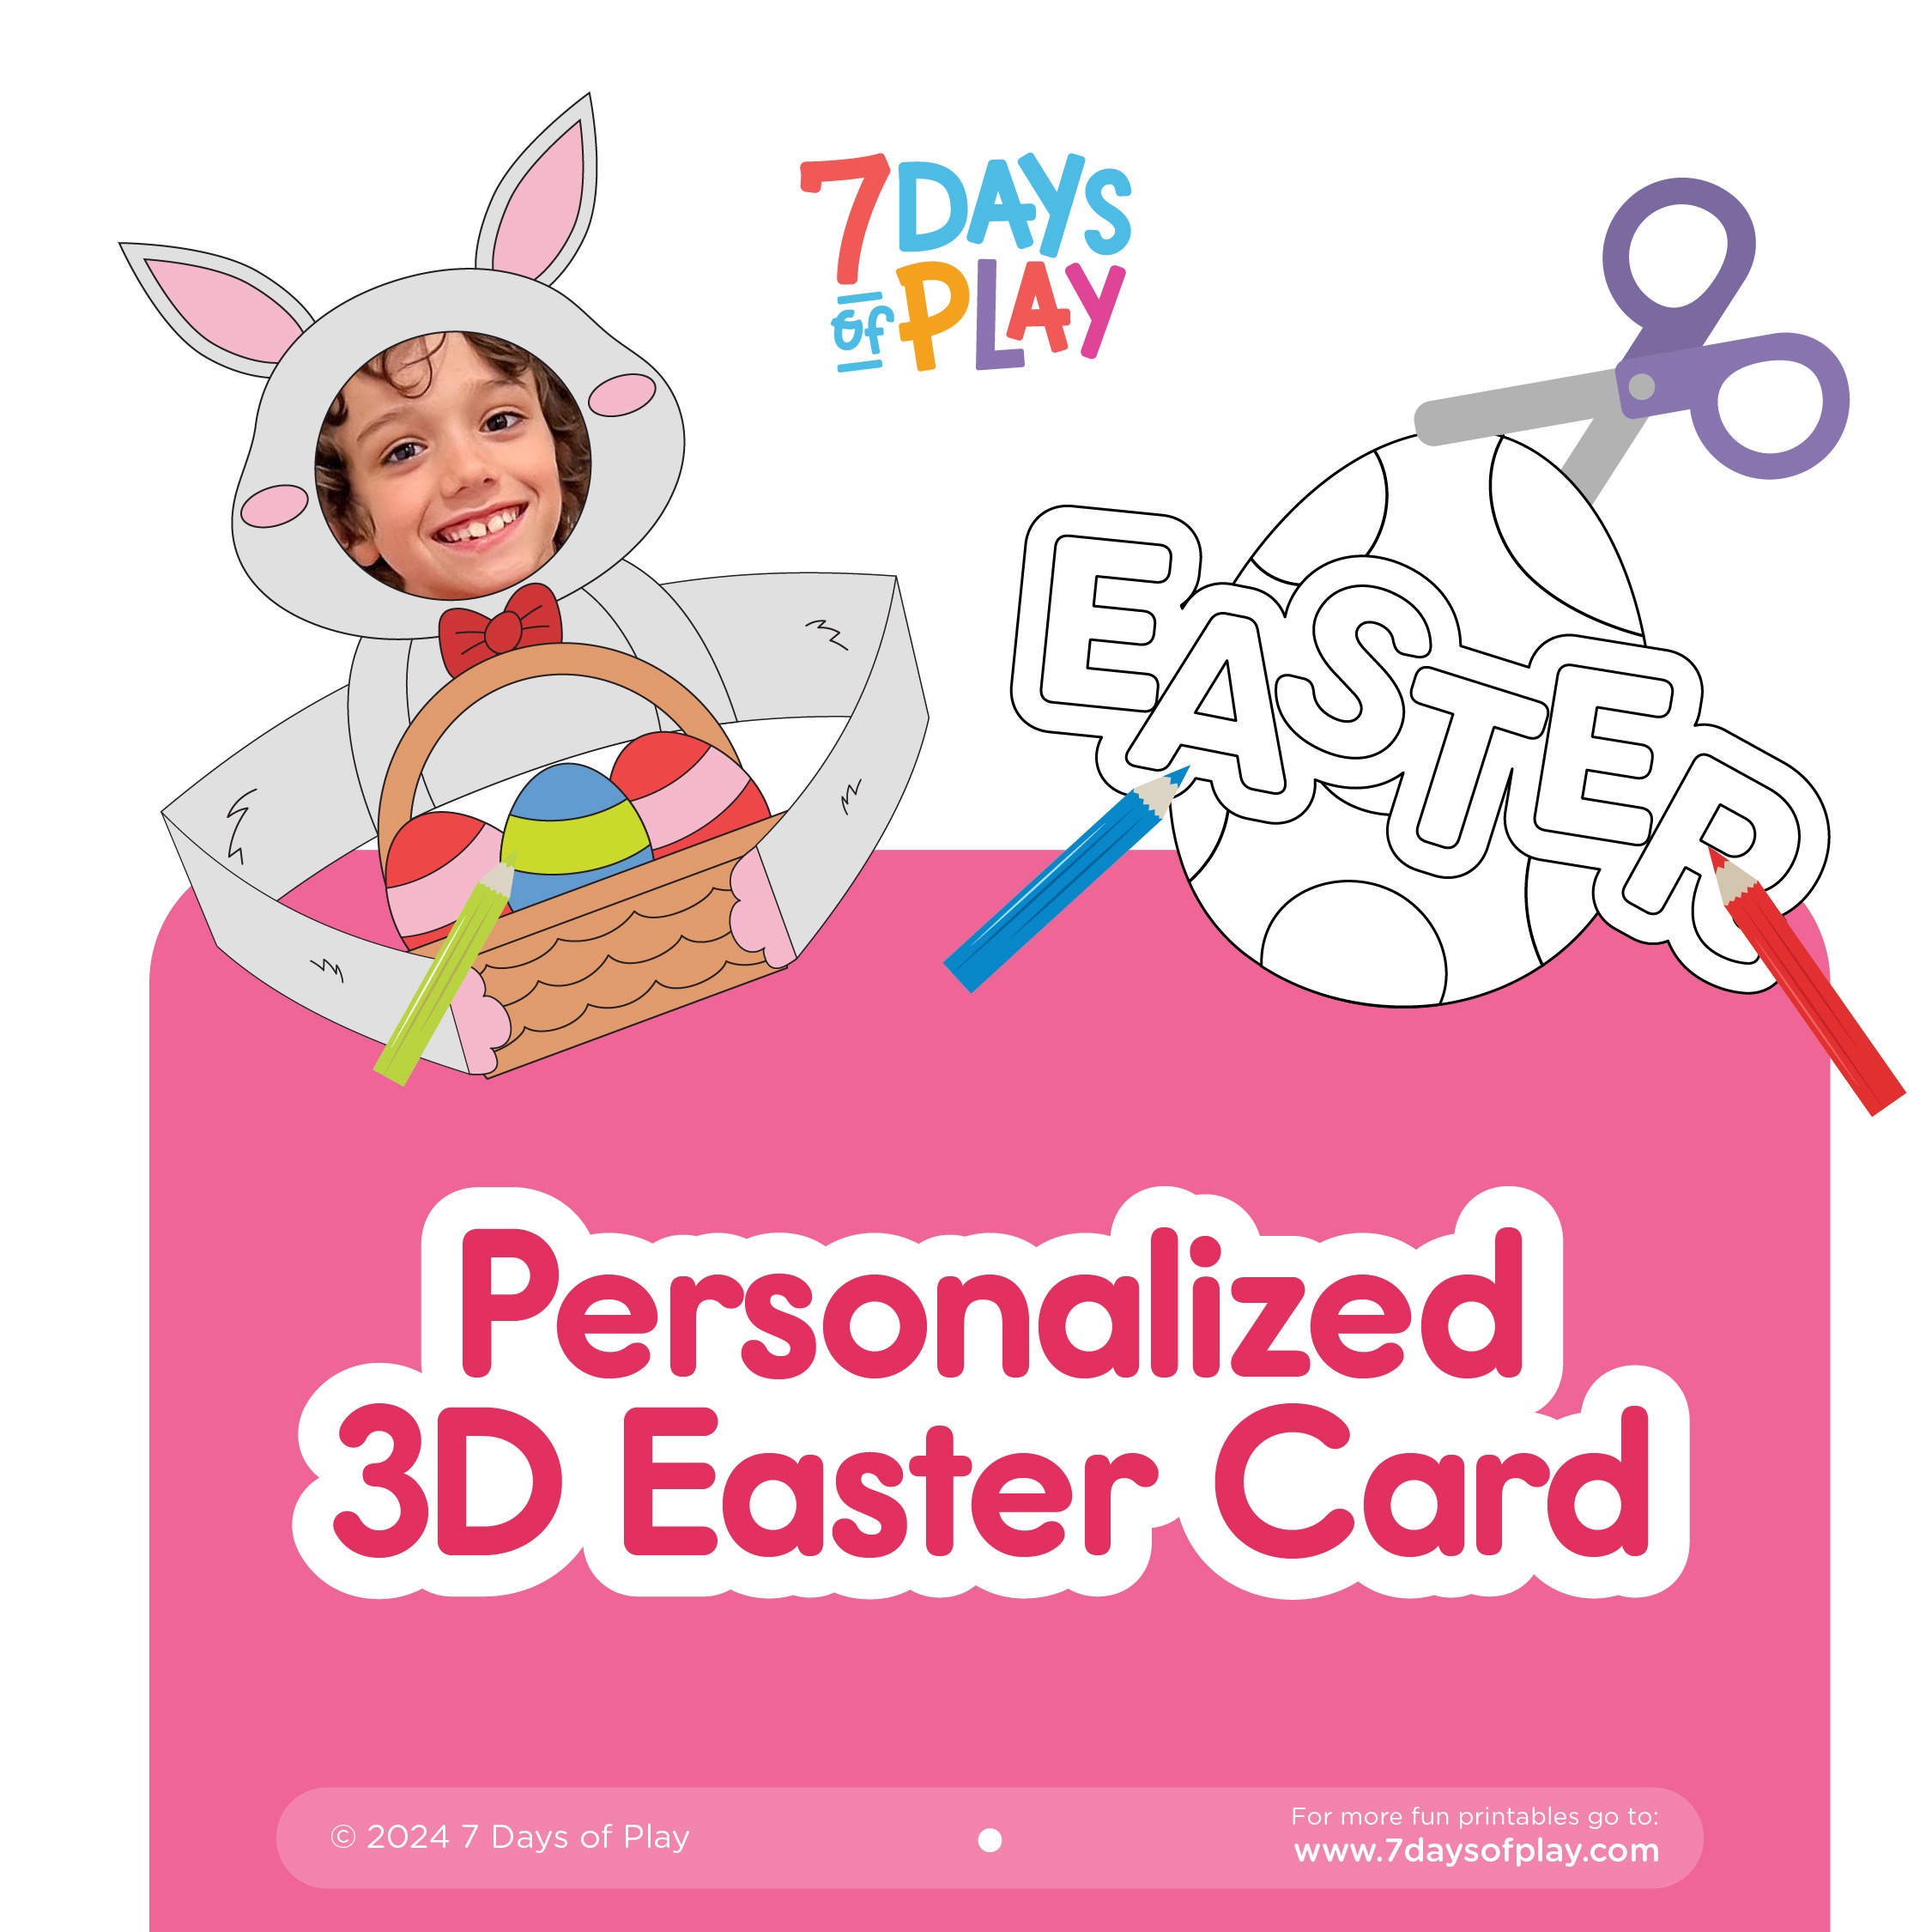
Easter Bunny Coloring Craft – How to Make a Personalized Card

Easter Bunny Coloring Craft – How to Make a Personalized Card

Easter Bunny Coloring Craft – How to Make a Personalized Card

Easter Bunny Coloring Craft - How to Make a Personalized Card

Discover how to create a personalized Easter bunny coloring craft with our step-by-step guide, perfect for making cards and table settings!

Create a Personalized Keepsake with this Easter Bunny Coloring Craft

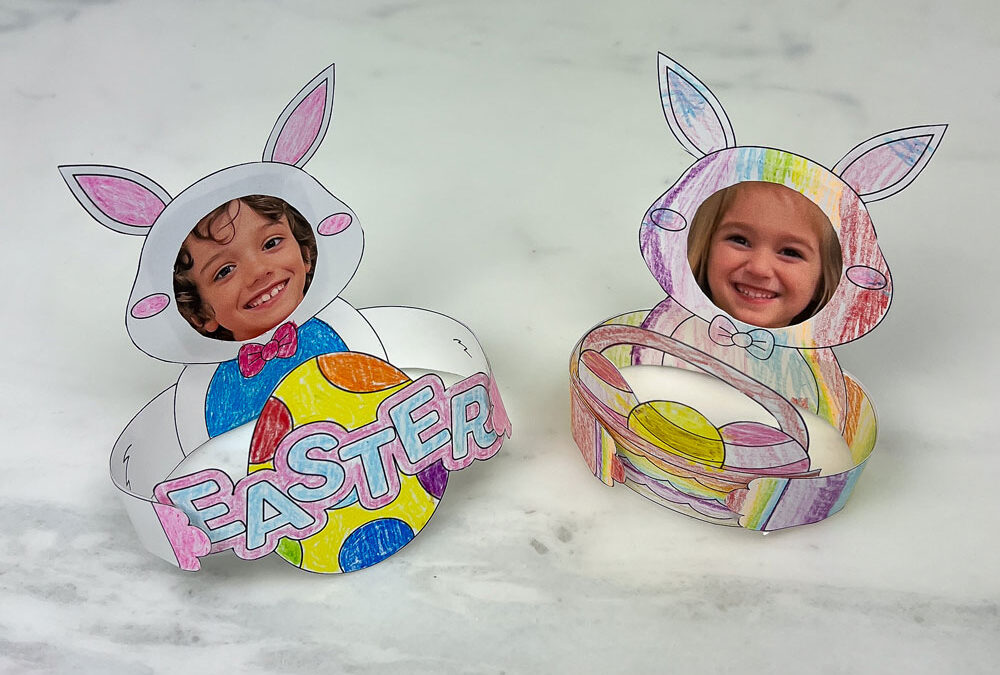
Easter is just around the corner, and what better way to celebrate than with a fun and creative craft? Keep reading to explore this super fun printable coloring craft featuring an adorable Easter bunny. But what sets this craft apart is its interactive 3D design, allowing you to personalize it with your own face and use it as both a card and a table setting decoration. Get the printable HERE!

All activities should be supervised by an adult. As an Amazon Associate, I earn from qualifying purchases. This post may contain affiliate links.

Skills: Arts and Crafts

Ages: 3+ 

Prep Time: 15 min

Watch How to Assemble This 3D Easter Bunny Coloring Craft!

Watch the video to see how to assemble this adorable Easter bunny coloring craft

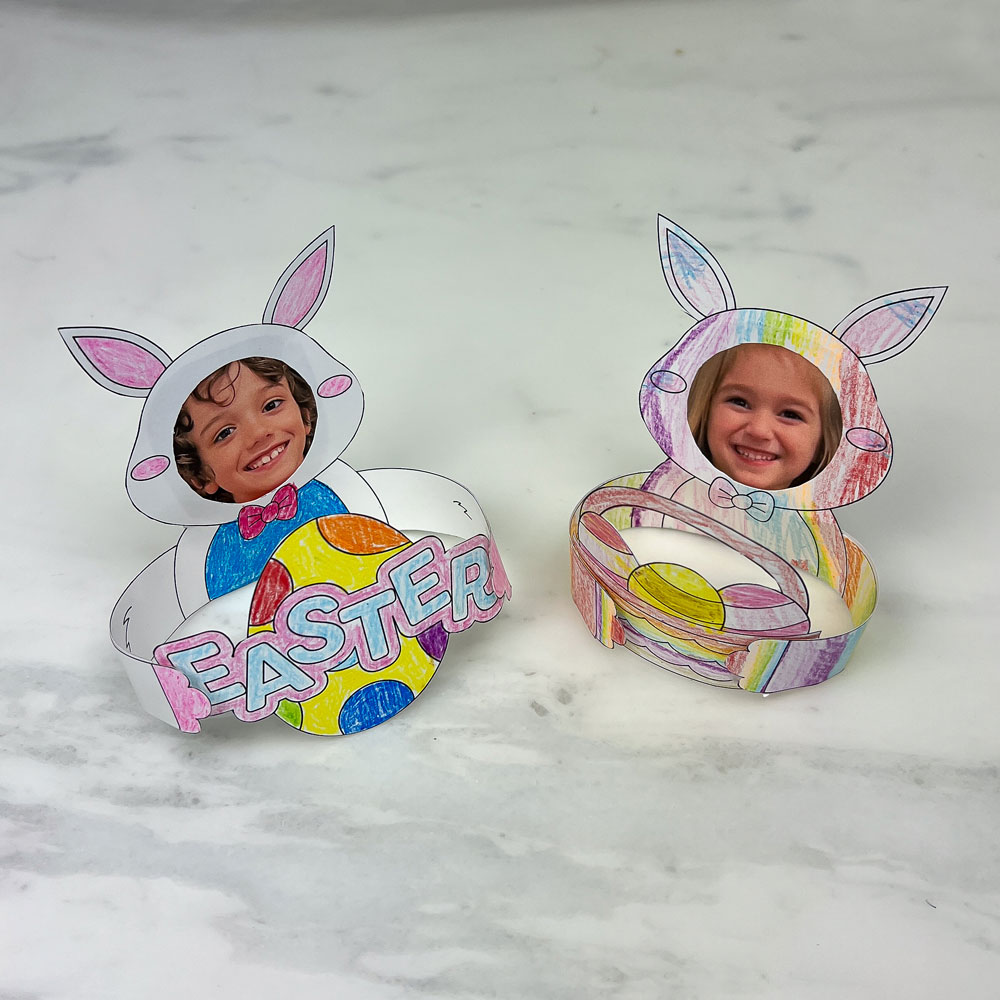
This craft takes Easter coloring to a whole new level. When you add your own picture and color the bunny, it really makes this printable special!

But the real kicker? Those arms! They stretch forward, ready to hold a basket of eggs or a cute Easter egg. It’s such a fun detail that really brings the card to life. Kids will have a blast with it, and hey, adults might too!

I love how versatile this printable is! First and foremost, it’s perfect for a relaxing coloring session, allowing both children and adults to unleash their creativity and personalize their own Easter bunny masterpiece.

Once colored, the printable can serve as a standalone greeting card, ideal for sending heartfelt Easter wishes to friends and family. Pair it with an Easter gift to add an extra special touch, turning it into a charming card that doubles as a delightful keepsake. For those hosting an Easter gathering, consider using the bunny as a unique place holder for table settings, adding an adorable touch to your festive decor!

personalized 3D Easter Card

Tips for Creating This Easter Bunny Coloring Craft

Choose Quality Materials: Opt for sturdy cardstock paper when printing your Easter Bunny template. This ensures durability and stability for your 3D card once assembled.

Personalize Thoughtfully: When adding a photo to customize the bunny’s face, select one that fits well within the designated area and complements the overall aesthetic of your craft. 

Experiment with Decorations: Have fun embellishing your Easter Bunny with additional decorations such as glitter, stickers, or even small embellishments like ribbon or sequins. 

Get the Printable HERE!

Materials

Step-by-Step Instructions 

Step 1

Download the printable Easter bunny template and print it on sturdy cardstock for durability.

Step 2

Color your bunny!

Step 3

Cut out a photo of your face to fit within the designated area on the bunny’s head. 

Step 4

Carefully cut along the solid lines of the bunny and Easter egg images, including the arms that wrap around for a 3D effect. Take your time to ensure neat edges. 

Step 5

Fold along the line intended for folding to create the bunny’s body and arms. Use glue or tape to secure the hands, forming the 3D structure. Make sure the arms are positioned to hold either a basket of eggs or the single Easter egg.

Easter Activity and Gift Guide!

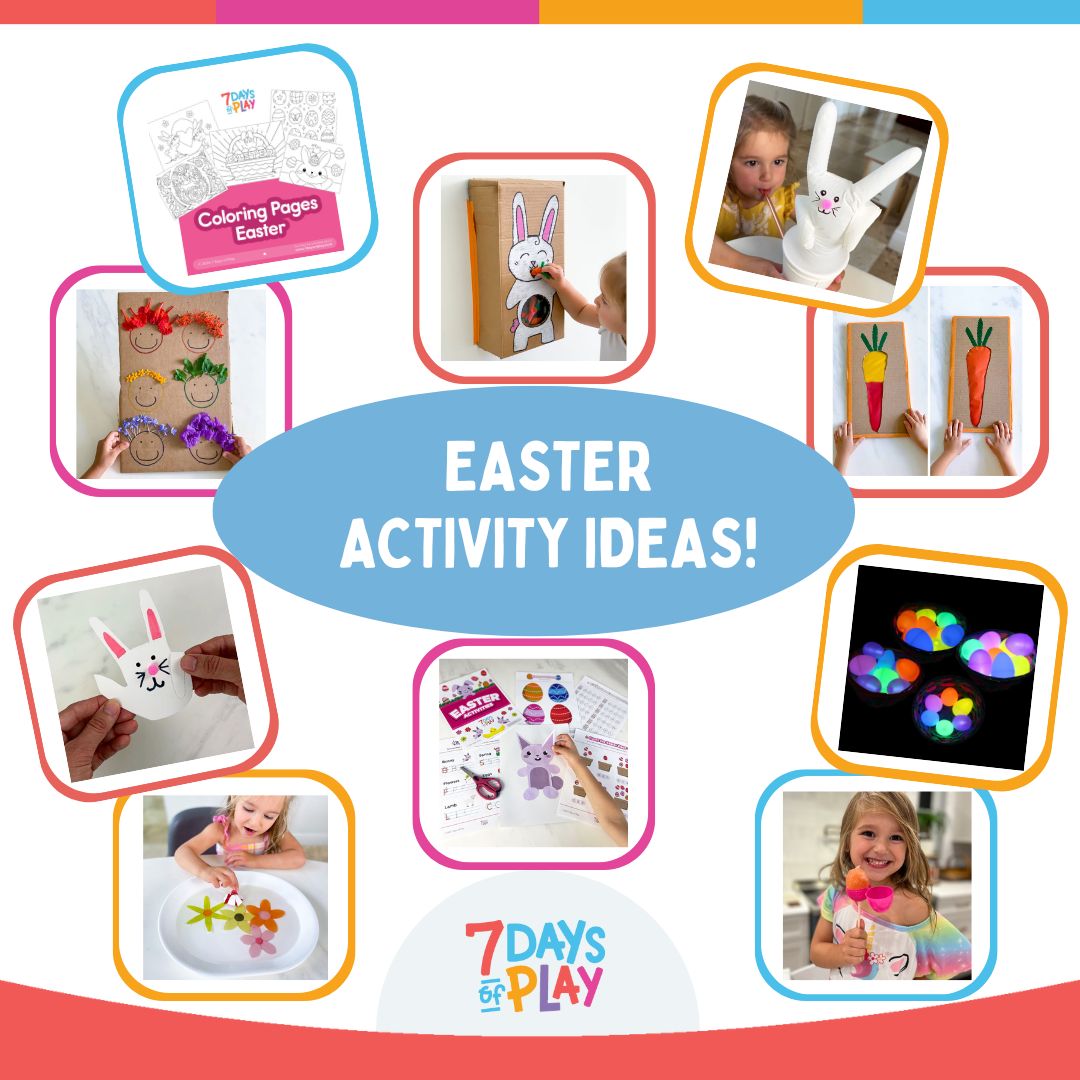
And if you are looking for more ways to have fun this Easter season, check out our Easter Activity and Gift Guide—a jam-packed resource! Inside, you’ll find tons of activities to keep them entertained, like egg decorating, Easter egg hunts, bunny-themed crafts, and more DIY cards. Need ideas for Easter basket gifts? We’ve got you covered with suggestions. Plus, our guide doesn’t stop at Easter-specific activities. We’ve thrown in plenty of spring-inspired ideas too!

Check our our Easter Guide HERE!

easter activity ideas

Easter Activity and Gift Guide!

And if you are looking for more ways to have fun this Easter season, check out our Easter Activity and Gift Guide—a jam-packed resource! Inside, you’ll find tons of activities to keep them entertained, like egg decorating, Easter egg hunts, bunny-themed crafts, and more DIY cards. Need ideas for Easter basket gifts? We’ve got you covered with suggestions. Plus, our guide doesn’t stop at Easter-specific activities. We’ve thrown in plenty of spring-inspired ideas too!

Check our our Easter Guide HERE!

More Easter Themed Activities!

Explore some more of our favorite Easter themed activities and printables!

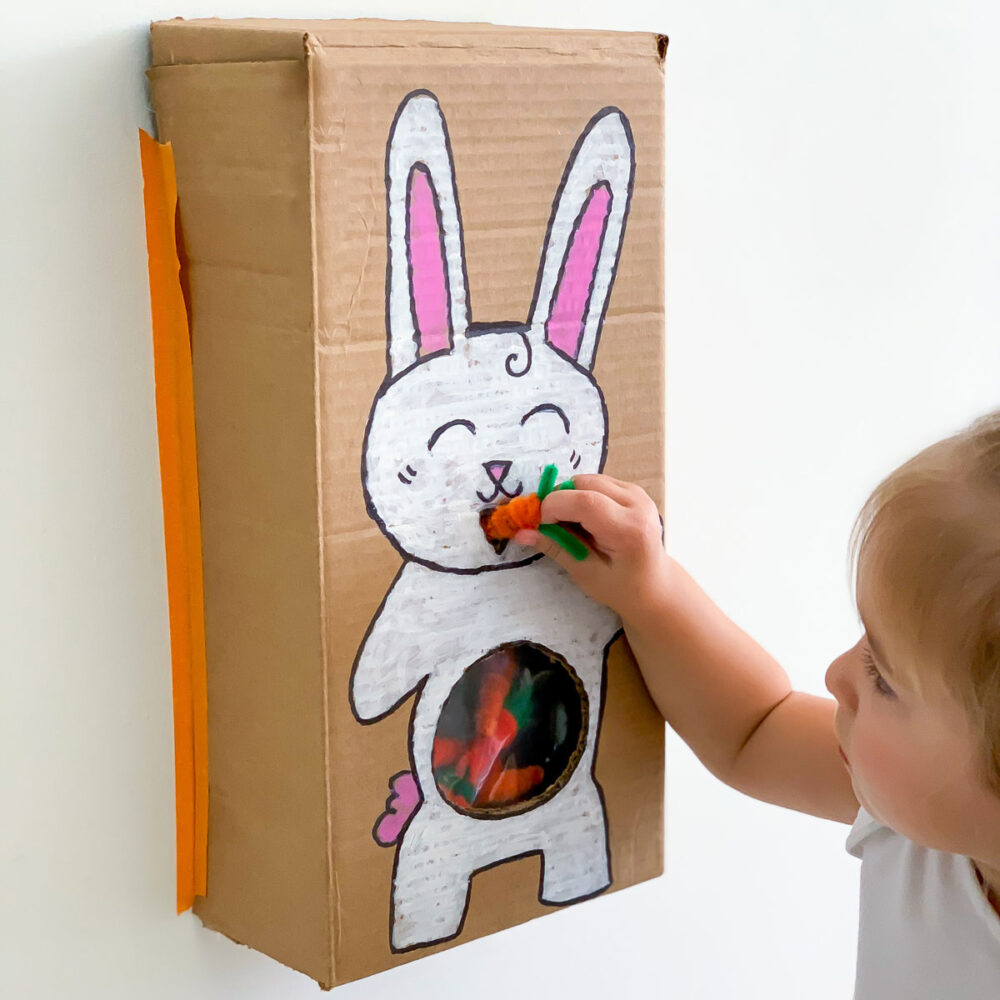
feed the bunny activity for toddlers fine motor skills

Feed the Bunny Activity!

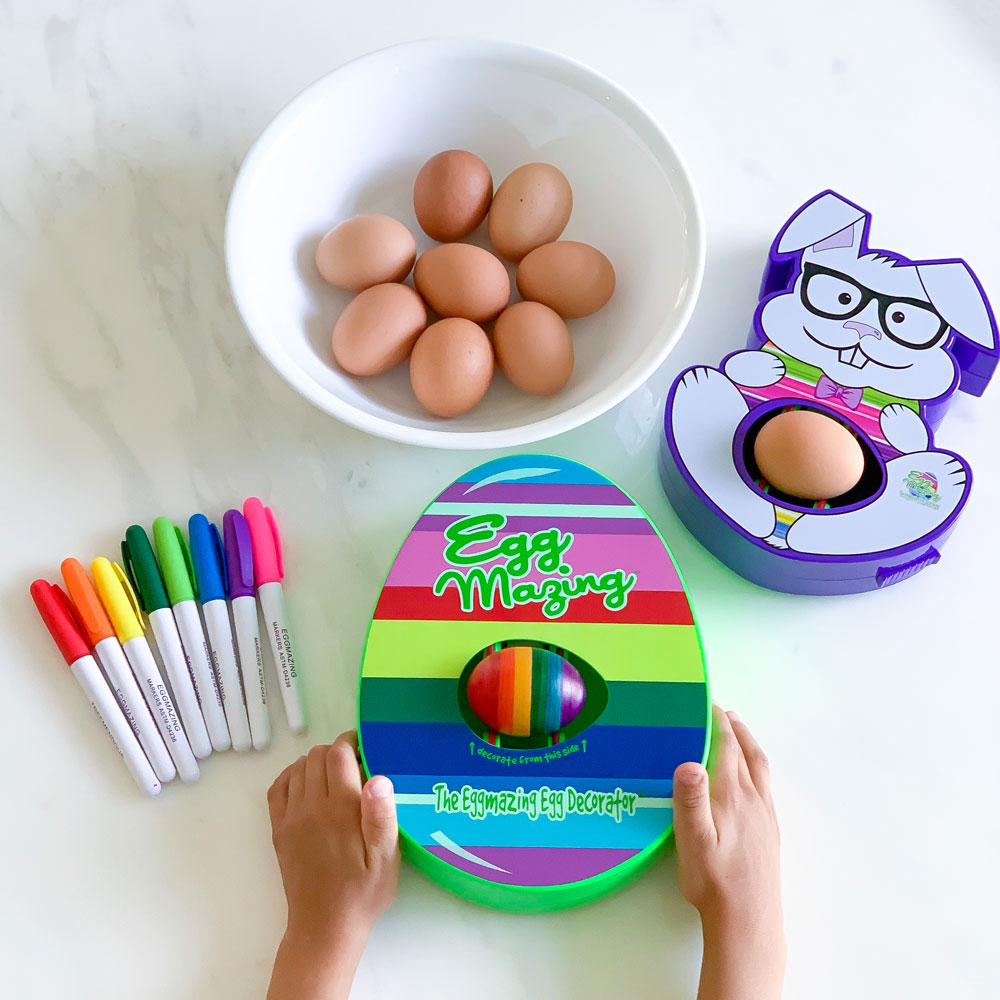
easter egg activity eggmazing egg decorator mess free decorating

Hatch the Egg Printable!

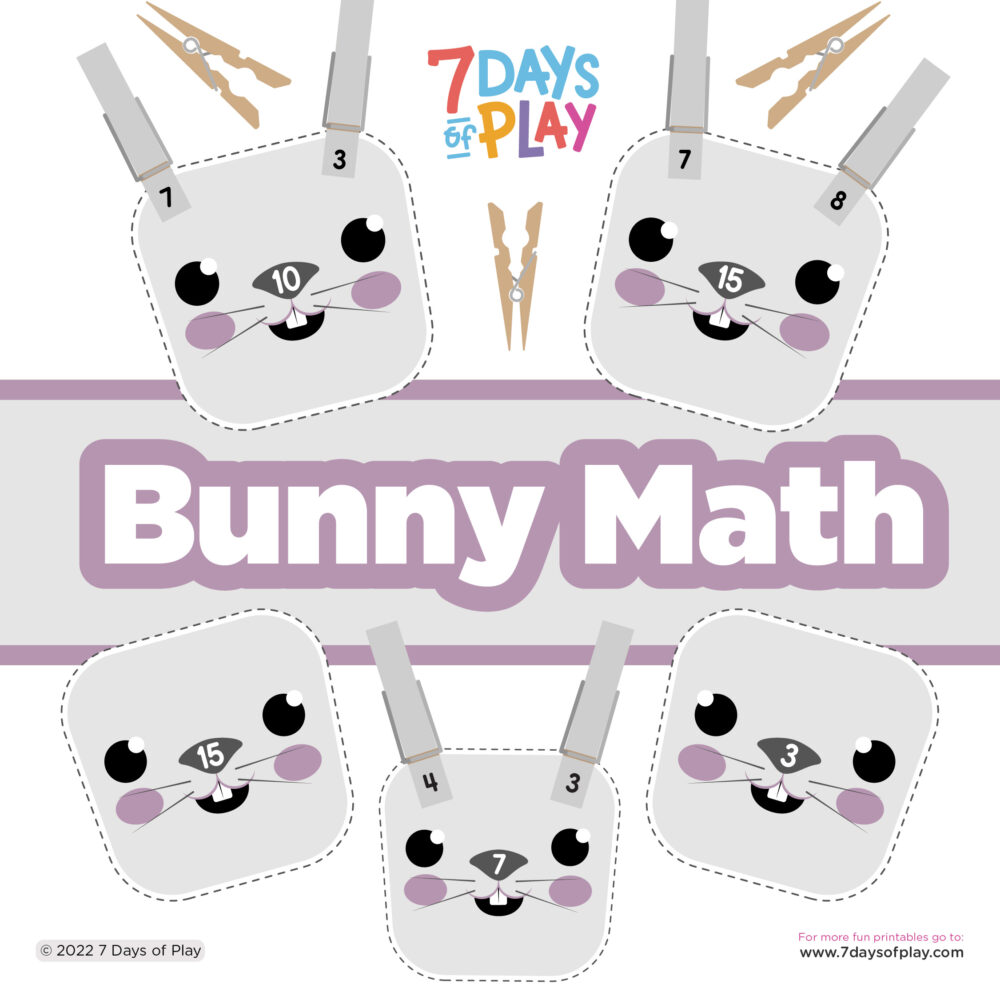
This free printable is a fun, hands on way to do math problems! Use clothing pins as bunny ears to solve the equations whether addition, subtraction, multiplication or division!

Bunny Math – Learn Addition Printable!

easter and spring themed worksheets printables

20+ Easter Printable Activities!

What’s Next?

How to Make Handprint Shrinky Dink Keepsakes: Fun Craft for Kids

How to Make Handprint Shrinky Dink Keepsakes: Fun Craft for Kids

How to Make Handprint Shrinky Dink Keepsakes: Fun Craft for Kids

shrinky dink keepsakes

Create handprint shrinky dink keepsakes with our complete guide! Learn how to make them and explore fun seasonal designs!

DIY Shrinky Dink Keepsakes: Fun Handprint Ideas for All Seasons

If you’re looking for a fun, creative way to capture your child’s handprint and turn it into a lasting memory, Shrinky Dink keepsakes are the perfect craft! These cute, colorful handprints shrink down into sturdy little keepsakes that make great gifts or decorations. Plus, they’re easy to personalize for every season—think pumpkins for Halloween or turkeys for Thanksgiving! In this guide, we’ll walk you through the supplies you’ll need, how to make them, and offer seasonal ideas to keep this craft fresh all year long.

All activities should be supervised by an adult. As an Amazon Associate, I earn from qualifying purchases. This post may contain affiliate links.


shrink dink keepsake paper

What is Shrinky Dink Paper and Where Can I Get it?

Before we dive in, you’ll need some special shrinking paper. Click here to get your Shrinky Dink sheets and have them ready for crafting some shrinky dink keepsakes!

What is Shrinky Dink Paper?  It is a type of polystyrene plastic that has been designed for craft purposes. When heated, it undergoes a process of shrinking and thickening, allowing fåor the creation of smaller, more durable versions of the original design.

Should I follow safety guidelines when using Shrinky Dink Paper? When heating the paper in the oven, it should be done by an adult and it’s recommended to use Shrinky Dink paper in a well-ventilated area. The heating process may release some fumes, and good ventilation helps dissipate any potential odors.

shrink dink keepsake paper
Materials
Step-by-Step Instructions
Step 1

Start by either painting your child’s hand with acrylic paint or you can trace their hand with a permanent marker, both acrylic paints and permanent markers are the most commonly used art tools used on Shrinky Dink paper, but read the next section for some more compatible options to experiment with. If outline the handprint, consider letting your child fill in the handprint with vibrant colors, or leave it as a simple outlined design for a more minimalist look.

Step 2

Cut out the handprint shape, leaving a small border around the edges.


Step 3

If making a keychain or ornament, punch a hole at the top of the handprint.

Step 4

Preheat your oven to the recommended temperature (usually around 325°F), and line a baking sheet with foil or parchment paper.

Step 5

Place your handprint on the parchment-lined baking sheet and bake for 1-3 minutes. The handprint will curl up and then flatten as it shrinks.

Step 6

Let it cool for a few minutes before handling, and once cool, attach your keychain loop or string. 

Step 1

Start by either painting your child’s hand with acrylic paint or you can trace their hand with a permanent marker, both acrylic paints and permanent markers are the most commonly used art tools used on Shrinky Dink paper, but read the next section for some more compatible options to experiment with. If outline the handprint, consider letting your child fill in the handprint with vibrant colors, or leave it as a simple outlined design for a more minimalist look.

Step 2

Cut out the handprint shape, leaving a small border around the edges.

Step 3

If making a keychain or ornament, punch a hole at the top of the handprint.

Step 4

Preheat your oven to the recommended temperature (usually around 325°F), and line a baking sheet with foil or parchment paper.

Step 5

Place your handprint on the parchment-lined baking sheet and bake for 1-3 minutes. The handprint will curl up and then flatten as it shrinks.

Step 6

Let it cool for a few minutes before handling, and once cool, attach your keychain loop or string. 

What Art Tools Can Be Used on Shrinky Dink Paper?

Acrylic paint and permanent markers are two of the most commonly used, but there are several other art tools compatible with Shrinky Dink paper to bring your designs to life. Colored pencils work well on frosted Shrinky Dink sheets, giving a softer, more muted look. For bold, textured designs, oil pastels are another option, though they can smudge before shrinking. Sharpie paint pens offer vibrant colors with precise control, making them ideal for detailed designs. Gel pens add fun metallic or glittery effects, while chalk markers can give a soft, pastel-like finish. For a more dimensional look, you can use deco pens or fabric paint after shrinking to create raised designs or add detailed outlines.

shrinky dink handprint turkey craft

What Art Tools Can Be Used on Shrinky Dink Paper?

Acrylic paint and permanent markers are two of the most commonly used, but there are several other art tools compatible with Shrinky Dink paper to bring your designs to life. Colored pencils work well on frosted Shrinky Dink sheets, giving a softer, more muted look. For bold, textured designs, oil pastels are another option, though they can smudge before shrinking. Sharpie paint pens offer vibrant colors with precise control, making them ideal for detailed designs. Gel pens add fun metallic or glittery effects, while chalk markers can give a soft, pastel-like finish. For a more dimensional look, you can use deco pens or fabric paint after shrinking to create raised designs or add detailed outlines.

Shrinky Dink Handprint Ideas

Shrinky Dink keepsakes are super versatile and can be customized for different holidays and seasons. Here are some fun ideas to get you started:

    shrinky dink handprint turkey craft

    Shrinky Dink Handprint Turkey

     Classic turkey handprint, with each finger acting as a colorful feather and the palm as the turkey’s body.

    shrinky dink handprint leaf craft

    Shrinky Dink Handprint Fall Leaf

     Color the handprint with autumn shades like orange, red, and yellow to represent a leaf.

    shrinky dink handprint pumpkin craft

    Shrinky Dink Handprint Pumpkin

    Use the handprint as a base for a pumpkin design. Add jack o lantern features to make it Halloween themed

    shrinky dink handprint tree craft

    Shrinky Dink Handprint Fall Tree

     Use the hand and part of the arm as the tree trunk, and create colorful fall leaves with fingerprints in autumn shades.

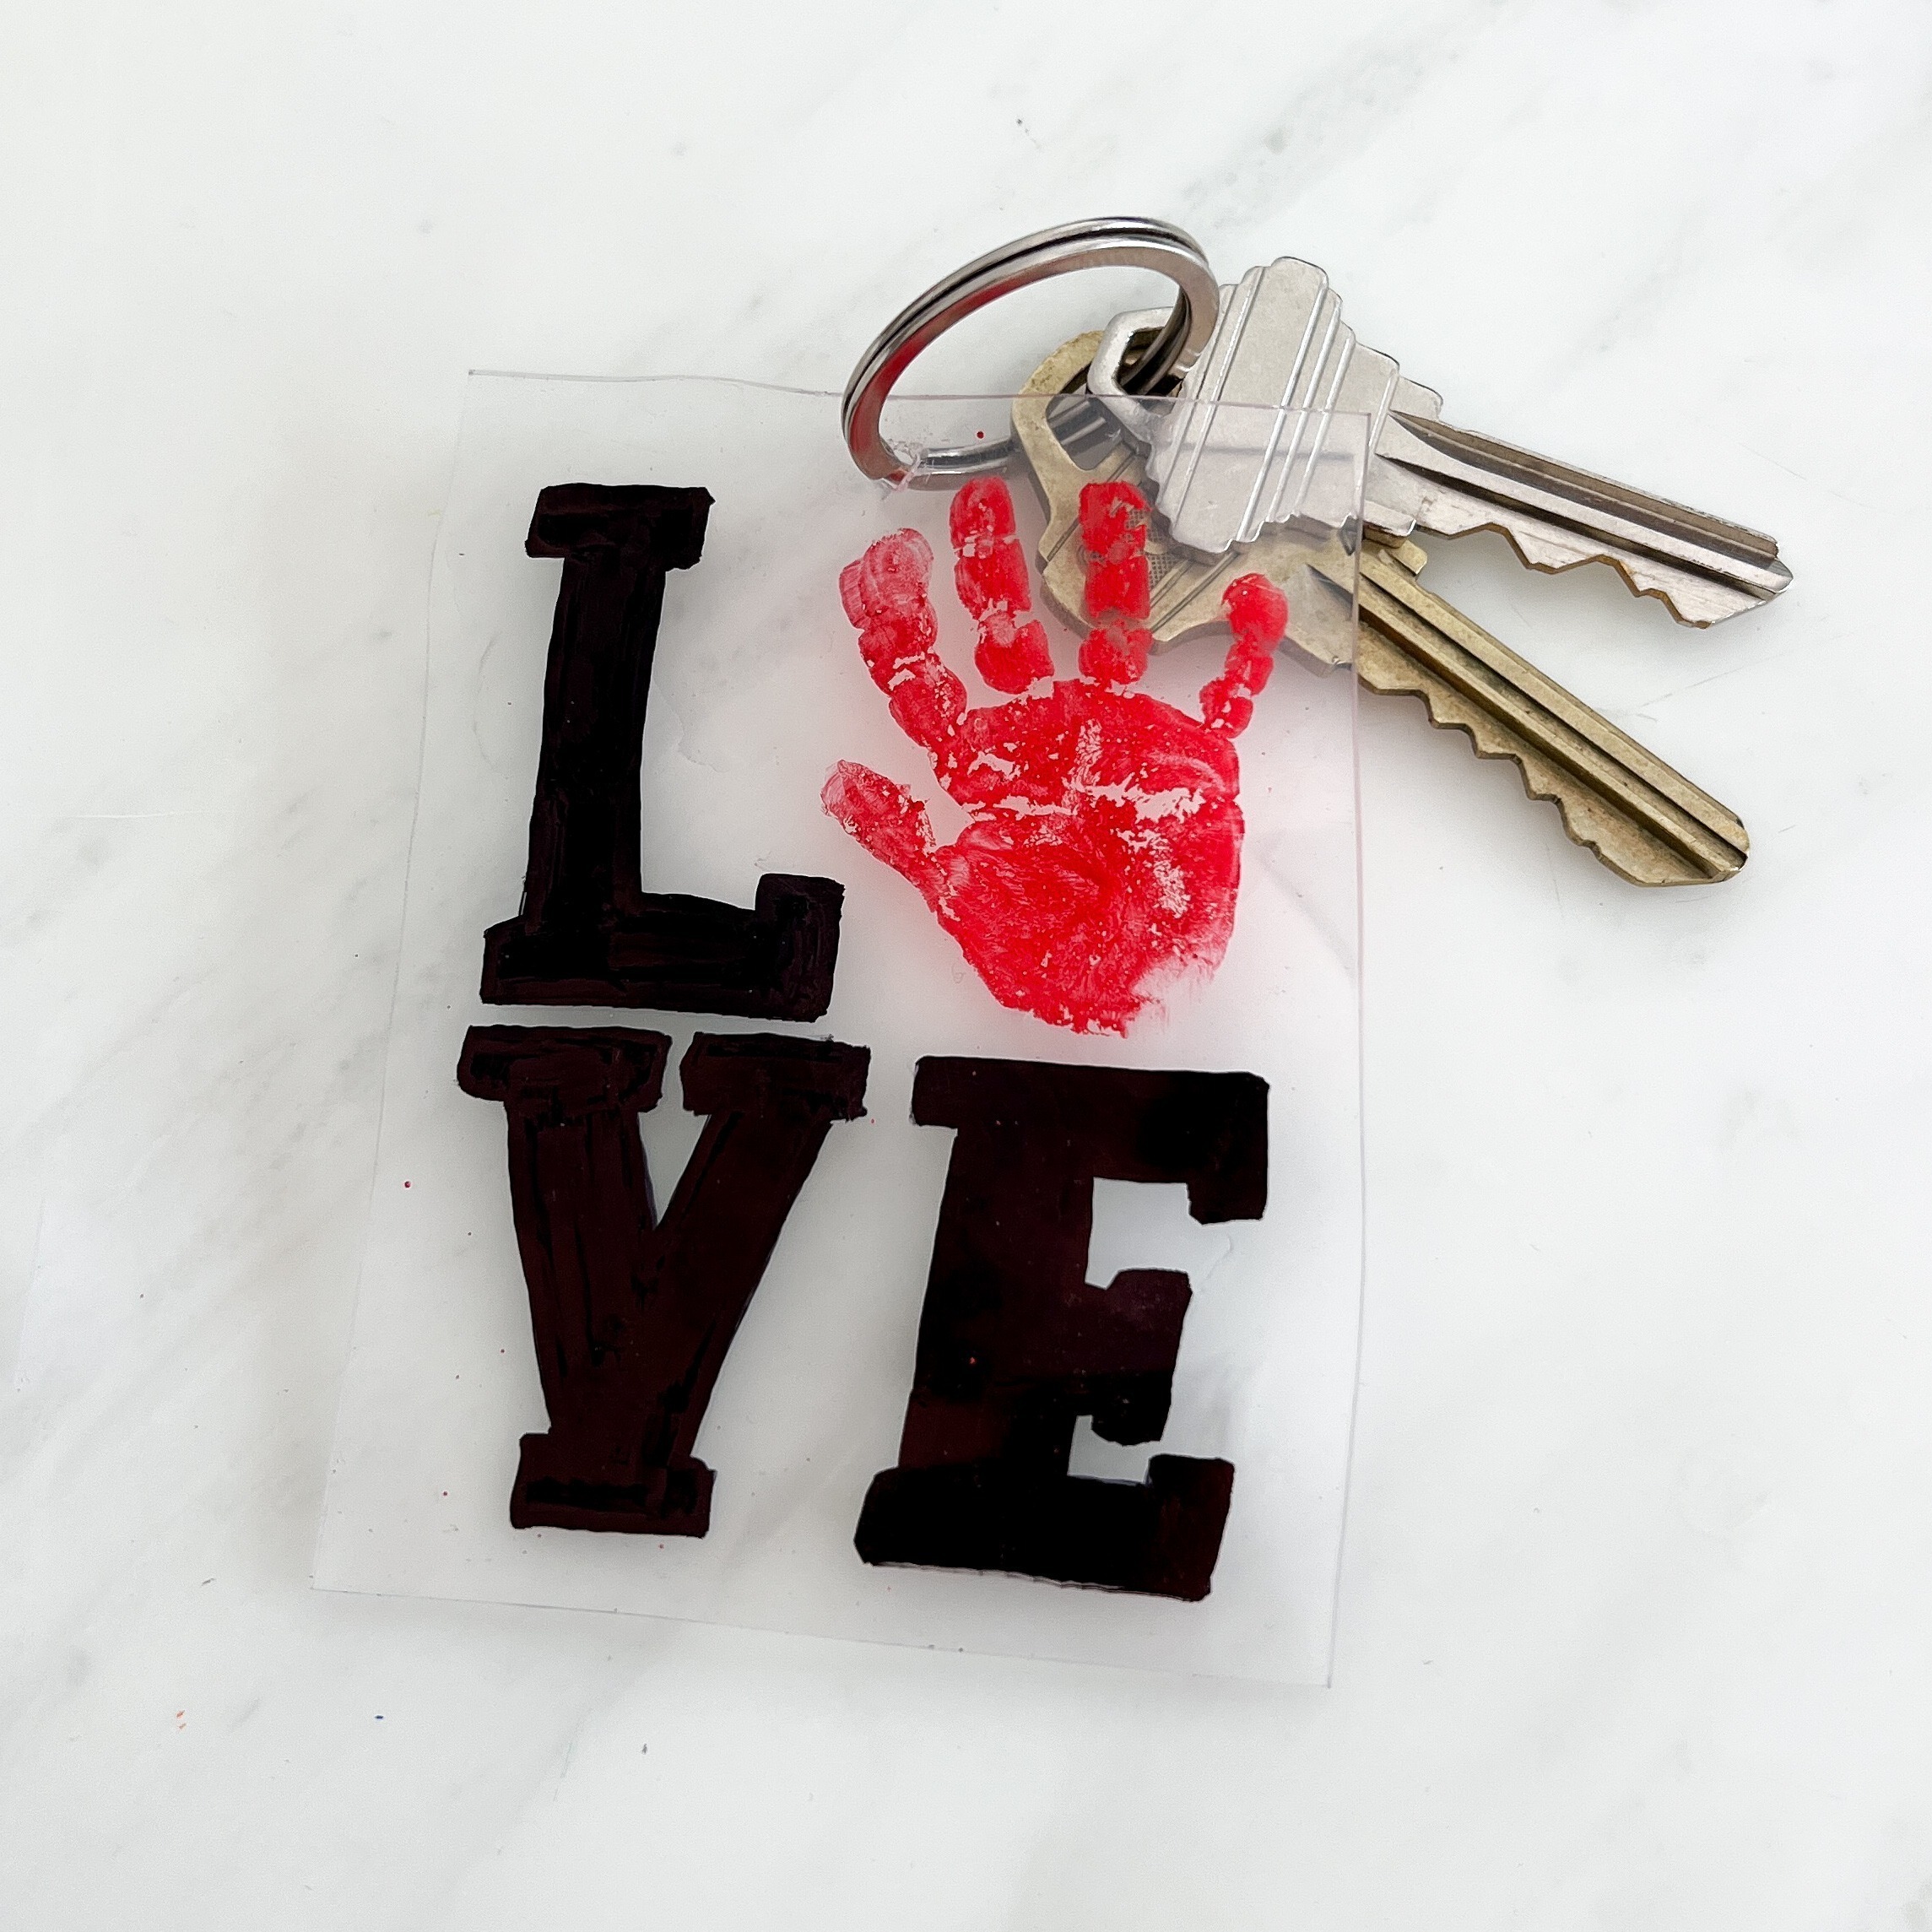
    handprint craft for valentine's day using shrinky dink paper to make a keychain

    Shrinky Dink Handprint for Valentine’s Day

    Read the step by step directions here:

    shrinky dink handprint ghost craft

    Shrinky Dink Handprint Ghost

    Use white acrylic paint and black facial features to make a spooky keepsake!

    shrinky dink handprint bunny craft

    Shrinky Dink Handprint Easter Bunny

    Use the palm for the bunny’s face and the fingers for bunny ears. Add details like whiskers and a little nose.

    valentine's day printable activities

    Shrinky Dink Handprint Christmas Lights Garland

    Use different color paint to make handprints and paint a gray bulb end at the base of the palm.

    What’s Next?

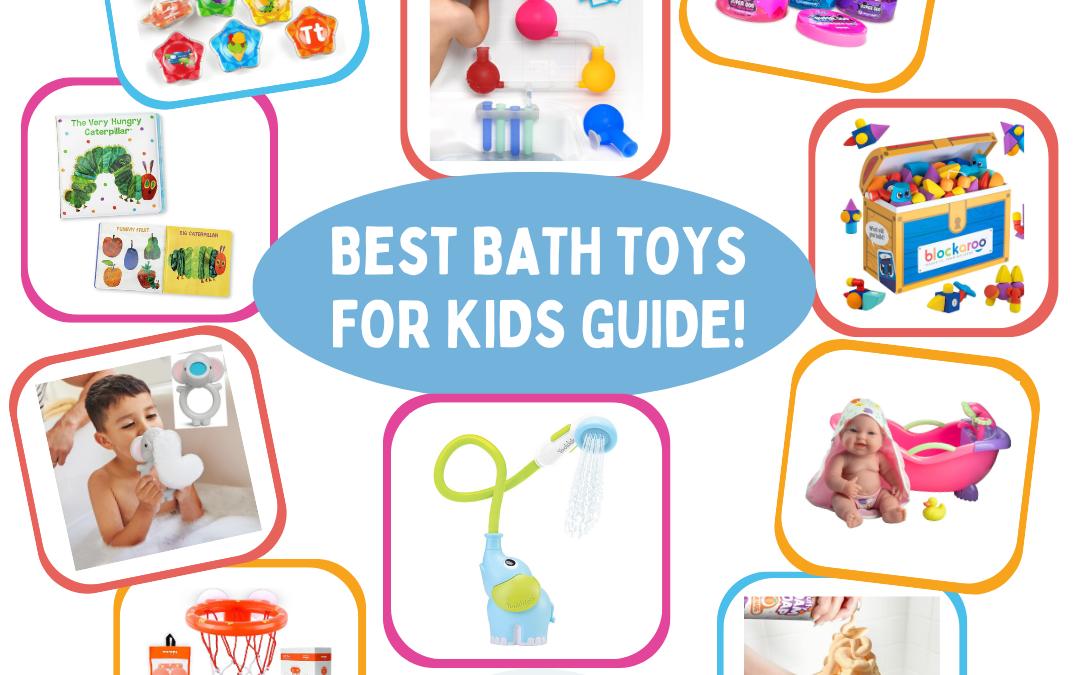
    The Best Bath Toys for Kids in 2024

    The Best Bath Toys for Kids in 2024

    The Best Bath Toys for Kids in 2024

    best bath toys for kids guide by 7 days of play

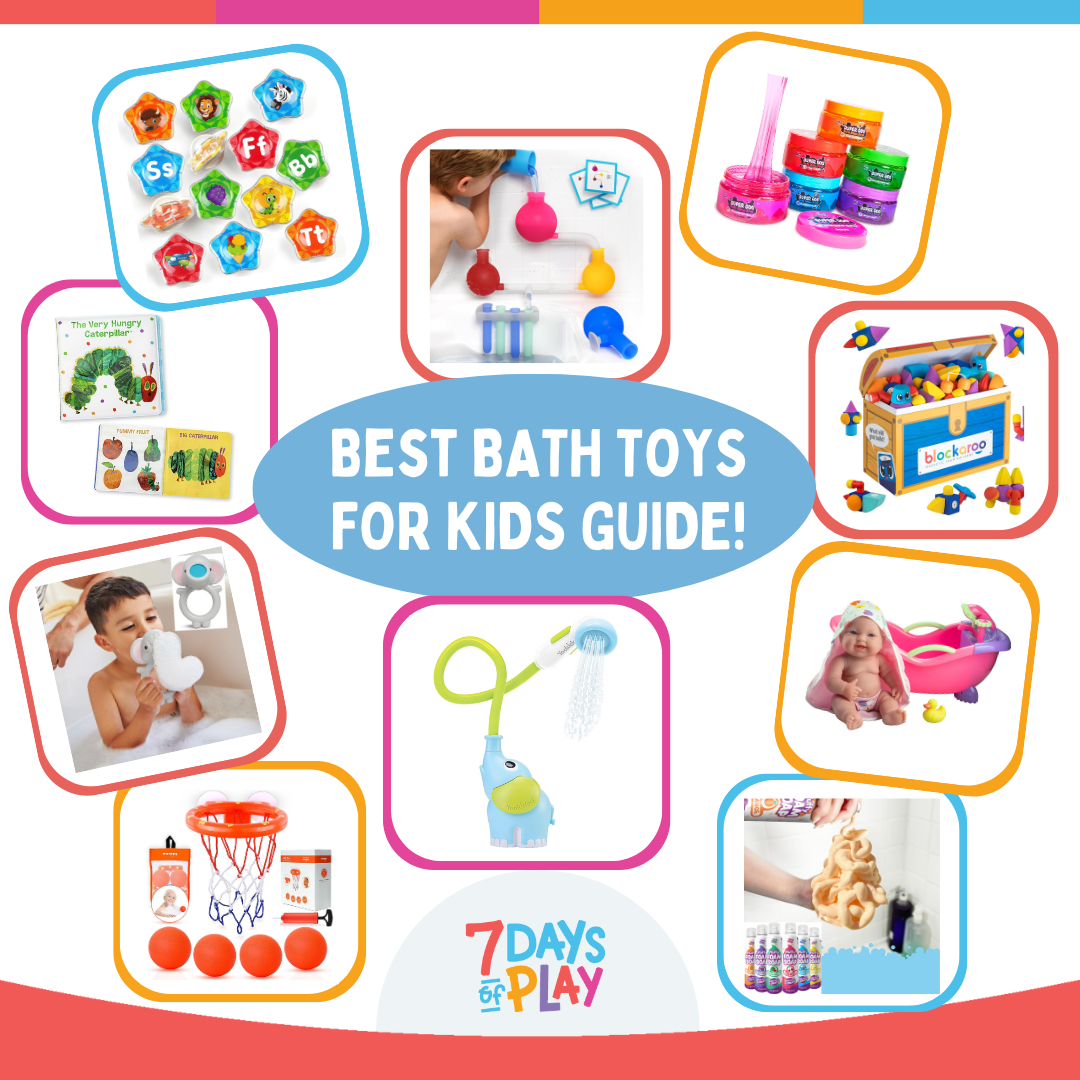
    Explore the best bath toys for kids! Discover the ultimate guide to bath time fun with these top picks that will make every splash memorable.

    Your Guide to the Best Bath Toys for Kids!

    Bath toys aren’t just fun—they’re like secret weapons for parents during bath time battles! They turn splashes into adventures, sparking kids’ imaginations while secretly teaching them about the world. Picture it: your little one giggling as they explore cause and effect or learn about floating and sinking. And here’s the kicker: while they’re busy having a blast, you get a breather! Yep, bath toys are like your backup squad, making bath time a breeze and turning it into quality bonding time. So, pick the right ones, and get ready for some seriously splash-tastic memories!

    All toys and activities should be supervised by an adult. As an Amazon Associate, I earn from qualifying purchases. This post may contain affiliate links.

    The Best Bath Toys: Art, Sensory, and Science!

     Discover a selection of bath toys designed to stimulate creativity, curiosity, and sensory development in young minds. From colorful bath crayons and science kits to mesmerizing water wheels and interactive water pipes, these toys ignite imaginations and turn ordinary baths into extraordinary adventures.

    chemistry bath toy set water science

    Science Water Lab Set

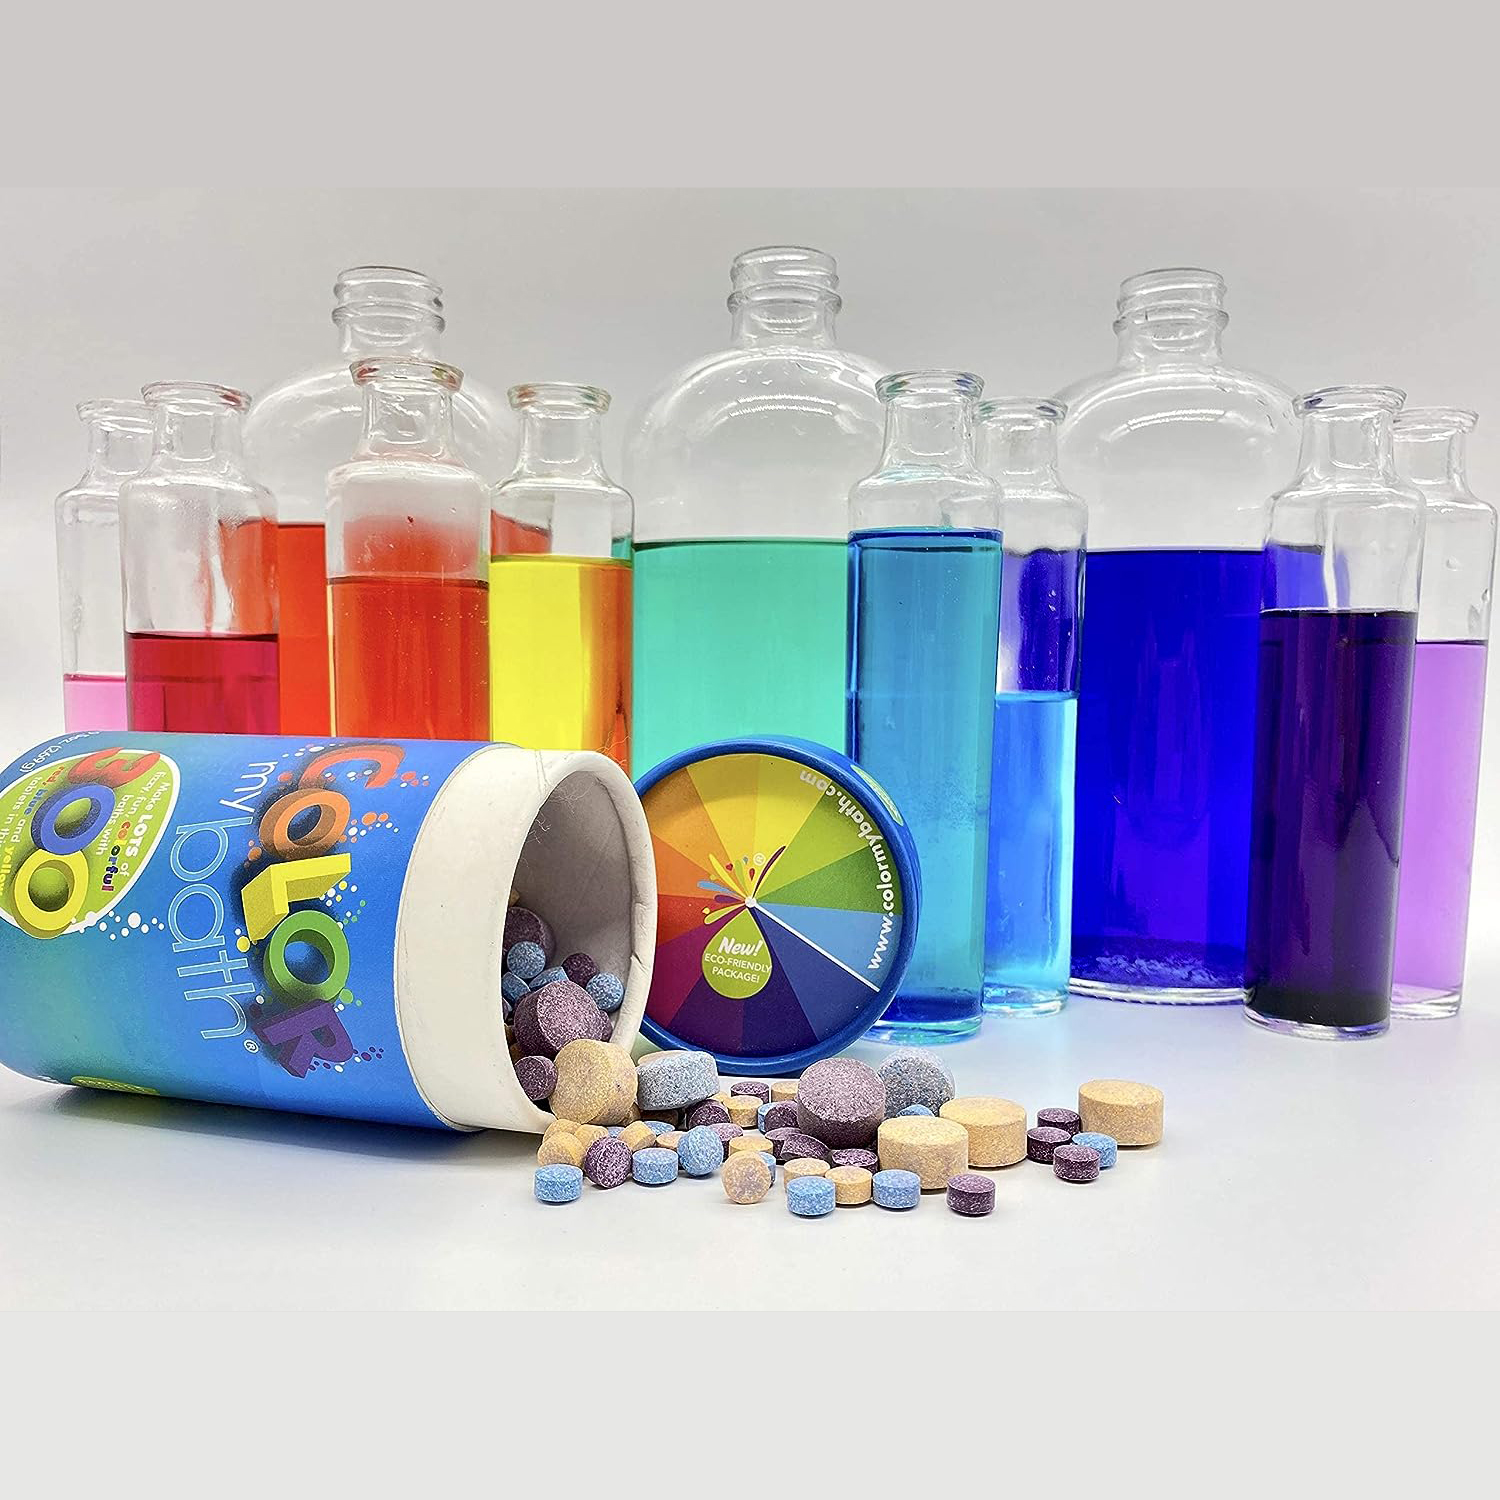
    best bath toys for kids color tablets

    300 Eco-Friendly Fizzy Color Changing Tablets

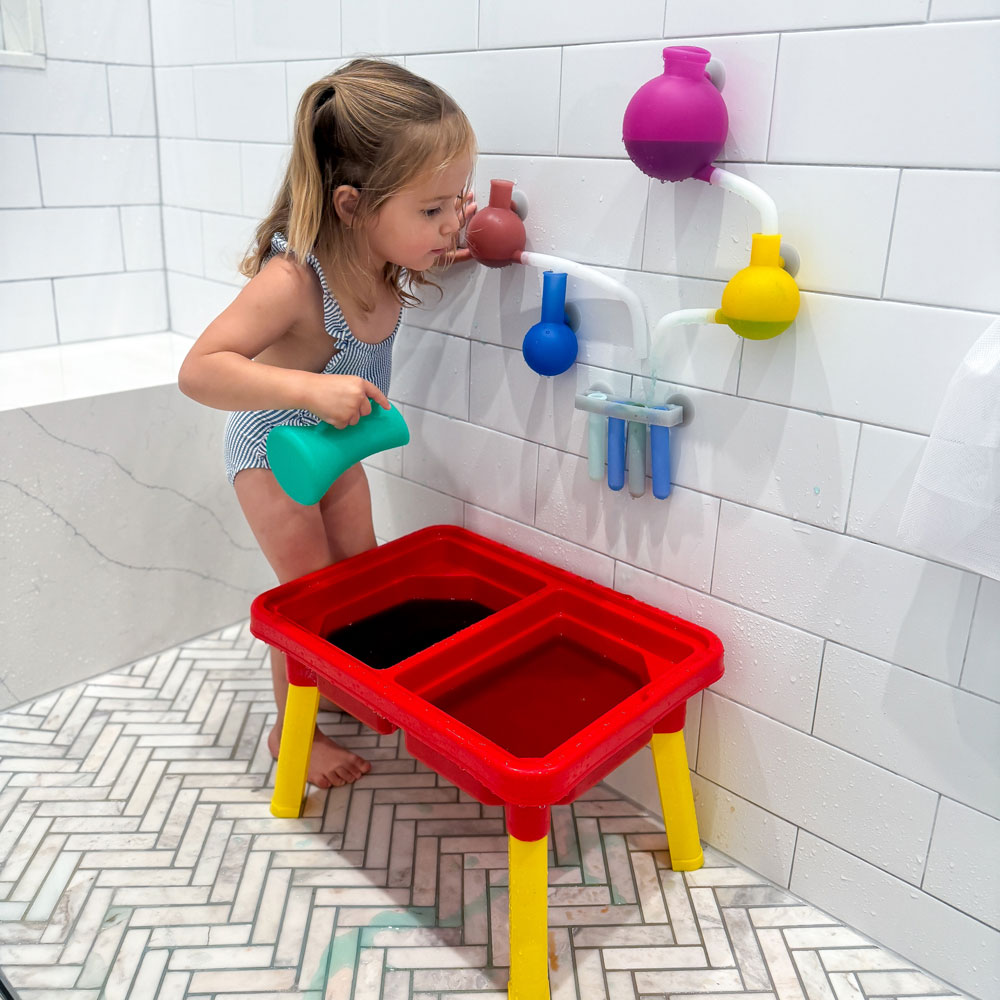
    sensory table small lightweight affordable

    Plastic Water and Sand Table

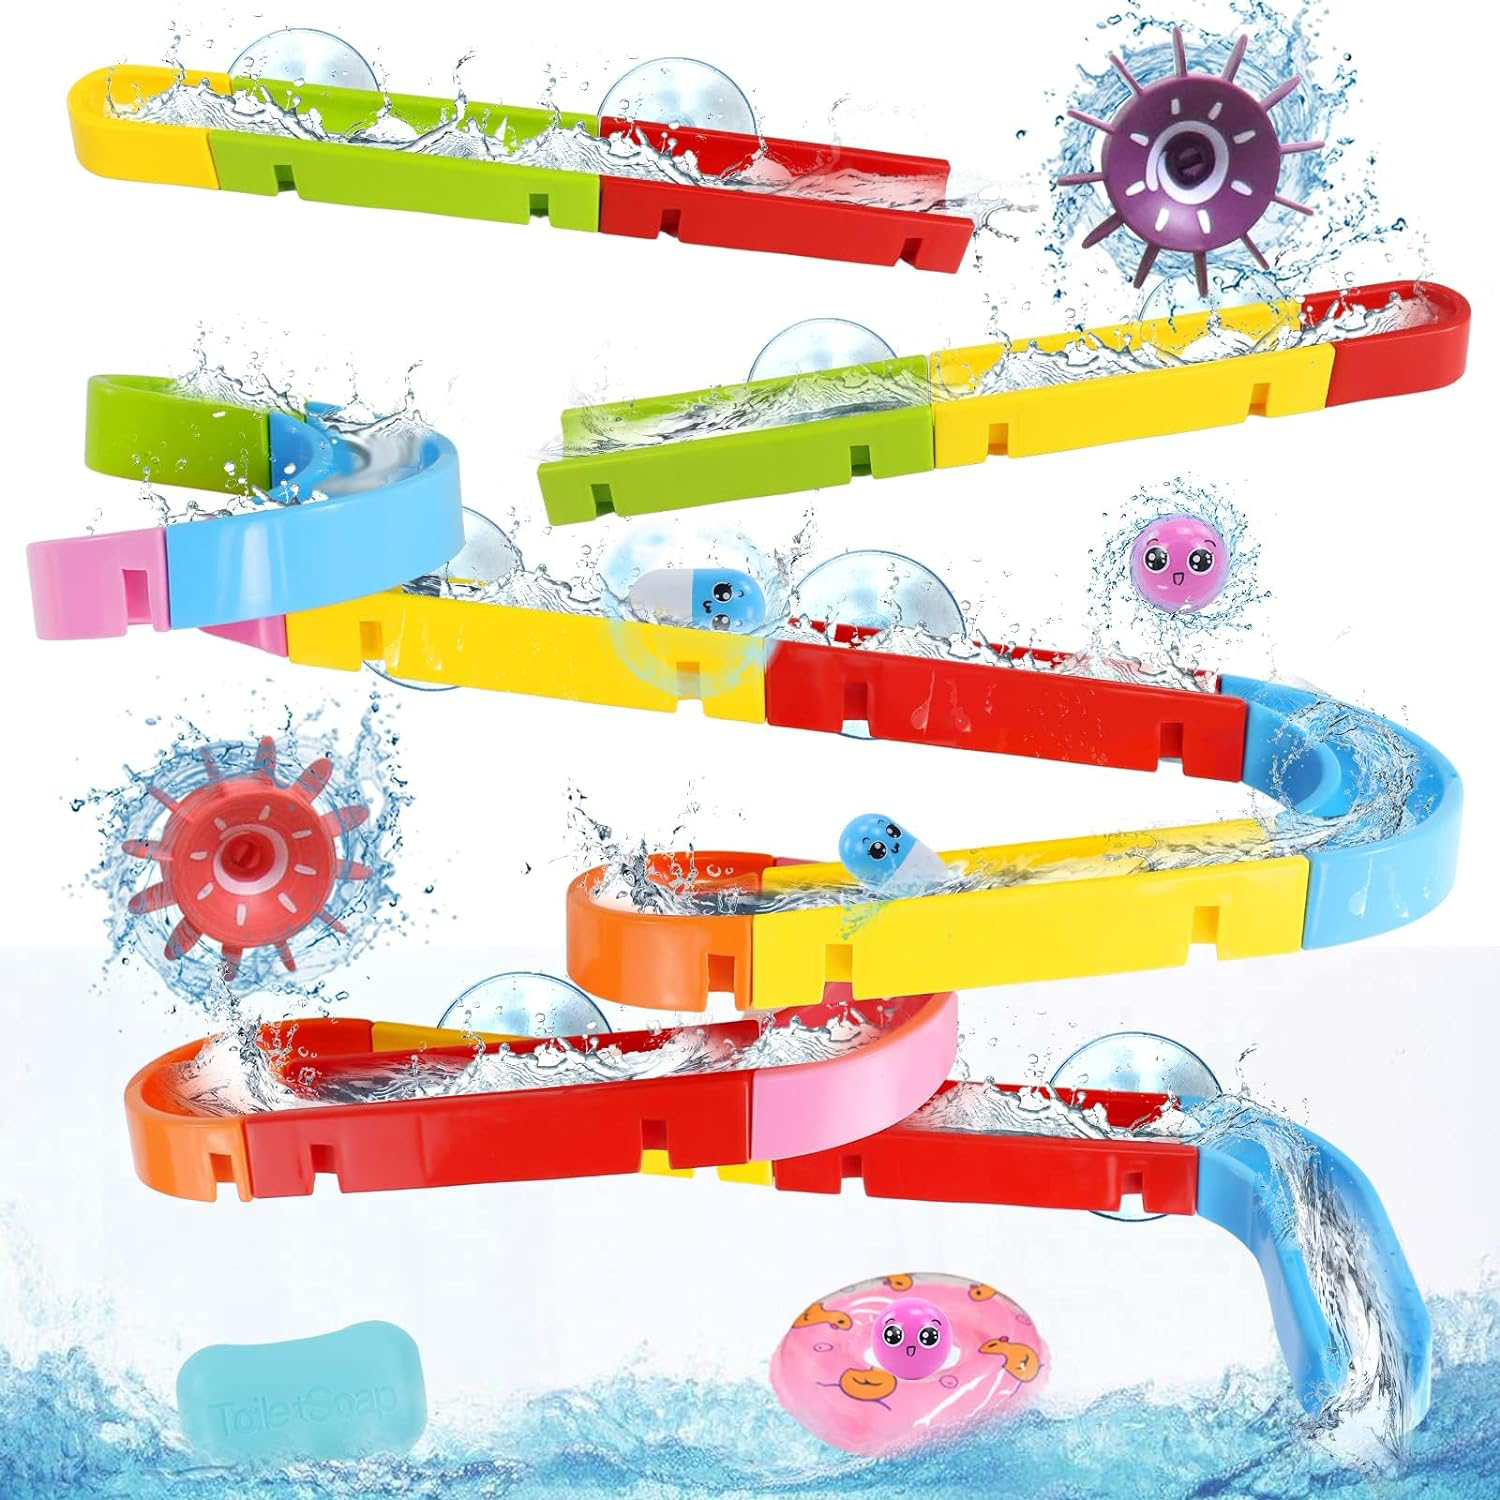
    bath toy water run science engineering

    Buildable Water Track

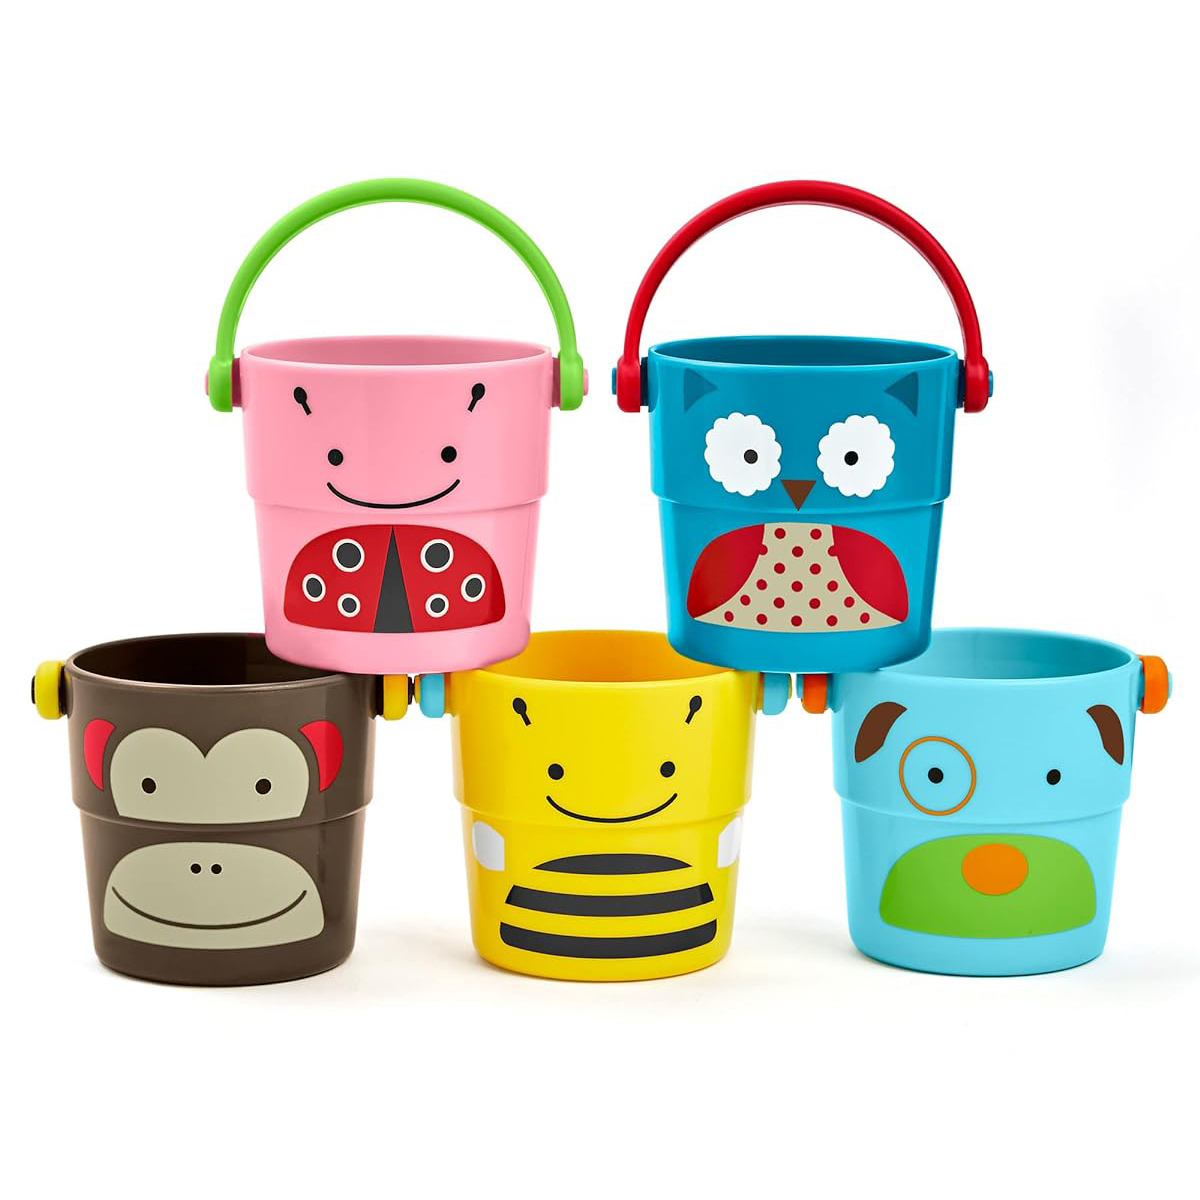
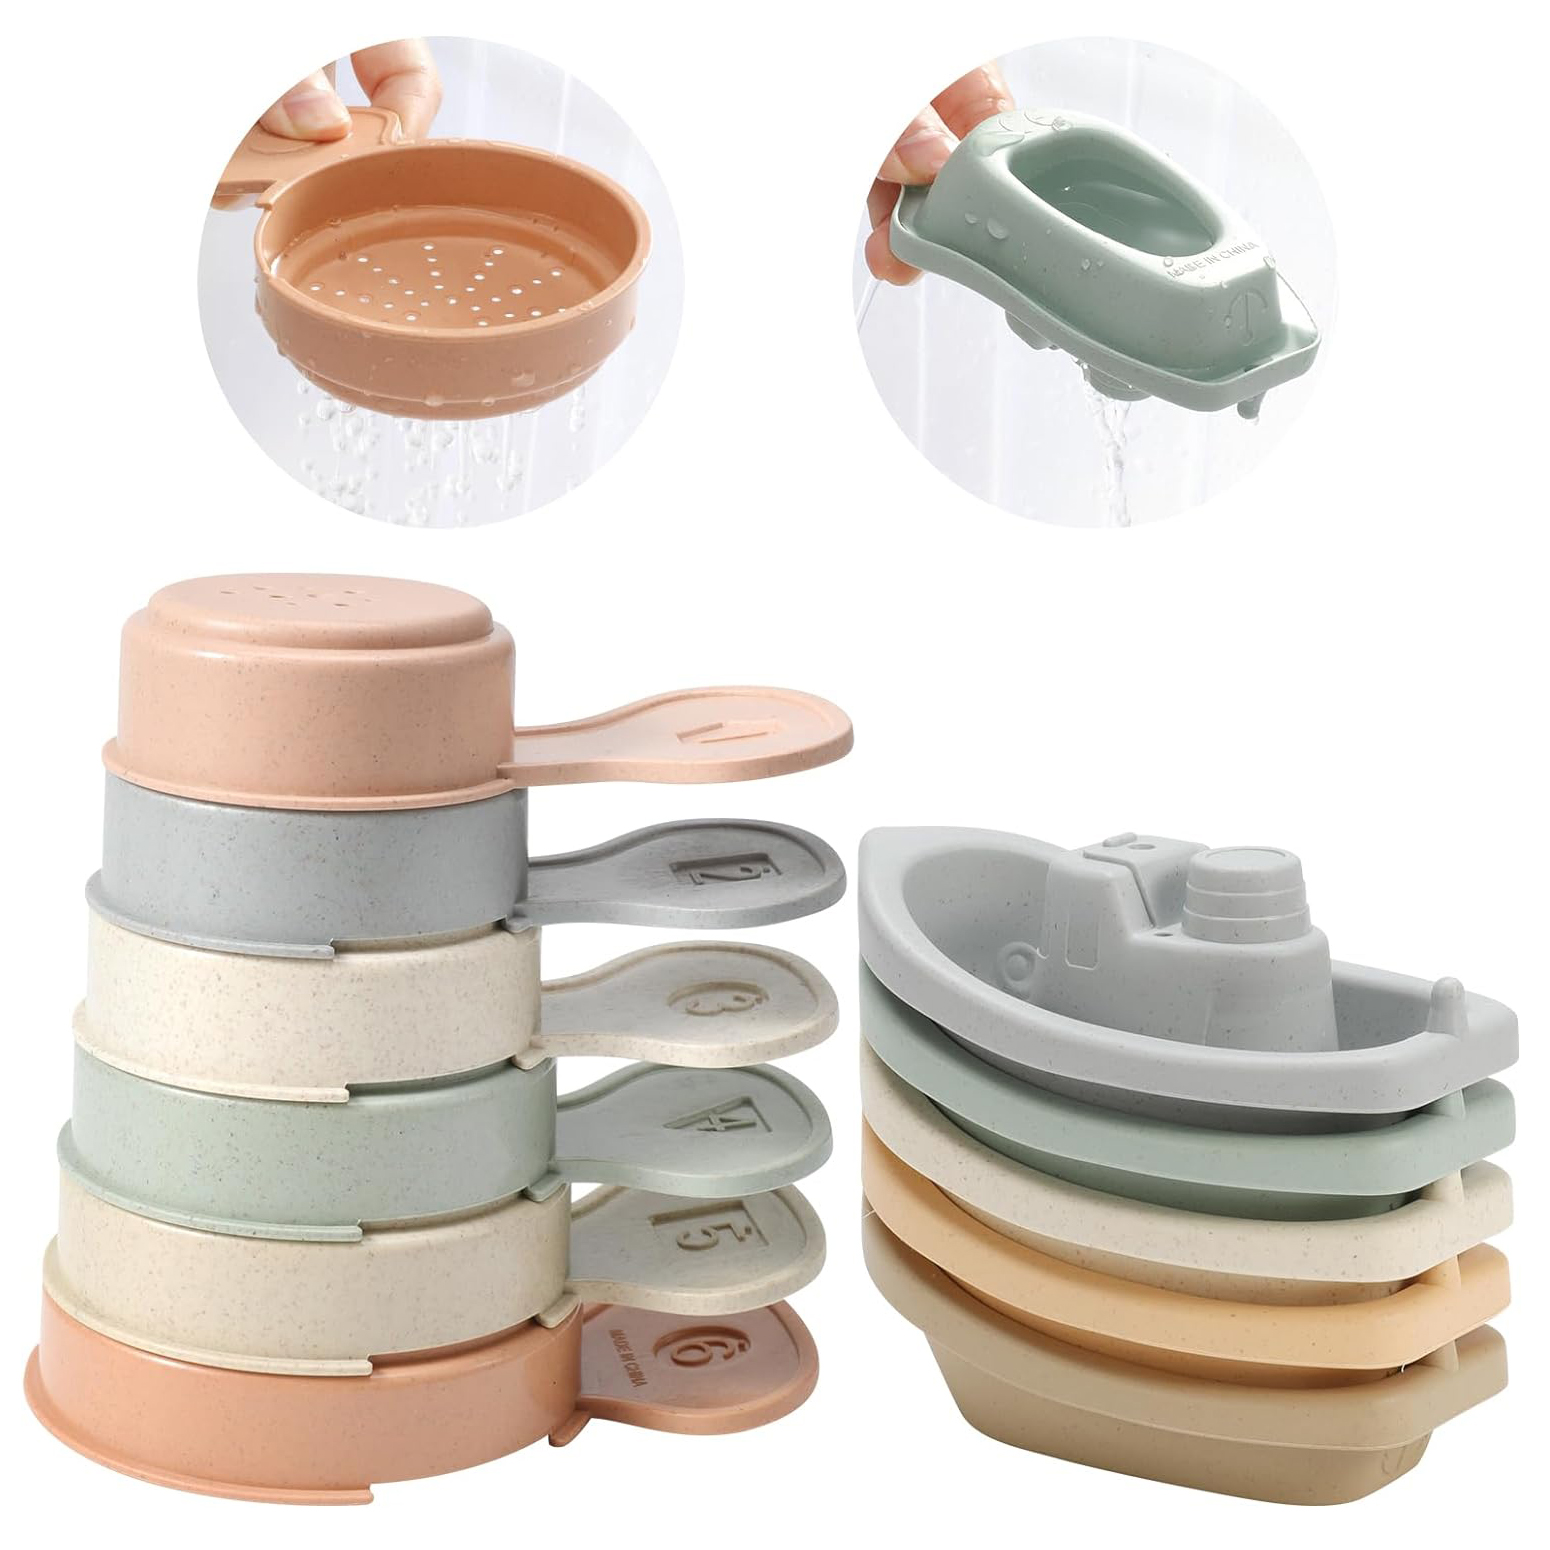
    cups for bath stacking

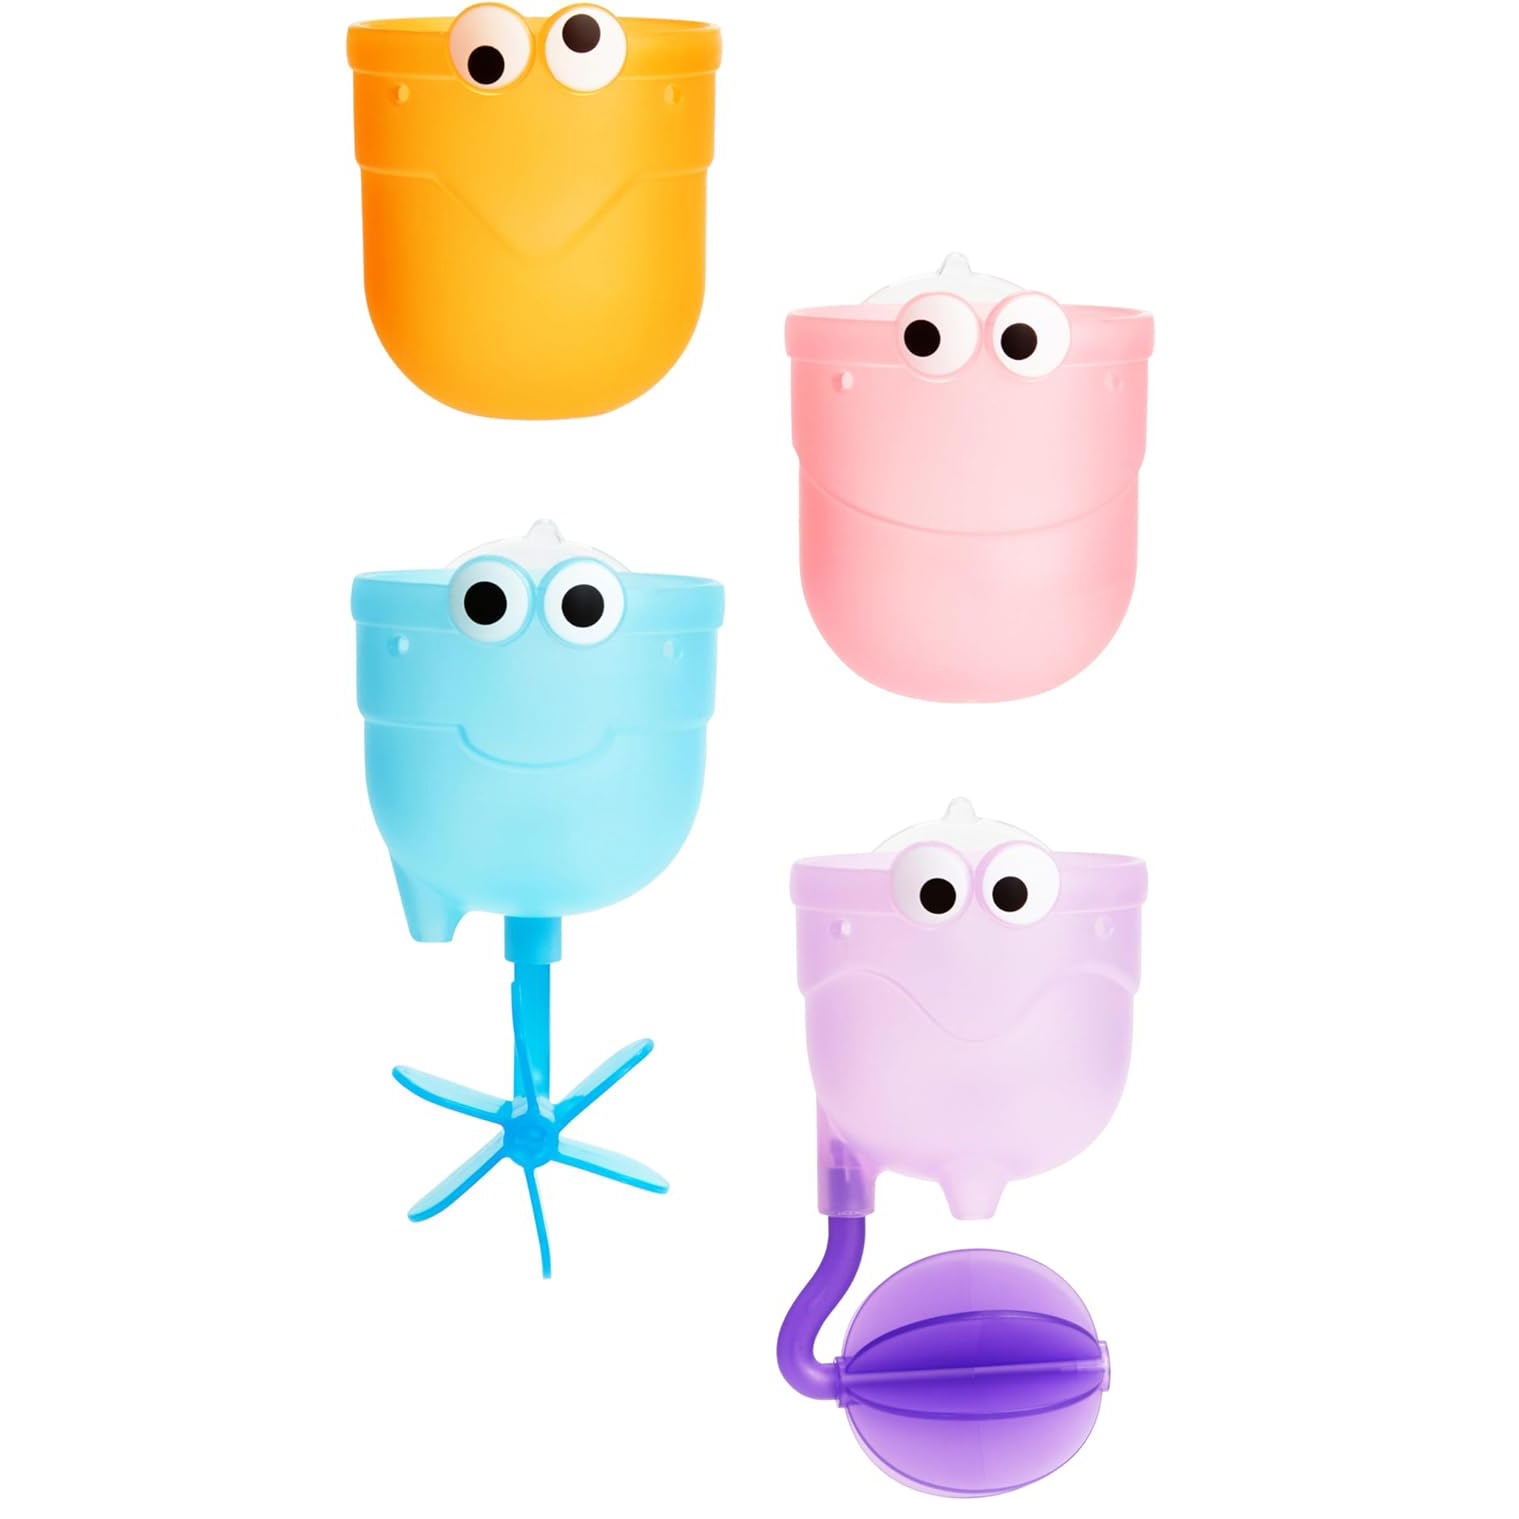
    Stackable Buckets

    bath paint soap

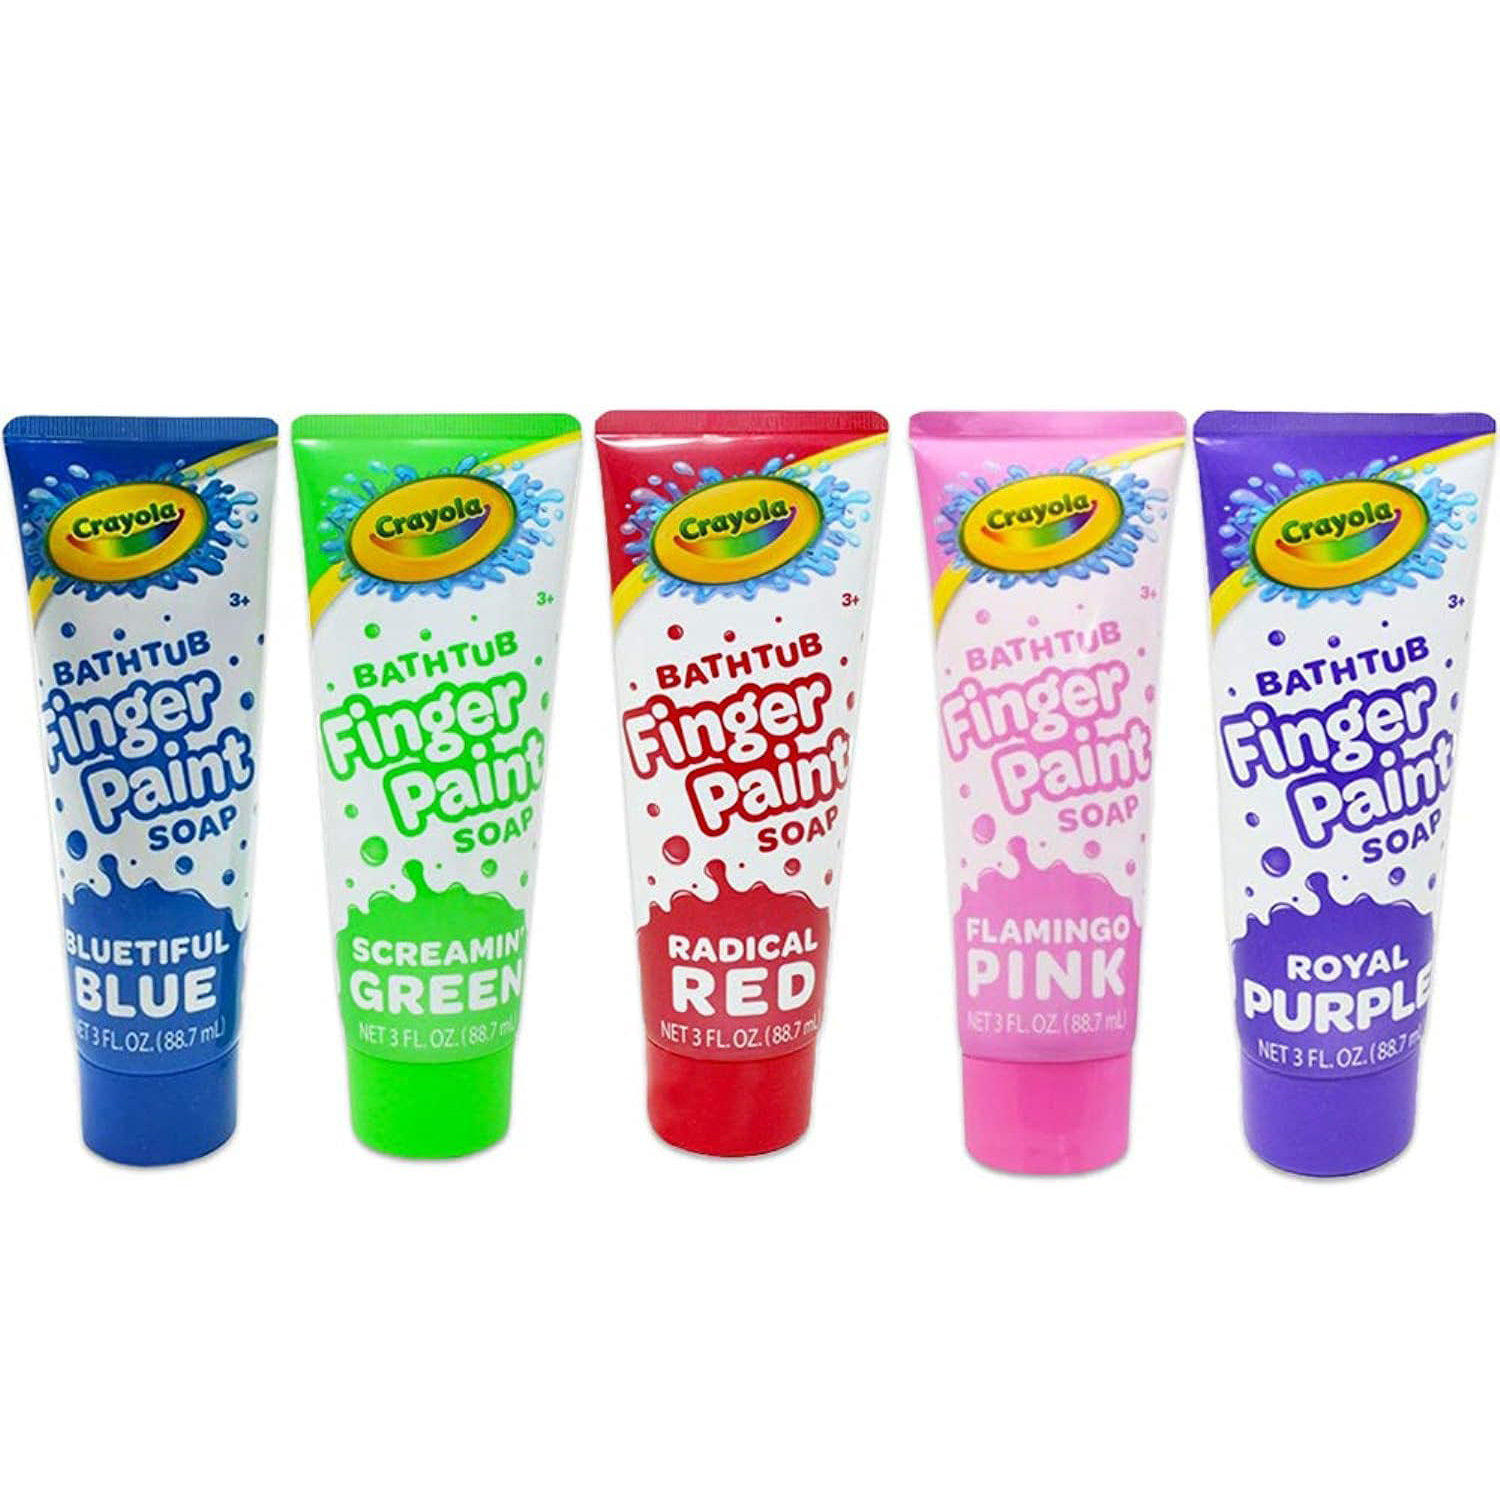
    Finger Paint Soap

    bath toy science color mix

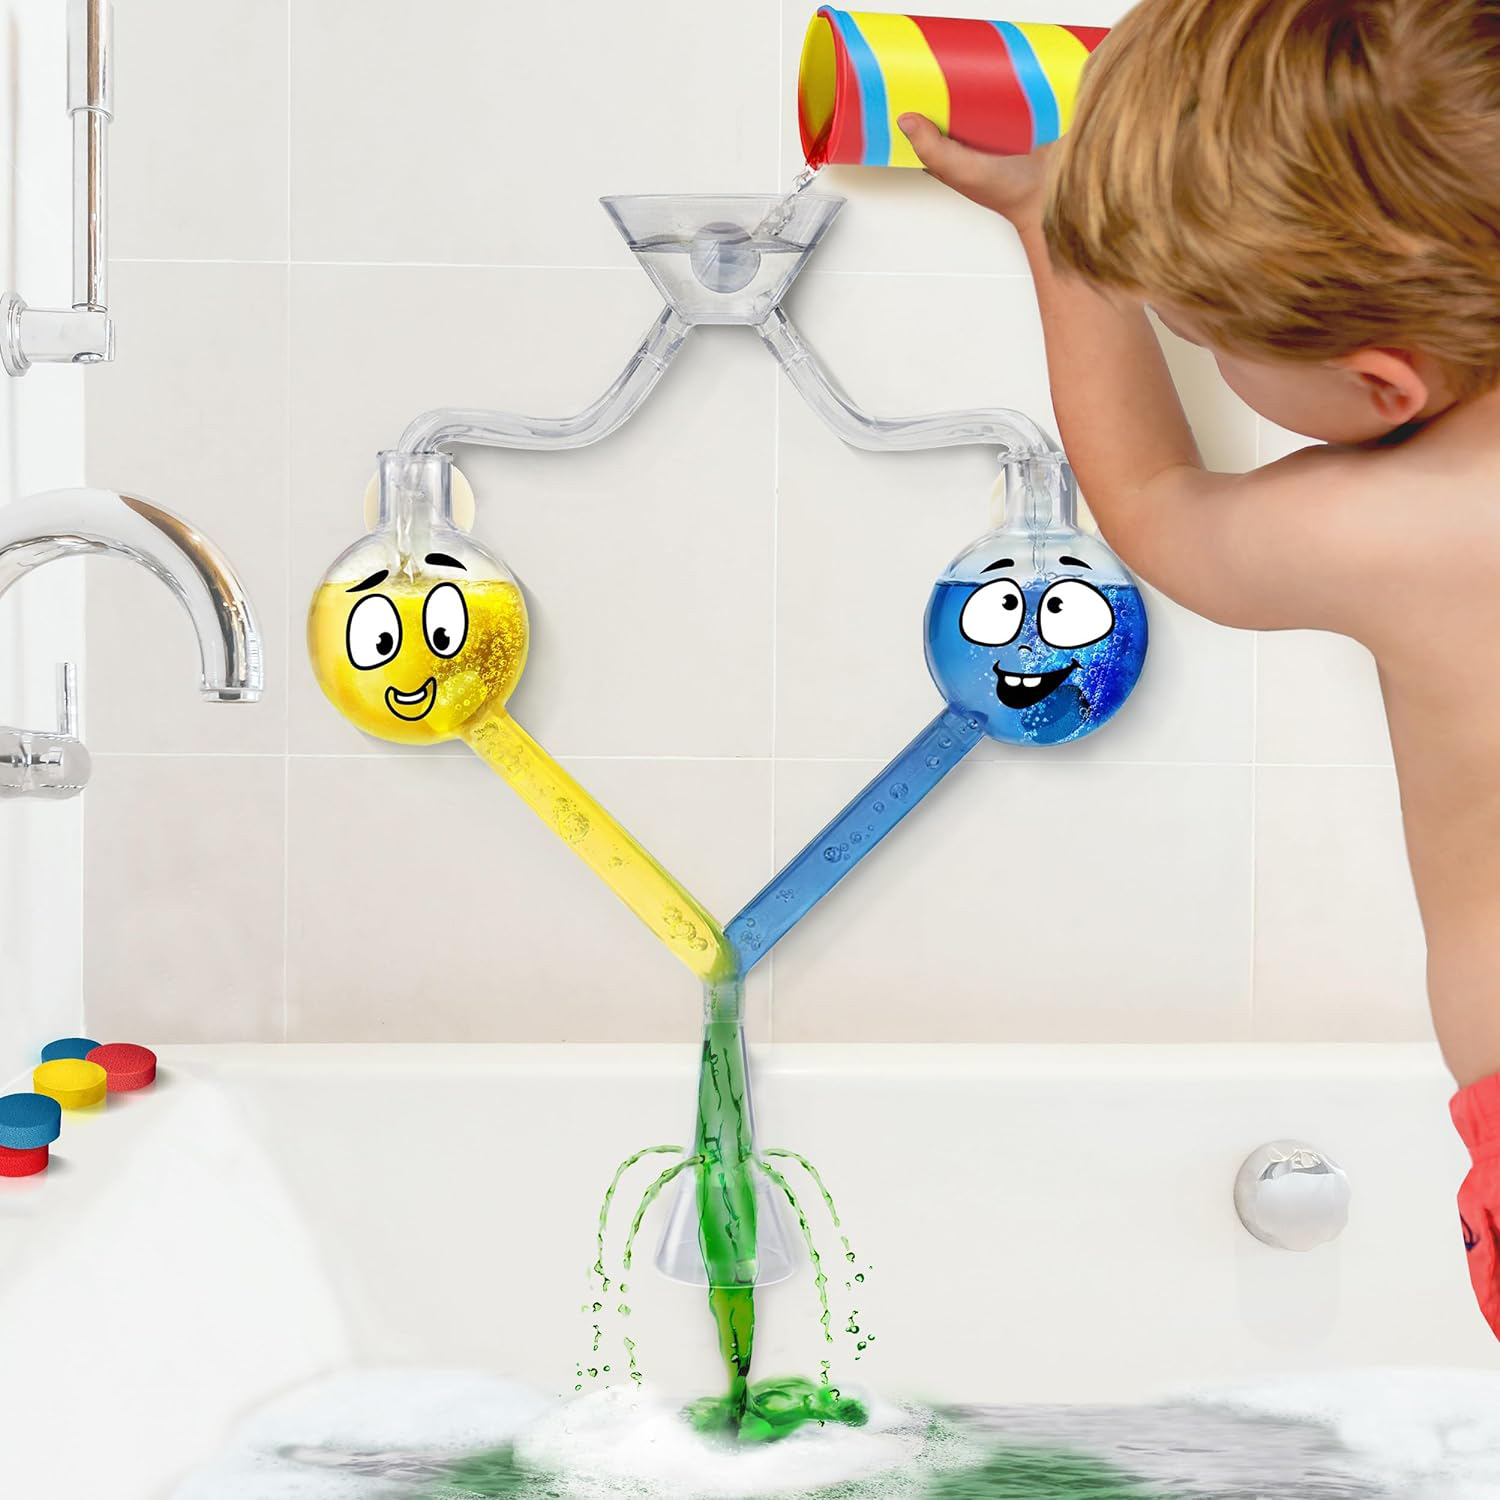
    Color Mixing Water Kit

    bath toy chain water reaction

    Suction Cups for Water Play

    best bath toys for kids foam

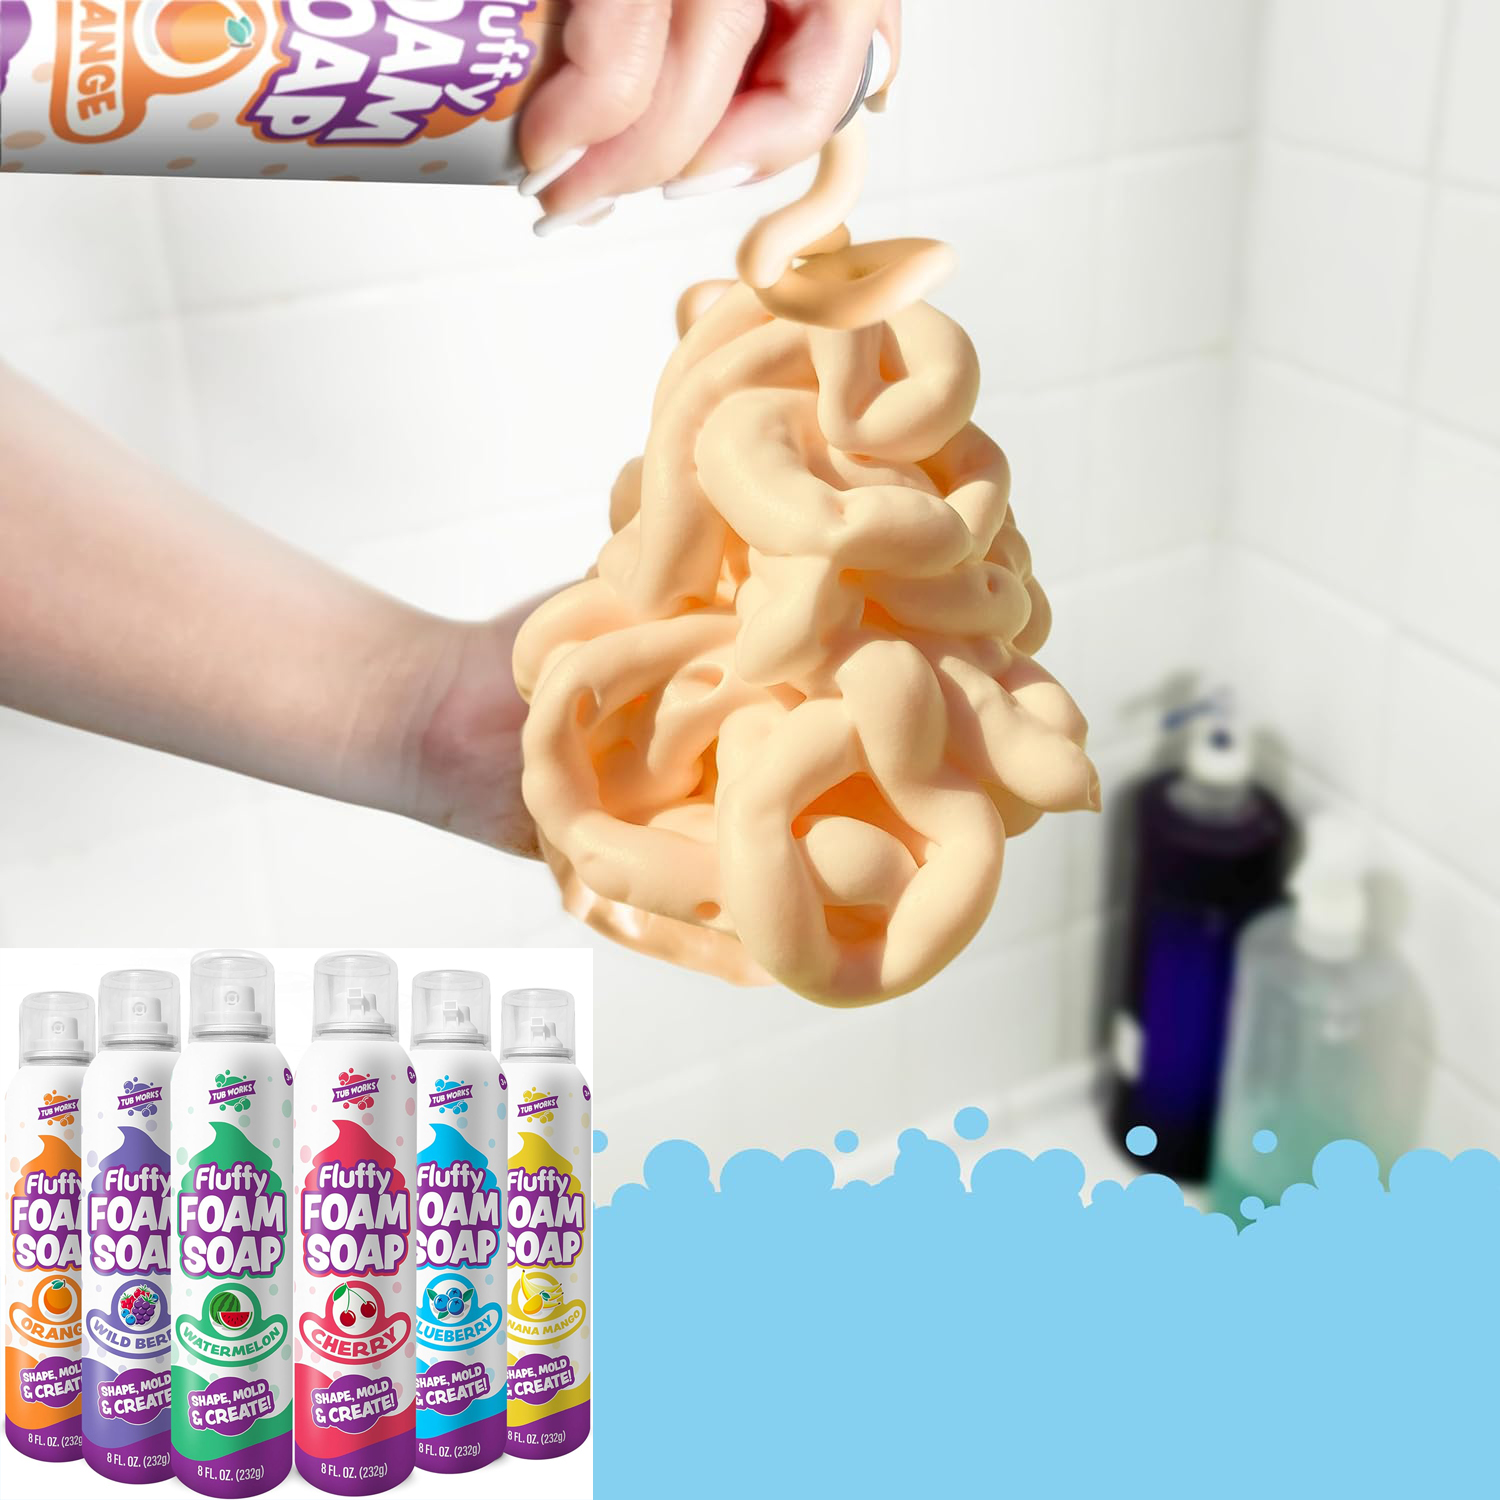
    Fluffy Foam Soap

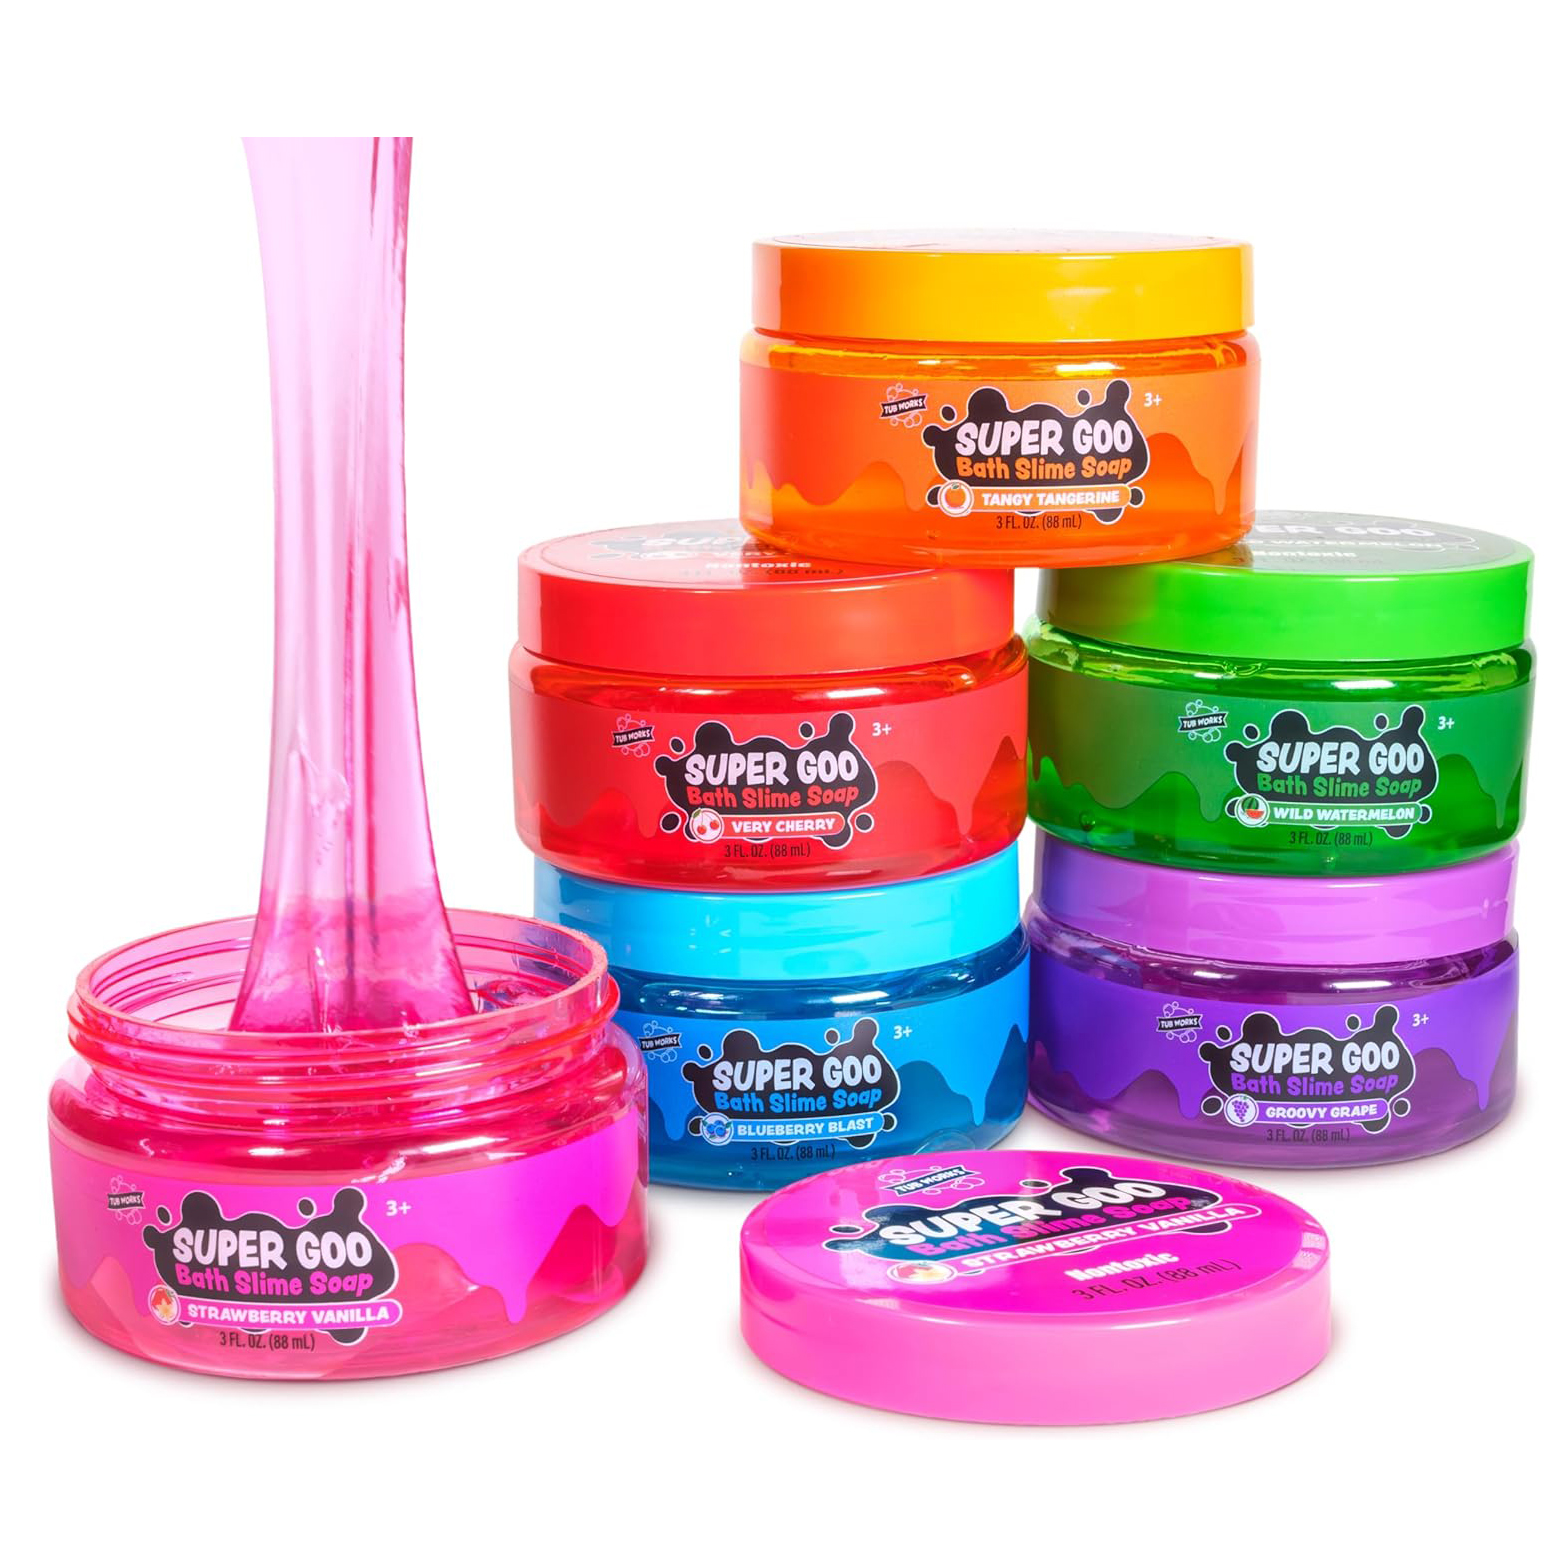
    bath slime

    Bath Slime Soap

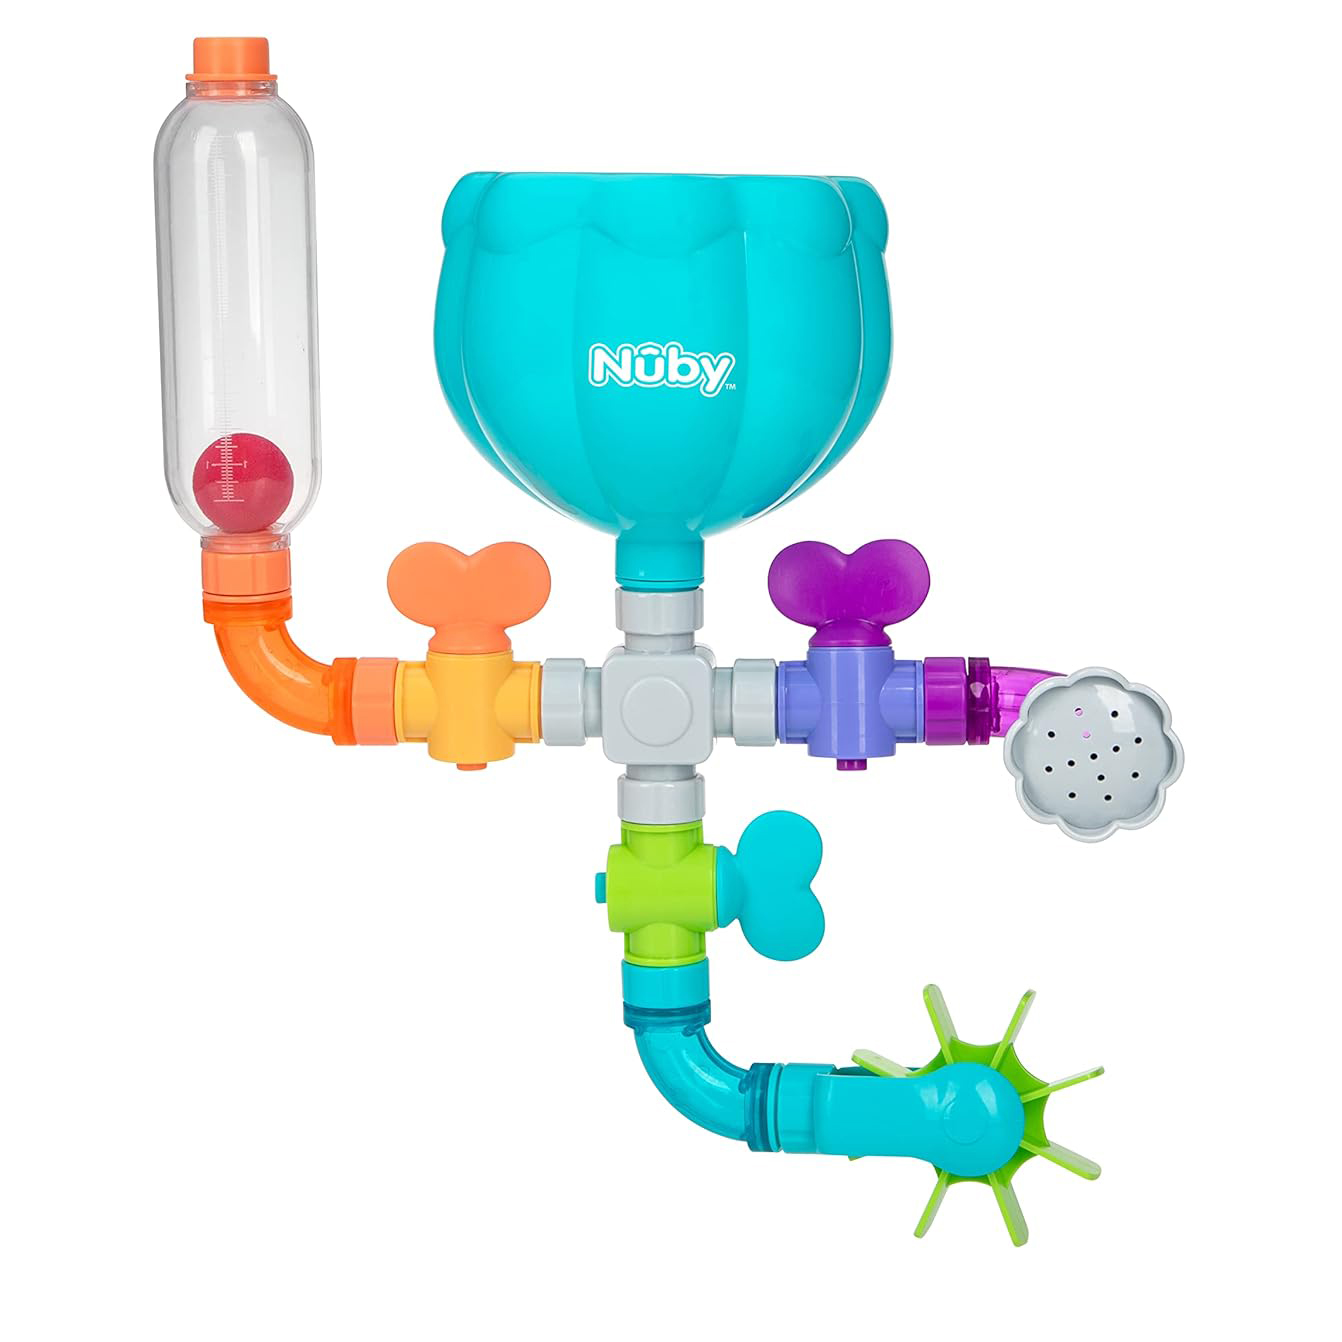
    bath toy water pipes

    Water Pipe Toy

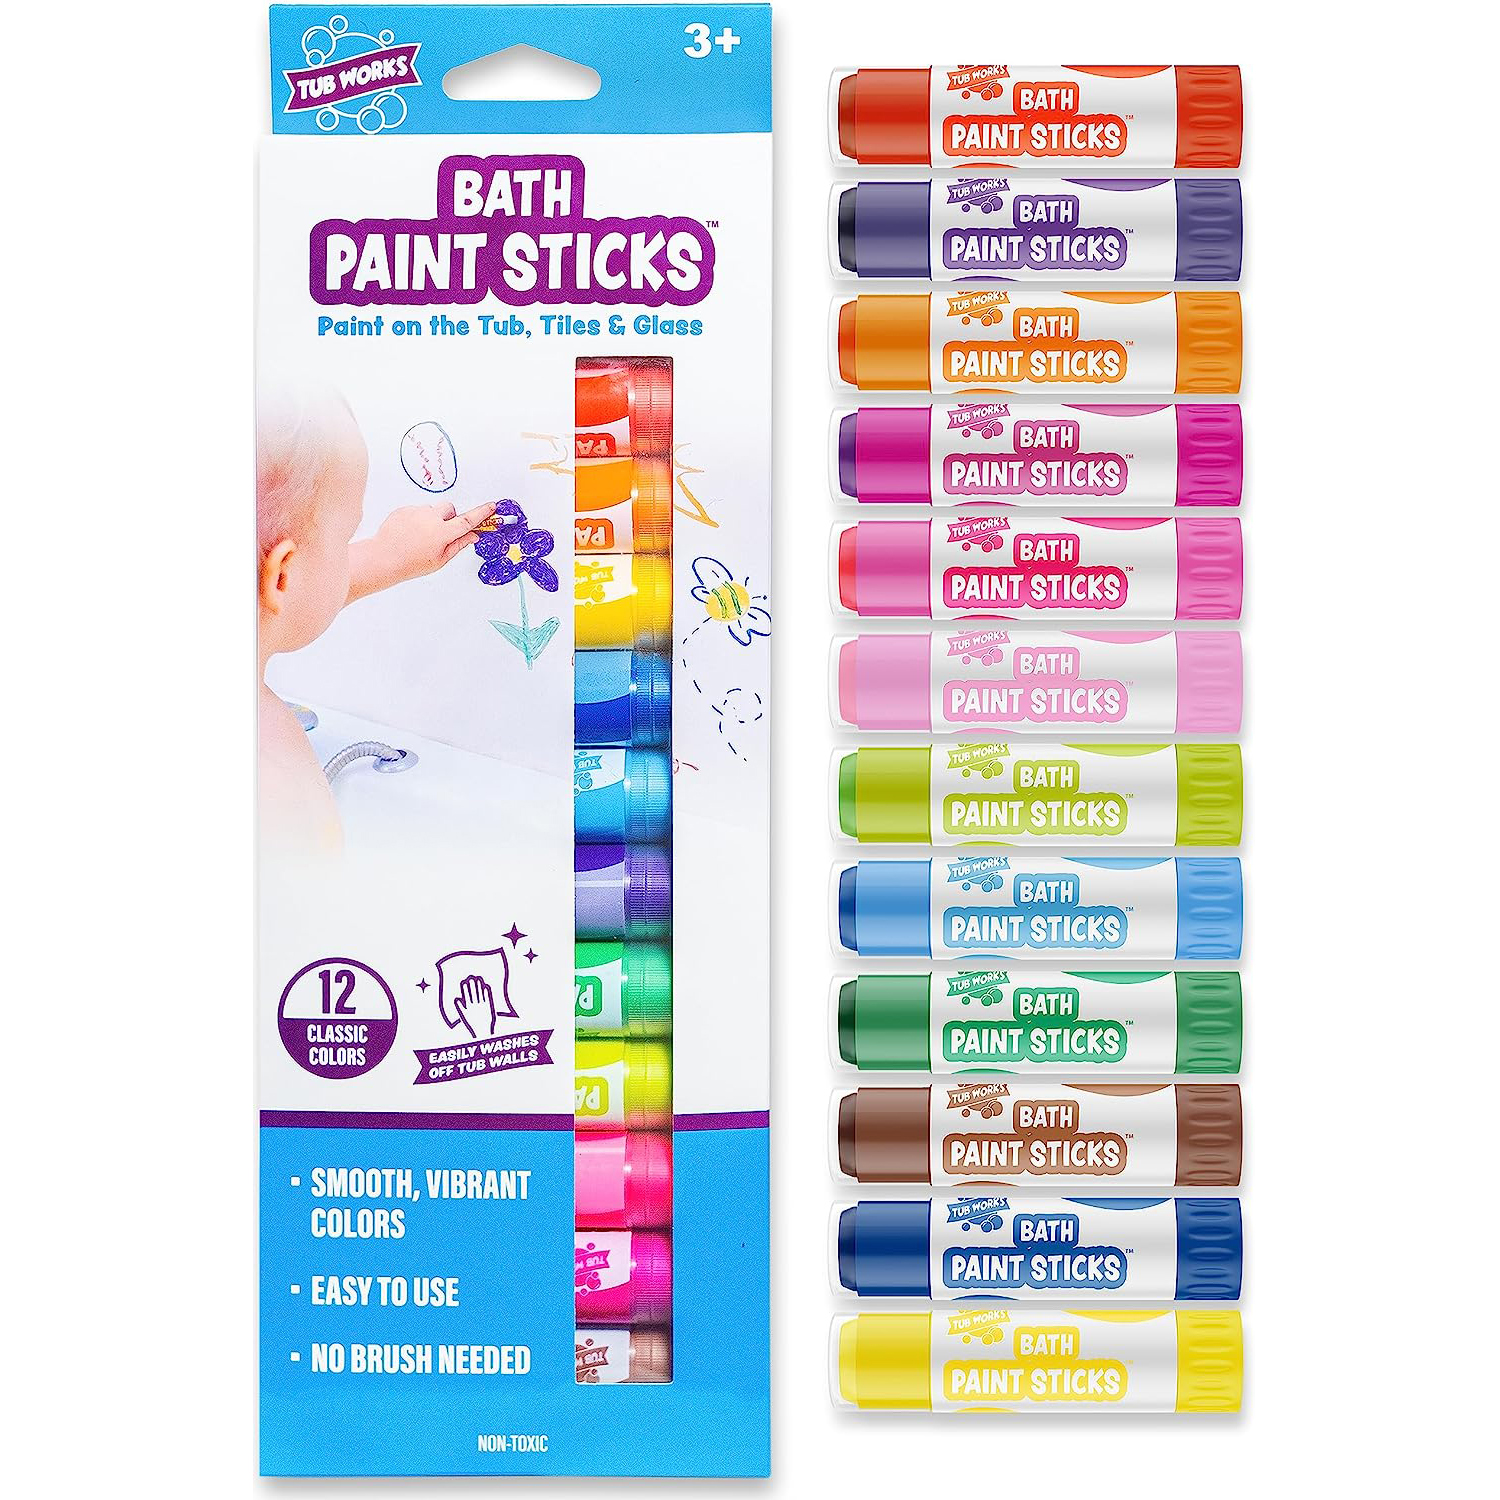
    bath toy paint sticks

    Bath Paint Sticks

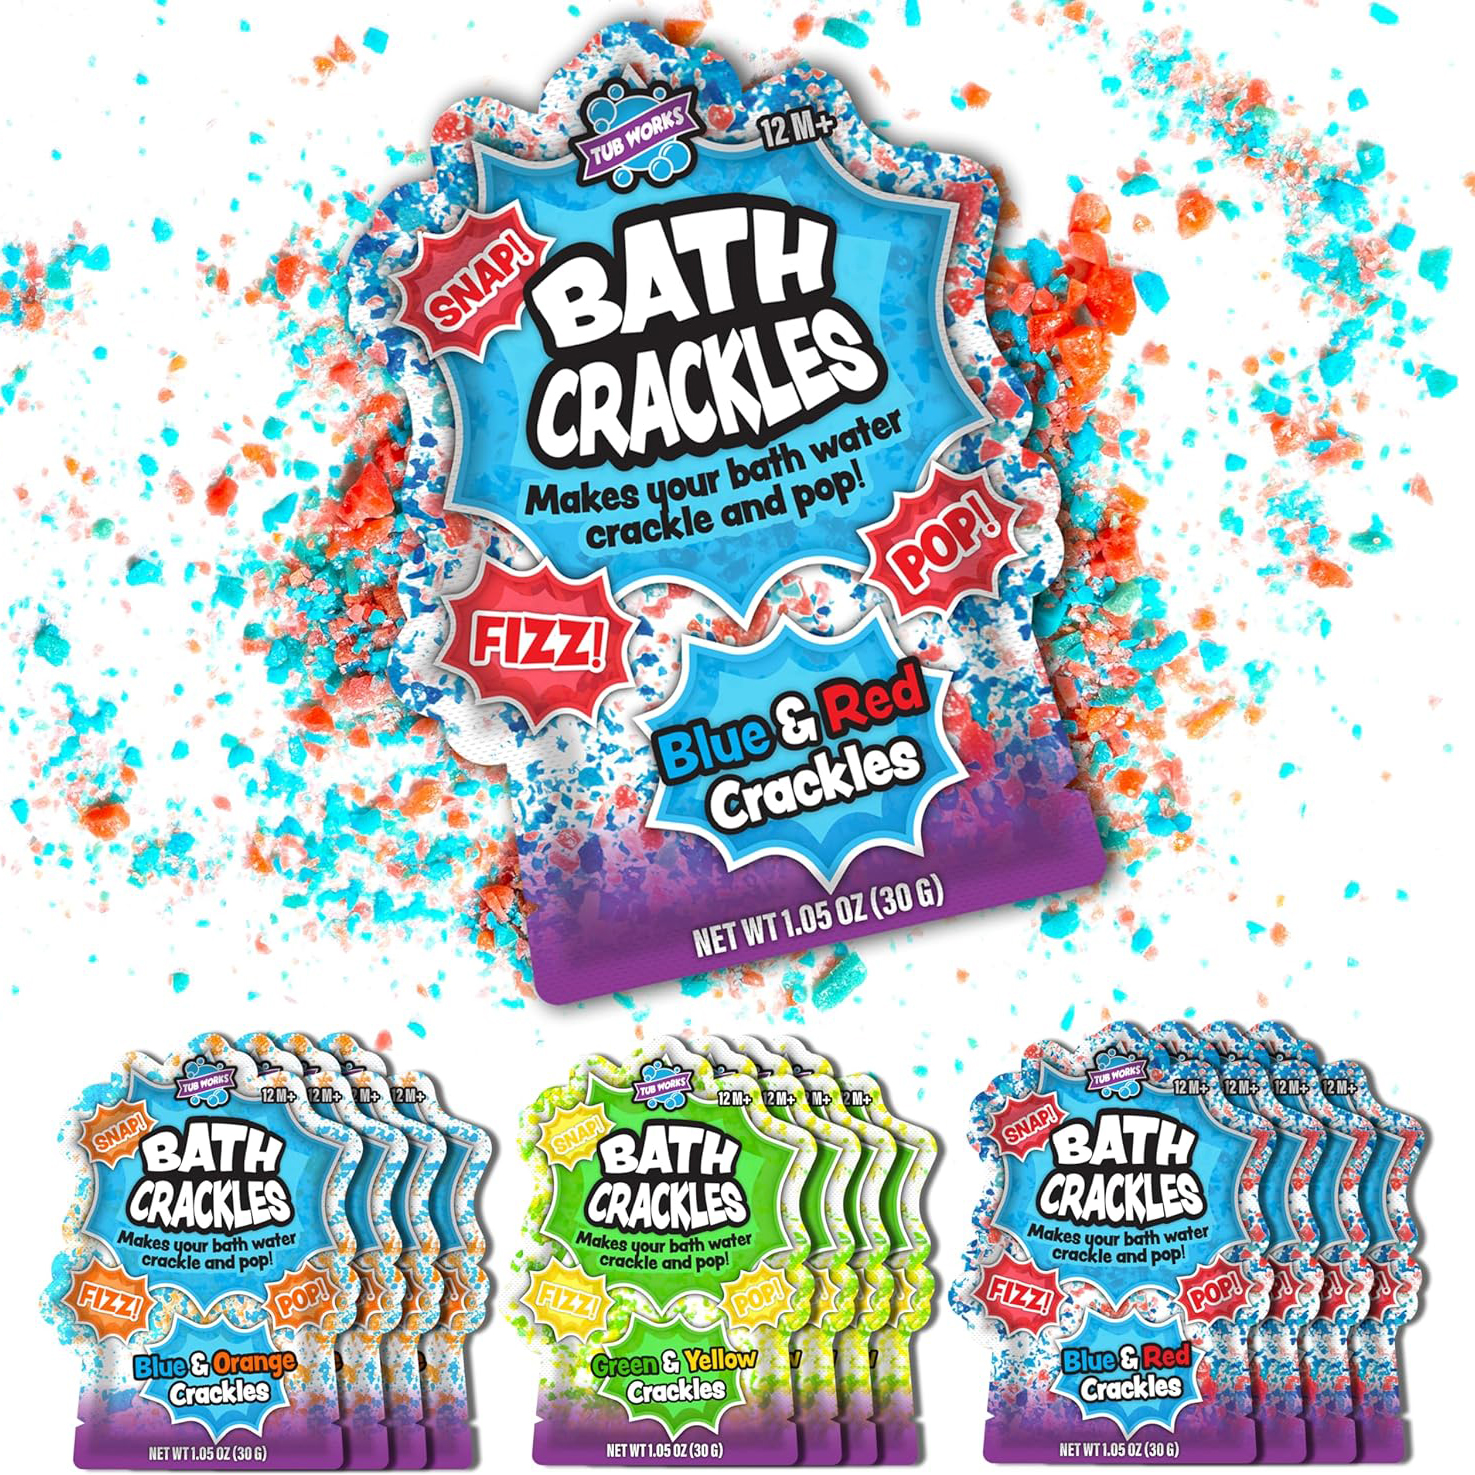
    best bath toys for kids crackle

    Crackle, Pop, and Fizz Packs

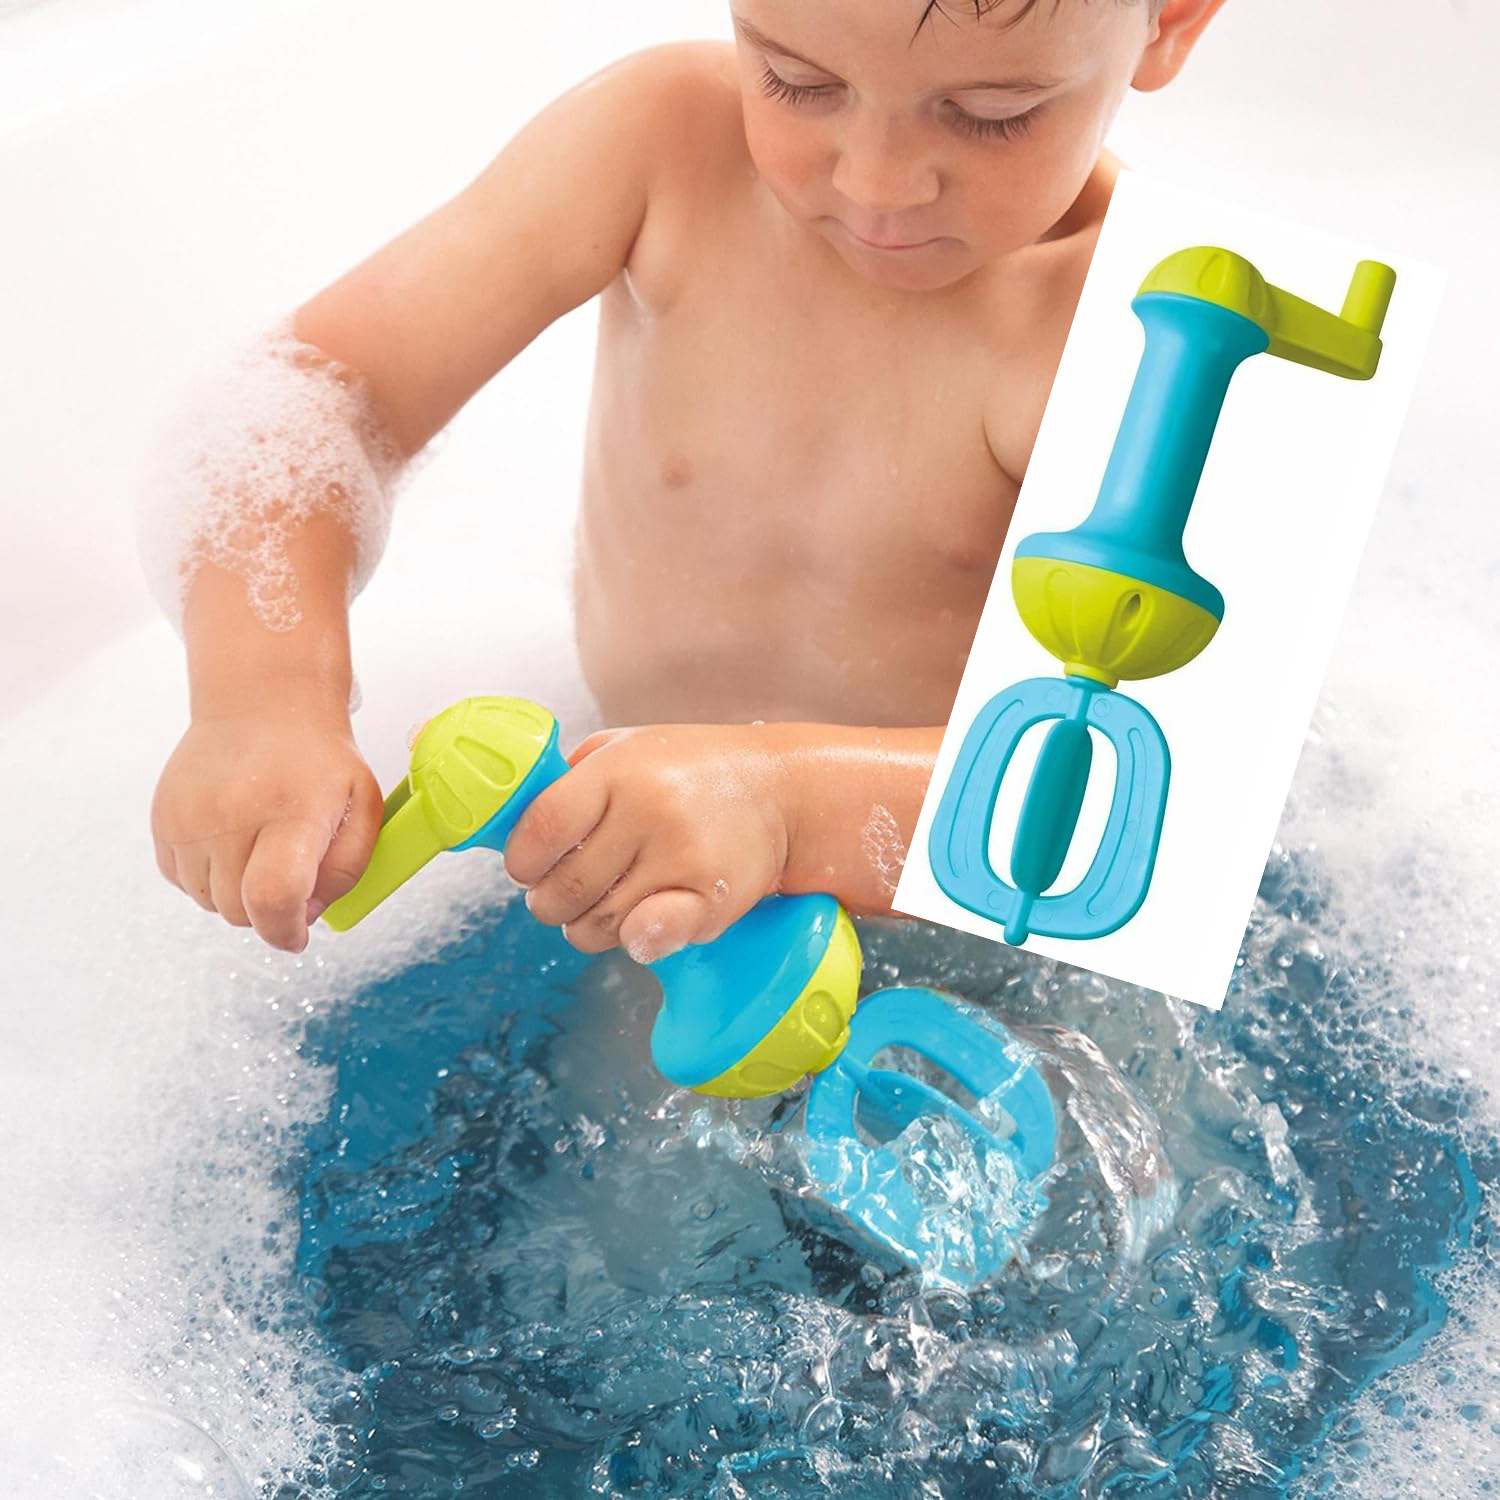
    best bath toys for kids whisk

    Bubble Making Whisk

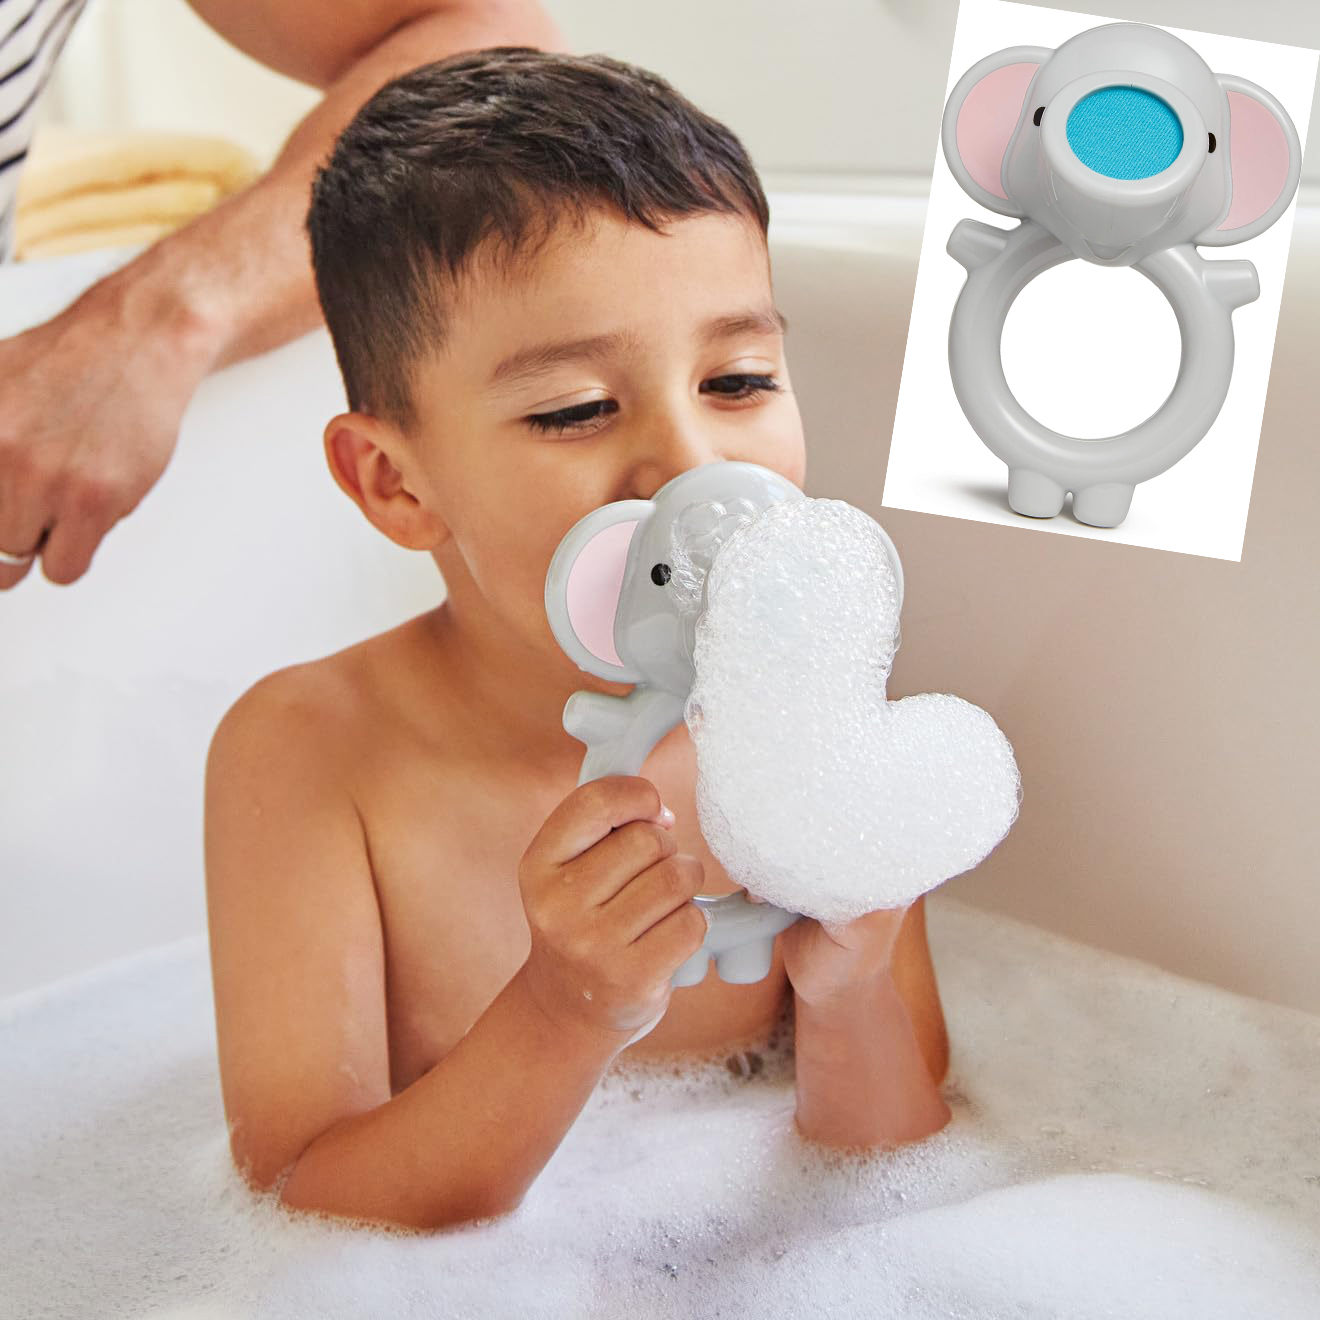
    bath toy bubble toy

    Elephant Blow Bubble Toy

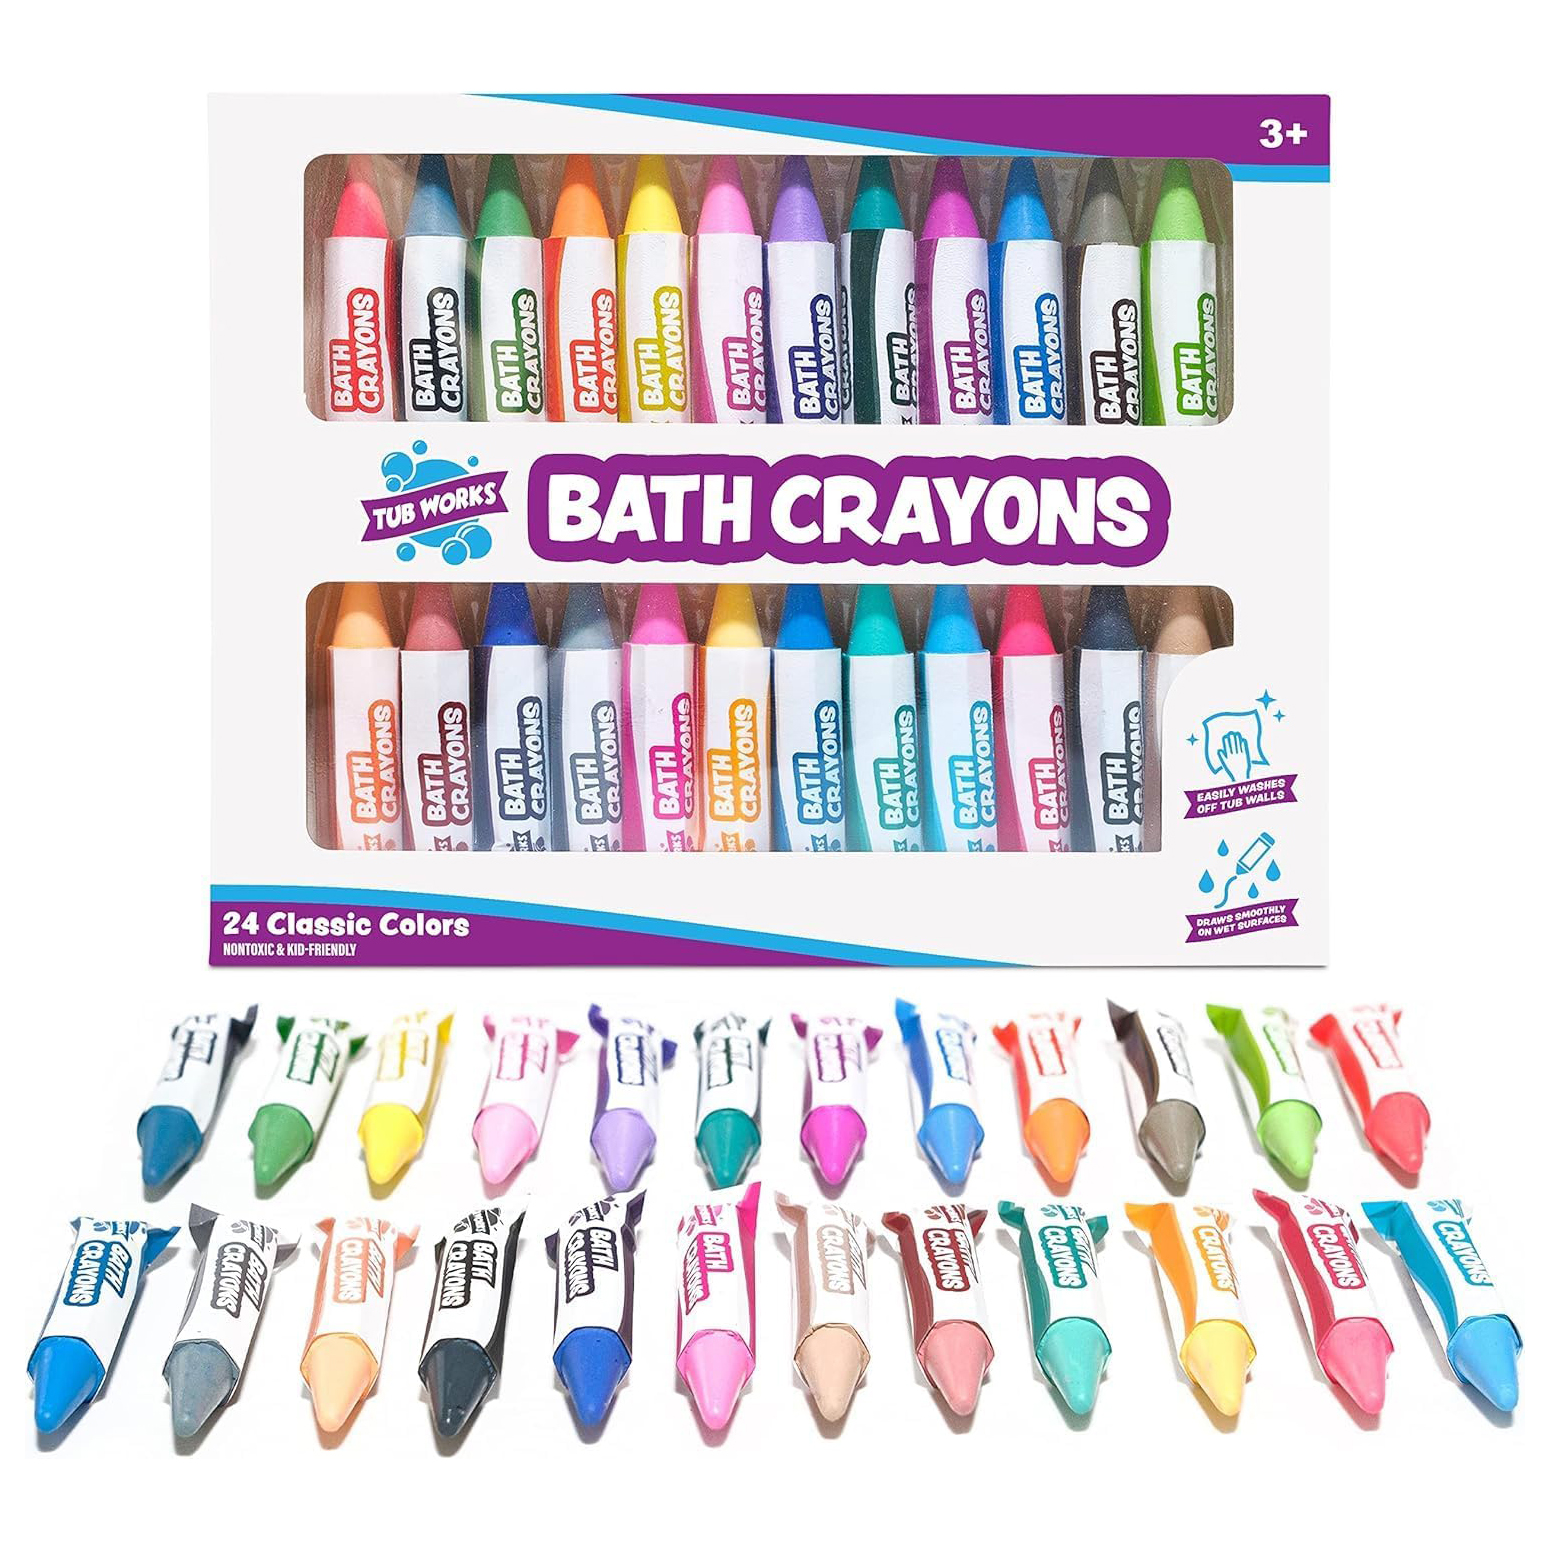
    bath crayons

    Bath Crayons – 24 Pack

    Best Educational Bath Toys

    Get ready for some splashy fun and playful learning with our top picks for educational bath toys! From interactive bath books and captivating bath puzzles to versatile foam building blocks, these toys will turn bath time into a joyous educational adventure!

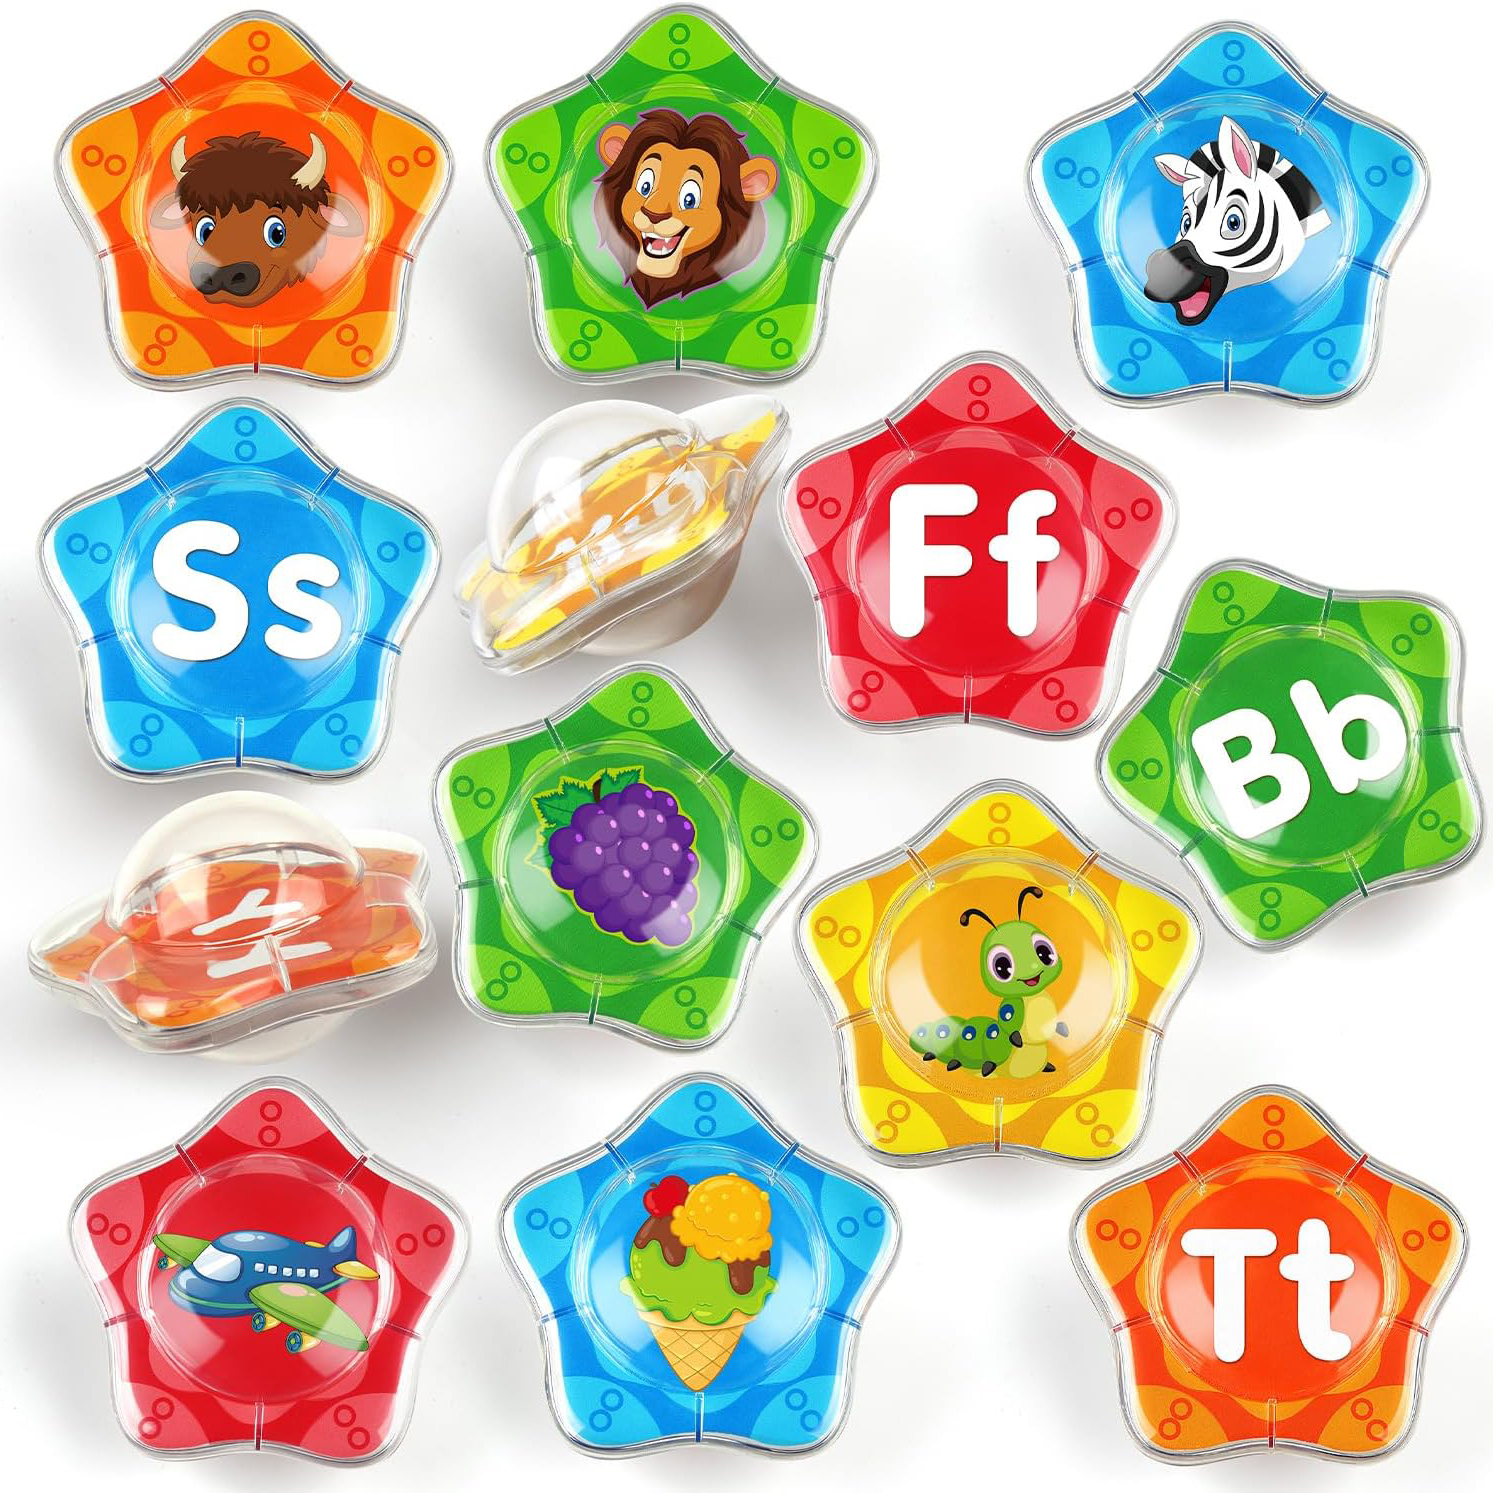
    bath toy alphabet

    Alphabet and Phonics Floating Star Fish

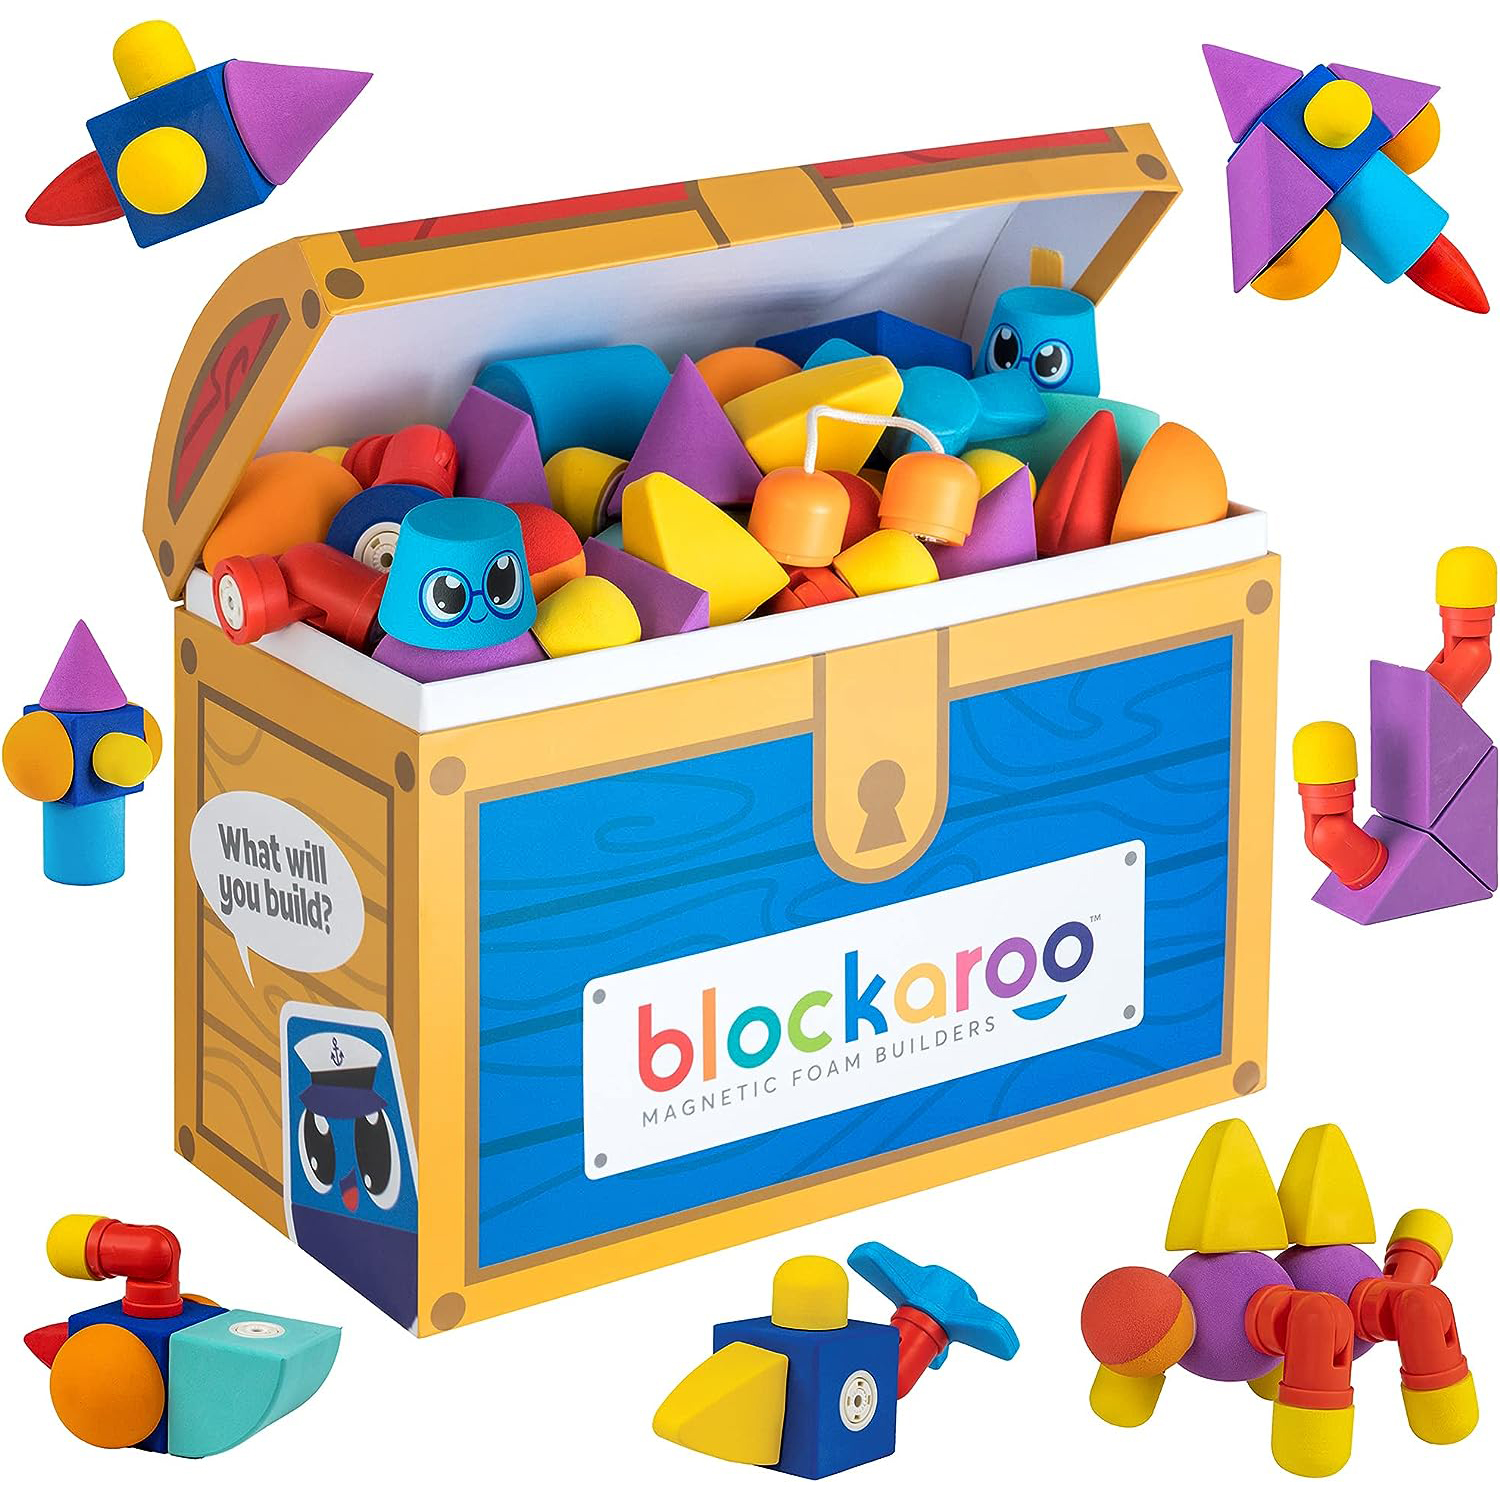
    bath toy building blocks foam

    100 Piece Set of Foam Building Blocks

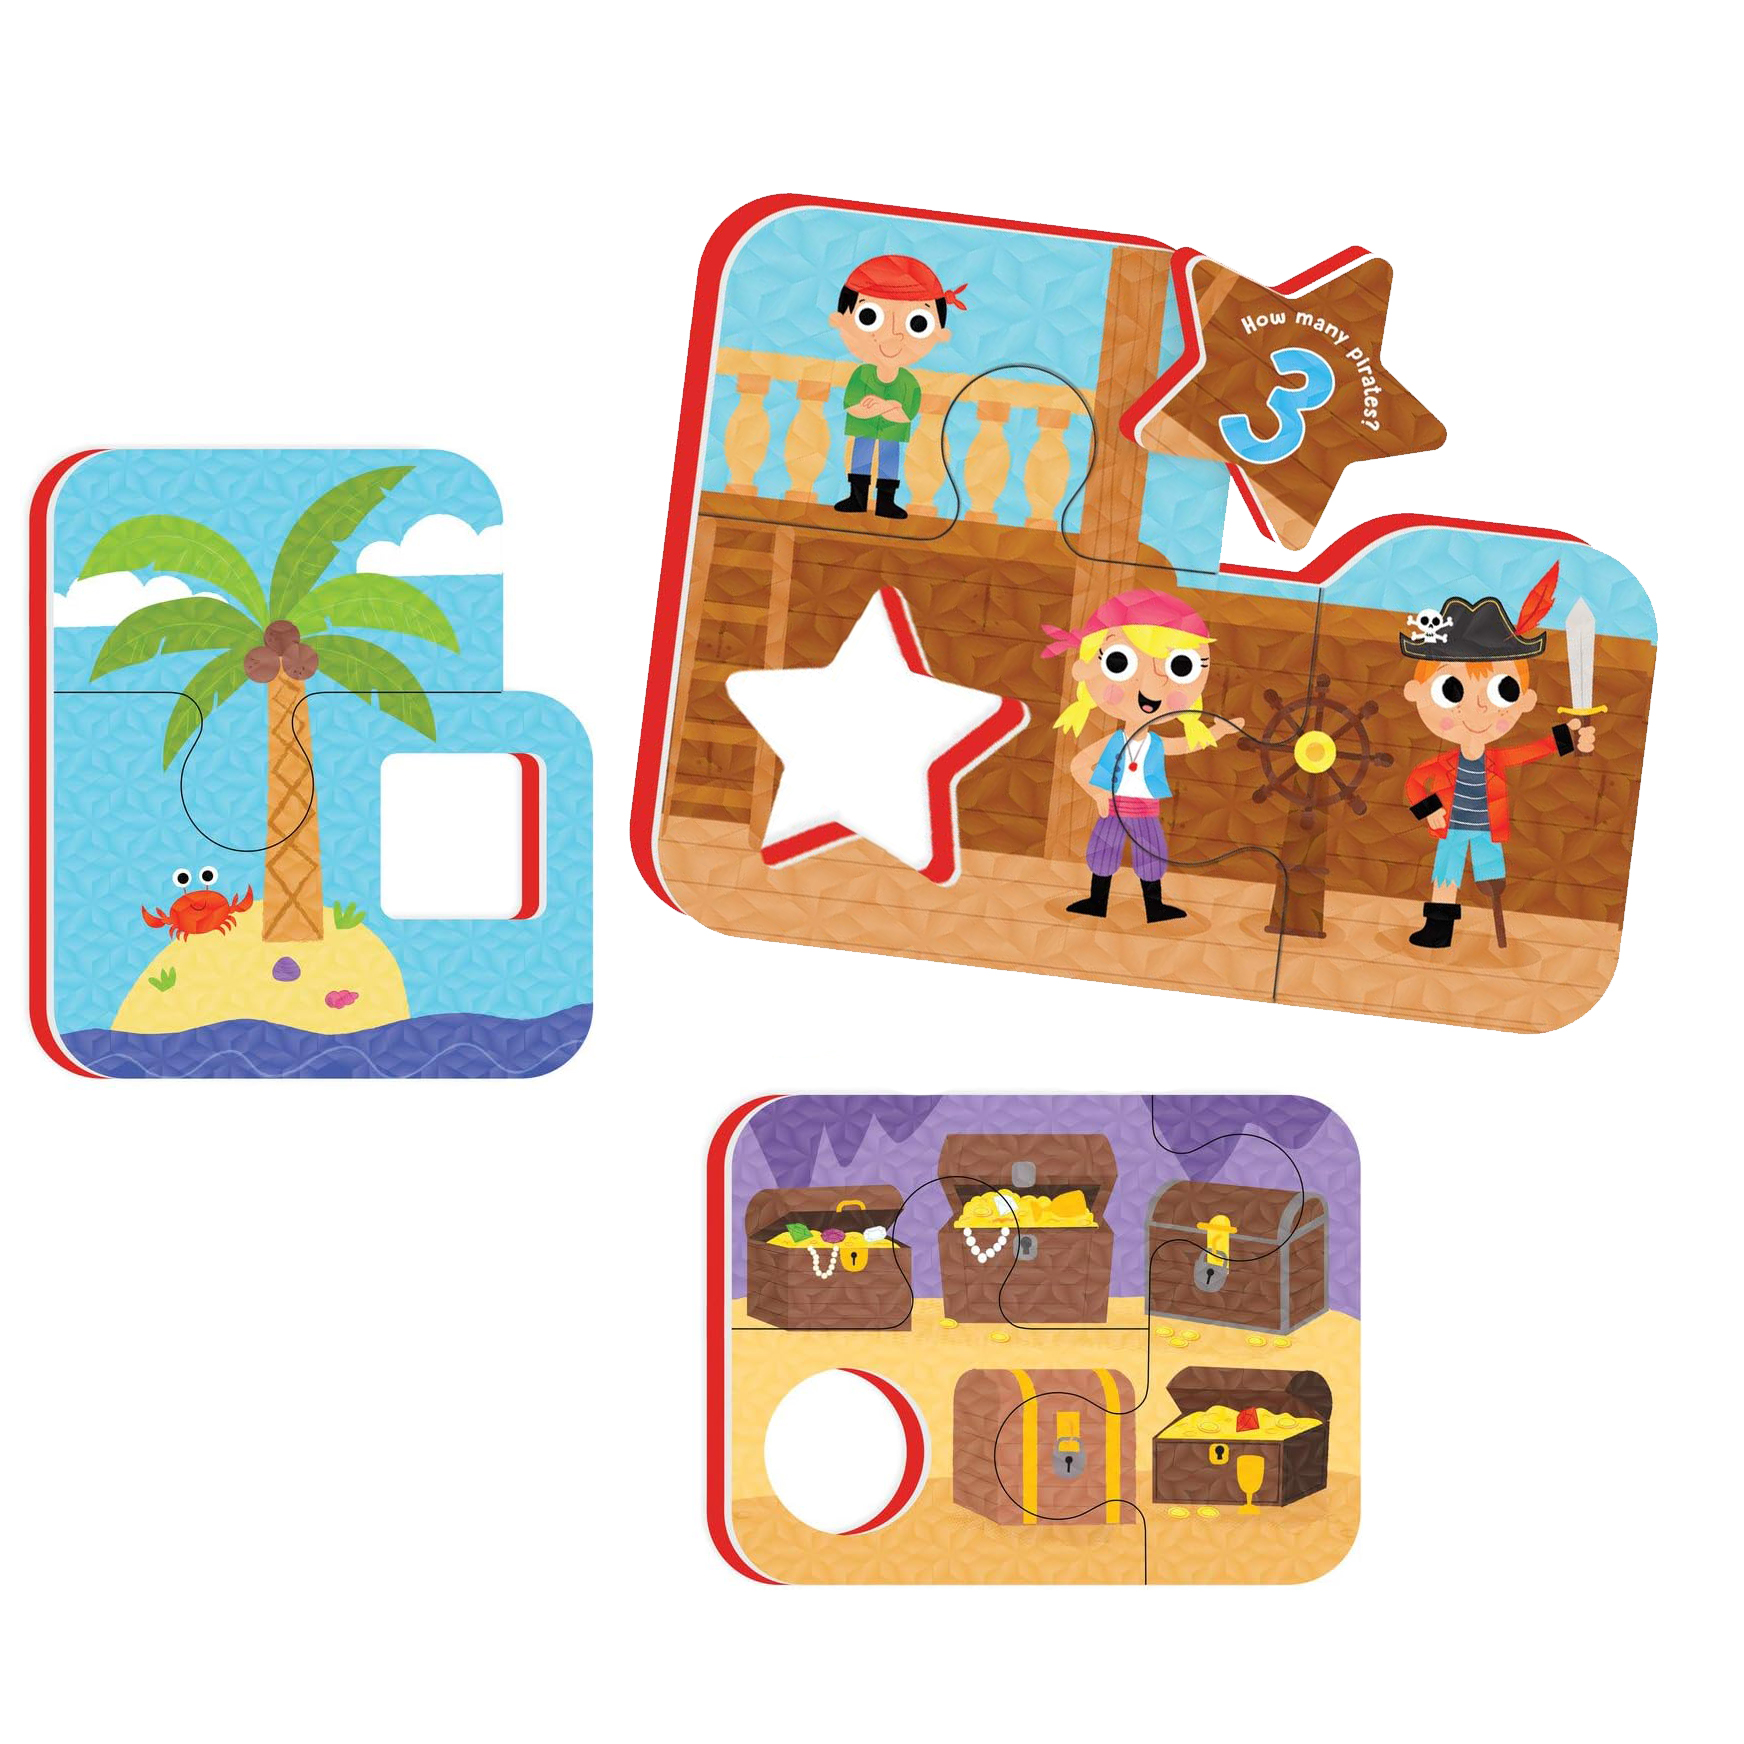
    bath toy puzzles

    Waterproof Foam Puzzles

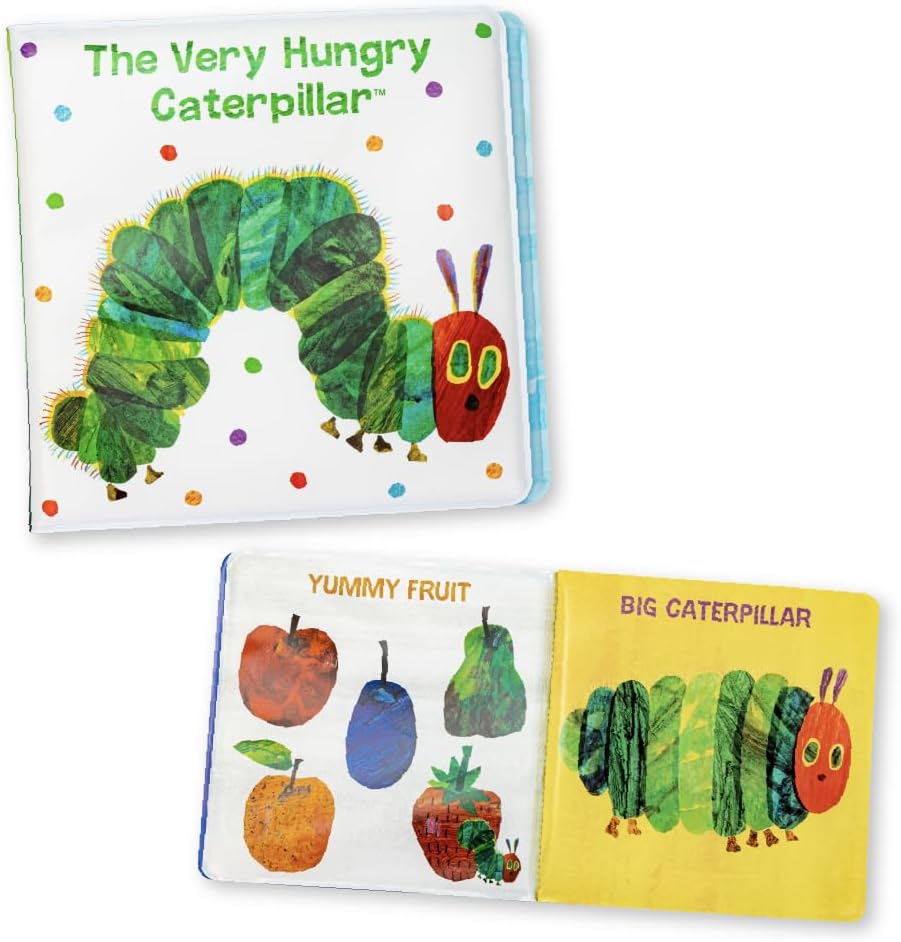
    the very hungry caterpillar bath book

    Vinyl Bath Book – The Very Hungry Caterpillar

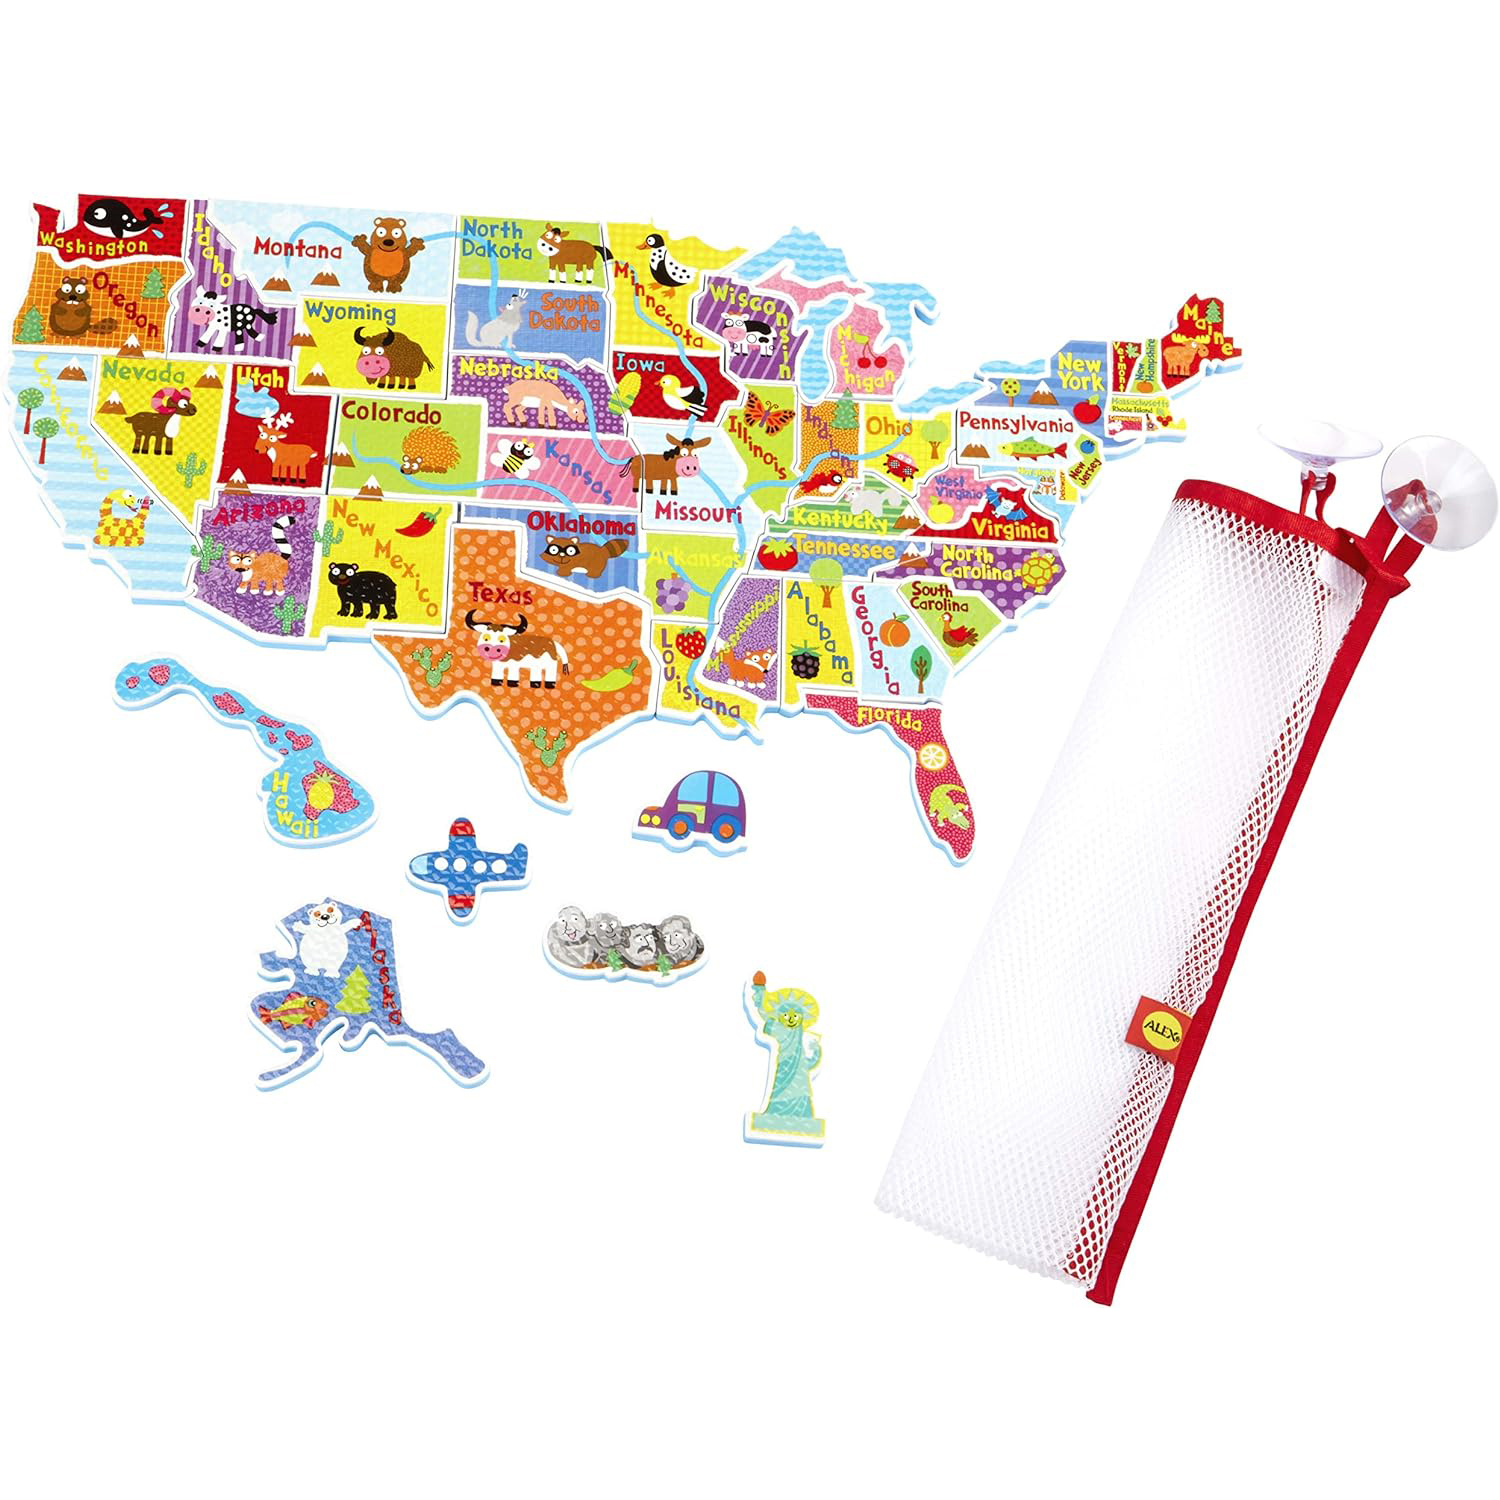
    bath toy united states puzzle

    Bath USA Map Puzzle

    bath toys stackable cups and boats

    Stackable Cups and Floating Boats

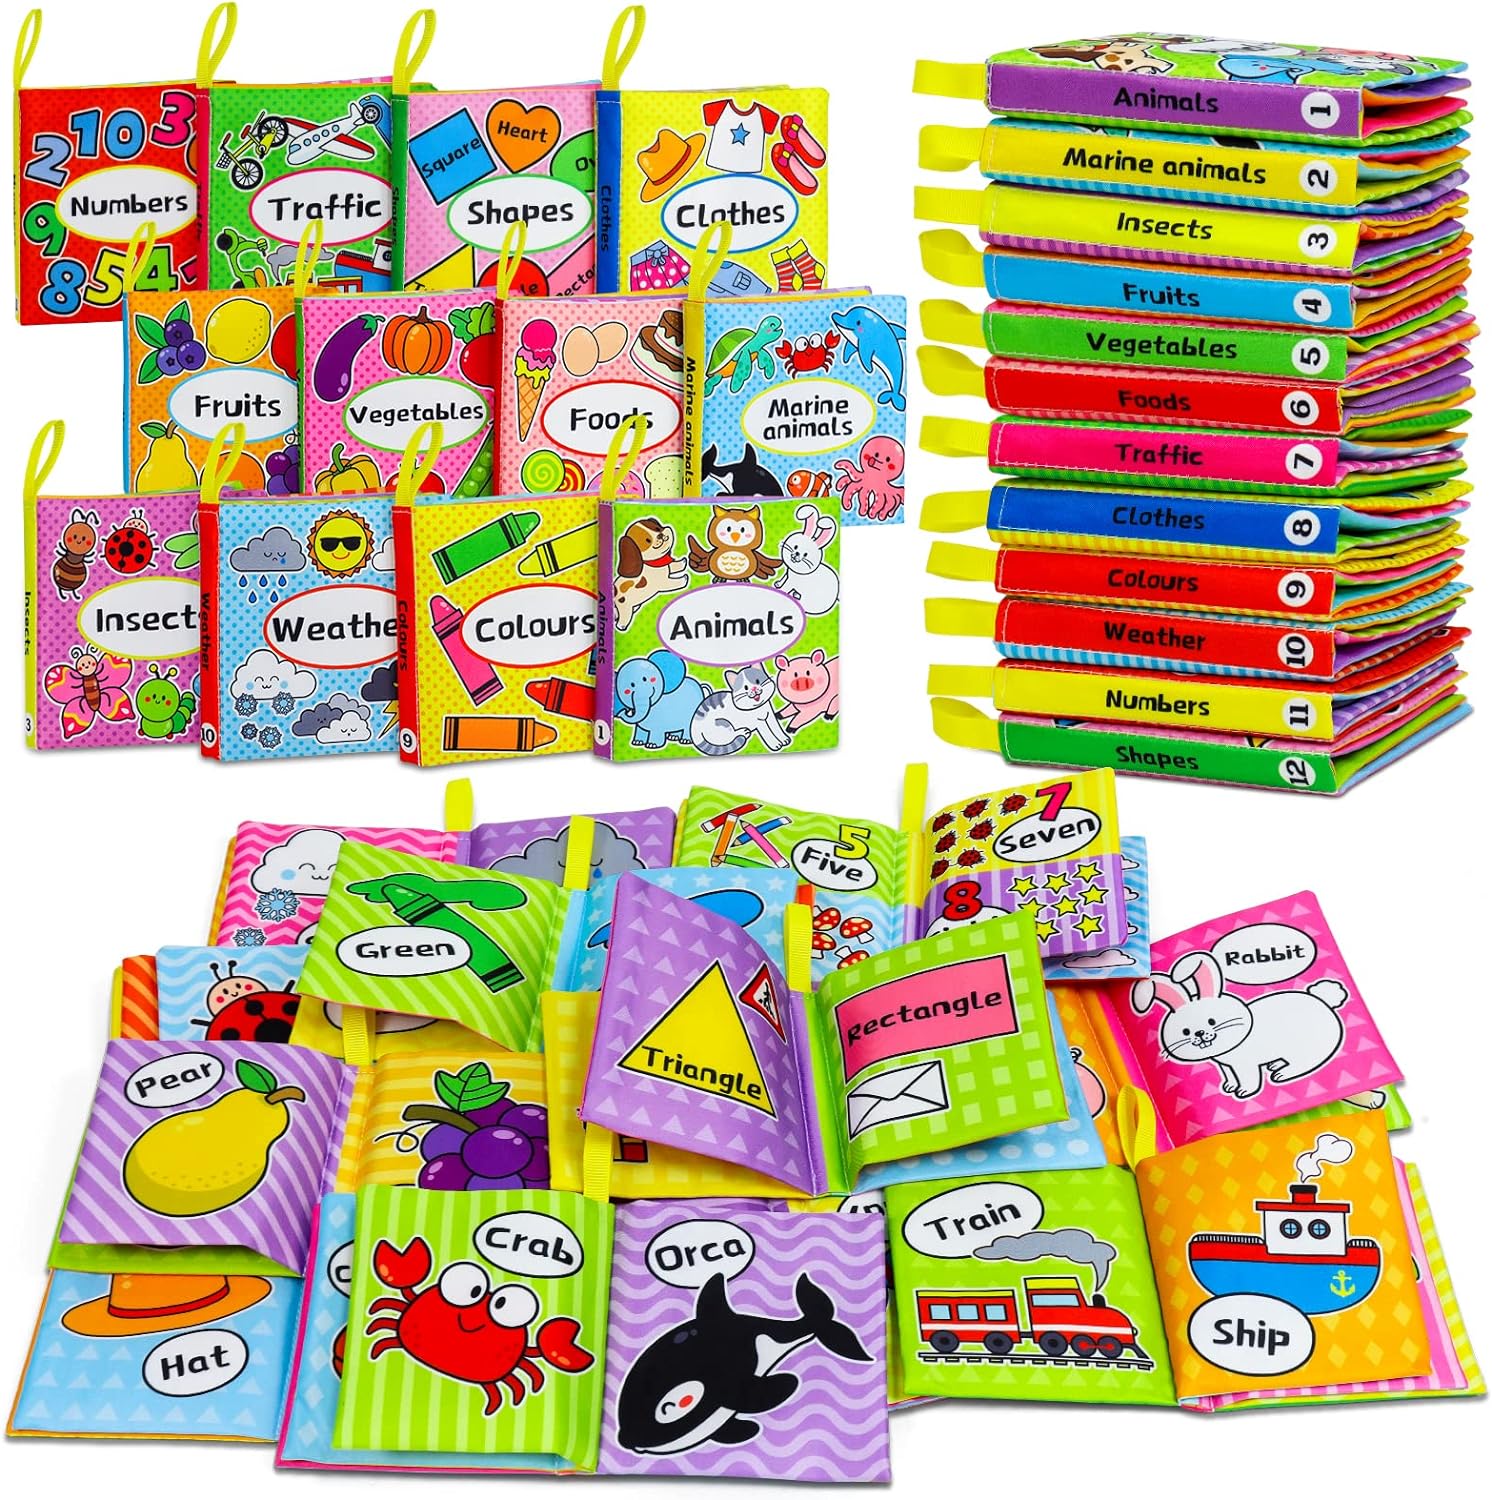
    12 book baby bath book set

    Set of 12 Baby Bath Books

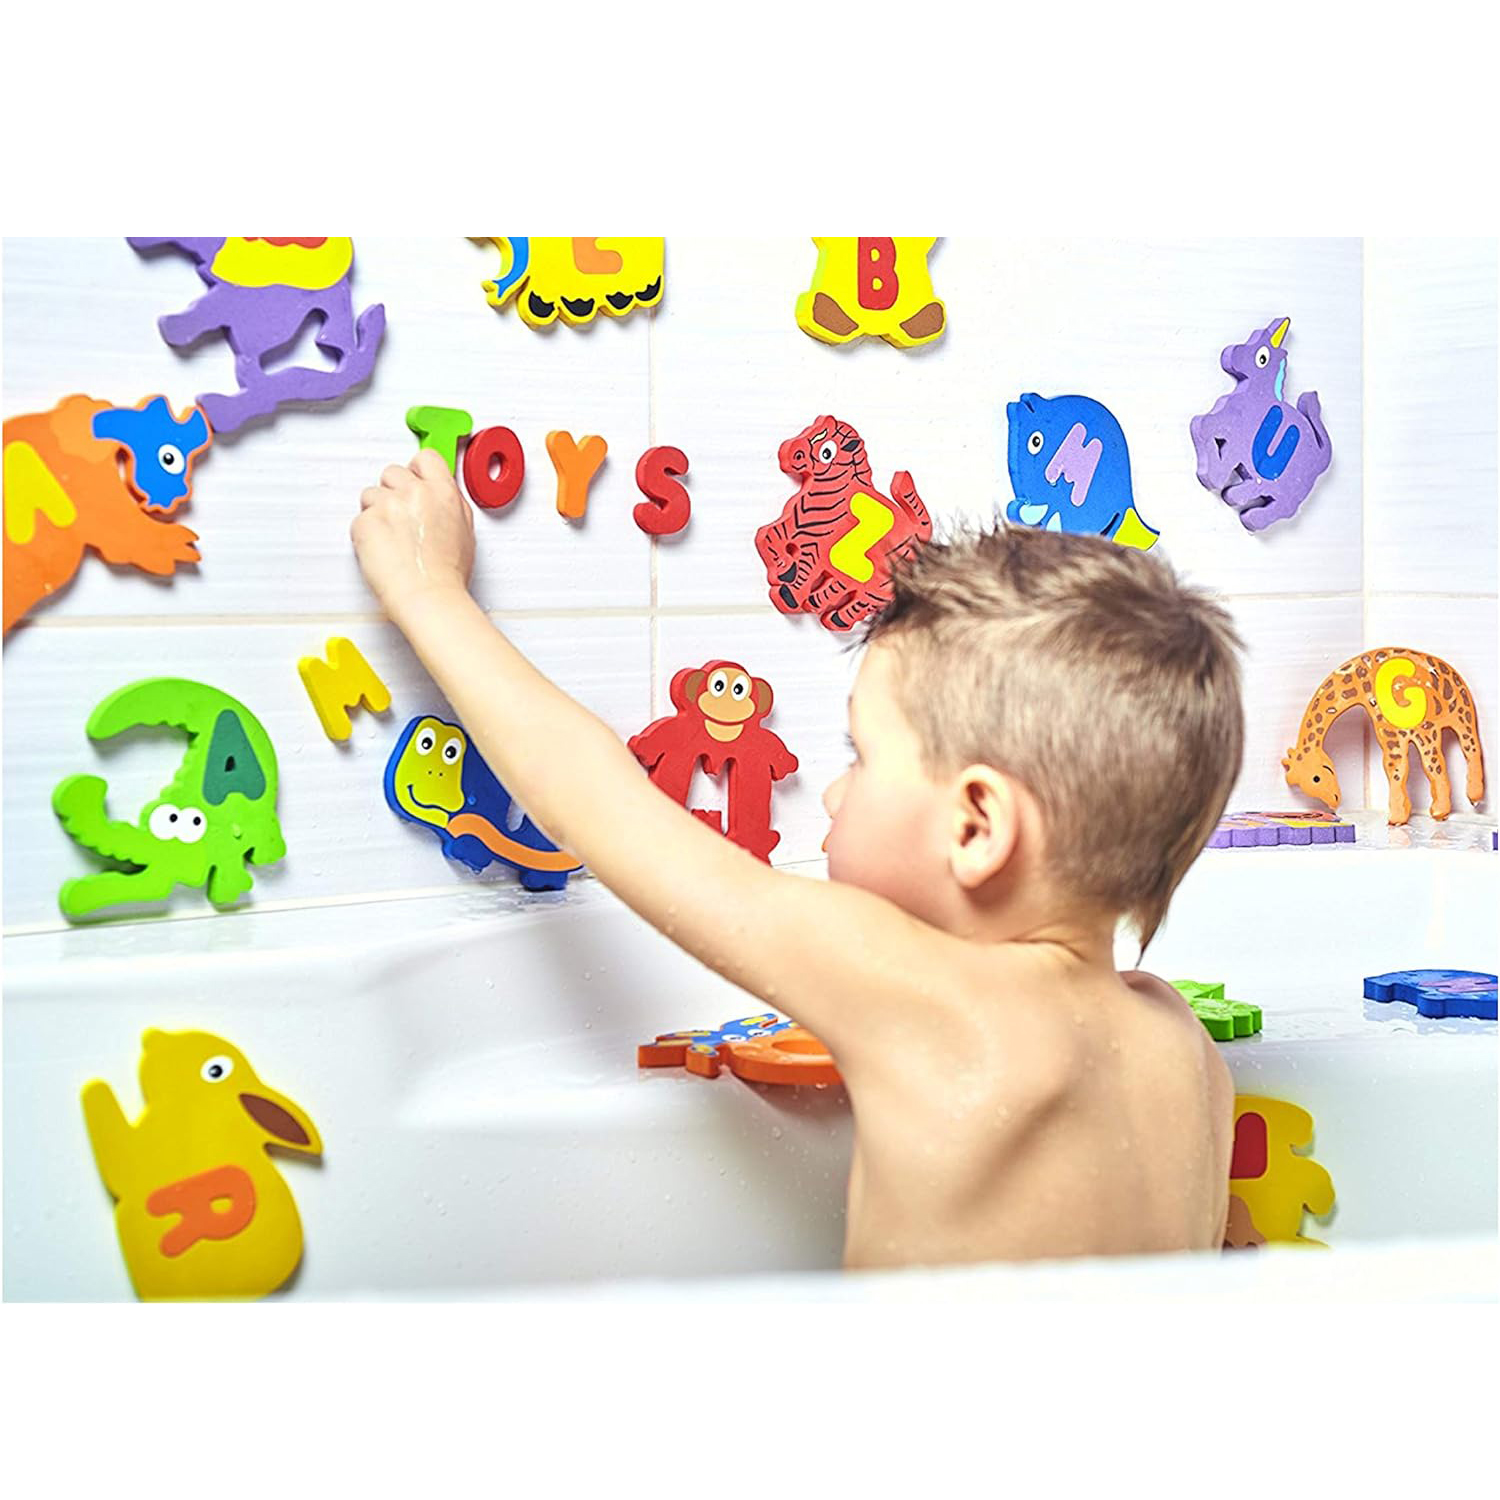
    alphabet and animal foam toys for bath

    Alphabet Foam Letters and Animals

    Best Bath Toys for Imaginative Play and Beyond!

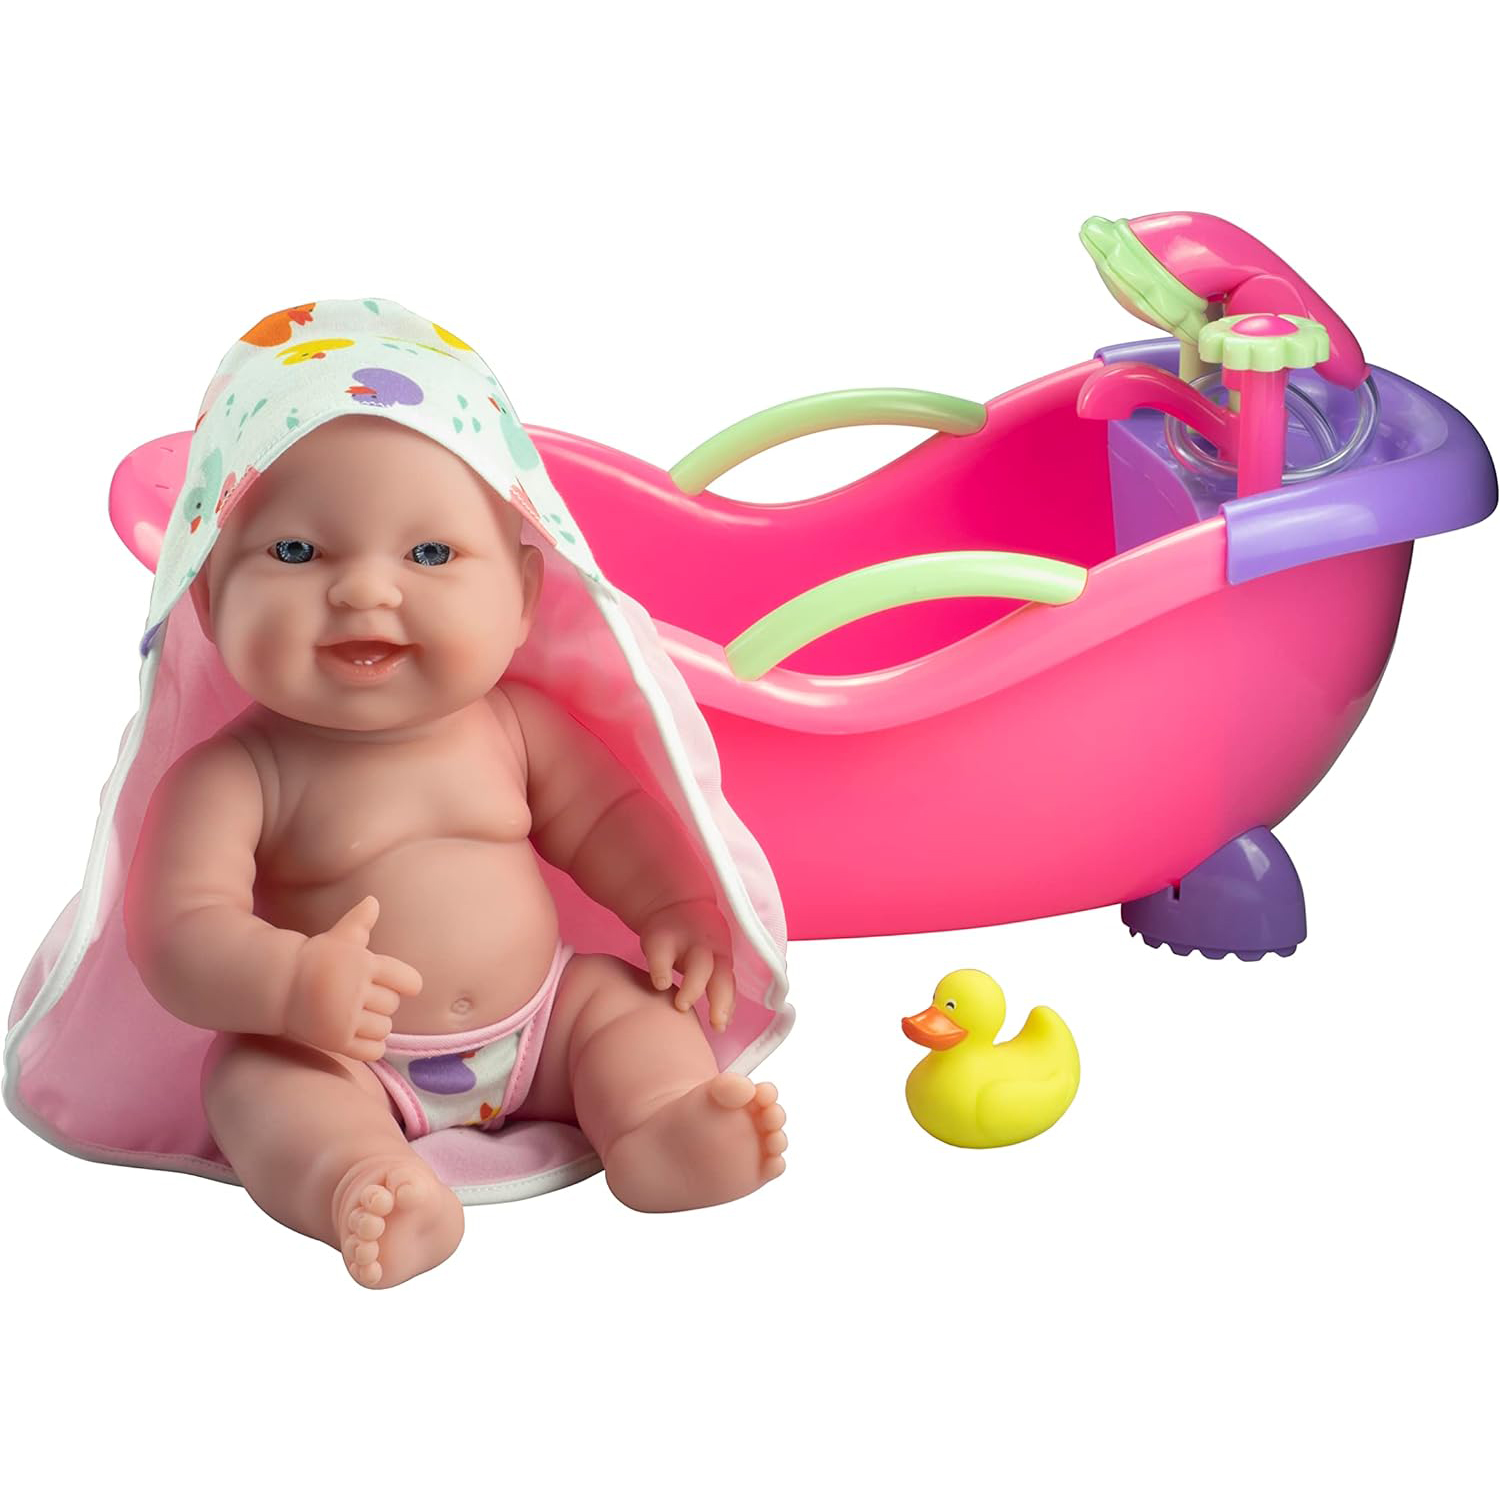
    Get ready for even more fun with our top picks for imaginative bath toys and beyond! From an adorable baby doll bath set to dinosaurs, water-activated boats, and even bath-friendly LEGO Duplo sets, these toys will spark your kid’s creativity and turn bath time into a whole new world!

    bath toys baby doll pretend play

    Baby Doll and Bath Set

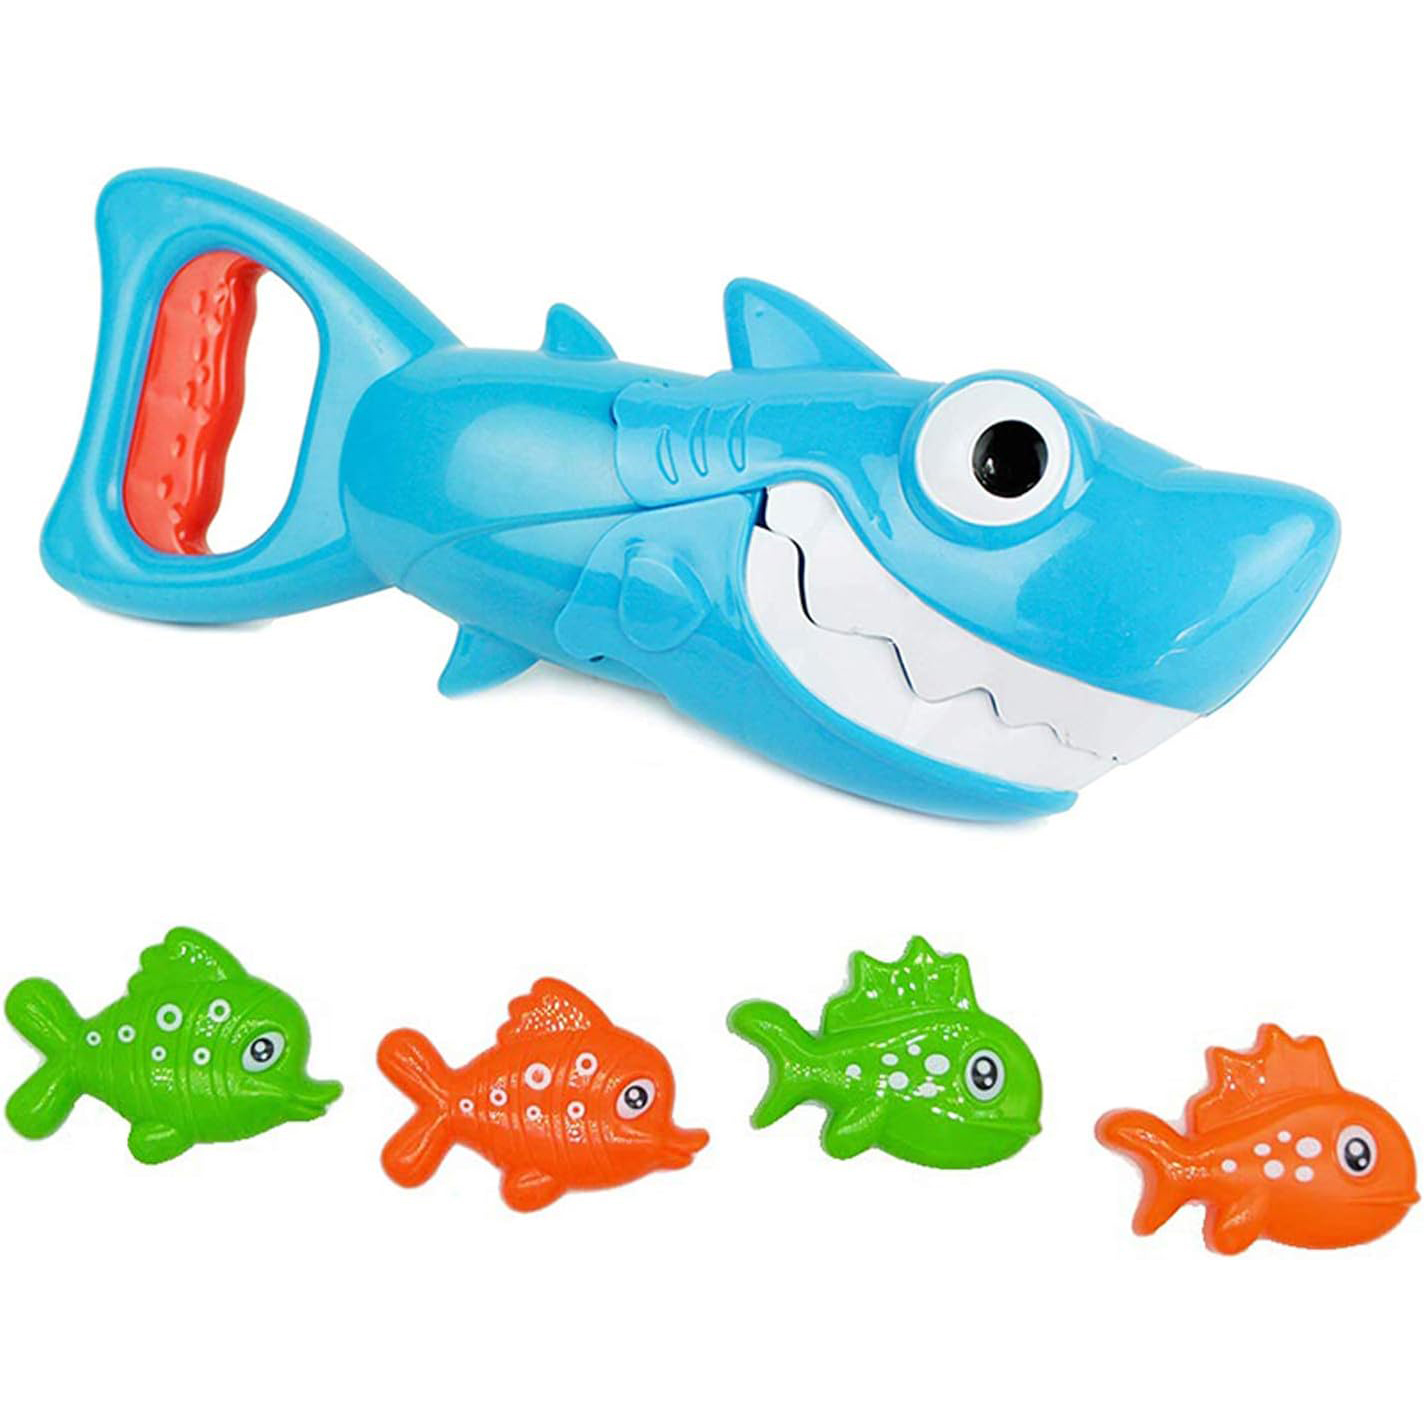
    best bath toys for kids shark

    Shark Grabber

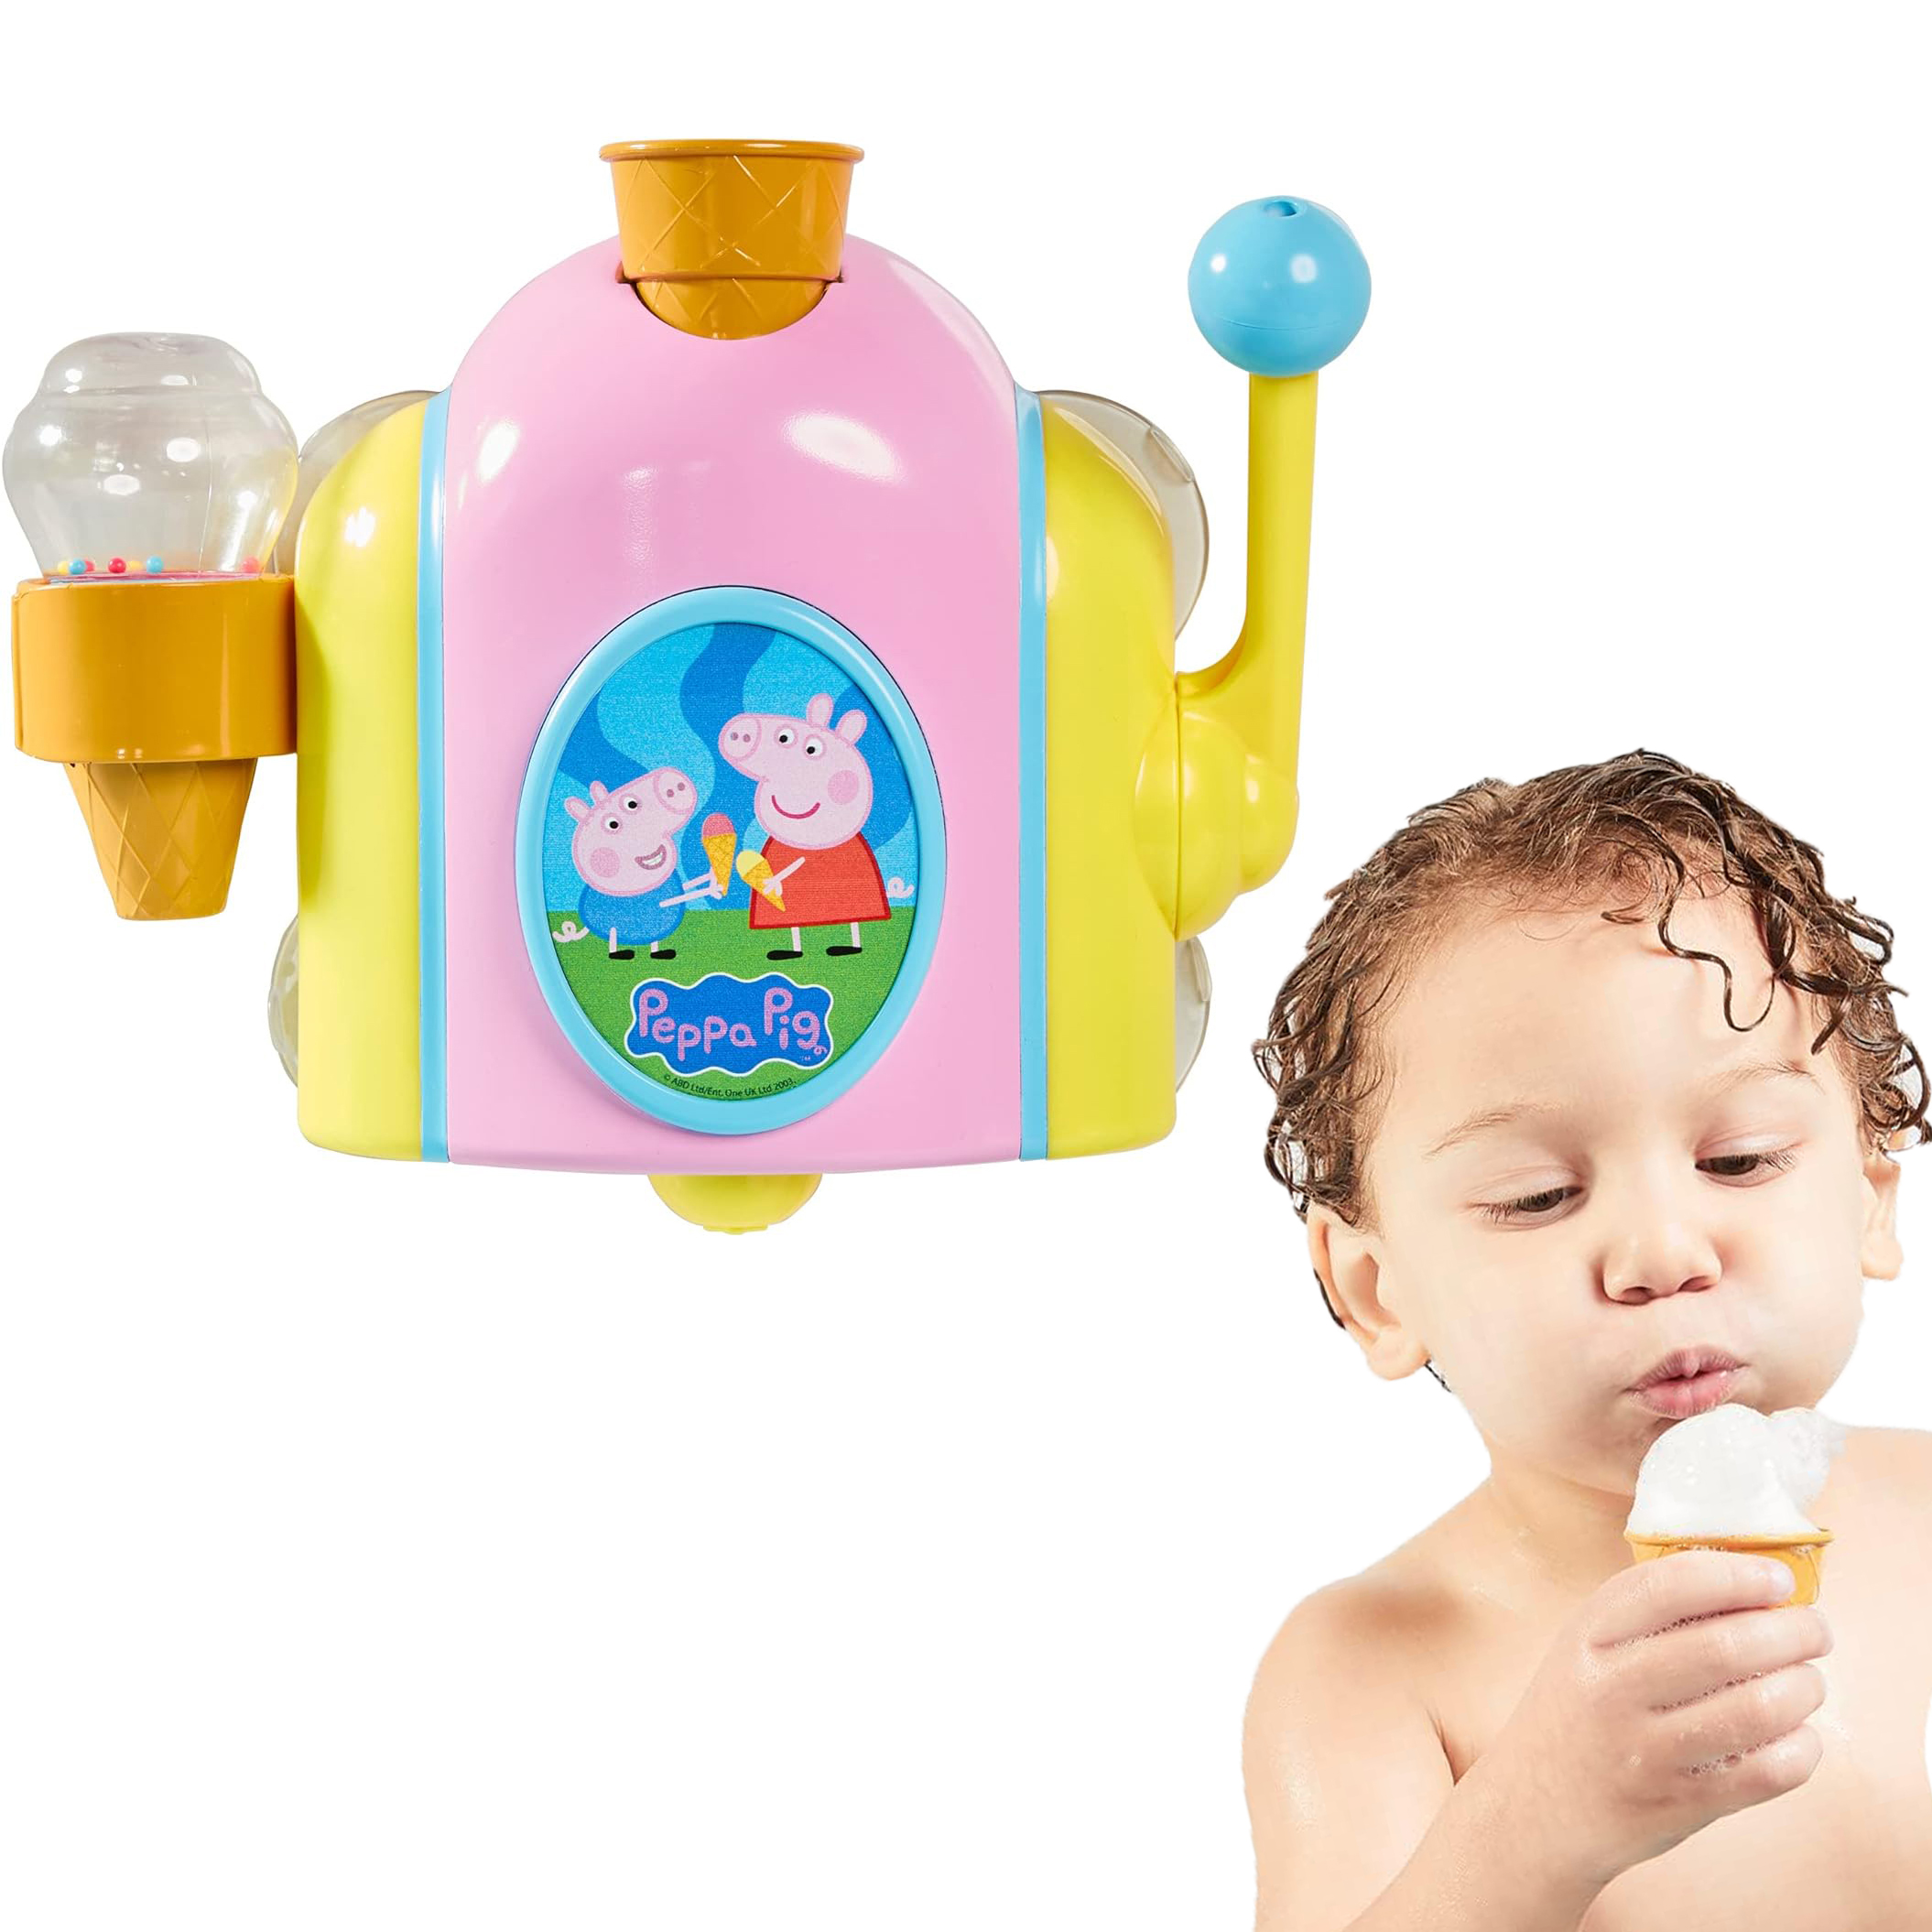
    bath toy ice cream soap maker

    Bubble Ice Cream Toy

    shark toy remote control

    Remote Control Shark

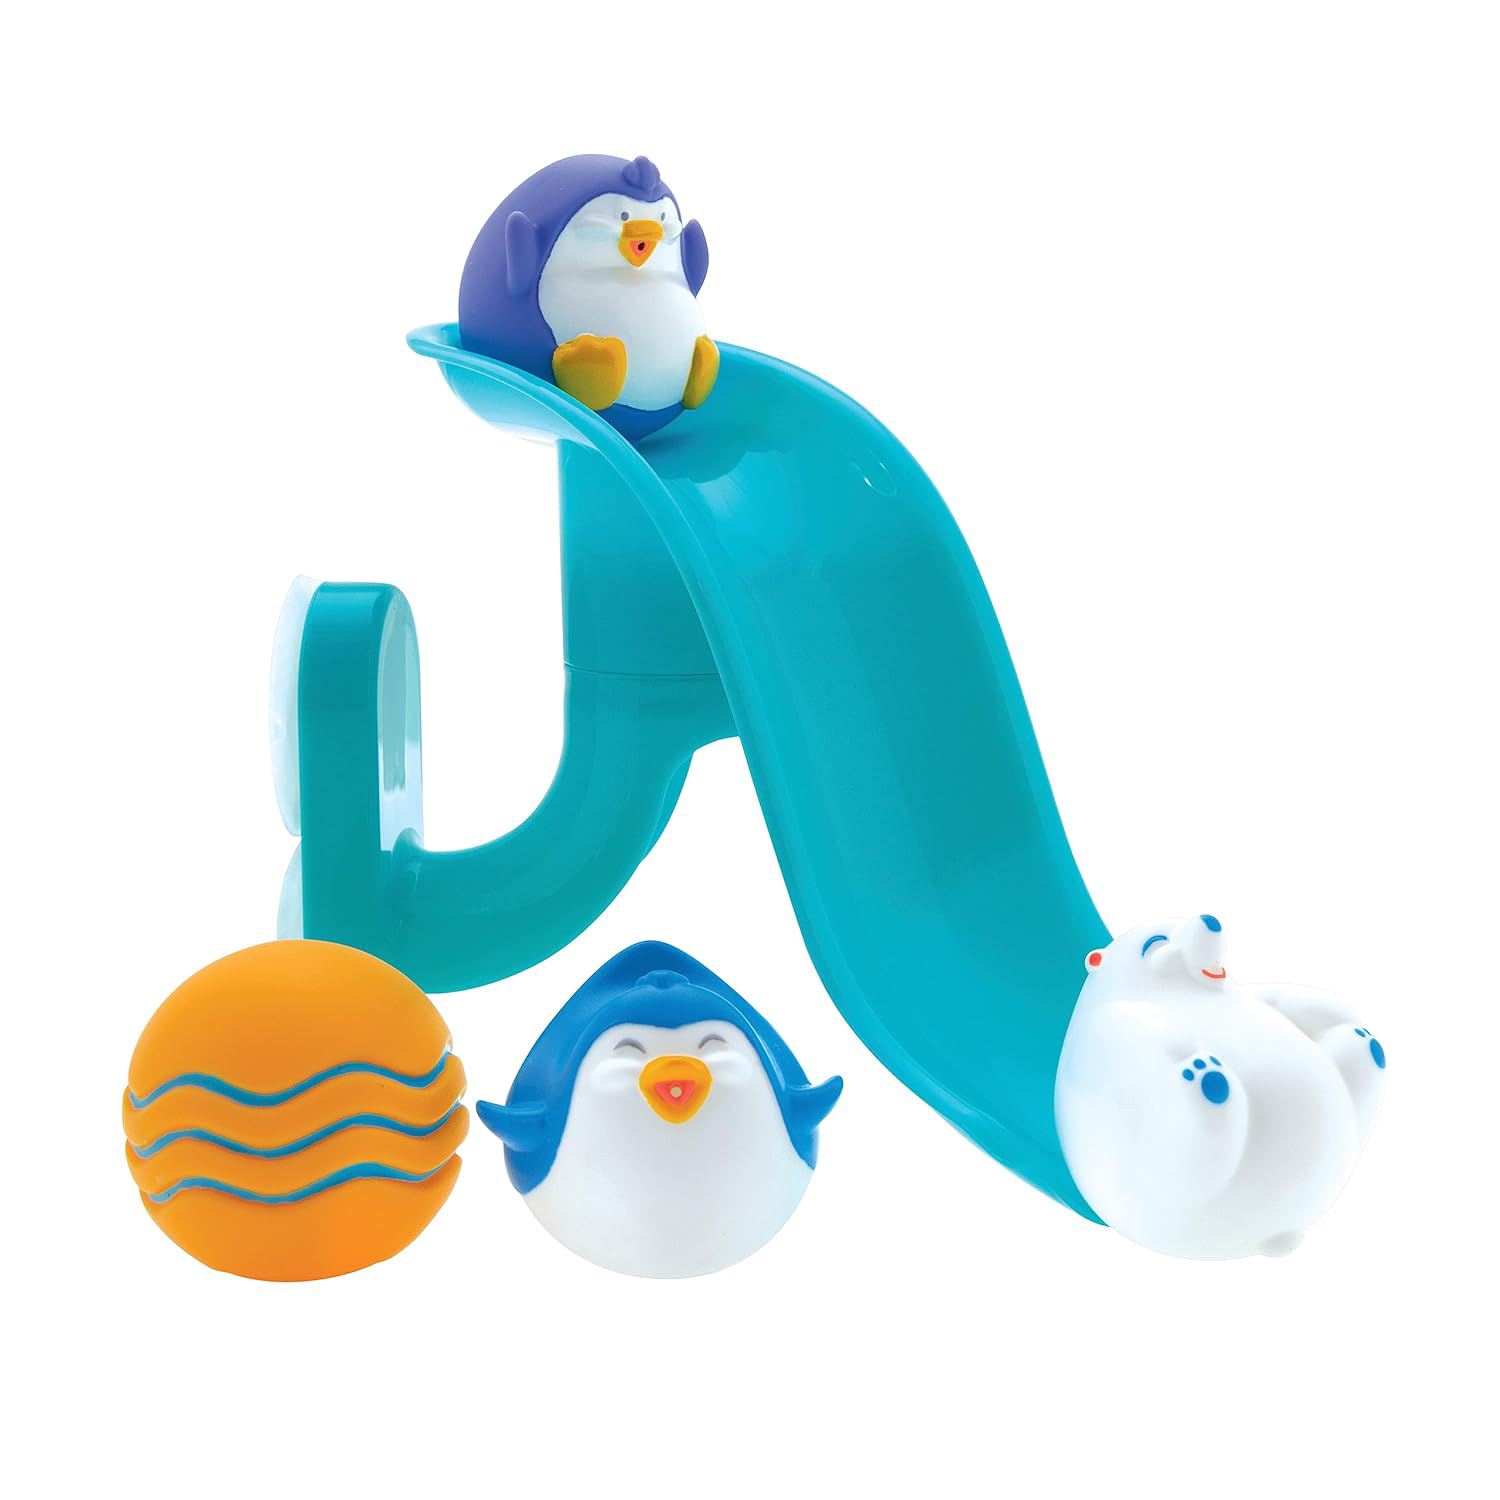
    best bath toys for kids penguin slide

    Slide and Penguin Squirters

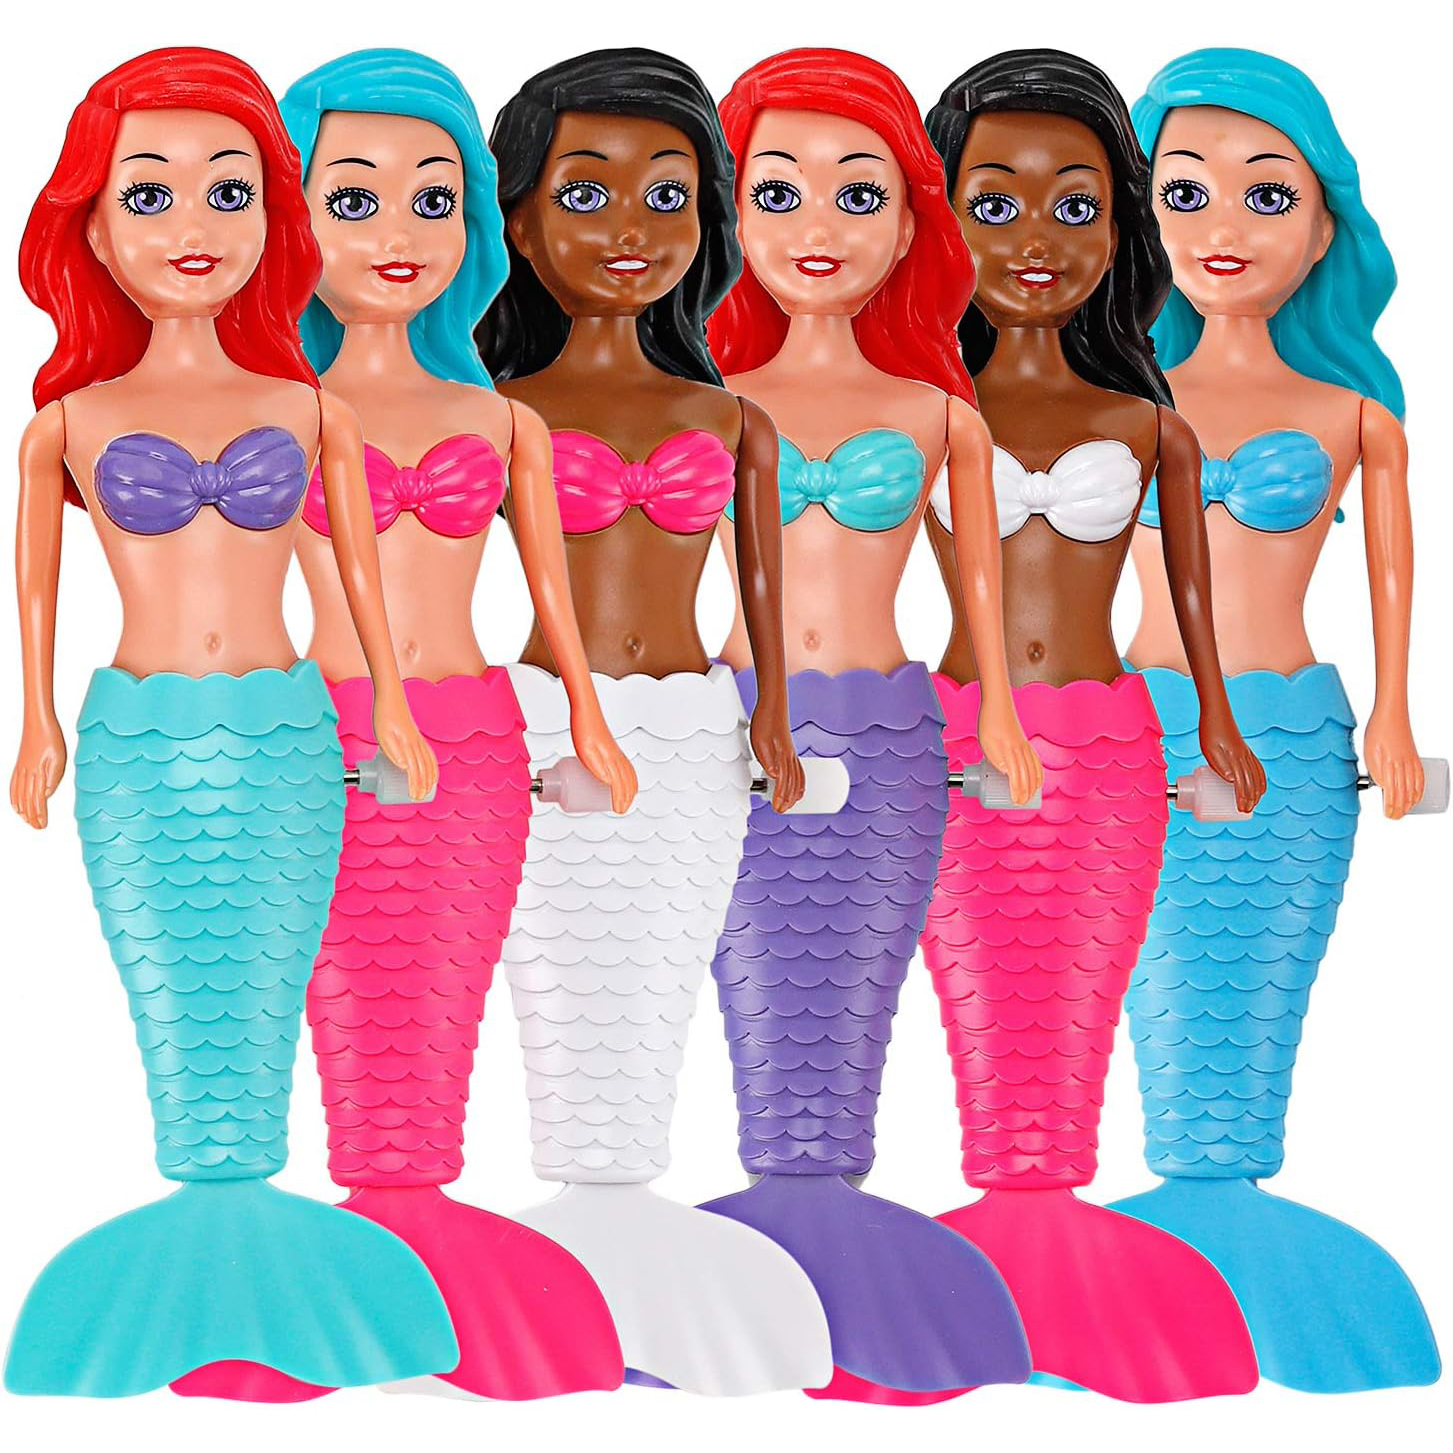
    best bath toys for kids mermaids

    Pack of 6 Mermaids

    best bath toys for kids fishing

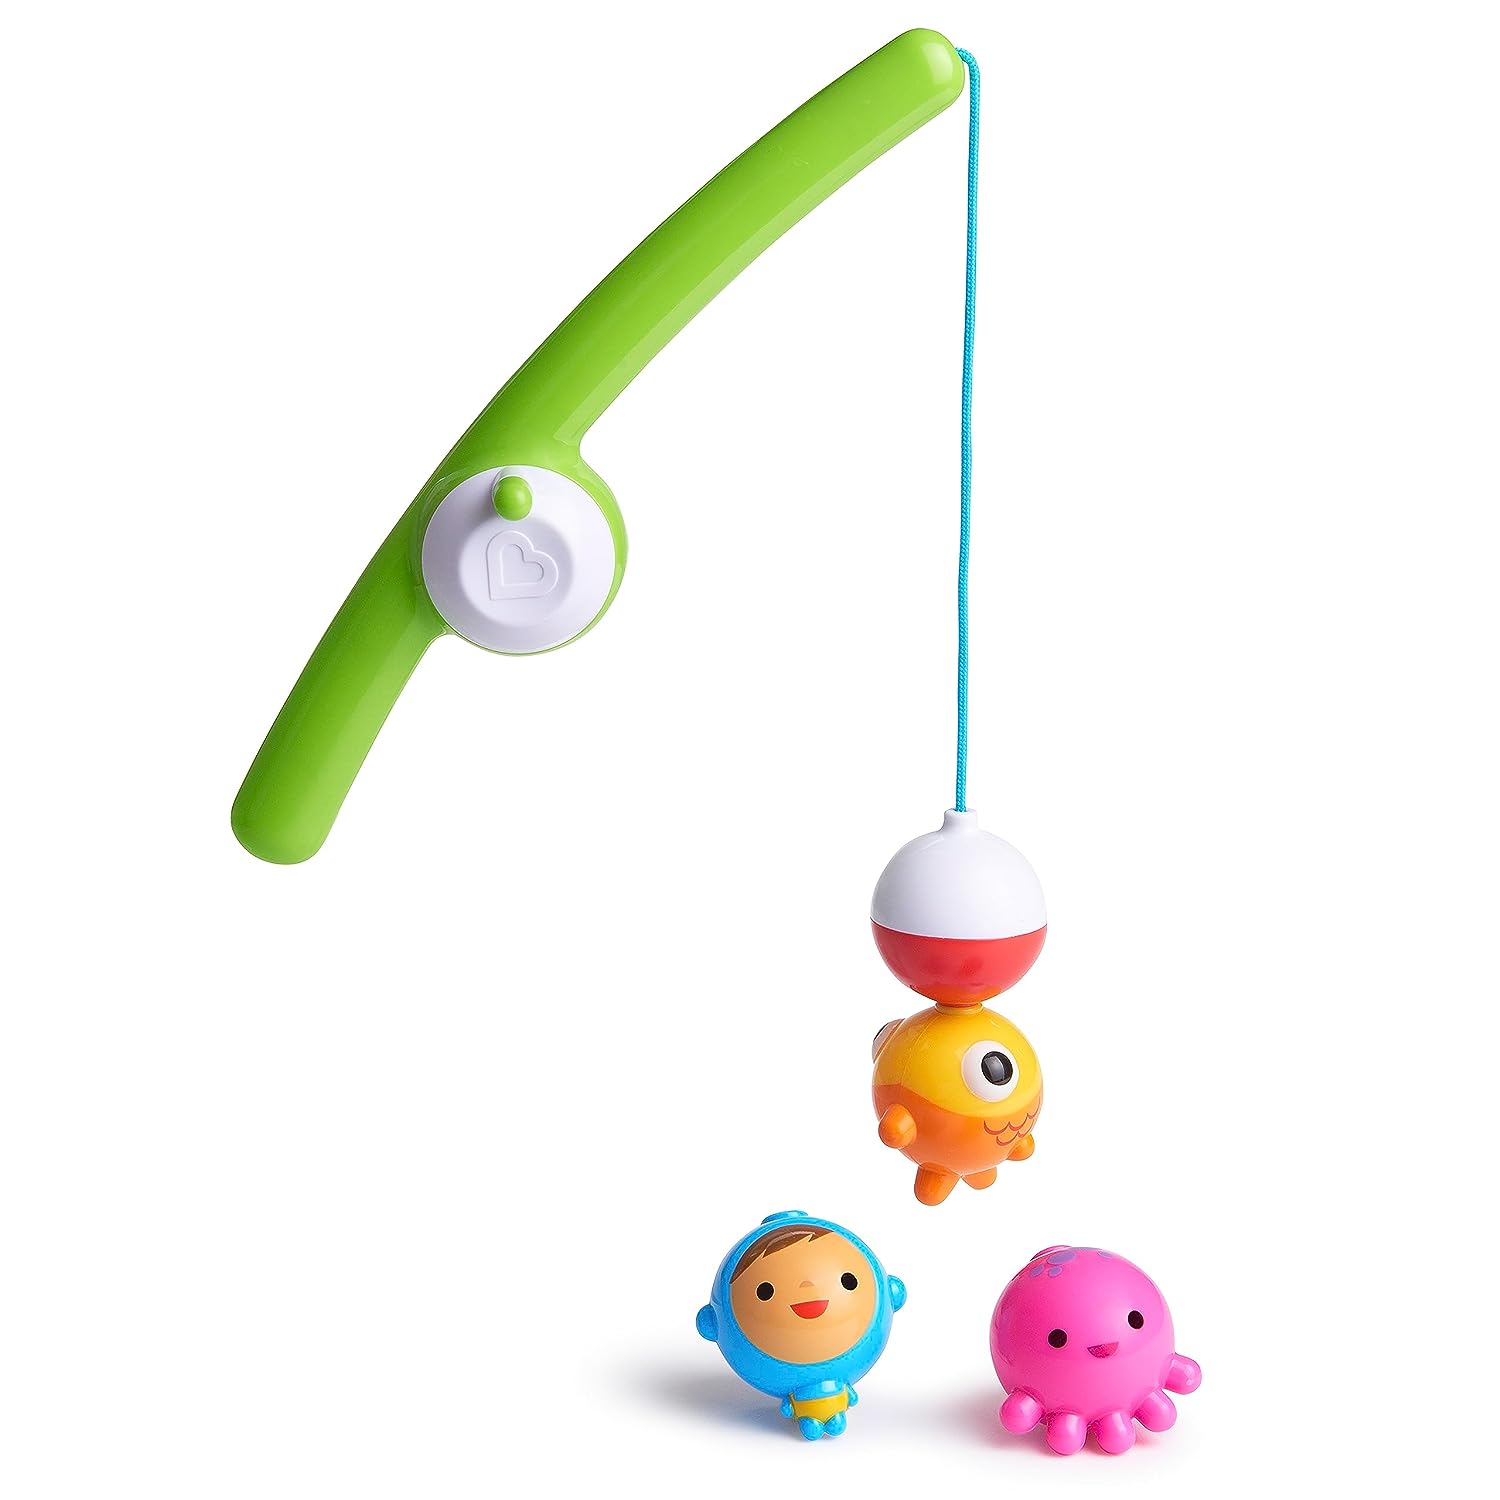
    Magnetic Fishing

    bath toy baby turtles

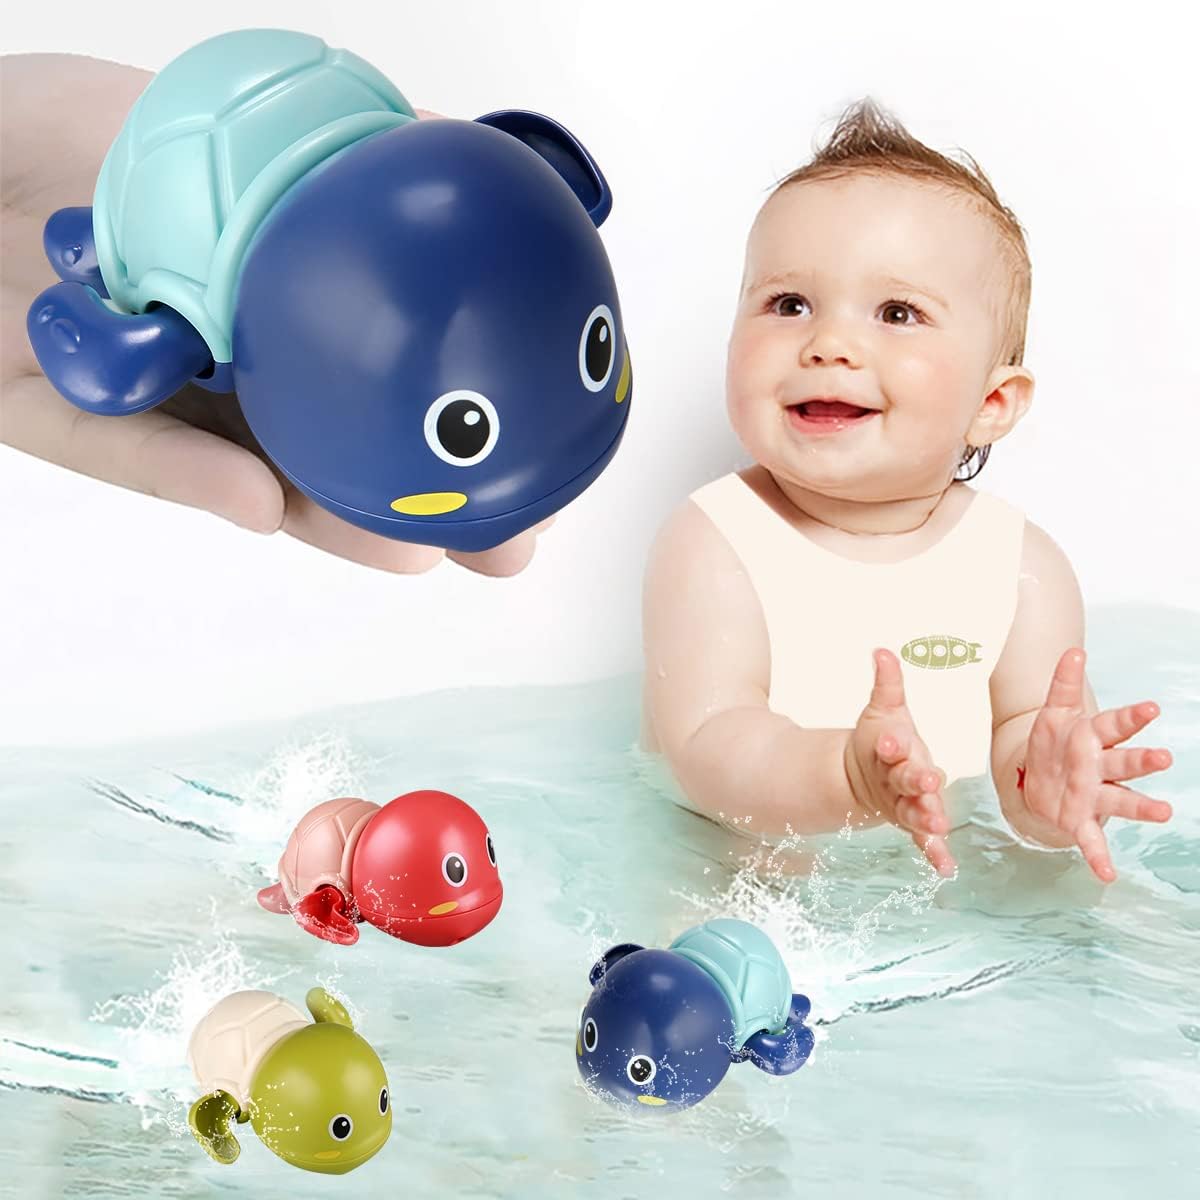
    Swimming Turtles   Pack of 3

    bath toy lego

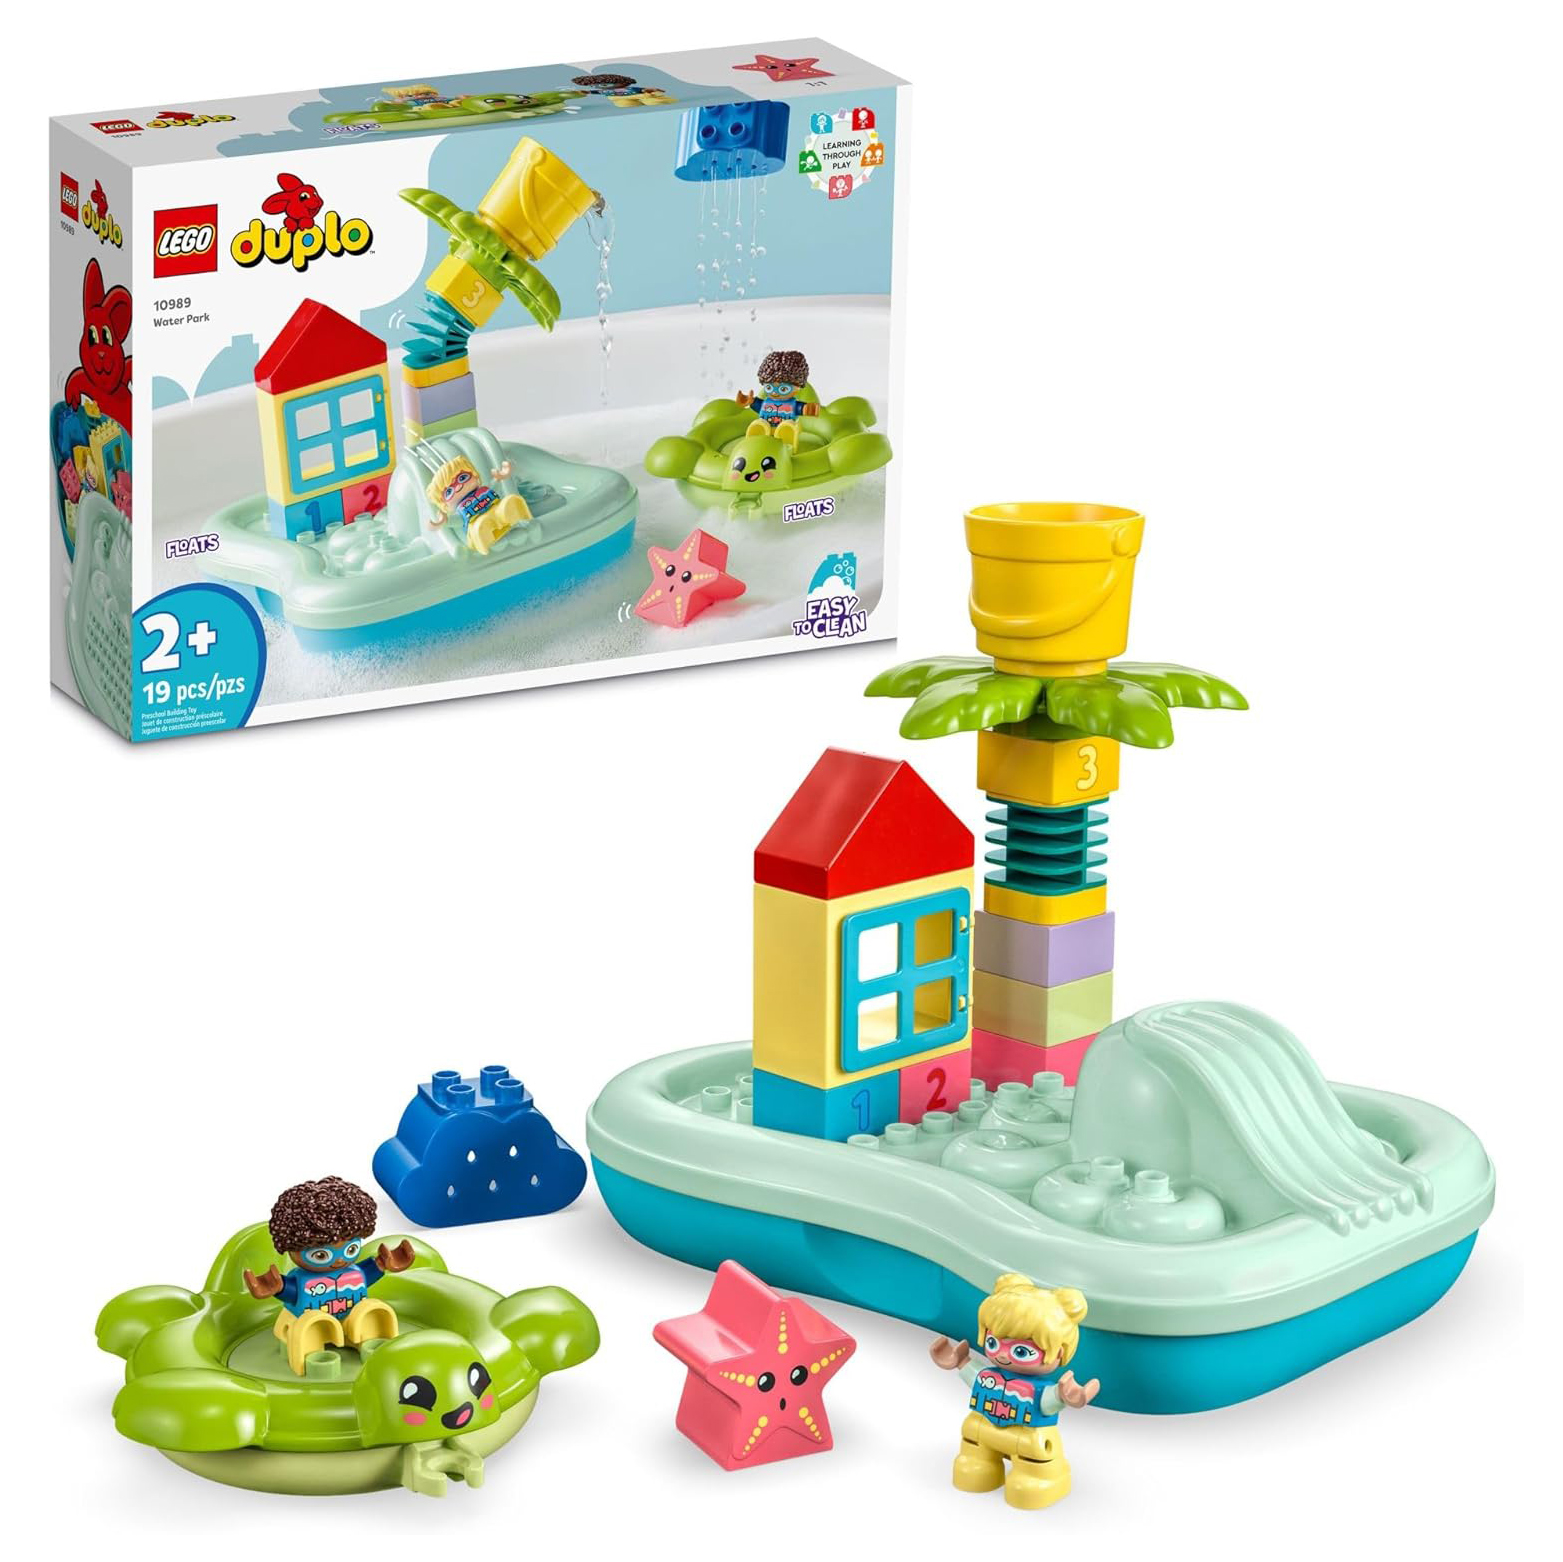
    LEGO DUPLO Bathtime Building Set

    bath toy fish robots

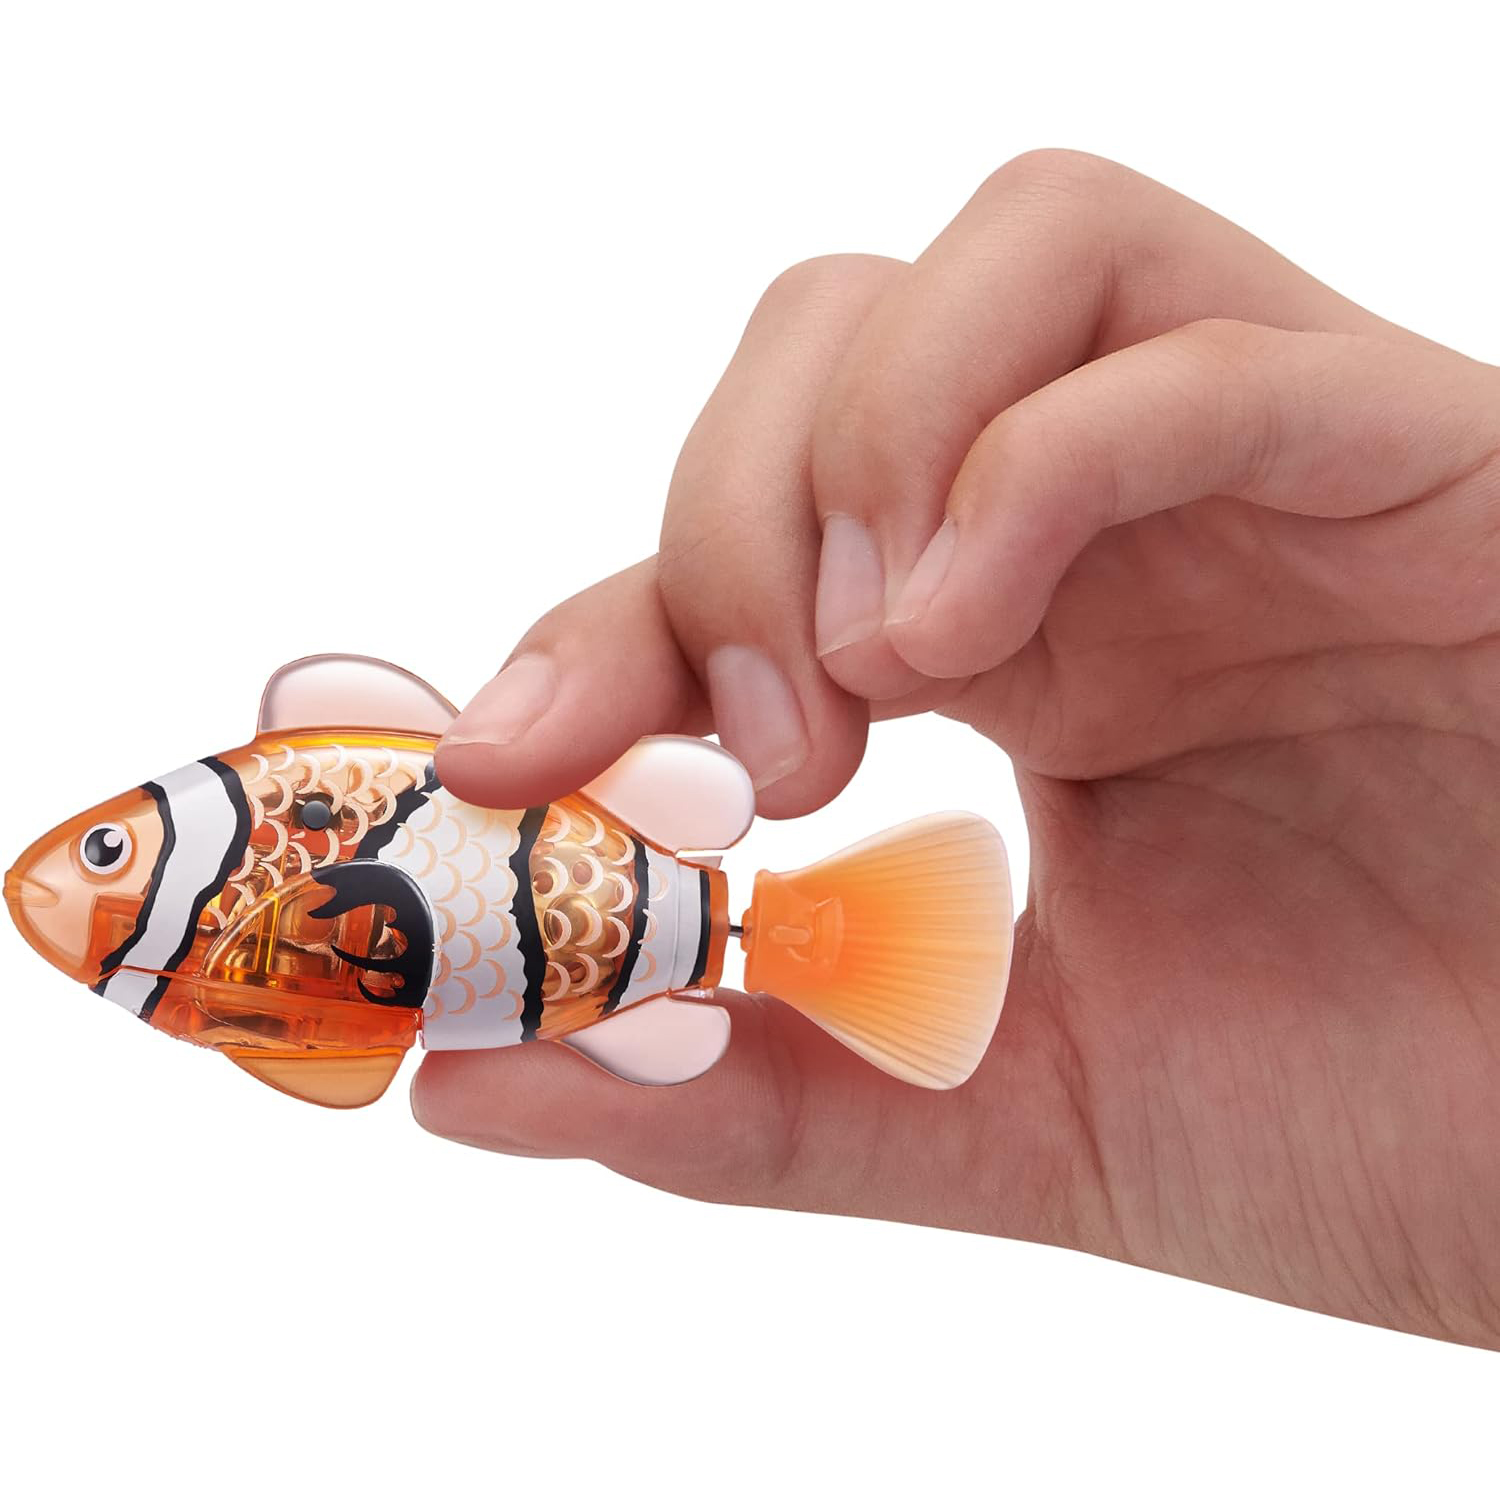
    Water- Activated Swimming Fish

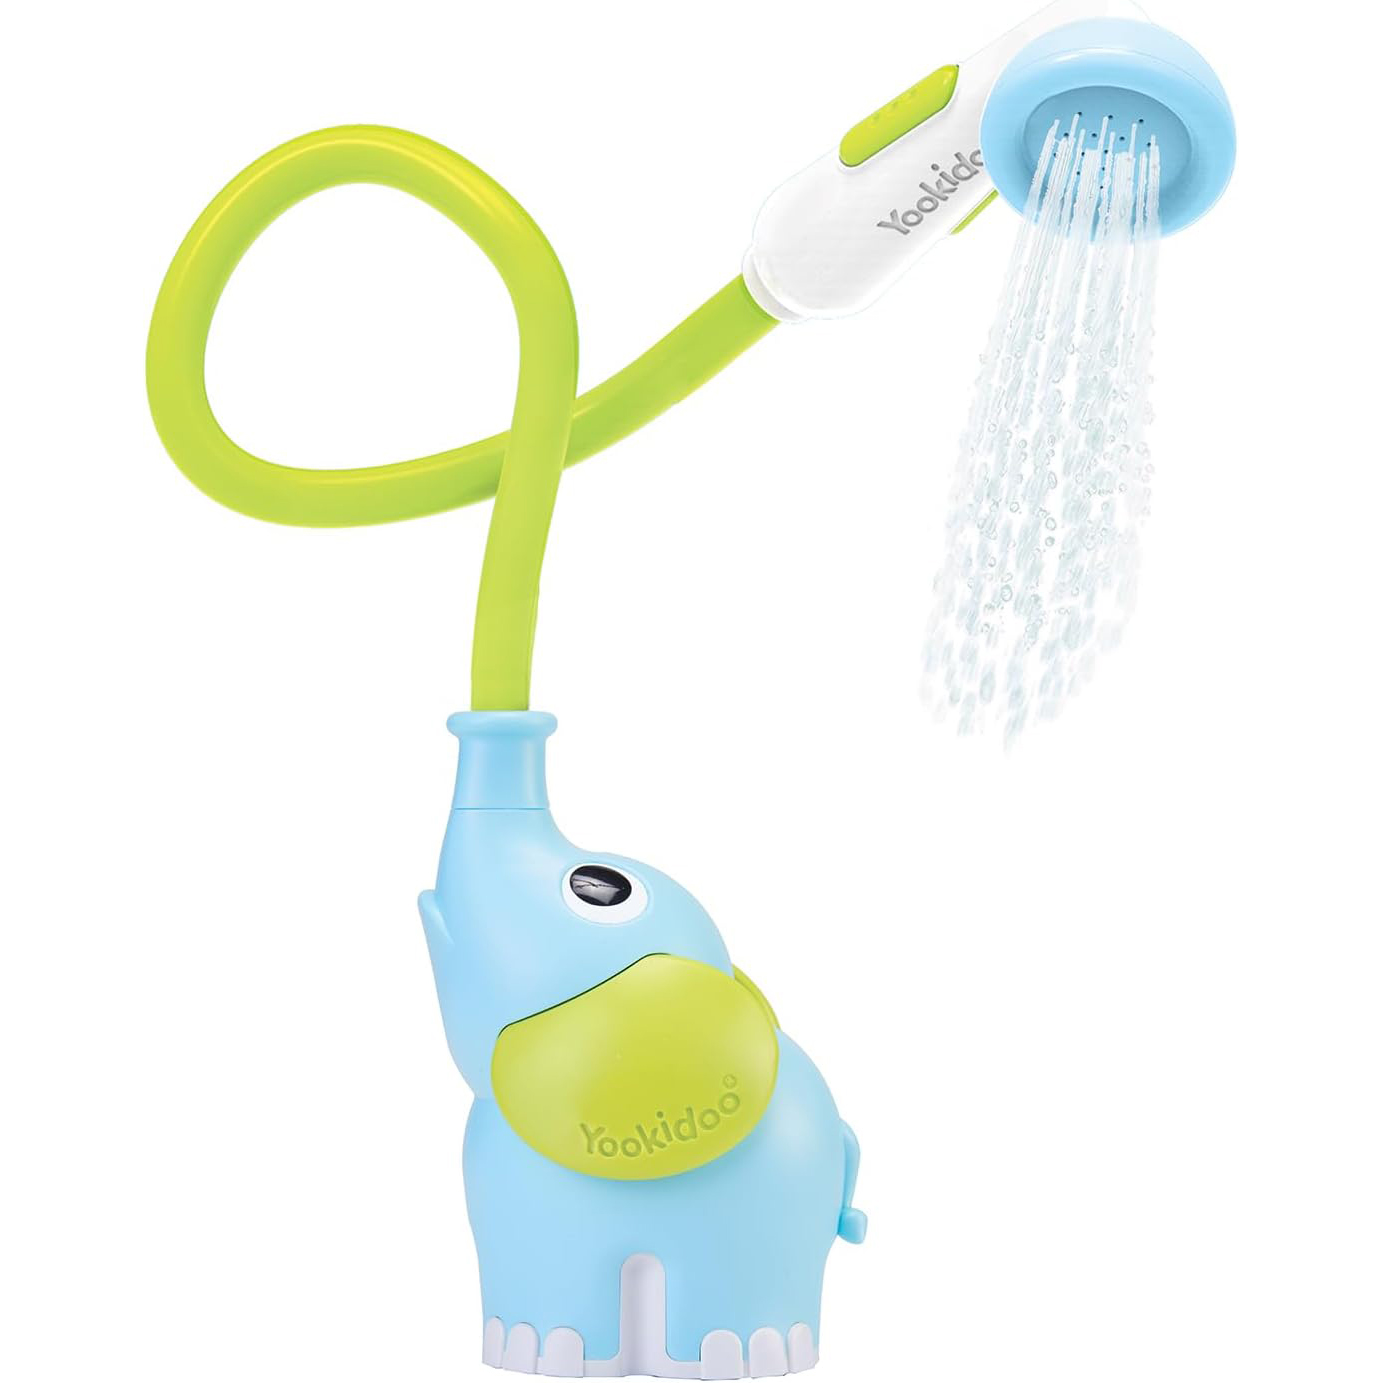
    bath baby shower head spout rinser

    Elephant Water Pump and Spout Rinser

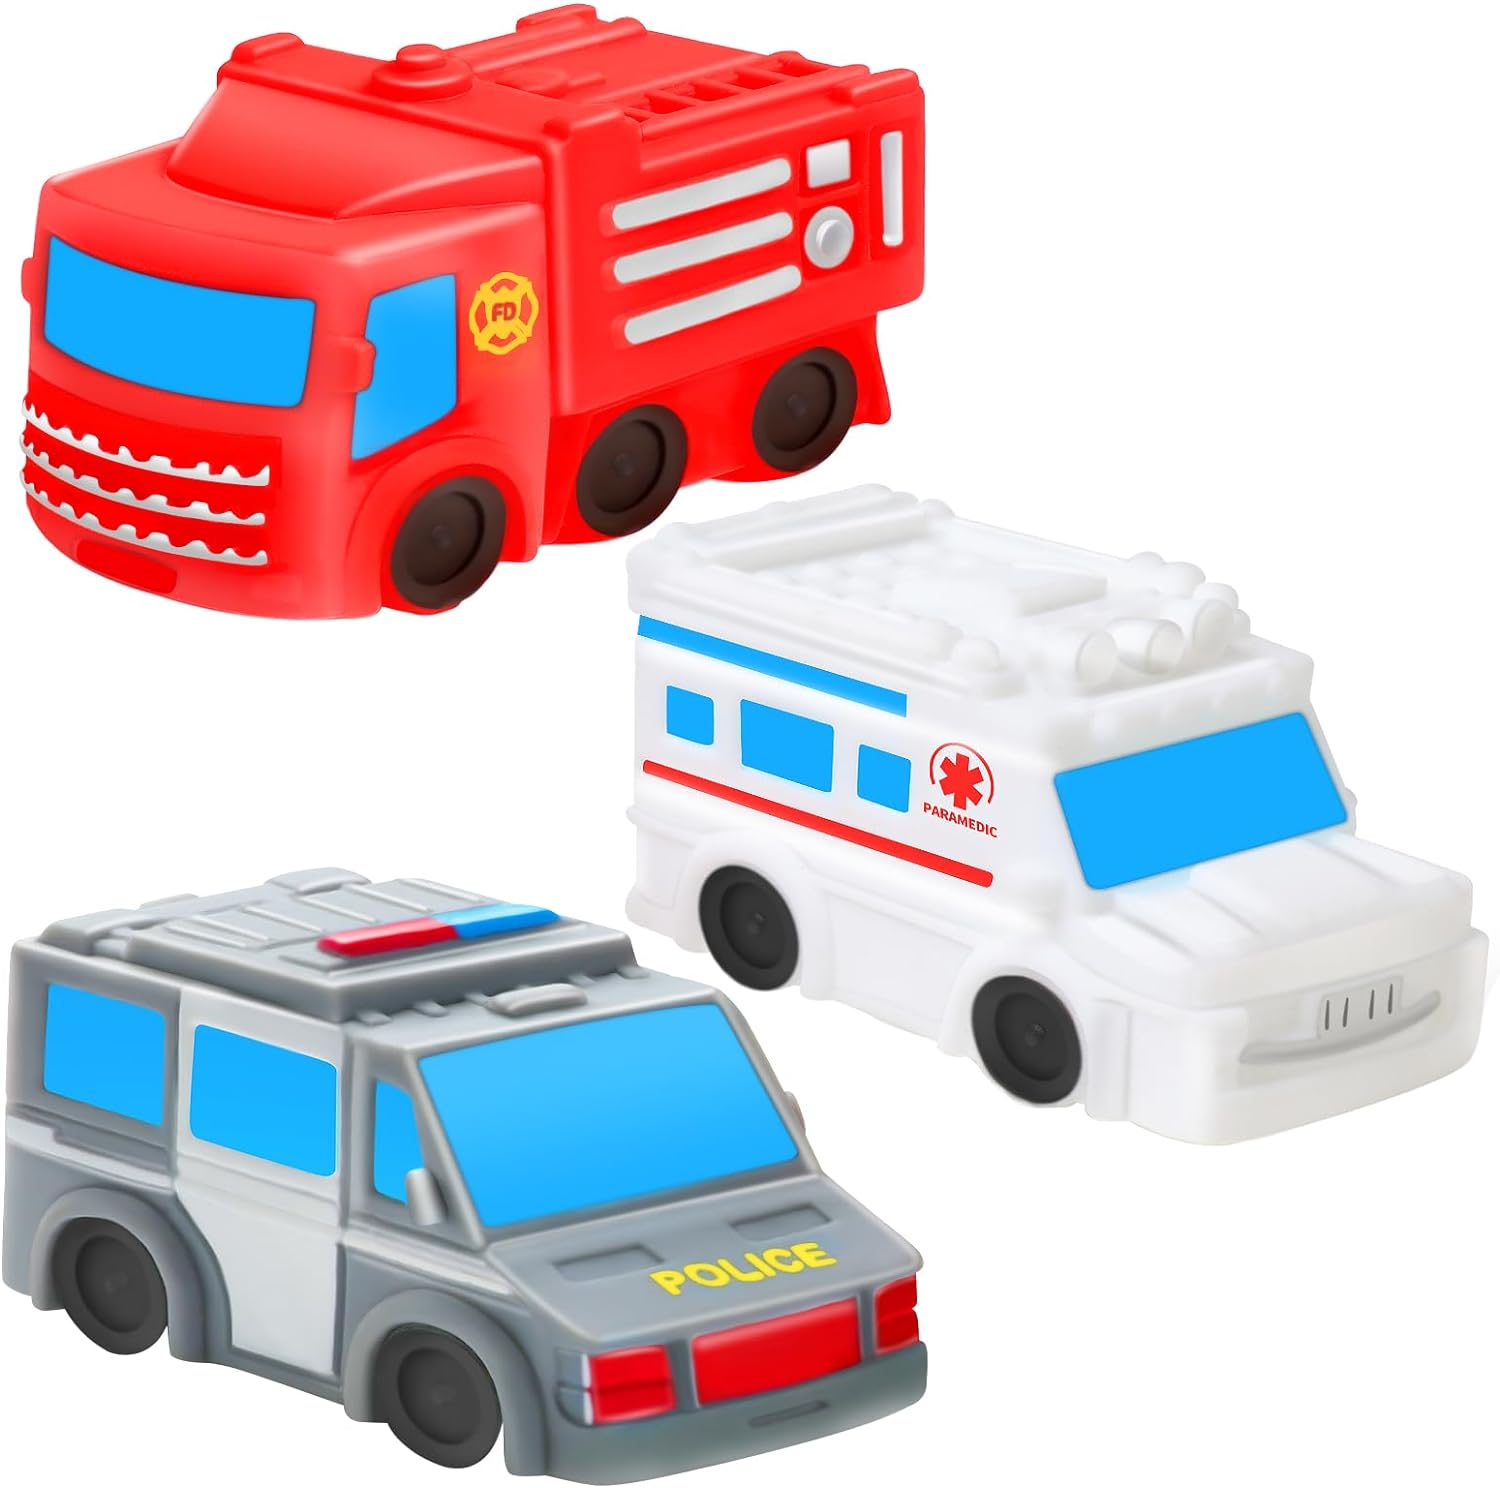
    bath toy cars

    Hole Free Mold Free Car Toys

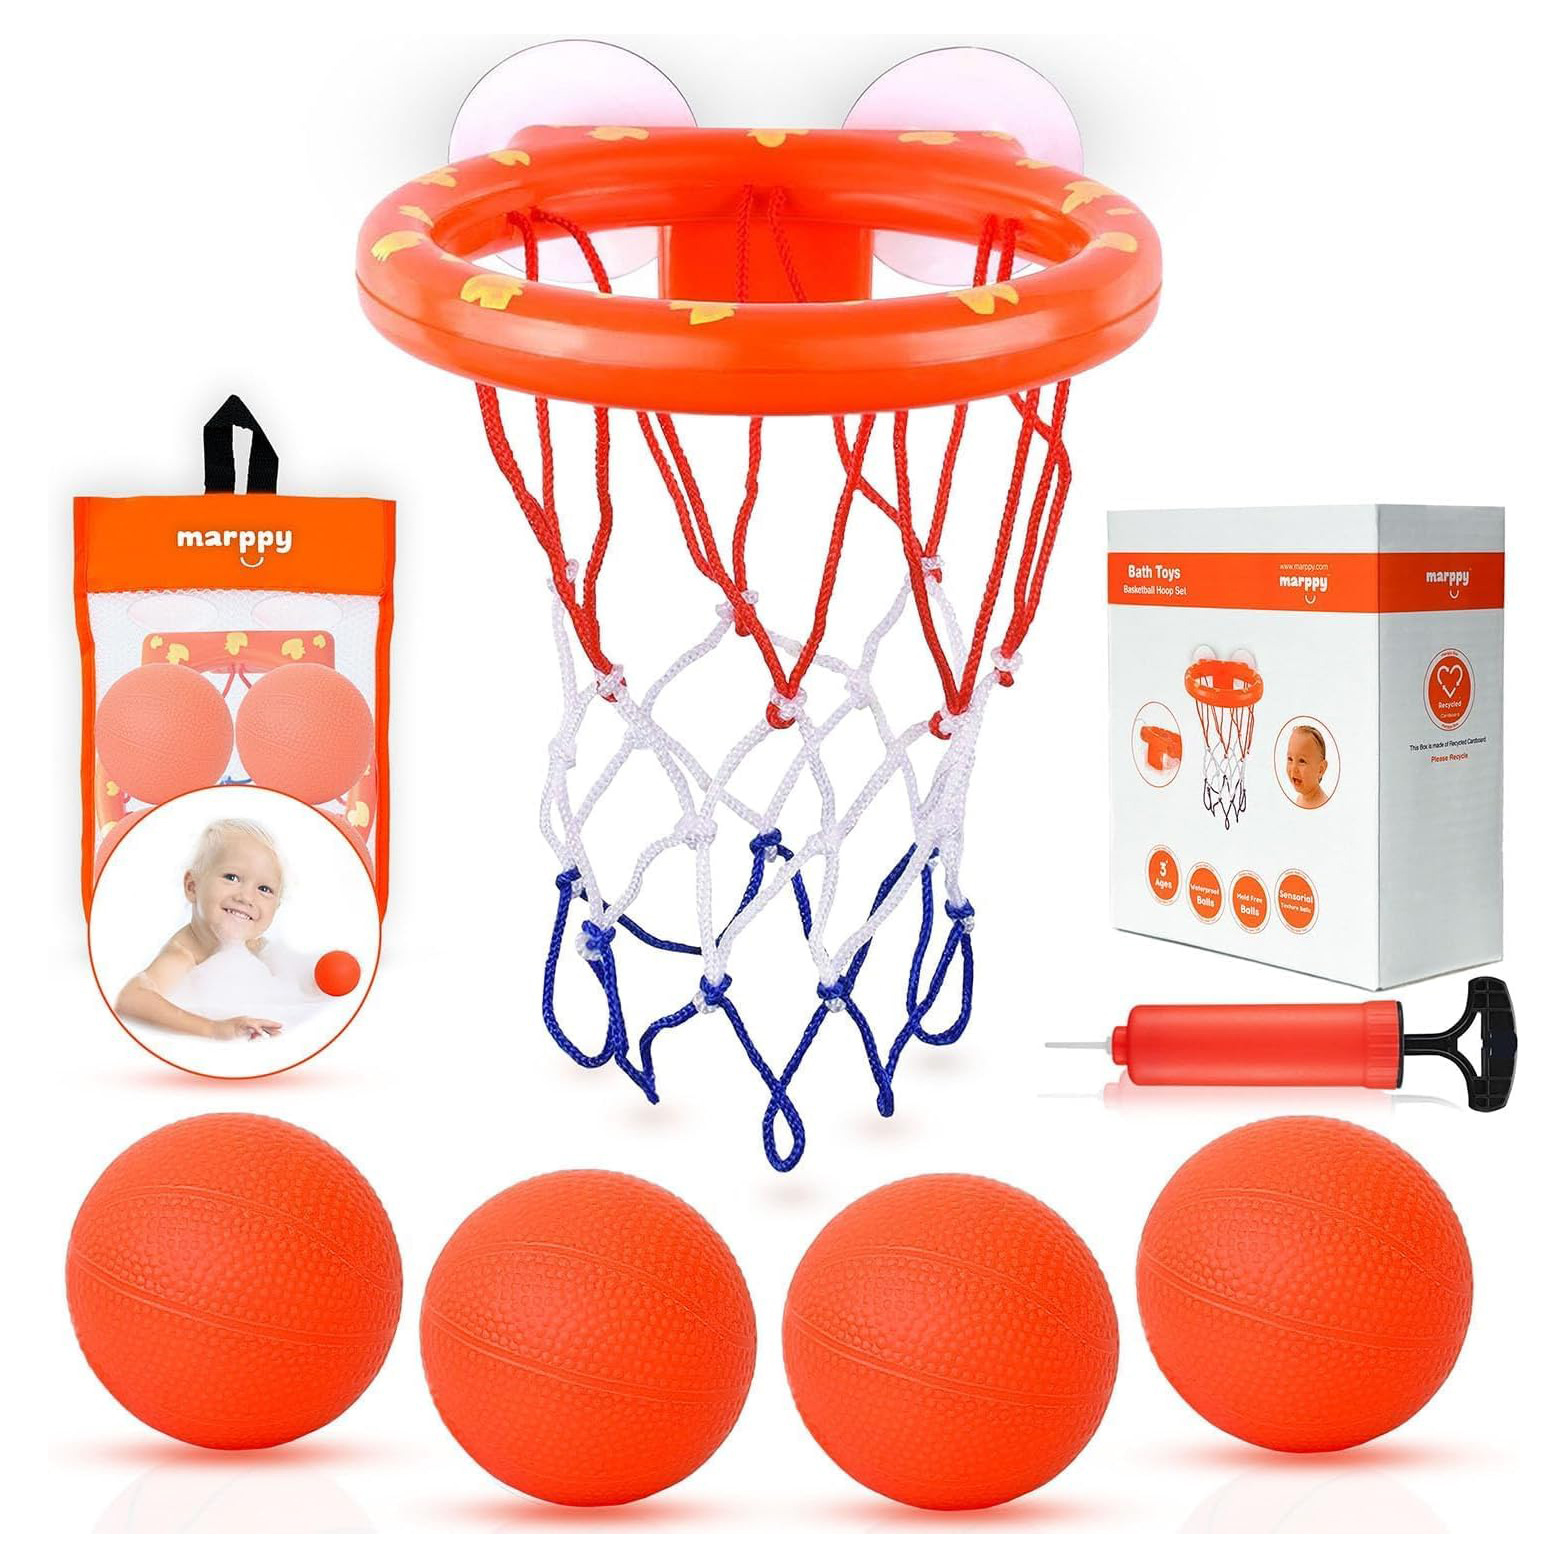
    bath toy basketball hoop

    Basketball Hoop and Balls

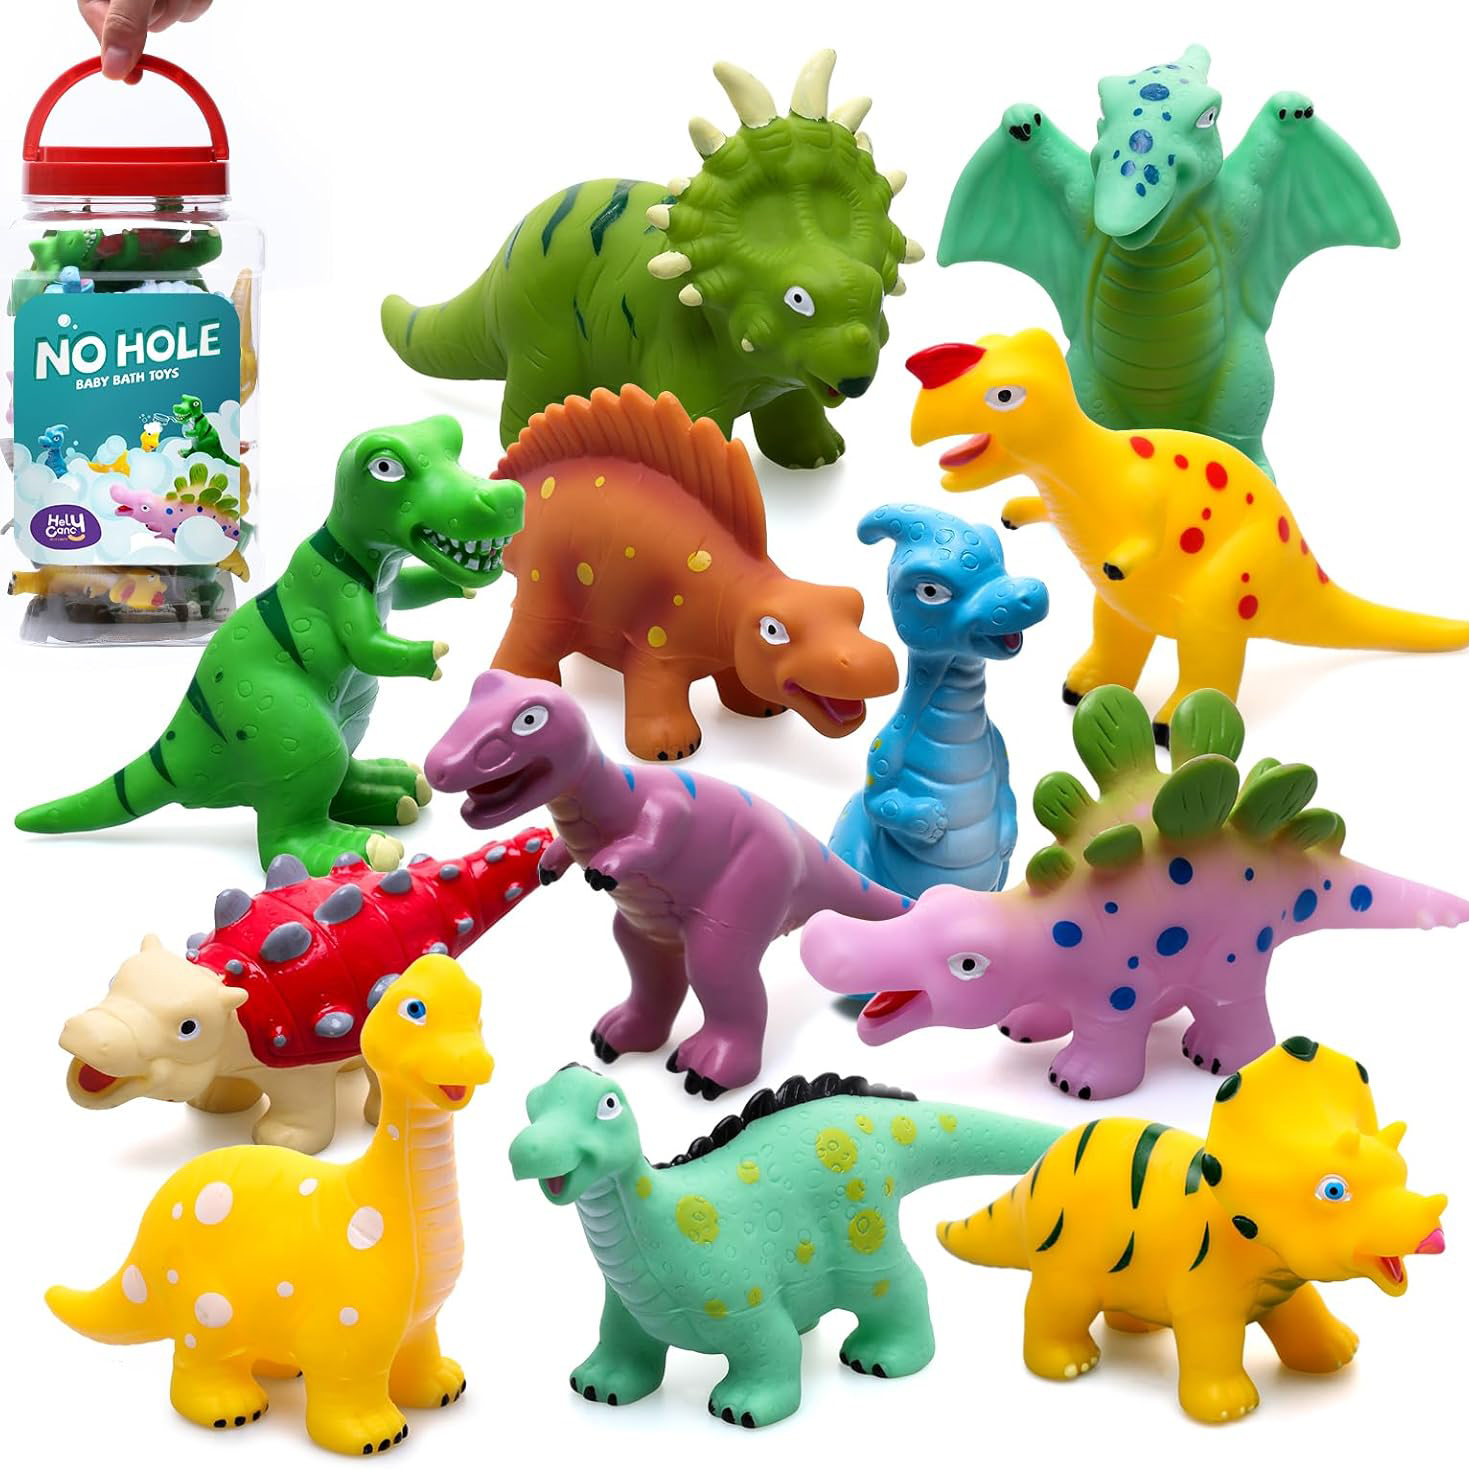
    bath toy dinosaur figurines

    Mold-Free Dinosaur Toys

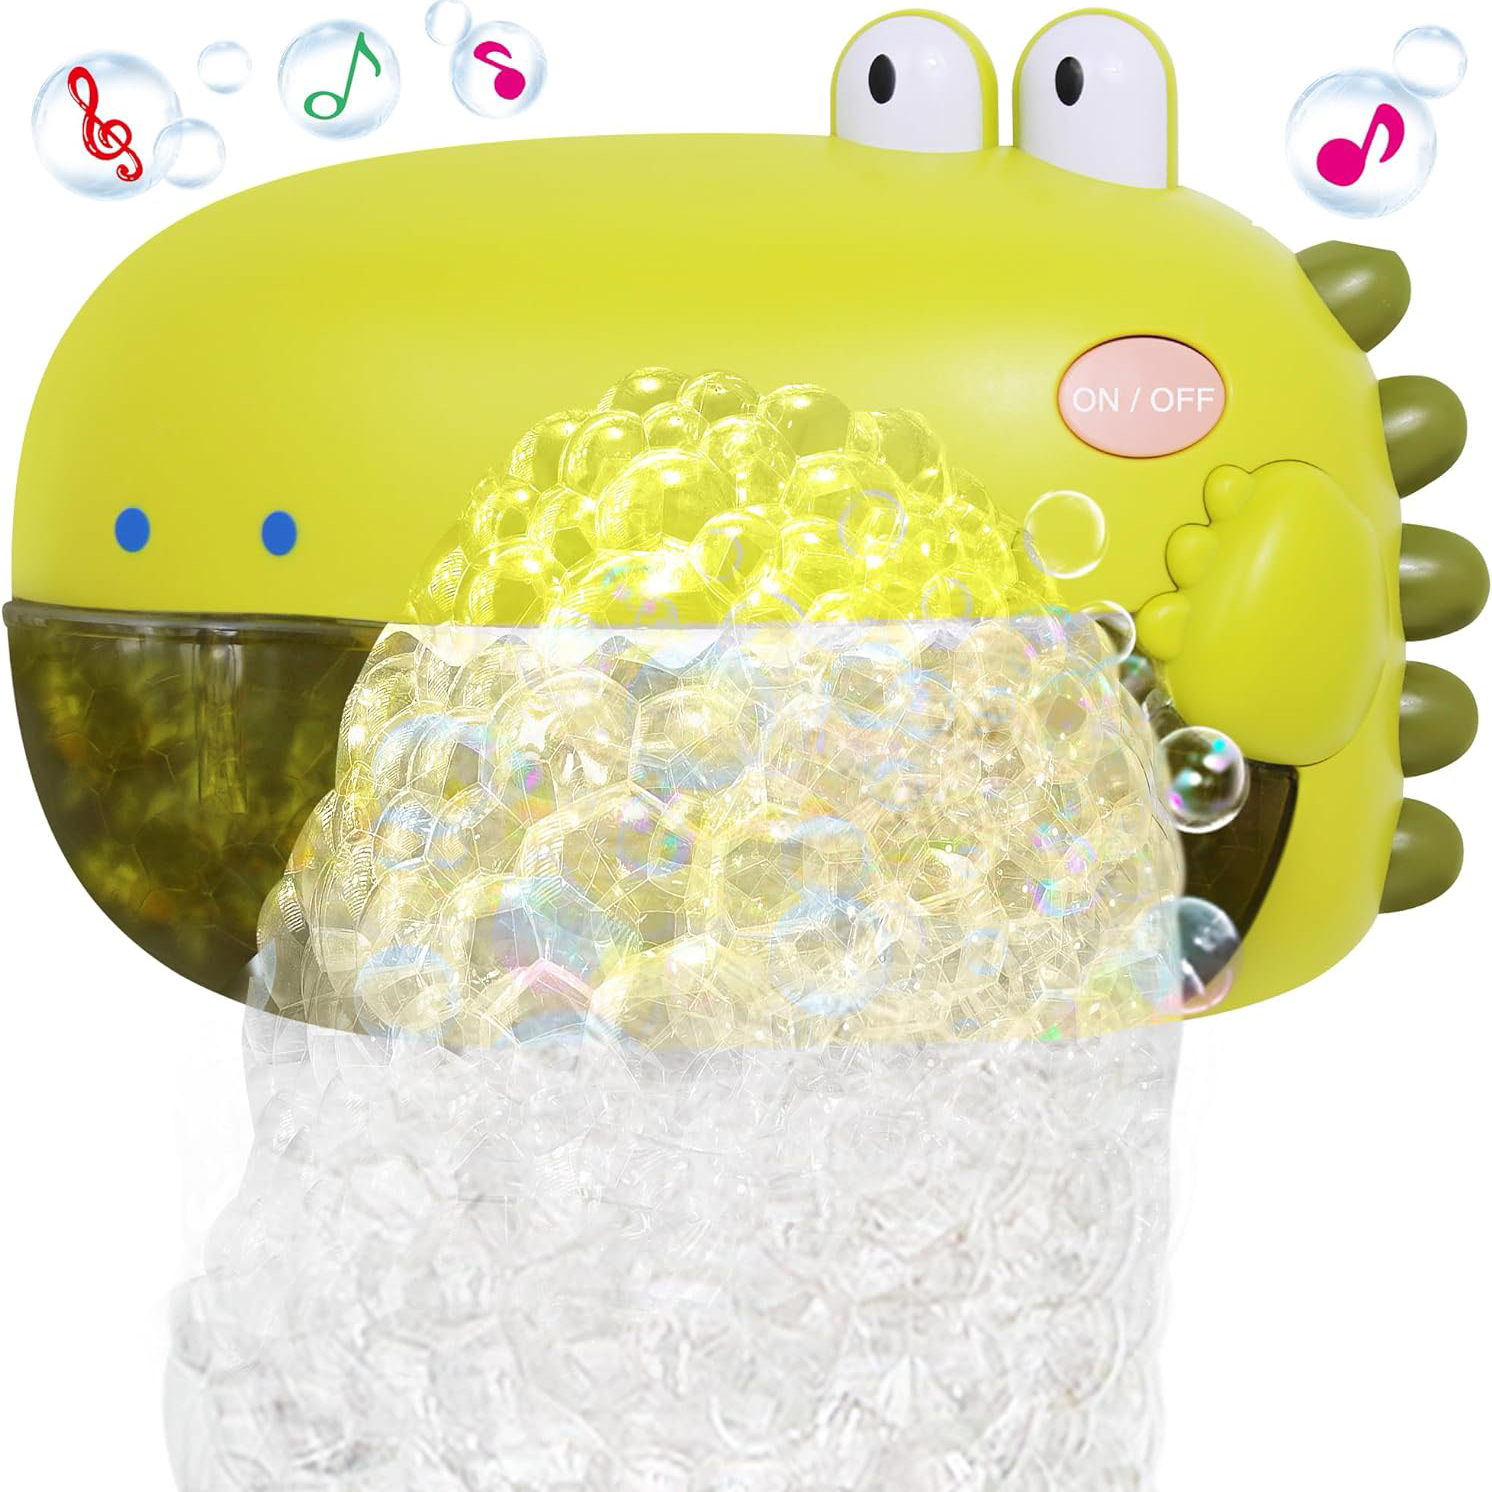
    bath bubble maker

    Bubbling Dinosaur

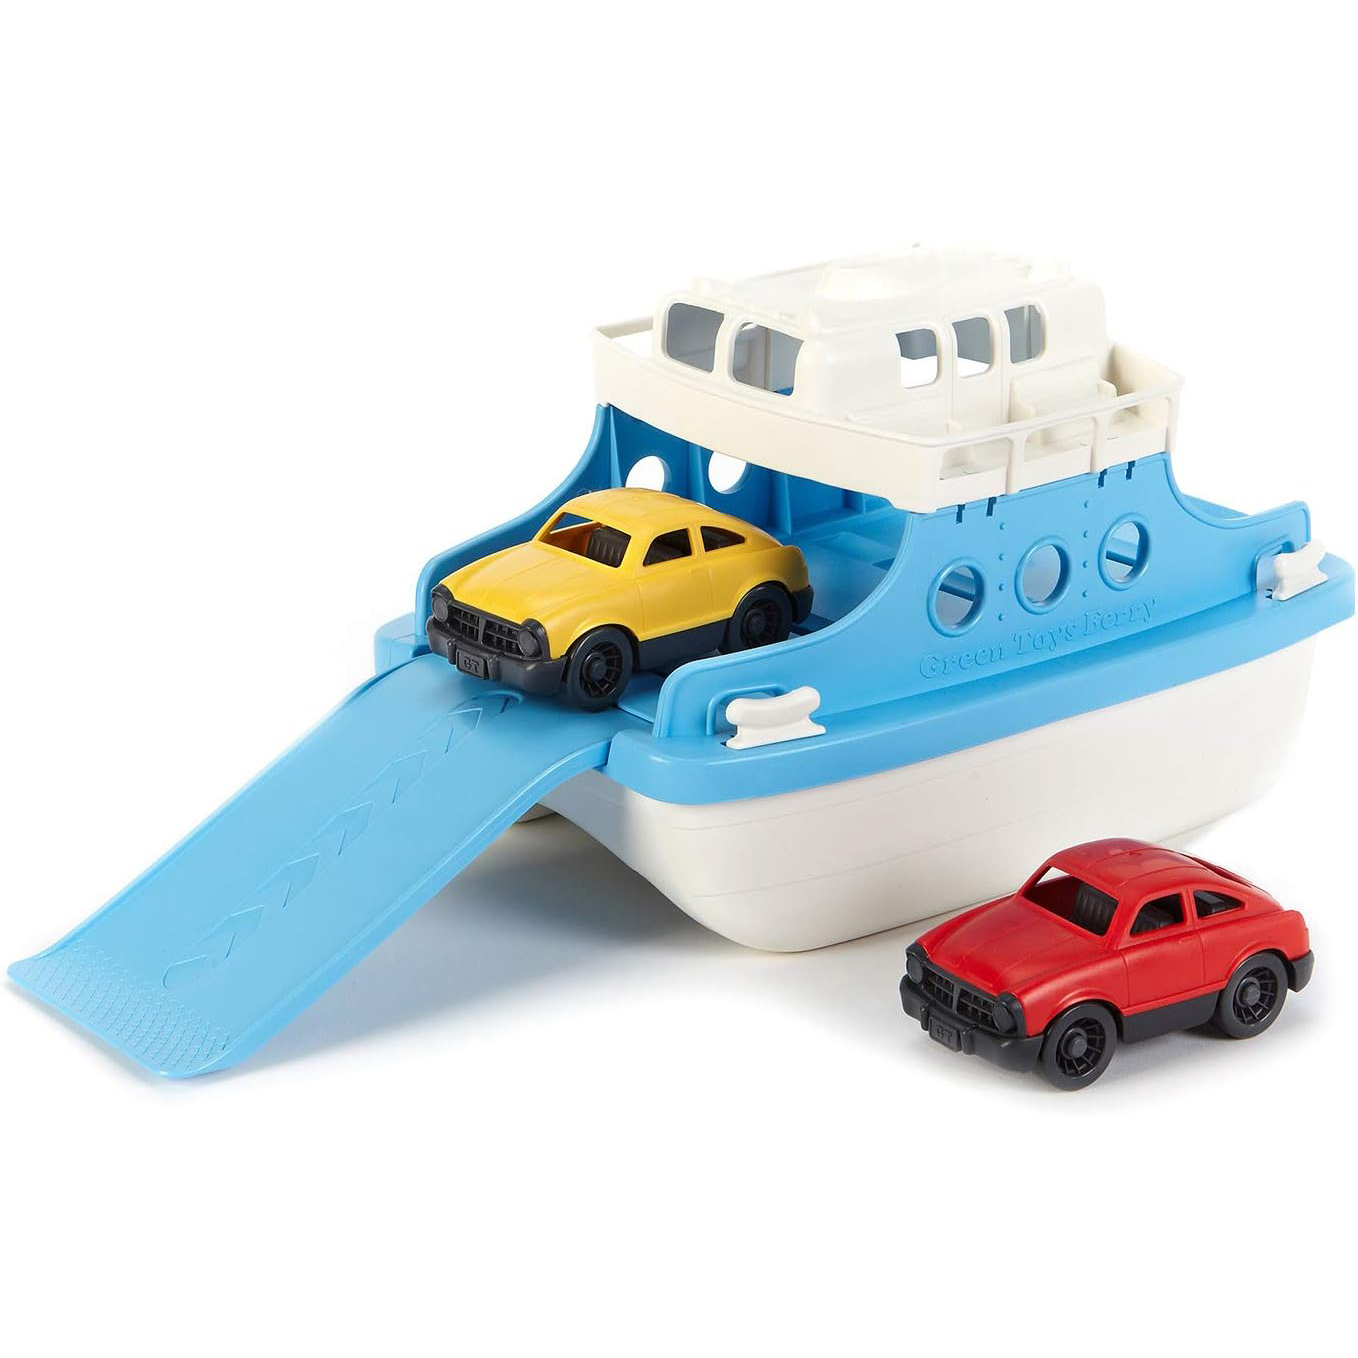
    ferry boat car toy bath

    Ferry Boat Toy

    Making a Splash: The Best Bath Toys for Kids

    So, there you have it—the lowdown on why bath toys are the unsung heroes of bath time! With their ability to entertain, educate, and even provide a moment of peace for parents, it’s no wonder they’re a must-have in every household. Now armed with this guide and a list of top-notch recommendations, you’re all set to transform your child’s bath time into an adventure-filled, laughter-packed experience. So, grab those rubber duckies, submarines, and squishy sea creatures, and dive into the fun! Your little one—and your sanity—will thank you for it.

    best bath toys for kids
    best bath toys for kids

    Making a Splash: The Best Bath Toys for Kids

    So, there you have it—the lowdown on why bath toys are the unsung heroes of bath time! With their ability to entertain, educate, and even provide a moment of peace for parents, it’s no wonder they’re a must-have in every household. Now armed with this guide and a list of top-notch recommendations, you’re all set to transform your child’s bath time into an adventure-filled, laughter-packed experience. So, grab those rubber duckies, submarines, and squishy sea creatures, and dive into the fun! Your little one—and your sanity—will thank you for it.

    What’s Next?

    Breastmilk Keepsake – How to Use These DIY Kits

    Breastmilk Keepsake – How to Use These DIY Kits

    Breastmilk Keepsake – How to Use These DIY Kits

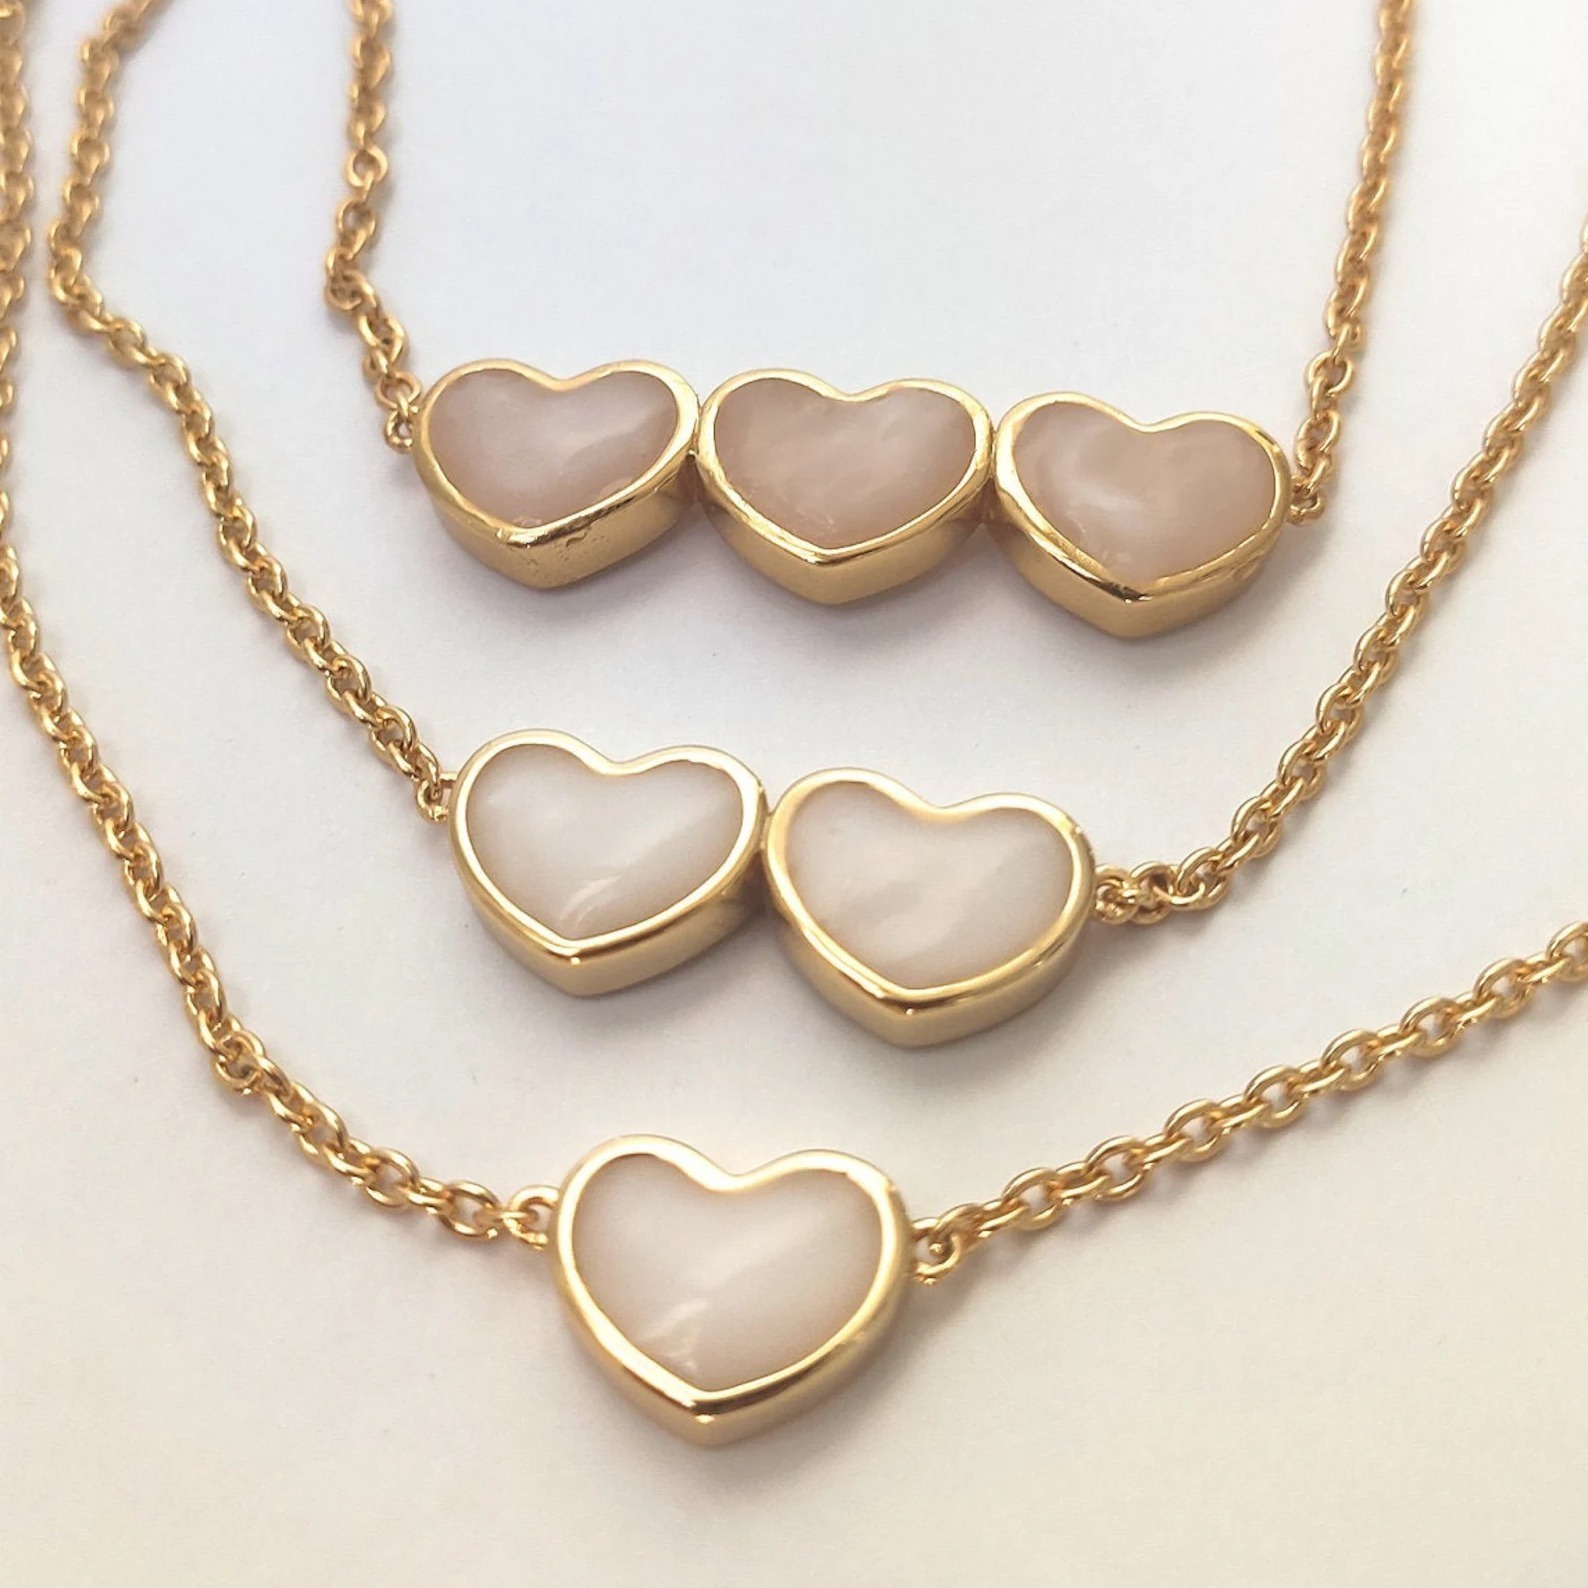
    breastmilk keepsake jewelry necklace

    As a breastfeeding mother, there’s a unique and creative way to cherish these precious moments – by turning your breastmilk into a beautiful piece of jewelry. It’s easier than you might think to create a breastmilk keepsake: a unique and sentimental piece of jewelry that captures the essence of your journey.

    Make a Breastmilk Keepsake to Wear Forever 

    Turning your breastmilk into jewelry is a unique way to celebrate the special bond between a mother and her child. By following a straightforward process and utilizing a breastmilk jewelry kit – like this one! – you can create a stunning piece of jewelry that encapsulates the beauty of breastfeeding. Each time you wear your milky gemstone, you’ll be reminded of the precious moments you shared with your little one, making it a truly invaluable keepsake.

    As an Amazon Associate, I earn from qualifying purchases. This post may contain affiliate links.

    Learn How Easy It Is to Make a Breast Milk Keepsake

    This is how I turn my breastmilk into a beautiful piece of jewelry. If you’re breastfeeding, you should save some of your milk to do this. If you already have some saved, I’ve linked the kit I used so you can make something beautiful out of it.

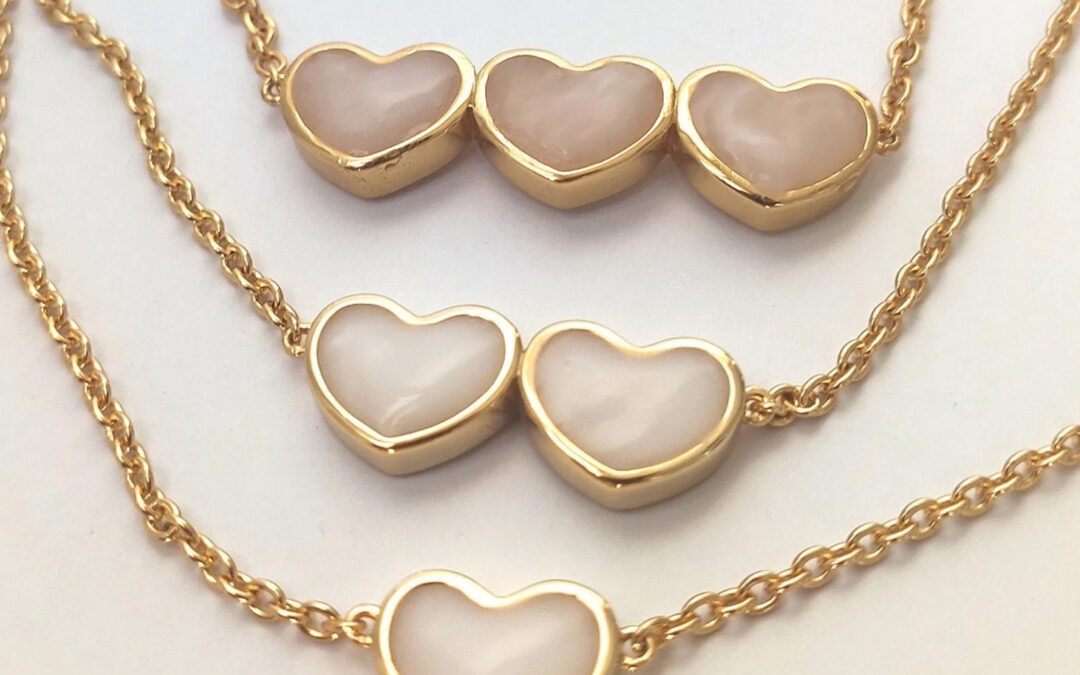
    This kit offers several different jewelry pieces to choose from, including rings, necklaces, bracelets, and earrings. I chose a necklace with 4 hearts to symbolize each of my 4 kids but there are a ton of different options too. 

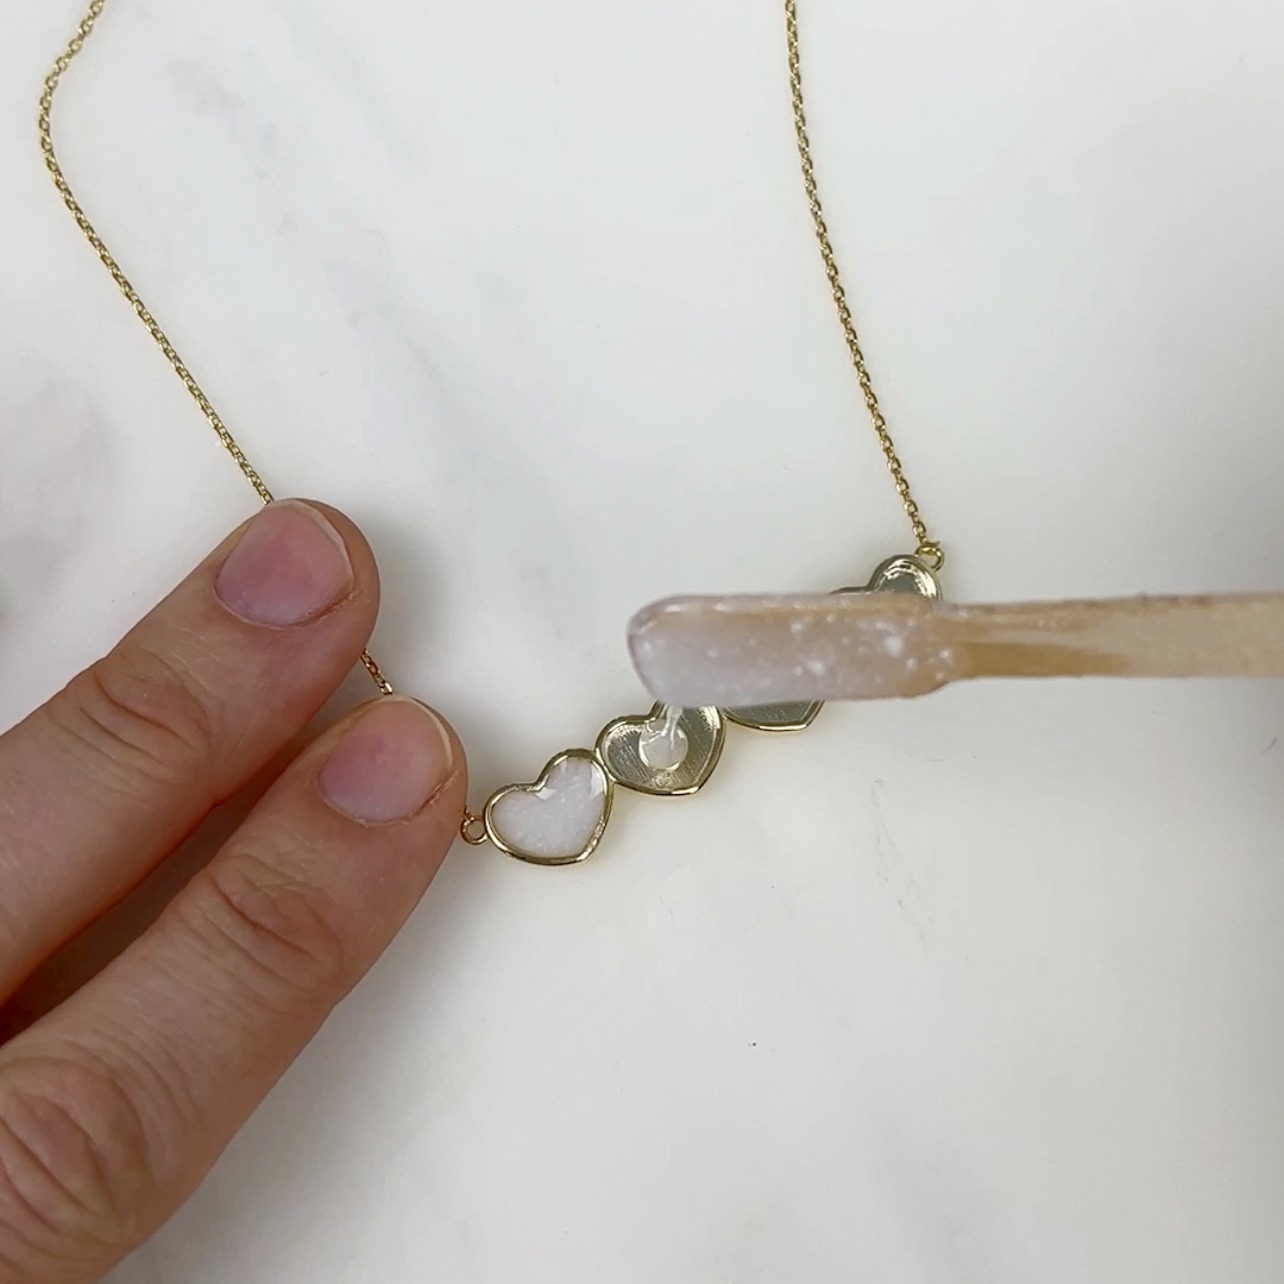
    In the kit, you get everything you need to preserve your breastmilk into a powder and then the solutions to turn it into a stone.

    It’s like a milky gemstone that your body made. I was honestly surprised at how easy this was to make. So easy that I kind of want to order another one because if I ever lost this necklace, I’d be devastated!


    Learn How Easy It Is to Make a Breastmilk Keepsake

    This is how I turn my breastmilk into a beautiful piece of jewelry. If you’re breastfeeding, you should save some of your milk to do this. If you already have some saved, I’ve linked the kit I used so you can make something beautiful out of it.

    This kit offers several different jewelry pieces to choose from, including rings, necklaces, bracelets, and earrings. I chose a necklace with 4 hearts to symbolize each of my 4 kids but there are a ton of different options too. 

    In the kit, you get everything you need to preserve your breastmilk into a powder and then the solutions to turn it into a stone.

    It’s like a milky gemstone that your body made. I was honestly surprised at how easy this was to make. So easy that I kind of want to order another one because if I ever lost this necklace, I’d be devastated!

    How to DIY Breastmilk Keepsake

    Step 1: Personalization and Symbolism:

    The beauty of this breastmilk jewelry lies in its personalization. Choose symbols, shapes, or engravings that hold significance for you. This is the kit I chose! Whether it’s the number of children, birthstones, or meaningful designs, these additions enhance the sentimental value of the jewelry.

    Step 2: Preserve Your Breastmilk: Follow the step-by-step instructions provided in the kit to preserve your breastmilk. The process usually involves turning the milk into a powder form, which serves as the foundation for the jewelry creation. This initial step is a beautiful acknowledgment of the nourishment you’ve provided to your little one.

    Step 3: Transforming Milk into Stone:

    The kit also provides solutions and materials necessary to turn the preserved breastmilk powder into a stone-like substance. This transformative process results in a milky gemstone, uniquely crafted by your body. It’s a stunning representation of the bond between you and your child.

    Each milky gemstone is a tangible representation of the beautiful bond between a mother and her child, making the breastmilk jewelry an everlasting tribute to the nurturing moments shared throughout the breastfeeding journey.

    breastmilk keepsake jewelry

    Why You Should Commemorate Your Breastfeeding Journey

    Celebrating the breastfeeding journey is a deeply personal and significant aspect of motherhood, marking a bond between mother and child that is unparalleled. 

    Commemorating this extraordinary experience with jewelry provides a tangible and lasting way to capture the essence of the breastfeeding journey. Transforming this liquid gold into a piece of jewelry serves as a beautiful reminder of the strength, resilience, and selflessness that characterize the breastfeeding experience.

    Jewelry becomes a symbol of the emotional and physical investment made during the breastfeeding journey. It encapsulates the late-night feedings, soothing embraces, and the silent communication between mother and child. Whether it’s a necklace, bracelet, or ring, these pieces serve as intimate keepsakes, allowing mothers to carry a part of that special bond with them wherever they go. Beyond its aesthetic appeal, breastfeeding jewelry becomes a conversation starter, providing an opportunity for mothers to share their unique and empowering journey with others.

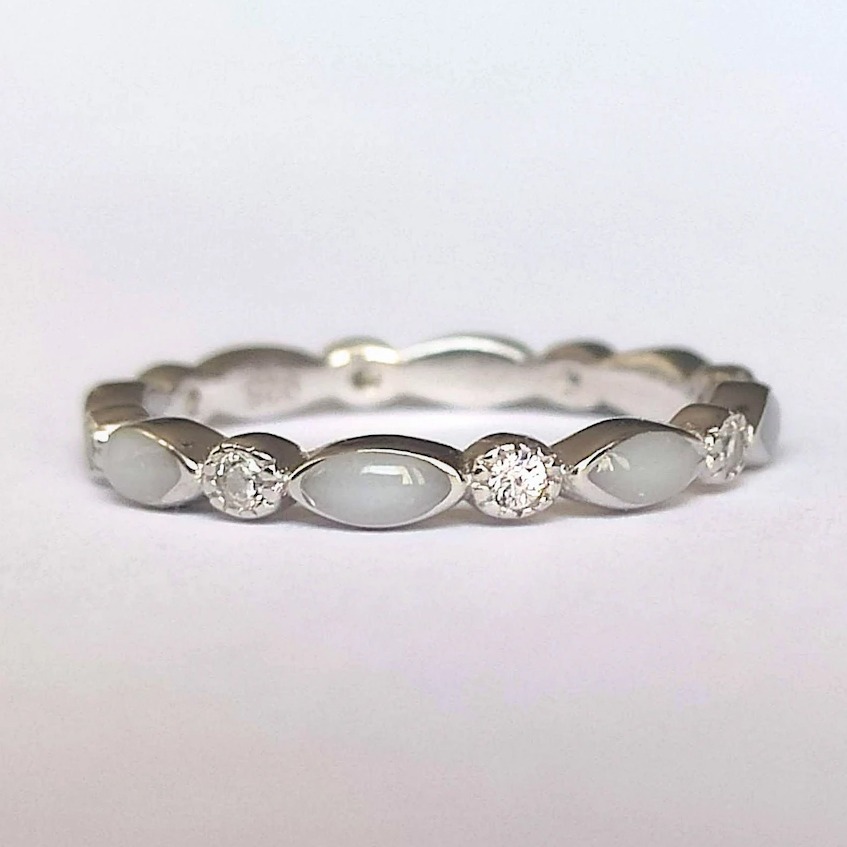
    breastmilk keepsake jewelry ring

    Moreover, this breastmilk keepsake offers a sense of empowerment and pride. It transforms a natural and sometimes challenging process into a source of strength and beauty. Mothers can wear these pieces not just as accessories but as badges of honor, commemorating the resilience and dedication that define their journey through motherhood. In essence, breastfeeding jewelry becomes a tangible expression of the profound love and commitment that mothers pour into nourishing and nurturing their little ones.

    breastmilk keepsake jewelry ring

    Why You Should Commemorate Your Breastfeeding Journey

    Celebrating the breastfeeding journey is a deeply personal and significant aspect of motherhood, marking a bond between mother and child that is unparalleled. 

    Commemorating this extraordinary experience with jewelry provides a tangible and lasting way to capture the essence of the breastfeeding journey. Transforming this liquid gold into a piece of jewelry serves as a beautiful reminder of the strength, resilience, and selflessness that characterize the breastfeeding experience.

    Jewelry becomes a symbol of the emotional and physical investment made during the breastfeeding journey. It encapsulates the late-night feedings, soothing embraces, and the silent communication between mother and child. Whether it’s a necklace, bracelet, or ring, these pieces serve as intimate keepsakes, allowing mothers to carry a part of that special bond with them wherever they go. Beyond its aesthetic appeal, breastfeeding jewelry becomes a conversation starter, providing an opportunity for mothers to share their unique and empowering journey with others.

    Moreover, this breastmilk keepsake offers a sense of empowerment and pride. It transforms a natural and sometimes challenging process into a source of strength and beauty. Mothers can wear these pieces not just as accessories but as badges of honor, commemorating the resilience and dedication that define their journey through motherhood. In essence, breastfeeding jewelry becomes a tangible expression of the profound love and commitment that mothers pour into nourishing and nurturing their little ones.


    Shop Personalized Jewelry for Parents

    Whether you’re searching for a gift or gifting yourself, these pieces will warm any mama’s heart. The breastmilk keepsake is just one of many ways to personalize your children and family in jewelry!

    breastmilk keepsake jewelry necklace

    Breastmilk Jewelry Kit

    There are a few brands that will send you kits to make your own DIY breastmilk jewelry. I’m sharing the brand I used. The necklace I received was high quality, and the instructions were very clear!

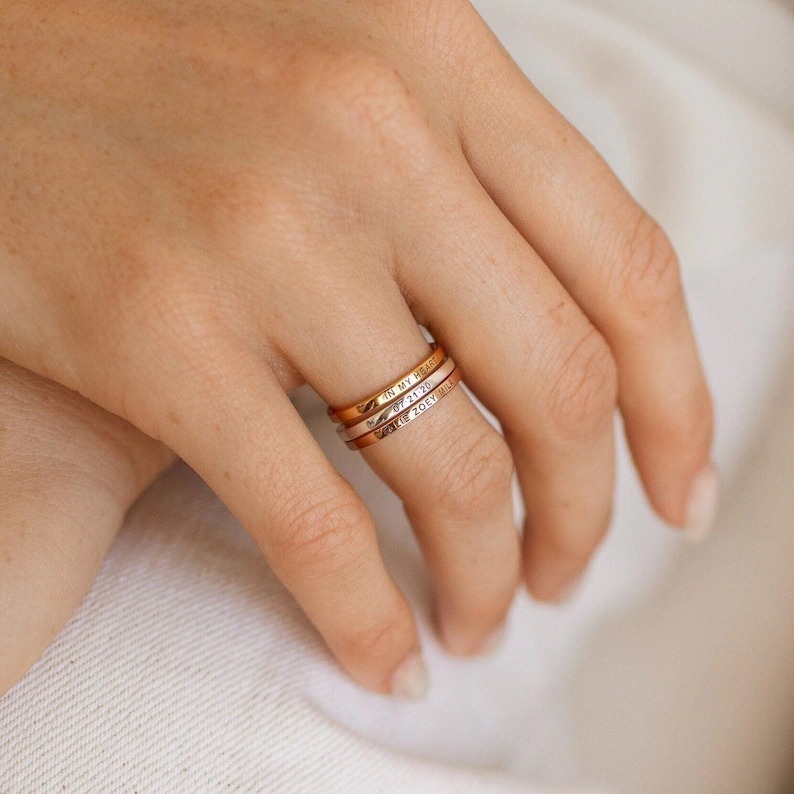
    keepsake jewelry ring

    Personalized Ring

    This delicately crafted Custom Stacking Ring is handmade from 18k gold vermeil materials and personalized with smooth gold accents, engraved lettering, and the option for double-sided engraving or a birthstone, creating a timeless, elegant accessory.

    keepsake jewelry necklace

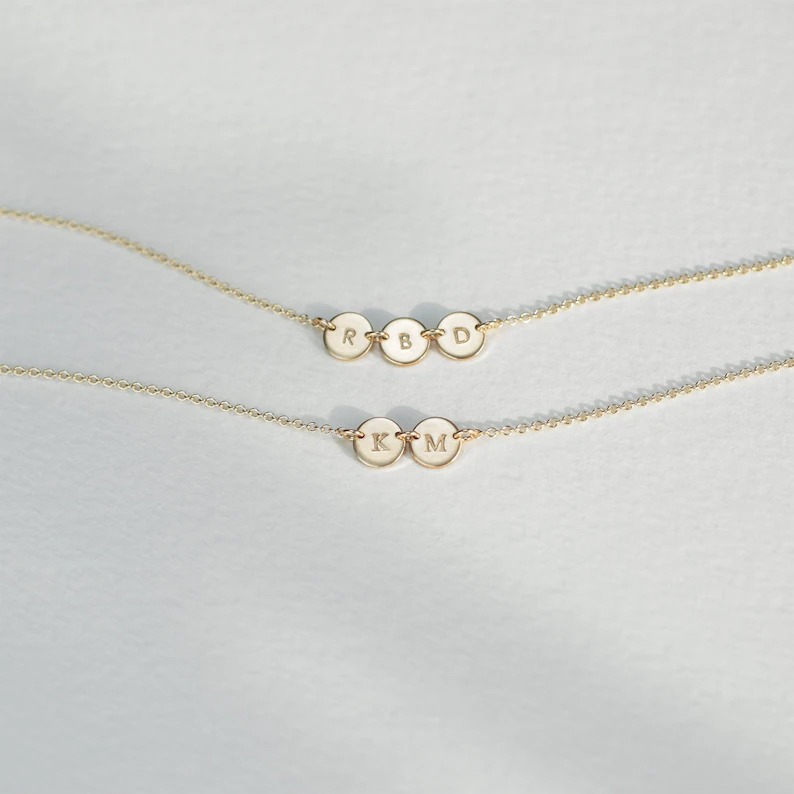
    Personalized Necklace

    Experience the enchantment of this Double or Triple Tiny Disc Necklace, a 6mm satin-finish masterpiece allowing you to engrave the initials of your beloved ones – a perfect, personalized gift with font options, adjustable length, and hand-stamped uniqueness.

    keepsake jewelry bracelet

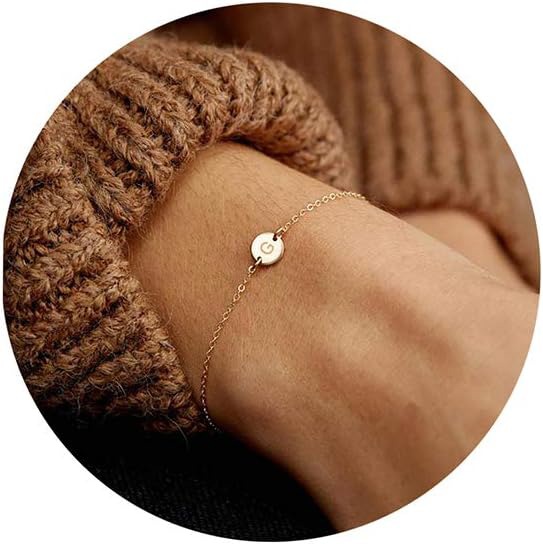
    Personalized Bracelet

    Adorn yourself with this 18K Gold Plated Letter Bracelet, crafted from high-quality stainless steel, featuring a delicate initial coin pendant, meaningful 5.5”+2” bracelet length, and lightweight design, making it the perfect, heartfelt gift.

    What’s Next?

    Playroom Inspiration – An Exciting Space for All Ages

    Playroom Inspiration – An Exciting Space for All Ages

    Playroom Inspiration – An Exciting Space for All Ages

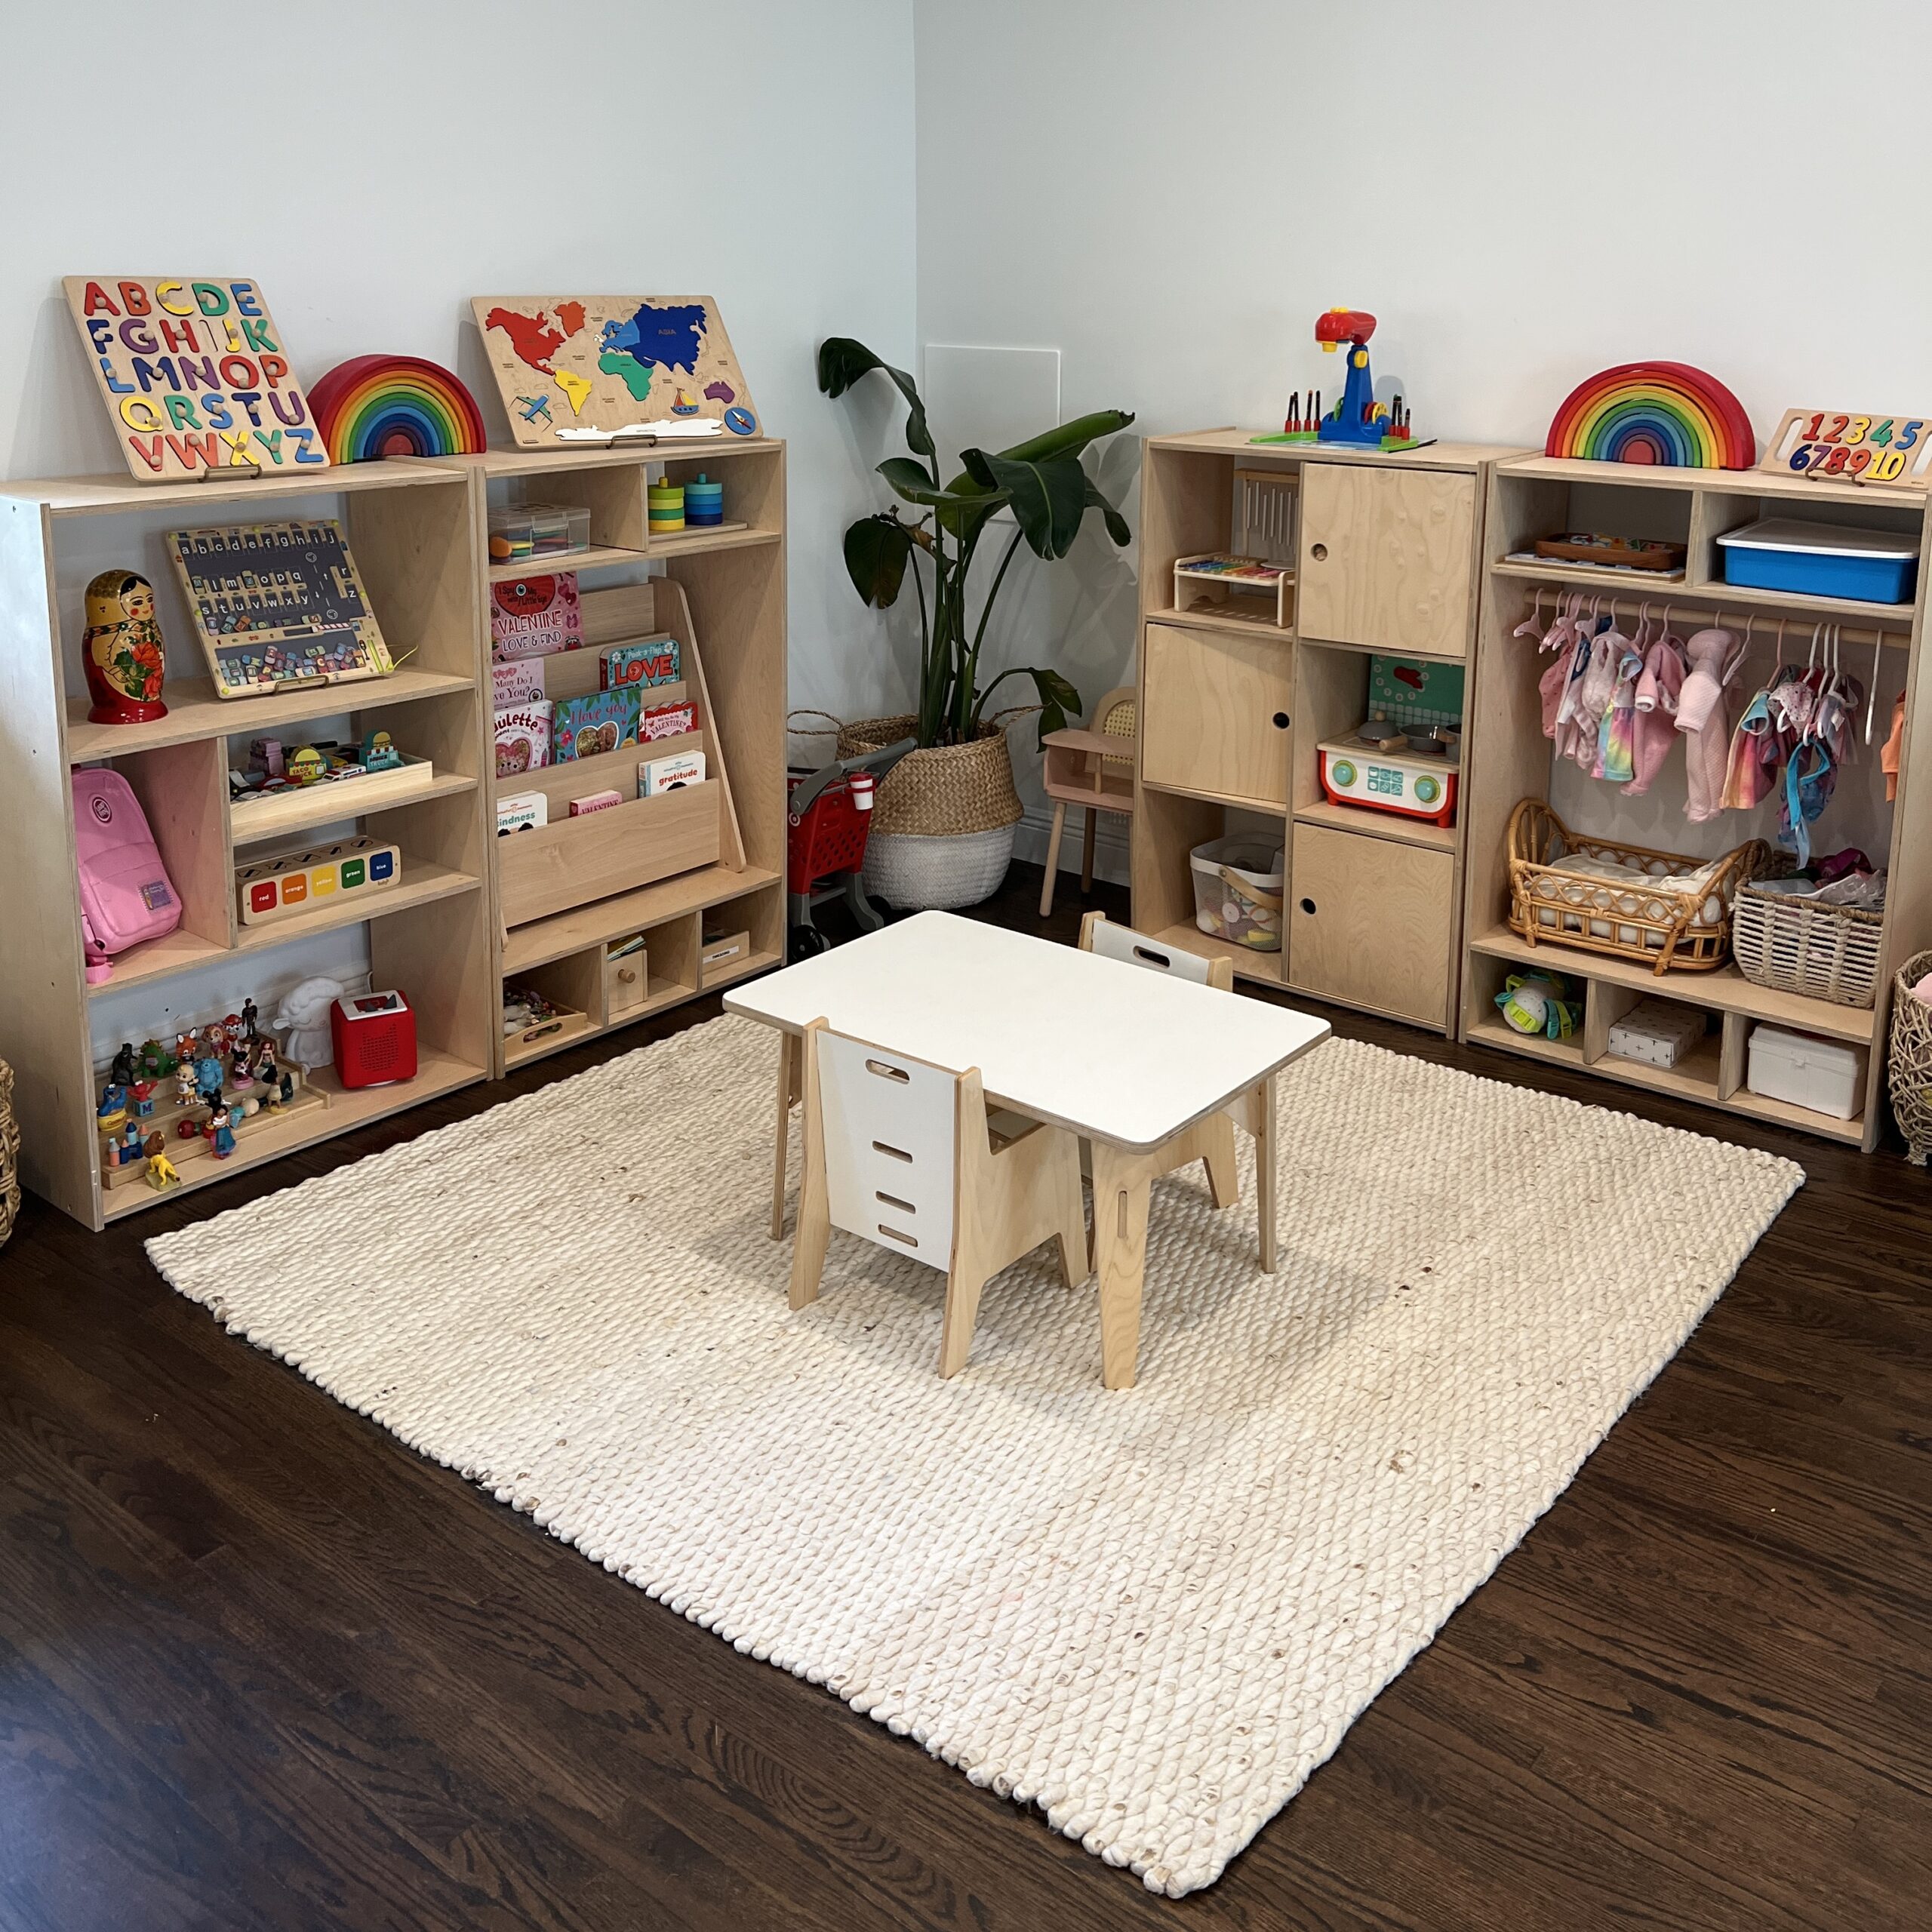
    Playroom inspiration

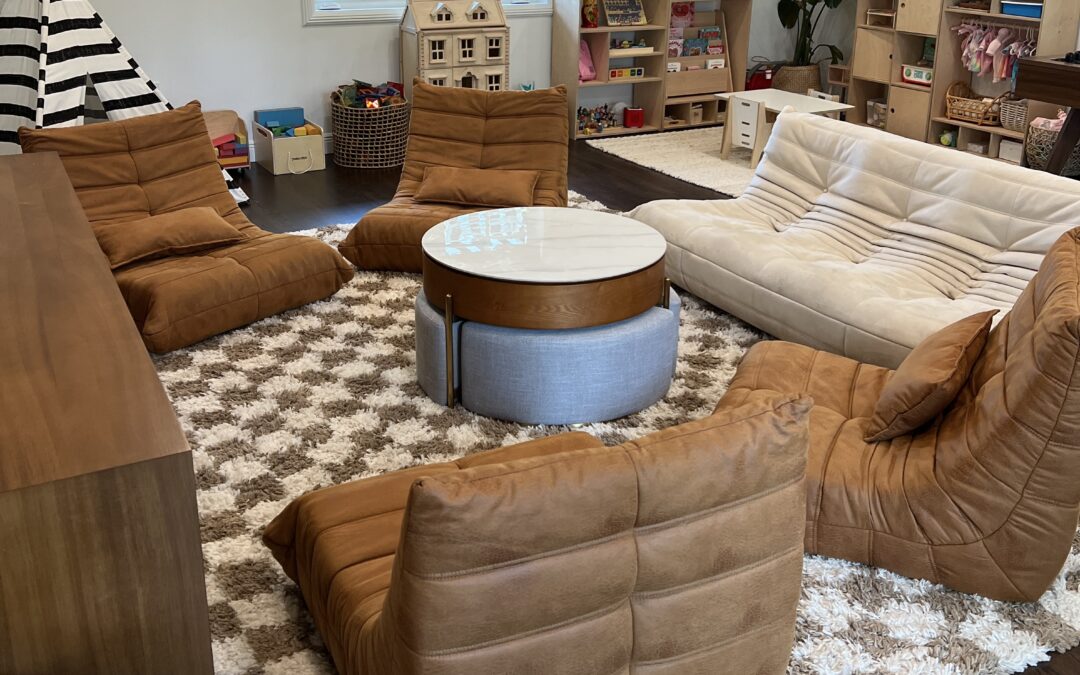
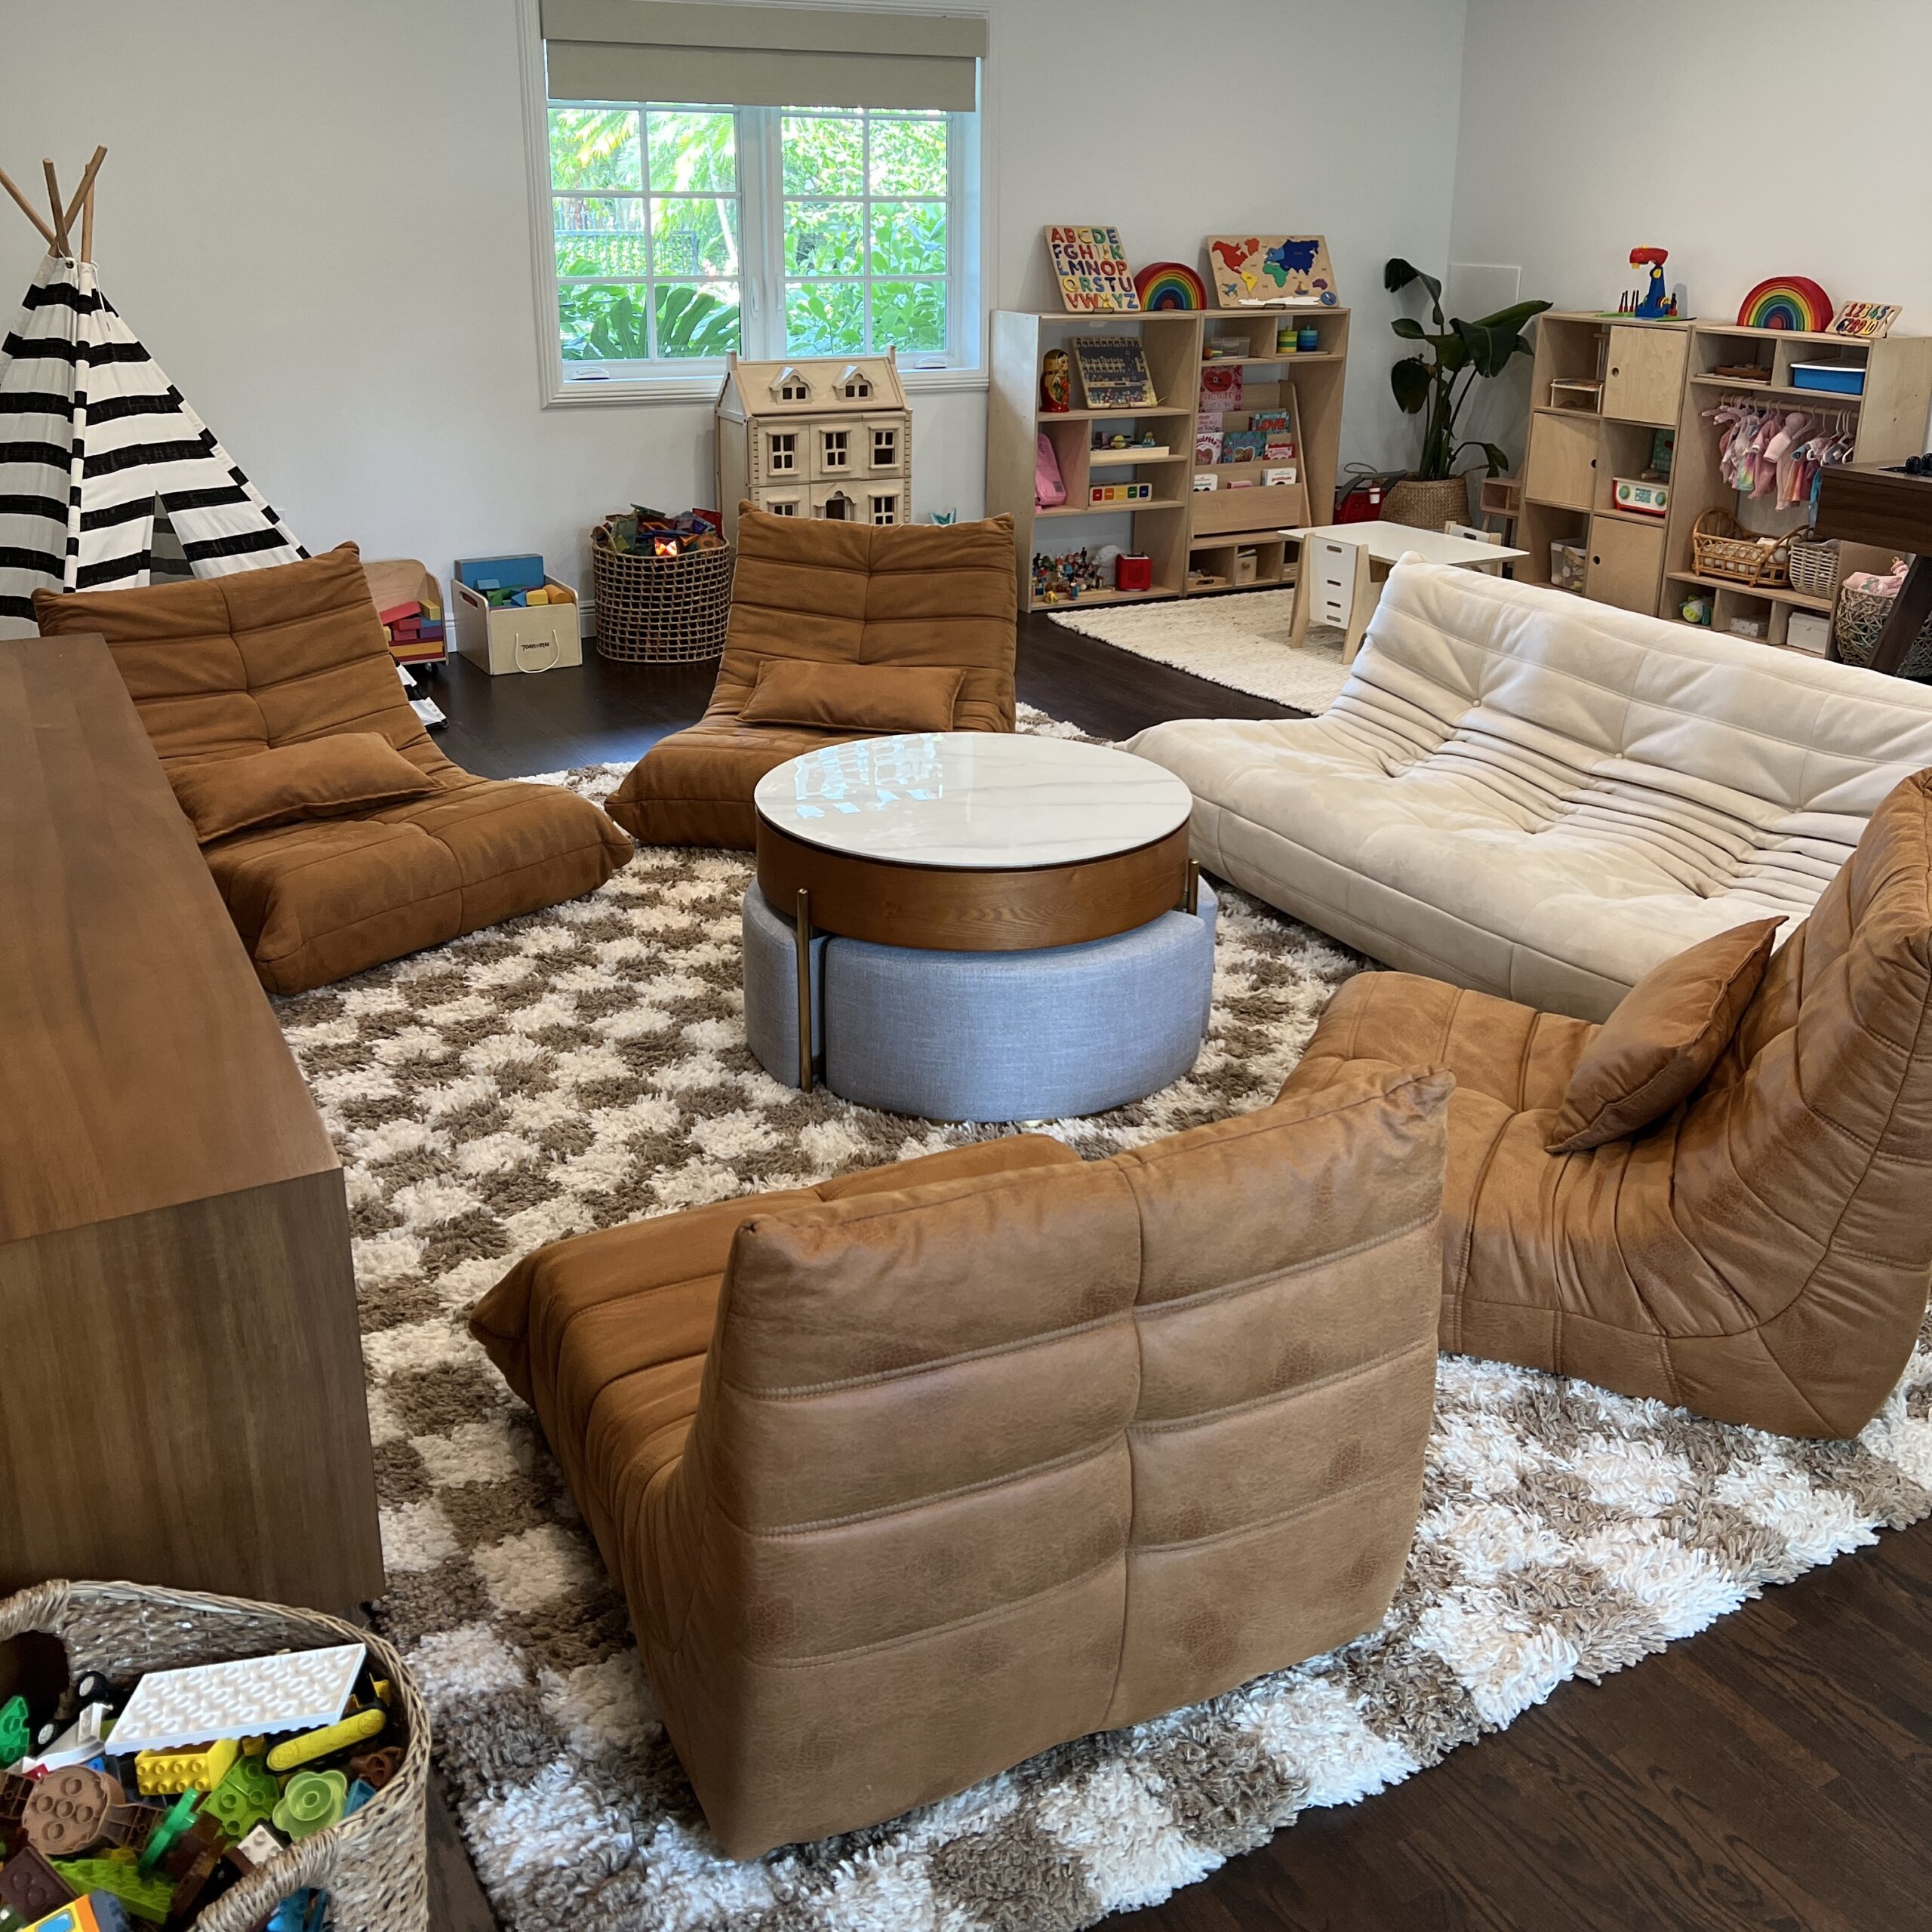
    Ready to dive into some seriously cool playroom inspiration vibes? Keep reading to get the lowdown on a space that’s like the MVP for all ages! Think rotating toys for the little rascals, air hockey and arcade games for the big kids, and a cozy couch setup perfect for group hangouts in front of the TV.

    Playroom Inspiration – Here’s A Quick Tour of Our Furniture, Games, and More!

    Below I’ve listed everything we have in our play space, but we’re not just talking play; we’re talking a full-on experience that grows with your crew. Get ready for a playroom that’s the ultimate chill spot and the epicenter of fun. Get ready to redefine family fun and make memories that will last a lifetime. 

    All toys and activities should be supervised by an adult. As an Amazon Associate, I earn from qualifying purchases. This post may contain affiliate links.

    Playroom Inspiration Furniture, Games and More!

    Here’s a comprehensive list of everything we have in our playroom, including furniture, rugs and games!

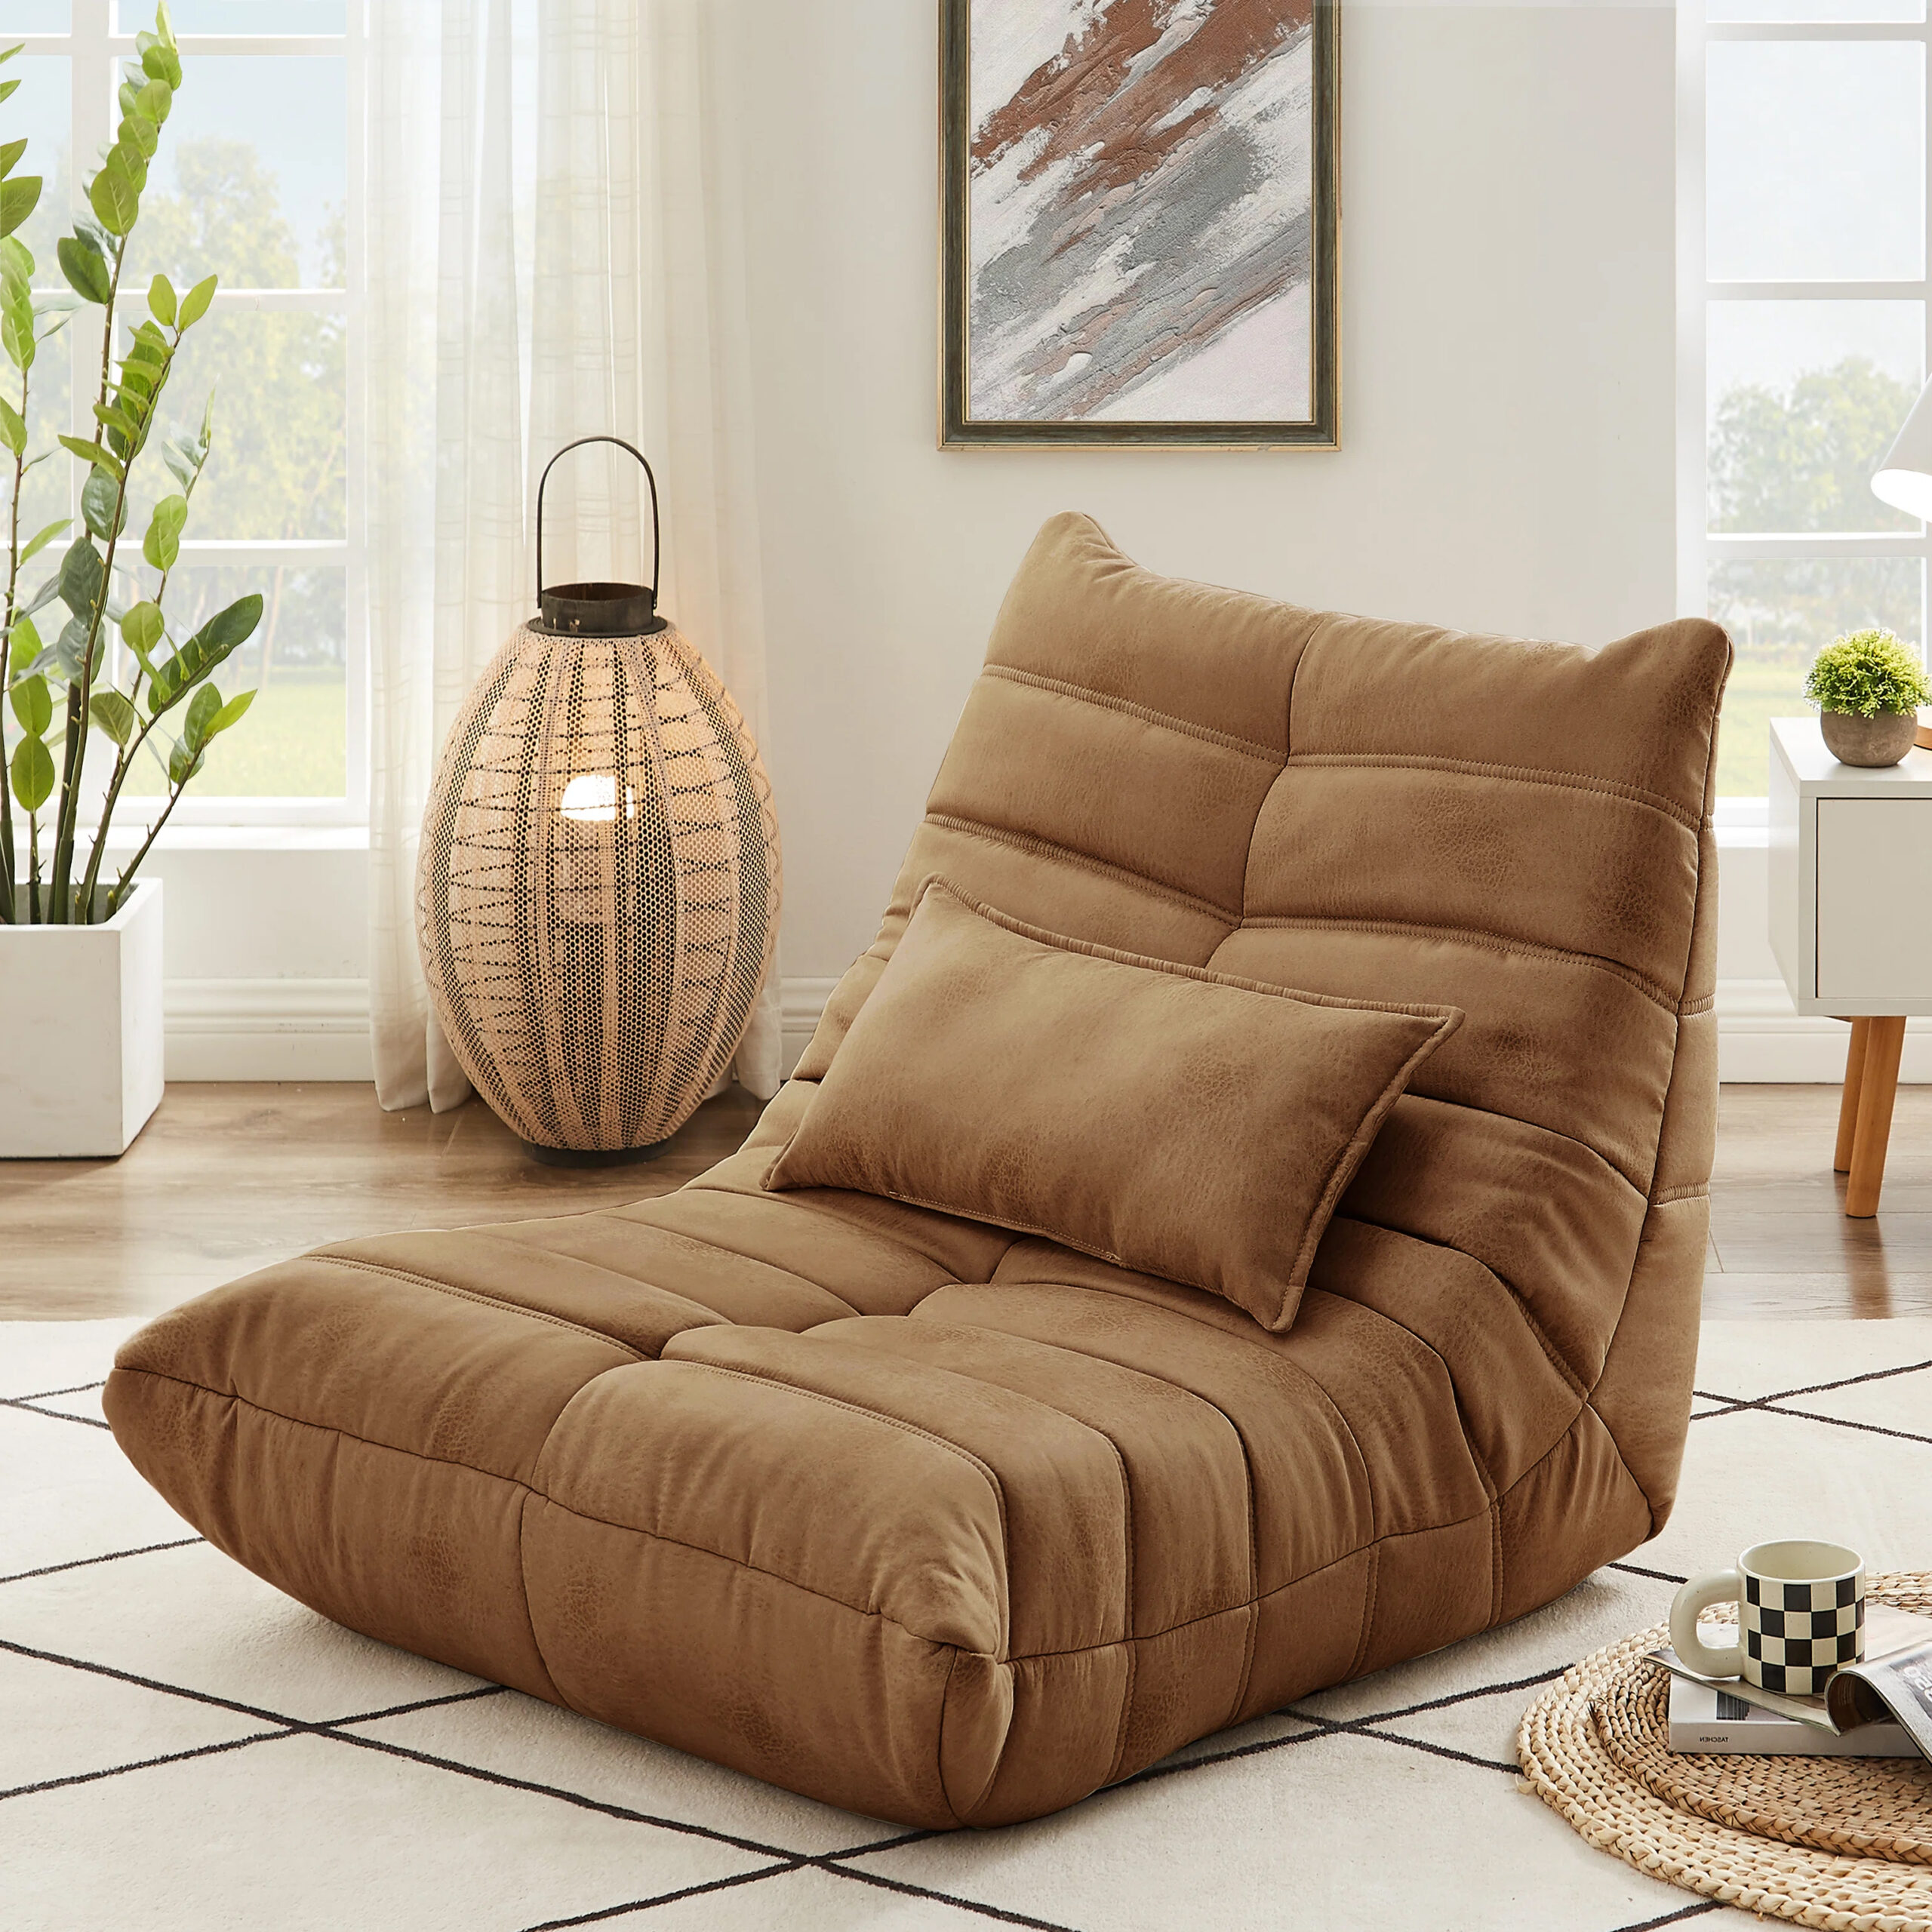
    playroom inspiration Faux Leather chairs

    Faux Leather Chairs

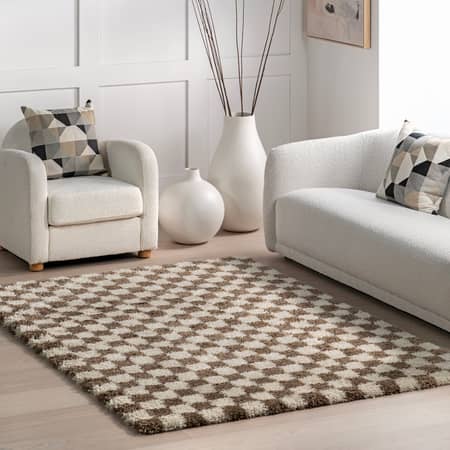
    checkered rug playroom inspiration

    Checkered Shag Rug

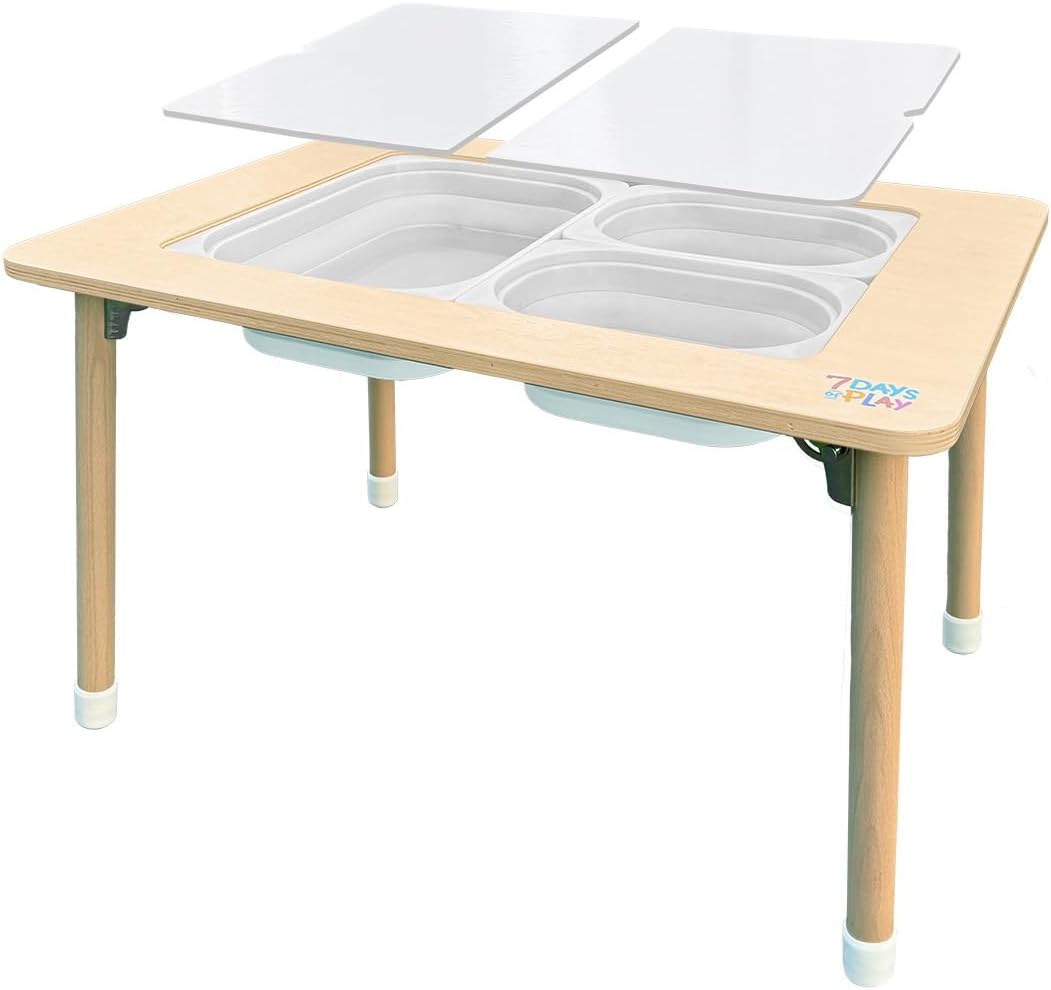
    Sensory table for sensory bins foldable

    Activity and Sensory Play Table

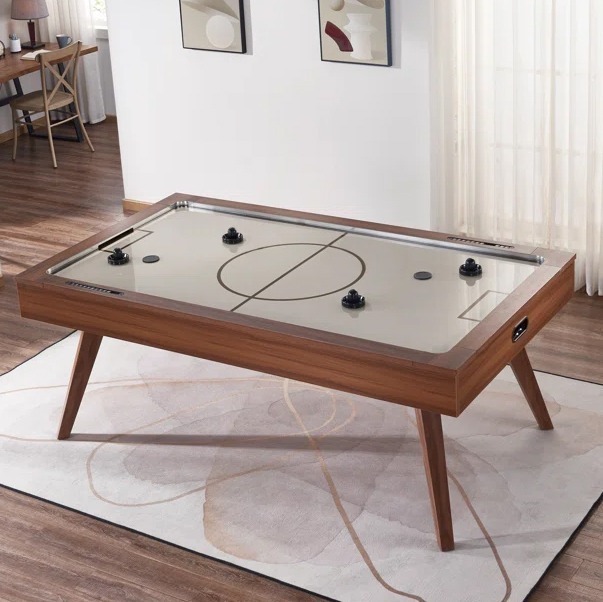
    air hockey table

    Air Hockey Table

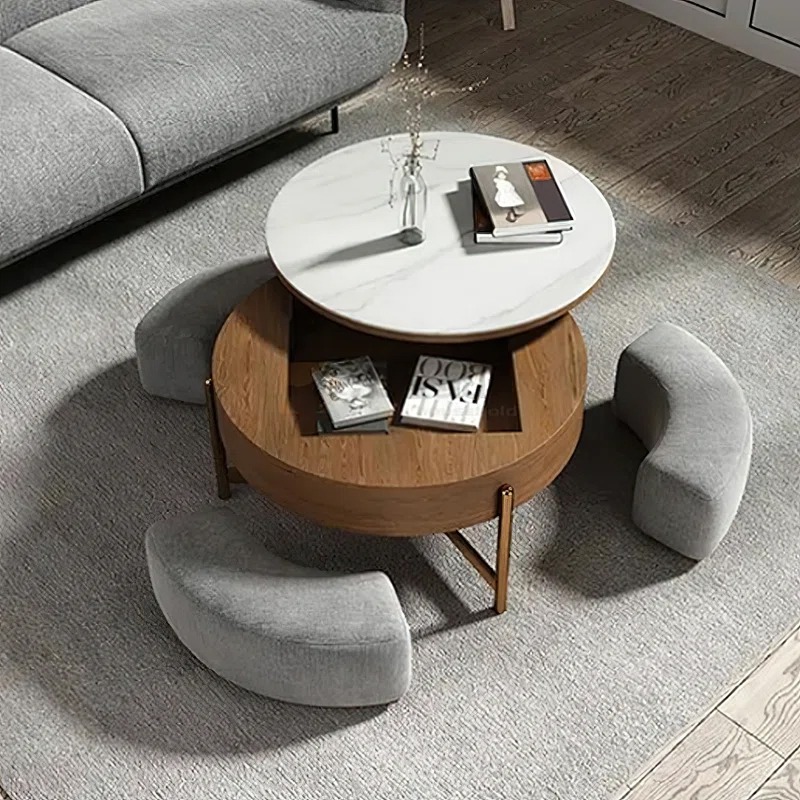
    coffee table with stools

    Coffee Table with Stools

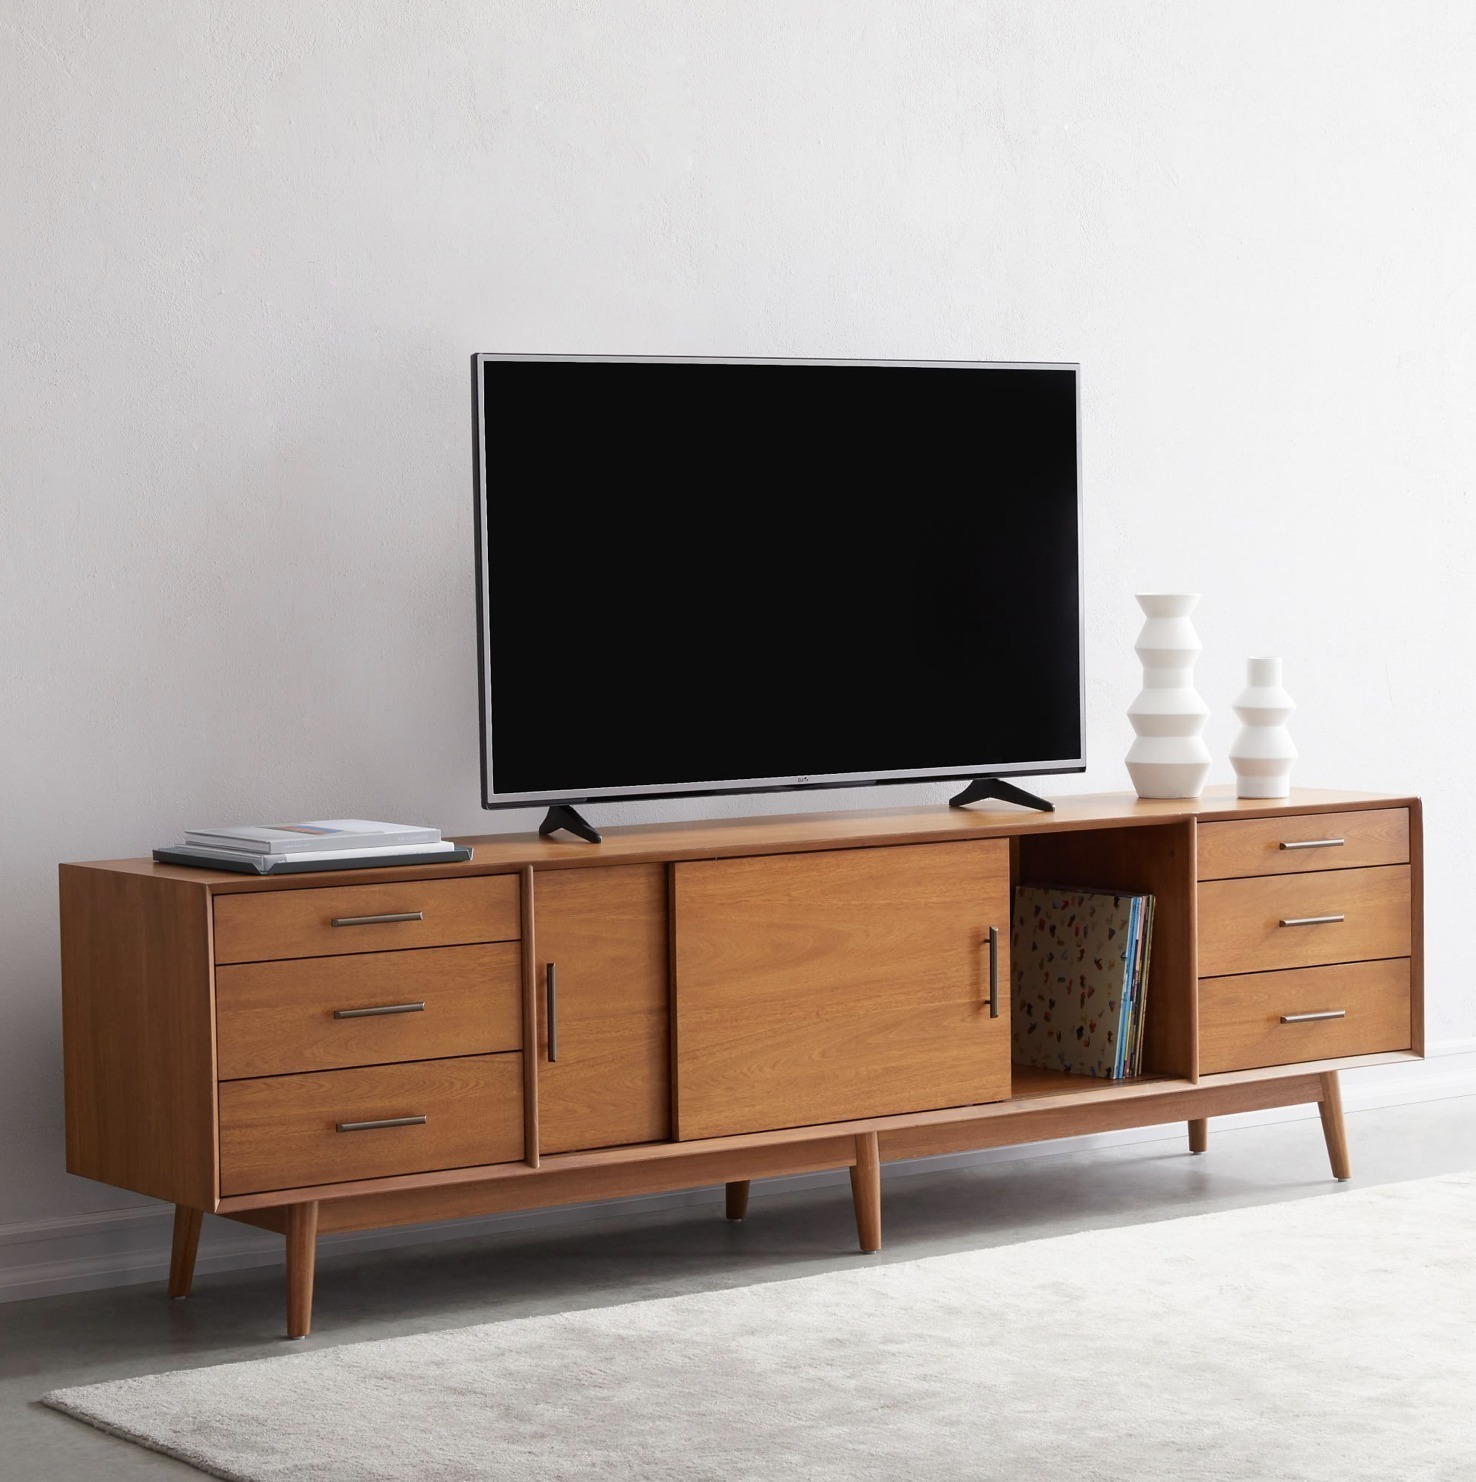
    media console table

    Media Console Table

    bean bag couch

    Great Toy for Fine Motor Skills

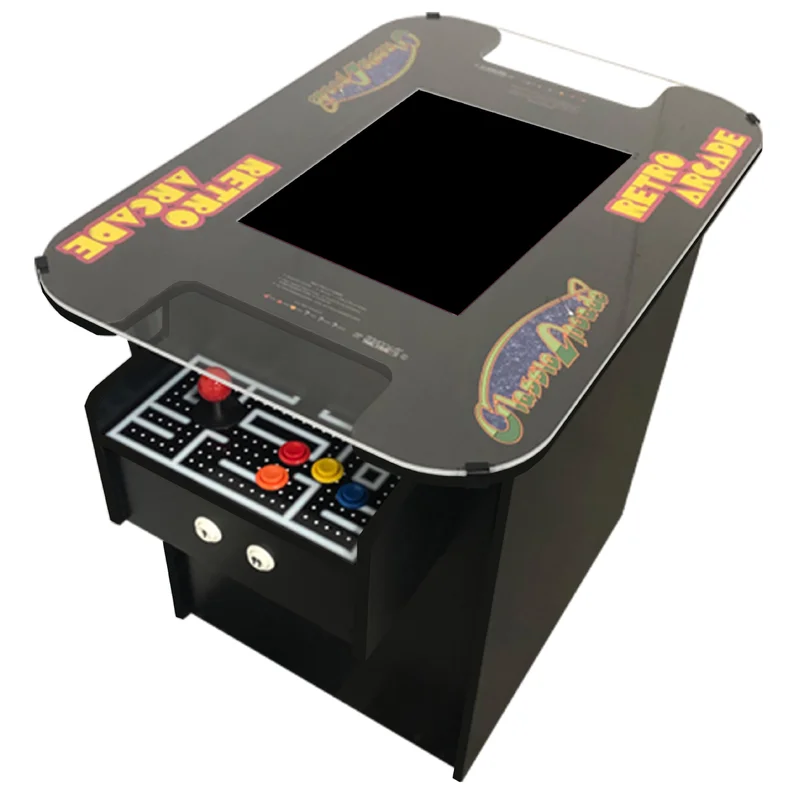
    arcade game

    Arcade Machine including 412 Games for 2 Players 

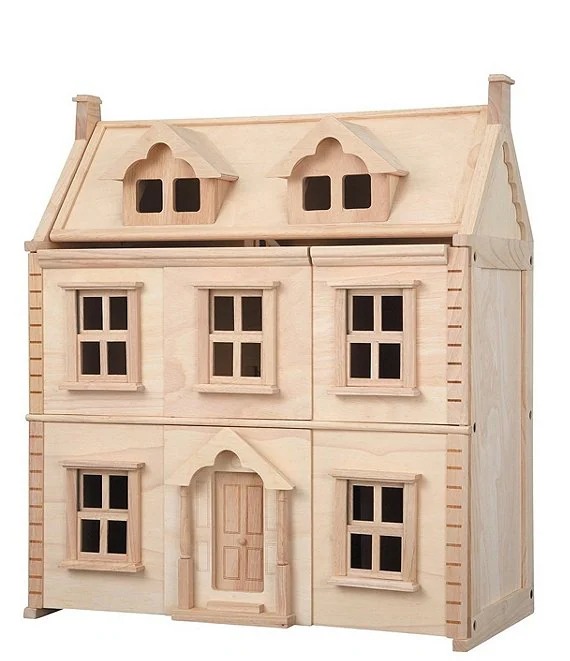
    wooden dollhouse

    Wooden Dollhouse

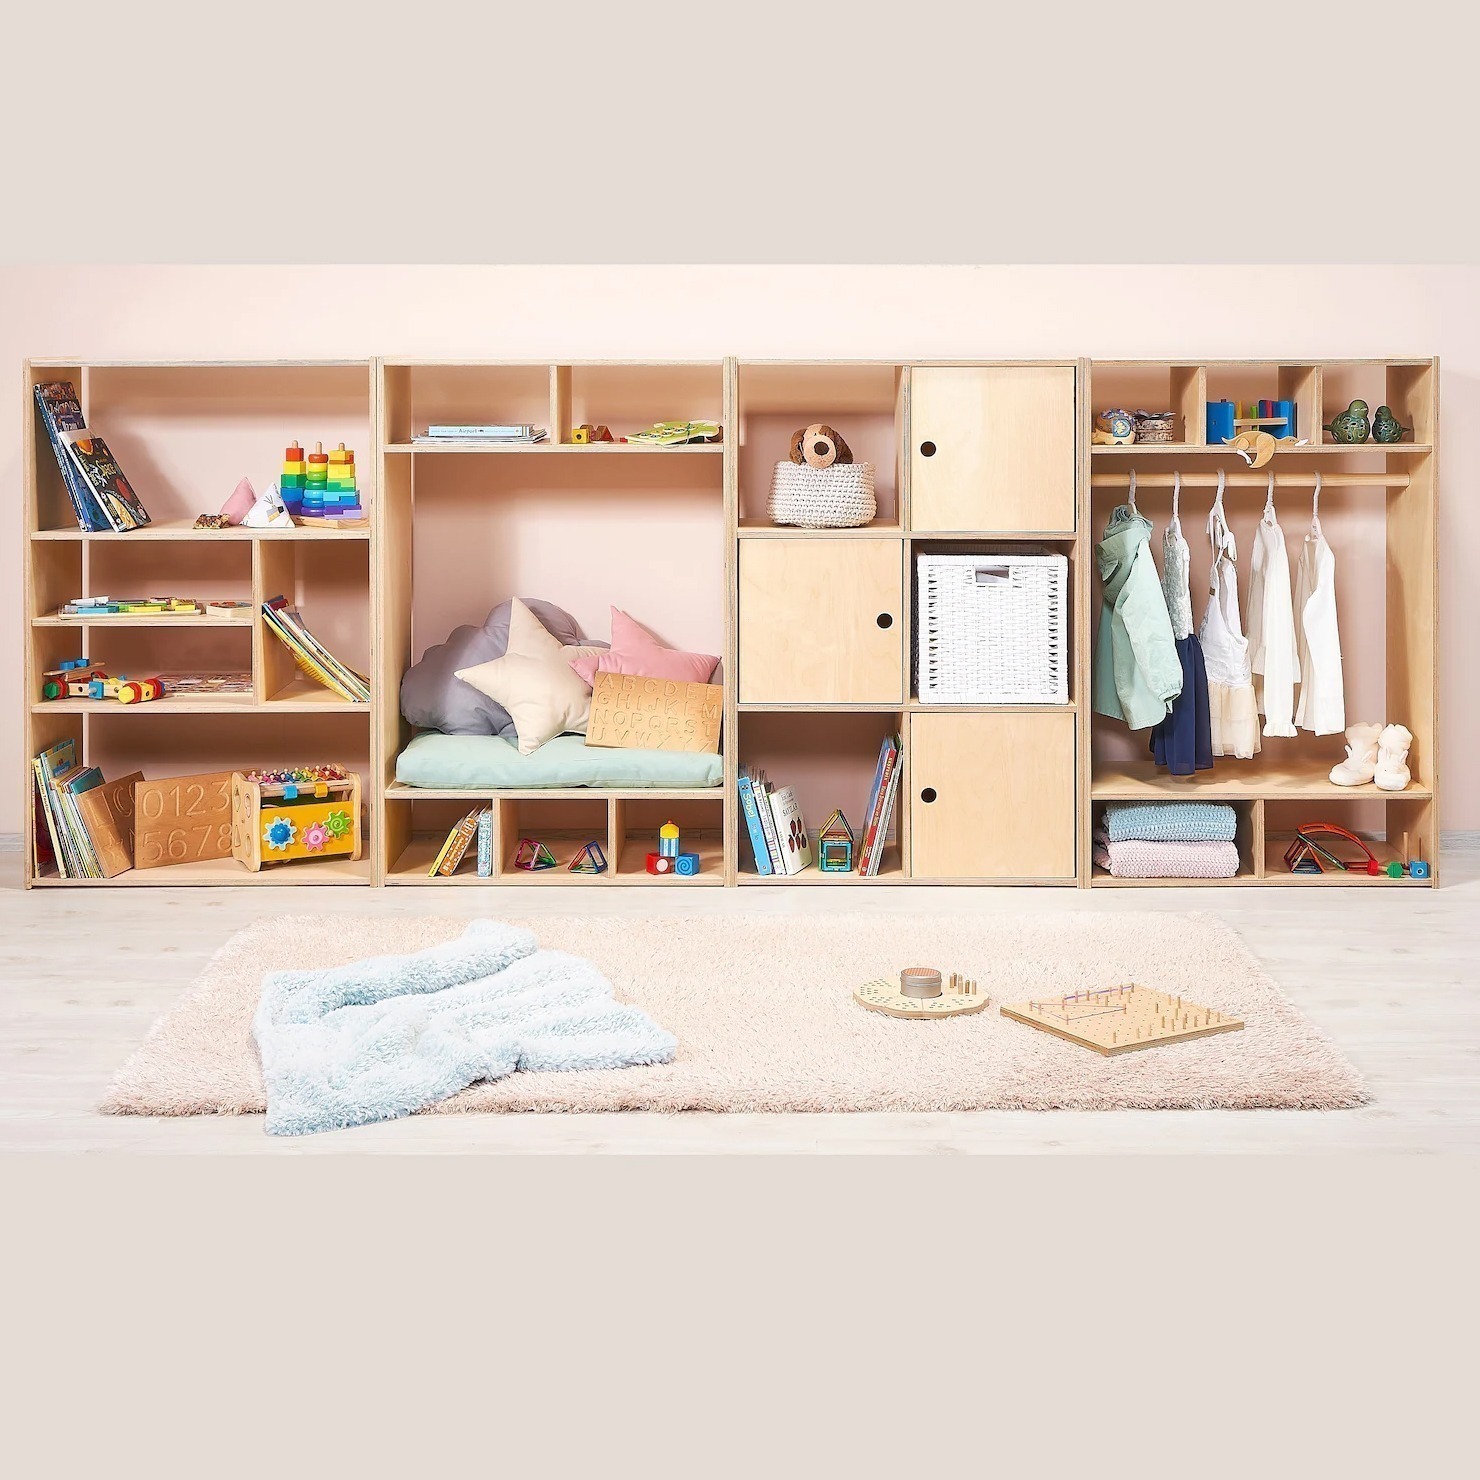
    playroom shelving

    Playroom Shelves

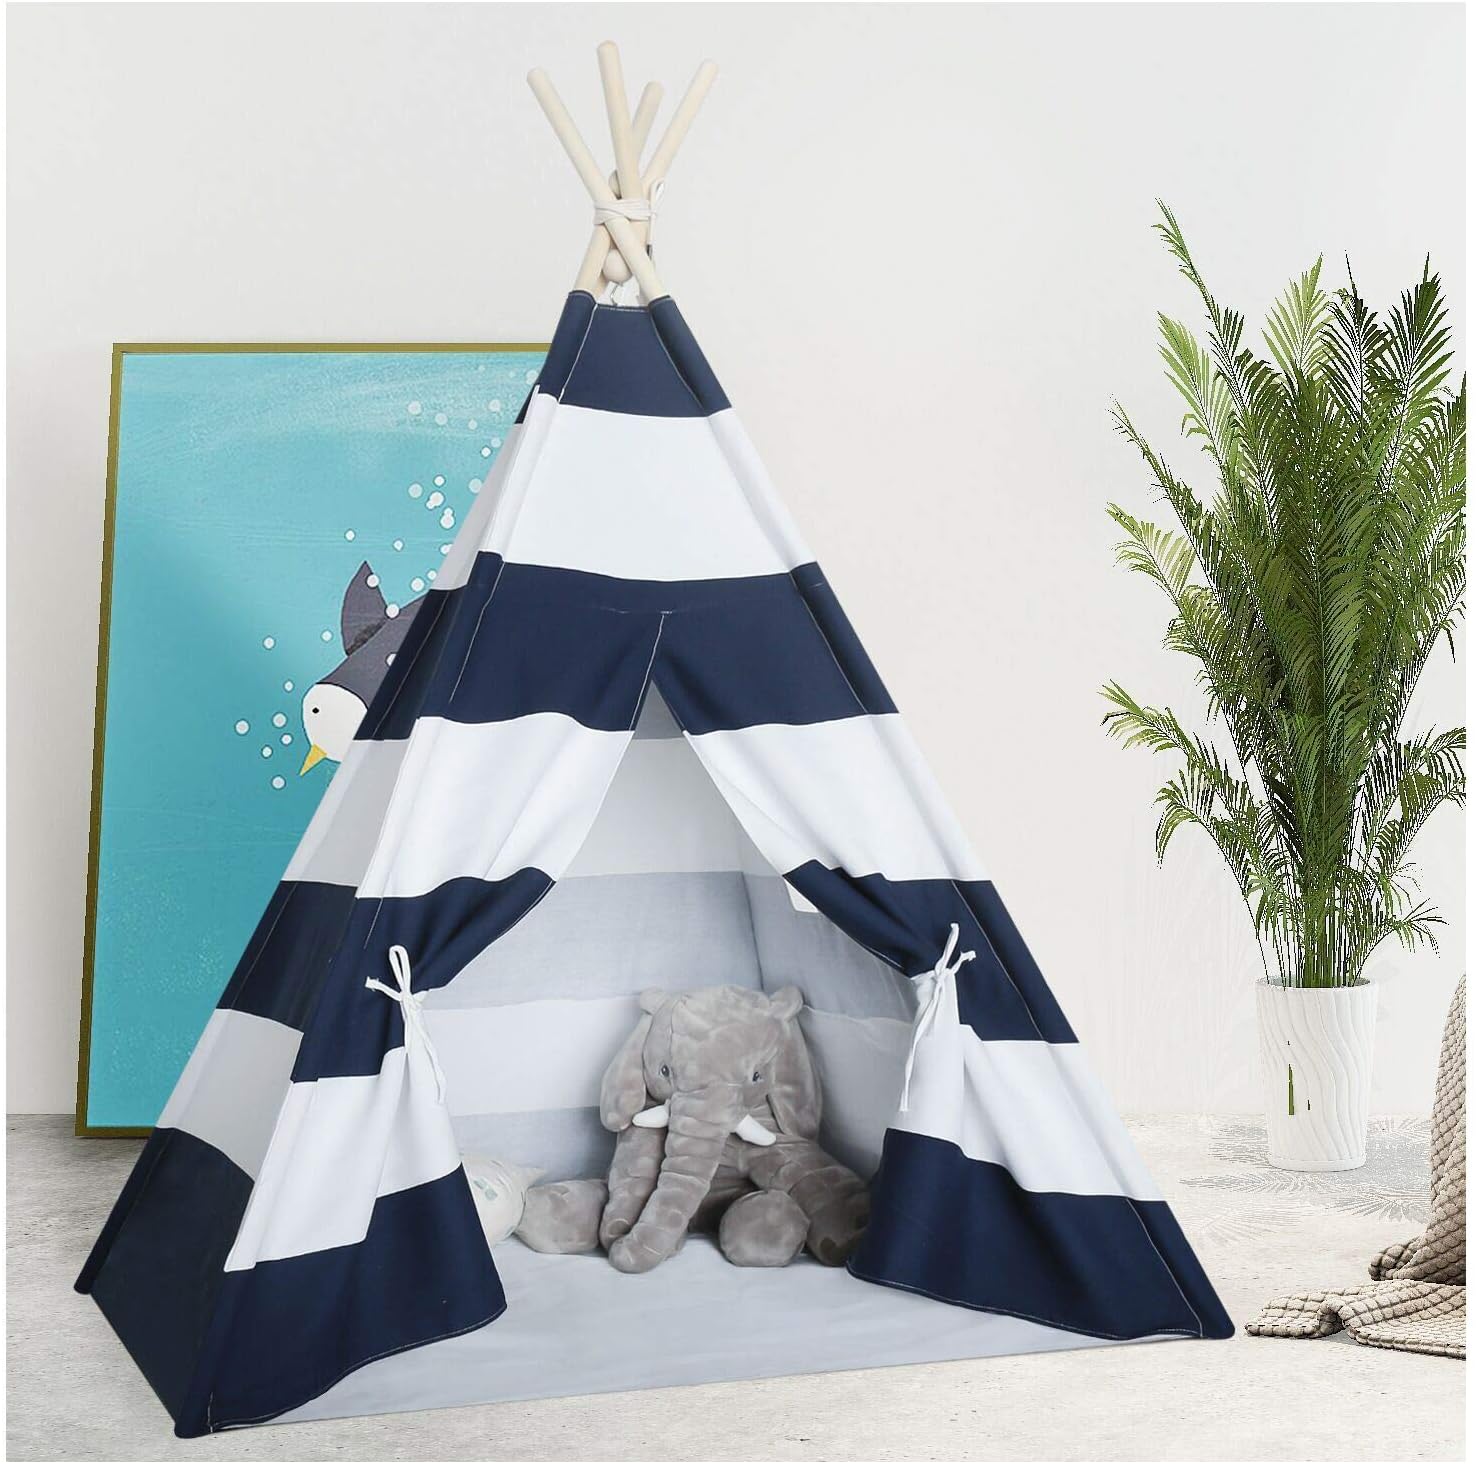
    black and white kids tent

    Kid’s Teepee Tent

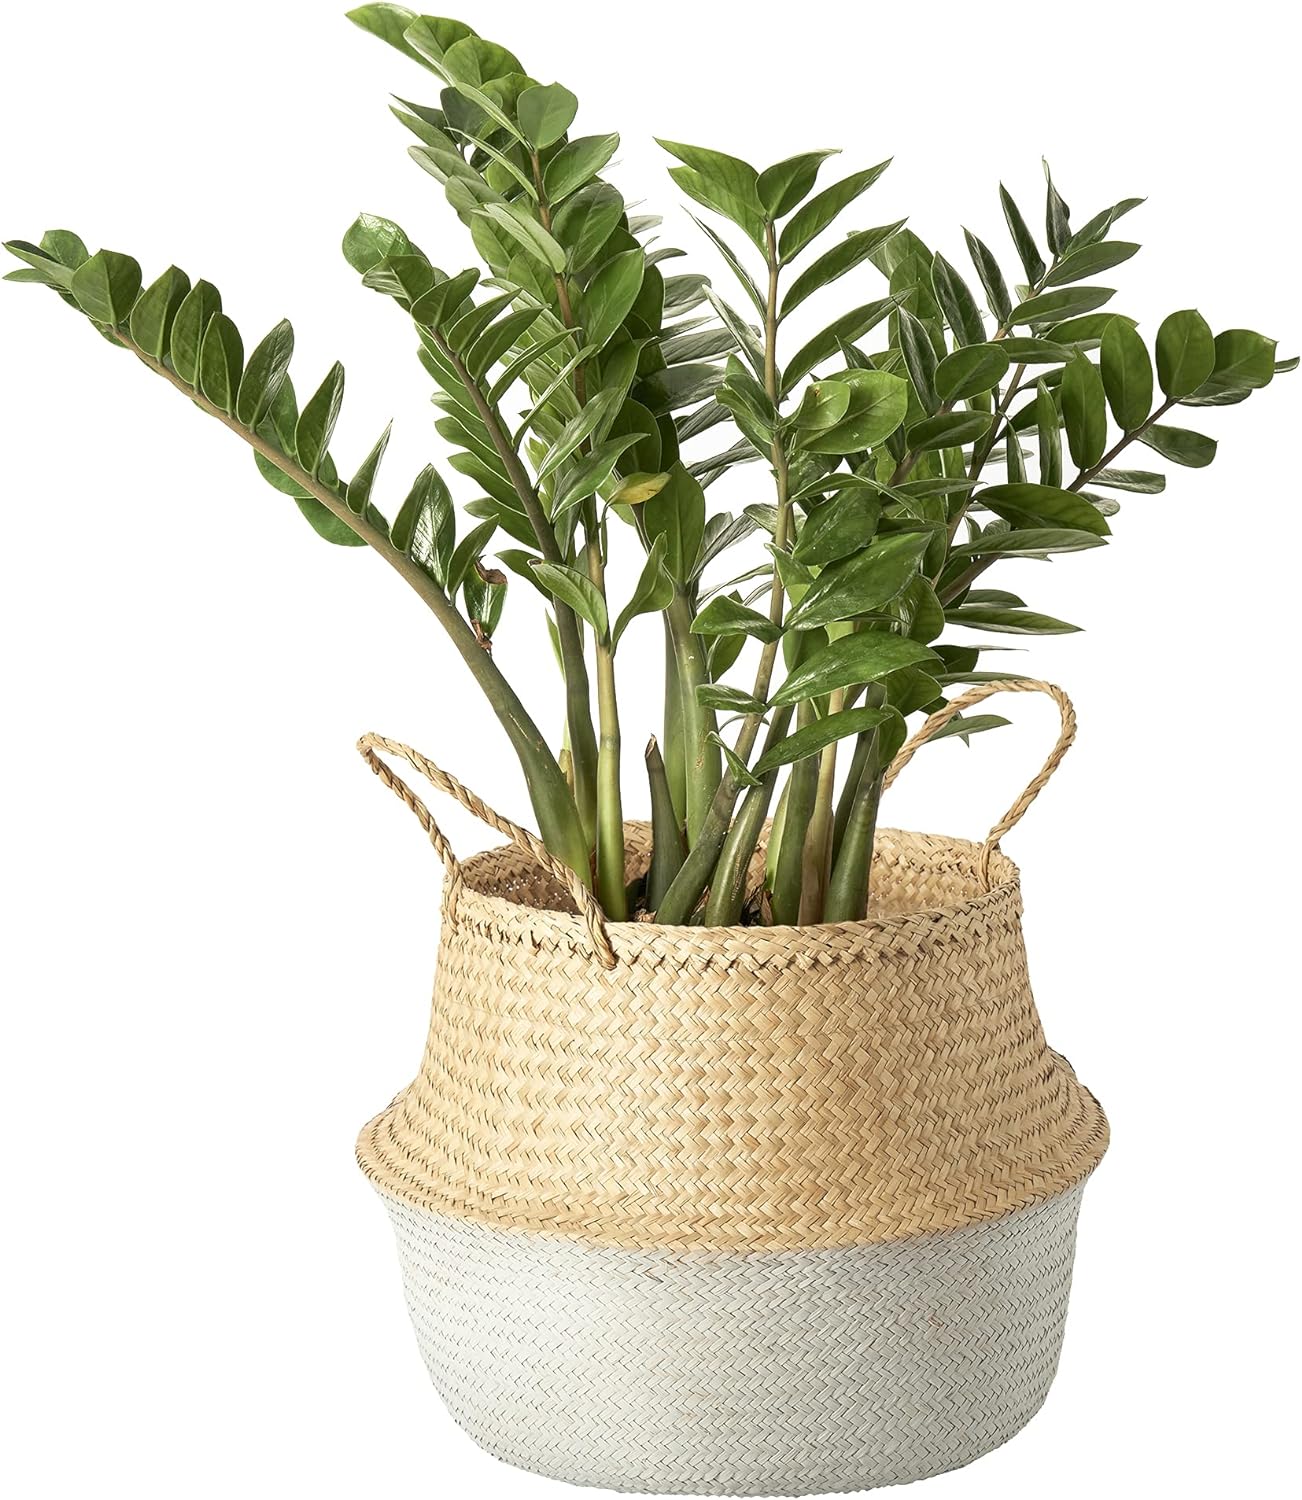
    plant basket

    Plant Baskets

    The Impact of Nurturing Kids’ Exploration through Playful Spaces!

    In the hustle and bustle of daily life, carving out a small corner for your little ones to play isn’t just about creating a designated area—it’s about fostering a haven for growth, discovery, and invaluable life lessons.

    Be it a cozy nook or a dedicated playroom, the space becomes the canvas for their imagination to run wild. As kids explore and learn through play, they not only develop essential cognitive and motor skills but also cultivate a sense of independence and creativity that resonates throughout their lives.

    From building towering block structures to delving into make-believe worlds, these early playful experiences lay the foundation for a lifetime of curiosity, resilience, and joyous exploration. We hope this playroom inspiration has helped you! 

    Playroom inspiration

    So, whether it’s a corner or an entire room, let’s champion the significance of providing our kids with spaces that speak to the heart of their growth journey.

    Playroom inspiration

    The Impact of Nurturing Kids’ Exploration through Playful Spaces!

    In the hustle and bustle of daily life, carving out a small corner for your little ones to play isn’t just about creating a designated area—it’s about fostering a haven for growth, discovery, and invaluable life lessons.

    Be it a cozy nook or a dedicated playroom, the space becomes the canvas for their imagination to run wild. As kids explore and learn through play, they not only develop essential cognitive and motor skills but also cultivate a sense of independence and creativity that resonates throughout their lives.

    From building towering block structures to delving into make-believe worlds, these early playful experiences lay the foundation for a lifetime of curiosity, resilience, and joyous exploration. We hope this playroom inspiration has helped you! So, whether it’s a corner or an entire room, let’s champion the significance of providing our kids with spaces that speak to the heart of their growth journey.

    What’s Next?

    The Ultimate Guide: Cool Gifts for Newborns

    The Ultimate Guide: Cool Gifts for Newborns

    The Ultimate Guide: Cool Gifts for Newborns

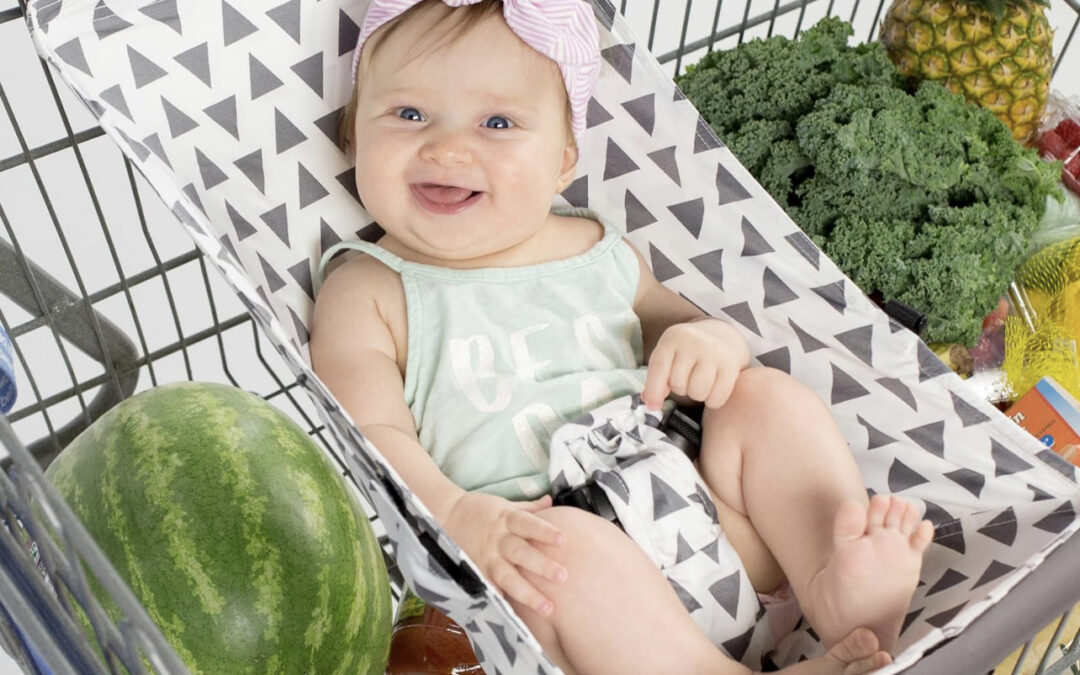
    shopping cart hammock cool gifts for newborns

    Stepping into the magical world of motherhood is an exciting time for any mama. Here are some absolutely cool gifts for newborns!  

    Amazing Baby Hammock – Such Cool Gifts for Newborns!

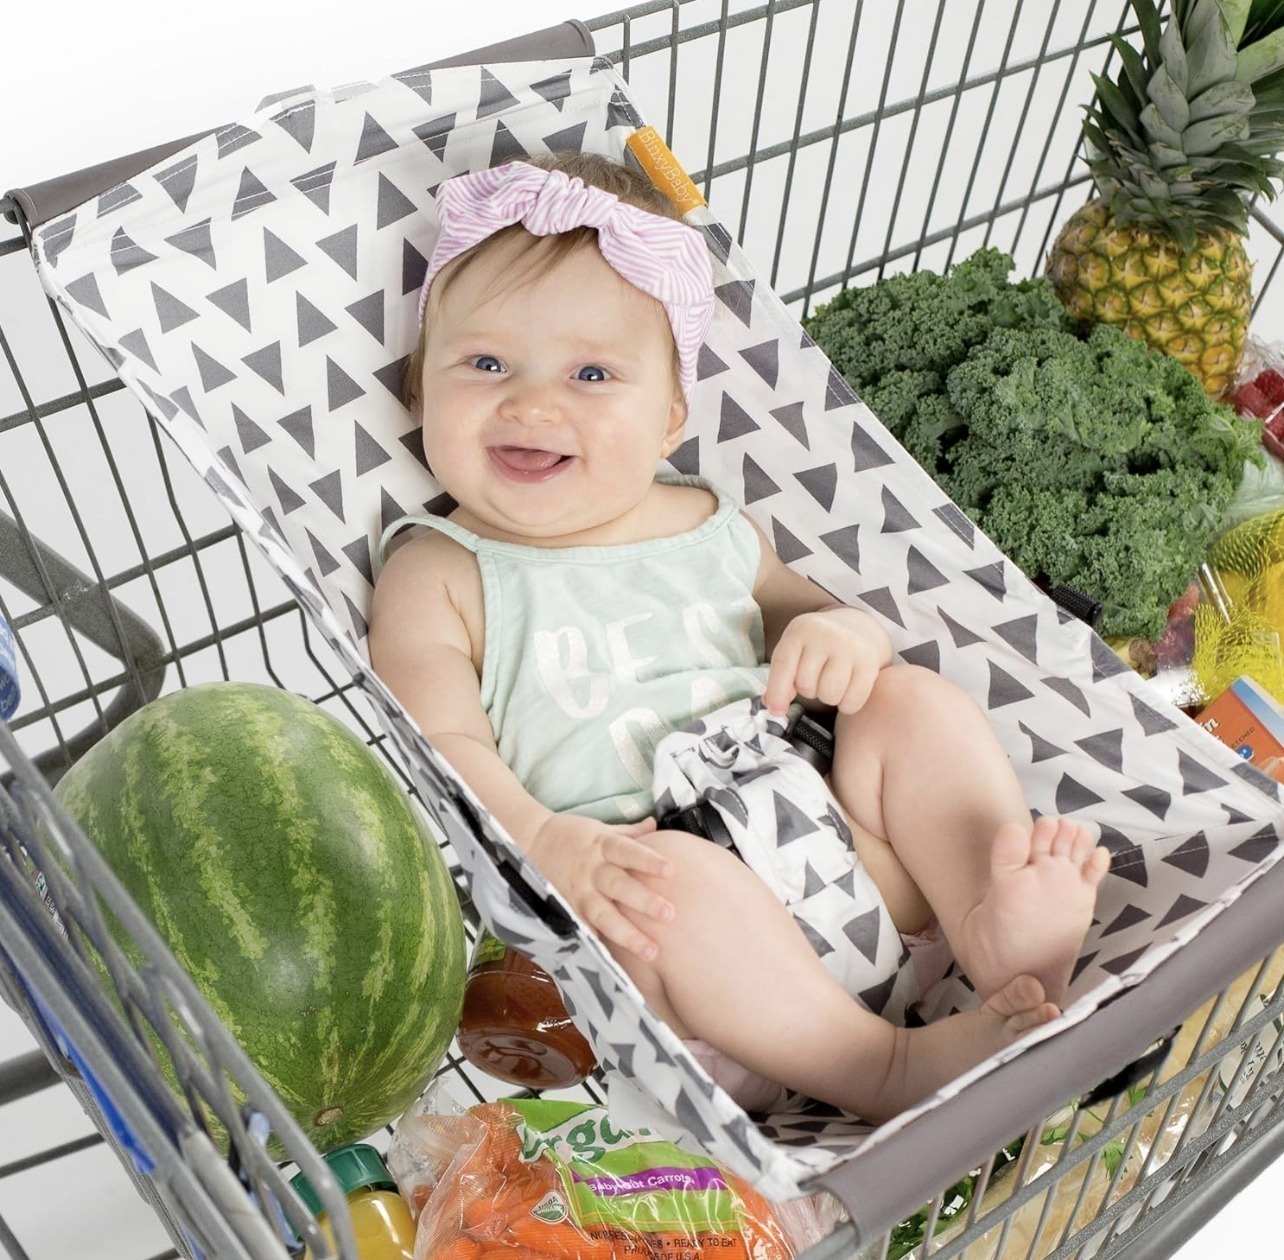
    This hands-free shopping miracle let’s you snag your weekly groceries without breaking a sweat and makes shopping with your little one a joyful experience!

    It’s so easy to attach your baby to the shopping cart, allowing parents to be hands-free while baby enjoys the view with plenty of room in the cart for your shopping items!


    Feeding On-the-Go Made Easy!

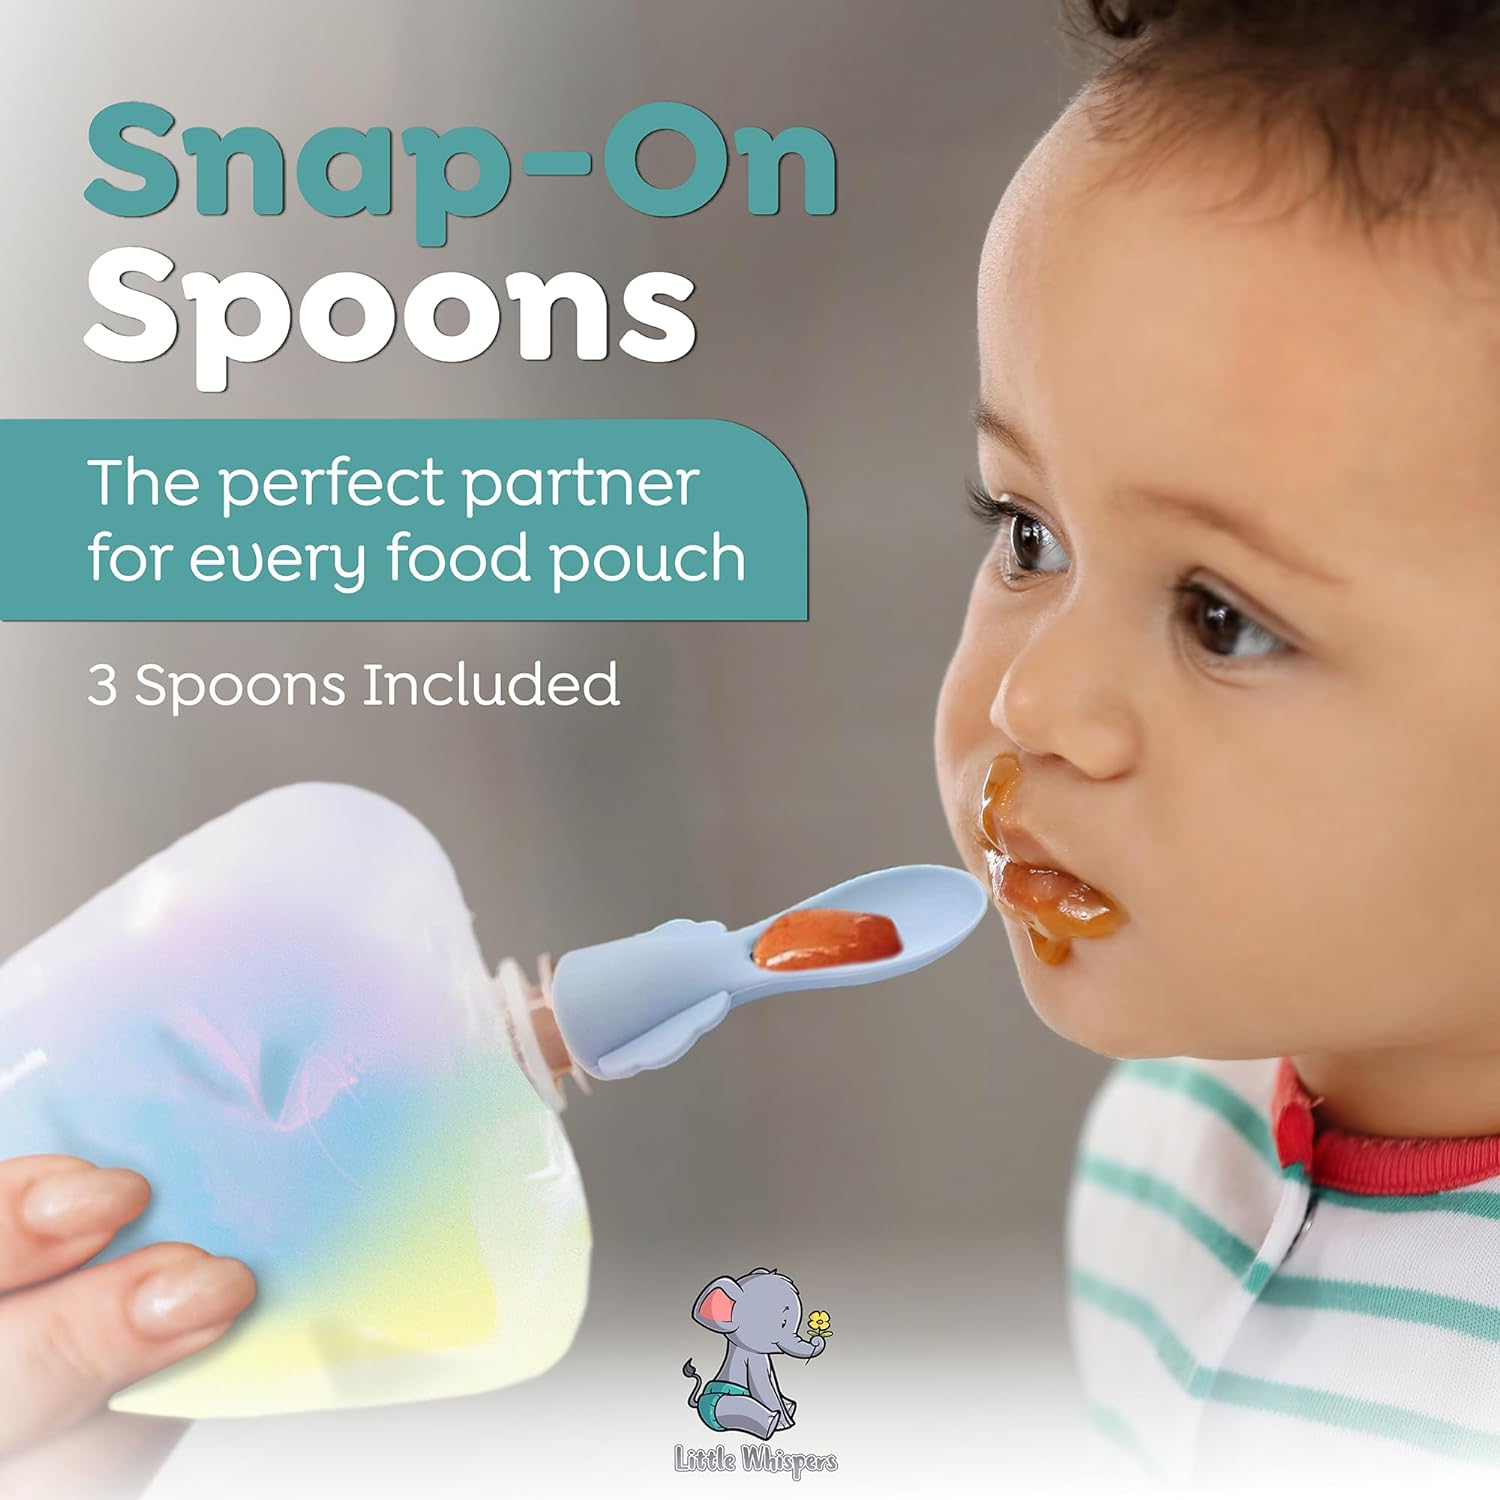
    Picture this: a nifty spoon attachment that practically turns feeding on the go into an art form – because let’s be real, life doesn’t slow down, and neither does hunger!  Meet the innovative spoon attachment that transforms feeding into a breeze while you’re on the move.I like that the baby food pouch spoons are crafted with soft, flexible, and lightweight silicone, making them perfect for tiny mouths and facilitating a smooth transition to solid foods. The spoons snap onto any ready-made baby food pouches so your little ones can begin learning how to feed themselves.

    magic mixie toy genie bottle gold
    cool gifts for newborns spoon attachment for pouches

    Feeding On-the-Go Made Easy!

    Picture this: a nifty spoon attachment that practically turns feeding on the go into an art form – because let’s be real, life doesn’t slow down, and neither does hunger!  Meet the innovative spoon attachment that transforms feeding into a breeze while you’re on the move.I like that the baby food pouch spoons are crafted with soft, flexible, and lightweight silicone, making them perfect for tiny mouths and facilitating a smooth transition to solid foods. The spoons snap onto any ready-made baby food pouches so your little ones can begin learning how to feed themselves.


    cool gifts for newborns car camera monitor

    Innovative Monitor and Camera for the Car!

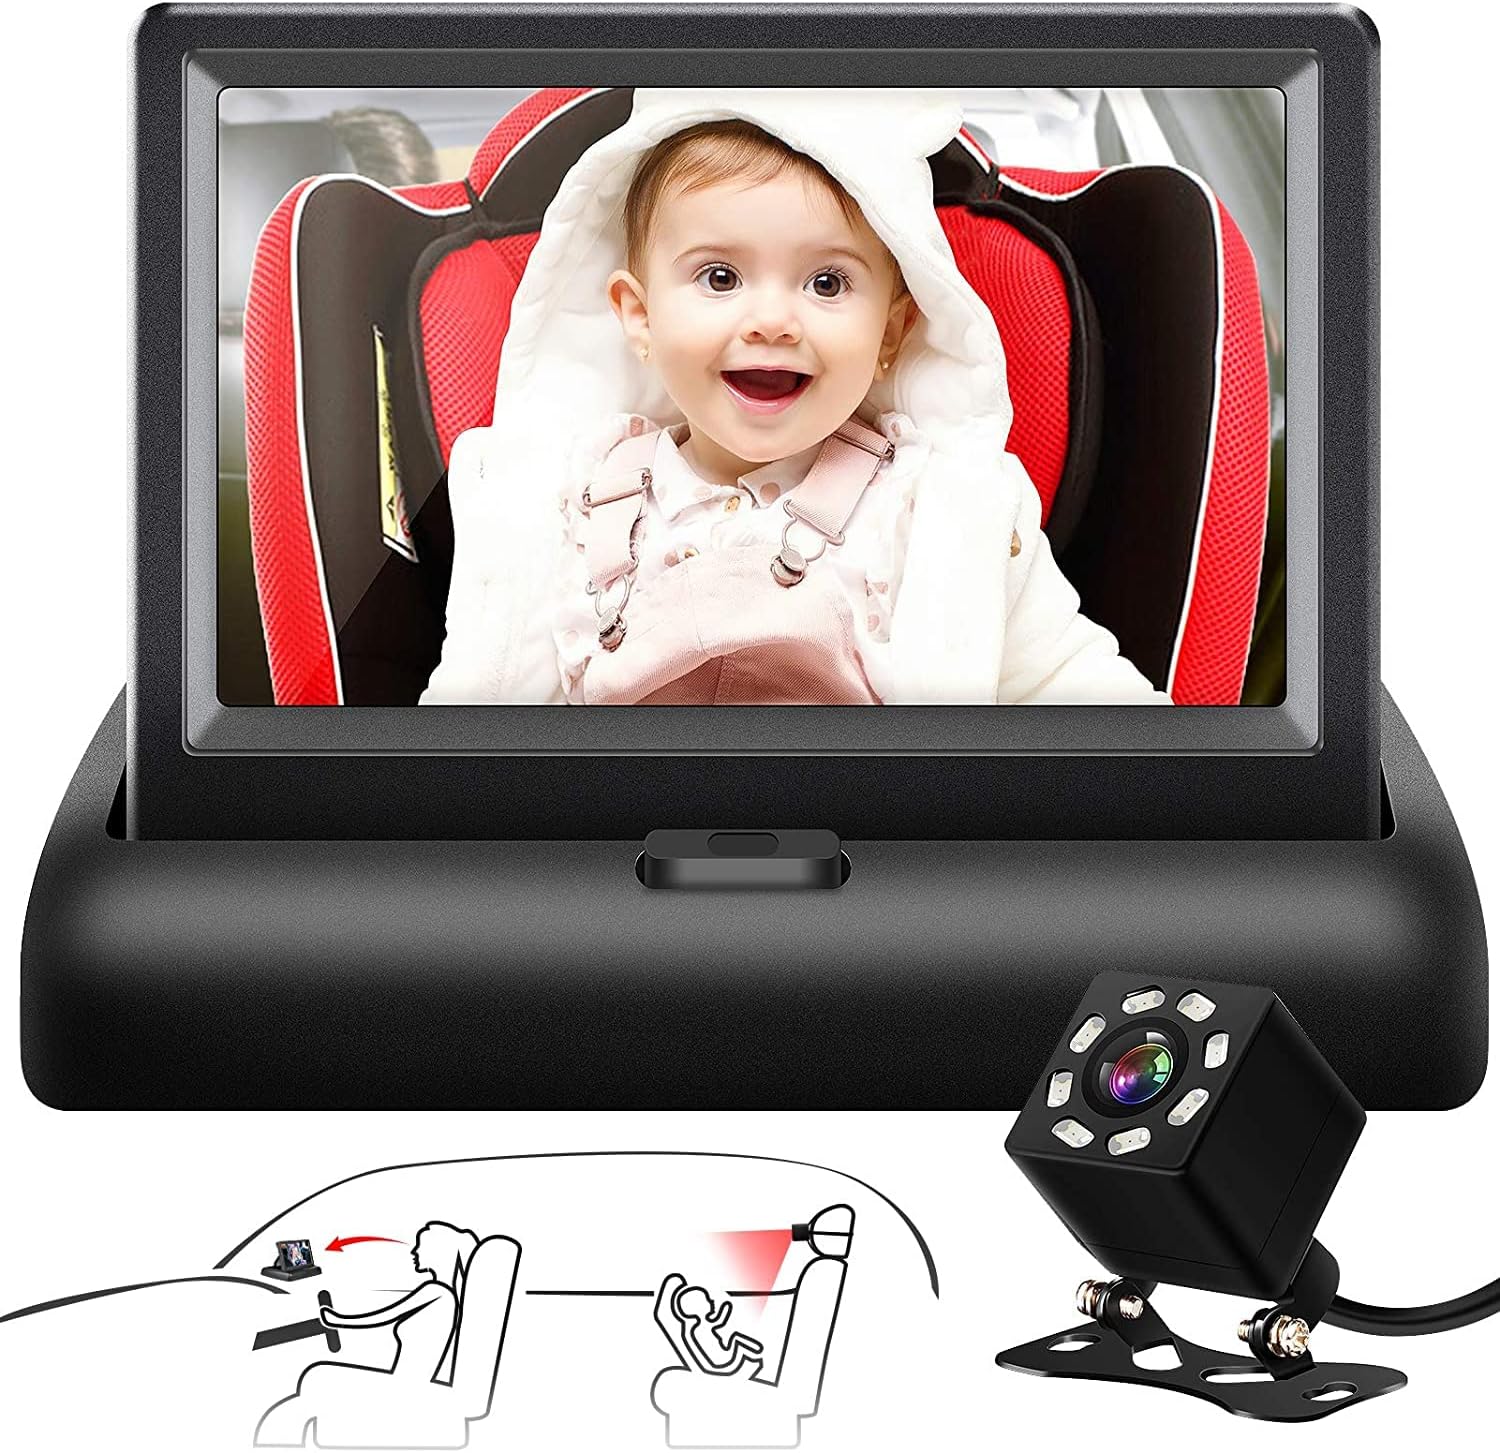
    This baby car monitor has been a game-changer for me, providing unparalleled peace of mind during our car journeys. Its user-friendly design allows for effortless monitoring of my baby in the car seat, offering a clear and crisp video feed that assures me of their safety and comfort while I focus on driving. The ease of installation and compact size further enhance its practicality, ensuring it doesn’t obstruct my view. This is a must have for parents who priortize safety and peace of mind on the road!


    More Cool Gifts for Newborns (and their parents!)

    Looking for even more cool gifts for newborns? Keep on reading!

    baby casting kit cool gifts for newborns

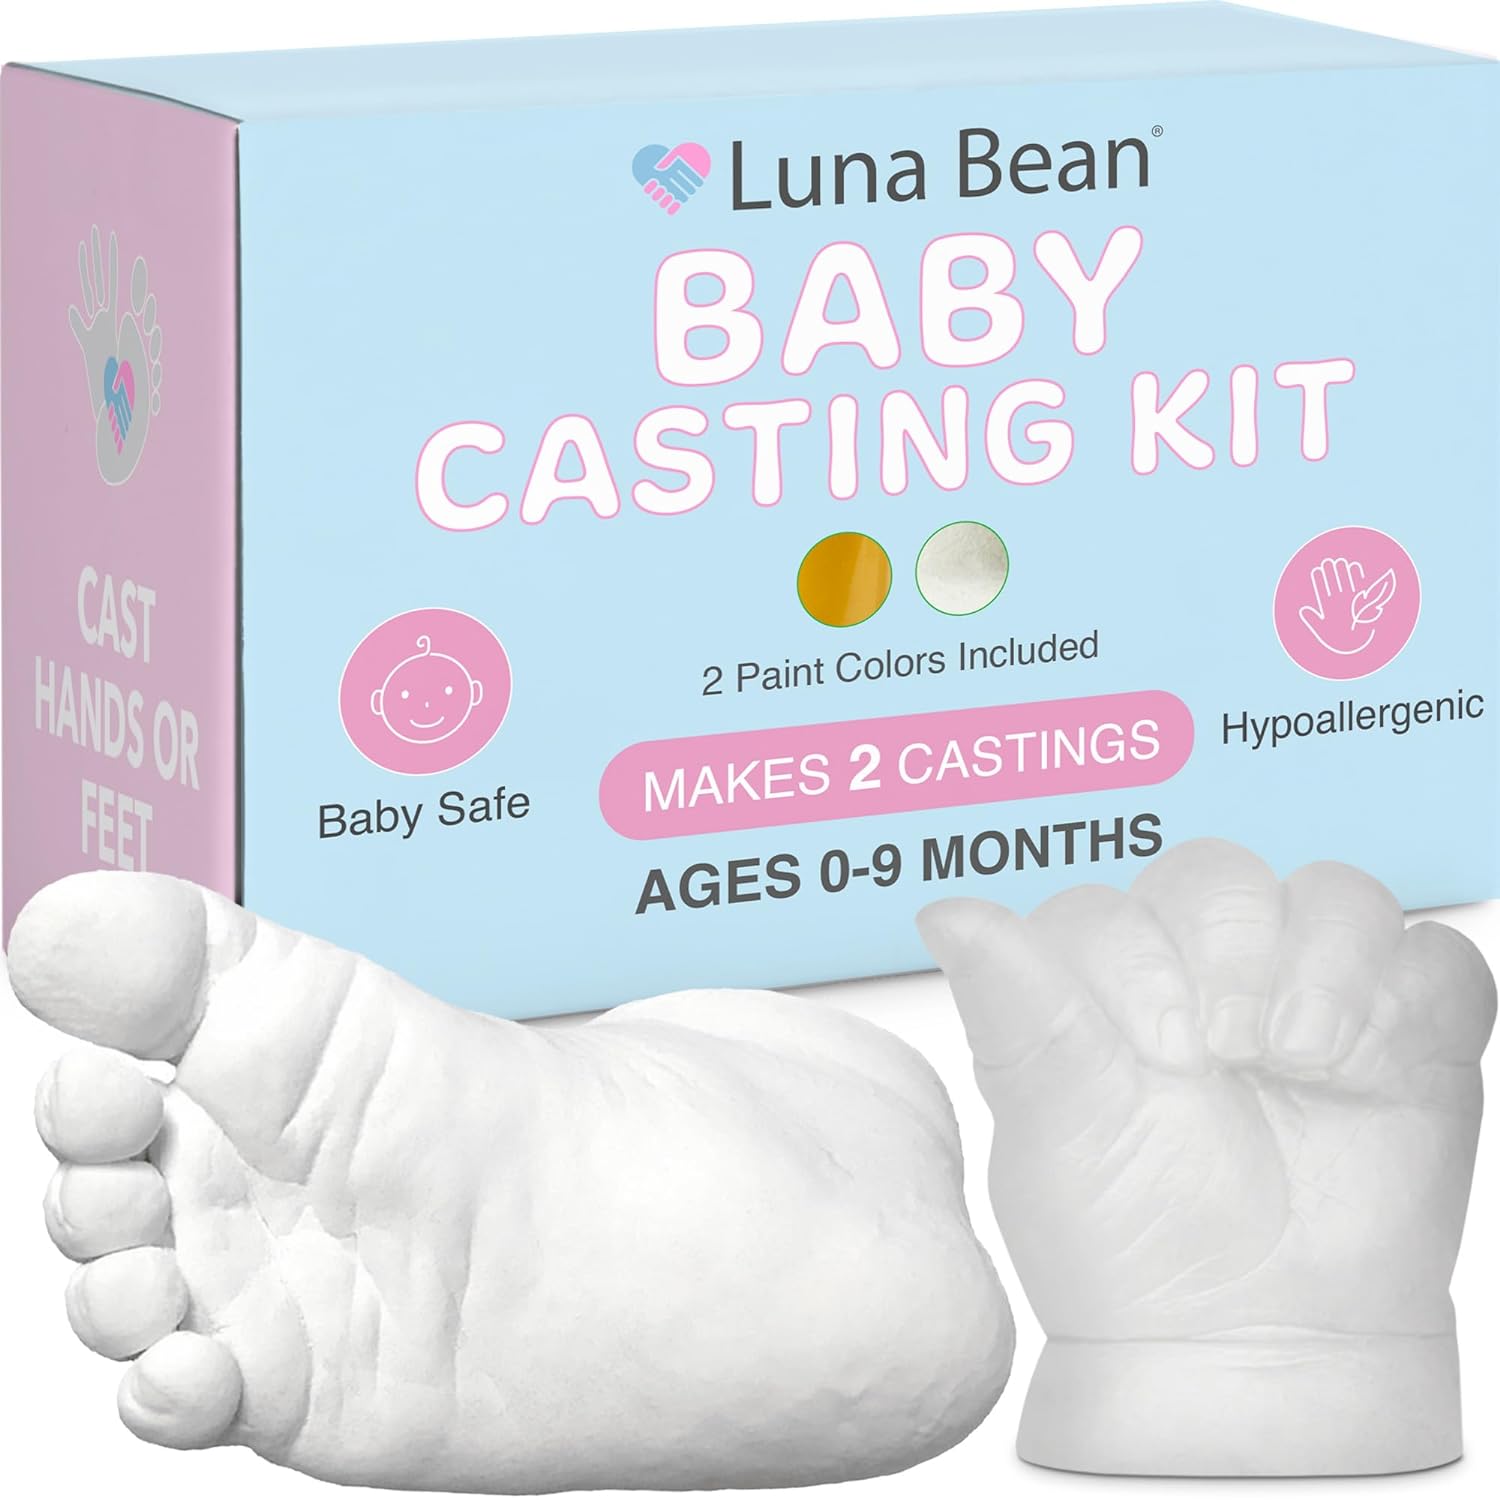
    Baby Casting Kit

    Creating a mold of your little one’s hand or foot is such a great keepsake!

    cool gifts for newborns baby burrito

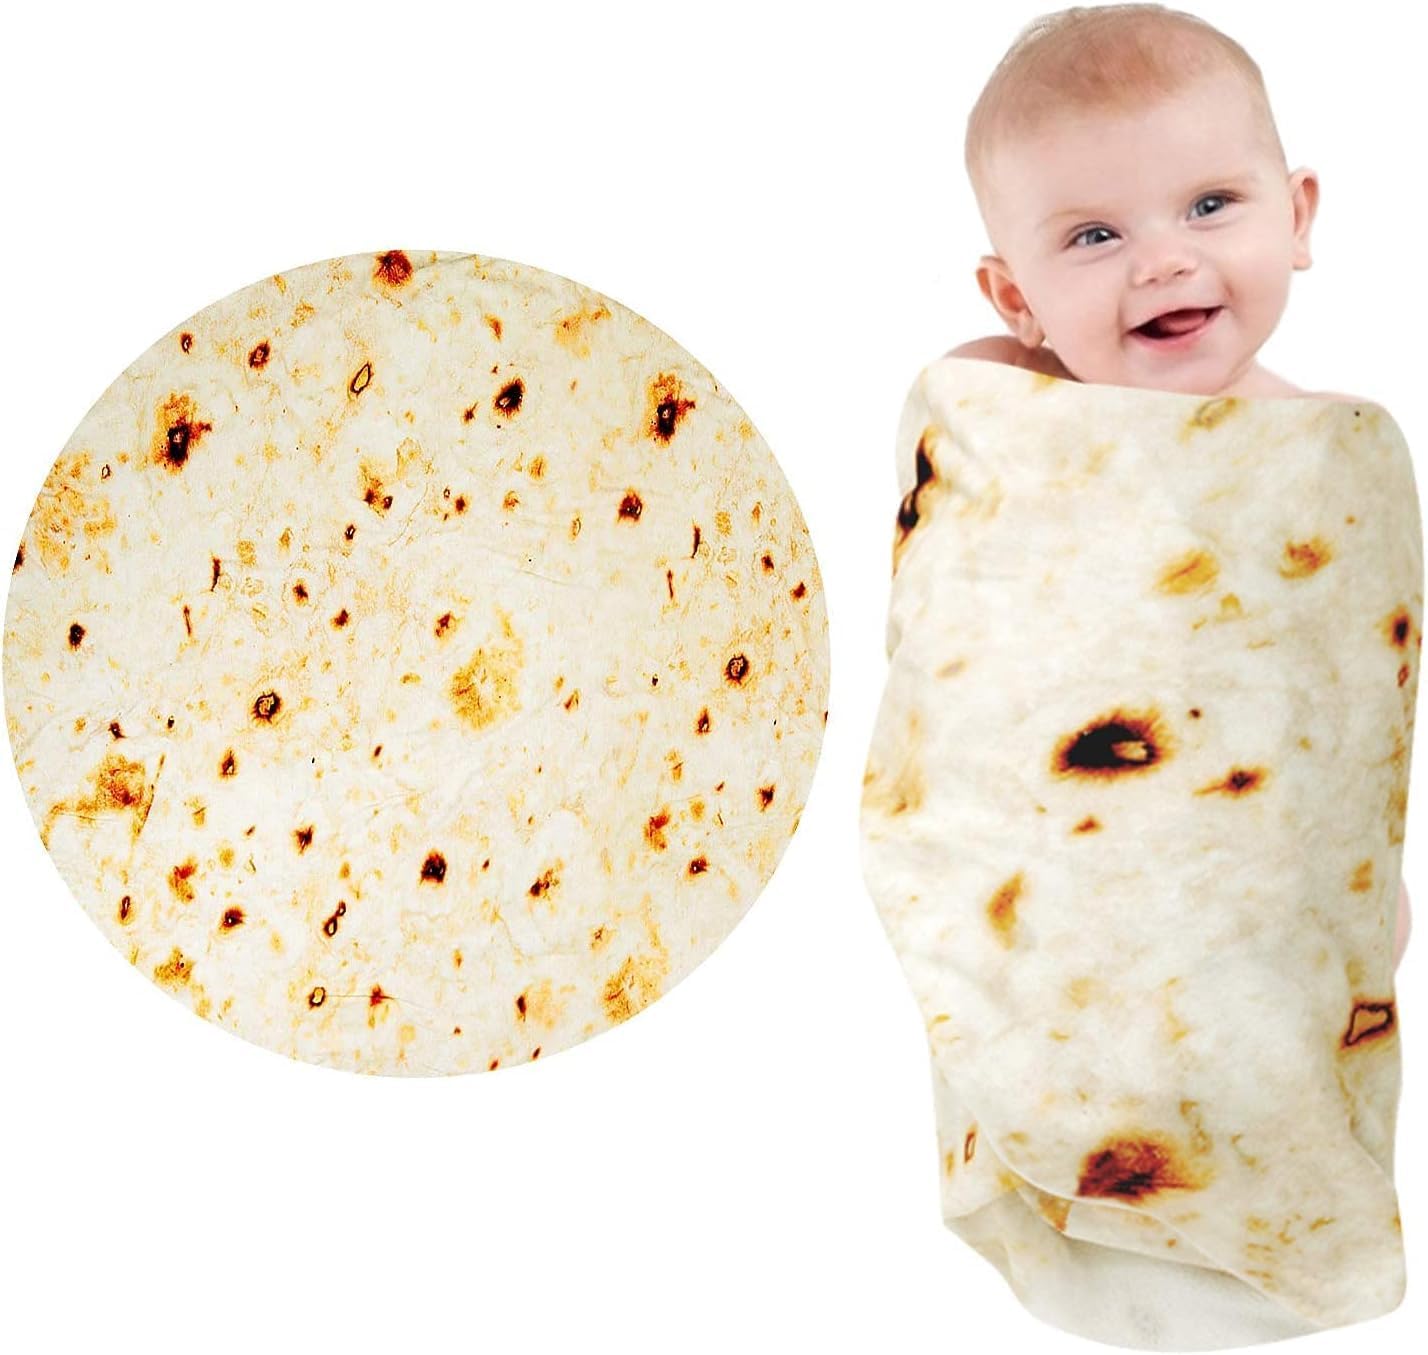
    Burrito Blanket

    This is a blanket that will be sure to give parents a laugh! There’s nothing cuter than a baby burrito!

    cool gifts for newborns diaper caddy and changing basket

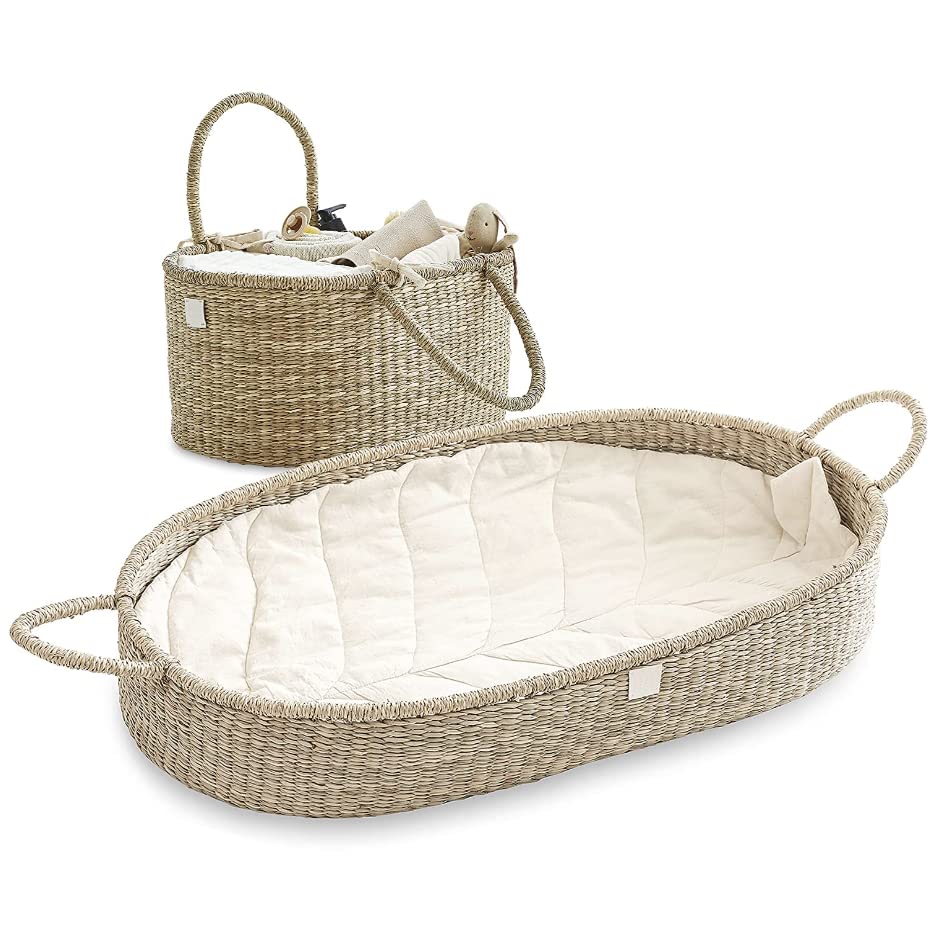
    Lux Diapering Set

    This gorgeous set includes a diaper caddy and changing basket – both made of organic seagrass!

    cool gifts for newborns baby ugg

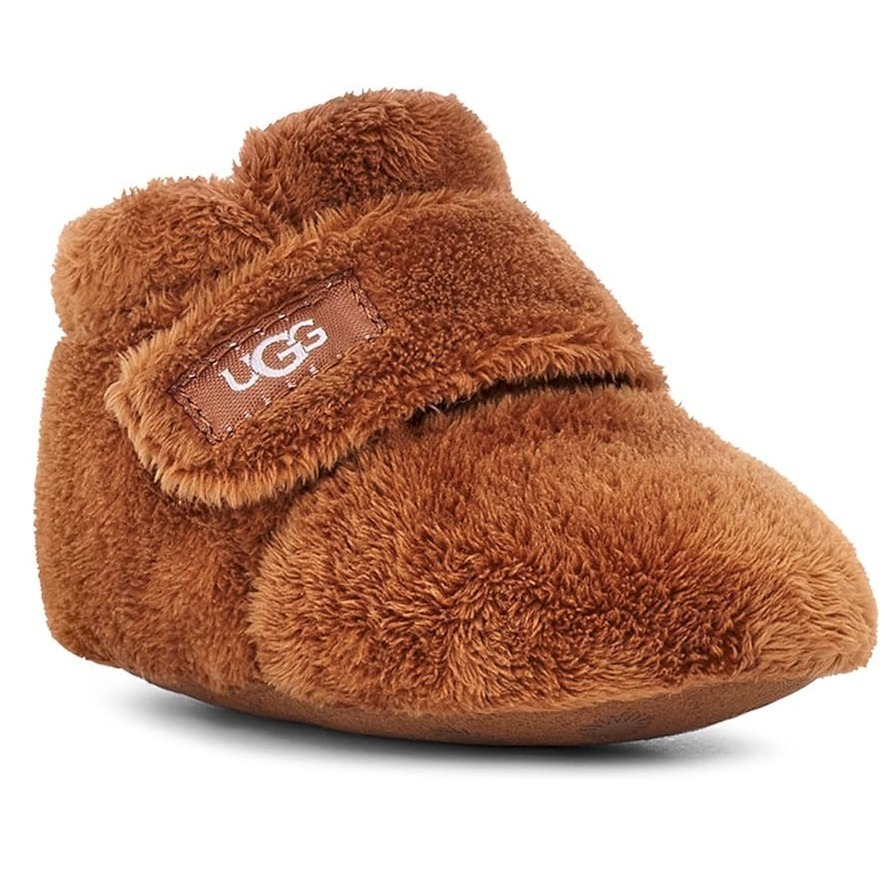
    Baby UGGs

    Keep those newborn toes warm, comfy, and stylish with these mini oh-so-adorable UGGs!

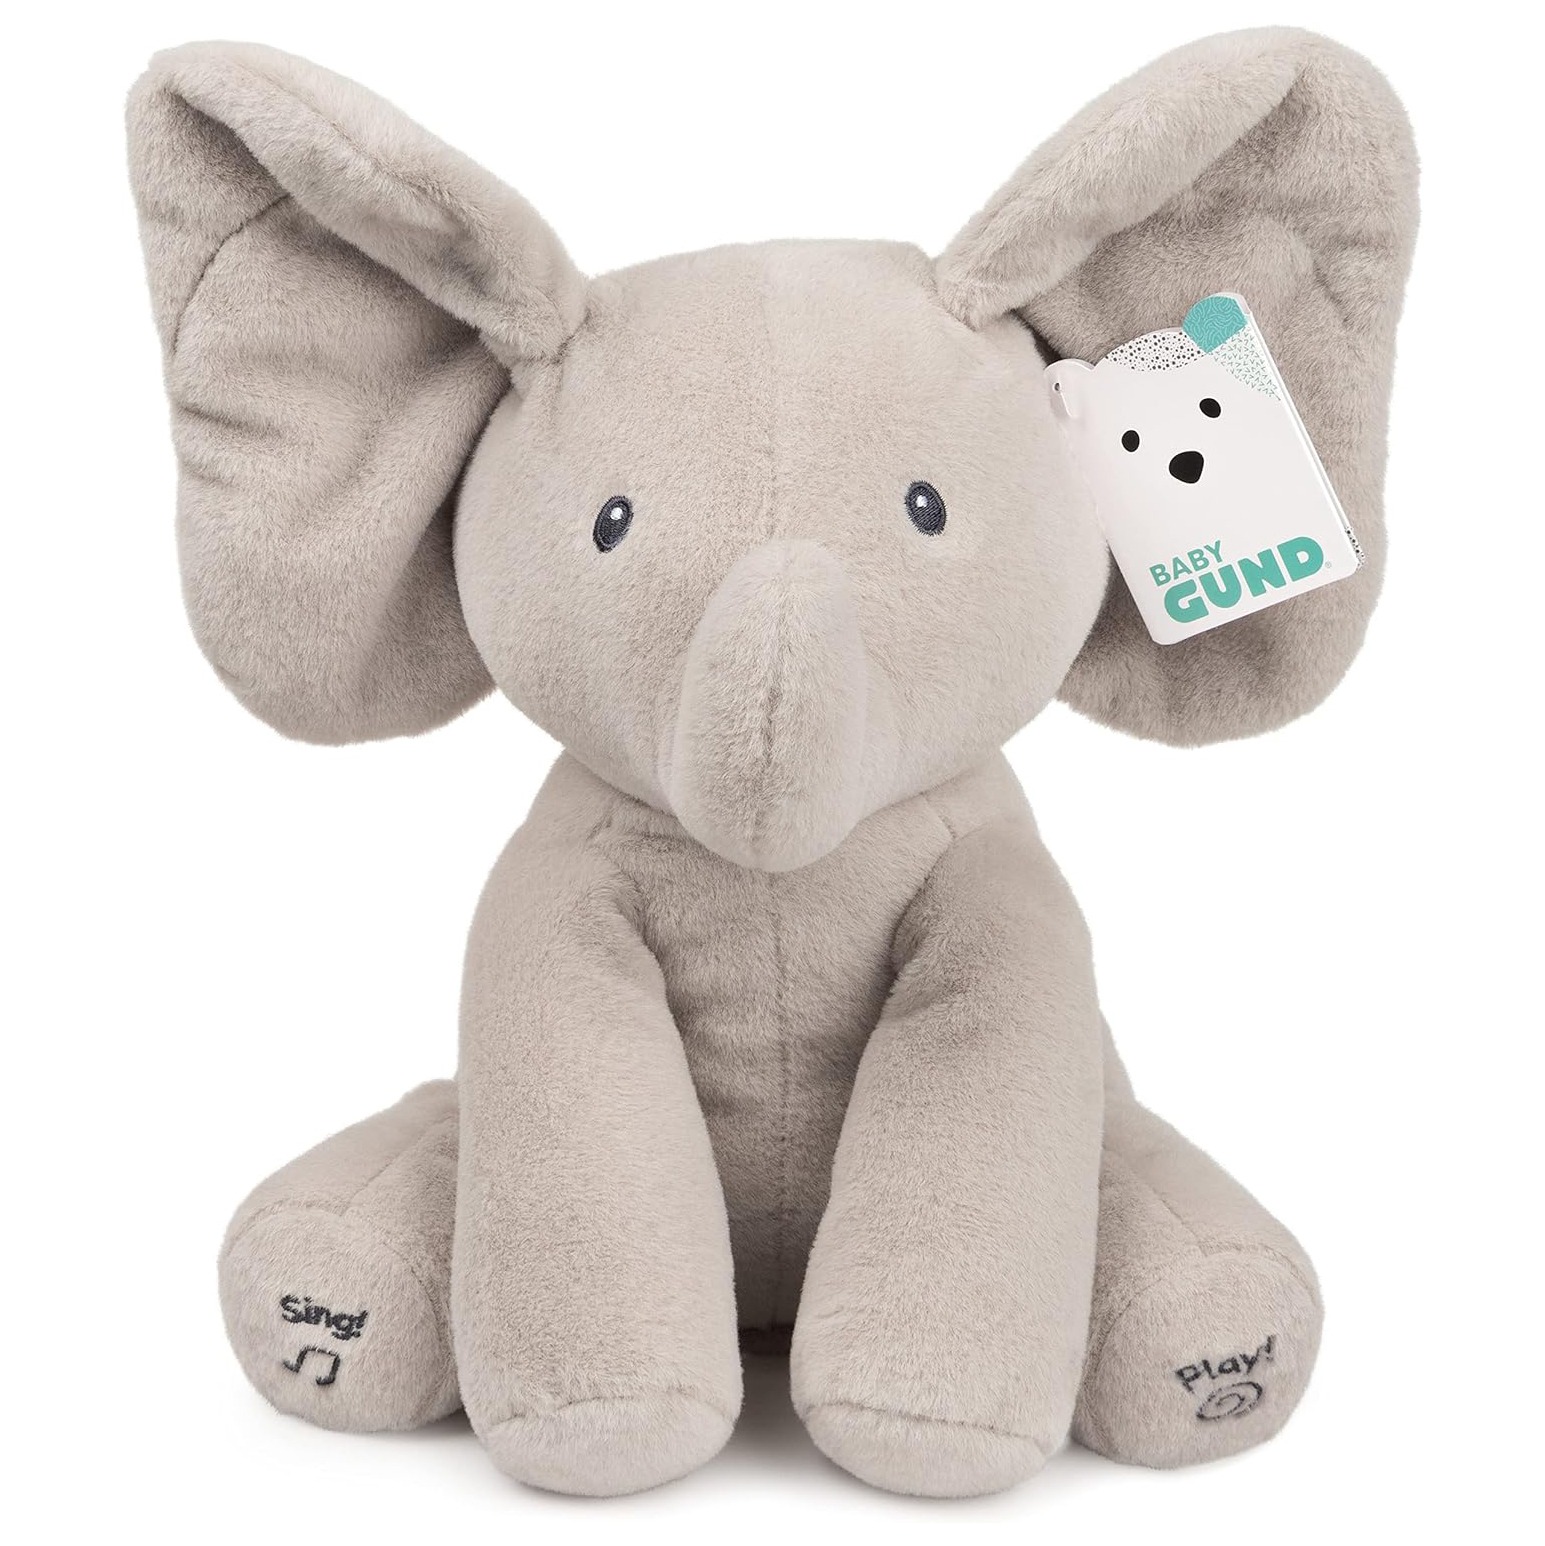
    cool gifts for newborns elephant toy

    Baby’s First Plushy!

    This interactive elephant plushy comes to life as it sings and plays peek-a-boo with it’s flapping ears!

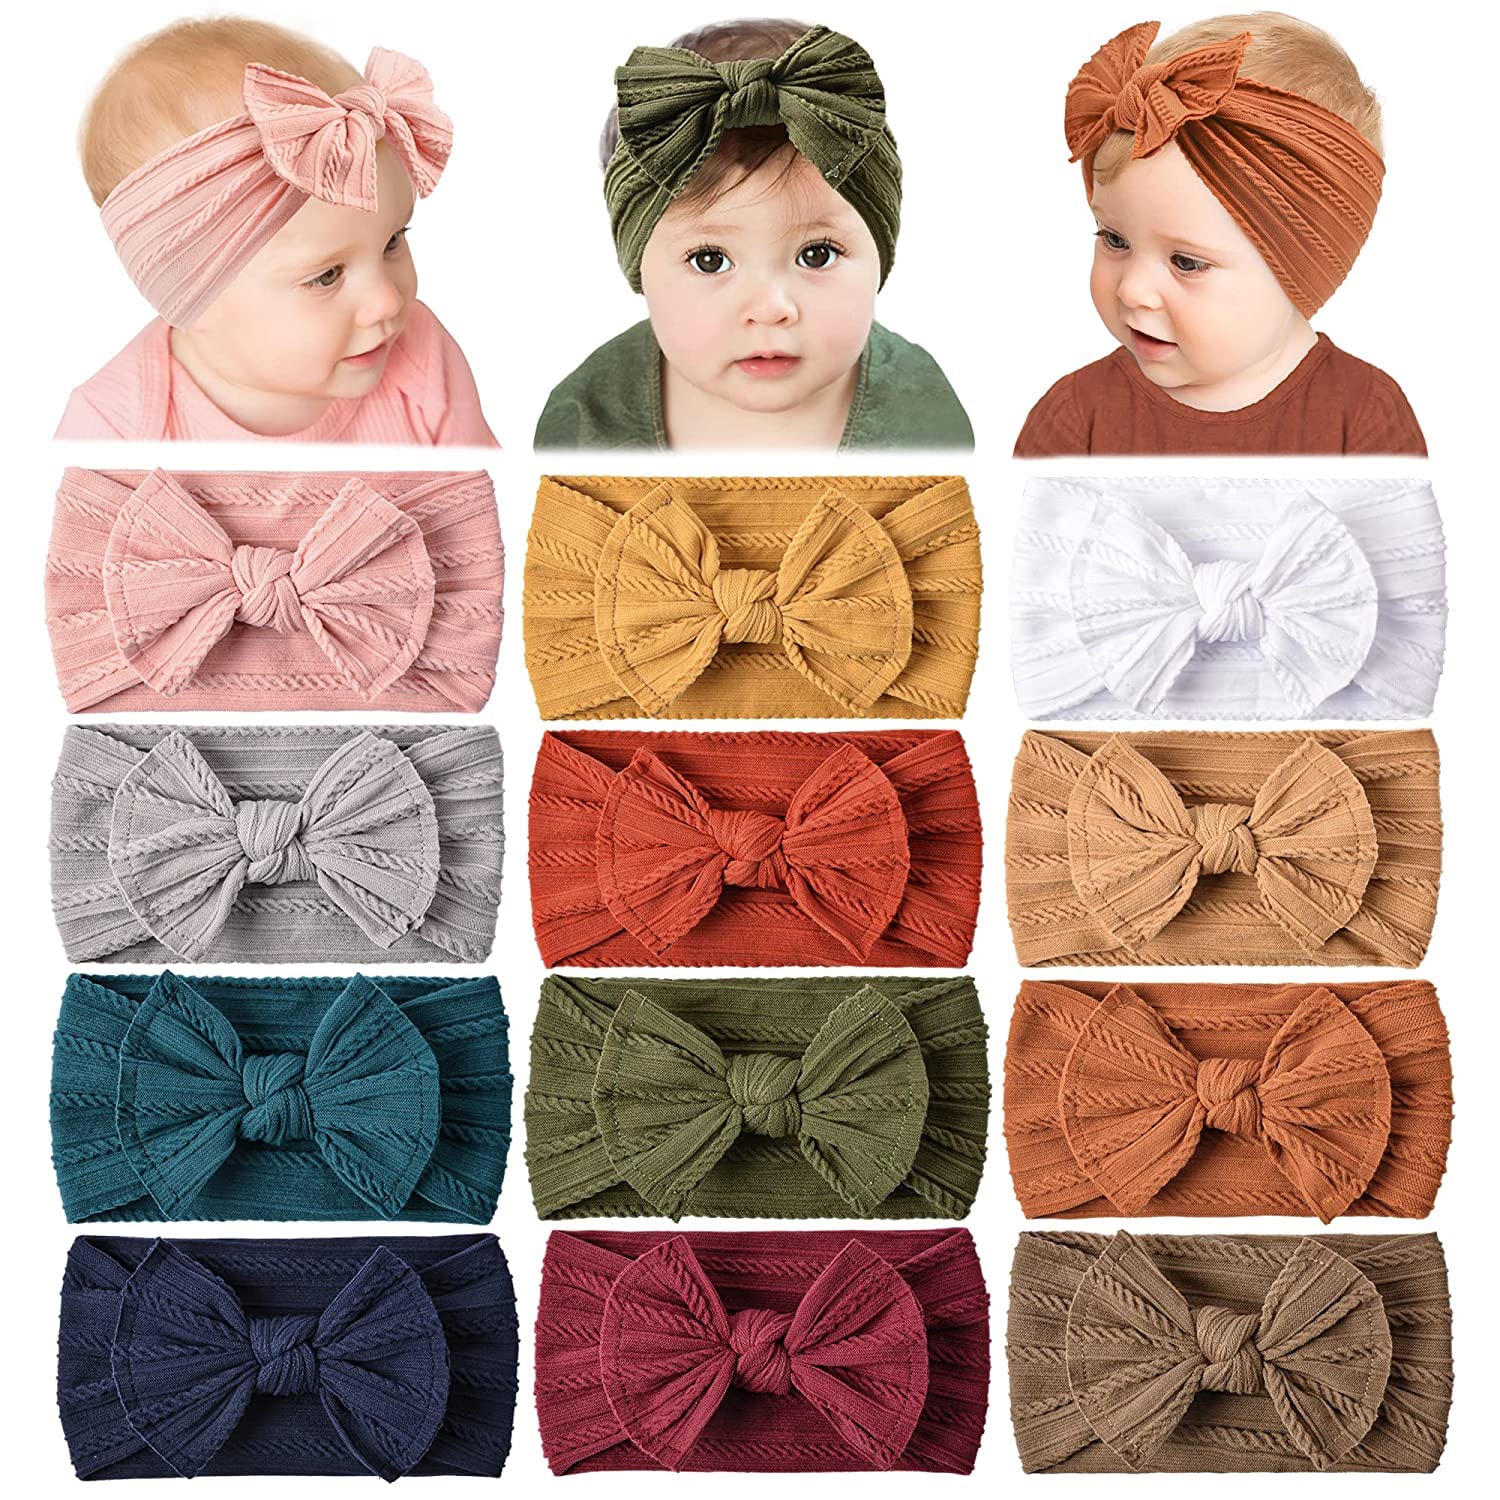
    cool gifts for newborns headband set

    Baby Headbands

    Don’t settle for one color! This set of nylon headbands ensures baby has a matching headband for any outfit!

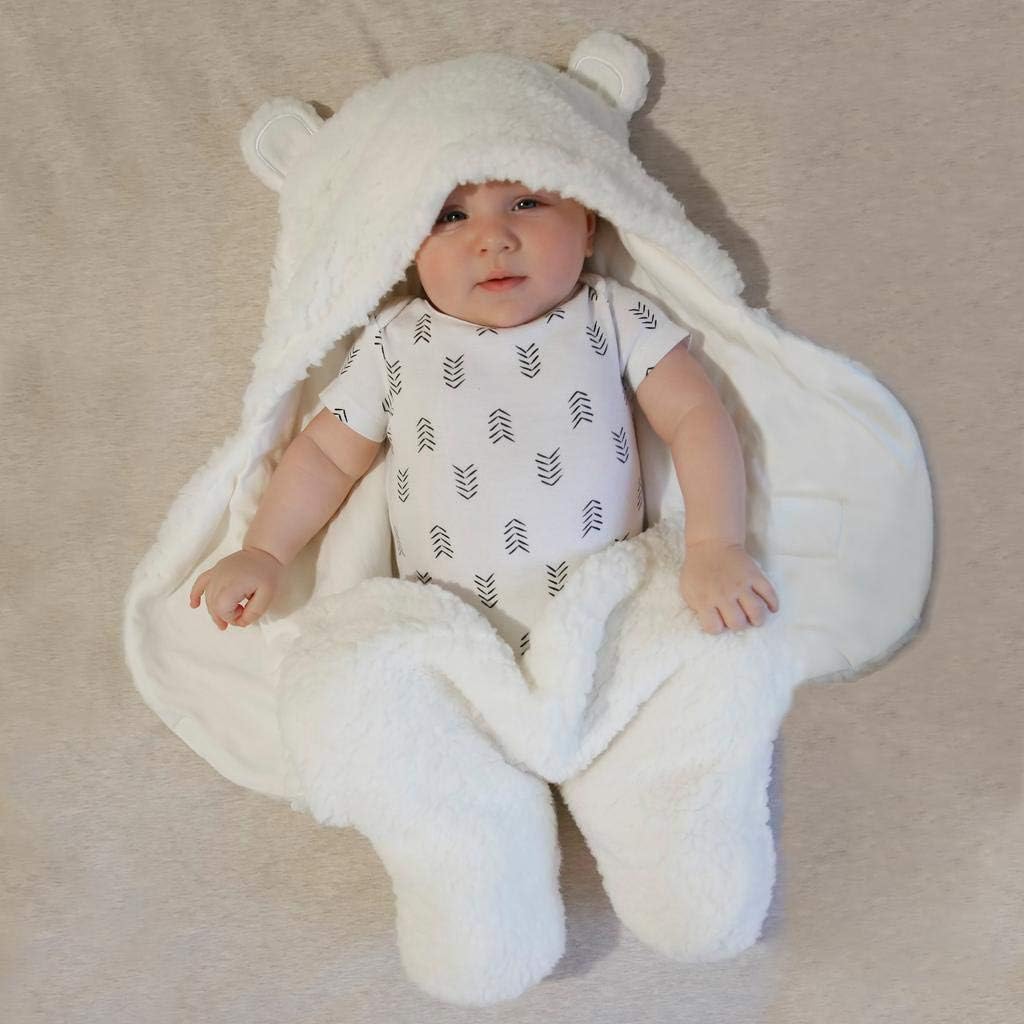
    cool gifts for newborns baby bear wrap

    Baby Bear Wrap

    Made with organic cotton and soft Sherpa – this is such a cute wait to bundle up baby!

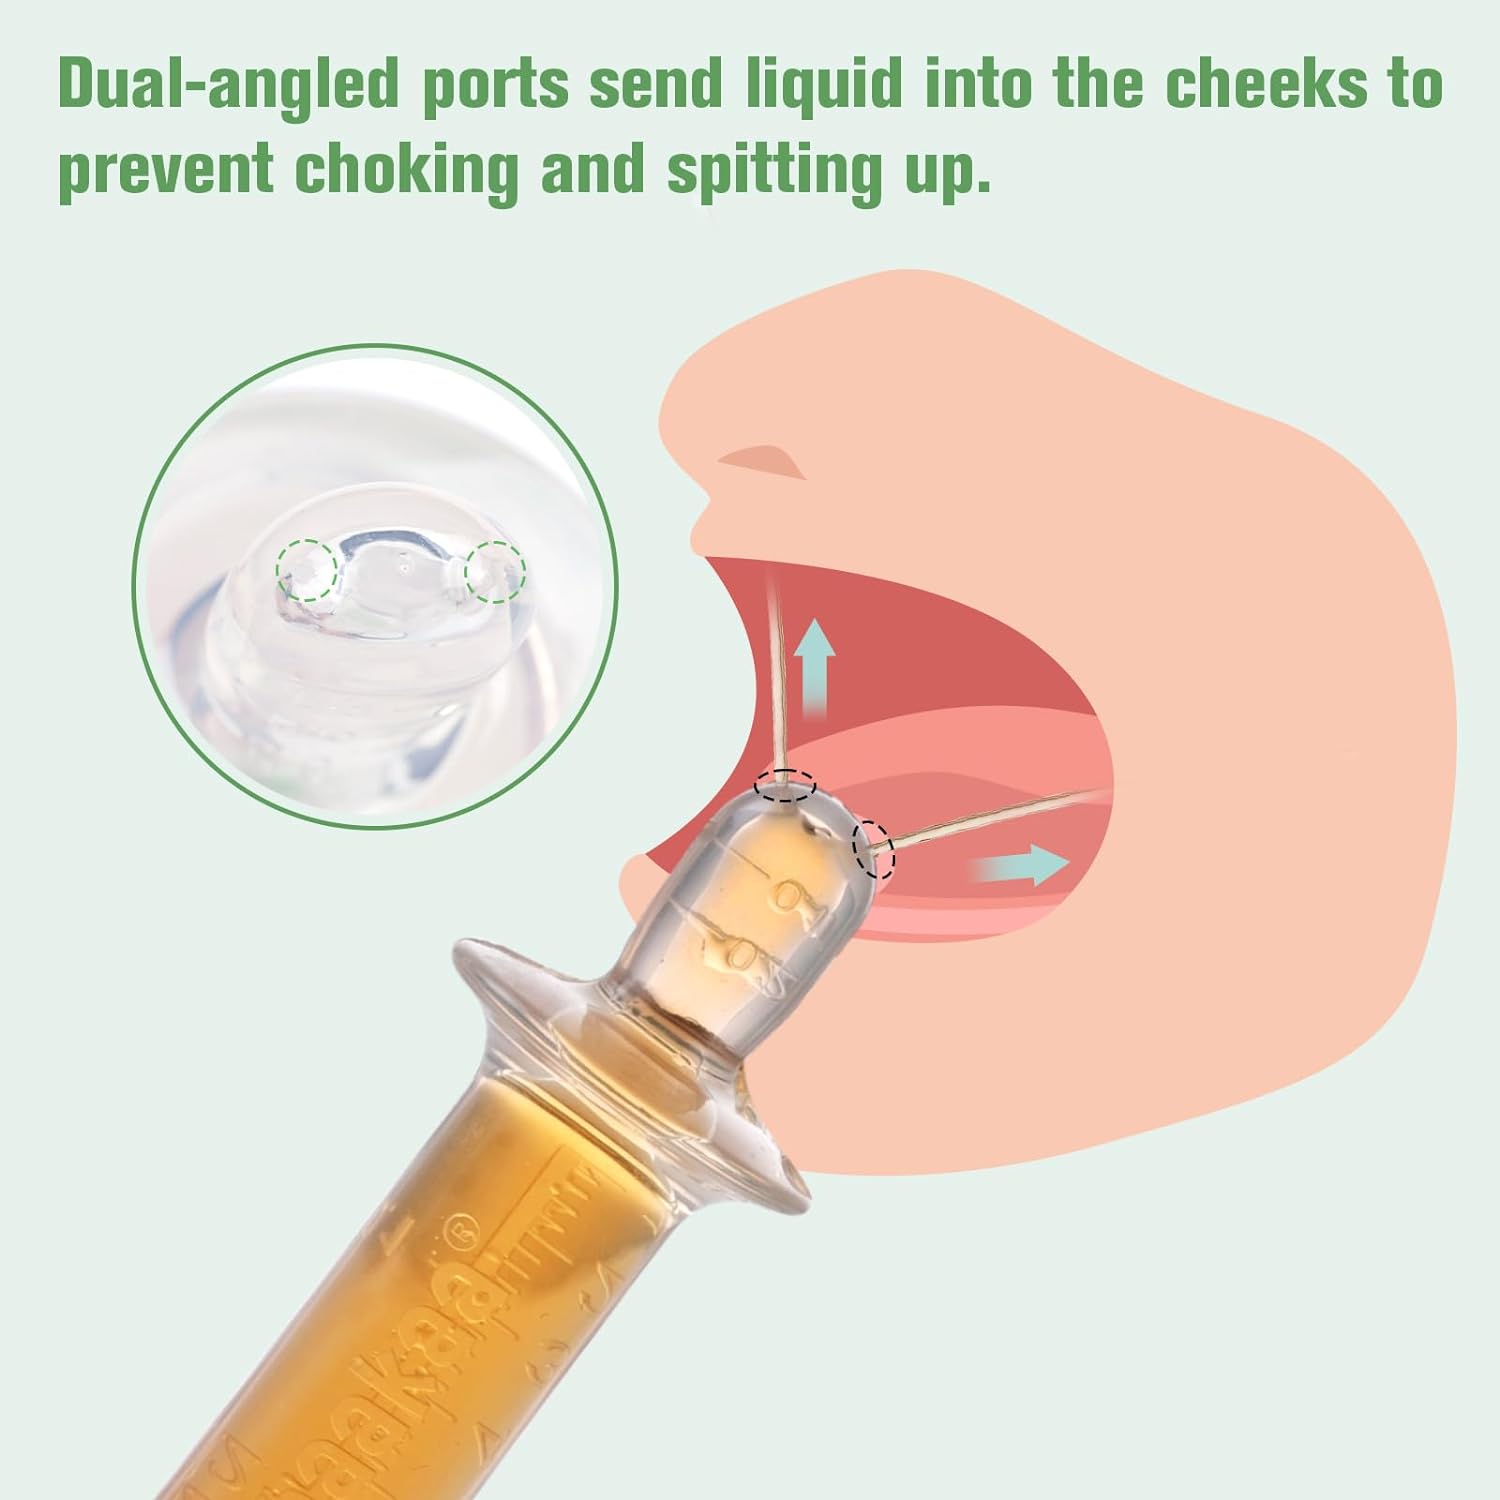
    pacifier syringe cool gifts for newborns

    Innovative Medicine Dispenser

    This pacifier syringe reduces choking risks by administering liquid to the cheeks instead of the back of the throat.

     Watch to See 3 of These Cool Gifts for Newborns in Action!

    Parenthood is a whirlwind of emotions, and being well-prepared makes the adventure even more enjoyable.

    In this video, watch to see a few items I’ve mentioned above in action! I’ve loved all of these products for my own babies because they make life with a newborn and baby easier. In the video you’ll see: the shopping cart hammock, spoon attachment that fits onto food pouches, and medicine dispenser specifically designed for babies!

    And if you’d like even more gift ideas for newborns (and their parents!) check out even more ideas here!

    As an Amazon Associate, I earn from qualifying purchases. This post may contain affiliate links. 


    Watch to See 3 of These Cool Gifts for Newborns in Action!

    Parenthood is a whirlwind of emotions, and being well-prepared makes the adventure even more enjoyable.

    In this video, watch tosee are a few items I’ve mentioned above and that  I’ve loved for my own babies that make life just slightly easier! They include: the shopping cart hammock, spoon attachment that fits onto food pouches, and medicine dispenser specifically designed for babies!

     And if you’d like even more gift ideas for newborns (and their parents!) check out even more ideas here!

    As an Amazon Associate, I earn from qualifying purchases. This post may contain affiliate links. 


    What’s Next?

    Sensory Bags for Babies – Helpful Tummy Time Distractions

    Sensory Bags for Babies – Helpful Tummy Time Distractions

    Sensory Bags for Babies – Helpful Tummy Time Distractions!

    These sensory bags for babies are so easy to make and are such a great distraction during tummy time. Here are 4 ways you can make them!

    These sensory bags for babies are so easy to make and are such a great tool to use during tummy time. Here are 4 ways you can make them! 

    Benefits of Sensory Bags for Babies

    Even babies can enjoy sensory play! Not only are these sensory bags for babies a fun distraction during that critical tummy time, but sensory play in general, is so beneficial for baby! This type of sensory play can help build neural connections in the brain as those young hands explore new textures, colors, and sounds.

    They will also strengthen hand-eye coordination, and generally, are great for baby’s rapidly developing vision.

    Tummy time will be a success as they will be so curious to see and try to feel what’s inside the bags!

    All activities should be supervised by an adult. As an Amazon Associate I earn from qualifying purchases. This post may contain affiliate links.


    Skills:
    Ages: 
    Prep Time:

    Watch How to Make Sensory Bags for Babies

    In this quick video, you’ll see how easy it is to make sensory bags for babies.

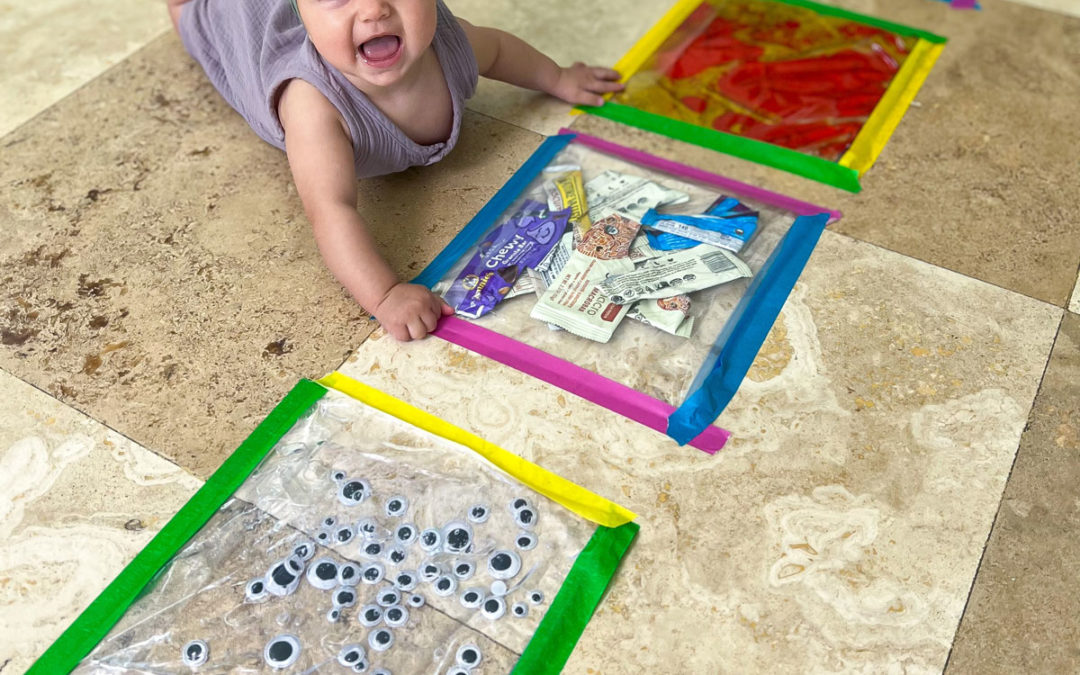
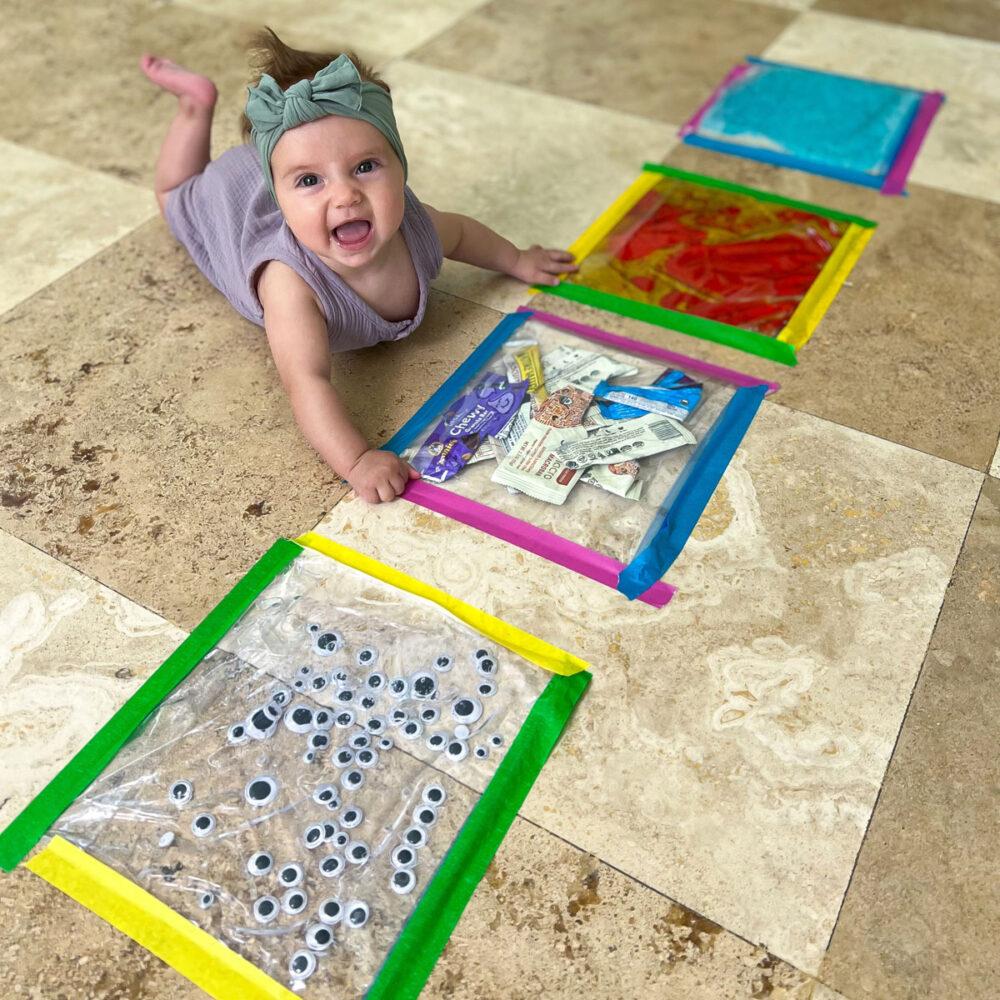
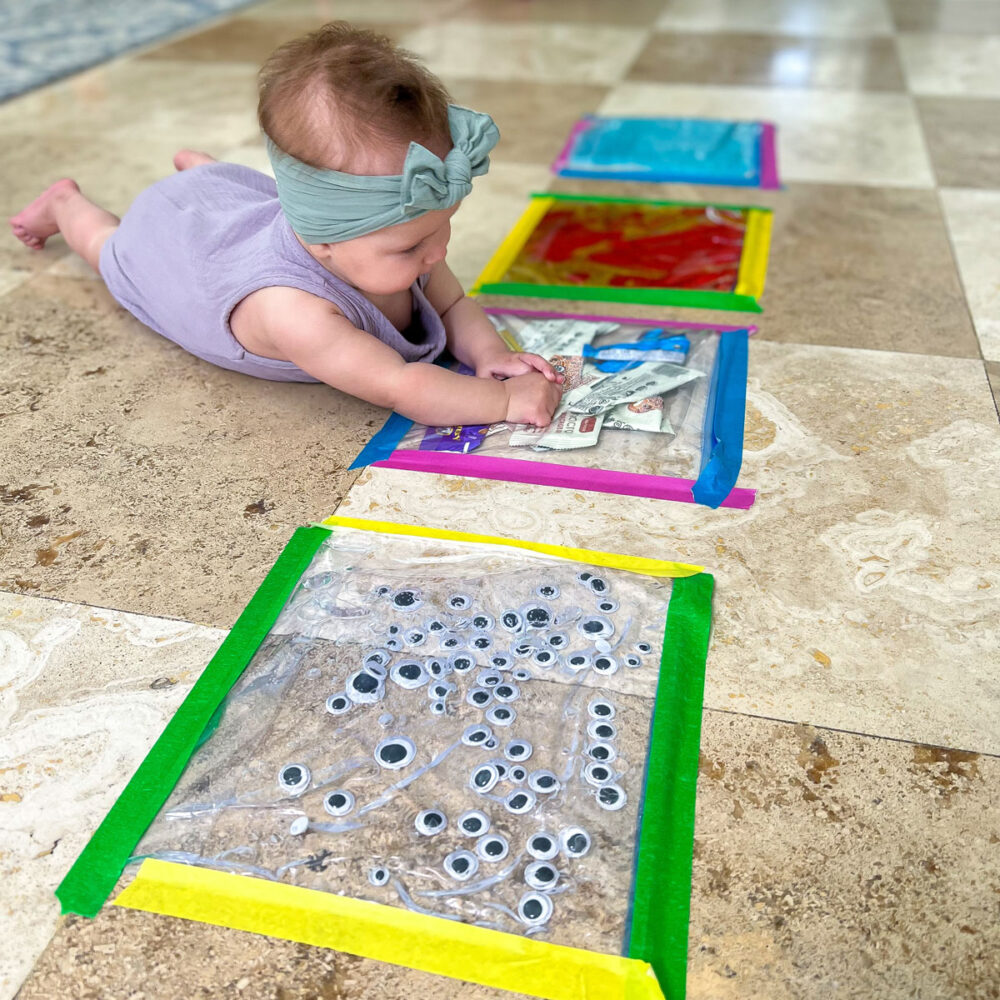
    The 4 bags I created were all based on items I had in my home, which included a bag filled up with cheap hair gel and googly eyes, one filled with water beads, another one filled with oil, water, and food coloring; and finally, one filled up with leftover wrappers that made a crinkly sound! 

    For more baby activities, visit our comprehensive list of ideas.

    These sensory bags for babies are so easy to make and are such a great distraction during tummy time. Here are 4 ways you can make them!

    Tips for Setting Up This Activity

    Use What You’ve Got! As mentioned above, these sensory bags for babies were made of items I found around the house (including granola bar wrapper trash!). They do not need to be fancy, so feel free to adapt them based on what is available! Water, oil, shaving cream, water beads, hair gel, rainbow rice, paint – anything that makes a great sensory base will work well in a sensory bag!

    Seal and Secure with Tape. For using sensory bags during tummy time, you’ll not only want to tape the plastic bags to the floor, but you’ll also want to first seal the zipper edge of the plastic bag with tape to prevent any spillage! Use an easy to remove masking tape for the floor, and something more strong like gorilla tape for sealing bags shut.

    Make the Bag Label-Free. Both acetone, aka nail polish remover, and rubbing alcohol will remove the white label found on most plastic bags!

    Materials

    Step-by-Step Instructions 

    Step 1

    Remove the label on plastic bags using nail polish remover.

    Step 2

    Fill up your sensory bags with different sensory materials including water beads or crinkly leftover granola wrappers! You can also fill one up with oil, water and food coloring. Or you could fill one up with cheap hair gel and something like googly eyes!


    Step 3

    Seal the bags shut with strong tape. This is especially important when using liquids. Plastic bag’s built in zipper are not fool proof and are prone to breaking, so this will help prevent a clean up headache!

    Step 4

    Tape the sensory bags to the ground so that baby can enjoy looking at them and touching them during tummy time without the bags sliding around!

    Step 1

    Remove the label on plastic bags using nail polish remover.

    Step 2

    Fill up your sensory bags with different sensory materials including water beads or crinkly leftover granola wrappers! You can also fill one up with oil, water and food coloring. Or you could fill one up with cheap hair gel and something like googly eyes!

    Step 3

    Seal the bags shut with strong tape. This is especially important when using liquids. Plastic bag’s built in zipper are not fool proof and are prone to breaking, so this will help prevent a clean up headache!

    Step 4

    Tape the sensory bags to the ground so that baby can enjoy looking at them and touching them during tummy time without the bags sliding around!

    Get Printable Black and White Patterns for Babies

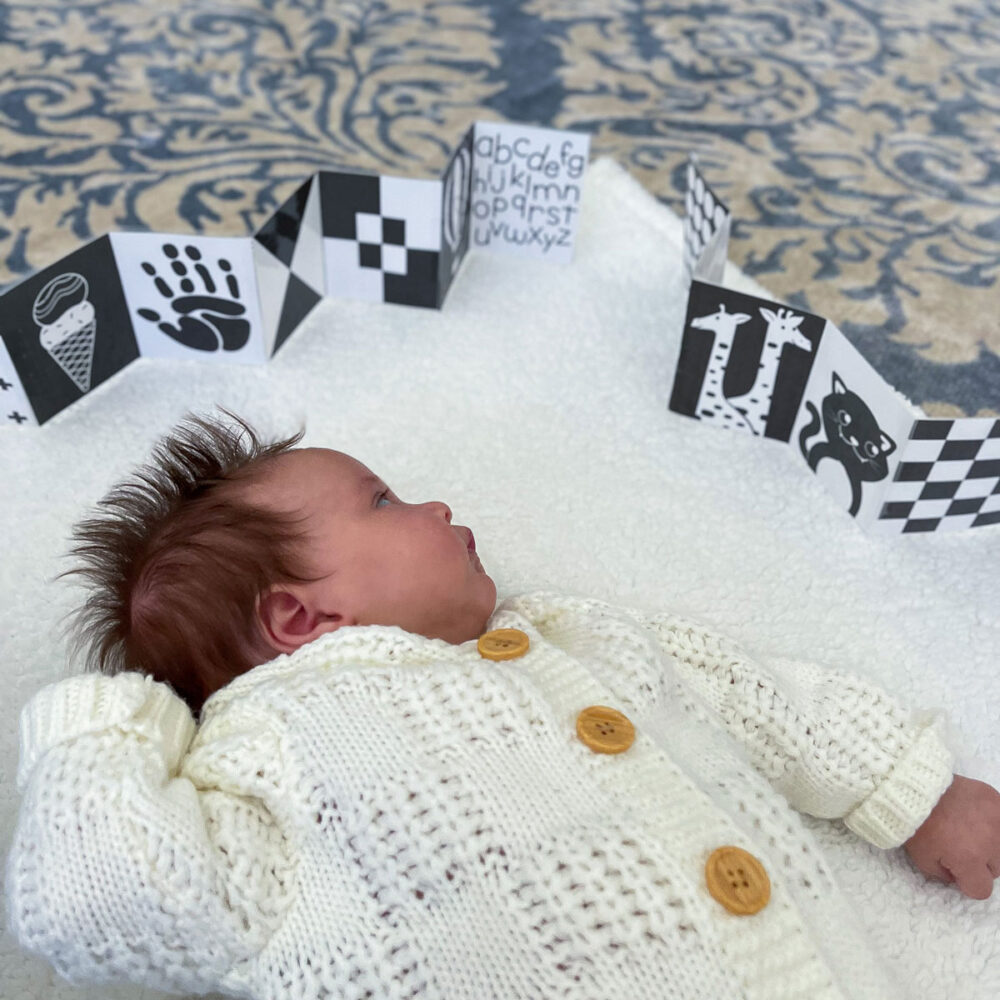
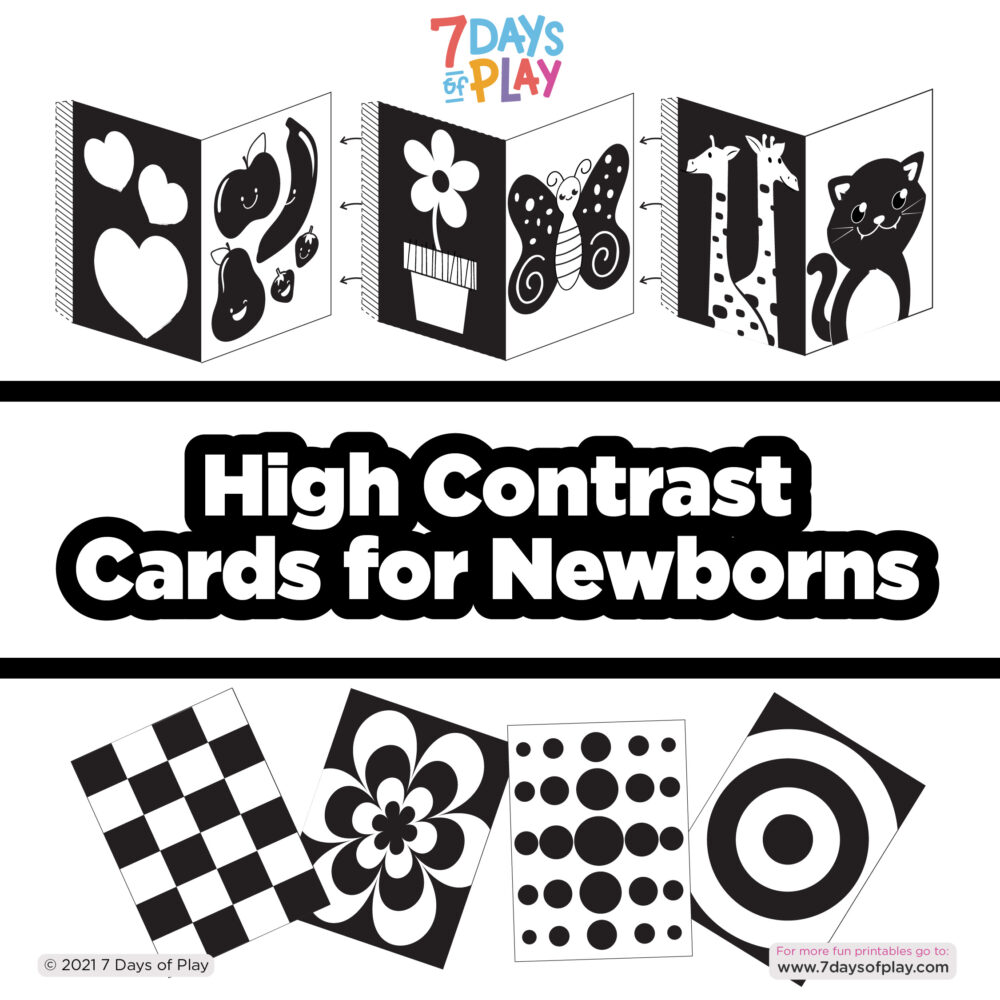
    Need more fun things to do with baby? This printable set of black and white cards for babies includes 12 different high contrast images. Plus, tape them together to make them stand up on their own – perfect for tummy time!

    Make sure that you are allowing your baby to view them at a close distance. Remember, everything gets very blurry after 12-15 inches away from them! 

    And for even more printable activities, visit our Printable Shop. It is filled with easy to set-up activities that help strengthen early childhood education skills!

    black and white high contrast stimulation cards for babies newborns free printable
    black and white high contrast stimulation cards for babies newborns free printable

    Get Printable Black and White Patterns for Babies

    Need more fun things to do with baby? This printable set of black and white cards for babies includes 12 different high contrast images. Plus, tape them together to make them stand up on their own – perfect for tummy time!

    Make sure that you are allowing your baby to view them at a close distance. Remember, everything gets very blurry after 12-15 inches away from them! 

    And for even more printable activities, visit our Printable Shop. It is filled with easy to set-up activities that help strengthen early childhood education skills!

    Top Baby Toy Picks

    Here are a few of our top picks for toys that are great for baby development!

    black and white baby activities

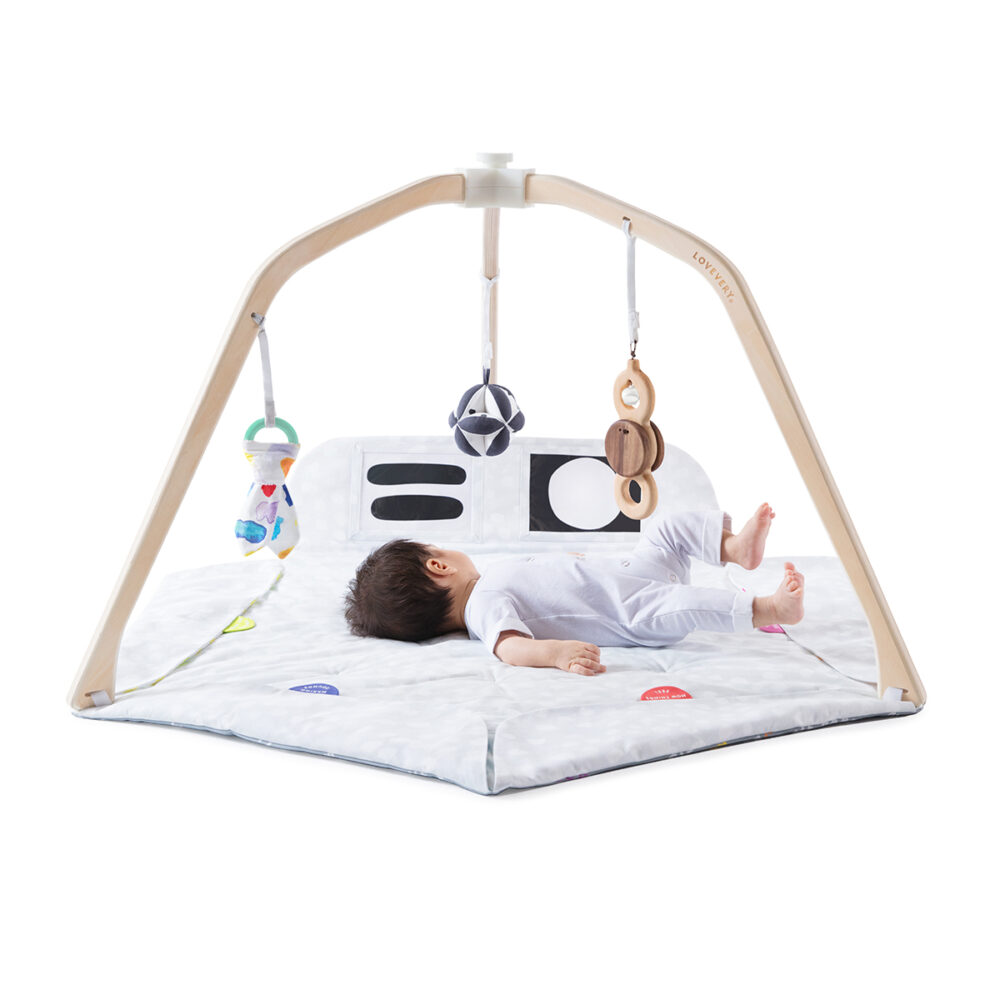
    Play Gym

    This item is the ultimate play gym for babies with multi-sensory areas, 3 rattles, and lots of black and white cards!

    black and white baby activities

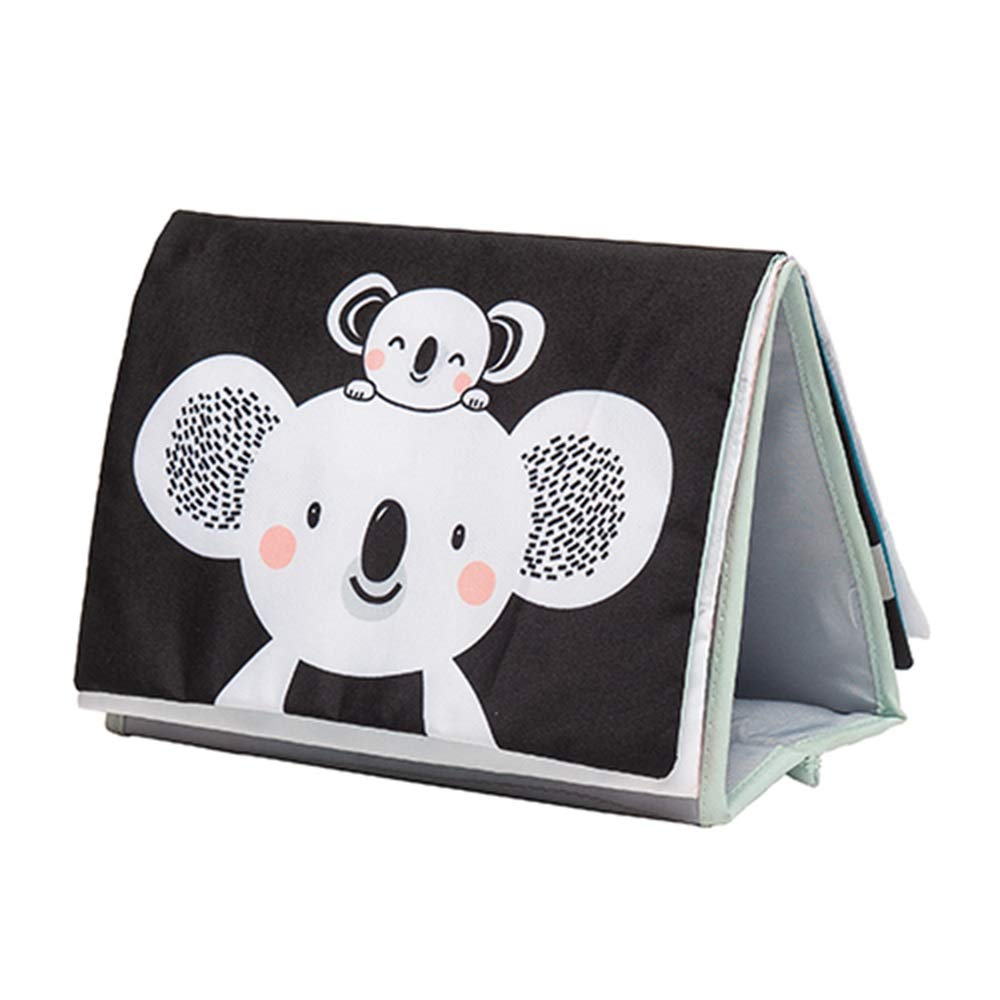
    Crinkle Activity Book

    This black and white activity book includes a mirror as well as black and white images that prop up easily.

    sensory play for babies

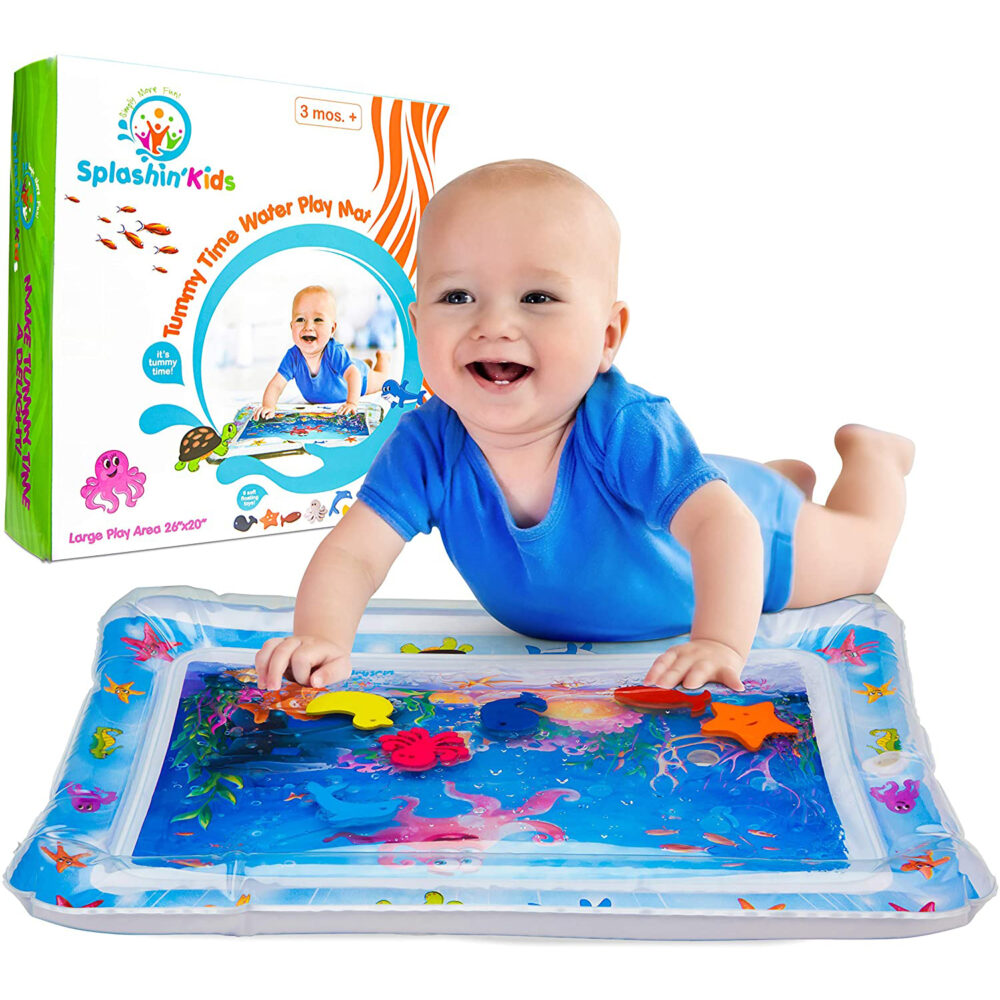
    Tummy Time Splash-Free Mat

    This mess-free aquatic themed water mat is great for tummy time and strengthening baby’s neck and shoulders! 

    baby toy ball

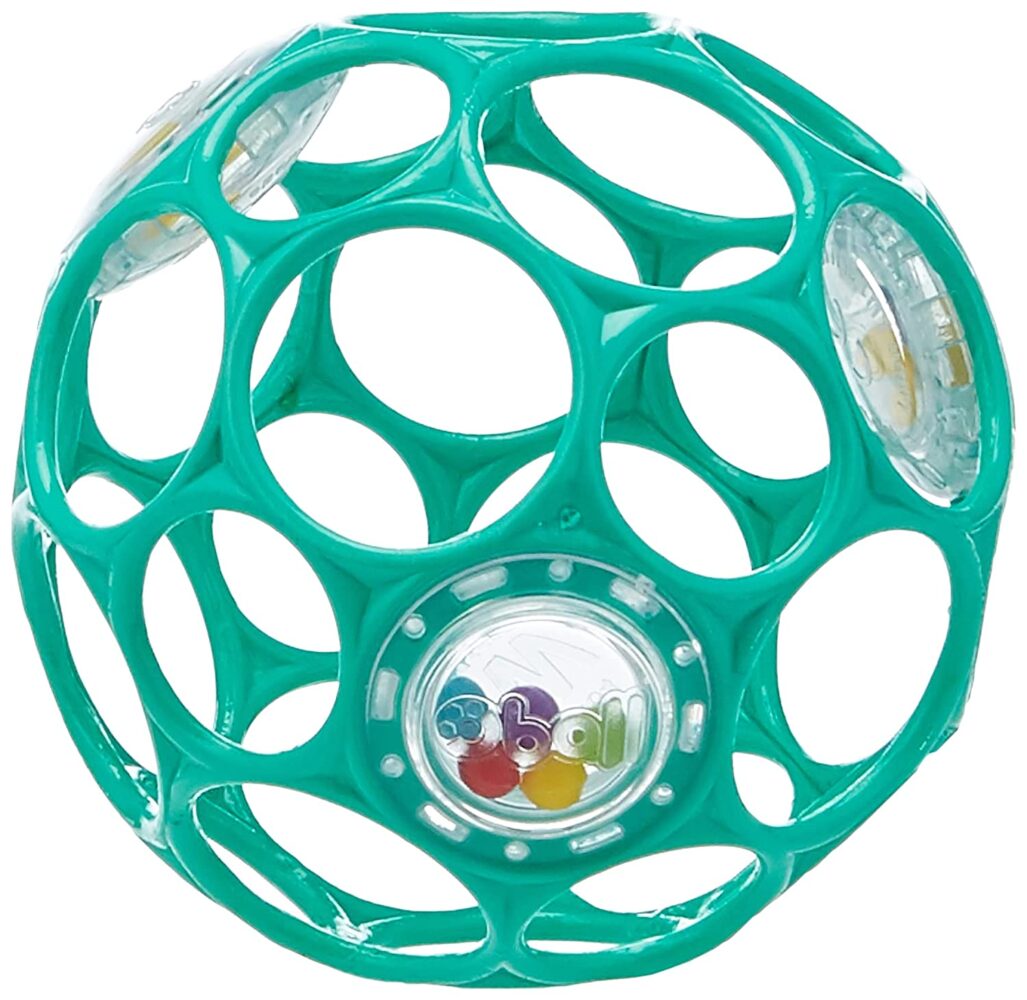
    Baby’s 1st Ball

    This easy to grasp ball is perfect for young babies just learning how to hold objects and later transfer them from hand to hand.

    What’s Next?

    DIY Baby Toy – How to Make Sensory Wrist Bands

    DIY Baby Toy – How to Make Sensory Wrist Bands

    DIY Baby Toy – How to Make Sensory Wrist Rattles

    diy baby toy how to make black and white wrist rattles

    This DIY baby toy is so easy to make! Babies will enjoy exploring the high contrast colors and jingly sounds of these homemade rattles that can be placed on their wrists or feet! 

    Benefits of this DIY Baby Toy

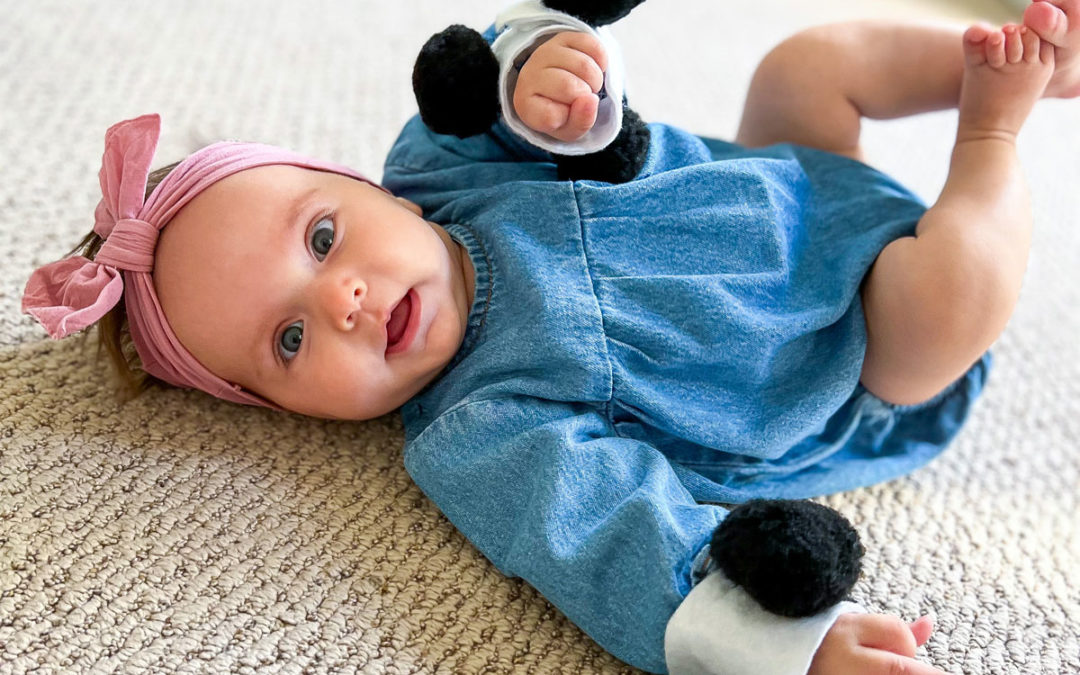
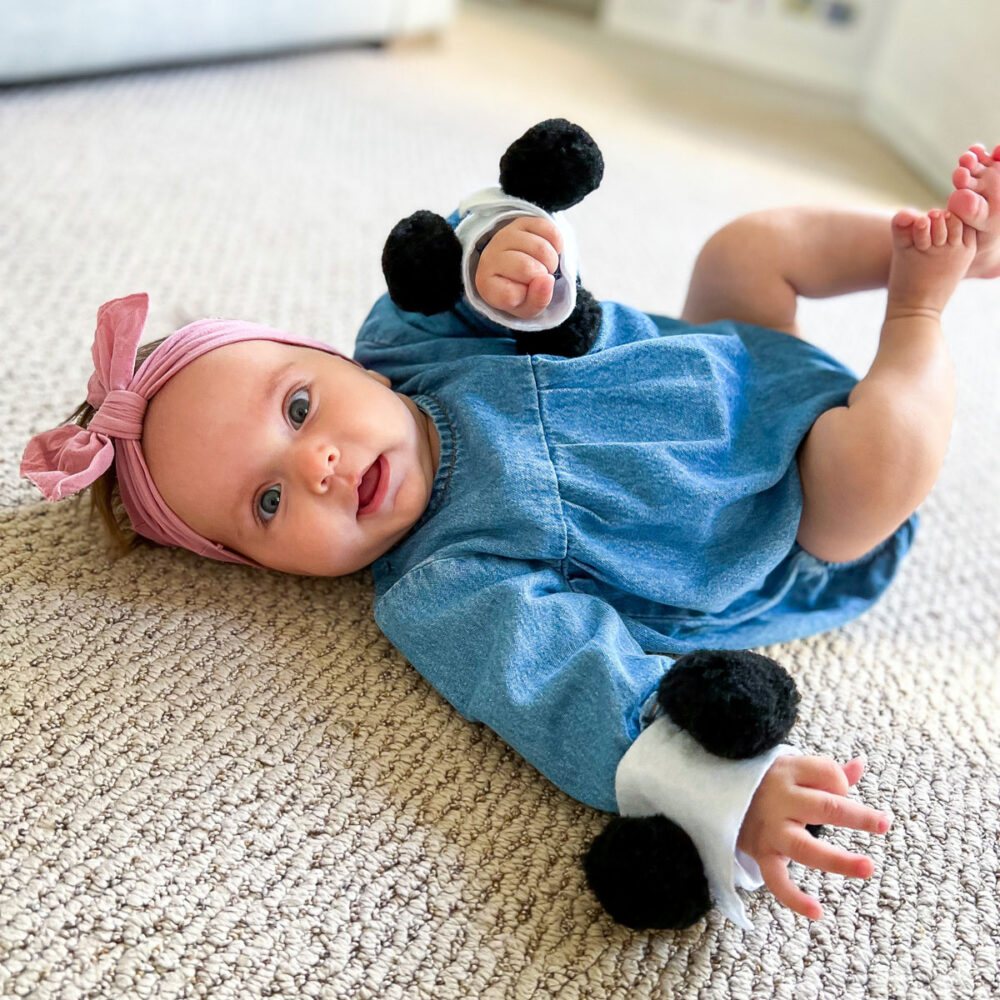
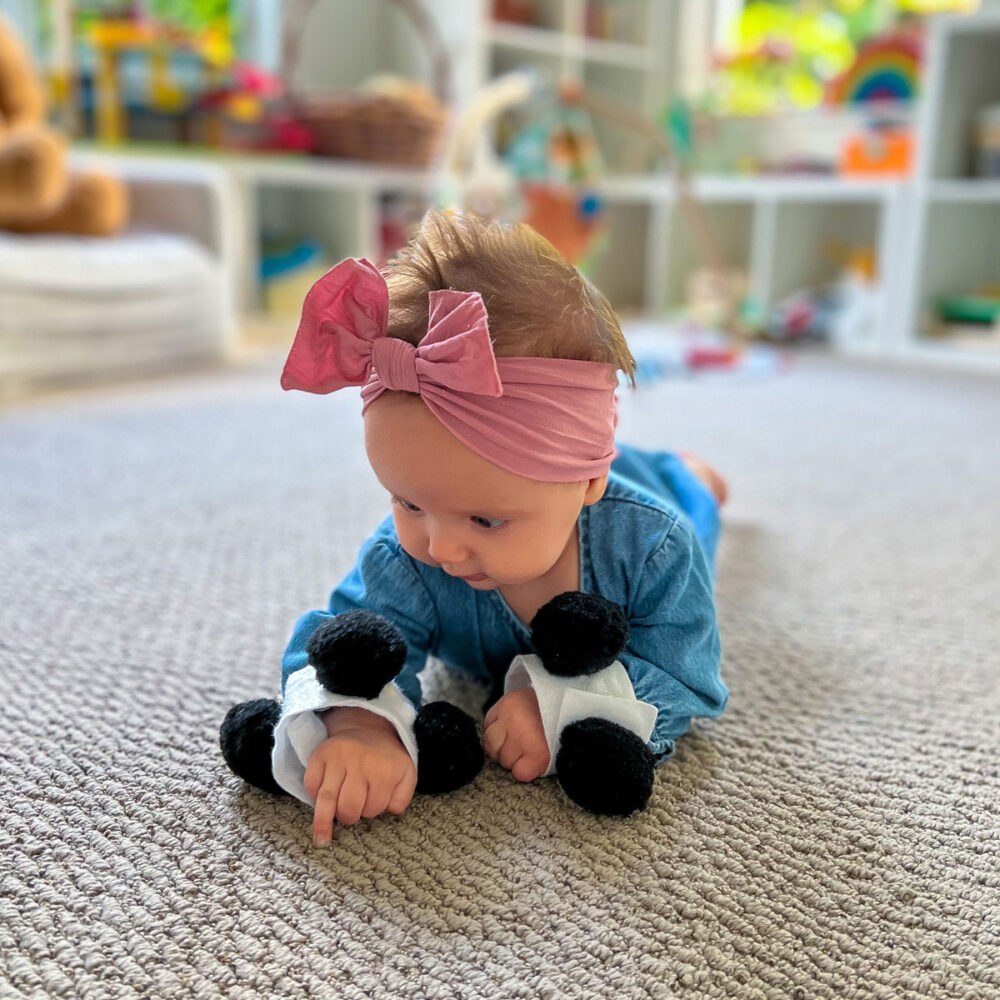
    Around 2 months, babies begin to discover their hands. This DIY baby toy is a great way for babies to continue to explore those hands and develop their strength through sound and high contrast colors! With bells enclosed inside the felt band, they can hear rattling. Plus, the high contrast colors of the white band with the black jumbo pom poms is great for vision development in babies.

    The wrist bands attach with velcro making them easy to put on and off by adults, but not easy for babies to take off! So they perfect for bringing on-the-go because they are secure and won’t be easily lost!

    All activities should be supervised by an adult. As an Amazon Associate I earn from qualifying purchases. This post may contain affiliate links.


    Skills:
    Ages: 
    Prep Time:

    Watch How to Make This DIY Baby Toy

    In this quick video, you’ll see how easy this DIY baby toy is to make!

    We attached them to the wrist, but you could make them for the feet too! I used high contrast colors because they are great for younger babies, but you could also use other more vibrant colors especially for older babies whose vision is more developed.

    For more baby activities, visit our comprehensive list of ideas

    diy baby toy how to make black and white wrist rattles

    Tips for Setting Up This Activity

    Extra Large Pom Poms. As babies develop their hand control, they usually bring them straight to their mouths. This is why using extra large pom poms, 1.75 inches and larger, is important to avoid any concerns for choking hazards.

    Parts Need to Be Secured. The bells inside the velcro straps need to be firmly secured as they are small parts and it would be very dangerous if they were to get loose. Therefore, strong glue must be used or, alternatively, the pieces can be sewed together. Either way, supervision is required at all times.

    Wake Windows. A wake window is that short time in between feeding and sleeping (or being changed!). Between 0-12 weeks wake windows can be between 60-75 minutes and up to 2 hours by 4 months. During this time, babies will benefit greatly from activities like this that not only stimulate their bodies, but their brains too. Be sure to grab these moments during the wake windows or else baby may get tired and cranky and may not want to play!

    Materials

    Step-by-Step Instructions 

    Step 1

    Firmly secure bells onto a strip of felt.

    Step 2

    Glue another strip of felt on top to enclose the bells.


    Step 3

    Glue extra large pom poms onto the felt band.

    Step 4

    Use velcro stickers on the ends so that the band can open and close around baby’s wrist.

    Step 1

    Firmly secure bells onto a strip of felt.

    Step 2

    Glue another strip of felt on top to enclose the bells.

    Step 3

    Glue extra large pom poms onto the felt band.

    Step 4

    Use velcro stickers on the ends so that the band can open and close around baby’s wrist.

    Get FREE Printable Black and White Patterns for Babies

    Need more fun things to do with baby? This free printable set of black and white cards for babies includes 12 different high contrast images. Plus, tape them together to make them stand up on their own – perfect for tummy time!

    Make sure that you are allowing your baby to view them at a close distance. Remember, everything gets very blurry after 12-15 inches away from them! 

    And for even more printable activities, visit our Printable Shop. It is filled with easy to set-up activities that help strengthen early childhood education skills!

    black and white high contrast stimulation cards for babies newborns free printable
    black and white high contrast stimulation cards for babies newborns free printable

    Get FREE Printable Black and White Patterns for Babies

    Need more fun things to do with baby? This free printable set of black and white cards for babies includes 12 different high contrast images. Plus, tape them together to make them stand up on their own – perfect for tummy time!

    Make sure that you are allowing your baby to view them at a close distance. Remember, everything gets very blurry after 12-15 inches away from them! 

    And for even more printable activities, visit our Printable Shop. It is filled with easy to set-up activities that help strengthen early childhood education skills!

    More High Contrast Activities

    Here are my top picks for more ways babies can play with black and white!

    black and white baby activities

    Play Gym

    This item is the ultimate play gym for babies with multi-sensory areas, 3 rattles, and lots of black and white cards!

    black and white baby activities

    Crinkle Activity Book

    This black and white activity book includes a mirror as well as black and white images that prop up easily.

    black and white baby activities

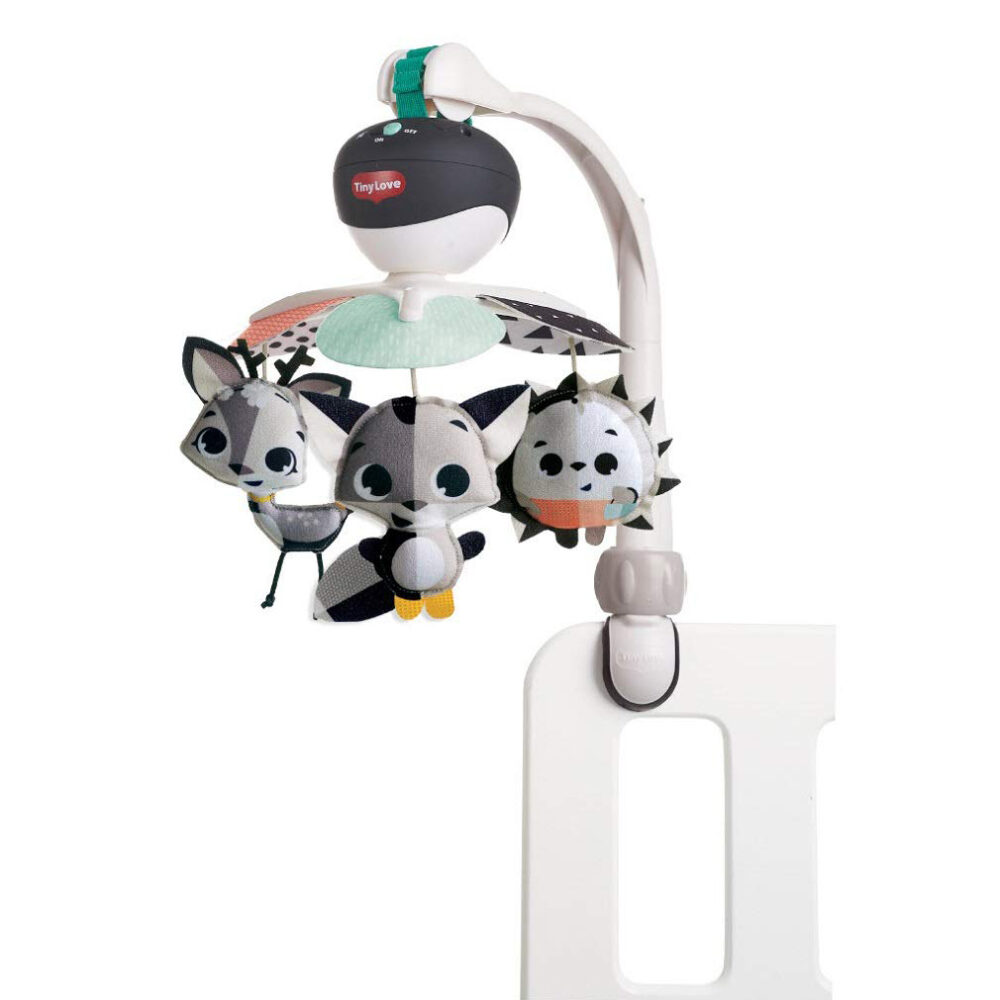
    Take Along Mobile

    This mobile has black and white colors, calming music, and an adjustable arm that can fit many different environments.

    black and white baby activities

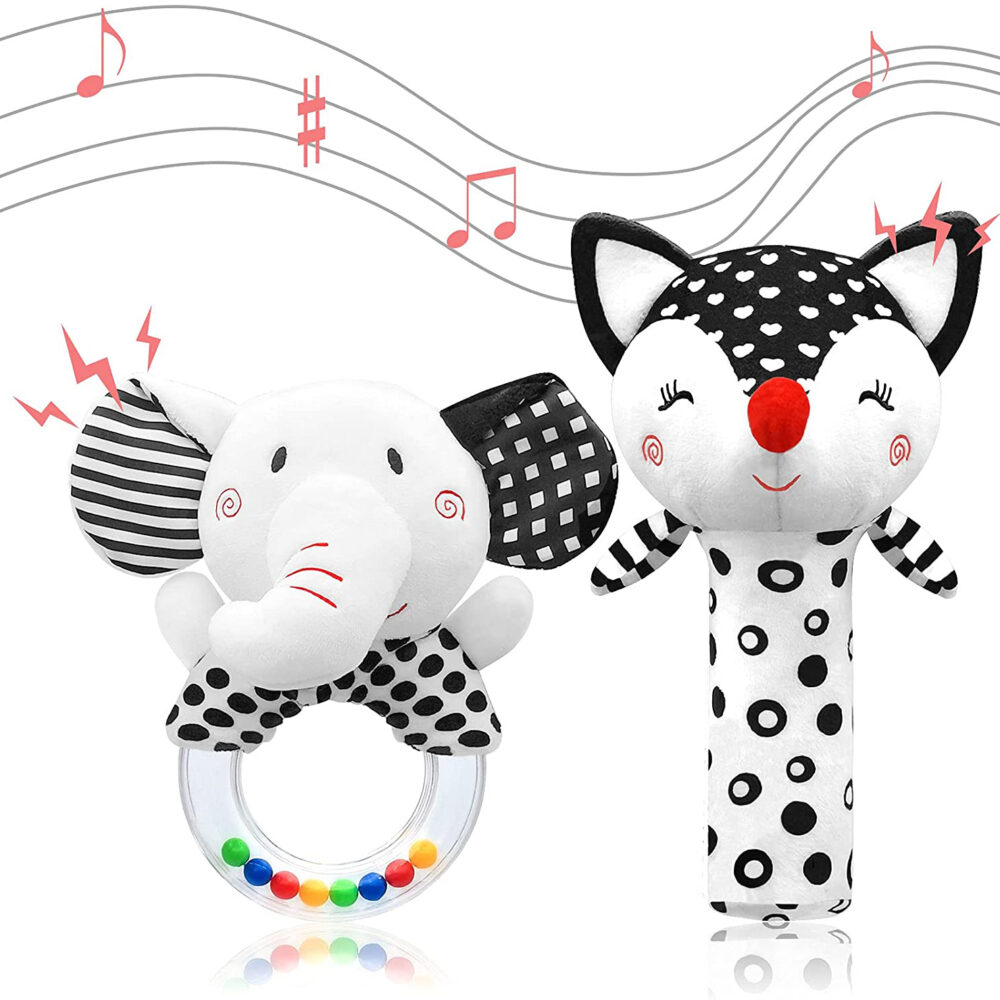
    Rattles

    This set of plush rattles have an animal design, black and white patterns, crinkly paper, and other sounds that are perfect for babies.

    What’s Next?

    Baby Activity at 3 months – Fun with Balloons

    Baby Activity at 3 months – Fun with Balloons

    Baby Activity at 3 Months – Fun with Balloons

    baby activity at 3 months balloon kicking

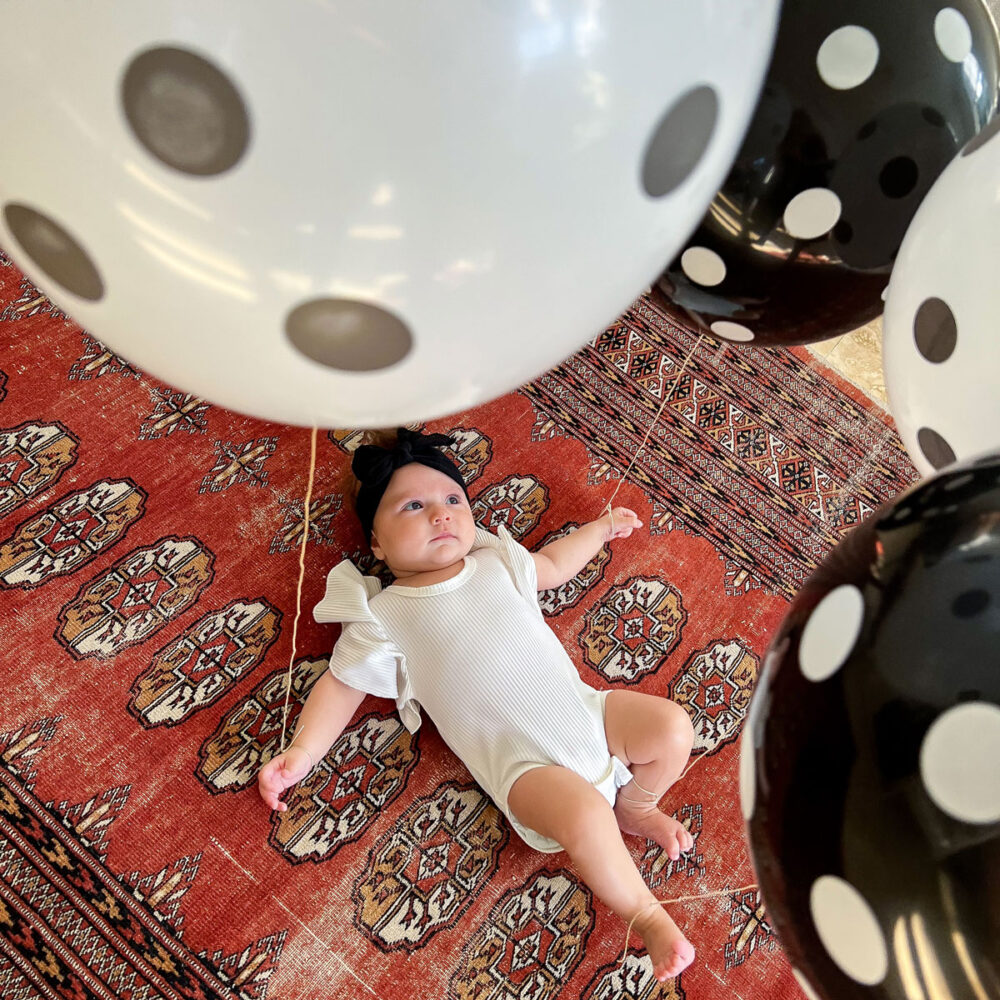
    Tying balloons to the hands and feet is a great baby activity at 3 months. Keep on reading to find out all the benefits of this activity for babies!

    Benefits of This Balloon Activity for Babies

    During the first three months of a babies life, they sleep quite often, but there are some precious wake windows where babies can start to have fun and begin to strengthen important skills!

    This is a great baby activity at 3 months because it’s an important time for babies to improve their visual tracking skills, and stay on the back before they begin rolling over from stomach to back.

    It’s also a great way to keep baby busy, engaged, and strengthening gross motor skills with every kick and punch! As each arm and leg raise and move the balloons around, babies will also be developing an understanding of cause and effect!


    Skills:
    Ages: 
    Prep Time:

    How to Set Up This Baby Activity at 3 Months

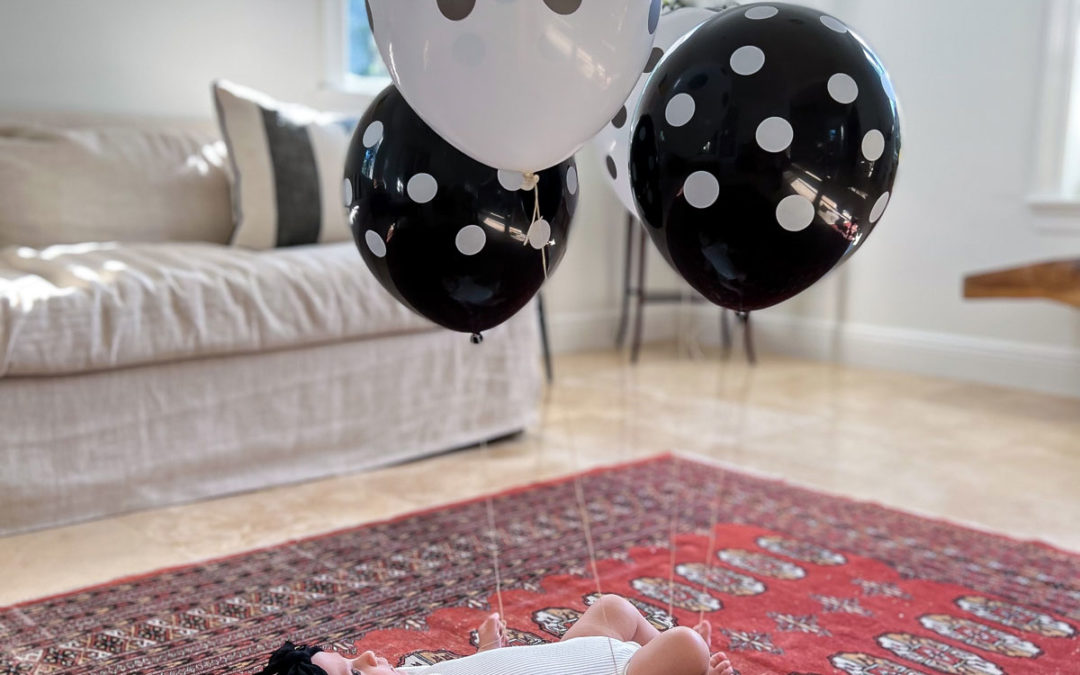
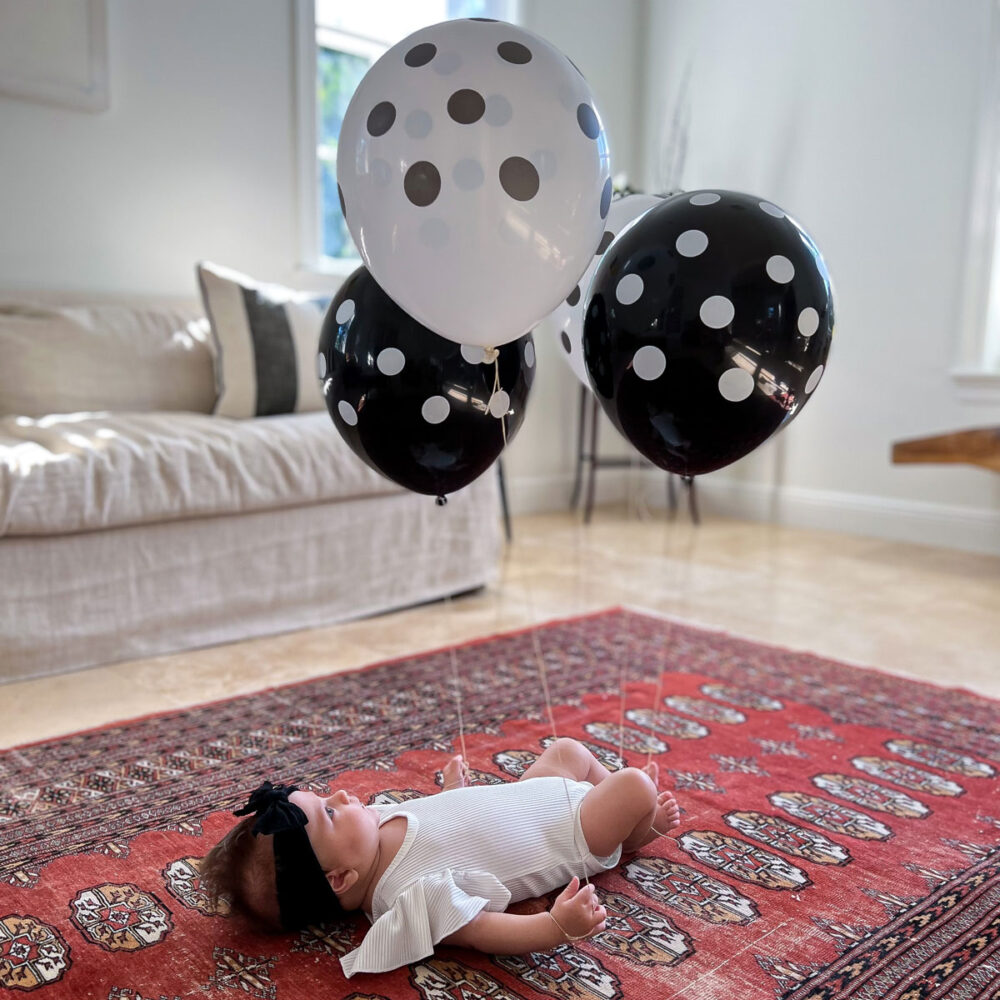
    This activity is as easy as grabbing some balloons, using helium to blow them up, and tying 2-4 of them with string to baby’s hands and feet.

    In this video you’ll see how my 3 month old enjoyed kicking, moving her arms, and tracking the balloons as they moved up, down, and side to side.

    For more baby activities, visit our comprehensive list of ideas

    All activities should be supervised by an adult. As an Amazon Associate I earn from qualifying purchases. This post may contain affiliate links.

    baby activity at 3 months balloon kicking

    Tips for Setting Up This Activity

    Ballon Type. While you can use any color balloon, the younger the baby, the more useful black and white balloons are due to their ability to see high contrast images better. Also be sure to grab some helium to keep the balloons up high!

    Wake Windows. A wake window is that short time in between feeding and sleeping (or being changed!). Between 0-12 weeks wake windows can be between 60-75 minutes and up to 2 hours by 4 months. During this time, babies will benefit greatly from activities like this that not only stimulate their bodies, but their brains too. Be sure to grab these moments during the wake windows or else baby may get tired and cranky and may not want to play!

    Supervision. It goes without saying that supervision is key! This is not an activity for babies to be left alone doing. Once you finish playing, safely dispose of the strings and balloons in the trash.

    Get FREE Printable Black and White Patterns for Babies

    Need more fun things to do with baby? This free printable set of black and white cards for babies includes 12 different high contrast images. Plus, tape them together to make them stand up on their own – perfect for tummy time!

    Make sure that you are allowing your baby to view them at a close distance. Remember, everything gets very blurry after 12-15 inches away from them! 

    And for even more printable activities, visit our Printable Shop. It is filled with easy to set-up activities that help strengthen early childhood education skills!

    black and white high contrast stimulation cards for babies newborns free printable
    black and white high contrast stimulation cards for babies newborns free printable

    Get FREE Printable Black and White Patterns for Babies

    Need more fun things to do with baby? This free printable set of black and white cards for babies includes 12 different high contrast images. Plus, tape them together to make them stand up on their own – perfect for tummy time!

    Make sure that you are allowing your baby to view them at a close distance. Remember, everything gets very blurry after 12-15 inches away from them! 

    And for even more printable activities, visit our Printable Shop. It is filled with easy to set-up activities that help strengthen early childhood education skills!

    More High Contrast Activities

    Here are my top picks for more ways babies can play with black and white!

    black and white baby activities

    Play Gym

    This item is the ultimate play gym for babies with multi-sensory areas, 3 rattles, and lots of black and white cards!

    black and white baby activities

    Crinkle Activity Book

    This black and white activity book includes a mirror as well as black and white images that prop up easily.

    black and white baby activities

    Take Along Mobile

    This mobile has black and white colors, calming music, and an adjustable arm that can fit many different environments.

    black and white baby activities

    Rattles

    This set of plush rattles have an animal design, black and white patterns, crinkly paper, and other sounds that are perfect for babies.

    What’s Next?

    Tummy Time Positions for Newborns and Babies

    Tummy Time Positions for Newborns and Babies

    Tummy Time Positions for Newborns and Babies

    tummy time positions for newborns and babies

    There isn’t just one way to do tummy time! Keep reading to find out about different tummy time positions for newborns and babies! 

    Why is Tummy Time Important?

    As you have probably heard tummy time is so important for newborns and babies! It strengthens babies neck and shoulder muscles and is, overall, fantastic for their motor skills.

    Because babies sleep so much during the day, and the recommended position for sleep is on the back, the time they have to be on their tummies is limited. It’s important to take advantage of placing baby on their stomachs during wakeful moments so they can work on these important skills!

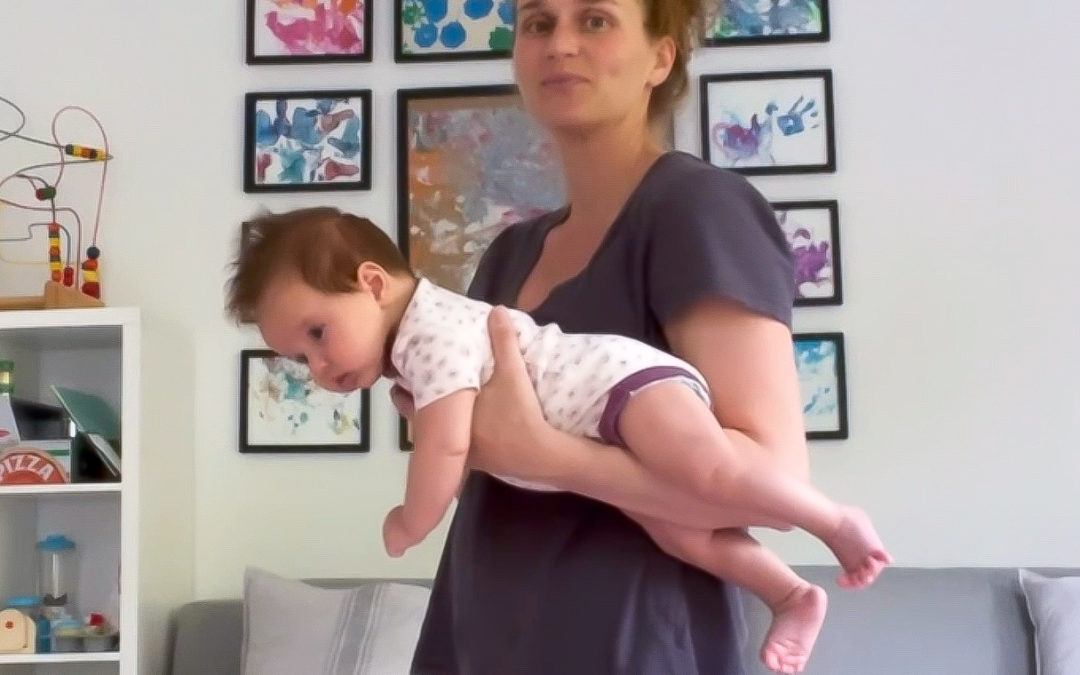
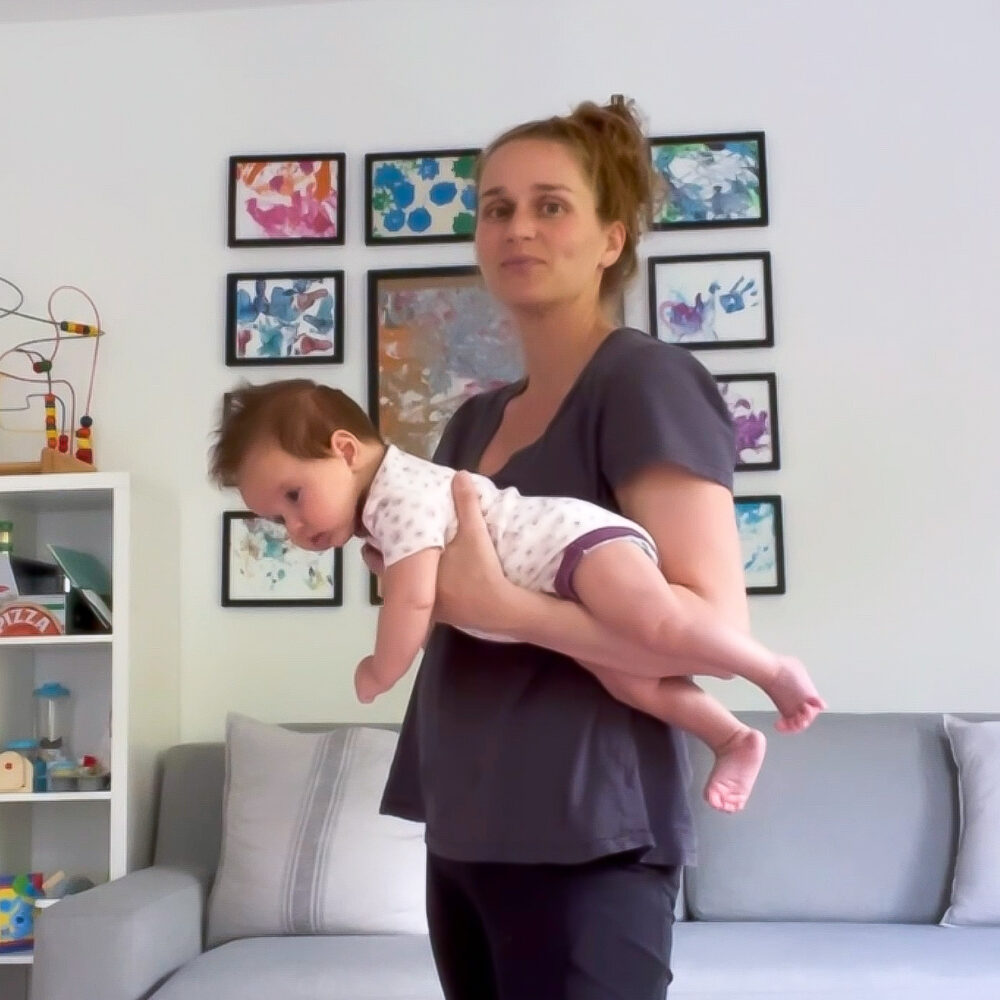
    However, tummy time is not limited to being on the floor. You can also explore doing the football hold, tummy to tummy, and tummy to lap positions!

    By 2 months, it’s recommended to do tummy time for 15 minutes a day, in 5 minute increments. However, I have found that I don’t need to count the minutes if I rotate all the different ways of doing tummy time throughout the day.

    Skills:
    Ages: 
    Prep Time:

    3 Alternative Tummy Time Positions for Newborns and Babies

    In this quick video you’ll see the 3 alternative tummy time positions for newborns and babies that aren’t on the floor: the football hold, tummy to tummy, and tummy to lap.

    All activities should be supervised by an adult. As an Amazon Associate I earn from qualifying purchases. This post may contain affiliate links.

    black and white high contrast stimulation cards for babies newborns free printable

    Get the FREE Printable Black and White Patterns for Babies

    This free printable set of black and white cards for babies are a great way to keep babies alert and interested during tummy time. The set includes 12 different high contrast images. Plus, tape them together to make them stand up on their own.

    Make sure that you are allowing your baby to view them at a close distance. Remember, everything gets very blurry after 12-15 inches away from them! 

    And for even more printable activities, visit our Printable Shop. It is filled with easy to set-up activities that help strengthen early childhood education skills!

    Other Benefits of Tummy Time Positions for Newborns and Babies

     In addition to strengthening neck and shoulder muscles, tummy time gets babies on track for developing other motor skills including rolling over, sitting up, crawling, and ultimately walking.

    Another benefit of placing babies on their tummy during wakeful periods is that it can help them avoid developing flat spots on the back of their head!

    For more activities for babies visit our comprehensive list!  

    black and white high contrast stimulation cards for babies newborns free printable
    black and white high contrast stimulation cards for babies newborns free printable

    Other Benefits of Tummy Time Positions for Newborns and Babies

     In addition to strengthening neck and shoulder muscles, tummy time gets babies on track for developing other motor skills including rolling over, sitting up, crawling, and ultimately walking.

    Another benefit of placing babies on their tummy during wakeful periods is that it can help them avoid developing flat spots on the back of their head!

    For more activities for babies visit our comprehensive list!  

    More Activities for Newborn and Young Babies

    Here are my top picks for more ways babies can play!

    black and white baby activities

    Play Gym

    This item is the ultimate play gym for babies with multi-sensory areas, 3 rattles, and lots of black and white cards!

    black and white baby activities

    Crinkle Activity Book

    This black and white activity book includes a mirror as well as black and white images that prop up easily.

    black and white baby activities

    Take Along Mobile

    This mobile has black and white colors, calming music, and an adjustable arm that can fit many different environments.

    black and white baby activities

    Rattles

    This set of plush rattles have an animal design, black and white patterns, crinkly paper, and other sounds that are perfect for babies.

    What’s Next?

    Black and White Patterns for Babies – Printable Cards

    Black and White Patterns for Babies – Printable Cards

    Black and White Patterns for Babies – Printable Cards

    black and white high contrast stimulation cards for babies newborns free printable

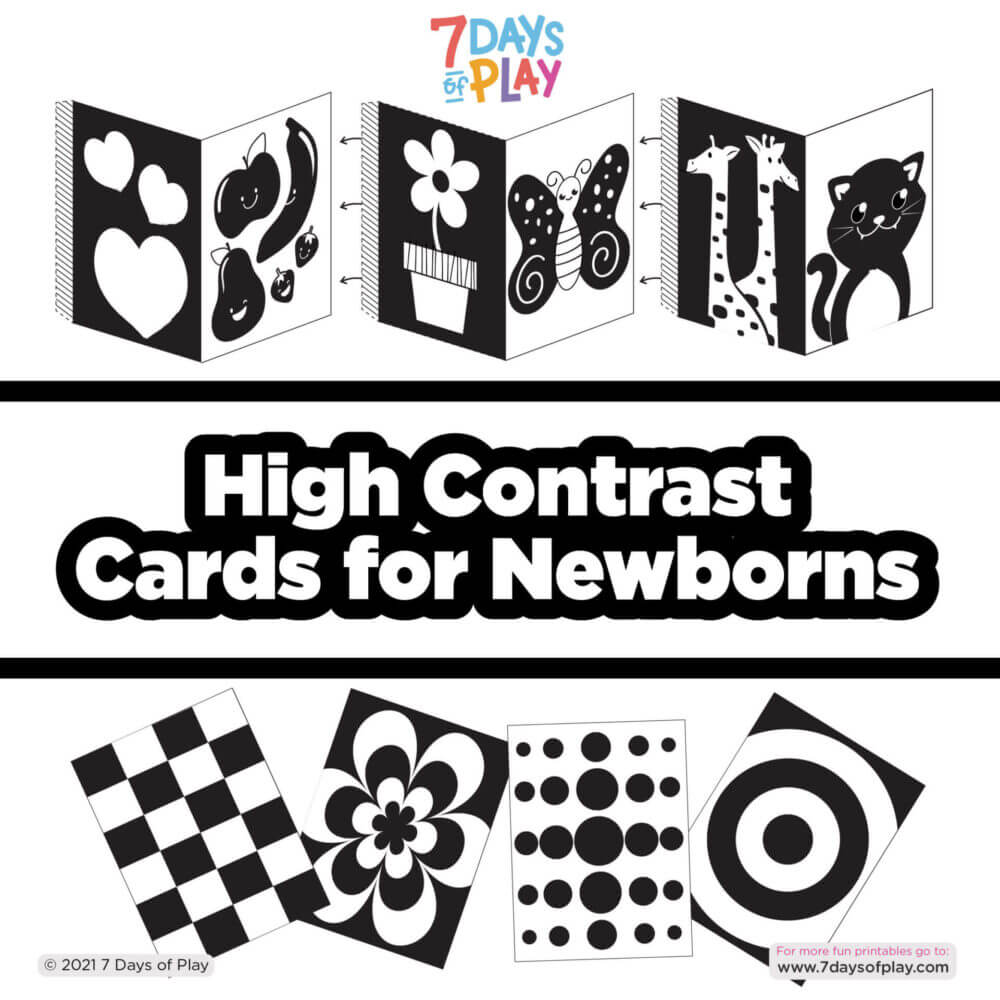
    There are a ton of benefits to providing black and white patterns for babies. Keep on reading to find out what they are and to get your printable set of 12 dozen cards here. 

    Why Black and White Patterns for Babies Are Important!

    Did you know that for the first months of a baby’s life their vision is super blurry! In fact, they can only see about 12 inches in front of them. Plus it isn’t until around 3 months when they can start to see colors. Before that, all they can see is black, white, and grays.

    But during the time between birth and 6 months, a baby’s eyesight is developing at super speed! And allowing for your baby to look at black and white, high contrast images and toys provides them a great opportunity to stimulate their vision, strengthen optic nerves, and help their brains and eyes to coordinate.

    Skills:
    Ages: 
    Prep Time:

    How to Use the Printable Black and White Patterns for Babies

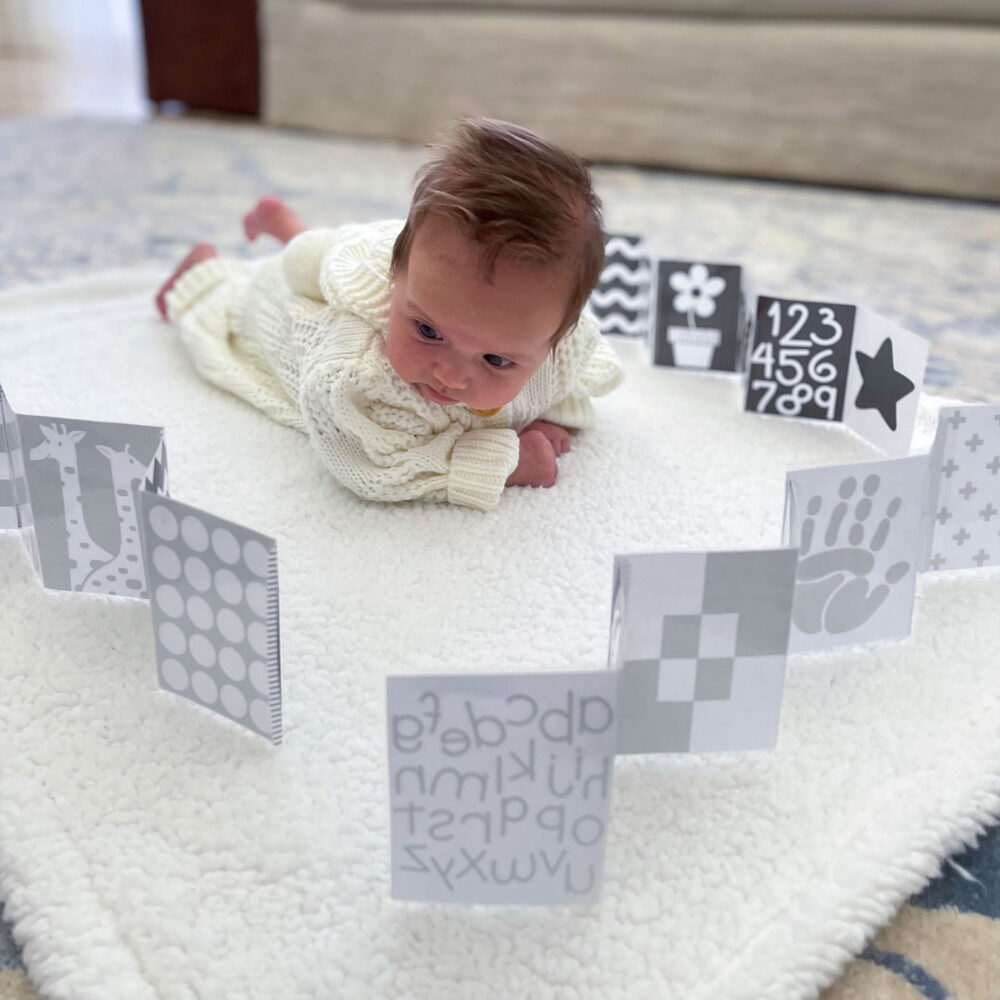
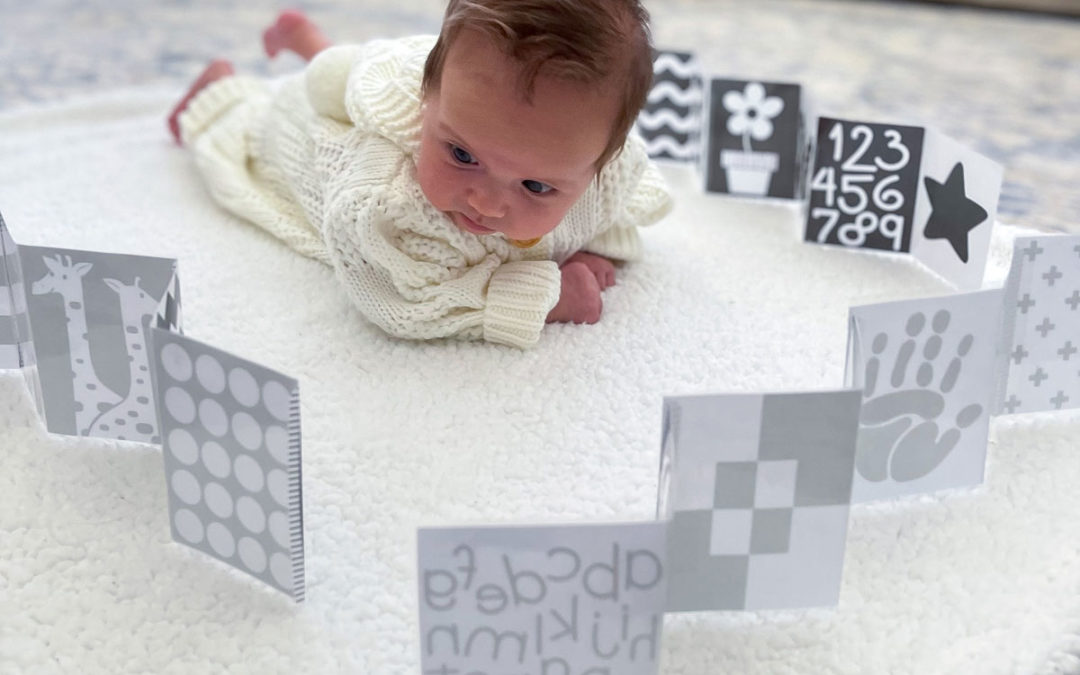
    This activity can be set up in no time! Since it is a printable, all you have to do is grab the printable from the link below, print it, and tape it together to have it stand alone (if you so choose!). In the video, you will see that I also laminated the cards before taping them to make them more durable and long lasting.

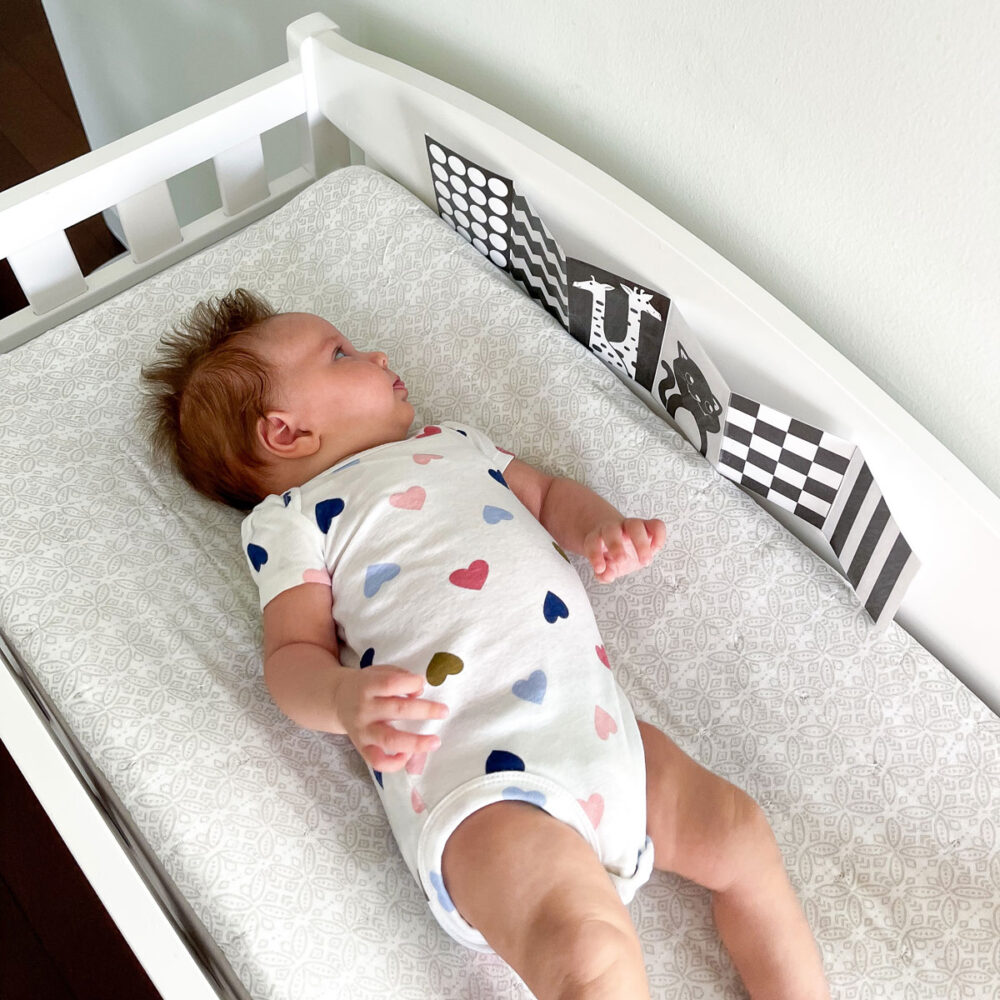
    My baby at one and a half months old was mesmerized by the patterns and enjoyed looking at them during tummy time, when her diaper was changed, and in the car!

    black and white high contrast stimulation cards for babies newborns free printable

    Get the Printable Black and White Patterns for Babies

    This printable set of black and white cards for babies includes 12 different high contrast images. Plus, tape them together to make them stand up on their own.

    Make sure that you are allowing your baby to view them at a close distance. Remember, everything gets very blurry after 12-15 inches away from them! 

    And for even more printable activities, visit our Printable Shop. It is filled with easy to set-up activities that help strengthen early childhood education skills!

    All activities should be supervised by an adult. As an Amazon Associate I earn from qualifying purchases. This post may contain affiliate links.

    Where to Use the Black and White Cards

    There are so many great opportunities to use these black and white cards, here are just a few ideas! 

    Tummy Time. These cards definitely help to hold and lengthen attention span during tummy time!

    Diaper Changing. Prop some up on the side of your table to make diaper changing a little easier!

    Car Seat. Safely tape some images to the seat in front of the baby to give them some car ride entertainment!

    black and white high contrast stimulation cards for babies newborns free printable
    black and white high contrast stimulation cards for babies newborns free printable

    Where to Use the Black and White Cards

    There are so many great opportunities to use these black and white cards, here are just a few ideas! 

    Tummy Time. These cards definitely help to hold and lengthen attention span during tummy time!

    Diaper Changing. Prop some up on the side of your table to make diaper changing a little easier!

    Car Seat. Safely tape some images to the seat in front of the baby to give them some car ride entertainment!

    More High Contrast Activities

    Here are my top picks for more ways babies can play with black and white!

    black and white baby activities

    Play Gym

    This item is the ultimate play gym for babies with multi-sensory areas, 3 rattles, and lots of black and white cards!

    black and white baby activities

    Crinkle Activity Book

    This black and white activity book includes a mirror as well as black and white images that prop up easily.

    black and white baby activities

    Take Along Mobile

    This mobile has black and white colors, calming music, and an adjustable arm that can fit many different environments.

    black and white baby activities

    Rattles

    This set of plush rattles have an animal design, black and white patterns, crinkly paper, and other sounds that are perfect for babies.

    What’s Next?

    Baby Footprint Art – A Year Of Footprints

    Baby Footprint Art – A Year Of Footprints

    DIY Footprint Art for Infants – A Year of Footprints

    Footprint art for infants Tips and Tricks

    This footprint art for infants makes a beautiful framed keepsake that can be framed, mounted, and enjoyed for years to come! It is such a wonderful way to capture the stunning growth a baby experiences during the first year of life. 

    This craft is just plain fun for parents and grandparents. It’s the perfect way to remember your baby’s first year and it looks so cute when it’s finished. The hardest part? Remembering to get a pair of footprints every month!  

    The Cutest Baby Footprint Art

    Babies grow up so fast that first year. One day they are so fragile that they can’t even hold their head up and the next they are running around the kitchen.

    Baby keepsake crafts are some of my favorite kinds. I love making something that I know I’m going to cherish for years to come. 

    Not only is it fun for me to watch her feet grow, but this looks so precious in her room. You can adapt it based on the color scheme of the room you plan to display it in!

    Skills: Arts & Crafts

    Ages: Newborn+

    Prep Time: 20 minutes

    Watch the Video to See Toddler’s Reaction 

    My sweet baby girl spent the entire year squishing her feet in paint. When I finally put the entire thing together, she was thrilled to see her footprints all lined up.

    Her reaction has to be one of the cutest things I have ever captured. I could watch this over and over again! This is such a wonderful keepsake she can enjoy for years to come!

    How to Make the Year of Footprints Craft

    Here’s how to make one for yourself! Feel free to adapt this project based on your home decor preferences! I repurposed an old frame by adding fabric to the back and then gluing the footprints to it.

    I love the vertical composition because it shows the amazing progression of the feet growing like footsteps! A long frame fits this approach best. With the size of the footprints, you need something that is at least 2 feet tall if not taller.

    All activities should be supervised by an adult. As an Amazon Associate I earn from qualifying purchases. This post may contain affiliate links.


    Materials

    Step-by-Step Instructions 

    Step 1

    Once a month, dip your baby’s foot into a different color of paint. For a less-mess alternative use jumbo stamp pads! Whatever you choose, make sure it is non-toxic!

    Step 2

    Let it dry completely, cut out the footprint from the rest of the paper, and then hang it in the frame. You could wait to cut and assemble when you have all 12 prints, or assemble as you go! On the back of the frame, I added some decorative burlap to give the artwork some texture.


    Step 3

    Print out labels for each month. I used a label maker for this which has an adhesive backing, but if you don’t have a labelmaker you could always print from the computer and glue! 

    Step 4

    At the end of 12 months, your masterpiece is ready to enjoy! Grab the tissues! 


    Step 1

    Once a month, dip your baby’s foot into a different color of paint. For a less-mess alternative use jumbo stamp pads! Whatever you choose, make sure it is non-toxic!

    Step 2

    Let it dry completely, cut out the footprint from the rest of the paper, and then hang it in the frame. You could wait to cut and assemble when you have all 12 prints, or assemble as you go! On the back of the frame, I added some decorative burlap to give the artwork some texture.

    Step 3

    Print out labels for each month. I used a label maker for this which has an adhesive backing, but if you don’t have a labelmaker you could always print from the computer and glue!

    Step 4

    At the end of 12 months, your masterpiece is ready to enjoy! Grab the tissues!

    Different Ways to Frame the Baby Footprint Art

    Here are a few more ideas you can do to display the footprints that you saved:

    • A Decade of footprints – Capture prints yearly and make a collage of the feet growing at an even larger scale! Imagine doing it for 10 years and seeing the end results!
    • Make a mobile – laminate the footprints and hang them from a hook in the ceiling for a playful mobile.
    • Use Multiple Canvases – Create large scale artwork with multiple canvases in the background color of your choice and begin adding baby’s footprints to each. 

    Store-Bought Baby Footprint Art Keepsakes 

    Here are my top picks for baby footprint art keepsakes you can buy to save you time.

    Baby Hand And Footprint Kit 

    This kit comes with everything you need, including the cute rustic frame. 


    Baby Hand and Feet Casting

    A beautiful way to capture those tiny hands and feet! This kit includes mold material, plaster, and detailed instructions!

    Ink Kits 

    These non-toxic ink pads come in a variety of colors and even ship with card stock. 


    Baby Ornament Keepsake

    This kit comes with everything you need to create a lovely clay casting of your baby’s hand or footprint. 

    What’s Next?

    error: Content is protected !!

    Pin It on Pinterest

    Skip to content