Explore the best bath toys for kids! Discover the ultimate guide to bath time fun with these top picks that will make every splash memorable.
Gross Motor Skills for Preschoolers – Your Ultimate Guide
Gross Motor Skills for Preschoolers – Your Ultimate Guide

This is your ultimate guide to understanding gross motor skills for preschoolers including activity ideas, milestone timeline, and product suggestions!
Understanding Gross Motor Skills for Preschoolers: Building Blocks for Physical Development
Gross motor skills encompass the coordination of large muscle groups to perform activities like walking, running, jumping, and throwing. In the preschool years, these fundamental abilities form the cornerstone of physical development, laying the groundwork for more refined movements later in life. From navigating playground equipment to participating in group games, gross motor skills enable children to explore their surroundings, interact with peers, and build confidence in their physical abilities. In this comprehensive guide, we’ll delve into the significance of gross motor skills for preschoolers and offer a wealth of engaging activities and product recommendations to foster their growth and enjoyment.
This article may contain affiliate links. As an Amazon Associate, I earn from qualifying purchases.
Fun Activities to Develop Gross Motor Skills for Preschoolers
Engaging in playful and interactive activities is an excellent way to support your preschooler’s gross motor skill development. Here are some enjoyable activities that promote movement and coordination:

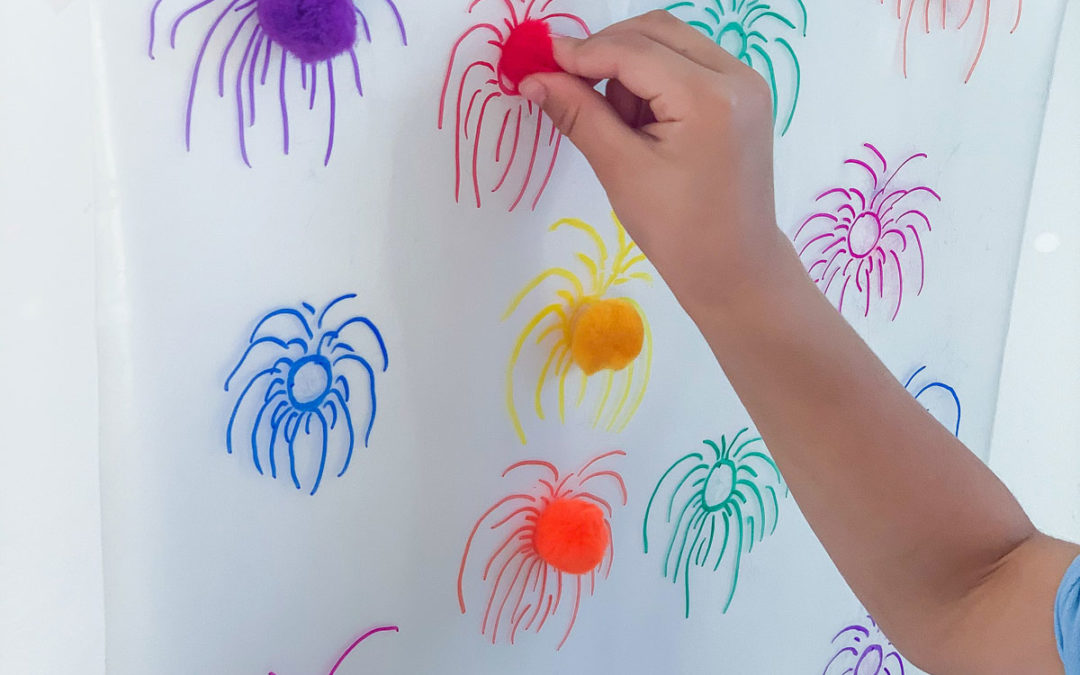
AIM, ROLL, AND STICK!
Tape construction paper on the ground. Put another strip of tape across the papers, but sticky side up. Aim, throw/roll colorful balls at the corresponding paper. The tape will catch it, stopping the ball in its tracks!

HAND AND FEED COORDINATE
Get the free printable hands and feet HERE to practice coordinating hand and feet movements. Pictured above, I created a set up where you have to hop while alternating the position of your hands and feet.
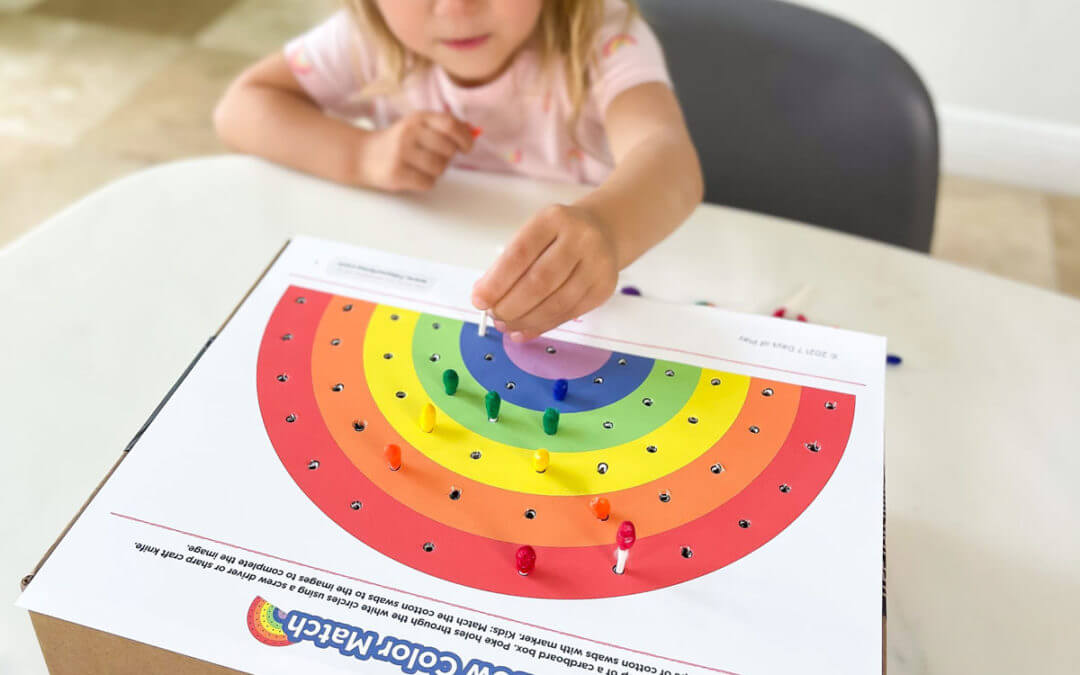
HOP AND COLOR MATCH
Just use X marks of colorful tape scattered across a small hallway. Place colorful balls at the starting point, and the tape rolls at the ending point. Task your kiddo to hop from on X mark to another while matching the ball to the corresponding colored tape roll.

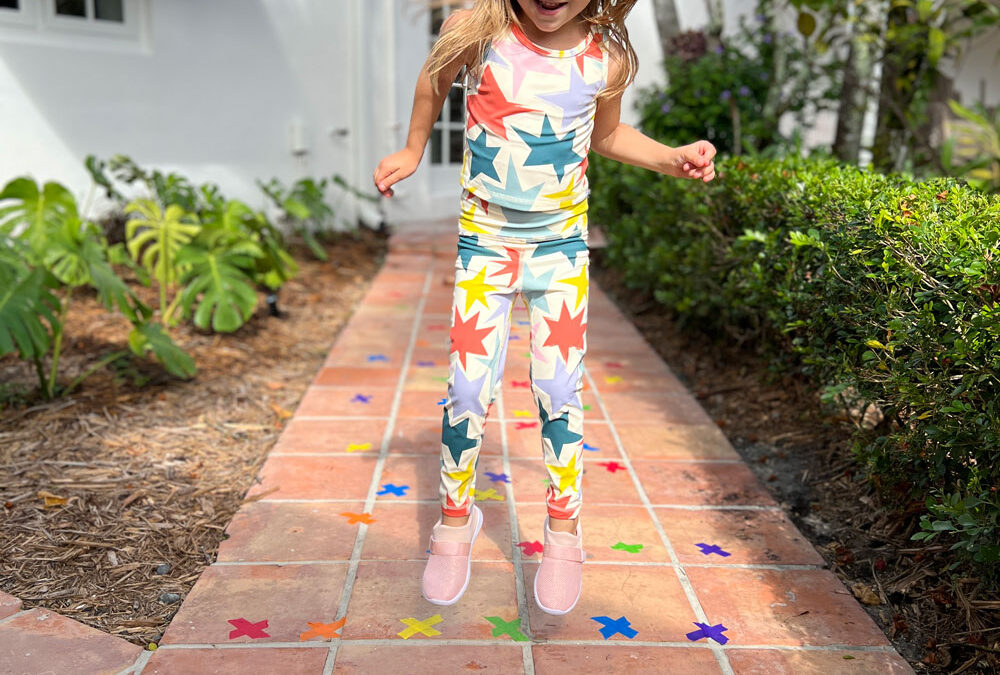
WALK IN A STRAIGHT LINE!
Use tape to make a straight line for young kids to balance themselves as they walk. I created 6 different colored lines ending with an X mark. I tasked my kiddo to walk in a straight line and match a colorful toy to it’s corresponding X.

OBSTACLE COURSE
Create a mini obstacle course using cushions, hula hoops, cones, and tunnels. Encourage your child to climb over, crawl under, and weave through the obstacles to enhance their balance, agility, and spatial awareness.

HAVE A DANCE PARTY
Put on some music and have a dance party in your living room! Encourage your child to move their body freely, experimenting with different dance styles and movements. Dancing helps improve coordination, rhythm, and flexibility.

YOGA FOR KIDS
Introduce simple yoga poses tailored for children with a free printable dice game! Poses like downward dog, tree pose, and butterfly pose improve balance, strength, and flexibility while promoting mindfulness and body awareness.

NATURE SCAVENGER HUNT
Take a nature walk with your child and create a scavenger hunt list of items to find such as leaves, rocks, flowers, or sticks. Encourage your child to walk, run, climb, and reach to collect the items, promoting balance, coordination, and spatial awareness. Combine it with a fun art project like this!
Key Gross Motor Milestones
Gross motor skills are essential for preschoolers as they navigate the world around them. It’s important to remember that every child develops at their own pace, and these milestones are just general guidelines:
(1) Walking Independently: Most children begin walking between 12 and 18 months. Initially, they may be unsteady on their feet but gradually gain confidence and stability.
(2) Running and Jumping: Around the age of 2, children start to run with more coordination and may attempt to jump off low surfaces. By age 3, they can typically jump forward and possibly even hop on one foot briefly.
(3) Climbing: Climbing skills improve throughout the preschool yers. Kids may start by climbing stairs with support and progress to climbing playground structures and trees.
(4) Balancing: By age 4, children can often balance on one foot for a few seconds and walk in a straight line heel-to-toe, demonstrating improved balance and coordination
(5) Throwing and Catching: Around age 4 or 5, children develop the ability to throw a ball overhand with some accuracy and may begin to experiment with catching objects.
(6) Skipping: By age 5 or 6, children may start to experiment with skipping and galloping, demonstrating more advanced coordination and rhythm.
(7) Pedaling and Bike Riding: Pedaling a tricycle typically becomes achievable around age 3 or 4, signaling improved leg strength and coordination. While some children may learn to ride a bike as early as age 3 with practice, mastering this skill often occurs later in childhood, around ages 5 to 7.
Gear Up for Gross Motor Skills for Preschoolers: Product Recommendations
Investing in the right toys, equipment, and tools can greatly enhance your preschooler’s gross motor skill development. Here’s a selection of products tailored to various budgets and space requirements.

Balance Bike

Indoor Mini Trampoline

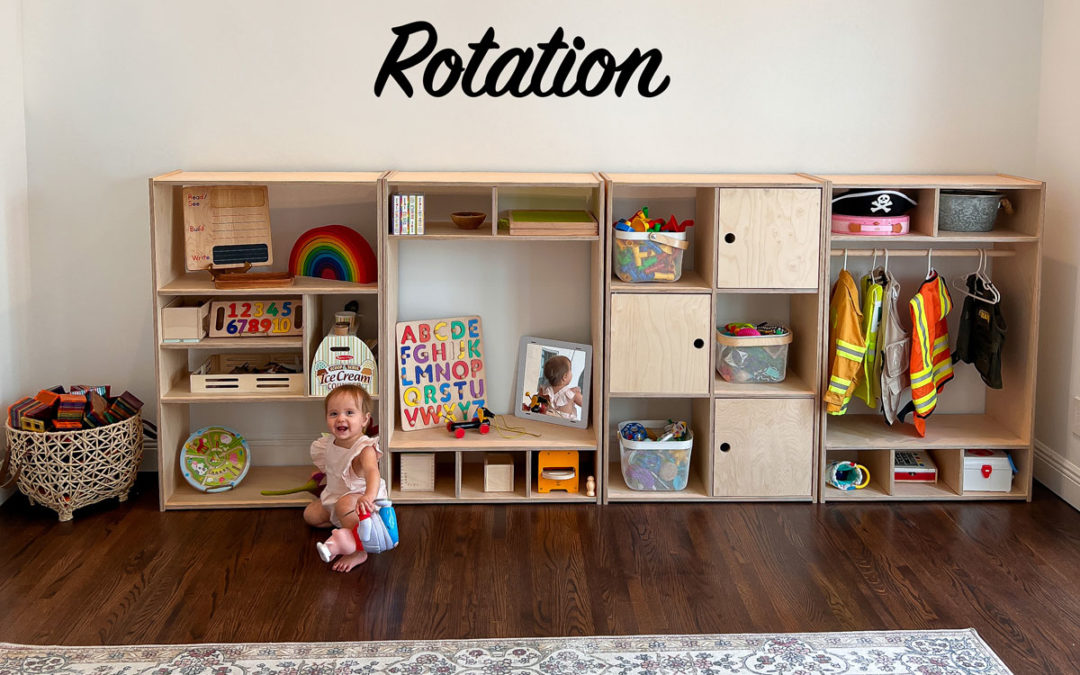
Modular Play Furniture

Scooter

Baseball Tee

Basketball Hoop

Ice Cream Maker Ball

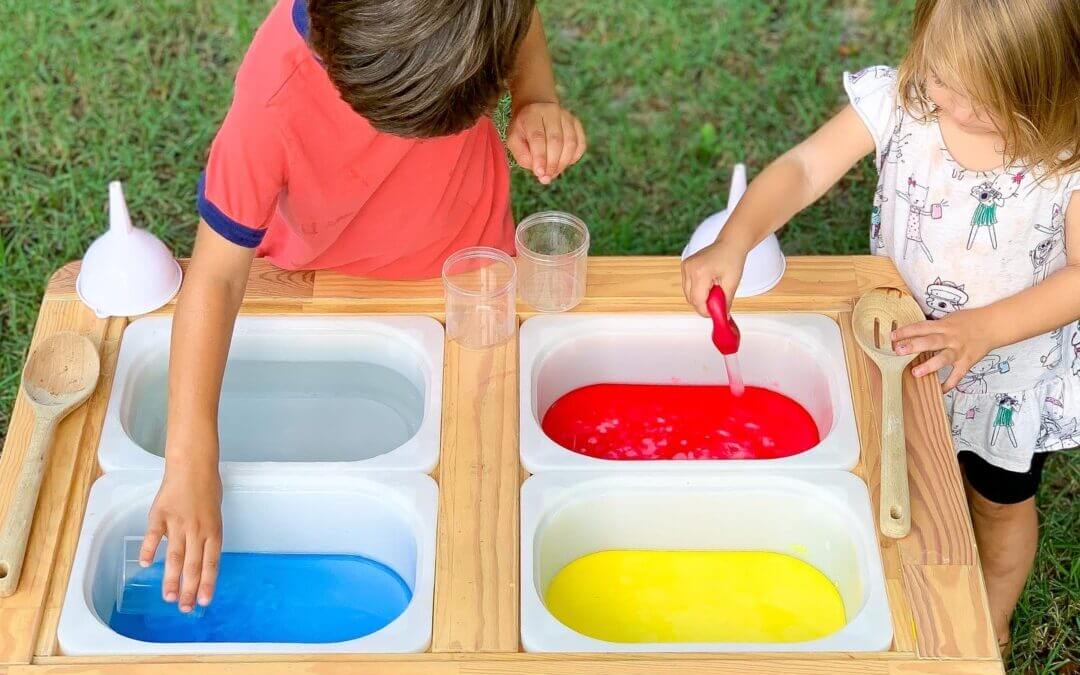
Water Play

Balance Beam and Stepping Stones

Soccer Ball and Goal

Tunnels

Jump Rope
Conclusion: Fostering Gross Motor Skill Development in Preschoolers
Encouraging the development of gross motor skills in preschoolers is vital for their overall physical, cognitive, and social growth. Through a combination of engaging activities, appropriate equipment, and supportive environments, parents can provide valuable opportunities for their children to explore and strengthen these essential skills. Whether it’s jumping, climbing, balancing, or pedaling, each activity offers unique benefits, from enhancing muscle strength and coordination to promoting creativity and social interaction.
Incorporating gross motor activities into daily routines, such as including them in chores, errands, and outings, seamlessly integrates physical development into everyday life, further reinforcing these skills. While challenges or delays in gross motor skill development may arise, it’s important for parents to stay vigilant and seek professional assessment or intervention if concerns persist. By fostering a nurturing environment that prioritizes physical activity and exploration, parents can empower their preschoolers to thrive and reach their full potential in all areas of development.
What’s Next?
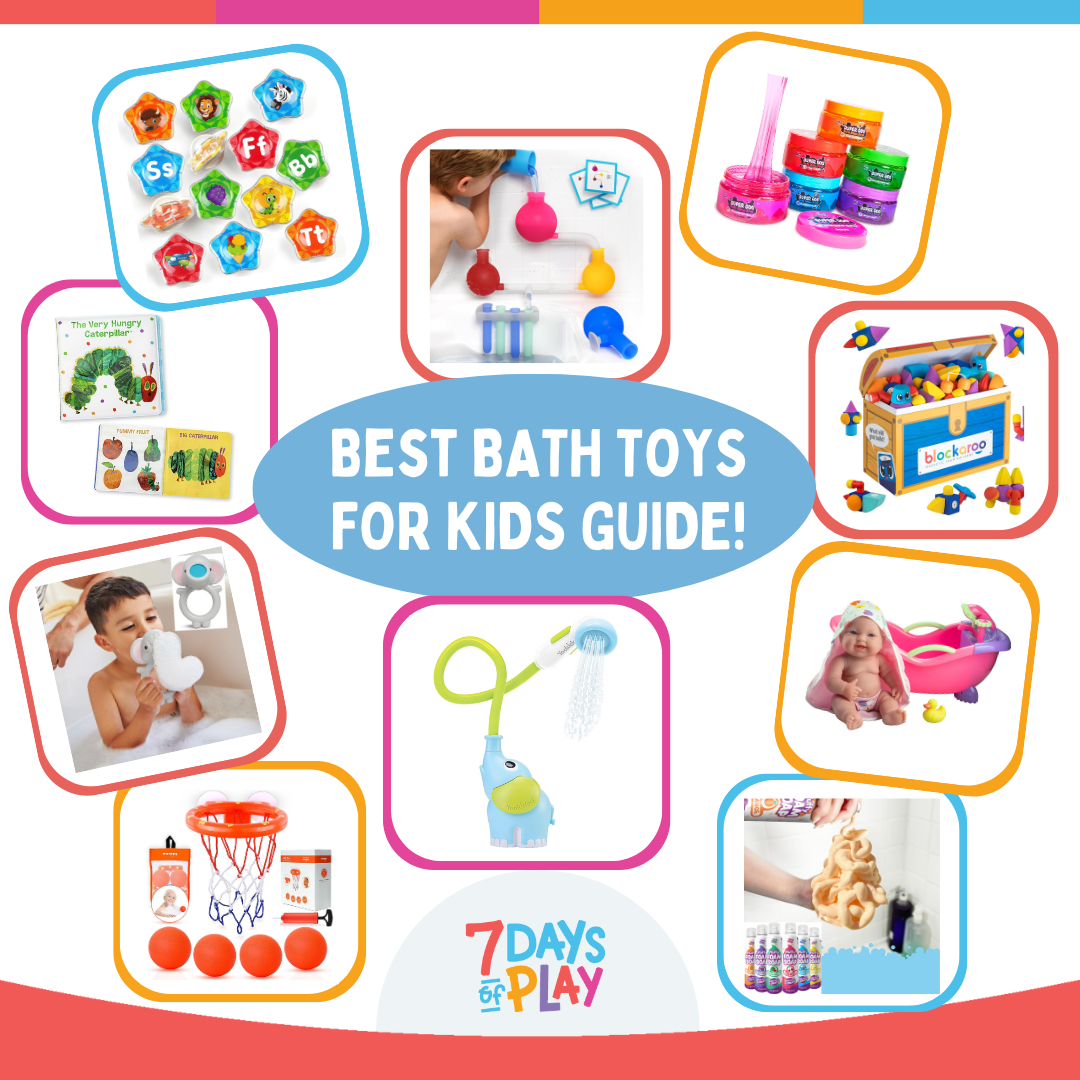
The Best Bath Toys for Kids in 2024
read more
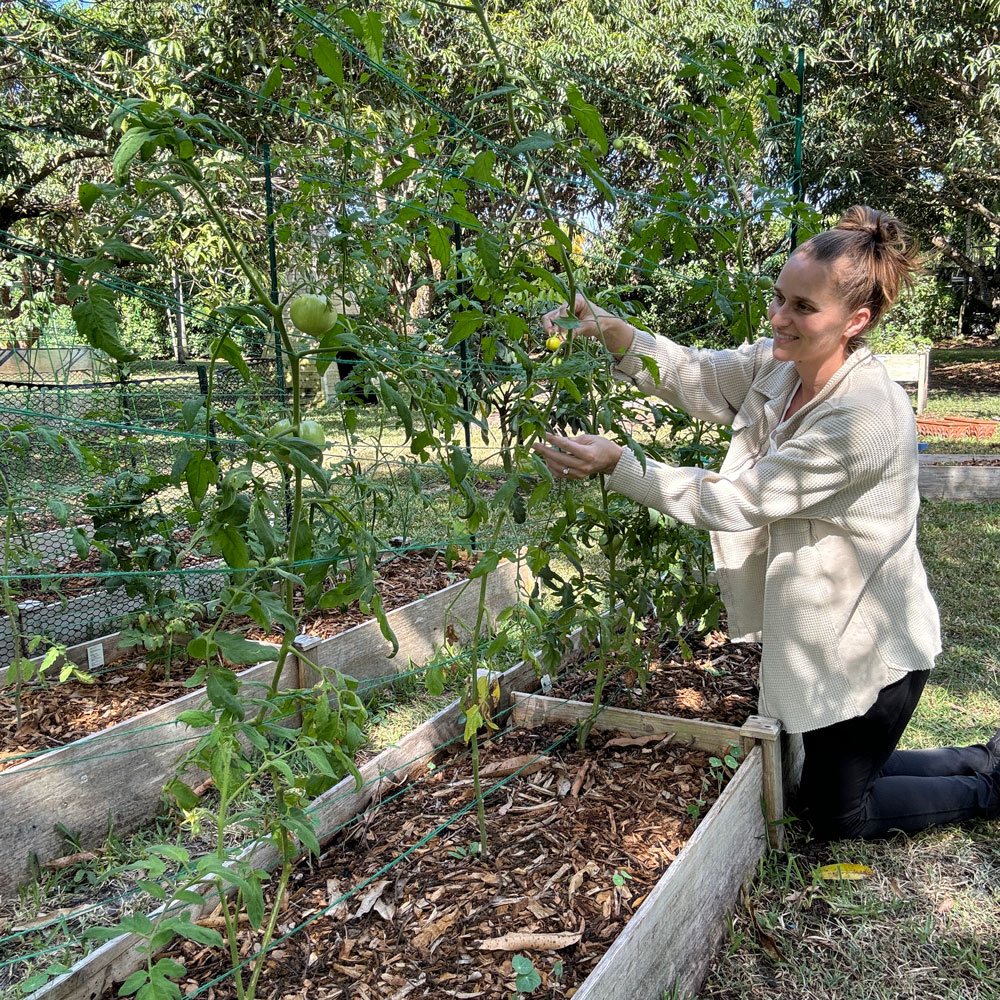
How to Layer a Raised Garden Bed and Make a Trellis
Learn how to layer a raised bed and create affordable trellises for thriving gardens. Explore our guide for expert tips & easy instructions!
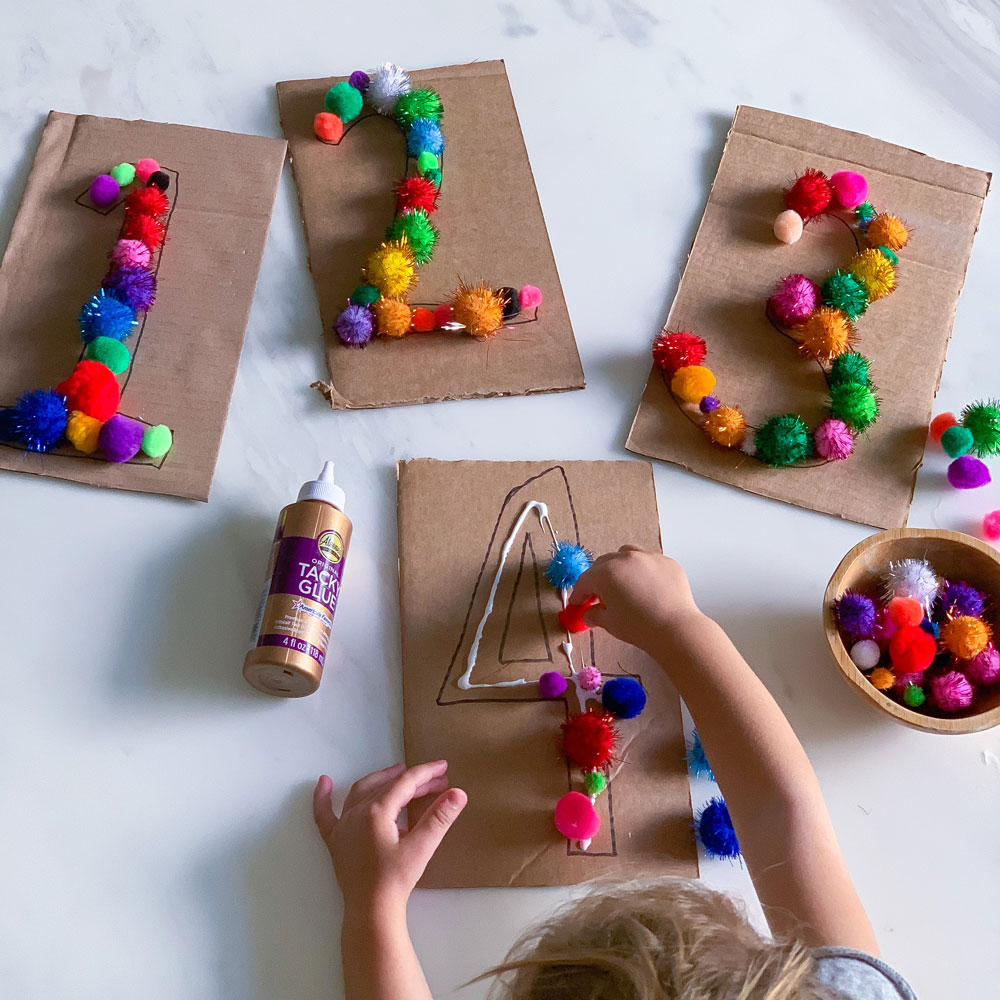
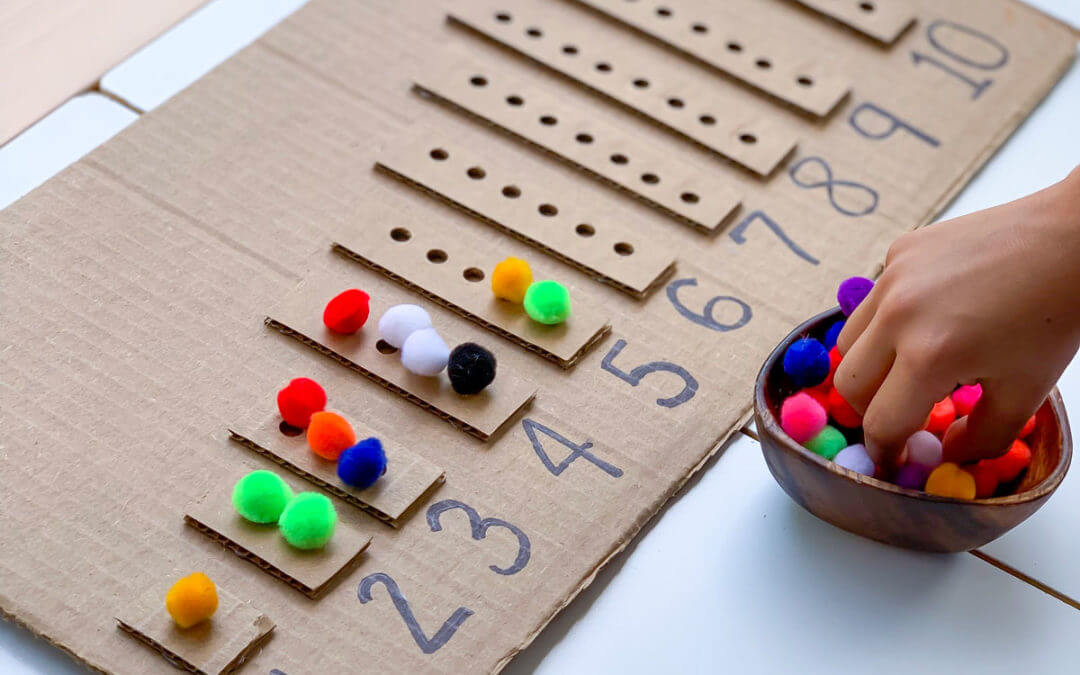
Number Recognition for Toddlers – The Best Activity to Start Learning
Kickstart number recognition for toddlers with this beginner’s activity! Fill bubble outlines with pom poms for engaging hands-on learning.