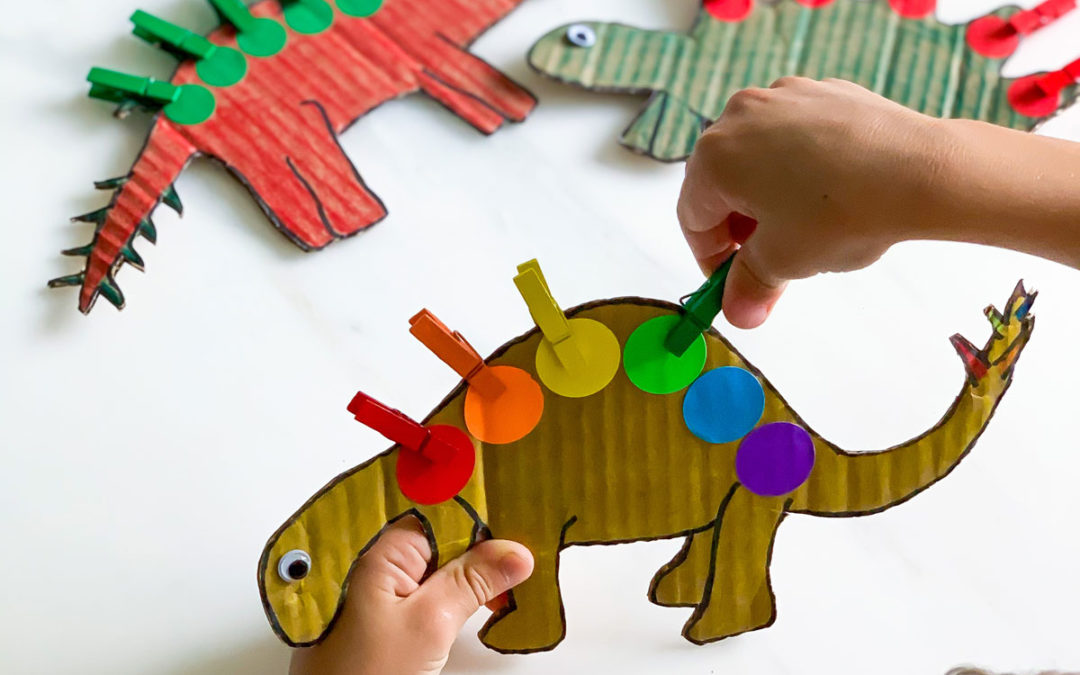
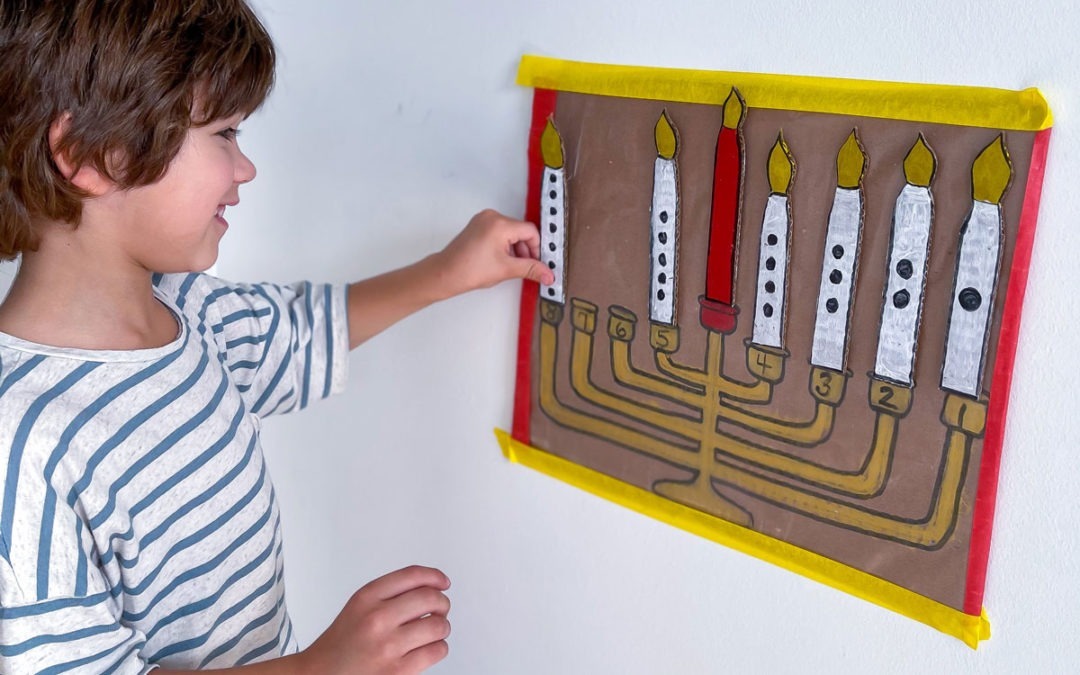
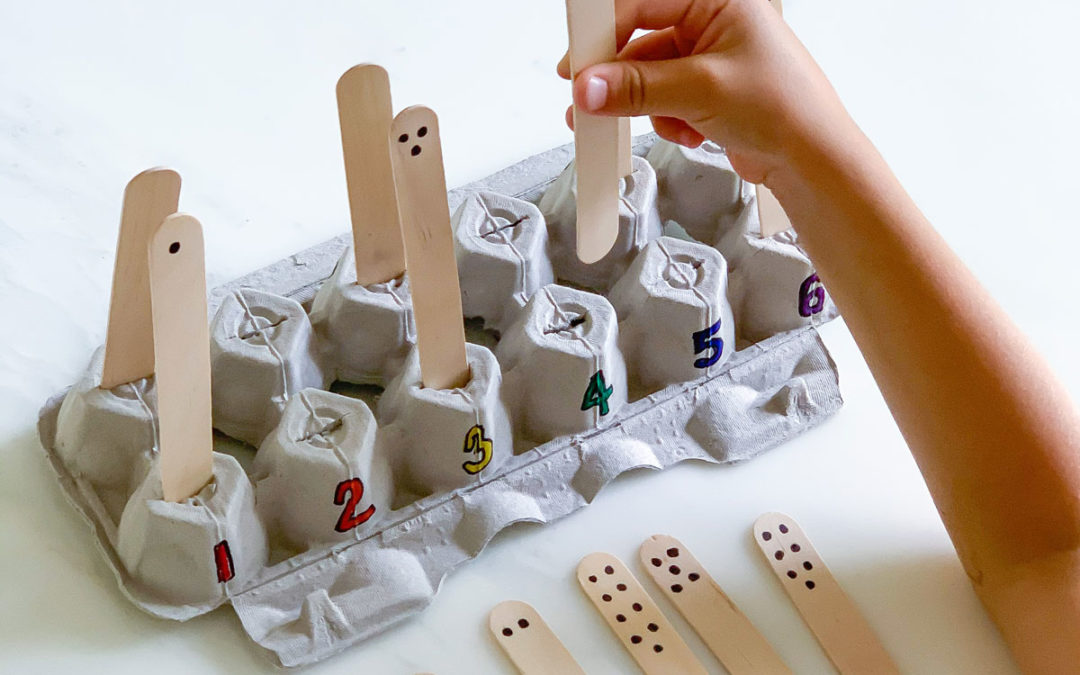
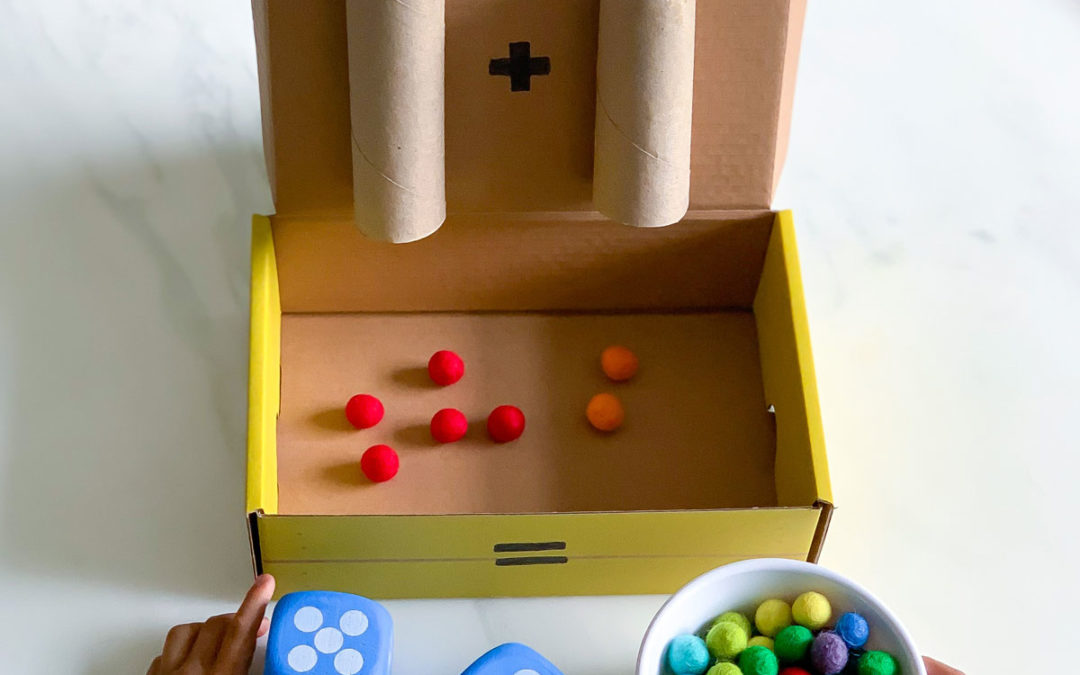
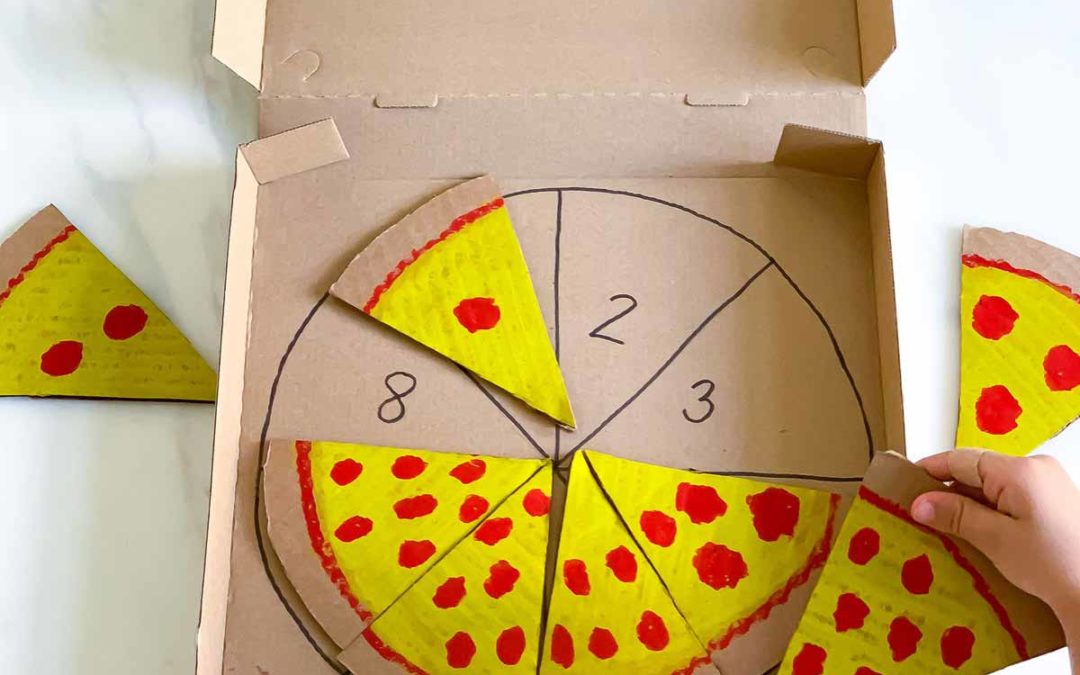
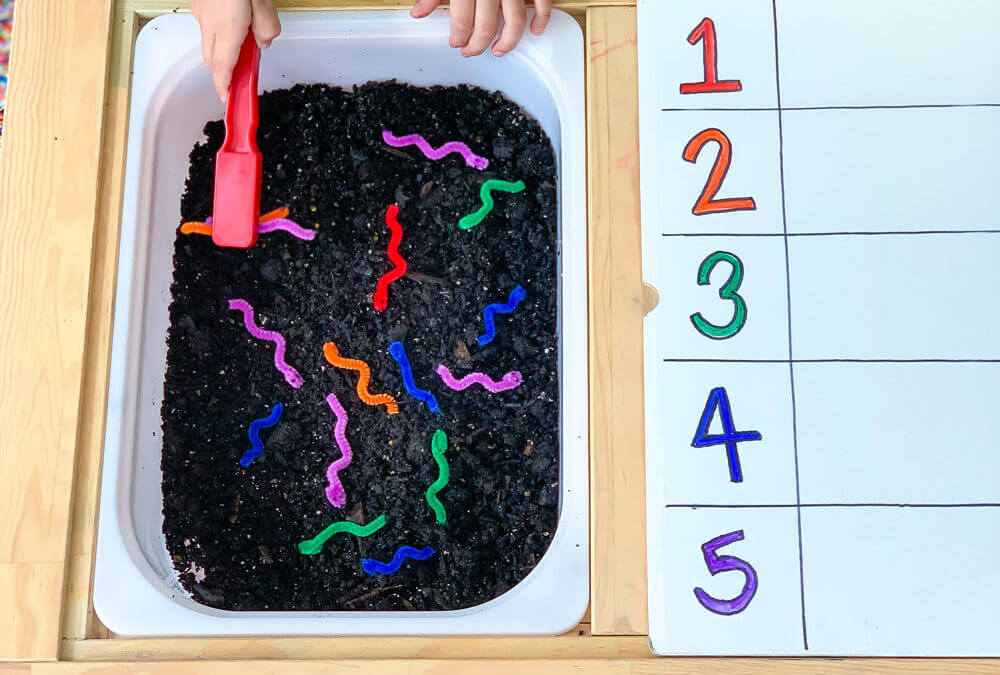
The best sensory bin ideas to keep kids engaged for hours! Fun, hands-on activities that spark creativity, learning, and fine motor skills.
Valentine’s Alphabet and Number Activity with Printable
Valentine’s Alphabet and Number Activity with Printable

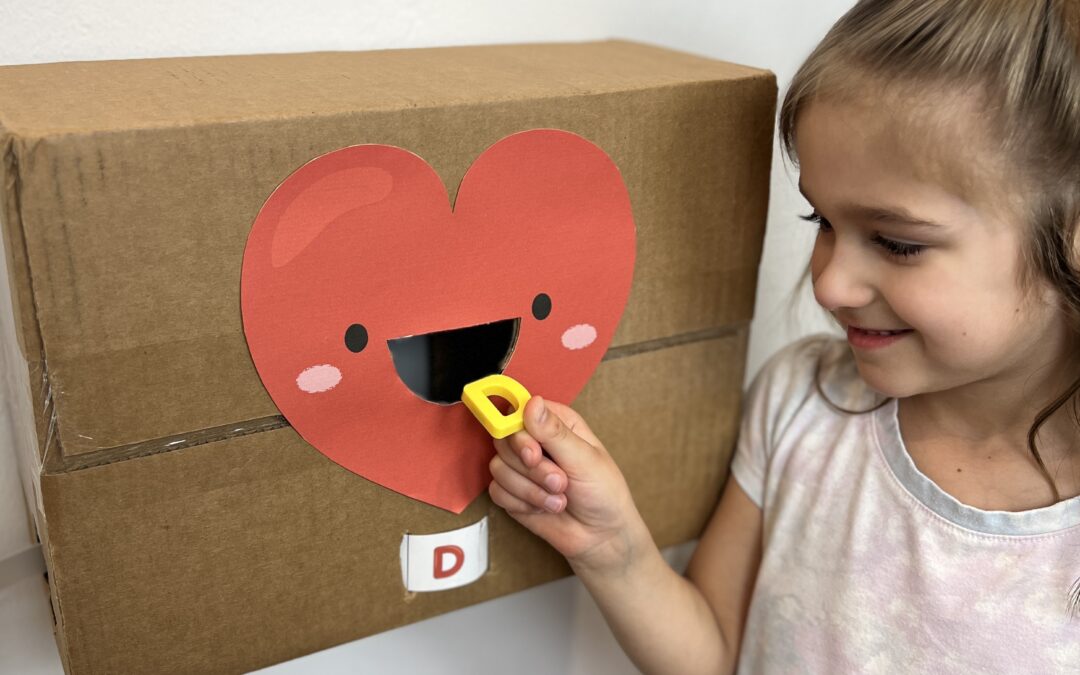
This “Feed the Heart” Valentine’s alphabet and number activity is a fun and interactive way to play and learn. Keep reading to see the step by step instructions on how you can do it too!
A Heartfelt Way to Recognize Letters and Numbers on Valentine’s Day!
This educational activity is one of our favorites during the Valentine’s season. The “Feed the Heart” alphabet and number activity provides a fantastic opportunity for children to explore the world of letter and number recognition in a fun and engaging manner.
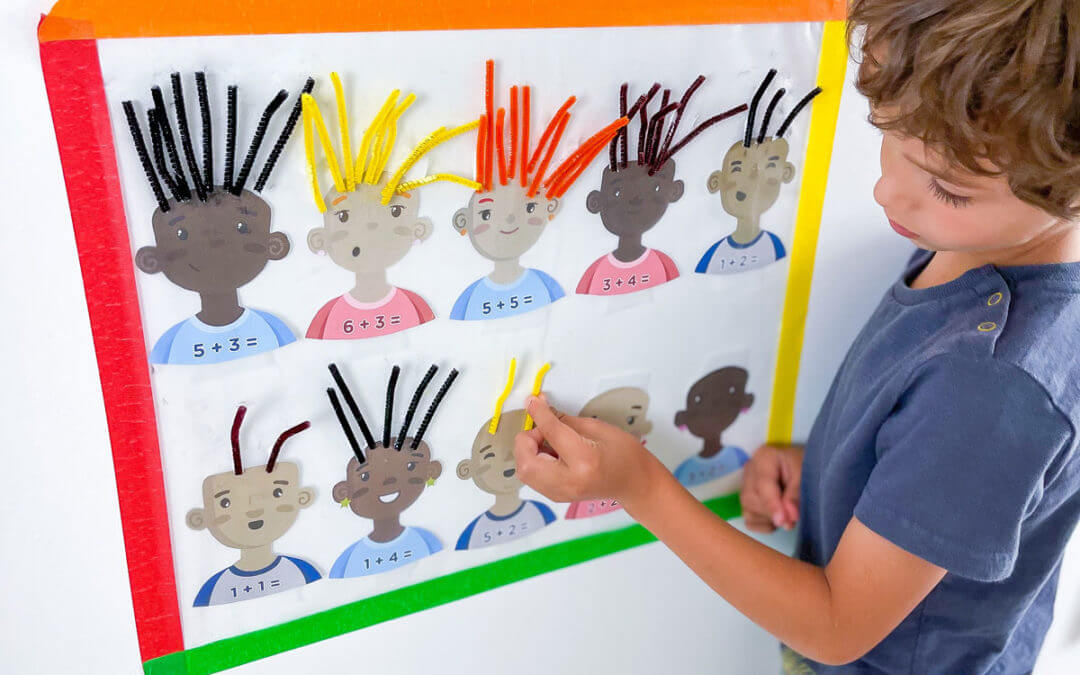
In this Valentine’s alphabet and number activity, you can choose between strips of written letters or number symbols, and then kids can physically interact with matching manipulative symbols to “feed the heart.” This hands-on approach creates a multisensory experience, reinforcing their understanding through touch and visual engagement.
In this post, we will delve into the details of this educational resource, highlighting its benefits, what you need to do, and how it effectively fosters not only alphabet recognition but also fine motor skills and problem-solving abilities in young learners.
Skills:
Ages:
Prep Time:
Watch How to Make This Valentine’s Alphabet and Number Activity!
Creating this DIY Valentine’s alphabet and number activity is easy to do, especially if you use our printable images!
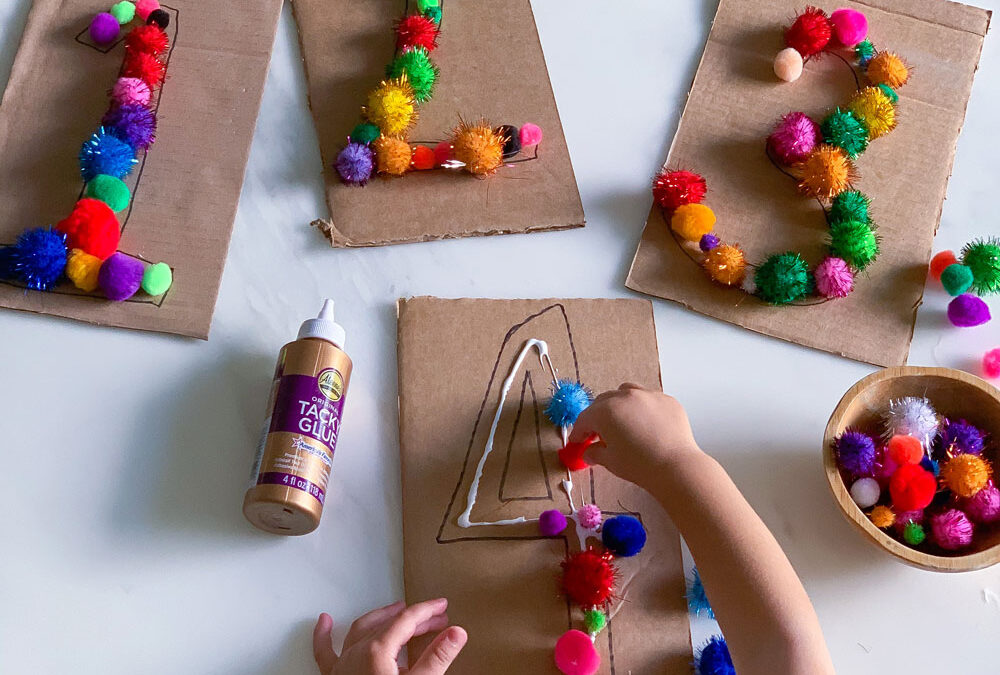
Start by preparing the necessary materials, ensuring you have our printed activity sheet, a suitable box, glue, scissors, and a craft knife. Engage your child in the creative process as they cut out the heart illustration, alphabet and number strips, and pictures of objects from the printable, fostering a hands-on approach to learning.
Incorporating interactive activities not only makes the alphabet and number learning experience fun but also enhances fine motor skills and problem-solving abilities. By infusing creativity into the learning process, you’ll not only be fostering a love for letters but also nurturing valuable skills that extend beyond the realm of academics.
All activities should be supervised by an adult. As an Amazon Associate, I earn from qualifying purchases. This post may contain affiliate links.
Watch How to Make This Valentine’s Alphabet and Number Activity!
Creating this DIY Valentine’s alphabet and number activity is easy to do, especially if you use our printable images!
Start by preparing the necessary materials, ensuring you have our printed activity sheet, a suitable box, glue, scissors, and a craft knife. You can make it yourself or engage your child in the creative process as they cut out the heart illustration, alphabet and number strips, and pictures of objects from the printable, fostering a hands-on approach to learning.
Incorporating interactive activities not only makes the alphabet-learning experience fun but also enhances fine motor skills and problem-solving abilities. By infusing creativity into the learning process, you’ll not only be fostering a love for letters but also nurturing valuable skills that extend beyond the realm of academics.
All activities should be supervised by an adult. As an Amazon Associate, I earn from qualifying purchases. This post may contain affiliate links.
Tips for Creating This Valentine’s Alphabet and Number Activity!
Download Our Printable. You can draw your own heart and create your own letter or number strips, or you can make things easier and download our printable images!
Cut Extra White Strips: Since we will be threading the strips through the box don’t forget to tape plain white strips of paper at the front and end of your alphabet and number strips so that they will properly thread through.
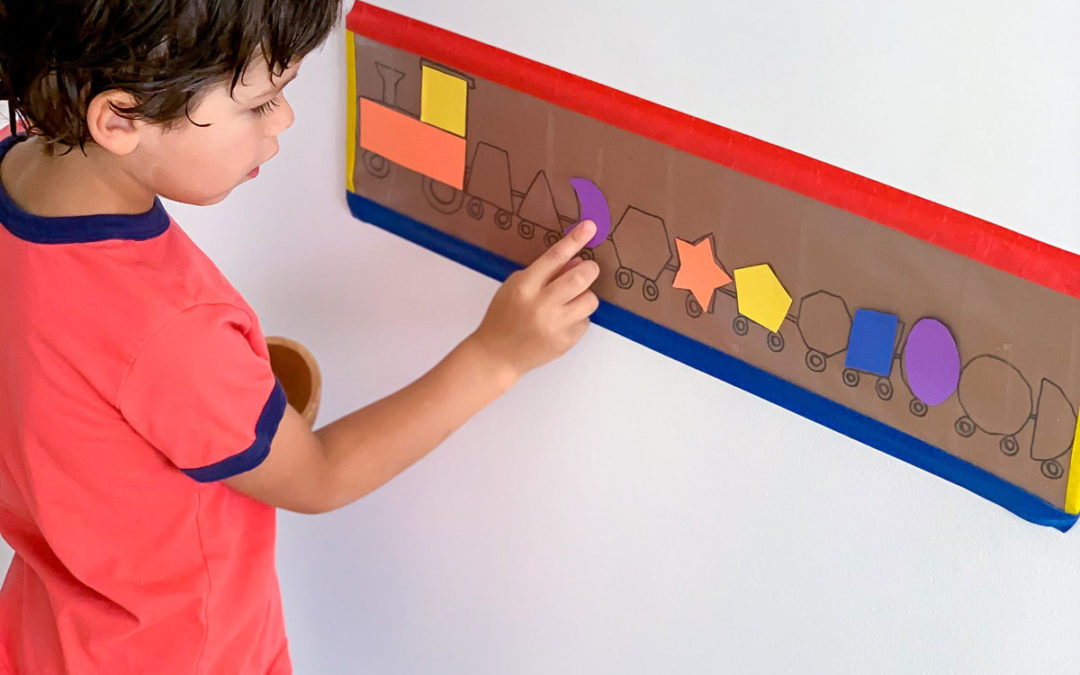
Tape it Up! If you have some strong double-sided tape, you can tape the box to the wall and make this a vertical activity – one that you kiddo does while standing and moving about which is great for concentration and gross motor skills!
For more arts and crafts projects, be sure to visit our comprehensive list!

Materials
- Printable “Feed the Heart” Activity
- Box or Container
- Glue
Step-by-Step Instructions
Step 1
Print out our downloadable “Feed the Heart” images or create them yourself!
Step 2
Cut out the heart shape and the alphabet and number strips, be sure to add extra white paper strips on each side of the letters and numbers strips to ensure the paper will thread fully through the box.
Step 3
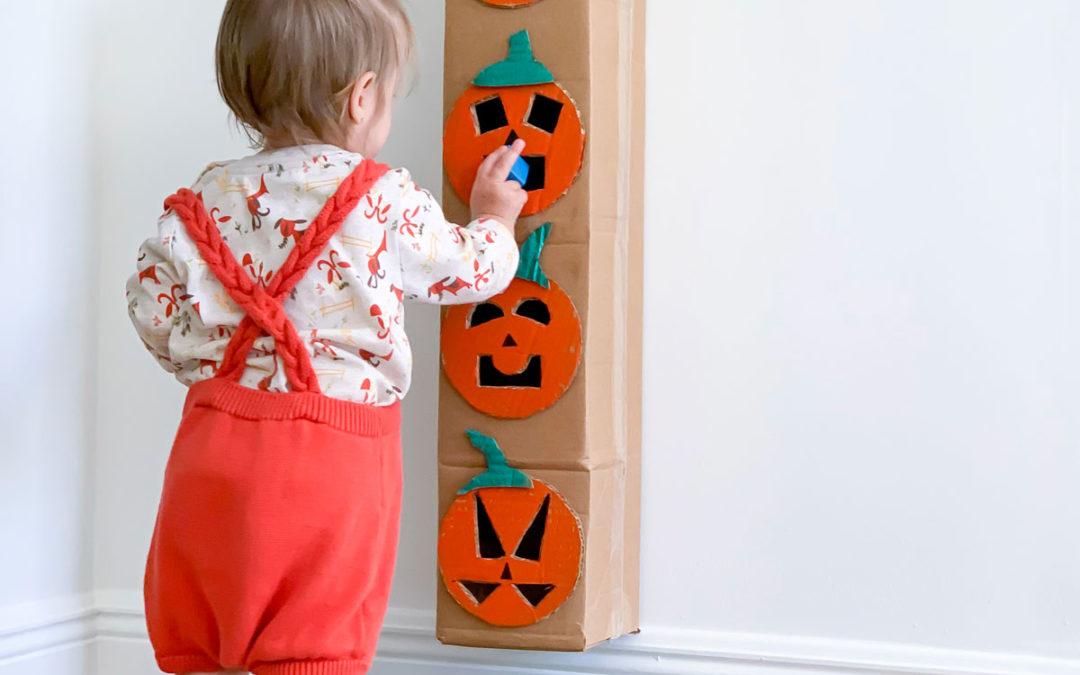
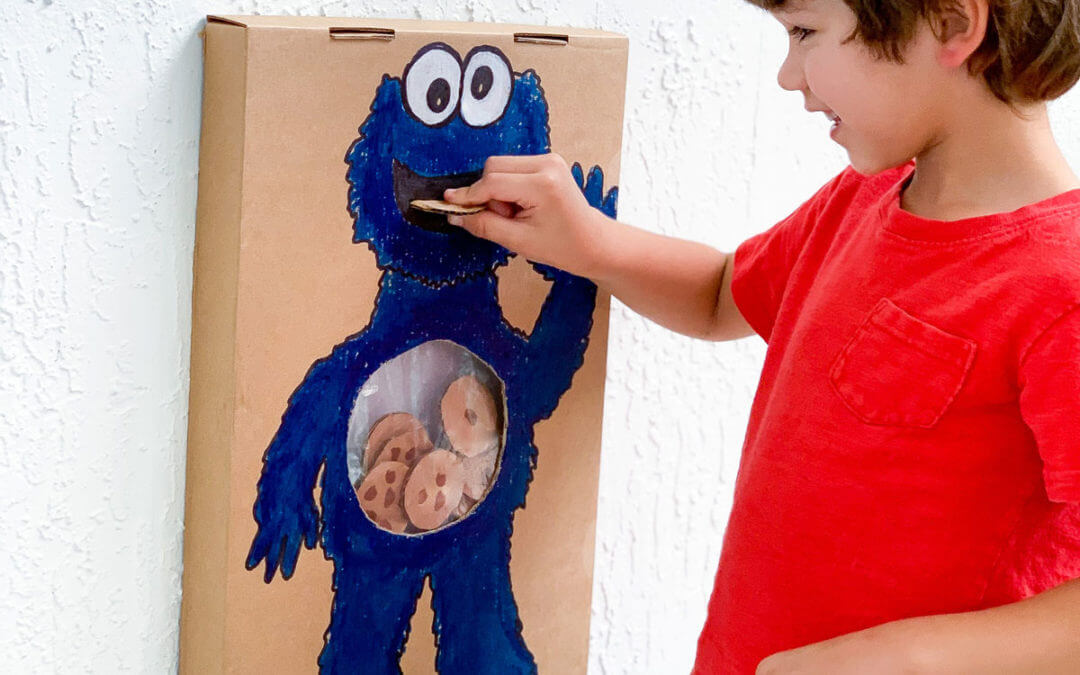
Glue the heart shape to a box and use a craft knife to cut along the dotted line around the heart’s mouth to make a hole all the way through the cardboard. Make sure there is a hole in the back of the box to retrieve the manipulative symbols.
Step 4
Cut two vertical lined slits under the heart with 1.5 inch of space between the slits. Also cut a hole on each side of the box.
Step 5
Thread the alphabet or number strips through the slits and run the ends of the strips through the holes on each side of the box. Once this is done, you or your child should be able to pull the strip to reveal one letter or number at a time that is visible underneath the heart shape.
Step 6
Provide alphabet and number manipulative symbols for your kiddo to match to the letter or number visible and feed it to the heart. Pull the strip to view the next letter or number and repeat the process.
Step 1
Print out our downloadable “Feed the Heart” images or create them yourself!
Step 2
Cut out the heart shape and the alphabet and number strips, be sure to add extra white paper strips on each side of the letters and numbers strips to ensure the paper will thread fully through the box.
Step 3
Glue the heart shape to a box and use a craft knife to cut along the dotted line around the heart’s mouth to make a hole all the way through the cardboard. Make sure there is a hole in the back of the box to retrieve the manipulative symbols.
Step 4
Cut two vertical lined slits under the heart with 1.5 inch of space between the slits. Also cut a hole on each side of the box.
Step 5
Thread the alphabet or number strips through the slits and run the ends of the strips through the holes on each side of the box. Once this is done, you or your child should be able to pull the strip to reveal one letter or number at a time that is visible underneath the heart shape.
Step 6
Provide alphabet and number manipulative symbols for your kiddo to match to the letter or number visible and feed it to the heart. Pull the strip to view the next letter or number and repeat the process.
How Interactive Activities Make Alphabet and Number Learning Easier
Interactive activities like this Valentine’s alphabet and number activity play a pivotal role in enhancing the learning experience for children by providing a dynamic and engaging approach.
Here are several ways in which interactive activities contribute to improved alphabet learning:
Active Engagement and Participation: Interactive activities encourage active engagement, where children are directly involved in the learning process.
Memory Retention through Experience: The physical act of selecting letters, matching them, and feeding the heart creates lasting impressions in their memory.
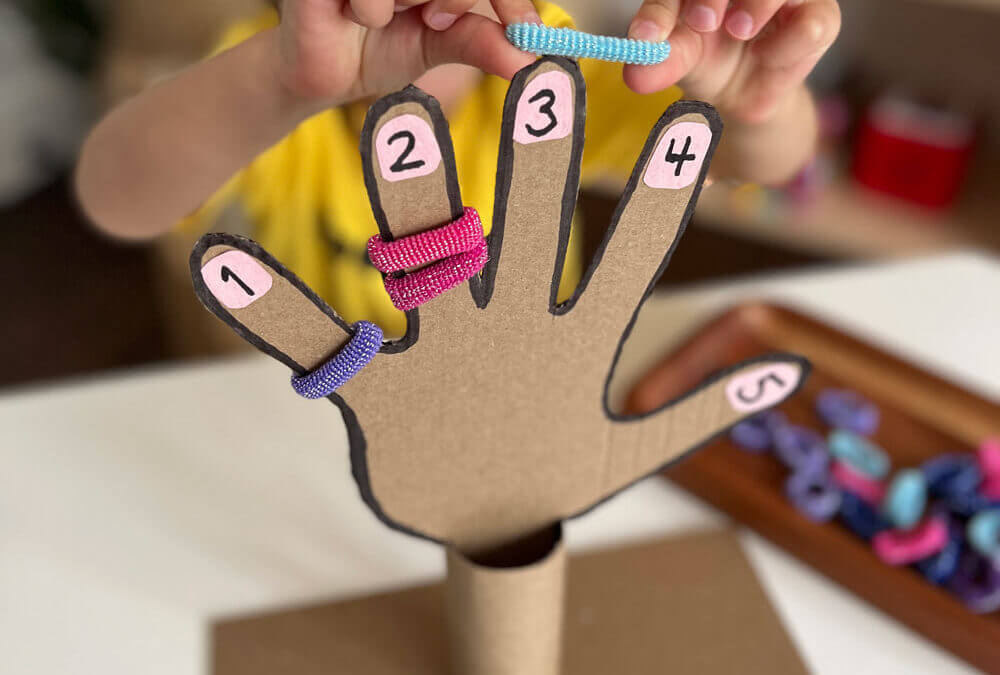
Fine Motor Skill Development: Many interactive alphabet activities, including cutting and pasting components like in the “Feed the Heart” activity, contribute to the development of fine motor skills.
Visual and Auditory Stimulation: The combination of engaging visuals and auditory stimuli, such as verbalizing letter names during the activity, reinforces the learning experience.

Problem-Solving and Critical Thinking: Many interactive alphabet activities involve problem-solving components, such as matching letters with corresponding objects or images.
Positive Attitude Toward Learning: When children associate the alphabet with fun and interactive experiences, they are more likely to approach learning with enthusiasm. This positive mindset lays the foundation for a lifelong love of learning.
How Interactive Activities Make Alphabet and Number Learning Easier
Interactive activities like this Valentine’s alphabet and number activity play a pivotal role in enhancing the learning experience for children by providing a dynamic and engaging approach.
Here are several ways in which interactive activities contribute to improved alphabet learning:
Active Engagement and Participation: Interactive activities encourage active engagement, where children are directly involved in the learning process.
Memory Retention through Experience: The physical act of selecting letters, matching them, and feeding the heart creates lasting impressions in their memory.
Fine Motor Skill Development: Many interactive alphabet activities, including cutting and pasting components like in the “Feed the Heart” activity, contribute to the development of fine motor skills.
Visual and Auditory Stimulation: The combination of engaging visuals and auditory stimuli, such as verbalizing letter names during the activity, reinforces the learning experience.
Problem-Solving and Critical Thinking: Many interactive alphabet activities involve problem-solving components, such as matching letters with corresponding objects or images.
Positive Attitude Toward Learning: When children associate the alphabet with fun and interactive experiences, they are more likely to approach learning with enthusiasm. This positive mindset lays the foundation for a lifelong love of learning.
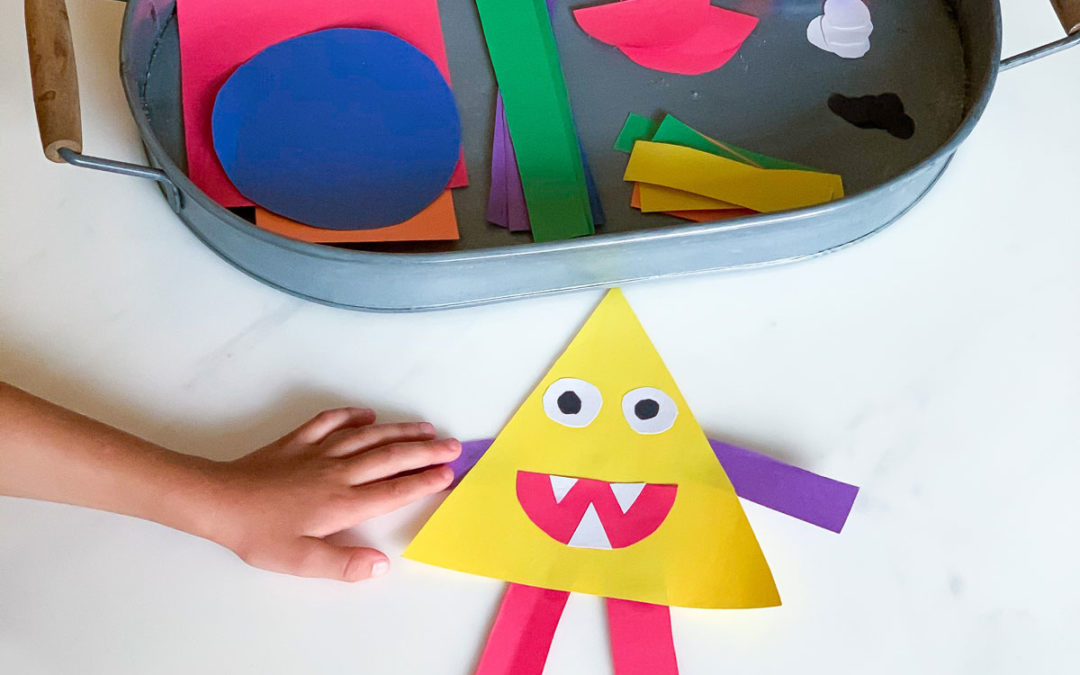
Other DIY Valentine’s Day Activities
Looking for more Valentine’s Day fun? Check out these printable resources that go beyond doing this Valentine’s alphabet and number activity.

Hot Glue Pendants
Craft beautiful customized crystal pendants effortlessly to embellish your bracelets, earrings, and necklaces. Designed for individuals aged 6 and above, utilizing a low-heat glue gun ensures safety. An elegant and considerate gift suggestion!

Valentine’s Craft
Ignite your child’s artistic spirit with our exclusive Valentine’s Hot Glue Craft – Printable. Simply print the provided illustrations and embark on a crafting adventure. To ensure safety, adult supervision is recommended when using hot glue.

Valentine’s Play Dough Mats
Introduce a touch of magic to your Valentine’s Day festivities with our delightful Valentine’s Day PlayDough Mats. This printable product is specially crafted to ignite creativity in young hearts, providing an enchanting addition to your celebration.

15+ Valentine’s Day Activities
Elevate the spirit of Valentine’s Day for your little ones with our printable set of over 15 Valentine’s Day themed activities! Tailored to foster early childhood education skills, these delightful worksheets are designed to be both enjoyable and educational.
What’s Next?
The Best Sensory Bin Ideas to Keep Kids Engaged for Hours
read more

The Best Easter Ideas for Kids
Discover the best Easter ideas for kids including basket ideas, egg fillers, crafts, activities, decorations, and printables to make Easter fun and easy.

Air Fryer Tequeños, Freeze Ahead and Cook Straight From Frozen
Make Air Fryer Tequeños you can freeze and cook from frozen, crispy dough, melty cheese, plus dips and no-leak tips.


-17")


-05")