This butterfly craft preschool kids will love uses bowtie pasta and paint to create colorful butterflies—fun, simple, and perfect for little hands!
Alphabet Game for Preschoolers – Magic Letters!
Alphabet Game for Preschoolers – Magic Letters

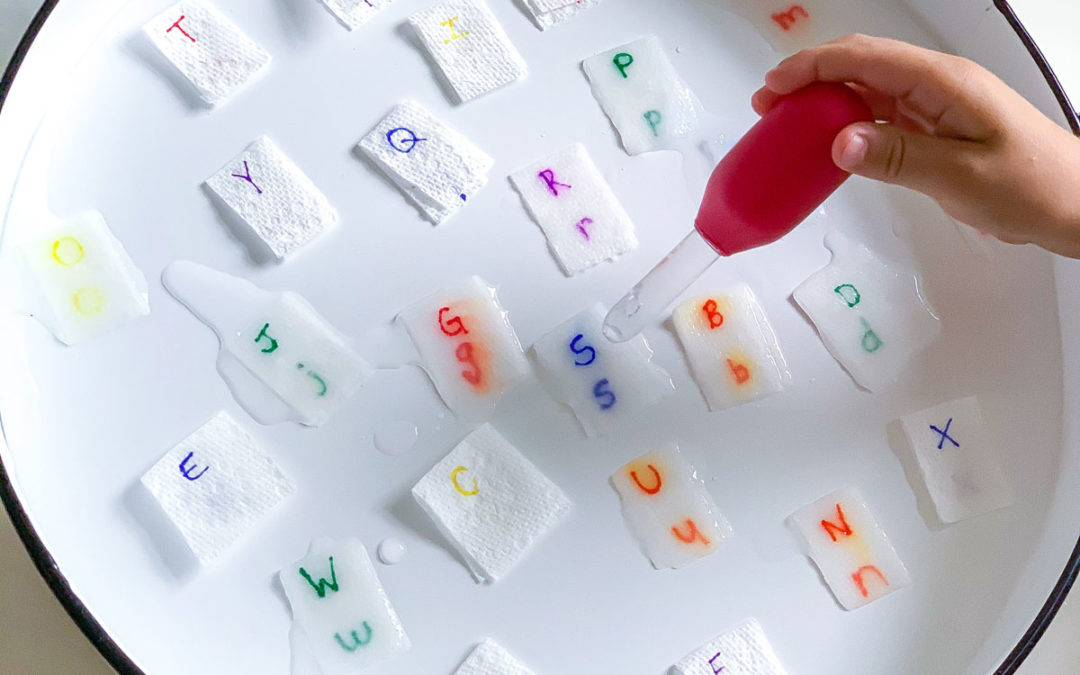
Your child will love making the letters appear like magic with this fun alphabet game for preschoolers. Plus, you’ll see below just how easy to set up!
If you are looking for more budget-friendly ways for kids to play with letters, be sure to check out our Alphabet Painting Game, Alphabet Parking Lot Game, and DIY Alphabet Matching Puzzle!
Teach Letter Recognition With This Alphabet Game for Preschoolers
Few things capture a child’s imagination and sense of wonder like magic tricks! They love it – and I have to admit, I do too.
As your child makes the letters appear they will be motivated to keep playing until they make all 26 letters appear!
Skills:
Ages:
Prep Time:
Watch the Video to See the Magic Letters in Action
Here’s a quick video of my kiddo making the letters appear like magic. As you can see, he is having so much fun finding the letters!
His smile is all the reward I need to know this is one of the best alphabet letter games for preschoolers!
All activities should be supervised by an adult. As an Amazon Associate I earn from qualifying purchases. This post may contain affiliate links.

How to Make This Easy Alphabet Game for Preschoolers!
This alphabet game for preschoolers isn’t just fun for early readers. There are a lot of different ways you can make “magic” letters or numbers an educational game for older kids too.
This tutorial is really basic. Change it up for your child’s educational level. If you have younger toddler, hide basic shapes and colors for them to discover. For older kids, make it a math game by writing out a multiplication or division fact!
The options are endless!
Materials
Step-by-Step Instructions
Step 1
Cut strips of paper towel, one for each letter.
Step 2
Fold each square in half.
Step 3
Write the uppercase letter on top layer, leaving space underneath for the lowercase letter to be revealed.
Step 4
Open each square and on the bottom of the second layer, write the lowercase letter.
Step 5
Optional: put double-sided tape on the bottom to secure the pieces to a dish or tray.
Step 6
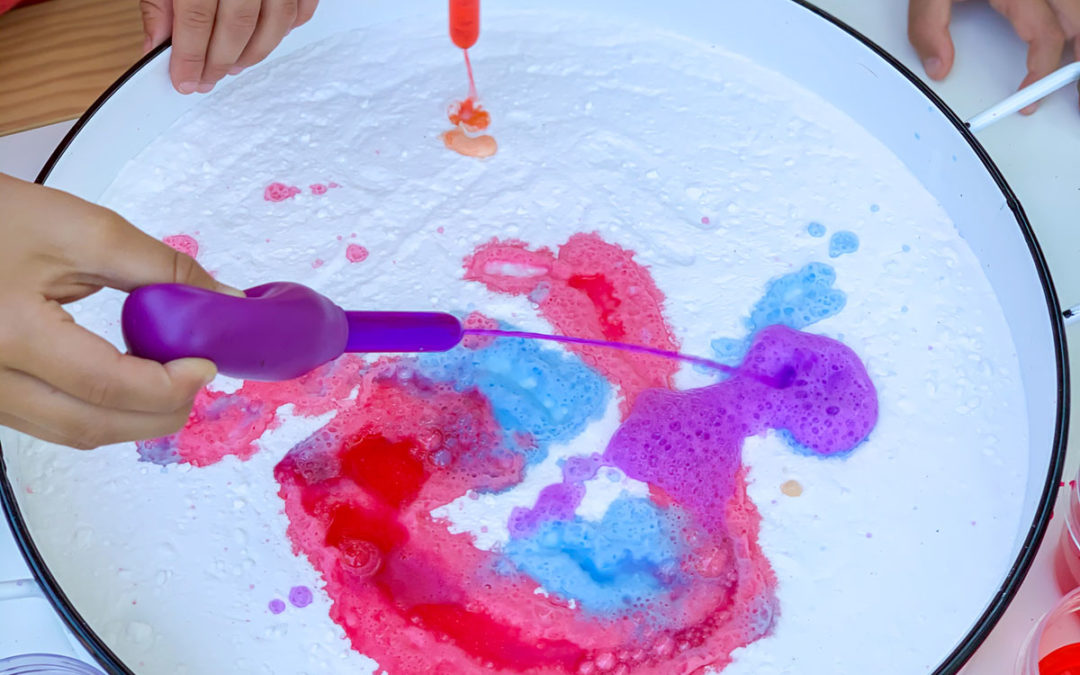
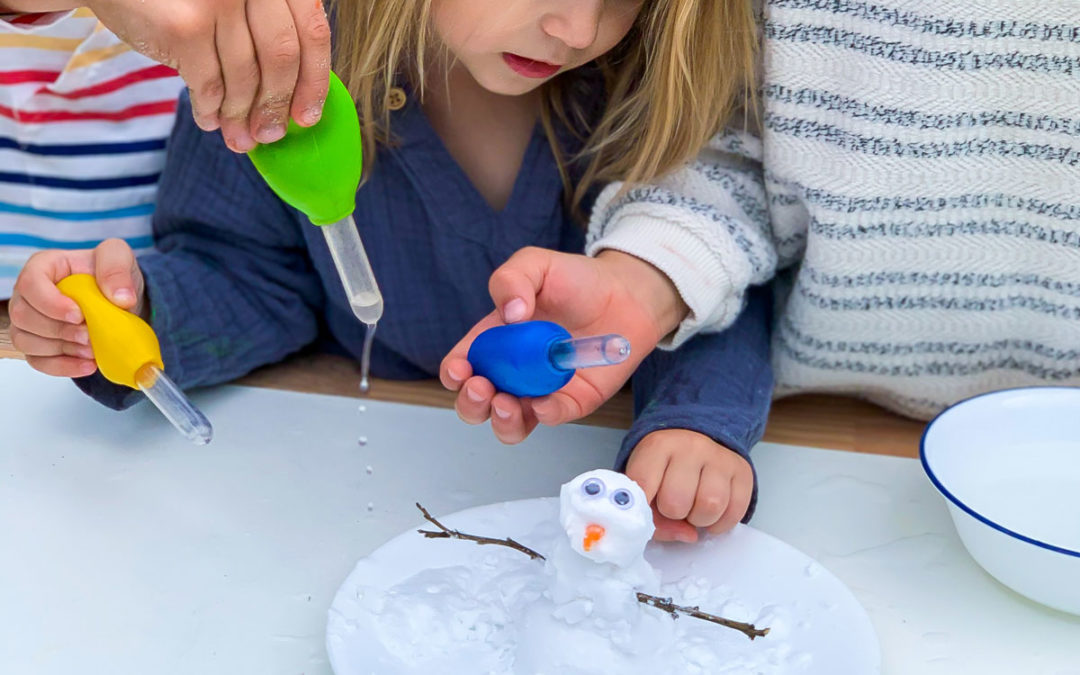
Include a tool like a dropper to squirt over the letter squares to reveal the lowercase letters!
Step 1
Cut strips of paper towel, one for each letter.
Step 2
Fold each square in half.
Step 3
Write the uppercase letter on top layer, leaving space underneath for the lowercase letter to be revealed.
Step 4
Open each square and on the bottom of the second layer, write the lowercase letter.
Step 5
Optional: put double-sided tape on the bottom to secure the pieces to a dish or tray.
Step 6
Include a tool like a dropper to squirt over the letter squares to reveal the lowercase letters!
Educational Benefits of this Alphabet Game for Preschoolers
There are so many things that this alphabet game for preschoolers will teach your child. They’ll learn all sorts of kindergarten readiness skills.
Picking up the water dropper and squeezing it so the water drips out are all actions that strengthen their fingers. They need these muscles to do things like write and tie their shoes. The more they practice things like this, the stronger it will get.
Another thing it teaches your child is how to identify all of the letters. They will do this activity with you – you tell them which letter to uncover. Then, they pick out the correct letter from among all the other letters.

Part of this activity is matching the uppercase letter with the lowercase letter. The combination of uppercase and lowercase letters is part of print awareness. Uppercase and lowercase letters look slightly different from each other, but if they can pair them, they will have an easier time reading.
Educational Benefits of this Alphabet Game for Preschoolers
There are so many things that this alphabet game for preschoolers will teach your child. They’ll learn all sorts of kindergarten readiness skills.
Picking up the water dropper and squeezing it so the water drips out are all actions that strengthen their fingers. They need these muscles to do things like write and tie their shoes. The more they practice things like this, the stronger it will get.
Another thing it teaches your child is how to identify all of the letters. They will do this activity with you – you tell them which letter to uncover. Then, they pick out the correct letter from among all the other letters.
Part of this activity is matching the uppercase letter with the lowercase letter. The combination of uppercase and lowercase letters is part of print awareness. Uppercase and lowercase letters look slightly different from each other, but if they can pair them, they will have an easier time reading.
Store-Bought Alphabet Activities
Here are my top picks for games and activities that teach letter recognition.

Osmo Little Genius Starter Kit
This activity pack comes with access to an iPad app and even a tablet base. Kids interact with Osmo to make letters out of shapes.

All 26 letters are included in this fun game. The popsicles are interlocking for a fun way to engage with both uppercase and lowercase!

Wooden Uppercase and Lowercase Matching Puzzle
This beautifully crafted interlocking wooden puzzle is a great way to explore uppercase and lowercase letters.

This fun puzzle is shaped like a worm. By including both lowercase and uppercase letters, this is a fun way for kids to be able to match the alphabet!
What’s Next?
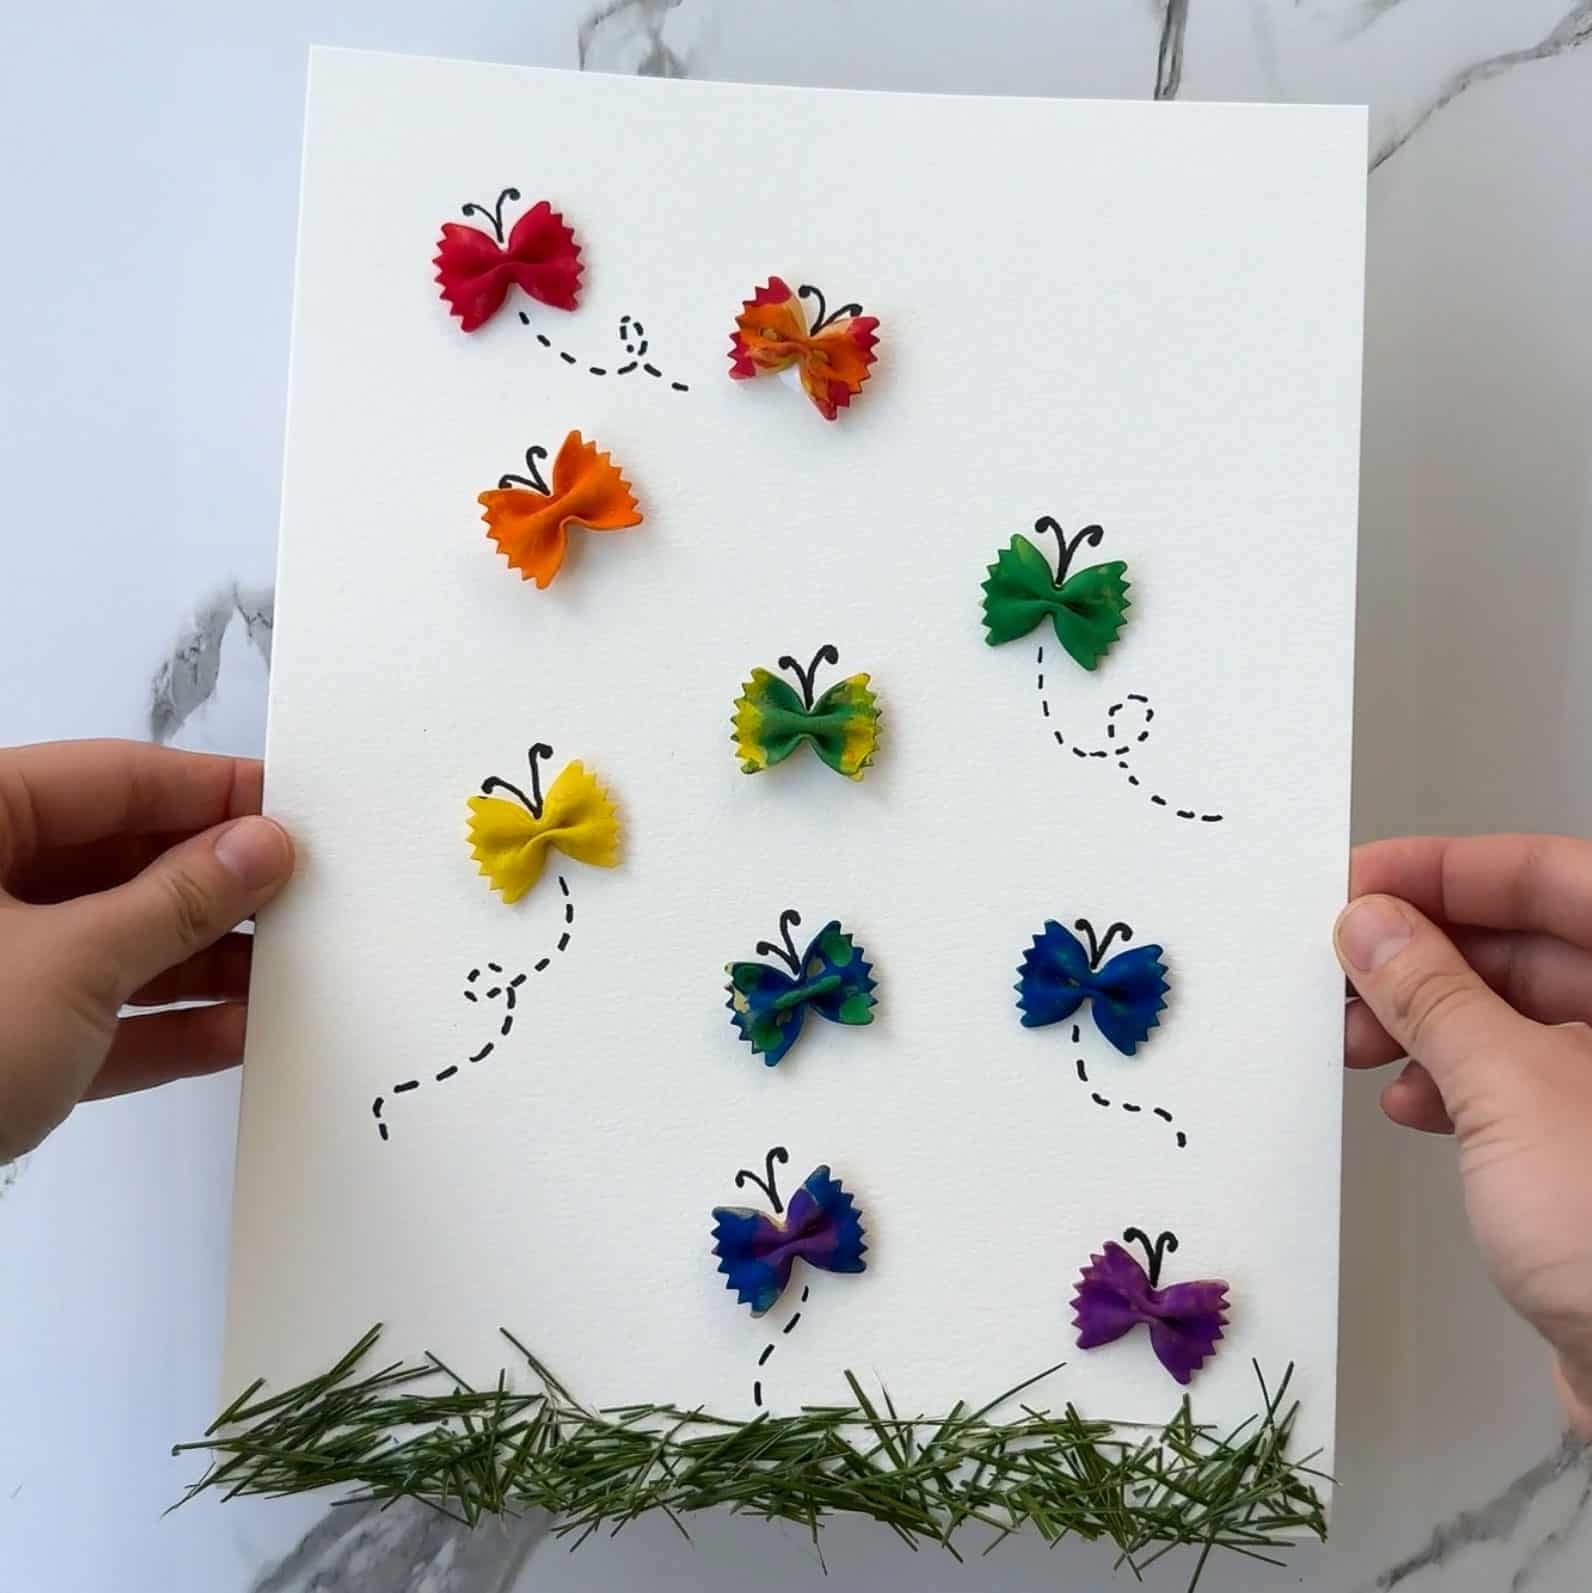
Butterfly Craft Preschool Kids Will Love (With Pasta!)
read more
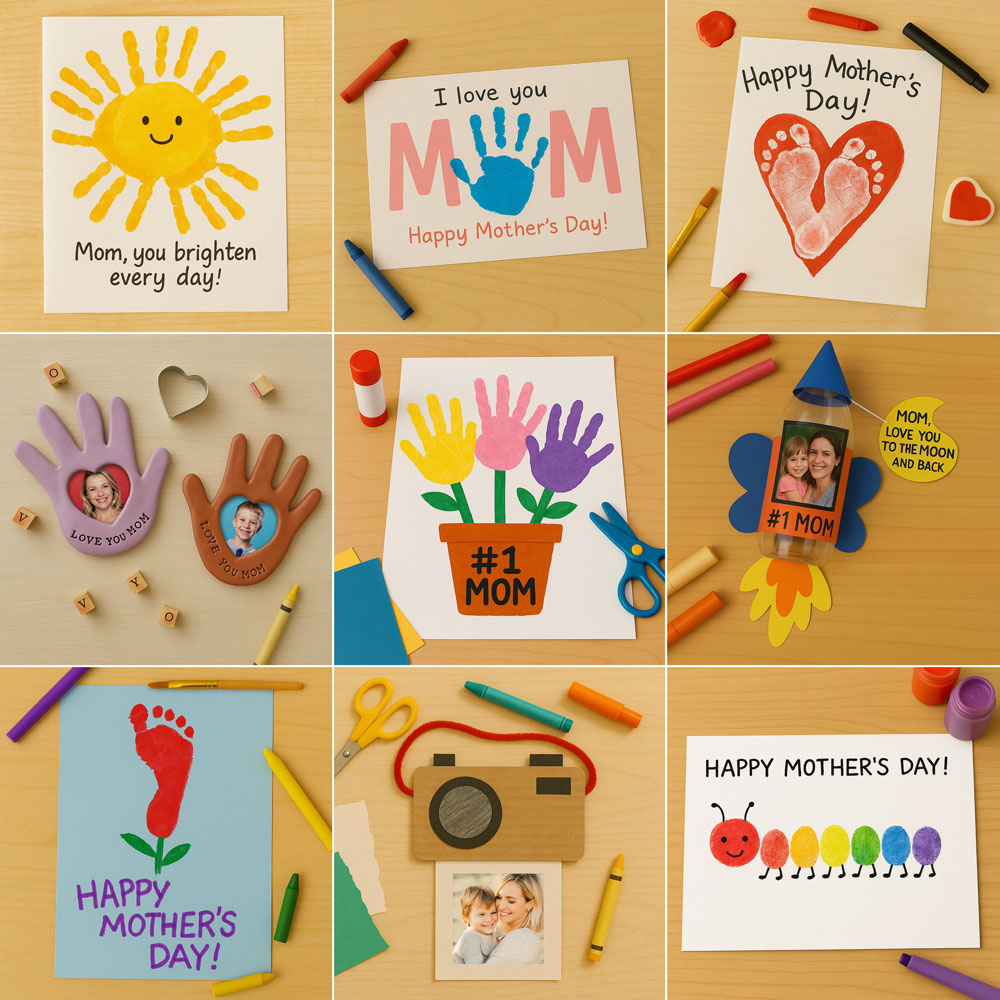
Mother’s Day Crafts for Kids – Cards, Keepsakes & More
Sweet and simple Mother’s Day crafts for kids that double as keepsakes—easy, meaningful, and made with love.
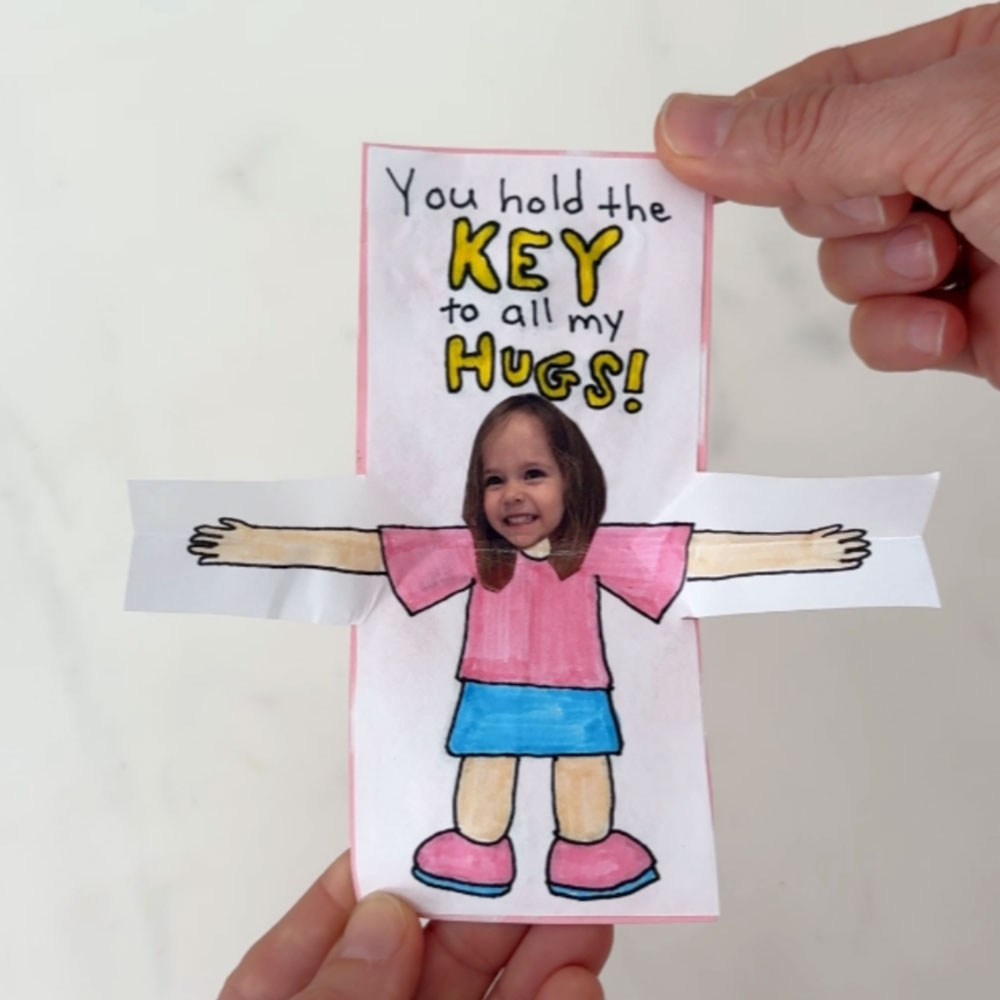
How to Make a Pop-Up Hug Card for Mother’s Day (With Free Printable!)
Make a pop-up hug card for Mother’s Day! DIY tutorial with free printable template and photo personalization for a heartfelt gift.