DIY Catapult | How to Make a Catapult
Out of Simple Supplies

Make this DIY catapult out of objects you have around this house. This teaches them beginning science!
One of the best way to teach early math and science concepts is by making it hands on and letting kids play! This catapult is a toy that can launch all sorts of things. My kids started with soft pom poms and they quickly moved to going outside and finding rocks, twigs, leaves, really anything they could launch!
There are all sorts of scientific things that they learn with these little catapults. This is the foundation for the physics branch of science. They will learn how the stored energy in the craft sticks hurls the projectile.
This easy science experiment turns into a fun game for your kids. The best part is that you probably already have these supplies in your home!
All activities should be supervised by an adult. As an Amazon Associate I earn from qualifying purchases. This post may contain affiliate links.
Watch the Video to See How to Make a DIY Catapult!
Making DIY catapults is super easy. Here’s a quick video showing not only how to make a DIY catapult, but also how you can turn it into a game with paper cup landing goals!
For older kids, have them make the catapults themselves! However, even toddlers will enjoy flinging taste-safe objects from the catapults too!
For written step-by-step instructions and materials, read on below for more information!
How to Play with the DIY Catapult
There are many ways to play with DIY catapults! You can create a landing zone like in the video and take it up a notch by assigning values to each cup!
You can also skip the landing zones entirely and go outside and enjoy experimenting with lots of different objects. My boys enjoyed collecting all the objects they could find, like sticks, stones, leaves, and even empty snail shells!
Your kiddos can enjoy experimenting which one will go farthest and fastest! They can also experiment with direction all the while strengthening fine motor skills as they launch the objects!
Materials
- 10 Craft Sticks
- 4 Rubber Bands
- 1 Recycled Bottle Cap
- 10 Craft Sticks
- 4 Rubber Bands
- 1 Recycled Bottle Cap
- Small Cups
- Pom poms
Step-by-Step Instructions
Step 1
Stack 8 craft sticks together and bind them with 2 rubber bands, one on each end.
Step 2
With the 2 remaining craft sticks, bind them at one end with a rubber band.
Step 3
Sandwich the stack of 8 craft sticks in between the stack of 2 craft sticks.
Step 4
Crisscross a rubber band around the sandwiched stack of craft sticks to hold it all in place.
Step 5
Hot glue a bottle cap at the end of the topmost craft stick. Use it to place items like pom poms inside.
Step 6
Line up small cups for an added scoring system!
Educational Benefits of the DIY Catapult
There are actually quite a few things they learn – even though in their minds they are just having a blast flinging balls and rocks across the table.
Physics
This is the best way to introduce your kids to the wonder of physics. The science behind the catapult uses potential and kinetic energy that is stored in the rubber bands.
Teach your kids that the potential energy is the stored energy and the kinetic energy is what happens as the pom poms fly into the air – the energy in motion.
There are also three energy storage mechanisms that help it work – torsion, tension, and gravity.
The catapult stores energy in the rubber band as you pull it back. Then, when you let go, the potential energy is released creating a force that projects the pom pom into the air!

Precision and Aim
This activity also teaches your kids precision and aim. This is a very important part of hand-eye coordination. You can even create goals on the table and ask them to try and make their objects hit the goal.
Educational Benefits of the DIY Catapult
There are actually quite a few things they learn – even though in their minds they are just having a blast flinging balls and rocks across the table.
Physics
This is the best way to introduce your kids to the wonder of physics. The science behind the catapult uses potential and kinetic energy that is stored in the rubber bands.
Teach your kids that the potential energy is the stored energy and the kinetic energy is what happens as the pom poms fly into the air – the energy in motion.
There are also three energy storage mechanisms that help it work – torsion, tension, and gravity.
The catapult stores energy in the rubber band as you pull it back. Then, when you let go, the potential energy is released creating a force that projects the pom pom into the air!
Precision and Aim
This activity also teaches your kids precision and aim. This is a very important part of hand-eye coordination. You can even create goals on the table and ask them to try and make their objects hit the goal.
Top Picks: Catapult Toys and Kits
Here are my suggestions for catapult toys and kits you can buy!

Craft a Catapult & Play

Catapult and Aim!

Robotic Catapult Kit

Catapulting Sheep Game!
What’s Next?
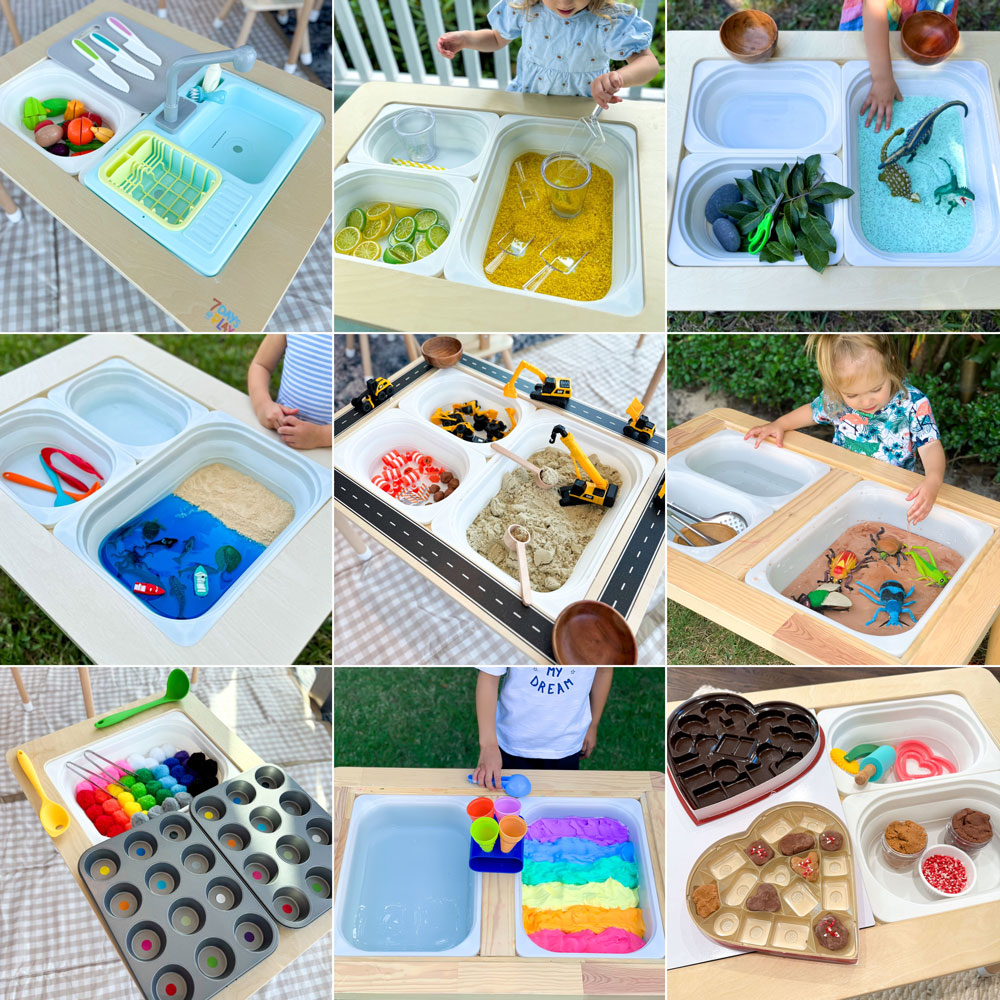
The Best Sensory Bin Ideas to Keep Kids Engaged for Hours
The best sensory bin ideas to keep kids engaged for hours! Fun, hands-on activities that spark creativity, learning, and fine motor skills.

The Best Easter Ideas for Kids
Discover the best Easter ideas for kids including basket ideas, egg fillers, crafts, activities, decorations, and printables to make Easter fun and easy.
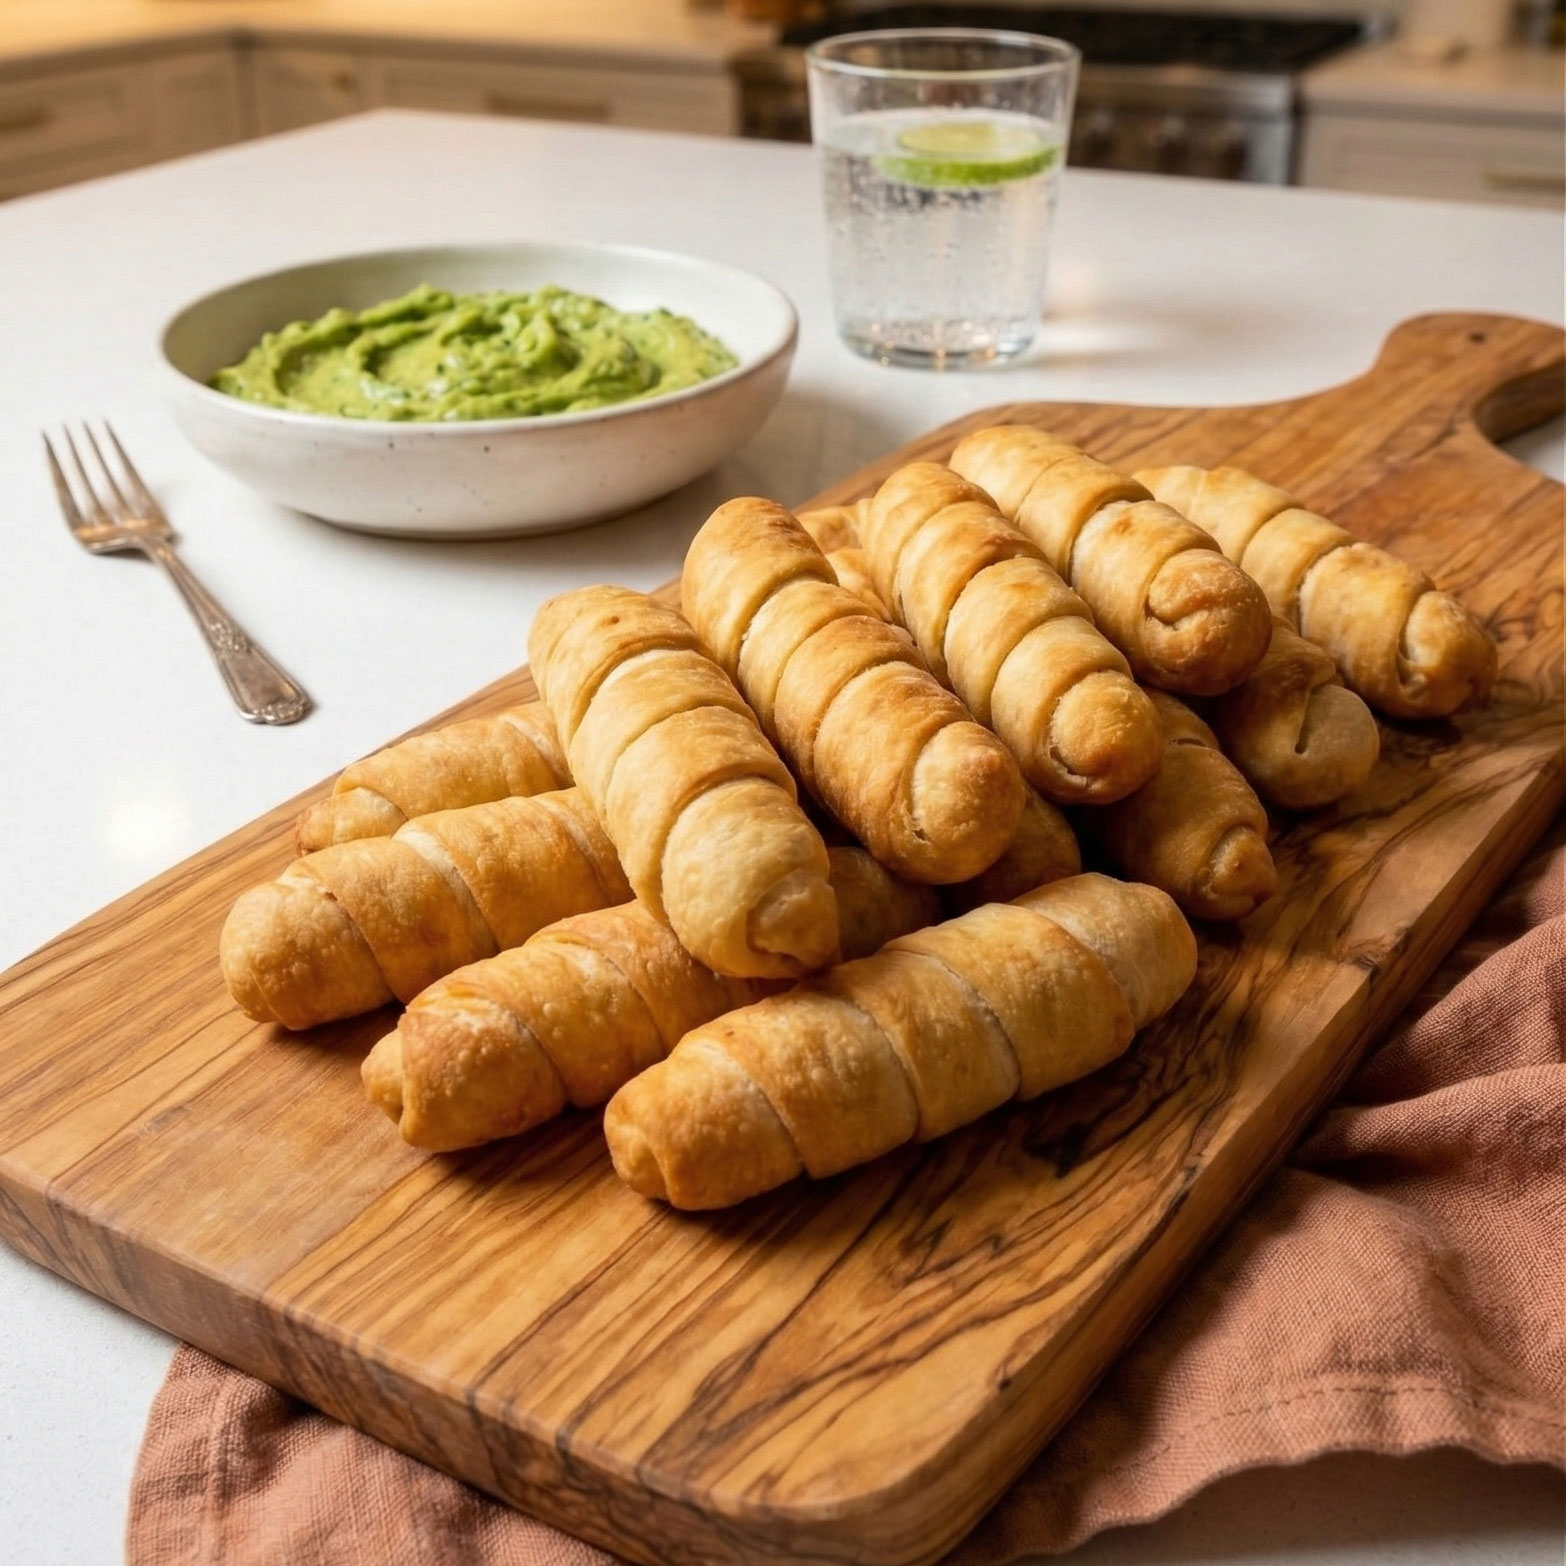
Air Fryer Tequeños, Freeze Ahead and Cook Straight From Frozen
Make Air Fryer Tequeños you can freeze and cook from frozen, crispy dough, melty cheese, plus dips and no-leak tips.