Find the best gifts for 8 to 12 year olds with our top picks for boys and girls—perfect for sparking creativity and fun for kids this age!
Thanksgiving Activity Sheets for Kids: Free & Printable Holiday Fun
Thanksgiving Activity Sheets for Kids: Free & Printable Holiday Fun

Find Thanksgiving activity sheets for kids, including free printables, coloring pages, scavenger hunts, and games to keep kids entertained!
Thanksgiving Activity Sheets for Kids: Fun and Easy Printables
Looking for fun and festive ways to keep the kids entertained this Thanksgiving? Say hello to my collection of Thanksgiving activity sheets! From a turkey-themed scavenger hunt to creative color-by-number pages, blow-up turkey crafts, and more, these printables are packed with holiday cheer. Whether you’re trying to keep little hands busy while you cook or just want to make the day extra special, these activity sheets are perfect for kids of all ages. Plus, they’re easy to download —so let the Thanksgiving fun begin!
All activities should be supervised by an adult. As an Amazon Associate, I earn from qualifying purchases. This post may contain affiliate links.
Download All of Our Thanksgiving Activity Sheets
Your kids will be entertained for hours with these fun games and crafts! Download these Thanksgiving activity sheets for kids before the big feast and enjoy some creative, screen-free family fun.

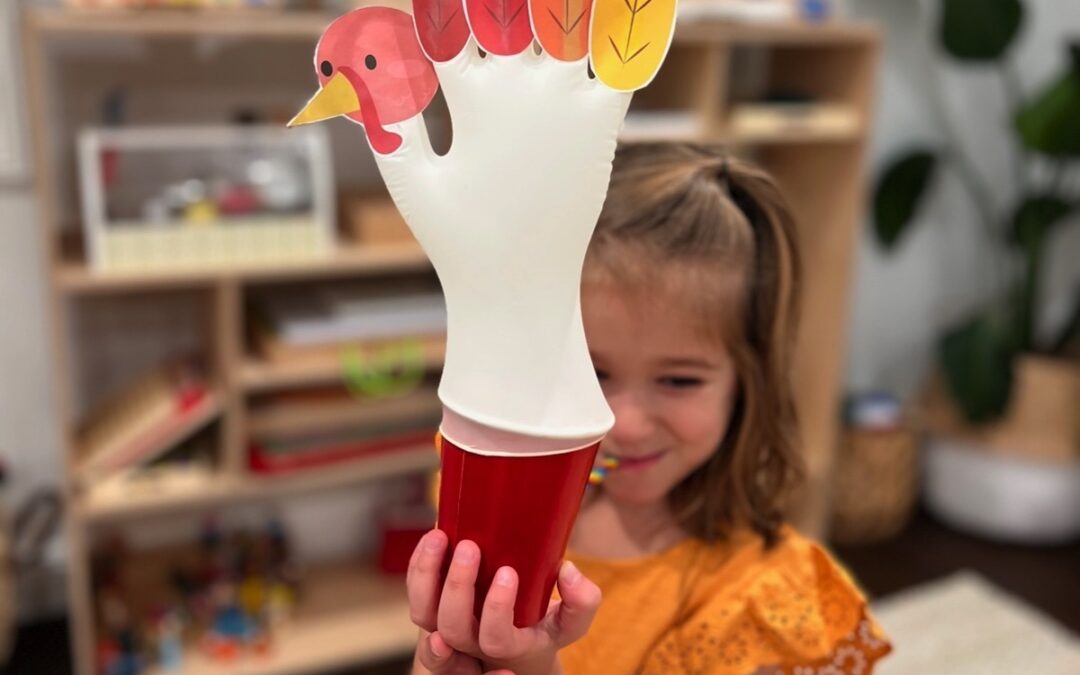
Blow Up the Turkey
Turn a simple glove into a Thanksgiving turkey with this free printable. Your kids will love this interactive activity that’s super easy to create!

15+ Holiday Activities
Keep your kids entertained with playful learning this Thanksgiving. These holiday activities include scissor skills, coloring, tracing, and fine motor skills.

Pin the Peg on the Turkey
Pin the Peg on the Turkey is a fun and festive game that will keep your kids entertained while working on hand-eye coordination and dexterity.

Pilgrim Salon
Teach your kids about the history of Thanksgiving while unleashing their creative side. This activity will work on fine motor skills and hand-eye coordination.

Thanksgiving Coloring Pages

Thanksgiving Scavenger Hunt

Thanksgiving Color by Number

November Activity Checklist
How to Make the Blow Up Turkey Craft
The Blow Up Turkey Craft is one of our favorite Thanksgiving activities! Kids will love turning a simple glove into a silly, puffed-up turkey that comes to life as they blow it up. This hands-on activity is full of giggles and learning—it strengthens fine motor skills, coordination, and creativity all at once.
As children decorate their turkeys and watch them inflate, they’ll experience the magic of creating something with their own hands. It’s an easy, mess-free craft that parents will appreciate too.
🎥 Watch the video below to see exactly how to make your own Blow Up Turkey Craft!
Before the big feast, download these Thanksgiving activity sheets for kids to keep little hands busy and spirits bright.
More Fun Ways to Play on Thanksgiving!
In addition to these Thanksgiving activity sheets for kids, here are a few fun Thanksgiving crafts and games you can buy to keep little ones entertained all day long.

Wooden Thanksgiving Puzzle Set
A hands-on Thanksgiving puzzle that helps kids match animals and fall characters like a turkey, owl, and hedgehog while building fine motor and problem-solving skills.

Inflatable Turkey Ring Toss Game
A hilarious family game where players toss colorful rings onto inflatable turkey hats. Great for all ages and easy to play indoors or outdoors.

Giant Thanksgiving Coloring Tablecloth for Kids
A massive paper tablecloth kids can color together while waiting for Thanksgiving dinner — featuring turkeys, pumpkins, and all their favorite holiday foods.

Gobble Wobble Board Book
A fun interactive board book that invites little ones to dance, wiggle, and giggle like a turkey! Perfect for toddlers who love silly Thanksgiving fun.
What’s Next?
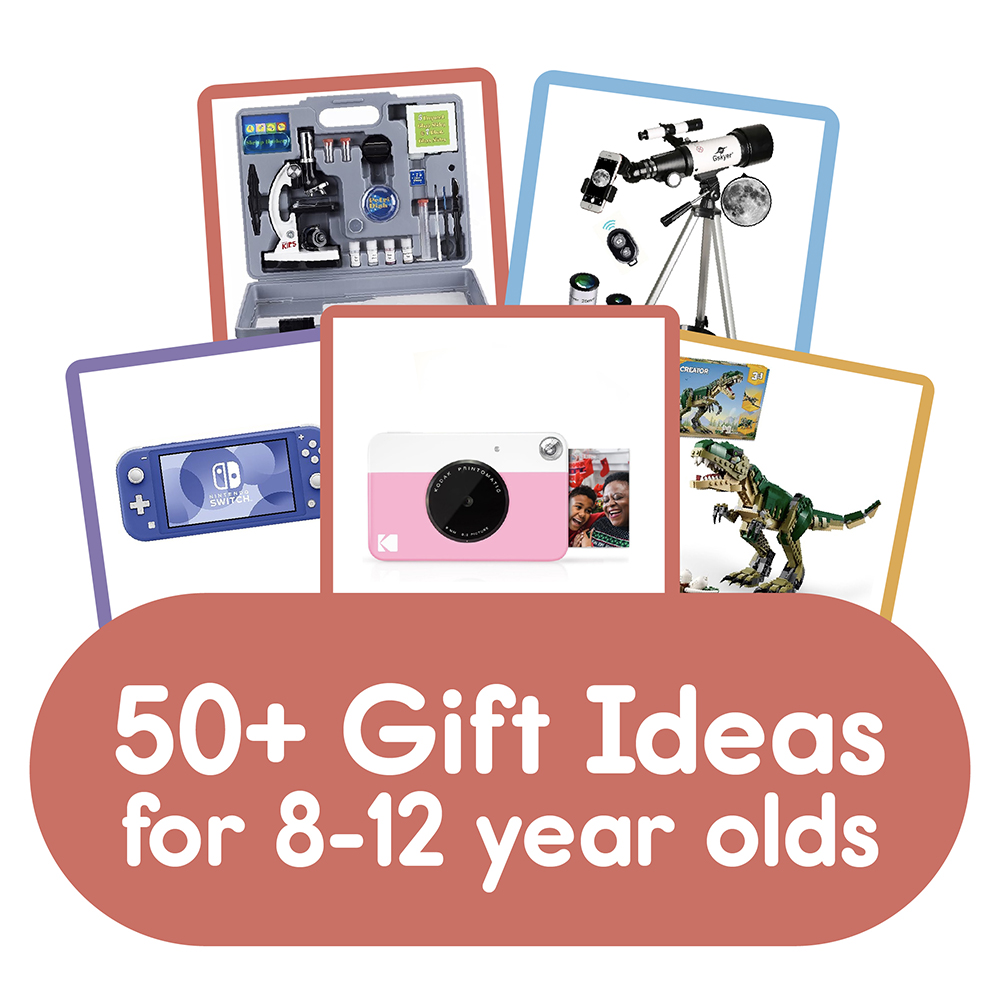
The Best Gifts for 8 to 12 Year Olds!
read more

Best Learning Toys for Kids
Looking for the best learning toys for kids? We’ve got you covered with this list of educational gifts that kids will love and learn from!
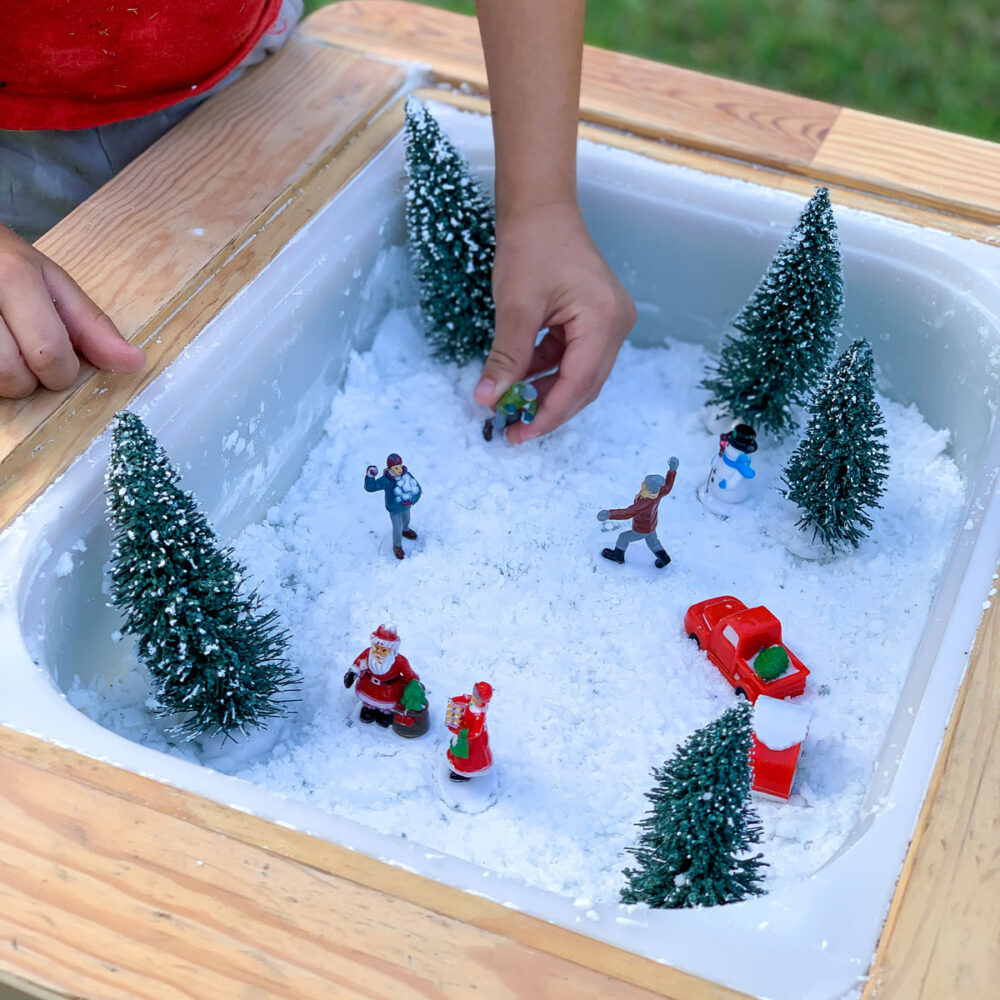
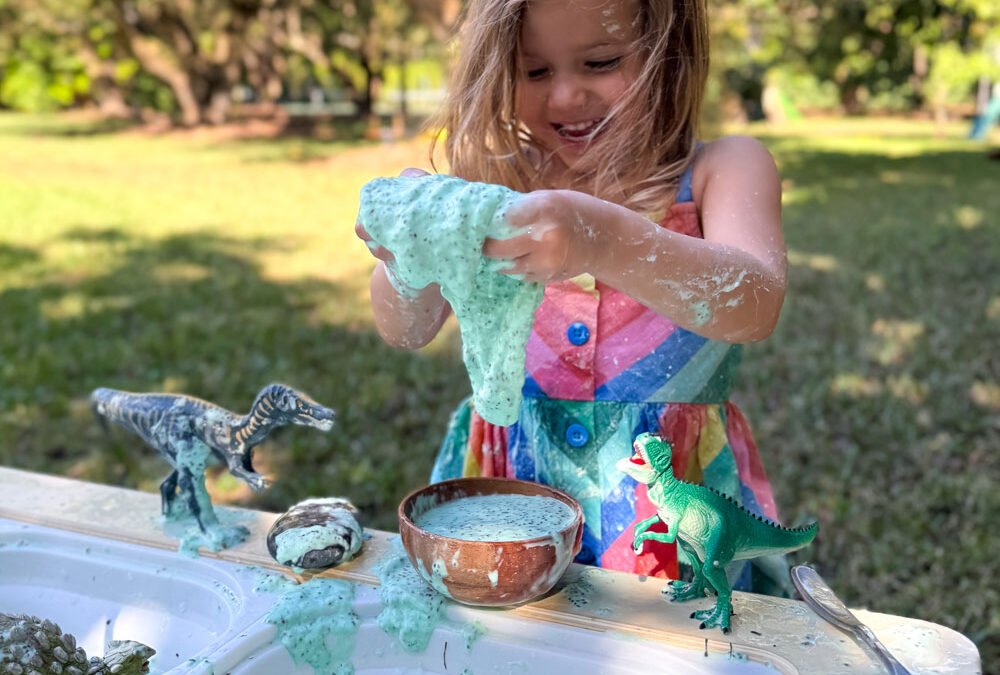
DIY Snow for Sensory Play: 4 Easy Kid Recipes
Learn how to make DIY snow for sensory play in minutes! These 4 fake snow recipes for kids are perfect for home, classroom, or sensory bins.