Cricut Shirt Design – Be Kind – with Heat Transfer Vinyl
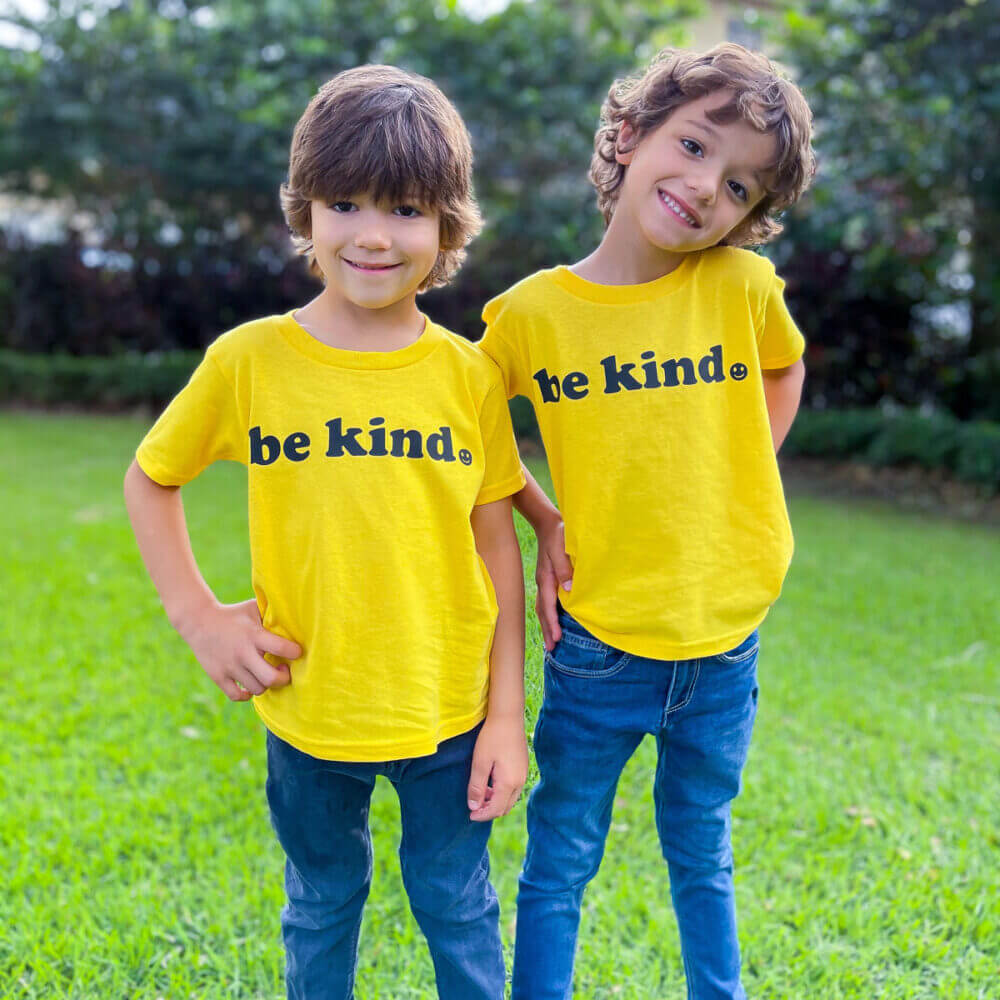
This “Be Kind” Cricut shirt design is adorable! The Cricut Joy is so user friendly, below I explain the easy steps that will have you making shirts in minutes! All you need are a few simple supplies to get started, and you’ll be shocked at how easy custom shirts are to create! Plus, you can easily make them in a wide variety of sizes so that everyone in the family can have their own.
DIY Cricut Shirt Design – Custom or Free Designs
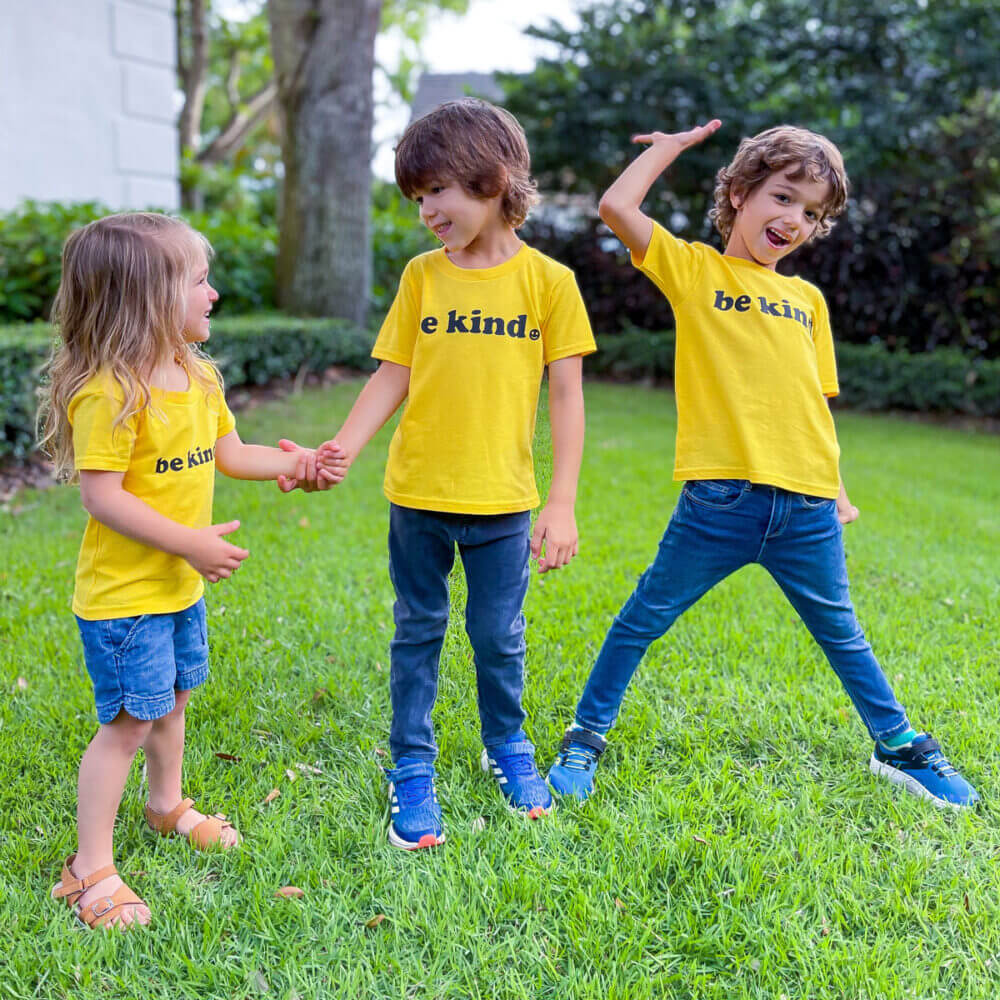
It’s time to take fashion into your own hands and create cute shirts that have fantastic sayings on them. The Cricut App has a ton of free designs or you can make your own custom one! One of the best parts about using your Cricut Joy is that you can make your shirts saying anything that you’d like. We love the message on these shirts, and the kids love showing them off all the time!
How to create a Be Kind Cricut Joy Shirt
While you do need a few simple supplies to get started, rest easy knowing that your Cricut Joy takes over and really does a lot of the hard work for you. This makes it super simple to make a customized shirt in no time at all! Don’t spend hours searching the store for a shirt when you can just make it at home instead.
How to Create a “Be Kind” Cricut Shirt Design
While you do need a few simple supplies to get started, rest easy knowing that your Cricut Joy takes over and really does a lot of the hard work for you. This makes it super simple to make a customized shirt in no time at all! Don’t spend hours searching the store for a shirt when you can just make it at home instead.
All activities should be supervised by an adult. As an Amazon Associate I earn from qualifying purchases. This post may contain affiliate links.
Tips for Making a Custom Cricut Shirt Design
Once you realize how easy it is to create your own sayings on shirts, there’s going to be no stopping you! Perfect for birthday shirts, fun holiday shirts, and just silly shirt ideas, too. As mentioned above, the Cricut design space has countless free projects and ones for purchase, but you can also make a custom design yourself.
To create your own custom design, head to Cricut’s design space and browse through the fonts to create text and/or use the many shapes to craft your design like we did with the “Be Kind” phrase and a happy face period!
Once you create or choose a design, just follow the simple prompts on the app to finalize your project. Just make certain that you take your time weeding as it can be a bit trickier around smaller letters and letters that are curvy.
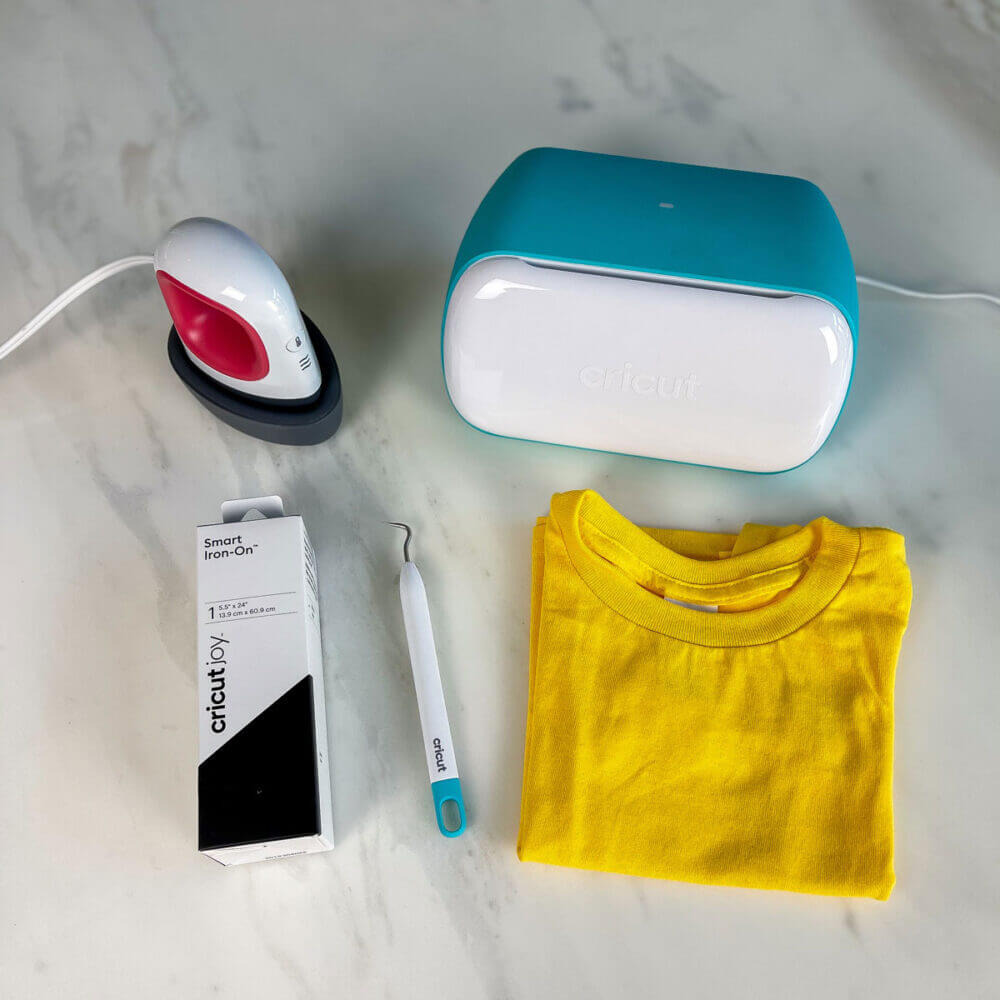
Materials
Step-by-Step Instructions
Step 1
Head to the Cricut Design Space App and choose a project, upload a SVG file, or create your own design in the app using the fonts and shapes available.
Step 2
Based on the size of your shirt, be sure to adjust the size of your design so it fits perfectly.
Step 3
Click the make it button.
Step 4
If using a text design, be sure to select the mirror button.
Step 5
Follow the prompts selecting the correct insert material and then inserting it (shiny side down) into the Cricut Joy to be cut.
Step 6
Once cut, use your weeding tool to remove the excess material.
Step 7
Finally, heat the Easy Press and iron on your design to the shirt! Note: standard irons are not recommended because they do not distribute the heat in the same even way as the Easy Press.
When Can Kids Start Learning and Enjoying the Cricut?
Kids can start to explore making amazing projects on the Cricut Joy as early as 9 years old with adult supervision. And by 13 years old, they can independently use it! They will have so much fun making as many Cricut shirt designs, cards, labels, and more!
What I love about creating shirts on the Cricut is that it’s really user-friendly for everyone, including kids. This not only teaches them that it’s possible to create things that they love, but perhaps it will inspire them to make their first kid-made business!
Plus, even younger kids can help with the weeding, this is an excellent fine motor skills activity. It’s also great for their hand-eye coordination and their concentration skills too.
I personally love the message that we used on this shirt, and it prompted great conversations with the kids about what they view as kindness towards others. Plus, kids have so many holiday and spirit-inspired days at school, they can easily make shirts for them without having to spend a bunch of money at the store!
More Sensory Bases to Explore
Here are my top picks for toys you can buy that strengthen toddler fine motor skills!
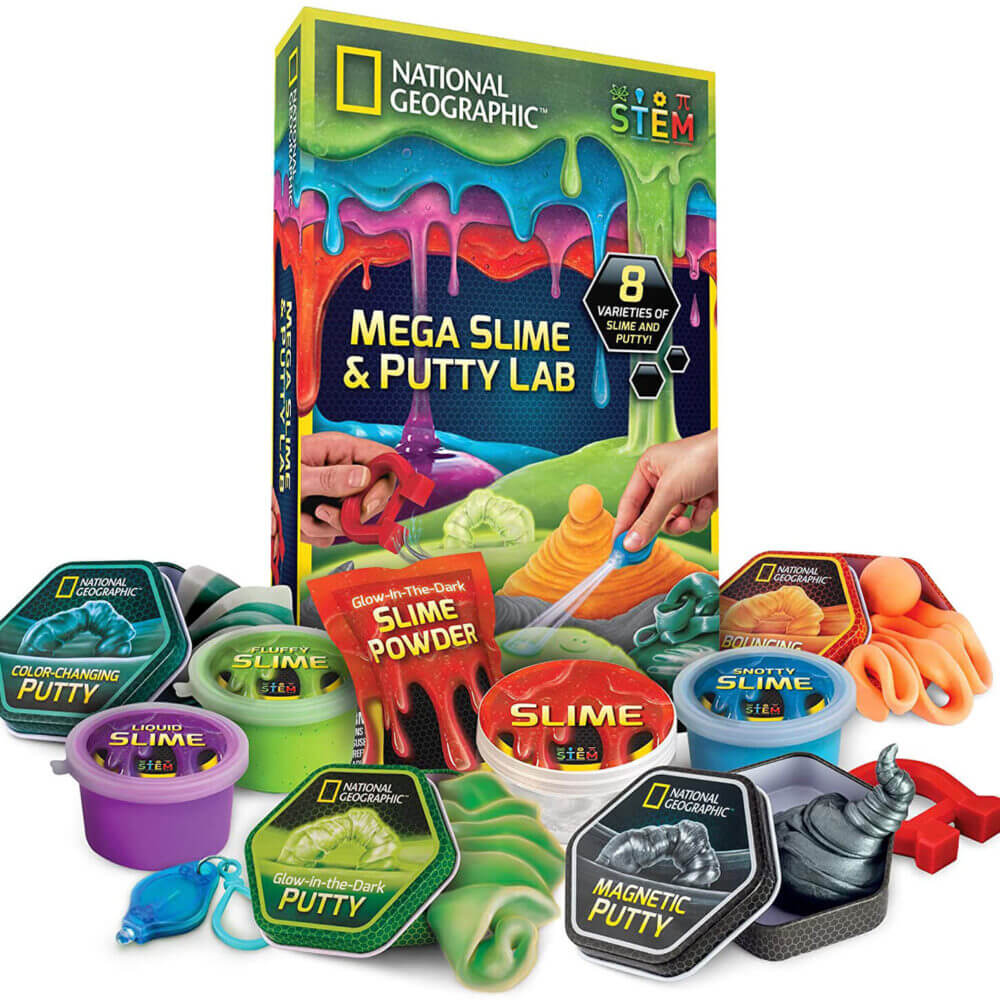
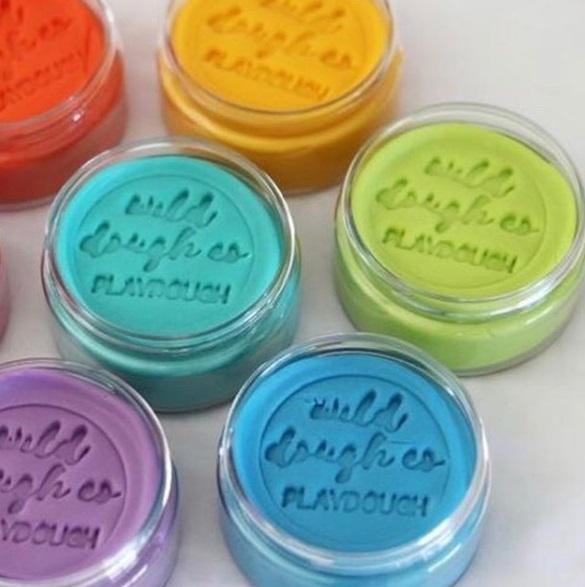
The Ultimate Slime and Putty Kit
This kit includes 8 fascinating varieties of slime and putty, including premade putty, magnetic slime, glow in the dark putty, and so much more.
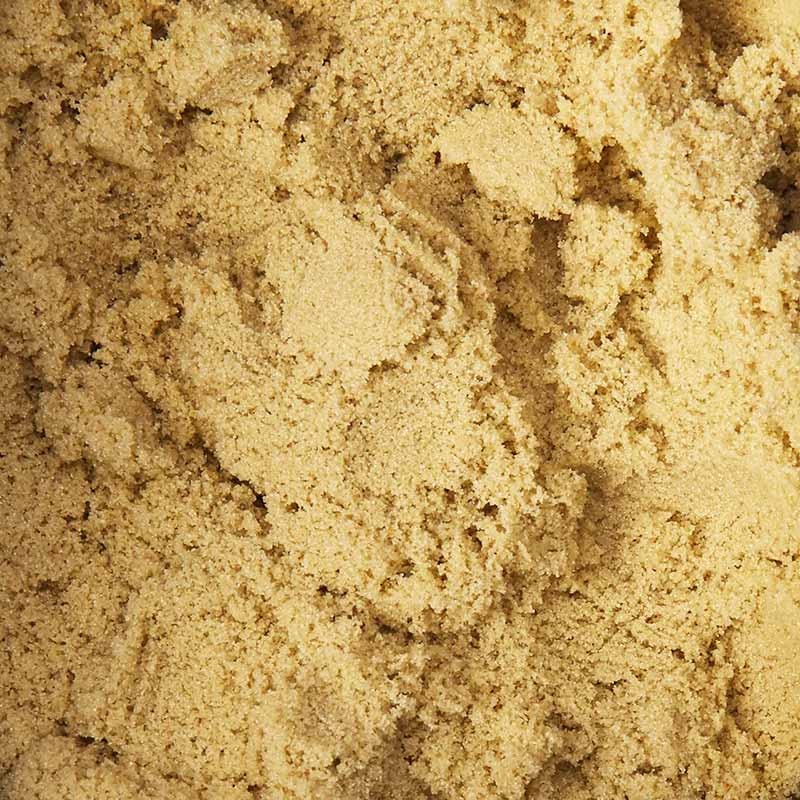
Sensory Sand
Sensory sand is moldable! This bulk pack comes with enough to fill an entire bin for lasting fun! Bonus points for including a storage bin!
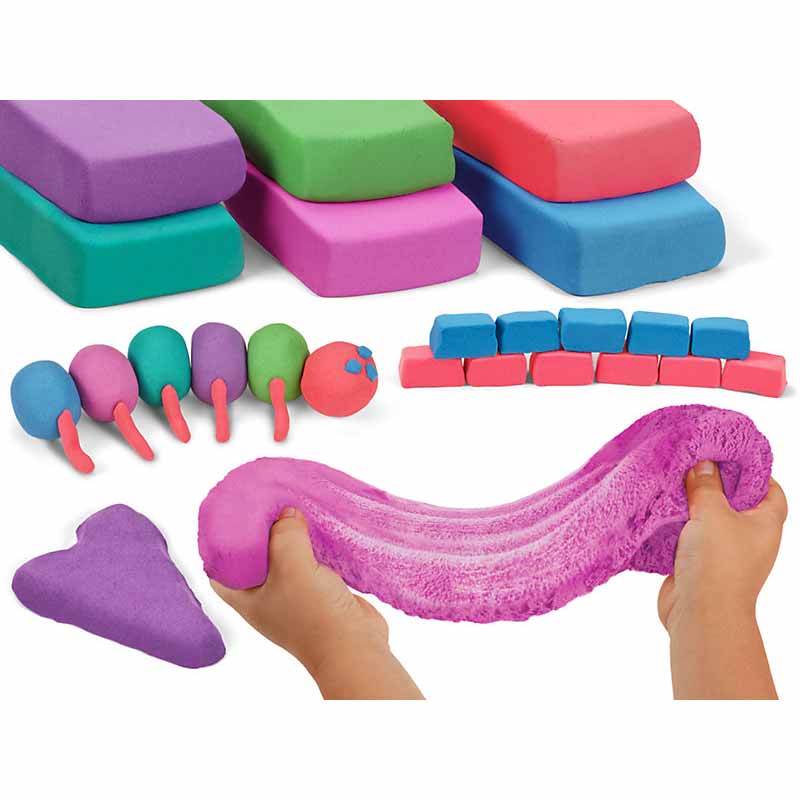
Modelling Dough
This modelling dough compound NEVER dries out! It is a fun texture – it is stretchy like play dough, moldable like kinetic sand, and odorless.
What’s Next?
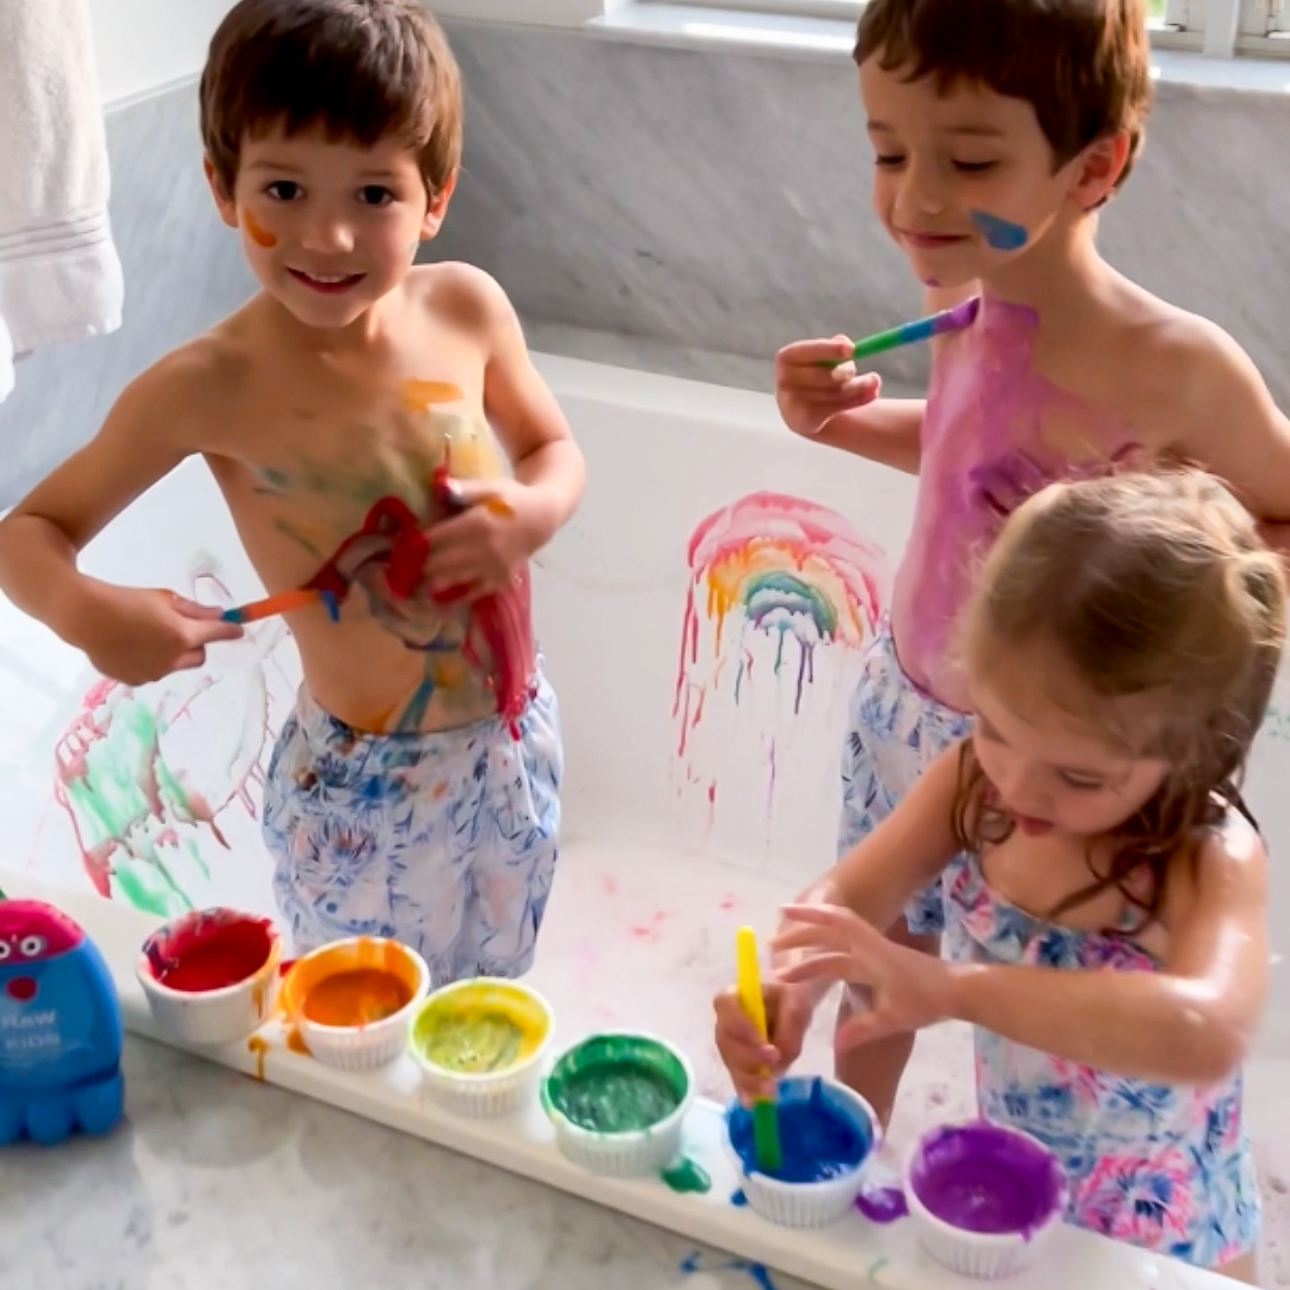
How to Make Kids Bath Paint – Colorful Clean Fun
Explore a fun and easy way to make bath time fun for kids with our vibrant and homemade kids bath paint recipe!
The Best Bath Toys for Kids in 2024
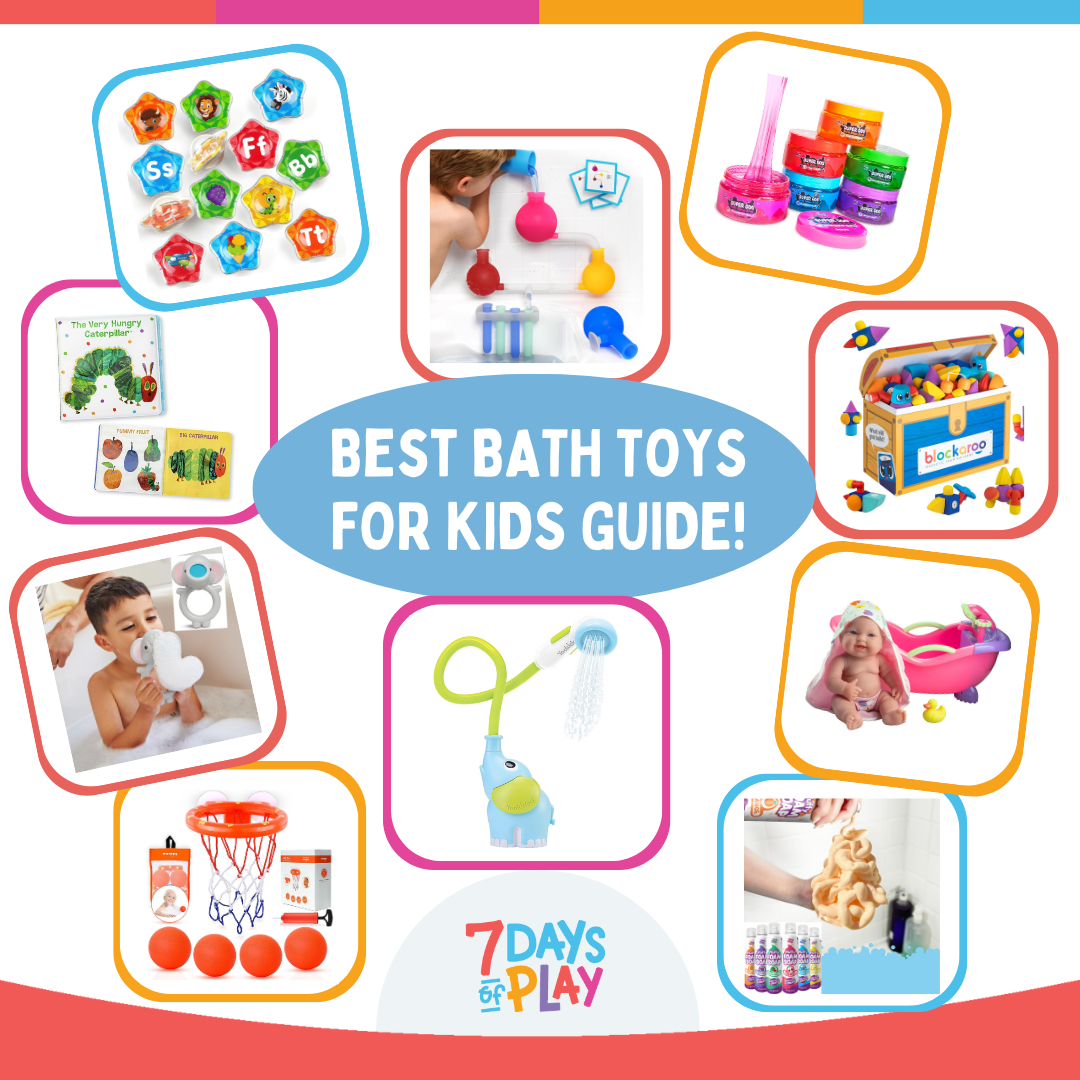
Explore the best bath toys for kids! Discover the ultimate guide to bath time fun with these top picks that will make every splash memorable.
How to Layer a Raised Garden Bed and Make a Trellis
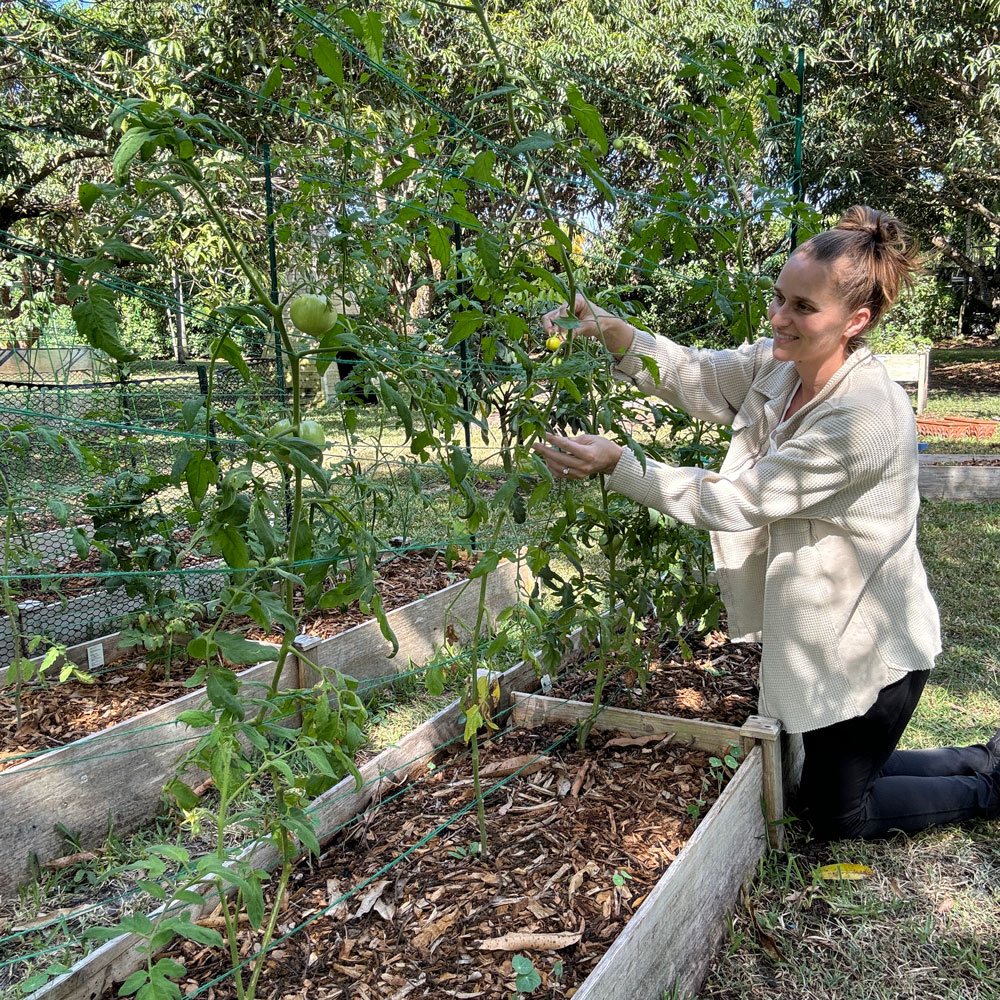
Learn how to layer a raised bed and create affordable trellises for thriving gardens. Explore our guide for expert tips & easy instructions!

