My kids love a good pretend ice cream shop, but this time we decided to make something even more fun, ice cream-inspired slime with all the toppings, minus the sticky, melting mess!
Enter ice cream slime!
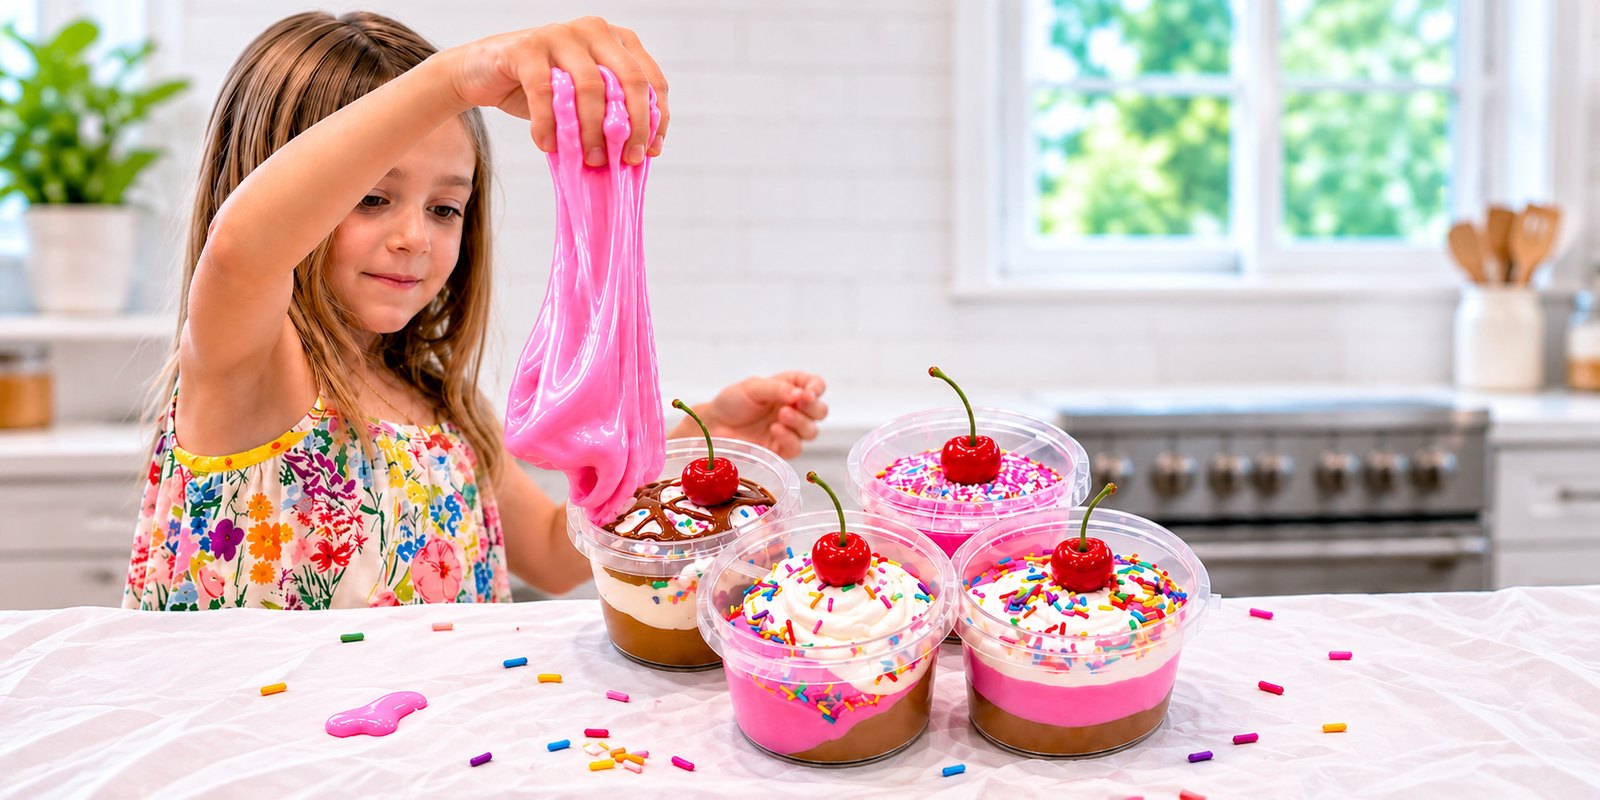
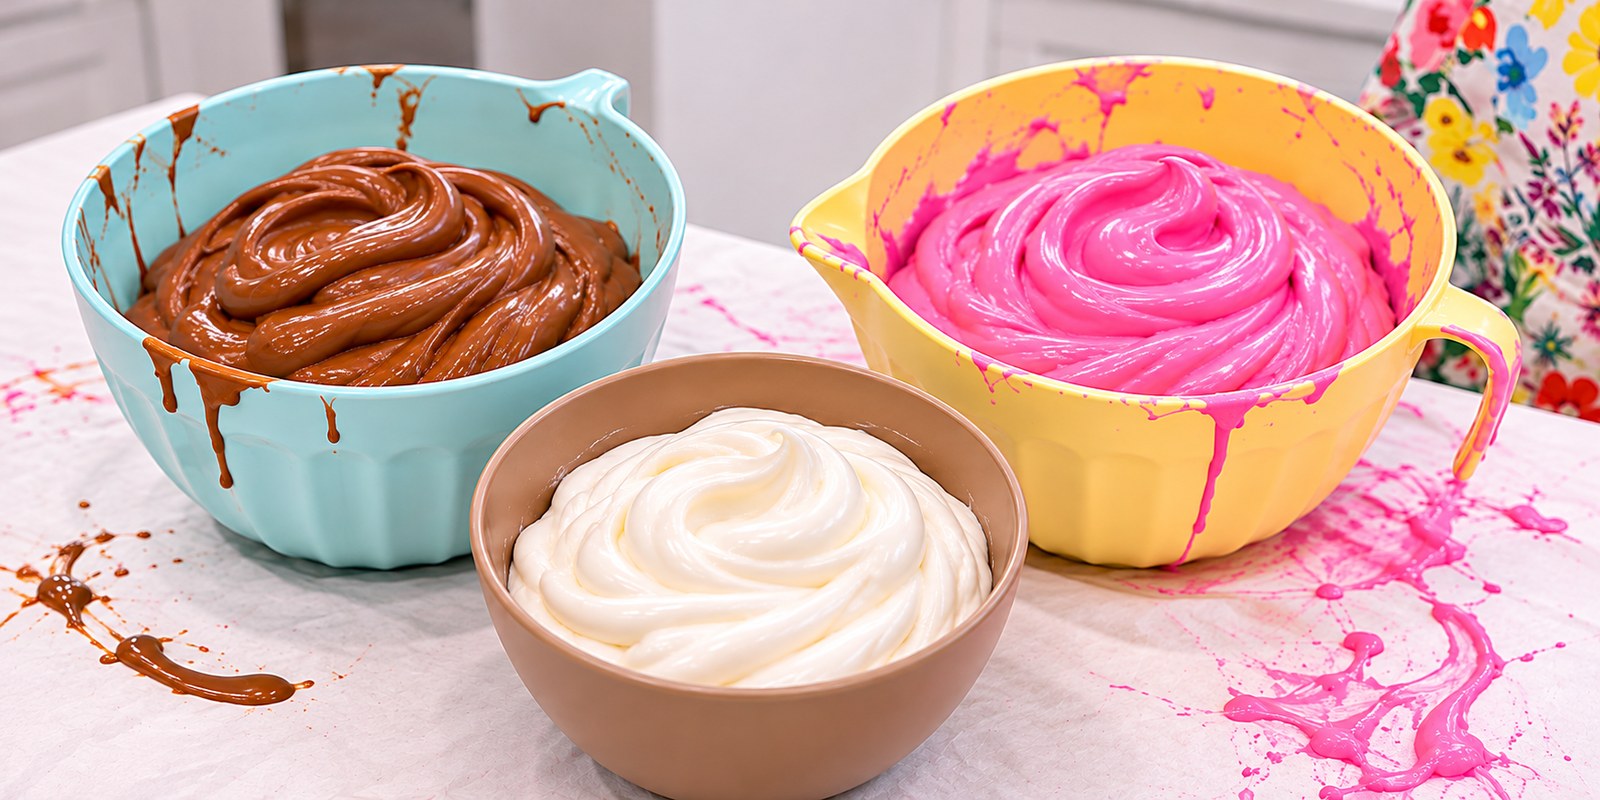
This homemade butter slime looks just like real ice cream, with three fun flavors: vanilla, chocolate and strawberry. It is soft, stretchy, incredibly satisfying to squish, and can even be scooped into cups to create the cutest pretend ice cream sundaes.
The secret ingredient is Crayola Model Magic clay. When you knead it into regular slime, it creates that smooth, buttery texture that makes this recipe so much fun.
Add some colorful toppings, a pretend cherry on top, and you have a whole ice cream shop worth of sensory play!
The Best Contact Lens Solution for Slime
If you have ever tried making slime and ended up with a sticky bowl of glue that refuses to come together, there is a good chance your contact lens solution was the problem.
Not all contact lens solutions work for making slime!
For the most reliable results with this recipe, look for a contact lens solution that contains BOTH of these ingredients:
- Boric acid
- Sodium borate
These ingredients help activate the glue, transforming it from a liquid into stretchy slime when combined with baking soda.
And here is where it gets confusing. Plenty of contact lens solutions do not contain the right ingredients. Even if the bottle looks similar to one you have used before, it might not work.
My recommendation: Renu Advanced Formula Multi-Purpose Solution.
This formula lists both boric acid and sodium borate, making it a good option for this recipe.
A few things to remember:
- Always check the ingredients on the actual bottle. Formulas can change!
- Store brands can work too, as long as they have the right ingredients.
- Plain saline solution will not activate this recipe.
- If your slime is not forming at all, double-check your contact solution before adding more.
Ice Cream Butter Slime Ingredients and Supplies
This recipe makes one batch of butter slime. Repeat it three times to create your vanilla, chocolate and strawberry flavors.
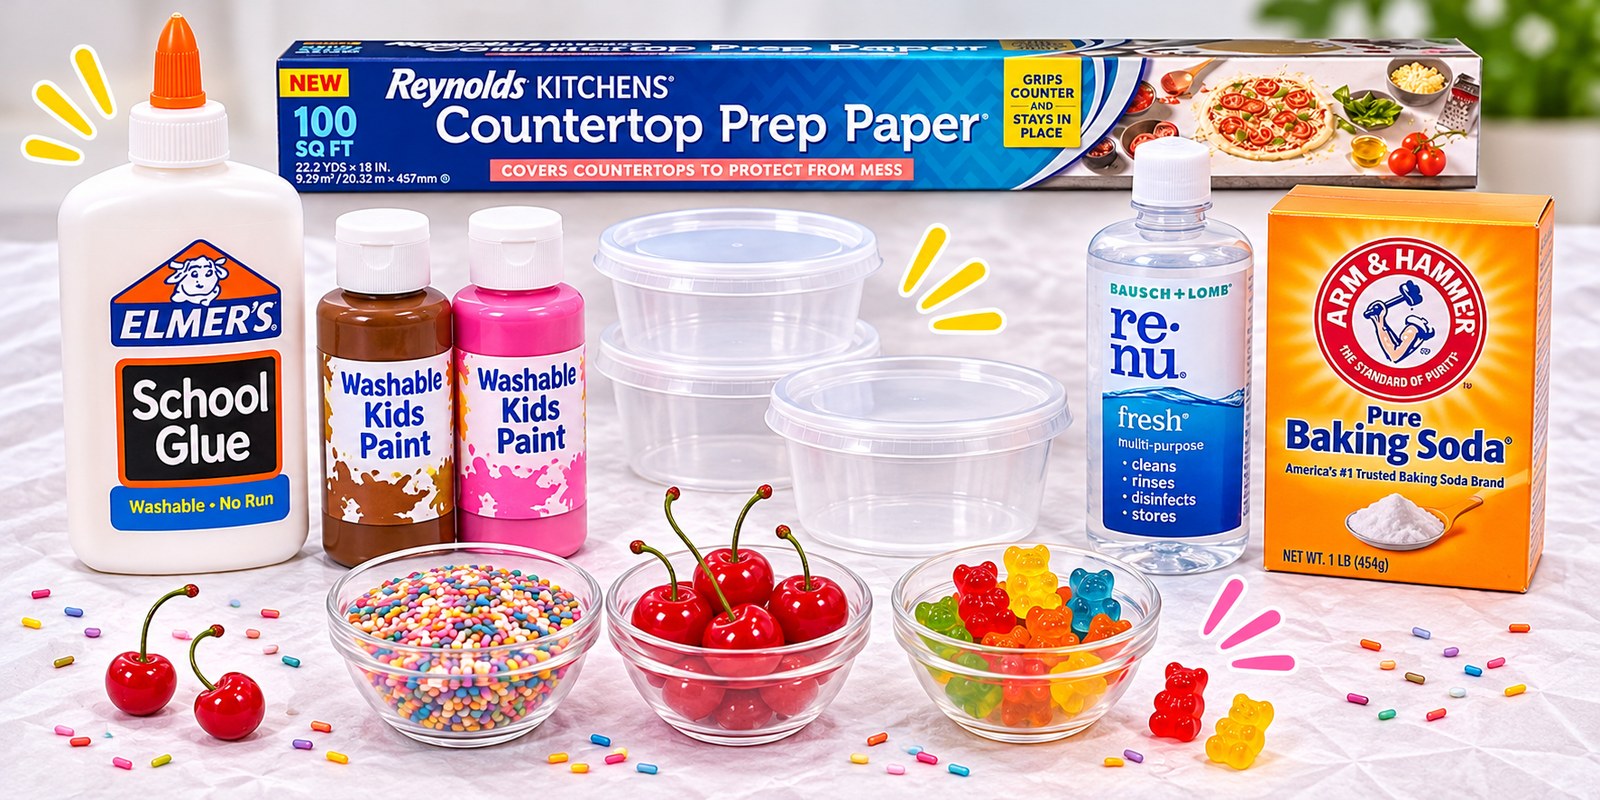
Ingredients (per flavor)
- ½ cup washable white PVA school glue (like Elmer’s)
- ¼ teaspoon baking soda
- 1 teaspoon unscented hand lotion
- 2 teaspoons contact lens solution, plus more if needed
- ⅓ to ½ cup Crayola Model Magic clay
- A small amount of washable paint for coloring
Supplies
- Mixing bowl
- Mixing spoon or craft stick
- Measuring cups and spoons
- Clear plastic ice cream cups with lids
- Mini ice cream spoons
- Pretend ice cream toppings
How to Make Ice Cream Butter Slime
-
Step 1: Mix Your Slime Base
Add ½ cup of white school glue, ¼ teaspoon baking soda and 1 teaspoon of lotion to a mixing bowl.
Stir everything together until smooth and completely combined. The lotion helps give the finished slime a softer, stretchier feel.
-
Step 2: Add Your Ice Cream Color
Next, add a small amount of washable paint to create your ice cream flavor.
Vanilla: Leave the slime white or add a tiny bit of yellow for a creamy vanilla color.
Chocolate: Add a little brown washable paint.
Strawberry: Mix in pink washable paint or a tiny amount of red.Start with less paint than you think you need. You can always add more, but too much paint can change the consistency of your slime.
-
Step 3: Activate Your Slime
Now comes the important part. Start by adding 1 teaspoon of contact lens solution and stirring thoroughly.
Gradually add the second teaspoon, mixing between additions. You will start to notice the mixture thickening and pulling away from the sides of the bowl.
If it is still very sticky, add more contact solution ¼ teaspoon at a time, stirring and kneading between additions. Do not rush this part. Too much activator can make your slime stiff and rubbery instead of stretchy.
-
Step 4: Knead Until Smooth
Once the slime starts coming together, remove it from the bowl and knead it with your hands for a few minutes.
It might feel a little sticky at first, but kneading often helps improve the texture. You want slime that is stretchy, smooth and no longer sticking excessively to your hands.
-
Step 5: Add the Model Magic Clay
Here is where the magic happens. Take about ⅓ cup of Crayola Model Magic clay and begin kneading it into your slime. Add the clay a little at a time until it is completely incorporated.
You will notice the texture changing almost immediately. The slime becomes softer, more buttery and easier to shape.
For a firmer, more scoopable ice cream texture, gradually add more clay, up to about ½ cup total.
-
Step 6: Repeat for All Three Flavors
Follow the same steps to make your chocolate and strawberry slime.
I recommend starting with vanilla, then strawberry, then chocolate. That way you are working from the lightest color to the darkest, which makes cleanup between batches a little easier.
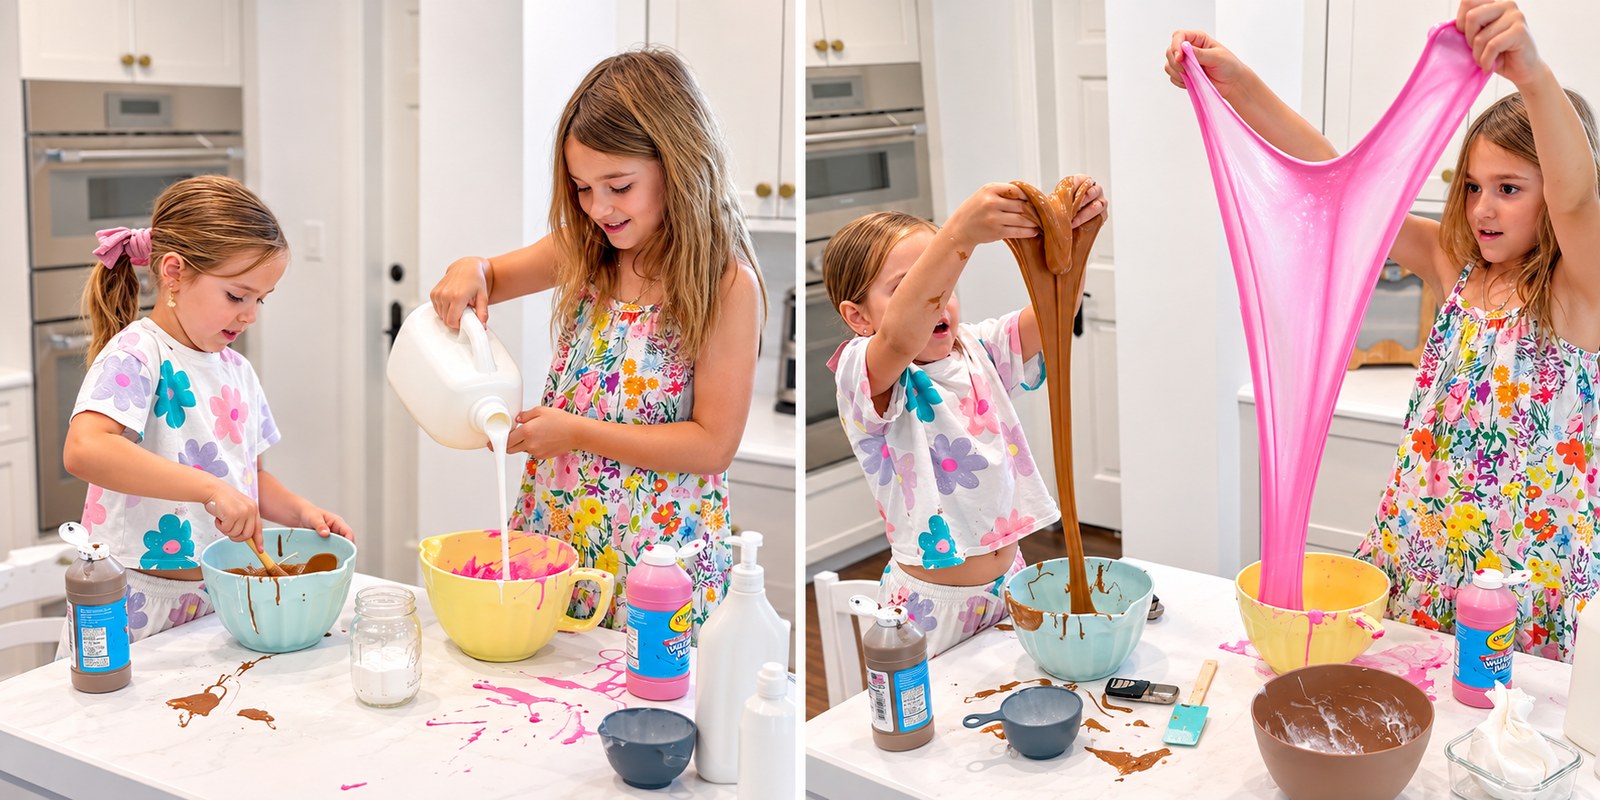
How to Make a Slime Ice Cream Sundae
This was easily my kids’ favorite part of the activity.
Set out your three slime flavors along with some clear plastic cups, mini spoons and pretend toppings. Let the kids scoop, stretch and layer their slime to create their own ice cream masterpieces.
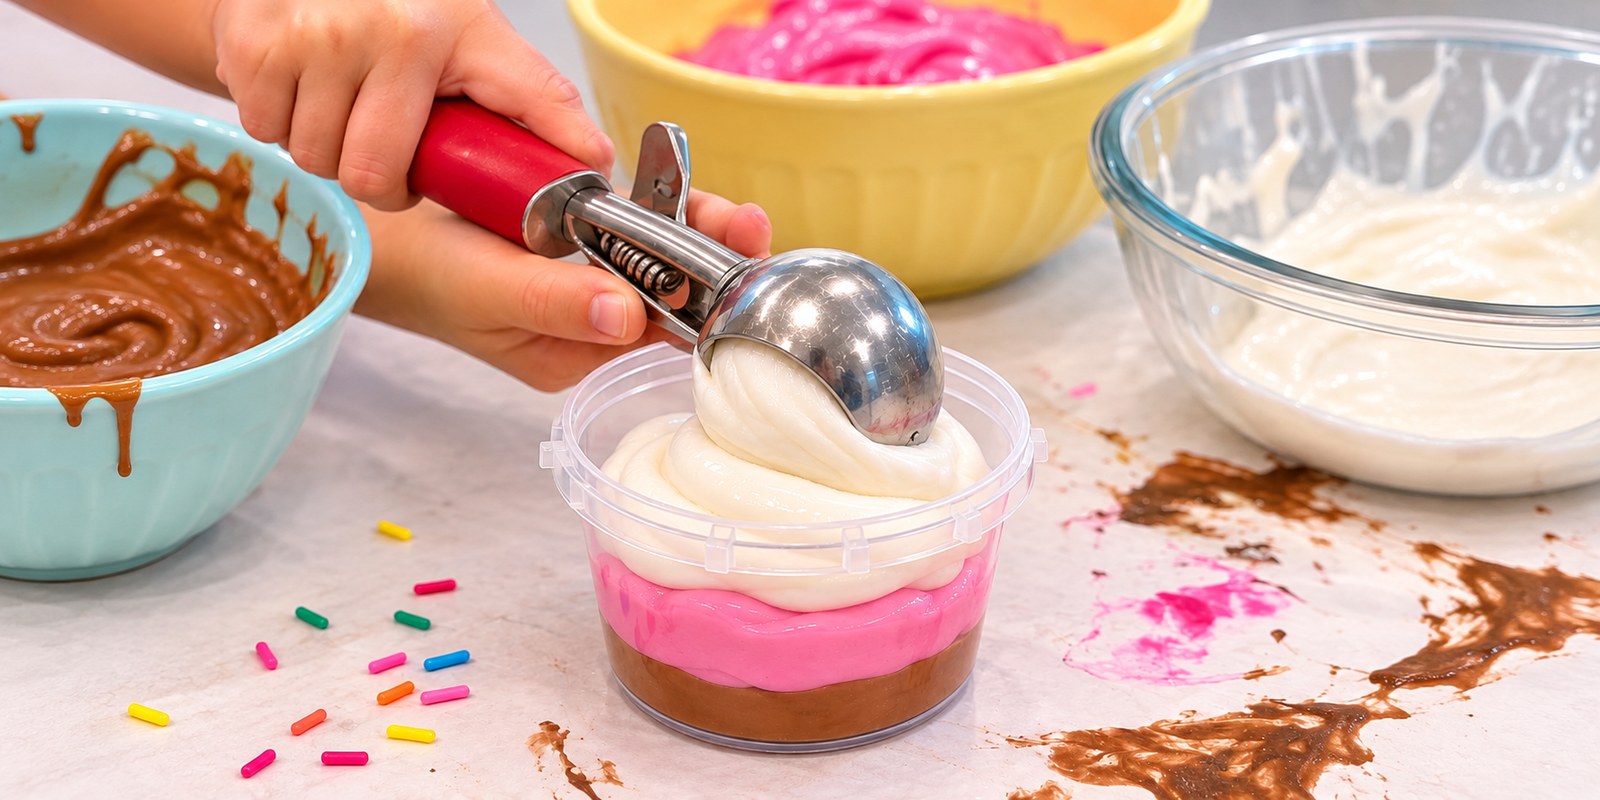
For a classic Neapolitan sundae, try layering:
- Chocolate slime on the bottom.
- Strawberry slime in the middle.
- Vanilla slime swirled on top.
Then add some pretend sprinkles and a cherry. You can even stretch a thin piece of chocolate-colored slime over the top to make it look like chocolate sauce.
The finished creations look so much like real ice cream, especially in clear cups where you can see all three colors.
Ice Cream Slime Toppings and Accessories
If you want to take this activity to the next level, the toppings are half the fun. Here are some of the accessories we used to create our pretend ice cream shop.
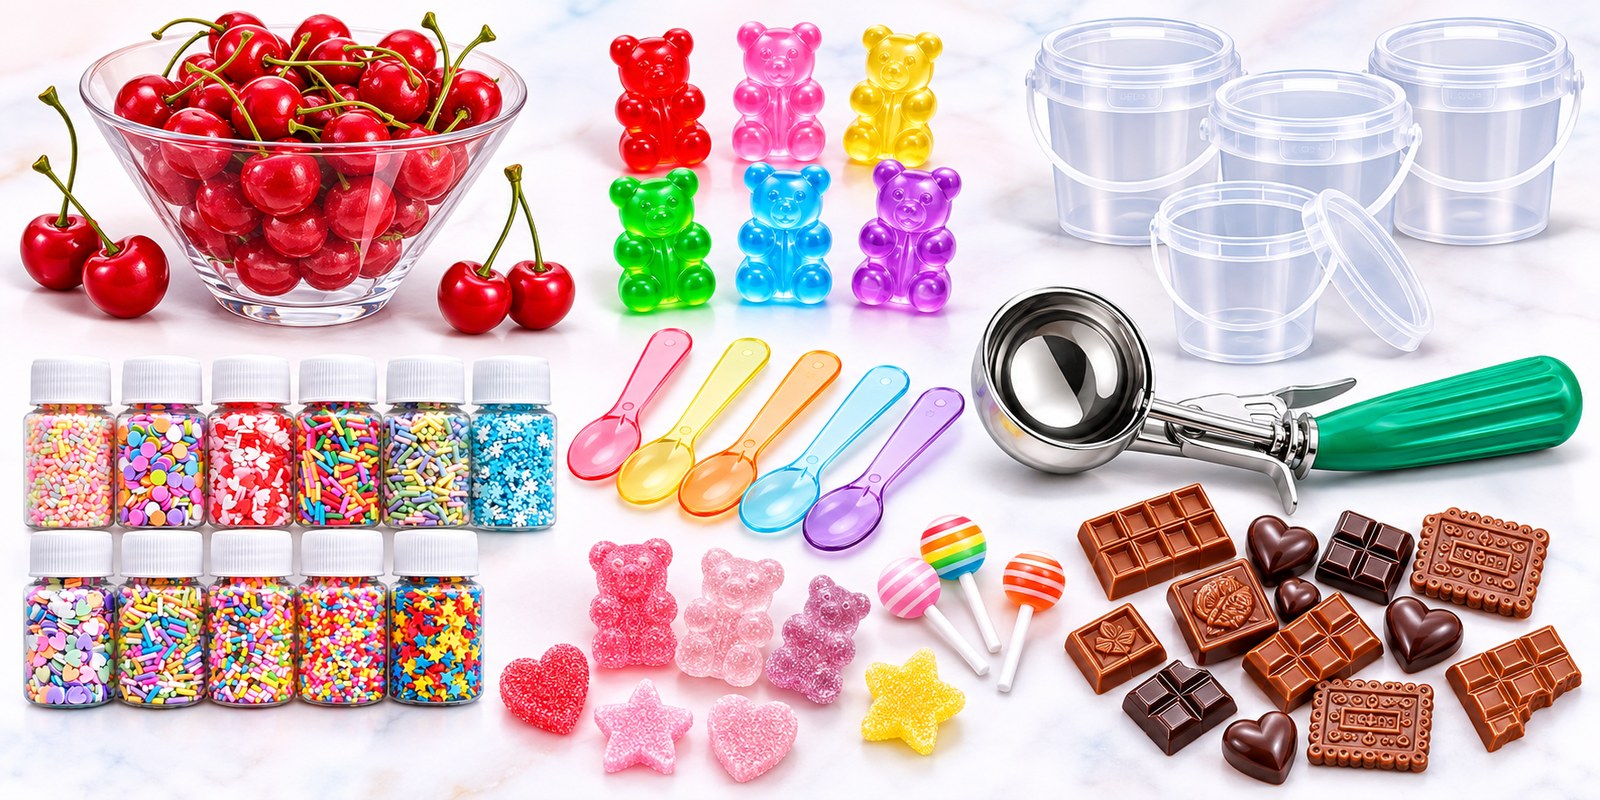
- Pretend resin cherries – the little green stems make them look so realistic.
- Resin gummy bears – perfect for colorful pretend candy toppings.
- Fake sprinkles – polymer clay sprinkles give you the look of real sprinkles without adding actual sugar to your slime.
- Candy charms – tiny lollipops, stars and hearts for even more pretend candy toppings.
- Fake chocolate pieces – press a few into the chocolate slime for a chocolate chunk look.
- Clear ice cream cups with lids – perfect for creating individual sundaes and storing the slime afterward.
- Mini spoons – because what ice cream shop is complete without spoons?
- Ice cream scoop – the trigger style gives you a perfect round scoop every time.
As an Amazon Associate I may earn from qualifying purchases, at no extra cost to you.
You can also set up a little pretend ice cream counter and let the kids take turns being the ice cream shop owner and customer. It is such a fun way to extend the activity beyond simply making slime.
How to Make Slime Without the Mess
Okay, maybe not completely mess-free. We are still talking about slime here.
But there is one thing I have started using for messy activities that has made cleanup so much easier: Reynolds Kitchens Countertop Prep Paper.
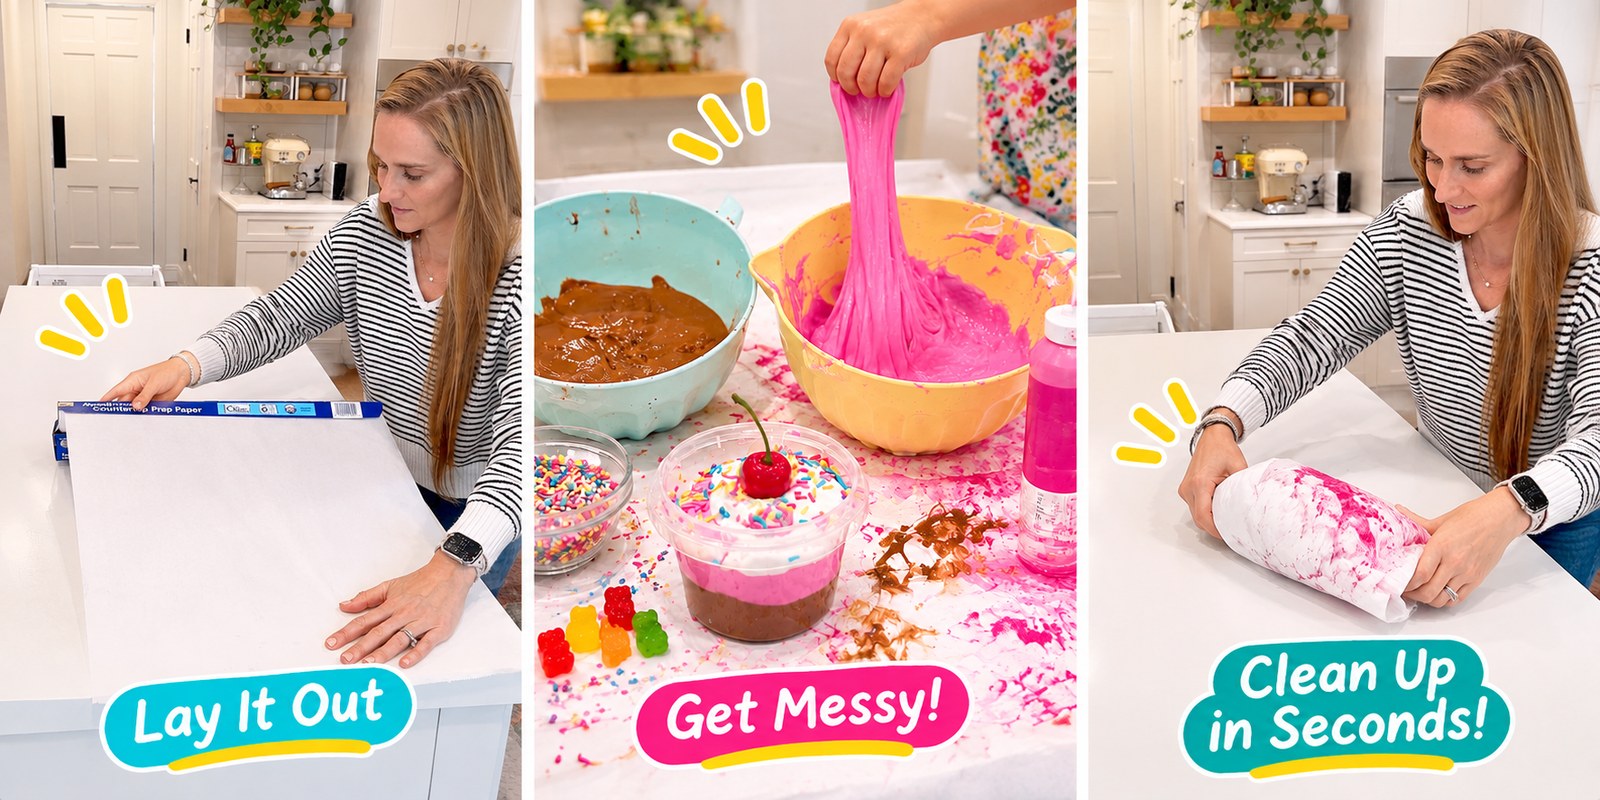
It is a large roll of protective paper with a special backing that helps it grip your countertop when you lightly dampen the surface first.
I simply cover our work area before bringing out the glue, paint and other ingredients. The kids can mix, knead and stretch their slime right on top of the paper without getting everything all over the counter.
And when we are done? I fold up the paper with all the leftover mess inside and toss it.
Seriously, anything that makes cleanup easier when four kids are crafting in the kitchen is a win in my book.
How to Store Homemade Butter Slime
To keep your ice cream slime soft and stretchy, store it in an airtight container at room temperature.
If stored properly and handled with clean hands, homemade slime can often last for several weeks, although the texture and shelf life will vary.
- If it feels dry or stiff: try kneading in a tiny amount of lotion to soften it.
- If it becomes sticky: knead it first. If needed, add a few drops of the correct contact solution.
- If it starts breaking apart: it may have too much activator. Try kneading in a little lotion or fresh glue.
- If it develops an unusual smell, discoloration or visible mold: throw it away.
Make sure to seal the container after each play session so the slime does not dry out. I also recommend removing any hard decorative toppings before storing, especially if you want to keep the slime smooth and easy to stretch.
Butter Slime FAQs
What is butter slime?
Butter slime is a type of homemade slime known for its soft, smooth and spreadable texture. It is typically made by combining regular slime with a soft modeling clay, like Crayola Model Magic.
The clay gives it a thicker consistency that makes it especially fun to scoop, spread and shape.
How long does butter slime last?
Stored in an airtight container at room temperature and handled with clean hands, butter slime usually stays good for several weeks.
The clay in butter slime does dry out faster than regular slime once air gets to it, so sealing the container after every play session matters more here than it does with a basic slime.
Throw it out if it smells off, changes color or shows any mold.
Can you make butter slime without borax?
Not really, and it is worth being straight about why.
The contact lens solution in this recipe works because it contains boric acid and sodium borate, which are in the same family as borax. There is no version of this particular texture that skips borates entirely.
If you want to avoid borates completely, a taste-safe dough or oobleck is the better choice. Try our taste-safe oobleck or our taste-safe sensory play ideas instead.
Can I use a different clay instead of Model Magic?
You can experiment with other soft modeling clays, but the results may vary.
I like Crayola Model Magic because it is lightweight and easy to knead into slime. Heavier clays can make the finished slime denser and less stretchy. For the texture shown in this activity, Model Magic is my recommendation.
Why is my slime still sticky?
First, make sure your contact lens solution contains the right ingredients.
If your slime has started forming but is still sticky, try kneading it for a few more minutes. You can also add additional contact solution ¼ teaspoon at a time. Just remember to add it slowly, because too much activator can make the slime rubbery.
Why is my slime rubbery and breaking apart?
This usually means too much activator was added.
Try kneading in a little lotion or a small amount of additional glue. It may help soften the slime, although severely over-activated slime is not always easy to fix.
Can I make this slime without shaving cream?
Absolutely. You do not need shaving cream for this recipe. The Model Magic clay is what gives the slime its soft, buttery consistency, and skipping shaving cream keeps the ingredient list simple.
Is this ice cream slime edible or taste-safe?
No. Even though it looks just like ice cream, this slime is strictly for pretend play. It contains glue, contact lens solution and other craft materials that should never be eaten.
This activity is best for older children who no longer put toys or materials in their mouths. Adult supervision is required and everyone should wash their hands after playing. It is not suitable for children under 3.
For the younger crowd, start with our taste-safe sensory play ideas instead.
Can I make ice cream slime without paint?
Yes. White butter slime makes a great vanilla ice cream on its own. But if you want the full Neapolitan ice cream effect, I definitely recommend making all three colors.
More Sensory Play Ideas for Kids
If your kids love squishing, scooping and getting their hands into sensory play, here are a few more of our favorites to try next.
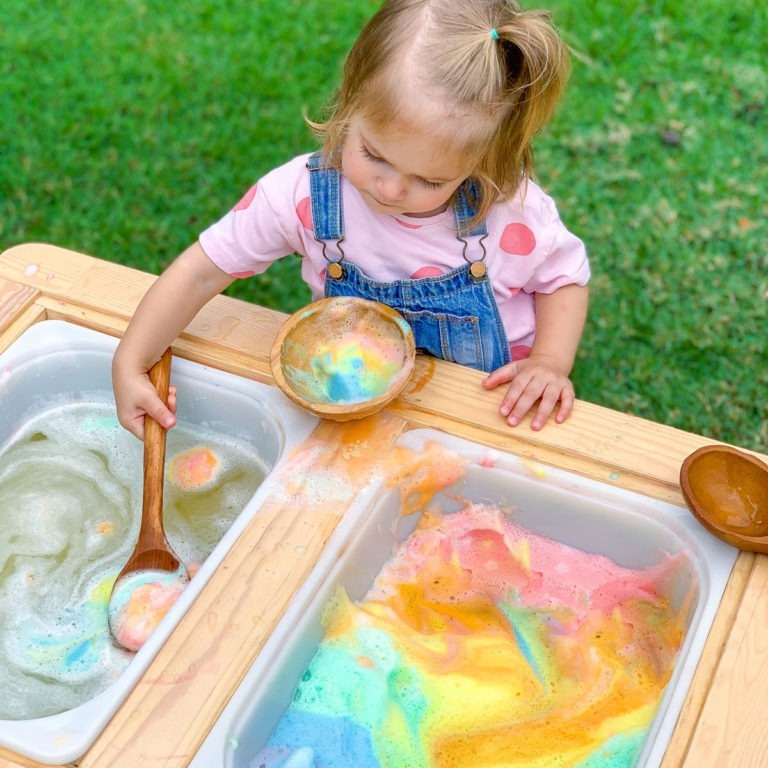
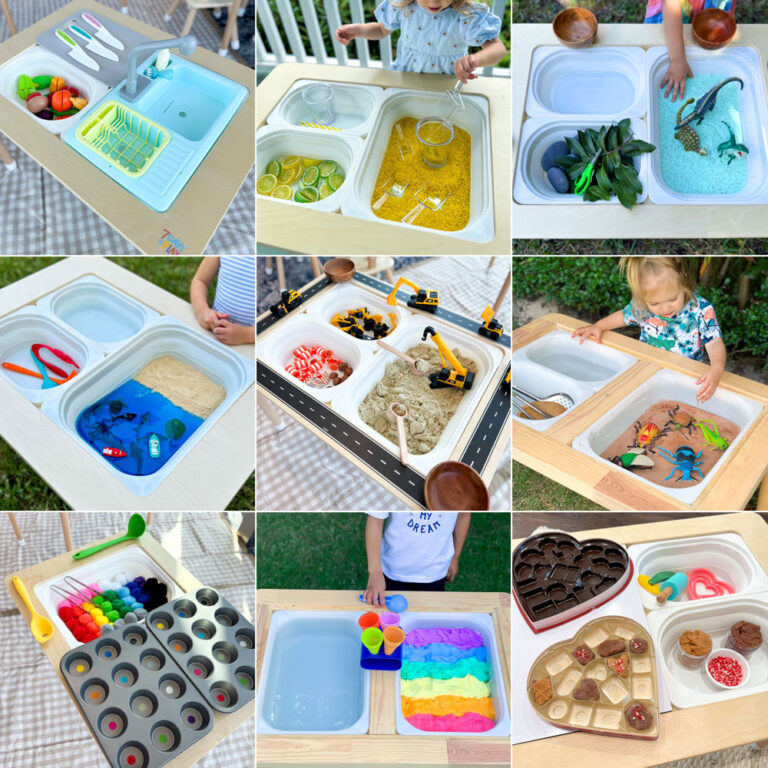
And if you try this ice cream slime recipe, I would love to see what flavors your kids create. Happy playing!