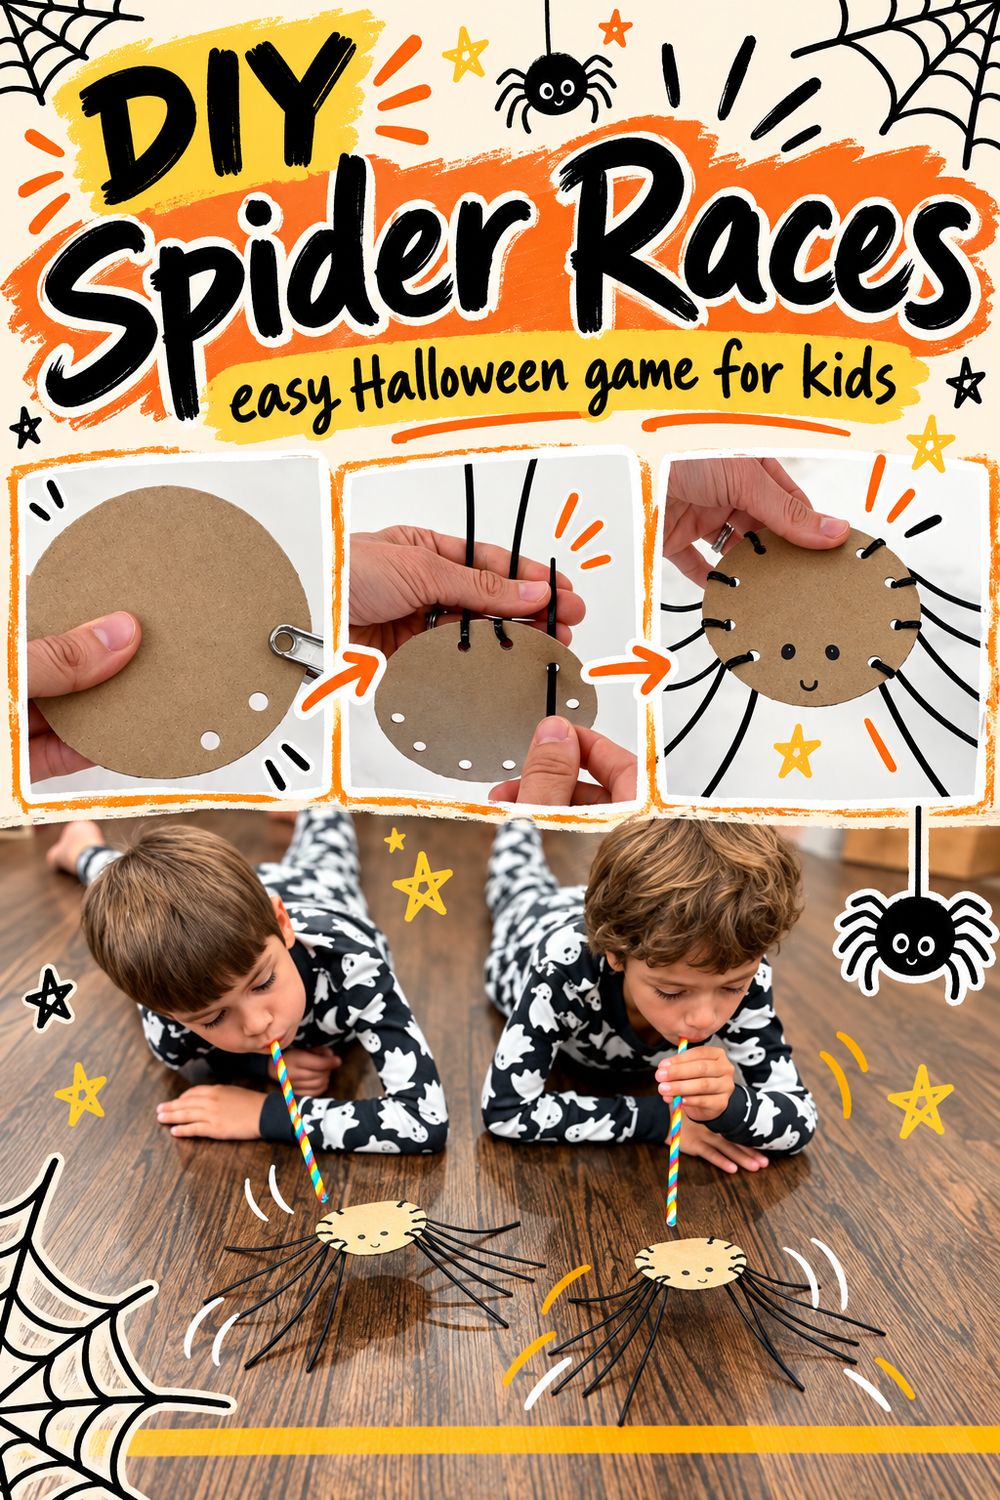
How to Make a Simple Spider Craft with Zip Ties and Cardboard
Eight zip ties, a cardboard circle and a marker make a spider that actually races. Kids blow it across the floor through a straw, and it turns a five minute craft into a game they will replay all afternoon.
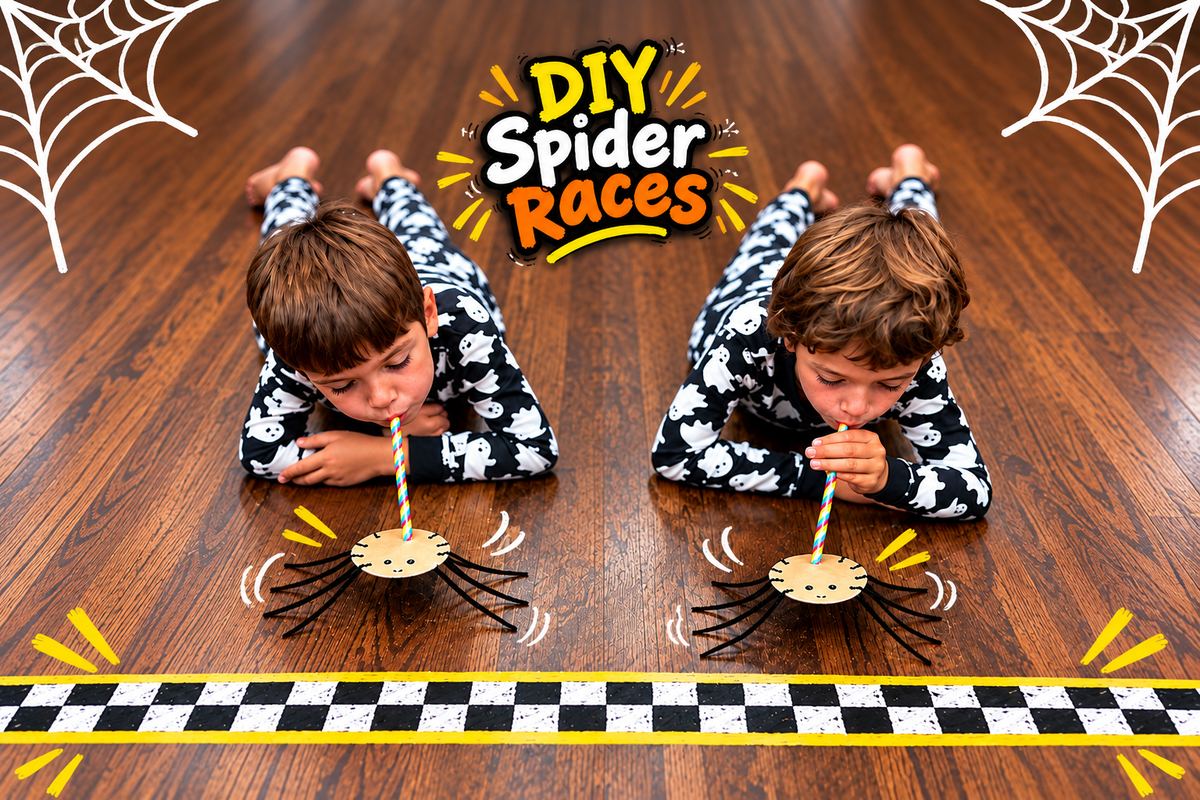
This one started as a craft and turned into a competition. The zip ties make legs that are springy enough for the spider to skitter rather than slide, which is the bit that makes the racing work.
It is cheap, it is mess free, and it builds fine motor skills twice over — threading the legs, then controlling their breath to steer. Good for a party, a classroom, or a wet October afternoon.
What you need
Supplies
Five things, most of them already in a drawer.
- 1 piece of cardboard, cut into a circle for the body
- 8 long black zip ties for the legs
- A hole punch
- A black marker for the face
- Scissors to trim the legs even
- Straws — optional, but they steer much better
How to make a zip tie spider
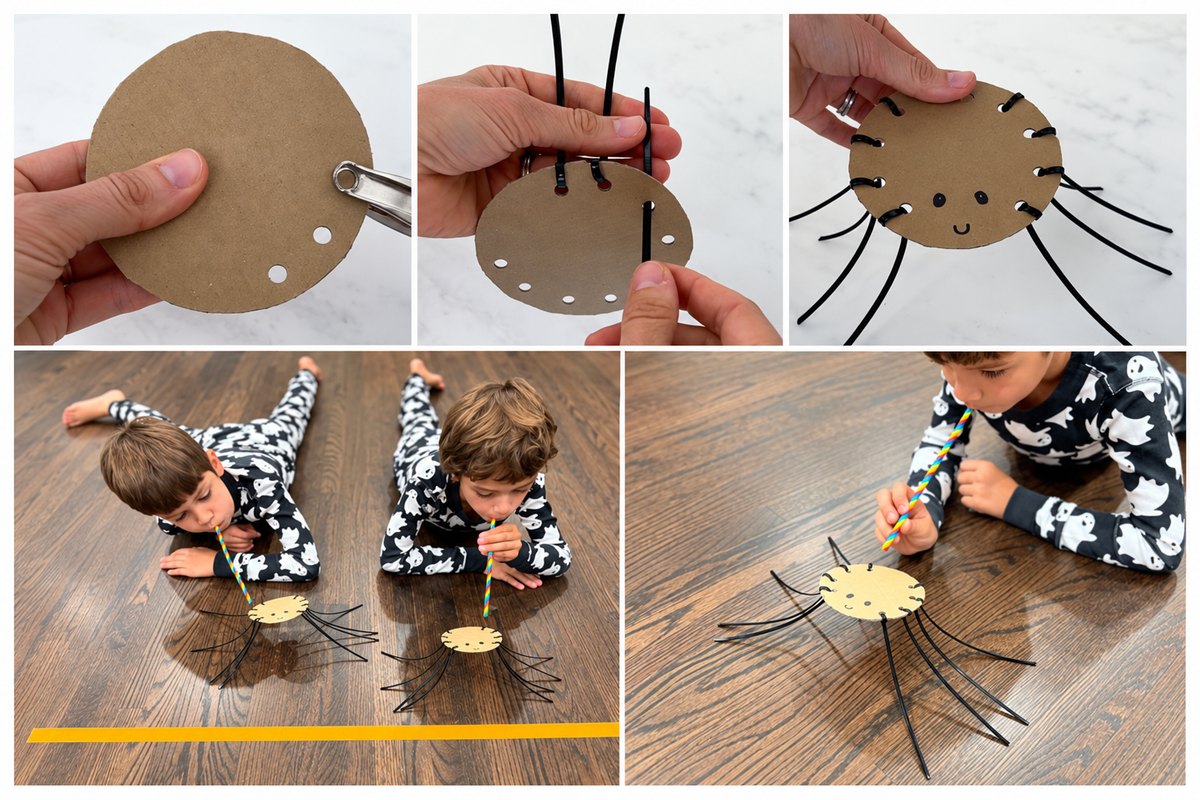
- Cut a circle of cardboard for the body. Any fun shape works.
- Draw a big smiley face on it with the black marker.
- Punch eight holes around the edge.
- Thread a zip tie through each hole and pull it closed to form a leg.
- Trim the ends with scissors so all eight legs are the same length, or it will veer.
- Line up behind a start line and blow. Straws give you far more control than blowing alone.
Zip tie ends are sharp once trimmed — cut them flush and run a finger over each one. The hole punching is easier if an adult does it on thick cardboard.
Tips that actually make a difference
- Trim all eight legs to the same length. Uneven legs make the spider curve off course, which sounds minor and ruins the race.
- Hard floors only. Carpet kills it completely.
- Straws beat blowing. More control, and nobody gets dizzy.
- Mark a finish line with washi tape so there is something to aim at.
- Make one each in different colors of cardboard so they can tell whose is whose mid-race.
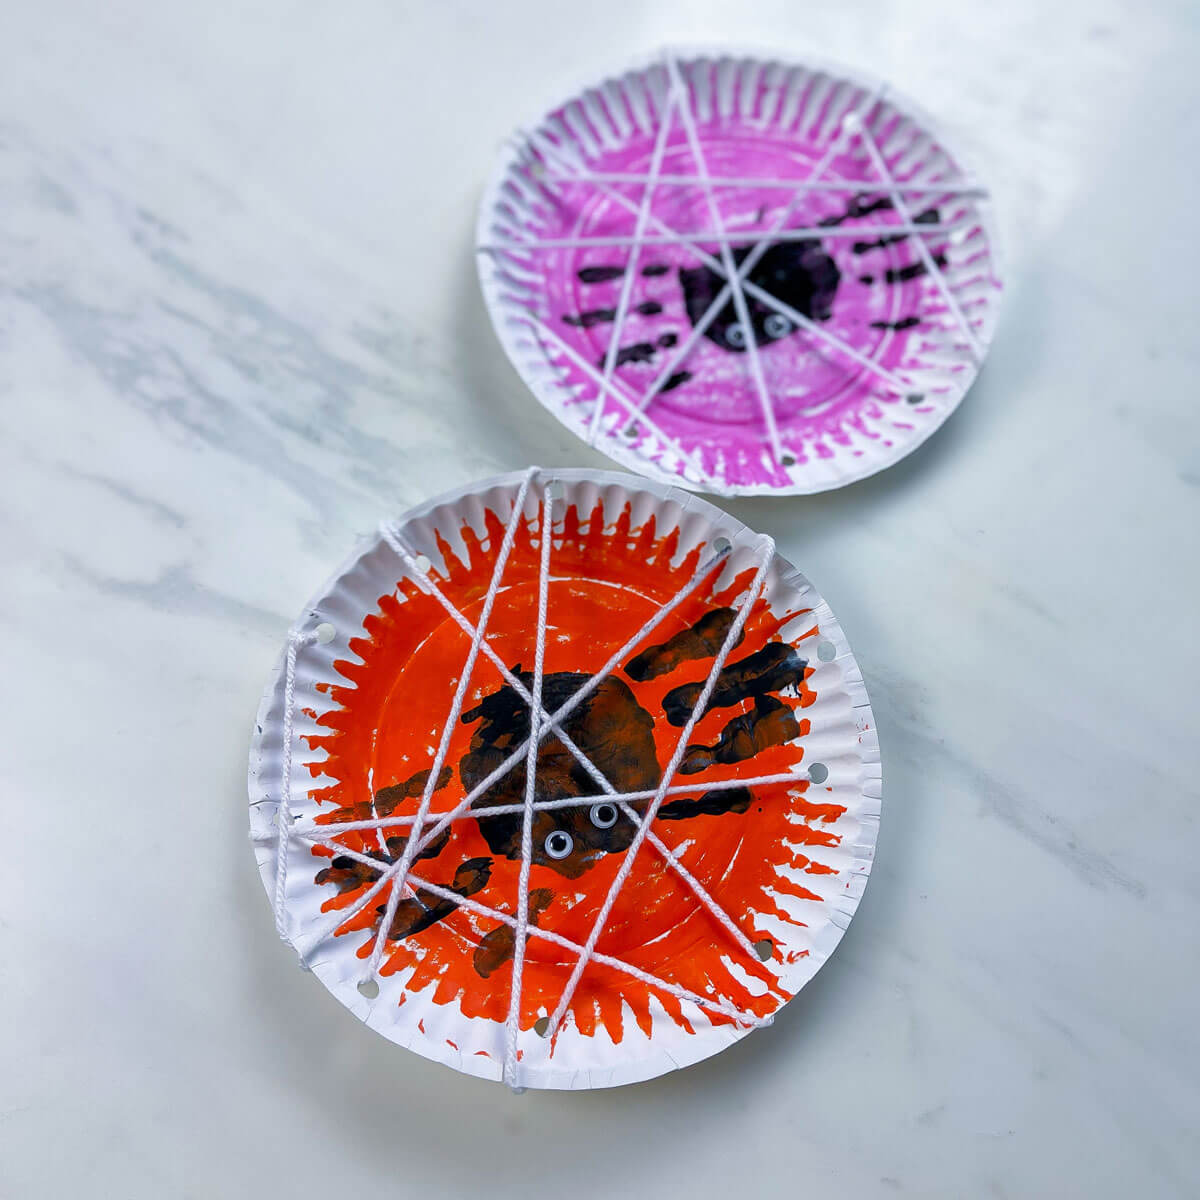
More spider crafts to try
If the spider theme lands, these are the other spider crafts we have made. All of them are in our big Halloween roundup.


Make it easier or harder
You punch and thread, they draw the face and do the blowing.
They thread the zip ties themselves. Good pincer practice.
Turn it into an experiment: does leg length change the speed?
Make a batch ahead, run heats, keep a bracket on paper.
Questions we get asked
What age is this spider craft for?
Ages 3 to 8. Younger children need help punching the holes and threading the zip ties, but every age can draw the face and blow the spider. Supervise closely with small children because of the trimmed zip tie ends.
How long does it take to make?
About 10 minutes per spider once you have the cardboard cut. Making a batch for a party goes much faster if you punch all the holes first.
Why does my spider keep veering off to one side?
Almost always uneven legs. Lay the spider flat and trim every zip tie to the same length, and check none of the legs are bent further down than the others.
Can I use pipe cleaners instead of zip ties?
You can, and they are safer for toddlers, but they are softer so the spider slides rather than skitters. Zip ties are what makes the racing work.
Does it work on carpet?
No. You need a hard floor — wood, tile or a table top. Carpet stops it dead.
Is this safe for a three year old?
With supervision. Trim the zip tie ends flush so there are no sharp points, and keep loose zip ties out of reach since they are a strangulation risk around the neck.
Our Halloween favorites



Shop the Halloween sensory kit
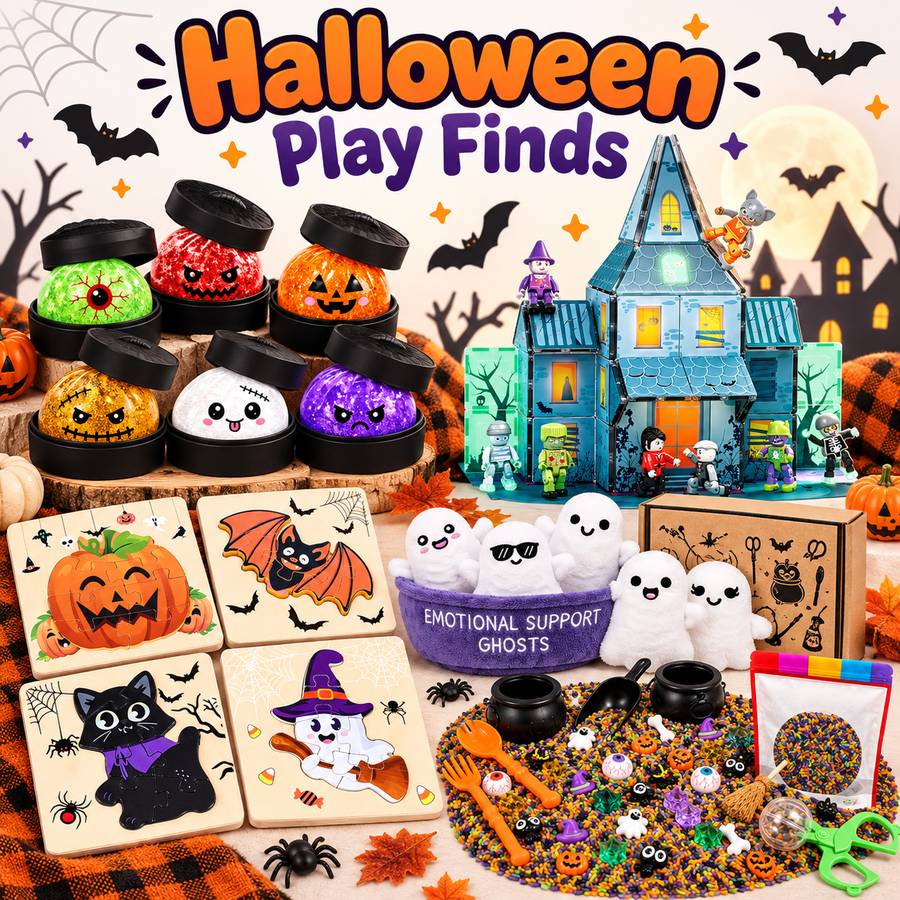
If you liked the spider races, the sensory kit is the same idea scaled up — spooky bin fillers, scoops and little creatures ready to go. The rice-only option is the kit without the accessories.


All the Halloween printables
Swipe through — several of these are free.


More Halloween play