How to Make Sun Catchers You Can Wear!

Learn how to make sun catchers with stunning designs using cardboard and colorful cellophane in our step-by-step guide.
Sunlight Creations: How to Make Sun Catchers!
Welcome to the world of DIY sun catchers! In this guide, we’ll explore how to turn everyday cardboard and vibrant cellophane into eye-catching pieces of art that capture and reflect sunlight. Crafting your own sun catchers is a rewarding endeavor that adds a touch of warmth and color to any space. From intricate butterfly wings to geometric designs, the possibilities are endless as we delve into the art of using recycled materials to create stunning decorations. So gather your supplies and let’s dive into the world of sun catcher crafting together!
All activities should be supervised by an adult. As an Amazon Associate, I earn from qualifying purchases. This post may contain affiliate links.
Skills: Arts and Crafts
Ages: 2+
Prep Time: 20 minutes

Exploring Light and Color: Sun Catchers as a Science Activity
Crafting sun catchers from cardboard and cellophane not only provides an opportunity for artistic expression but also serves as a fascinating science activity for kids to explore light and shadow. As sunlight filters through the colorful cellophane, it creates a mesmerizing display of hues and patterns on surrounding surfaces. Children can observe how the intensity and direction of light affect the brightness and distribution of colors, as well as the formation of shadows. Through hands-on experimentation with positioning the sun catchers in different locations and angles relative to the light source, they can discover firsthand concepts such as transparency, reflection, and refraction. This engaging activity not only fosters a deeper understanding of light but also encourages critical thinking and curiosity about the natural world.

Tips for Creating Sun Catchers
Choose Sturdy Cardboard: Opt for sturdy cardboard for your sun catcher base to ensure durability and stability. Thicker cardboard works best, as it provides a solid foundation for your design and holds up well against the elements.
Layer with Cellophane: Add depth and vibrancy to your sun catcher by layering colorful cellophane over your cardboard shapes. Mix and match hues to create dynamic effects and play with light and shadow.
Protect from Moisture: To prolong the lifespan of your cardboard sun catcher, avoid exposing it to excessive moisture or humidity. If displayed outdoors, consider adding a protective layer of clear sealant to shield it from the elements.
Below I’ll explain the step by step process of how to make sun catchers, specifically the butterfly wings that you can wear. Beyond butterfly wings, there’s a plethora of designs you can explore. For wearable options akin to butterfly wings, consider crafting: Fairy wings, dragon wings, angel wings, or bat wings!
Materials
- Cardboard
- Sharp craft knife
- Cellophane
- Tape
- Ribbon for straps
- Cardboard
- Sharp craft knife
- Cellophane
- Tape
- Ribbon for straps
Step-by-Step Instructions
Step 1
Trace and Cut Out One Side of the Butterfly Wing: Begin by tracing the shape of the butterfly wing onto the cardboard. Use a sharp craft knife to carefully cut along the traced lines, creating the outline of the wing.
Step 2
Cut Out Different Shapes for the Wing: Once the outline is cut, use the craft knife to cut out various shapes within the wing. These shapes will serve as the openings where the colored cellophane will be placed.
Step 3
Mirror the Wing: Take the side of the wing that is completely cut out and flip it over to create a mirrored image. Use this as a template to trace and cut out the second wing, ensuring that they are identical in shape.
Step 4
Tape Different Colored Cellophane: With both wings cut out, tape different colored cellophane behind the openings created in step 2. Experiment with various colors to create a vibrant and eye-catching effect.
Step 5
Create Straps: For straps, you have two options:
Option 1: Use hot glue to attach ribbon to the back of the cardboard wings, creating straps that can be worn over the shoulders.
Option 2: Thread the ribbon through holes punched in the cardboard to create sturdier straps. This method provides more stability, especially for active play.
Step 6
Sun and Light Exploration: Once the butterfly wings are complete, encourage kids to explore the effects of sunlight and light. Observe how the sunlight filters through the colored cellophane, creating beautiful patterns of light and shadow. This hands-on exploration not only enhances their understanding of light but also sparks their curiosity and creativity.
Expanding Your Creativity
Now that you’ve learned how to make sun catchers, here’s another way to embrace the beauty of butterflies. Consider trying out our printable butterfly template that allows you to design your own butterfly masterpiece!
Simply cut out the portions of the wings, add tape or sticky paper, and embellish with colorful flowers or other decorative elements to fill in where the wings should be.
This hands-on activity is not only enjoyable but also allows for endless possibilities in terms of design and personalization. Whether you’re crafting sun catcher wings or decorating a butterfly template, both activities are sure to spark joy and inspire your artistic spirit. So gather your supplies and let your imagination take flight!
More Fun Arts and Crafts!
Looking for more fun ways to get crafty? Try some of these!

Geometric Heart Craft

Shaving Cream Art

DIY Maracas

Fall Leaf Craft
What’s Next?
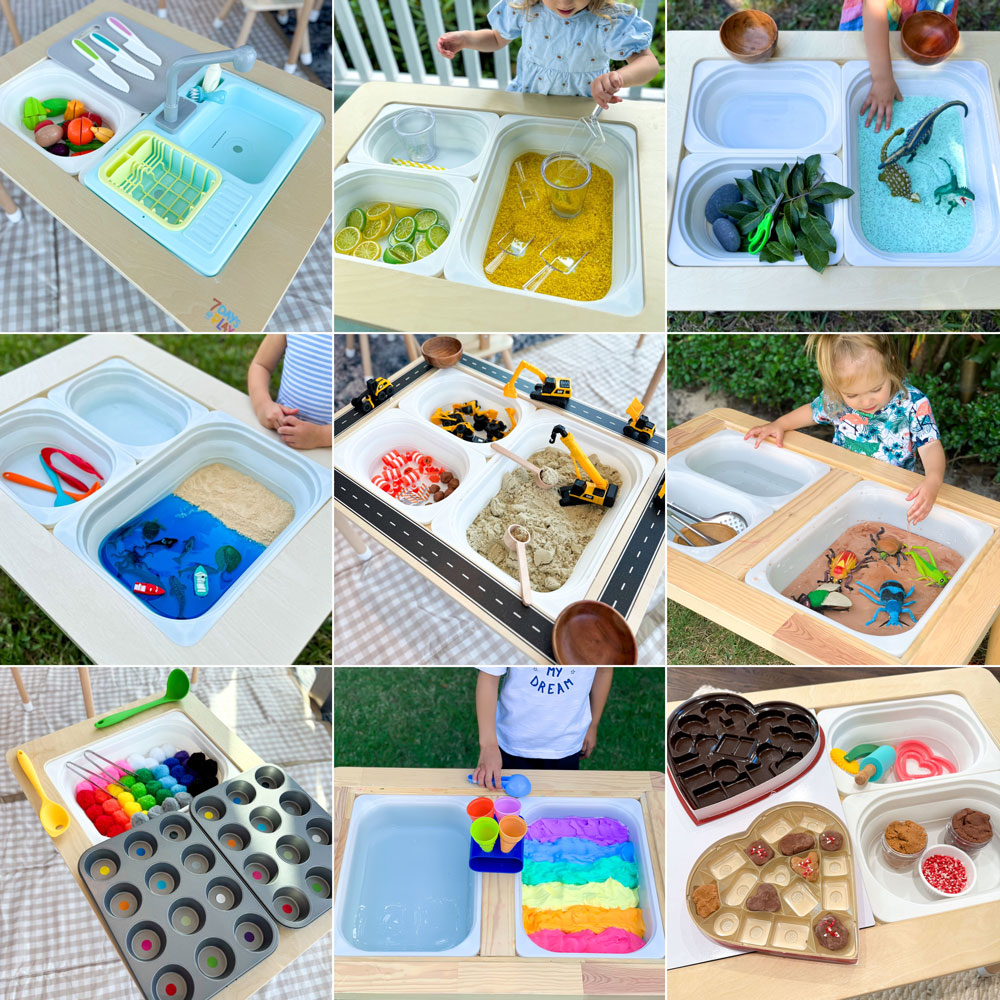
The Best Sensory Bin Ideas to Keep Kids Engaged for Hours
The best sensory bin ideas to keep kids engaged for hours! Fun, hands-on activities that spark creativity, learning, and fine motor skills.

The Best Easter Ideas for Kids
Discover the best Easter ideas for kids including basket ideas, egg fillers, crafts, activities, decorations, and printables to make Easter fun and easy.
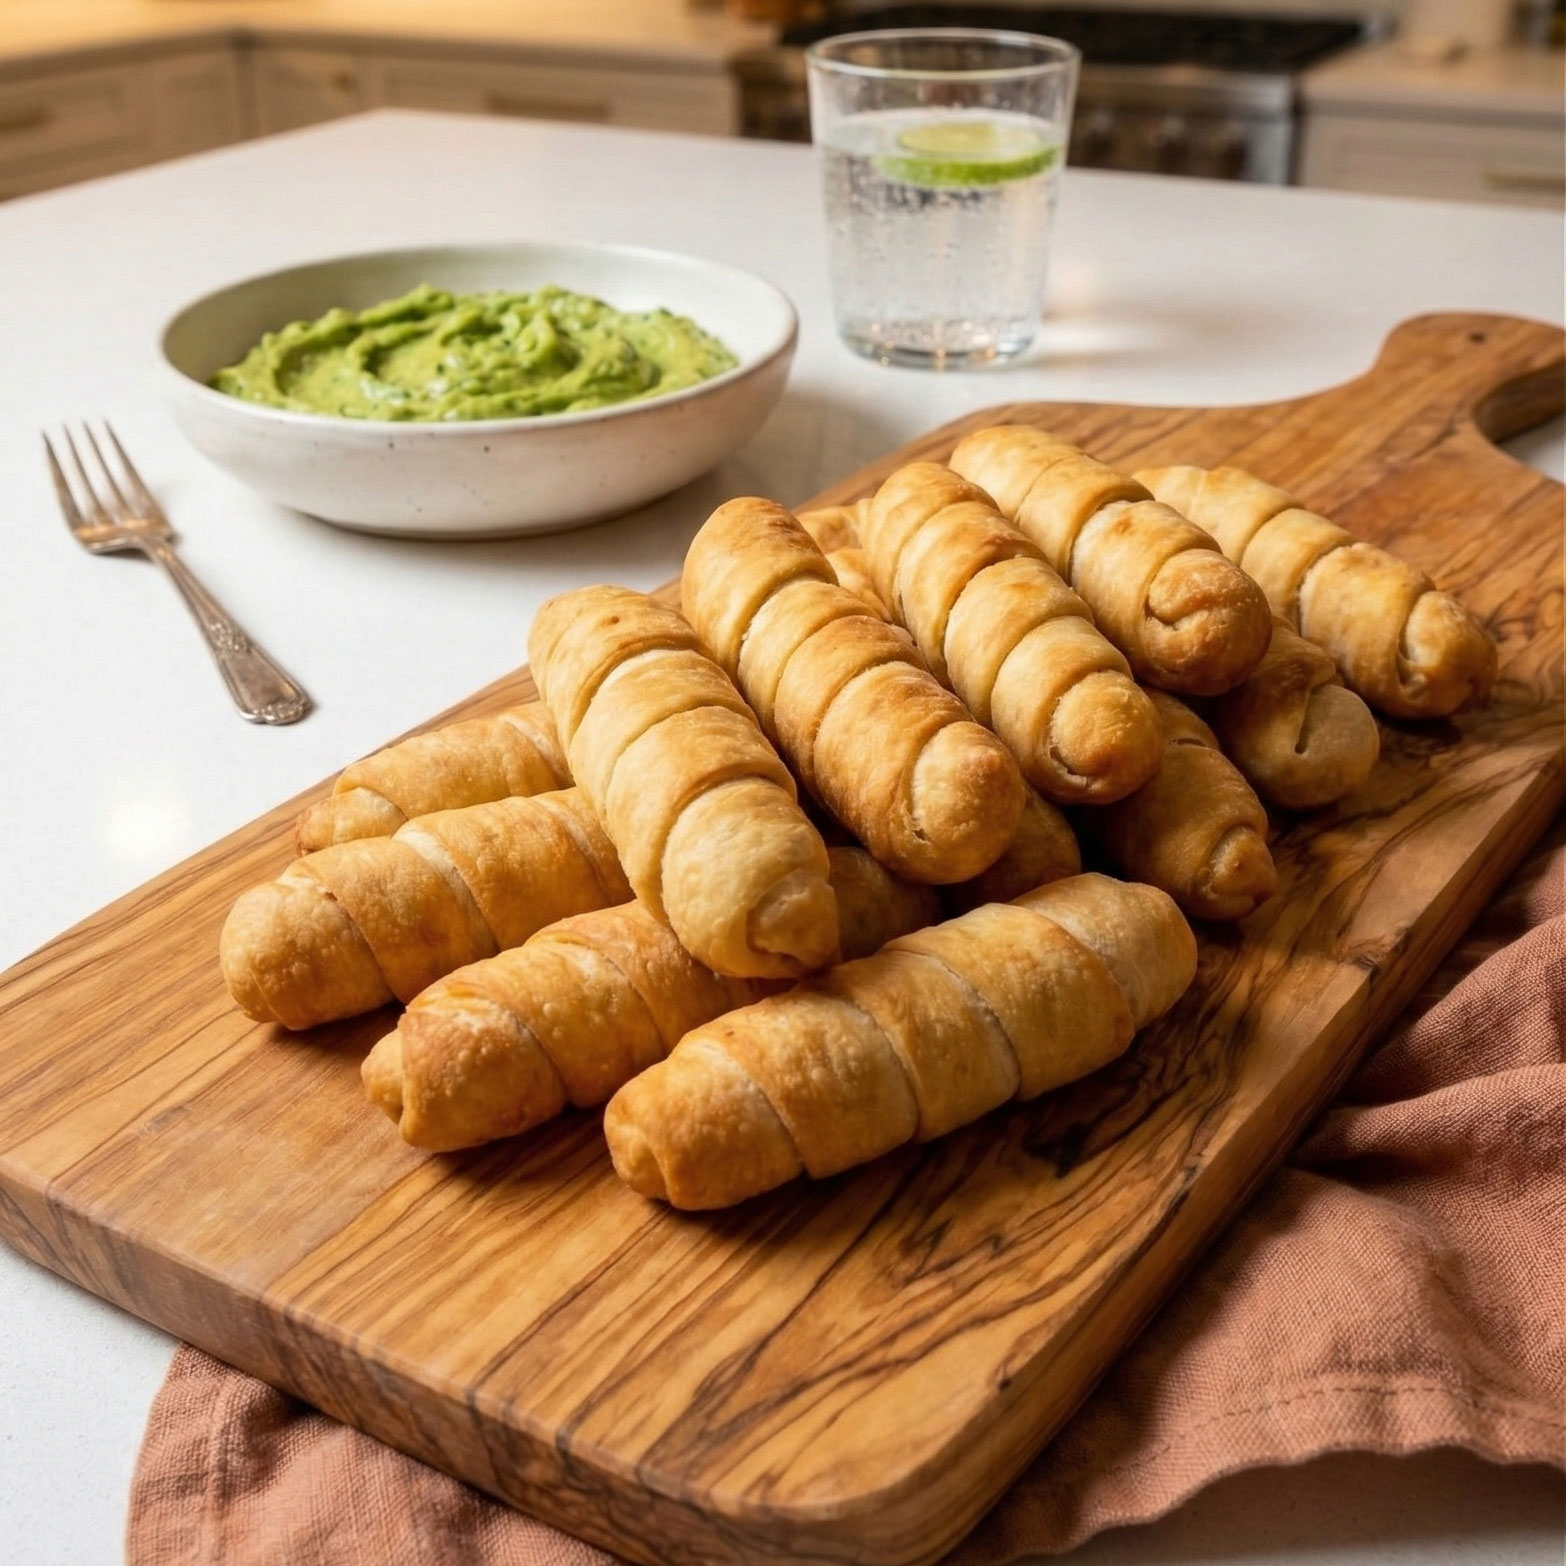
Air Fryer Tequeños, Freeze Ahead and Cook Straight From Frozen
Make Air Fryer Tequeños you can freeze and cook from frozen, crispy dough, melty cheese, plus dips and no-leak tips.