Unique Gender Reveal – How to Make a Chocolate Piñata

Looking for a unique gender reveal idea? Discover how easy and fun it is to make a chocolate piñata to smash open to discover baby’s gender and get all the colorful goodies inside!
A Unique Gender Reveal You Can Make Yourself!
The great thing about this unique gender reveal is that the chocolate piñata is really really simple to make. You just need a few easy supplies and a mold to create this edible chocolate piñata.
I decided this was the perfect way to reveal our newest addition’s gender to the kids because it combined two things they love most – piñatas and chocolate!
This was the first time we made a chocolate piñata, but we’ll definitely be using this fun technique for many birthdays and occasions to come!
All activities should be supervised by an adult. As an Amazon Associate, I earn from qualifying purchases. This post may contain affiliate links.
Watch This Unique Gender Reveal in Action!
In this video you’ll not only see the moment when my kiddo’s realized the gender of their new baby sibling, but you’ll also see how easy it is to make a chocolate piñata!
Don’t forget that piñata fun isn’t just for kids! This is so much fun for adults too! (Me and my husband simply couldn’t wait to find out the baby’s gender, so decided to do something special just for the kids!)

Tips for Making a Chocolate Piñata
The Perfect Mold. These molds are made out of plastic and easily snap together. They come in many shapes as well as 2 different sizes – large (like we used) or a smaller version that is great for individual use!
Pinata Prizes. On all the molds, the hole for placing in treats is the same size, so keep in mind that the items are small and should be able to fit into a hole about 2 inches in diameter.
Spread the Chocolate Evenly. The step-by-step instructions are below, but be sure when you add the chocolate you spread it evenly throughout your mold to avoid cracks or holes!
Be patient. Once the mold is filled with chocolate it will need time to set, so be sure to do this in advance!
Materials
- Chocolate Piñata Mold
- Melting Chocolate
- Piñata Filling (we used pink candy!)
- Chocolate Piñata Mold
- Melting Chocolate
- Piñata Filling (we used pink candy!)
- Piece of Thick Paper
- Chocolate Decorating Pens
- Wooden Hammer
Step-by-Step Instructions
Step 1
If using one of the large molds, melt 12-24 ounces of chocolate according to instructions on the packaging.
Step 2
Pour the liquid chocolate into the mold, plug the hole with the top, and then rotate the mold so the chocolate spreads throughout and as evenly as possible.
Step 3
Place the mold in the refrigerator for 1-2 minutes.
Step 4
Remove the mold from the refrigerator and continue to rotate to make sure the chocolate is continuing to spread evenly.
Step 5
Repeat this step several times before removing the plug to ensure that all the melted chocolate has spread.
Step 6
Place in the refrigerator, without the plug, to set completely for at least 30 minutes.
Step 7
Once completely solid, remove the mold.
Step 8
Add the candy through the hole.
Step 9
When ready to flip, cover the hole up with a piece of thick paper, or cover it back up with the mold and flip instead.
Step 10
Decorate based on your preferences.
Step 11
Keep in the refrigerator until it’s party time, and provide a hammer to do the smashing!
Beyond A Unique Gender Reveal!
We all know that piñatas are all about parties! They’re typically the star of any birthday party or a fun gathering with kids. Kids love to break open the piñata and see what is waiting inside!
The great thing about making your own chocolate piñata is that you can have it be for any type of celebration and fill it up with just about anything you want!
Here are a few other ways you can enjoy a homemade chocolate piñata for an occasion beyond a unique gender reveal:
- Birthday Parties – filled up with all the things the receiver loves
- Engagement Surprised – with the ring hidden inside

- Holiday Desserts – whether celebrating Christmas, Hanukkah, Easter, or another holiday, this is a fun addition to any dessert table!
Beyond A Unique Gender Reveal!
We all know that piñatas are all about parties! They’re typically the star of any birthday party or a fun gathering with kids. Kids love to break open the piñata and see what is waiting inside!
The great thing about making your own chocolate piñata is that you can have it be for any type of celebration and fill it up with just about anything you want!
Here are a few other ways you can enjoy a homemade chocolate piñata for an occasion beyond a unique gender reveal:
- Birthday Parties – filled up with all the things the receiver loves
- Engagement Surprised – with the ring hidden inside
- Holiday Desserts – whether celebrating Christmas, Hanukkah, Easter, or another holiday, this is a fun addition to any dessert table!
More Unique Gender Reveal Techniques
Here are some more fun ways to celebrate and surprise yourself and others with baby’s gender!

Colorful Reveal with Sports Balls
Reveal baby’s gender with a soccer ball that explodes with color when it’s kicked. There are also golf ball, football, and basketball versions too!

Tire Burnout Gender Reveal
For car fans, this is a fun way to reveal baby’s gender! You’ll have to know how to safely spin your tire to do this, but it will result in a cloud of color!

Confetti and Powder Cannon
Point, aim, and shoot for a colorful surprise! This set of blue and pink cannons are biodegradable and non toxic.

Pop the Balloon
This classic gender reveal technique never gets old! It includes both balloons and heart-shaped confetti. The balloons are black and not see-through!
What’s Next?
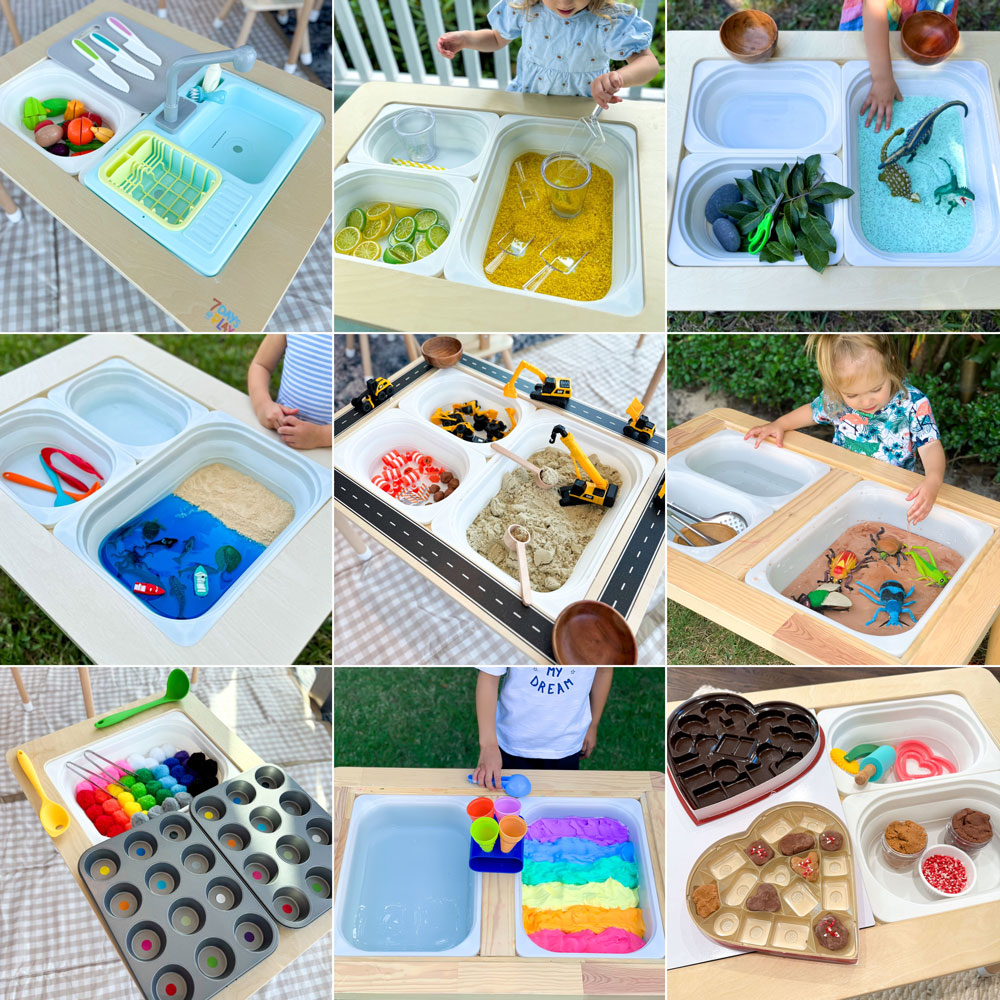
The Best Sensory Bin Ideas to Keep Kids Engaged for Hours
The best sensory bin ideas to keep kids engaged for hours! Fun, hands-on activities that spark creativity, learning, and fine motor skills.

The Best Easter Ideas for Kids
Discover the best Easter ideas for kids including basket ideas, egg fillers, crafts, activities, decorations, and printables to make Easter fun and easy.
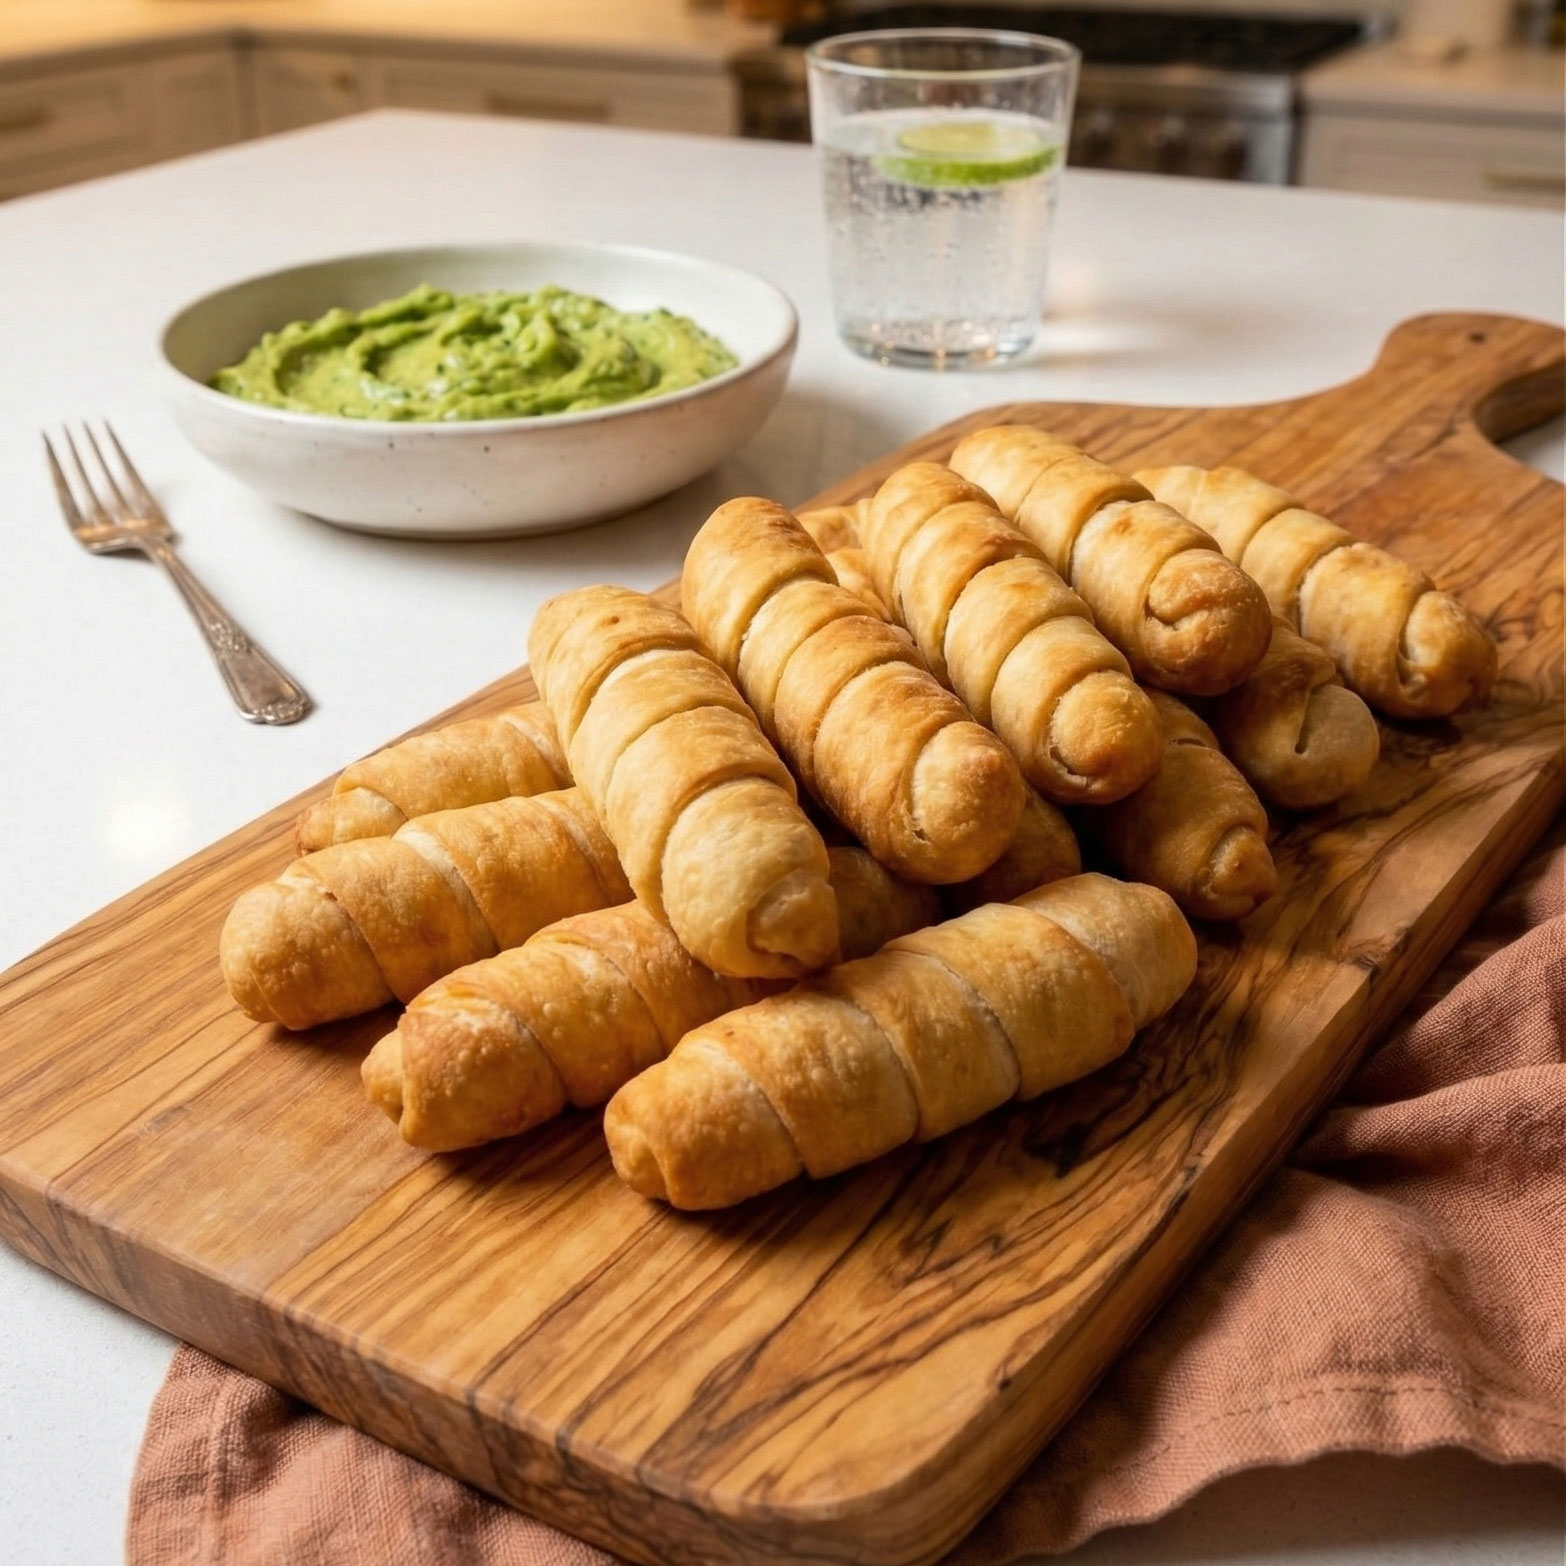
Air Fryer Tequeños, Freeze Ahead and Cook Straight From Frozen
Make Air Fryer Tequeños you can freeze and cook from frozen, crispy dough, melty cheese, plus dips and no-leak tips.