Explore a fun and easy way to make bath time fun for kids with our vibrant and homemade kids bath paint recipe!
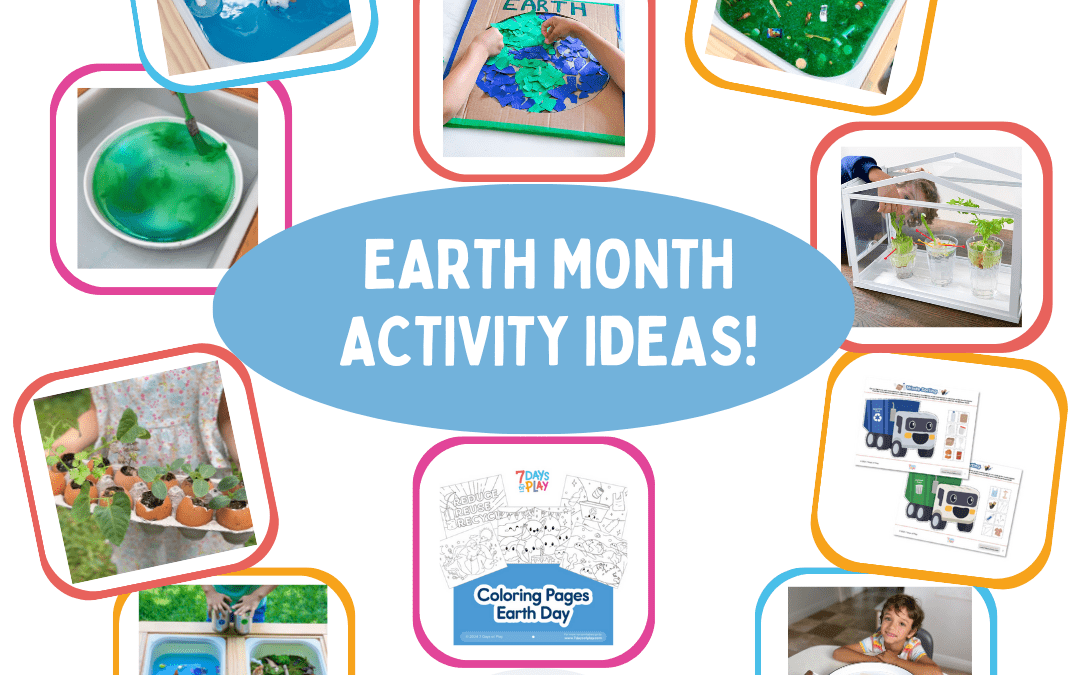
Earth Activities – How to Celebrate Earth Day and Earth Month
Earth Activities – How to Celebrate Earth Day and Earth Month

Looking for Earth activities for Earth Day, Earth month, and beyond?! Keep reading to find over 20 ideas including free coloring pages and crafts to gardening and sensory play for eco-friendly fun!
Why Earth Day is Awesome: Let’s Celebrate Our Planet!
Kids celebrating Earth Day and Earth month is crucial because they are the future caretakers of our planet. By involving children in Earth Day activities, we instill in them a sense of responsibility and stewardship for the environment from a young age. Through hands-on experiences like all the ideas you’ll read about below, children develop a deep connection to nature and understand the importance of preserving it for generations to come.
As an Amazon Associate, I earn from qualifying purchases. This post may contain affiliate links.
Earth Activities
Click the links in the blue box to explore more details about each one of these ideas!

Free Earth Day Coloring Pages!

Paper Earth Collage

Regrow Food Scraps!

Free Printable: Sort the Trash

Melting Ice Caps and Polar Bears. All you need is shaving cream, ice cubes, a little blue food coloring in the water, and polar bear figurines!

Painting the Earth on Ice!
Just freeze water in a shallow dish and provide green and blue tempera paint.

Seedlings in Egg Shells
Save your egg shells, fill with soil and seeds. Place by a window and water regularly. In a week your egg carton will be full of seedlings!

Garbage Slime Recipe
• Mix 1 cup clear glue and 1 cup water
• Add 1 tsp baking soda
• Add about 1 cup of fake mini food
• Mix in 2 tbsp contact solution and knead

Colors of Leaves Experiment

Clean Up the Earth and Sort the Trash

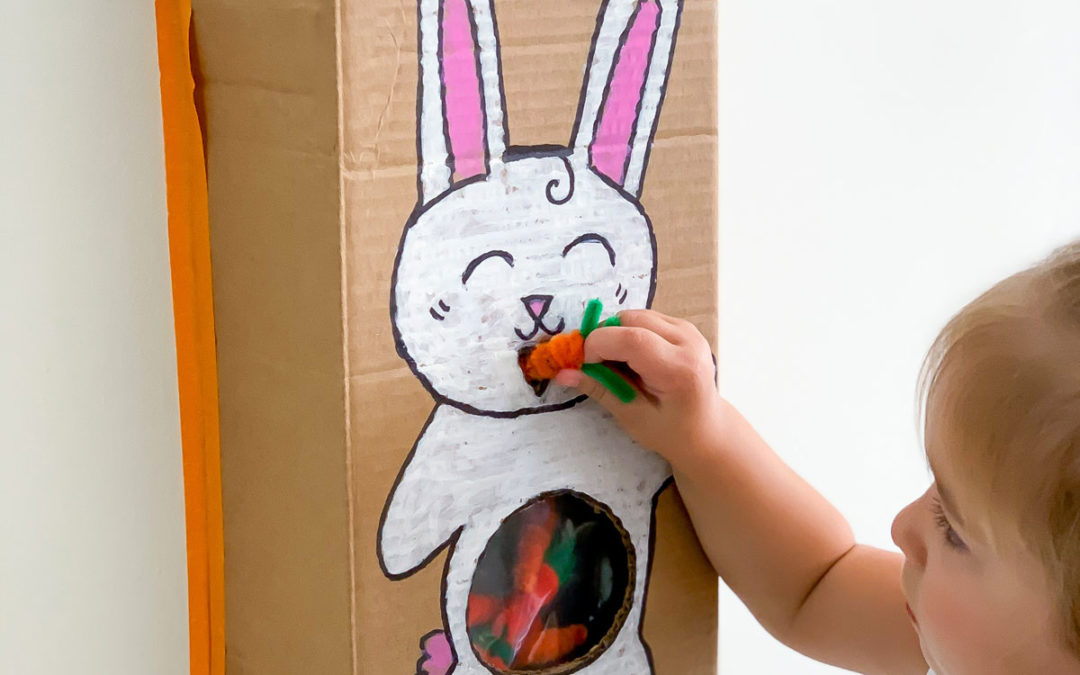
Dot the Animals Printable

Ocean Life Sensory Play
Nature Themed Activities!
Explore a refreshing array of nature-themed activities perfect for embracing the Earth’s beauty and creativity, offering fun activity ideas beyond traditional Earth Day festivities.

Blooming Paper Flower Experiment with Printable Flowers!

Count the Flower Petal Activity!

Printable Version of the Count the Flower Petal Activity!

Butterfly Wing Craft Decorated with Nature!

Count the Worm Sensory Activity

Printable Activities all about seasons!

Nature Walk Color Scavenger Hunt!

Rainbow Nature Craft
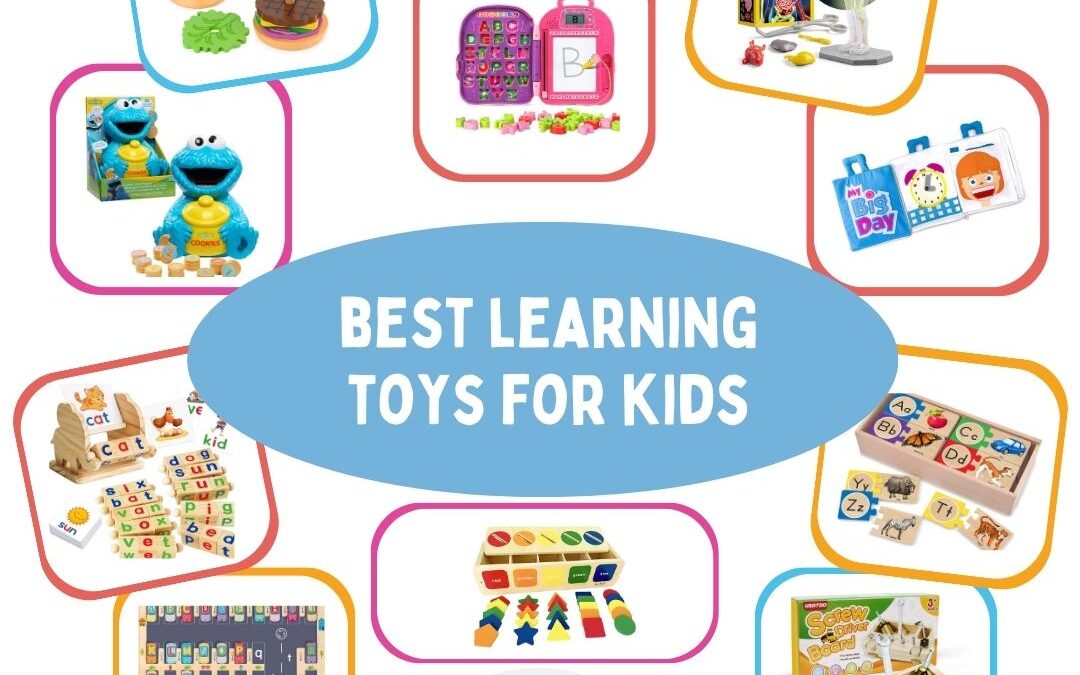
Earth Science Kits, Toys, and Puzzles!
Below you’ll find some of our top picks for Earth-related puzzles, toys, and games. If you want to see a full list of product and gift ideas for Earth month, check out this LINK!

3D Puzzle Globe

Orbit Building Set

Earth Puzzle

Trash Sorting Game

Regrow Science Kit

Window Growing Kit

Gardening Set

Paint and Plant Kit
5 Things to Talk to Your Kids About on Earth Day / Month!
Recycling: Teach children about the importance of recycling and how to properly sort recyclable materials such as paper, plastic, glass, and aluminum. Encourage them to create recycling bins at home and school to reduce waste and conserve resources.
Conservation: Educate children about the importance of conserving water, energy, and natural habitats. Discuss simple ways to conserve resources, such as turning off lights when leaving a room, taking shorter showers, and using reusable bags instead of plastic ones.
Gardening: Engage children in hands-on gardening activities to teach them about plant growth, soil health, and the benefits of growing their own food. Help them plant seeds, tend to garden beds, and observe the natural cycles of plants as they grow.
Nature exploration: Take children on outdoor excursions to explore local parks, nature reserves, or hiking trails. Encourage them to observe and appreciate the beauty of nature, identify different plant and animal species, and learn about the ecosystems that sustain life on Earth.
Environmental activism: Empower children to become environmental advocates by teaching them about pressing environmental issues and ways to take action. Discuss topics such as climate change, pollution, and wildlife conservation, and encourage children to participate in community clean-up events, tree planting initiatives, or letter-writing campaigns to elected officials.
What’s Next?
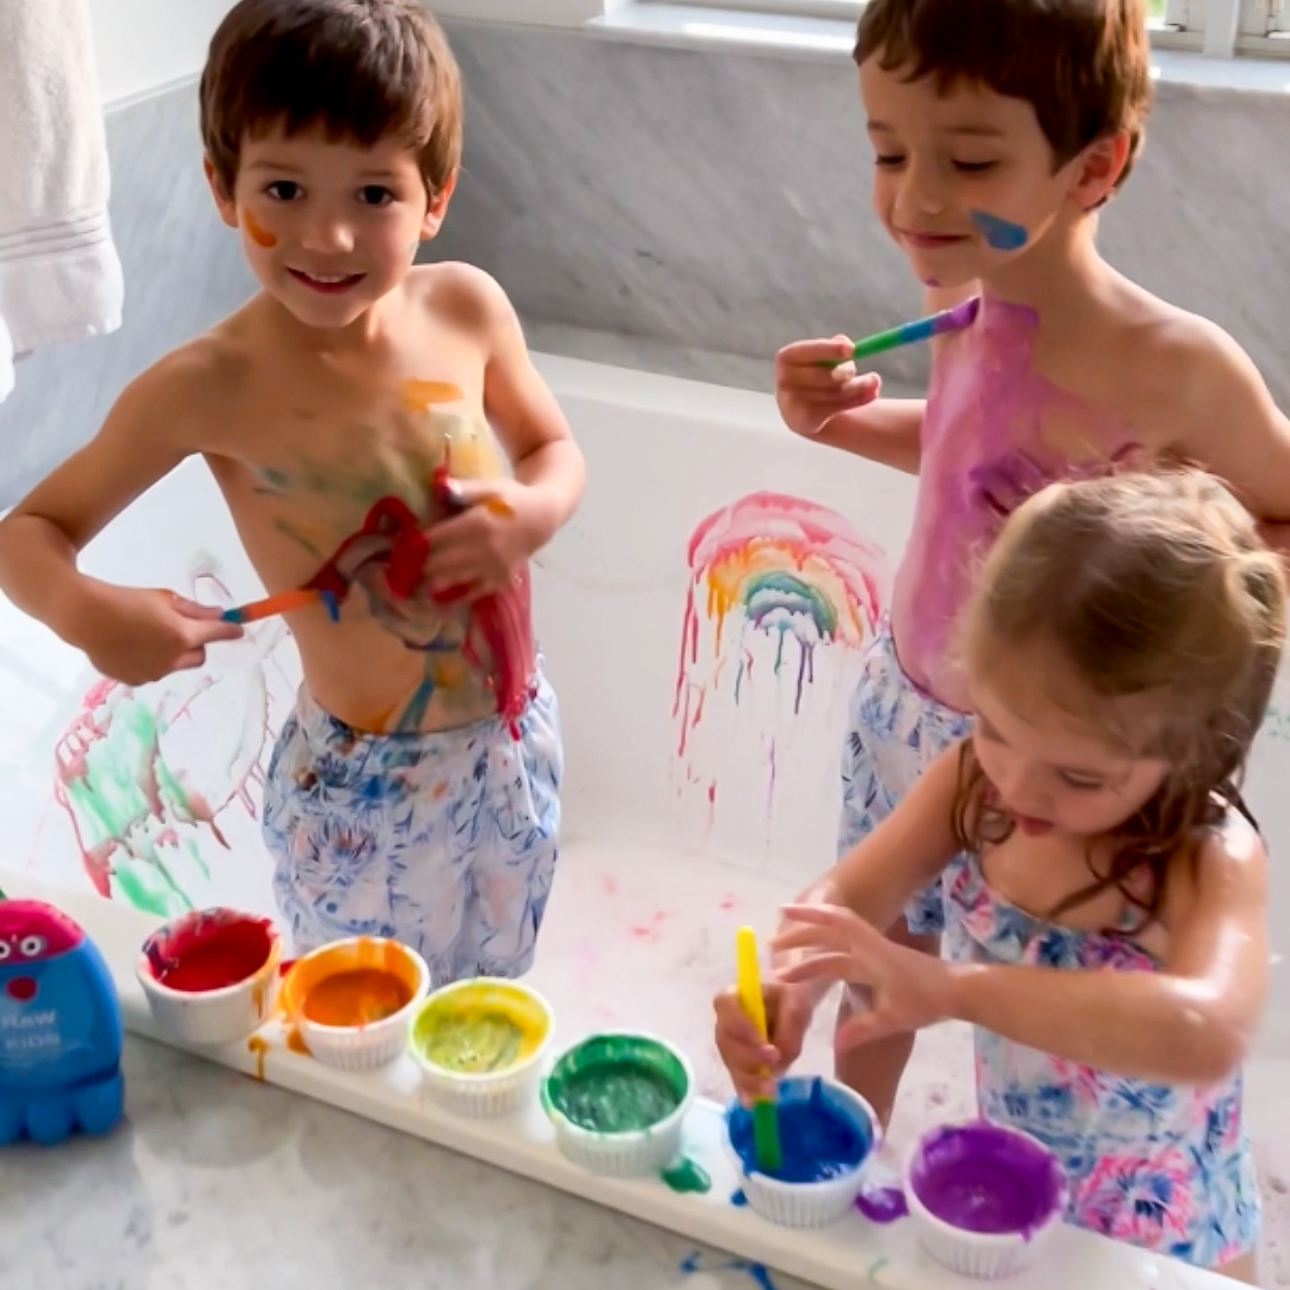
How to Make Kids Bath Paint – Colorful Clean Fun
read more
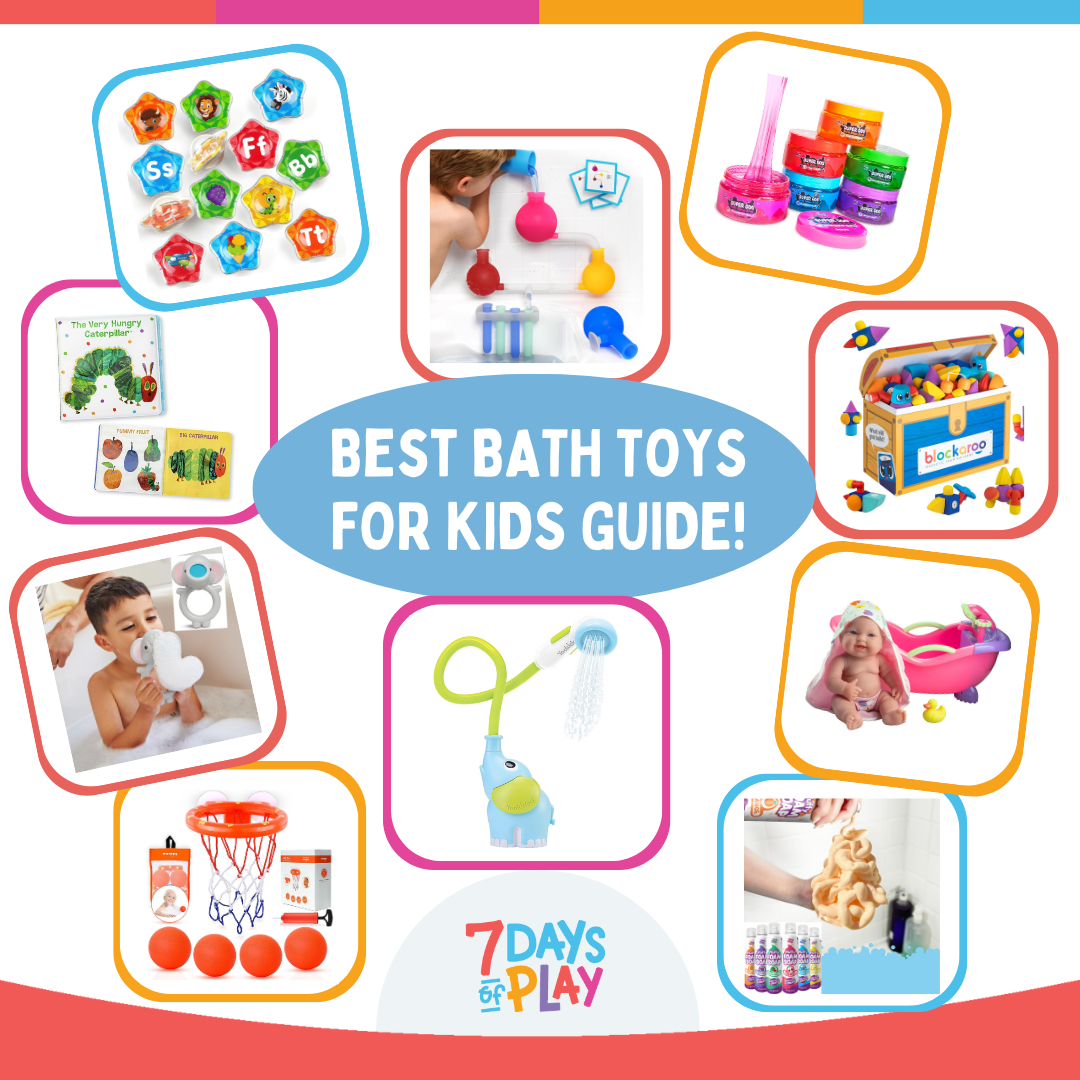
The Best Bath Toys for Kids in 2024
Explore the best bath toys for kids! Discover the ultimate guide to bath time fun with these top picks that will make every splash memorable.
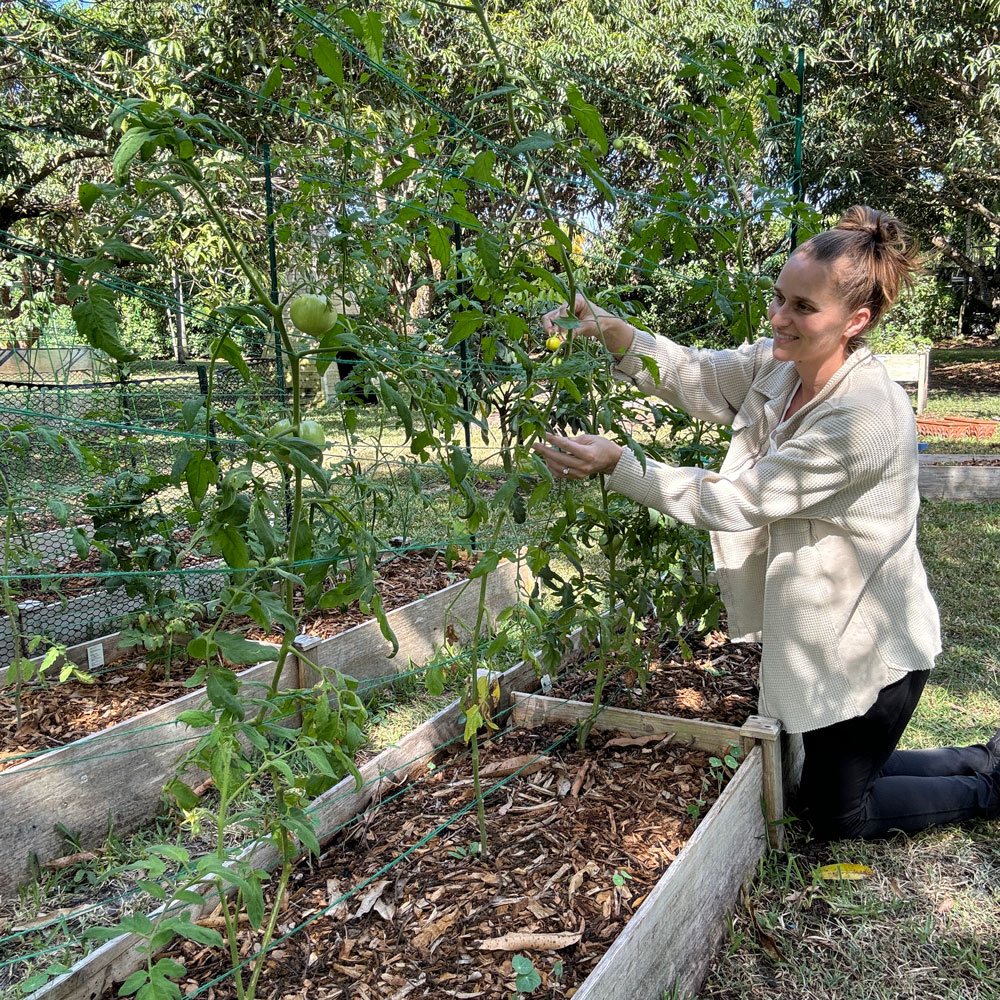
How to Layer a Raised Garden Bed and Make a Trellis
Learn how to layer a raised bed and create affordable trellises for thriving gardens. Explore our guide for expert tips & easy instructions!