Sweet and simple Mother’s Day crafts for kids that double as keepsakes—easy, meaningful, and made with love.
50+ Easy Spring Crafts for Kids to Make in 2025
50+ Easy Spring Crafts for Kids to Make in 2025

Looking for fun spring crafts for kids? Check out these easy and colorful ideas to keep little hands busy all season long!
Colorful Spring Crafts for Kids to Celebrate the Season
Spring has sprung, and it’s the perfect time to get crafty with the kiddos!
Whether you’re a parent looking for weekend activities or a teacher planning classroom projects, we’ve got a bouquet of fun and easy spring crafts for kids. From blooming flowers to fluttering butterflies, these creative ideas will not only keep little hands busy but also celebrate the vibrant spirit of the season.
So grab your glue sticks and scissors—let’s dive into a world of color and creativity!
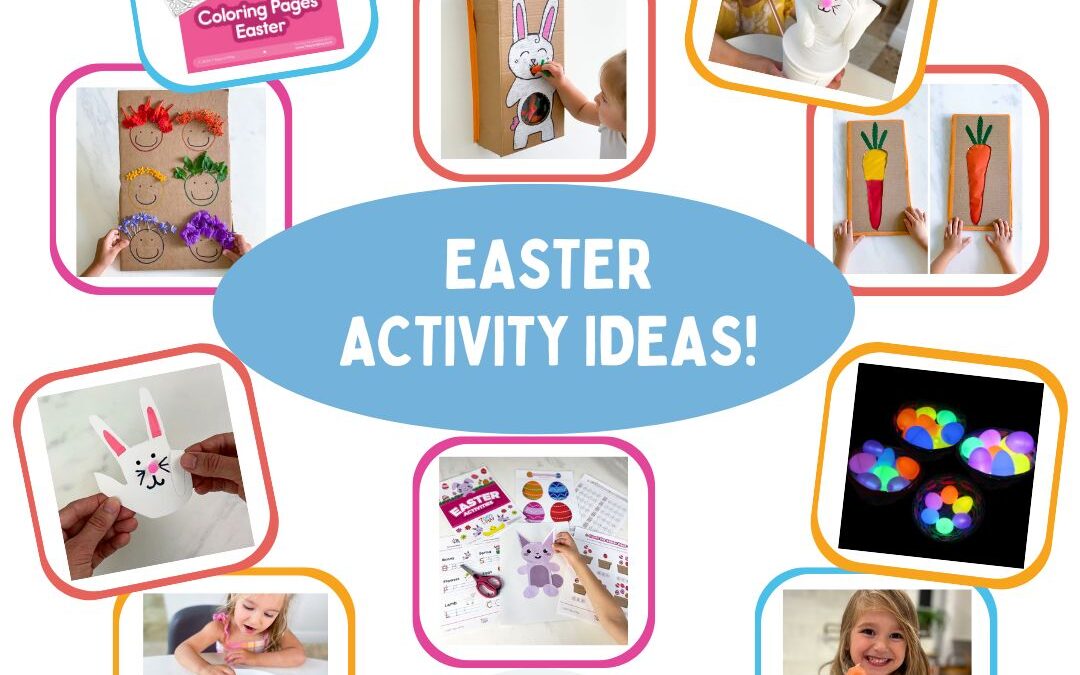
The Ultimate List of Spring Craft Ideas for Kids
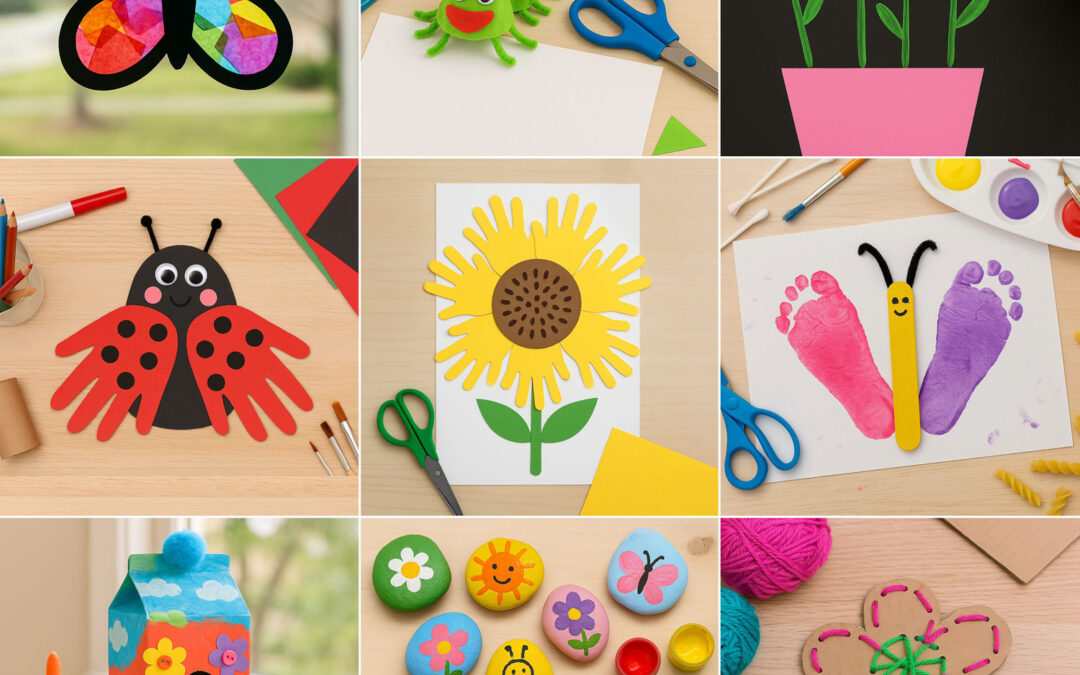
Get ready for over 50 adorable spring crafts for kids—featuring butterflies, bunnies, flowers, caterpillars, and more using paper, rocks, craft sticks, and all kinds of fun supplies!

Sunflower Handprint Craft
A bright sunflower made from yellow handprints, symbolizing the warmth of spring.

Paper Plate Butterfly Craft
A beautiful butterfly crafted from paper plates, colored with bright rainbow hues.

Footprint Bunny
Make an adorable bunny by stamping a footprint in white paint on pink paper, then add bunny ears, eyes, and a bow with paper and markers.

Flower Frame with Bunny
Decorate a photo frame with colorful paper flowers and a cotton bunny to make a cute Easter gift or decoration.

Rainbow Sponge Butterflies
Use a sponge to stamp colorful butterflies on paper by dipping it in paint and pressing it in butterfly shapes, then add antennae with a black marker.

Flower Crown with Buttons
Create a colorful flower crown by cutting out flower shapes from paper, decorating them with buttons, and attaching them to a paper strip.

Egg Carton Worm Craft
A quirky caterpillar crafted from painted egg carton sections, complete with googly eyes and a bright, smiling face.

Handprint Flower Pot
Create a sweet keepsake by turning your child’s handprint into a blooming flower—perfect for spring gifts or Easter cards.

Carrot Footprint Craft
Create a fun carrot using your foot! Simply dip your foot in orange paint and press it onto paper, then add green leaves with a paintbrush.

Fork Tulips
Dip a fork in red paint and press it onto paper to make tulip shapes, then use green paint for the leaves and stems.

Handprint Ladybug Craft
Create a delightful ladybug by painting handprints for wings, adding black spots and a smile.

Flower Suncatcher
Cut out a flower shape from black paper, then fill the petals with colorful tissue paper pieces, and hang it in the window to catch the sunlight.

Button Blossom Craft
Kids can create a colorful spring flower by gluing bright buttons onto a paper flower shape and adding paper leaves and a stem!

Ladybug Paper Plate
Make a ladybug by painting a paper plate red, adding black pom-poms as spots, and drawing the eyes and antennae with markers.

Beaded Snail Craft
Use colorful beads to decorate a paper plate snail shell, and add pipe cleaner antennae for a fun spring craft.

Sun with Pasta Rays
Paint a yellow circle for the sun, then glue pasta pieces around it to make bright, sunny rays.

Colorful Butterfly Suncatcher
A vibrant butterfly suncatcher made from colorful tissue paper, perfect for hanging in windows to let the sunlight shine through.

Toilet Paper Tube Tulips
Turn toilet paper tubes into tulips by painting them, cutting the top into petal shapes, and gluing them onto green stems.

Sunflower Pasta Craft
A cheerful sunflower craft using pasta pieces for petals. This activity uses easy-to-find materials and is great for little hands to create their own spring flowers.

Painted Rocks Spring Theme
A collection of colorful painted rocks, each decorated with flowers, bees, butterflies, and rainbows.

Pom-Pom Caterpillar Craft
A cute, colorful caterpillar made from pom-poms, creating a playful and tactile craft.

Button Flower Bouquet
Kids can make a colorful spring bouquet using paper handprints!

Popsicle Stick Insects Craft
A set of playful insects, including a bee, dragonfly, butterfly, and grasshopper, all made from popsicle sticks.

Spoons as Spring Puppets
Transform spoons into adorable spring animal puppets with colorful paper and craft supplies.

Spring Vegetable Basket Craft
Create a colorful vegetable basket using a paper plate, yarn, and simple cutouts of carrots, onions, and radishes. Thread the yarn through the basket for extra fine motor skill strengthening.

Egg Carton Flower Craft
A creative flower arrangement made from painted egg carton cups, turned into colorful flowers with vibrant petals.

Buzzing Bee Craft
Craft a cute bee with paper and cotton rounds! Add googly eyes and pipe cleaners for a fun and fluffy insect. A perfect spring project for kids to enjoy and learn about pollinators!

Cork Insects
Use wine corks to create adorable insects like bees, butterflies, and grasshoppers. This is a fun way to recycle and create little critters that will make any springtime craft session extra fun!

Flower Pot Bee Craft
A charming bee and flower decoration featuring a bee made from a pom-pom and pipe cleaners, placed in a painted flower pot with bright flowers.

Hanging Spring Bird Craft
Make a cheerful bird using paper, pipe cleaners, and googly eyes—then hang it up with yarn to bring a little spring joy to any space!

Toilet Paper Tube Butterfly Craft
Toilet paper tubes repurposed into colorful butterflies, with paper wings and pipe cleaner antennae.

Butterfly Footprint Craft
Turn kids’ footprints into a beautiful butterfly with colorful paint! This spring-themed craft is a perfect keepsake and an adorable way to celebrate the season.

Flower Paper Garland
Decorate your space with a vibrant flower garland made from paper! This simple craft uses colorful paper and string to create a cheerful decoration for Easter or spring celebrations.

Pasta Butterfly Craft
Create a beautiful butterfly using colored pasta! This craft project helps children develop their fine motor skills while making a colorful spring decoration.

Popsicle Stick Flower Butterfly
Make a whimsical butterfly using popsicle sticks, paper flowers, and pipe cleaners! This craft brings together bright colors to create a spring-inspired butterfly perfect for Easter.

Toilet Paper Tube Butterfly Craft
Use a toilet paper roll and colorful paper to craft a butterfly that will brighten up any room. This recycled craft is simple and fun for kids to make!

Flower Paper Wreath
Craft a beautiful flower wreath with colorful paper petals and buttons! This Easter or spring-themed decoration can be hung on doors or walls to add a touch of cheer.

Paper Plate Chicken
Create a simple and fun paper plate chicken! With colorful paper and glue, this Easter craft is an easy project for kids to celebrate the season with a cute chicken decoration.

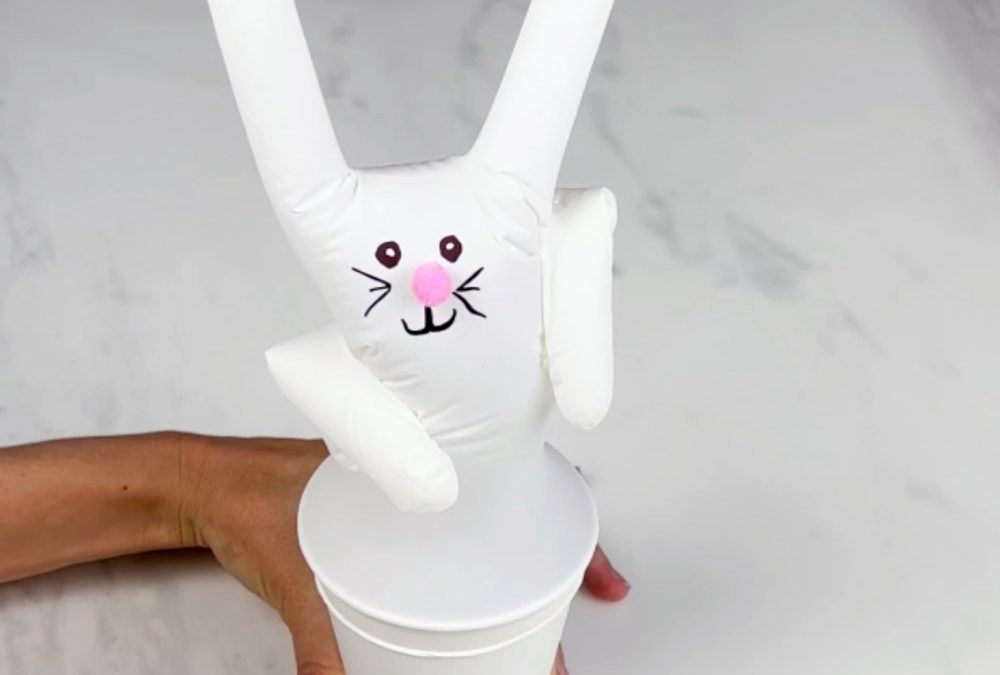
Bunny Stamps with Toilet Paper Tubes
Create colorful bunny head stamps using toilet paper tubes! A fun and simple craft for kids to celebrate Easter. These bunny prints can be decorated with markers and crayons for a playful touch.

Milk Carton Flower Garden
Recycle a milk carton and transform it into a beautiful flower garden! A fun and creative spring craft project that helps kids learn about flowers and gardening.

Egg Carton Garden Craft
Upcycle an egg carton to create a blooming garden of flowers! Perfect for spring, this craft encourages creativity while using recyclable materials.

Spring Insects on Clothespins
Create a collection of spring insects using clothespins, colorful paint, and pipe cleaners. This craft project is a great way to introduce kids to the world of bugs!

Yarn Flower Craft
Create a stunning flower using colorful yarn and cardboard. This spring craft allows kids to get creative with textures and colors while making a beautiful handmade decoration.

Butterfly Made from Toilet Paper Tube
Transform an empty toilet paper tube into a beautiful butterfly with colorful paper wings and pipe cleaner antennae. This craft is perfect for kids to enjoy during springtime.

Carrot Yarn Craft
A yarn-based craft using orange yarn to form a carrot shape, complemented by green paper leaves.

Colorful Cotton Swab Flower
Create a vibrant flower using cotton swabs dipped in different colors! This spring craft is easy to do and makes a colorful decoration for any space.

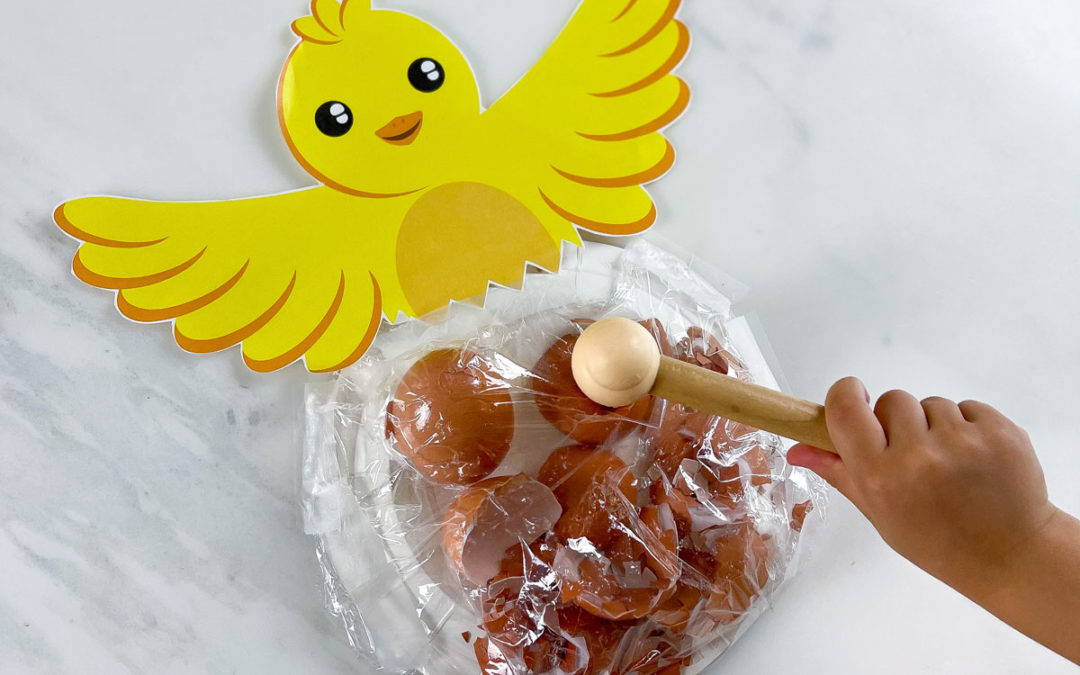
Paper Plate Chicken and Egg
Use a paper plate to create a cute little chicken hatching from an egg. This fun spring craft is simple, yet gives kids the chance to create their own farm animal scene.

Plastic Bottle Flower Vase
Reuse a plastic bottle to make a beautiful flower vase! This craft allows you to design a unique floral arrangement while helping the environment by recycling.

Rain Cloud with Paper Plate
Turn a paper plate into a rainy cloud! Add blue paper rain droplets and colorful yarn to create a rainy day scene that’s perfect for celebrating the season of showers.

Flower Cutout Craft
Create a colorful flower garden with simple paper cutouts. A fun and creative way for kids to craft beautiful blooms for the spring season!

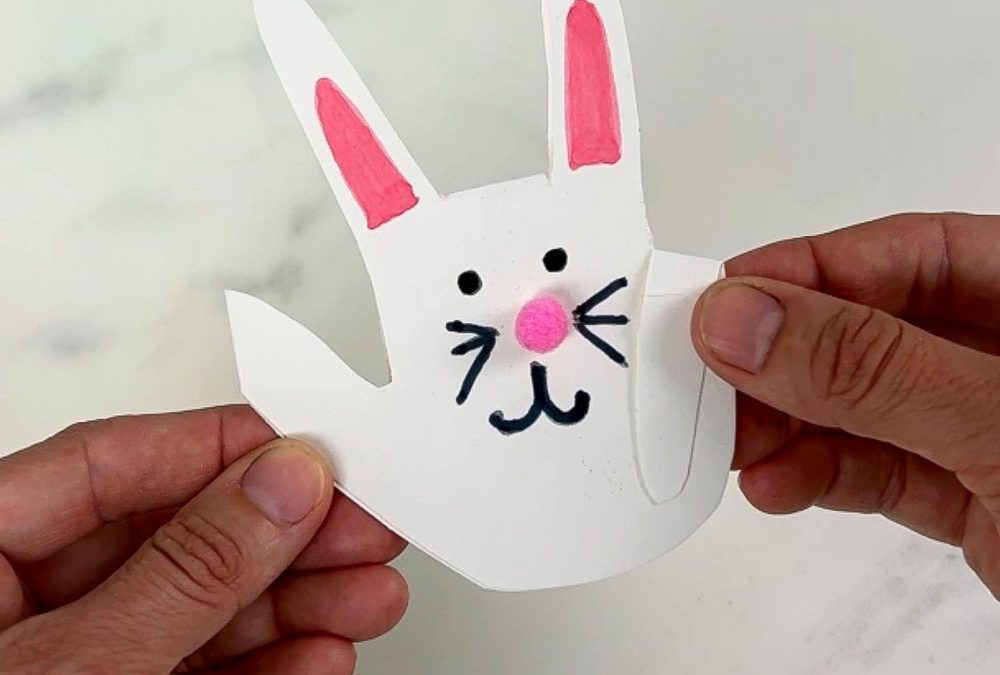
Handprint Bunny Craft
Transform handprints into adorable bunny shapes! A perfect craft for little ones to create their own Easter bunny using pink paper and colorful markers.

Flower Crown Craft
Make a beautiful flower crown using paper flowers, leaves, and a green paper band. This craft is perfect for any spring party, garden playtime, or just a fun, creative afternoon activity.

Printable Easter and Spring Activity Booklet
Enhance your child’s Easter celebrations with this printable activity booklet, featuring over 20 engaging activities that promote early childhood education skills such as alphabet and number recognition, tracing, coloring, and more.
Printable Easter and Spring Activity Booklet
Enhance your child’s Easter celebrations with this printable activity booklet, featuring over 20 engaging activities that promote early childhood education skills such as alphabet and number recognition, tracing, coloring, and more.
What’s Next?
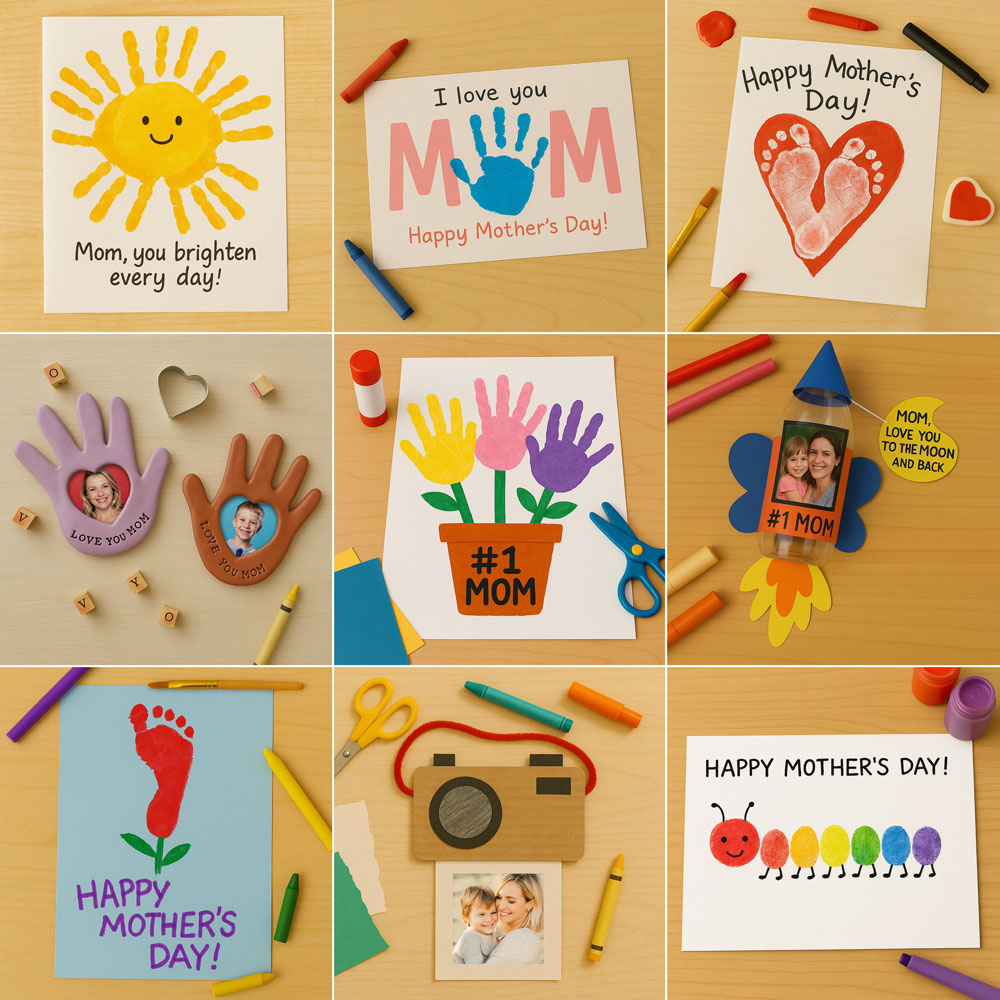
Mother’s Day Crafts for Kids – Cards, Keepsakes & More
read more
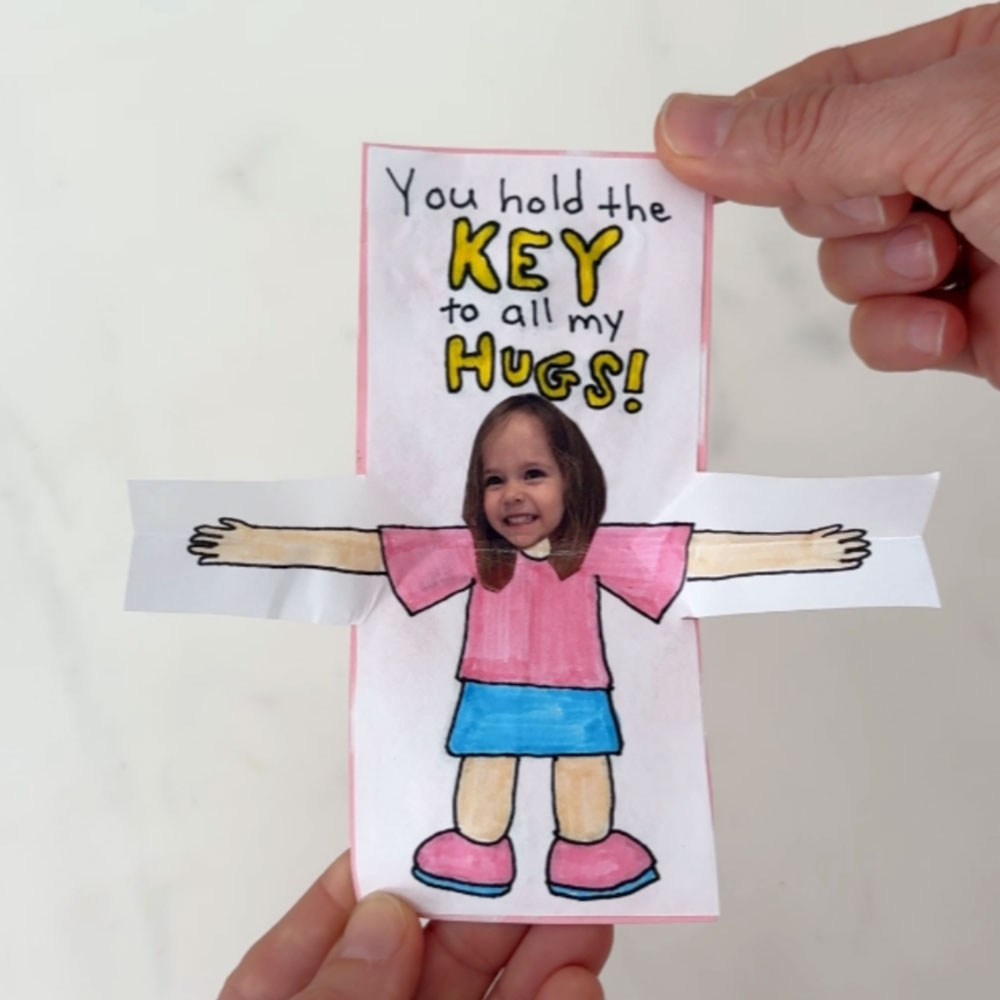
How to Make a Pop-Up Hug Card for Mother’s Day (With Free Printable!)
Make a pop-up hug card for Mother’s Day! DIY tutorial with free printable template and photo personalization for a heartfelt gift.
50+ Easy Spring Crafts for Kids to Make in 2025
50+ Easy Spring Crafts for Kids to Make in...