Explore a fun and easy way to make bath time fun for kids with our vibrant and homemade kids bath paint recipe!
Bread Machine Brioche Recipe – How to Make Brioche Easily
Bread Machine Brioche Recipe – How to Make Brioche Easily!

This easy bread machine brioche recipe is so easy to make and delicious! You’ll never go back to store bought!
Easy Bread Machine Brioche Recipe
For decades now, bread machines have made baking bread at home incredibly easy. With the convenience of a bread machine, you simply add the ingredients, press a button, and let the machine do the work. But what about brioche bread?
Even with brioche, often revered for its richness, the process remains so simple, with just the additional step of incorporating butter. Not only is homemade bread cost-effective, but it also allows you complete control over the ingredients, ensuring a healthier and more satisfying loaf for you and your loved ones.
As an Amazon Associate, I earn from qualifying purchases. This post may contain affiliate links.
This Bread Machine Brioche Recipe versus Traditional Version
Traditional brioche-making methods involve meticulous hand kneading and multiple proofing stages to achieve its signature light and airy texture.
This approach allows for a deeper understanding of the dough’s development and yields a more artisanal result with potentially superior flavor complexity. However, it demands significant time and effort.
Conversely, utilizing a bread machine streamlines the process, requiring minimal hands-on time and providing consistent results with the push of a button.
While the bread machine method sacrifices some of the artisanal charm and nuanced flavors of traditional brioche, it offers unparalleled convenience, making it accessible for busy individuals who still like to make homemade food without the labor-intensive process.

A Vintage-Inspired Bread Machine
I love this bread machine! It is a timeless addition to any kitchen with its classic vintage design – it looks gorgeous on our countertops (I never feel the need to hide it!). It comes in a cream color or a mint green color with gold trimmings. It has an array of 15 settings to choose from, 3 choices for crust shades (light, medium or dark), and also has a nut dispenser.
Ingredients
- Bread Machine
- 1/2 cup milk
- 4 eggs
- 3 cups bread flour
- 3 Tbsp sugar
- 1 teaspoon salt
- 1 1/2 teaspoons yeast
- 10 Tbsp unsalted butter, room temperature, cut into pieces
- Bread Machine
- 1/2 cup milk
- 4 eggs
- 3 cups bread flour
- 3 Tbsp sugar
- 1 teaspoon salt
- 1 1/2 teaspoons yeast
- 10 Tbsp unsalted butter, room temperature, cut into pieces
Instructions
Step 1
As is the case for most bread machine recipes, at your liquids first – milk and eggs – into the bread machine pan.
Step 2
Next, layer bread flour, sugar, salt, and lastly yeast on top of the liquid ingredients.
Step 3
Start the bread machine on the Basic Bread setting and let it knead for 10 minutes.
Step 4
After 10 minutes, add the pieces of butter into the dough slowly one piece at a time until fully integrated.
Step 5
Let the bread machine complete its cycle. On my machine, it takes about 3 hours.
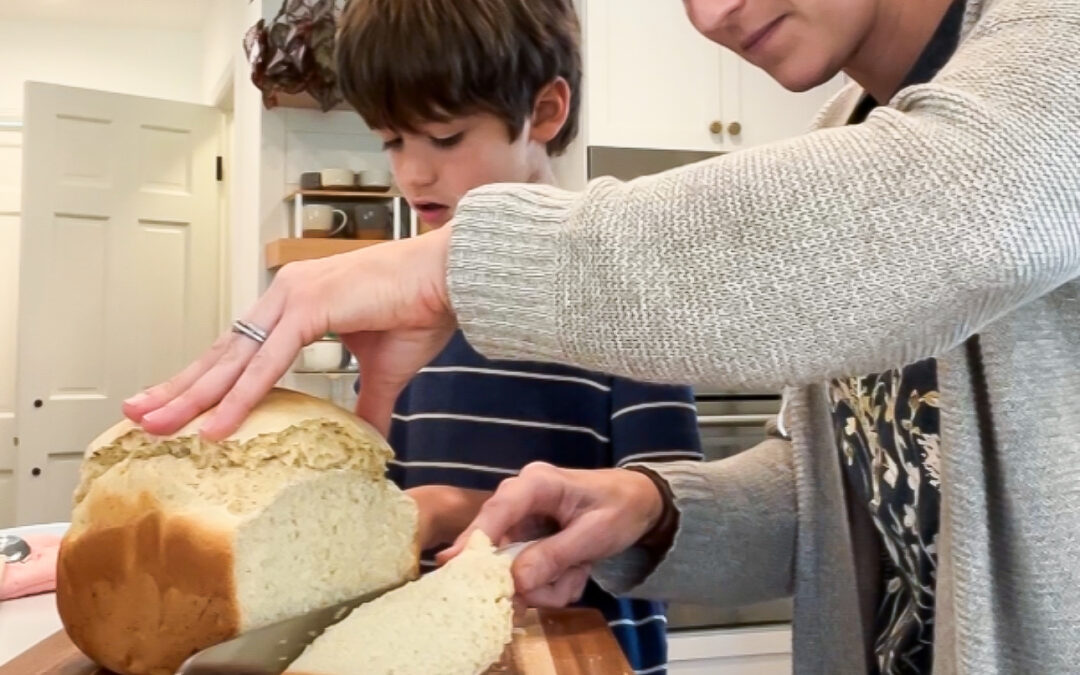
Step 6
Once the cycle is finished, carefully remove the brioche from the bread machine. Allow the bread to cool slightly before slicing and serving.
Step 1
As is the case for most bread machine recipes, at your liquids first – milk and eggs – into the bread machine pan.
Step 2
Next, layer bread flour, sugar, salt, and lastly yeast on top of the liquid ingredients.
Step 3
Start the bread machine on the Basic Bread setting and let it knead for 10 minutes.
Step 4
After 10 minutes, add the pieces of butter into the dough slowly one piece at a time until fully integrated.
Step 5
Let the bread machine complete its cycle. On my machine, it takes about 3 hours.
Step 6
Once the cycle is finished, carefully remove the brioche from the bread machine. Allow the bread to cool slightly before slicing and serving.
The Joy of Making Everyday Items at Home
Crafting everyday items like bread, yogurt, and cheese at home is not just a culinary endeavor; it’s a transformative experience that reconnects us with the essence of food. In a world inundated with mass-produced goods, reclaiming the power to create these staples offers a profound sense of empowerment and fulfillment. Beyond the satisfaction of savoring the fruits of our labor, homemade creations carry a unique authenticity and purity, untainted by additives or preservatives.
More Homemade Recipes!
Check out these totally do-able recipes. Making your own food from scratch doesn’t need to be complicated. Like this bread machine brioche recipe, you’ll be shocked at how easy each of these are to make!

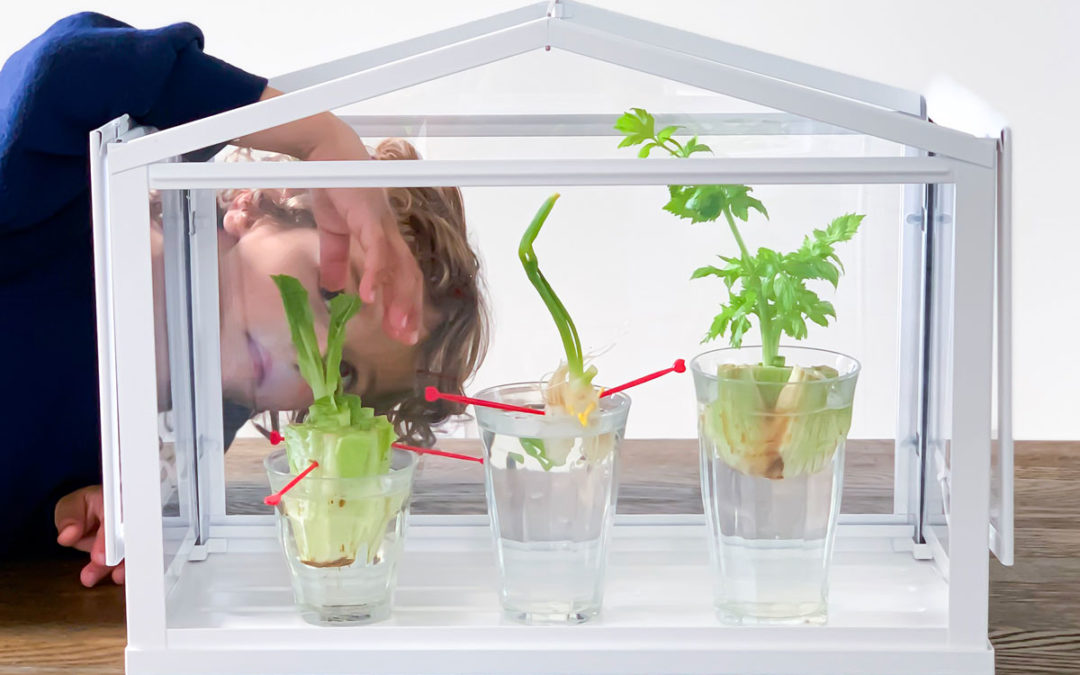
Greek Yogurt!

Rainbow Popsicles!

Homemade Pasta

Ice Cream in a Ball
What’s Next?

How to Make Kids Bath Paint – Colorful Clean Fun
read more

The Best Bath Toys for Kids in 2024
Explore the best bath toys for kids! Discover the ultimate guide to bath time fun with these top picks that will make every splash memorable.
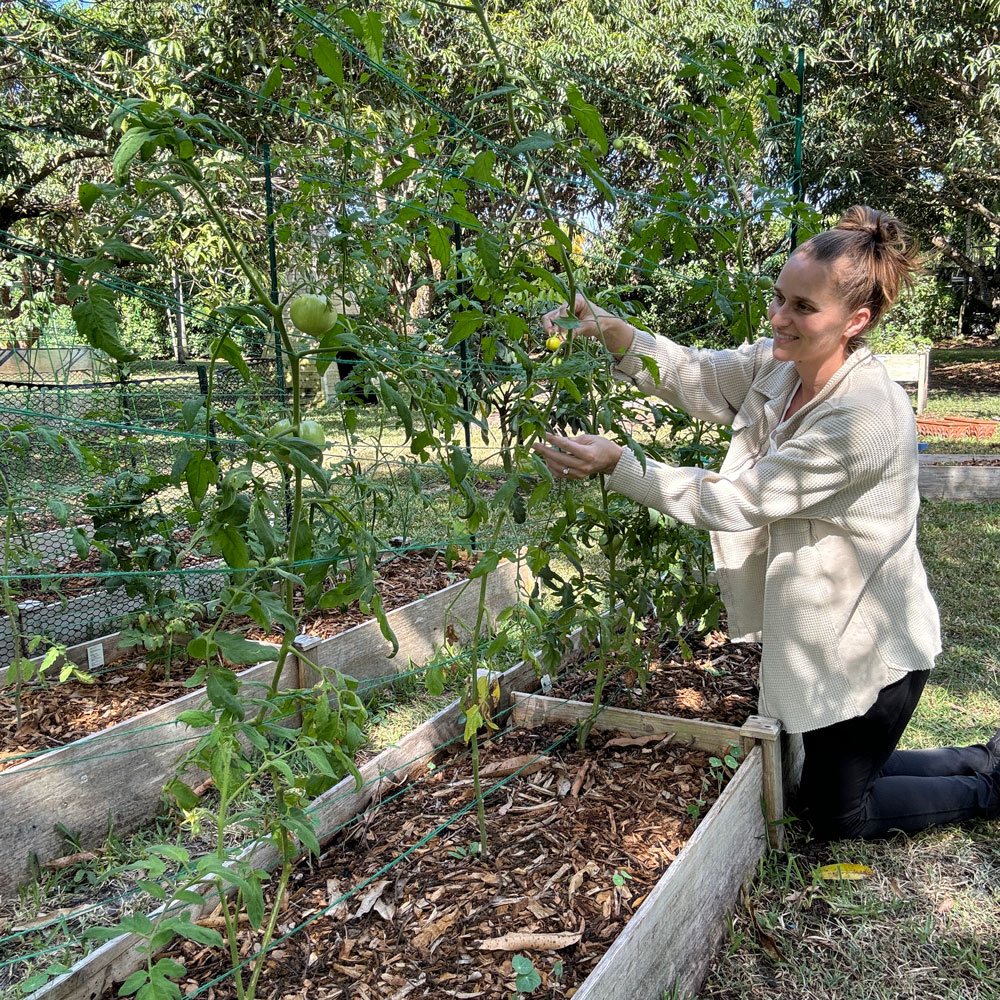
How to Layer a Raised Garden Bed and Make a Trellis
Learn how to layer a raised bed and create affordable trellises for thriving gardens. Explore our guide for expert tips & easy instructions!