Make these low sugar high protein snack balls with peanut butter powder and Greek yogurt, then dip in a simple chocolate shell.
Rainbow Science Experiment – Fizzy Frozen Cubes
Rainbow Science Experiment – Frozen Fizzy Cubes

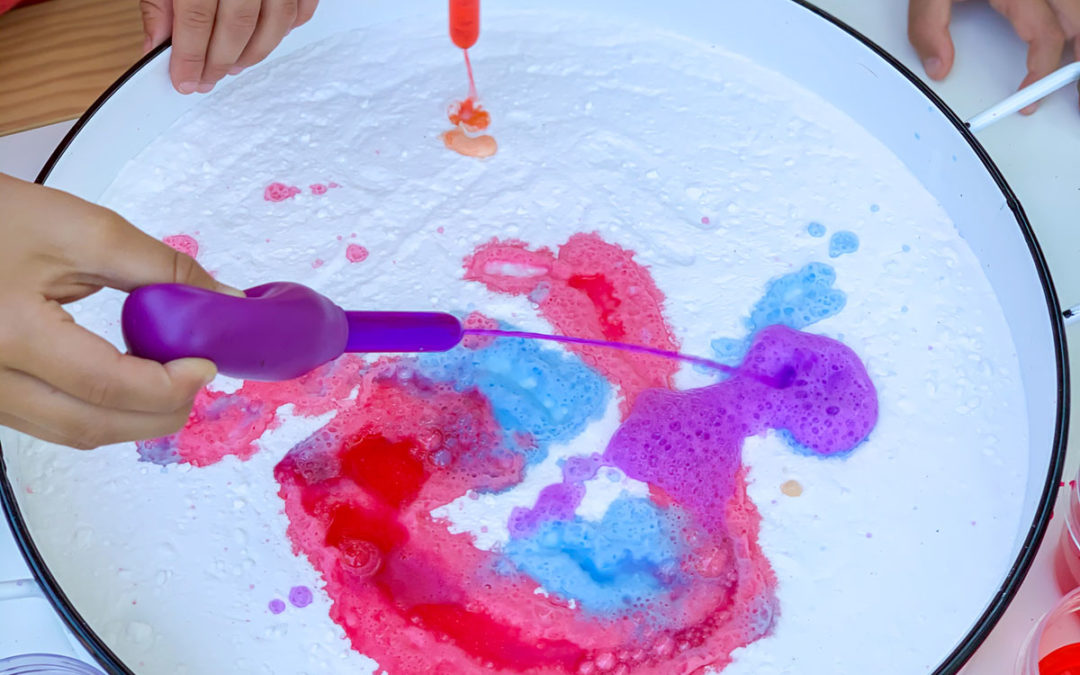
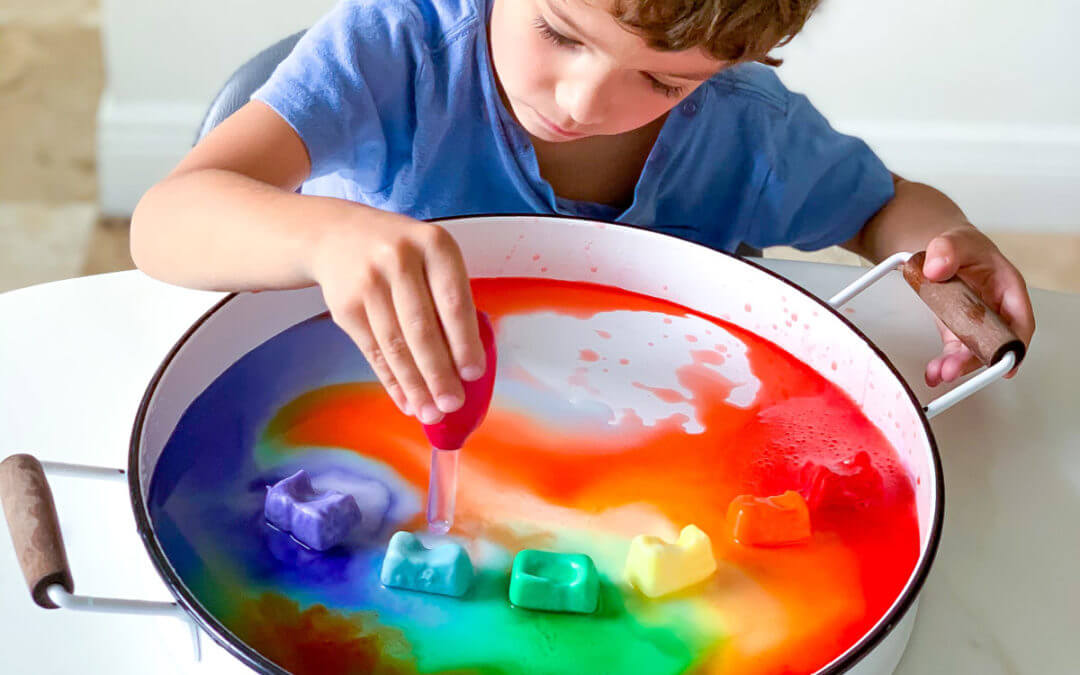
This rainbow science experiment is a colorful explosion of kitchen science at it’s best! All you need are some household items for your kiddo to explore the thrill of chemical reactions. It is so much fun to release white vinegar onto frozen baking soda cubes to discover the fizzy reaction over and over again!
Rainbow Science Experiment for Kids
This rainbow science activity is safe for toddlers, preschoolers, and beyond! It is not only an awesome hands on way to demonstrate what a chemical reactions is, but also a great opportunity to talk about freezing an object and reaching it’s melting point!
Short on time and won’t be able to freeze the mixture? Don’t worry! Try our super simple Easy Experiment to Do at Home – Fizzy Science project that can be set up in minutes!
Skills:
Ages:
Prep Time:
How to Create Frozen Cubes That Fizz
Here’s how you can make and play with this simple fizzy rainbow science experiment.
In this video, you’ll find that it’s a simple process that results in a ton of hands on discovery and curiosity. Once the cubes are entirely melted, exploring the colorful tray of leftovers is a great sensory experience!
All activities should be supervised by an adult. As an Amazon Associate I earn from qualifying purchases. This post may contain affiliate links.

How To Set Up This Rainbow Science Experiment
Kitchen science experiments are the best because it usually means you have most if not all the supplies in your pantry! For this experiment, there is definitely no special science supplies required!
The one thing your little one will need for setting up this experiment though is patience! Creating the mixture itself is super simple, but you have to wait several hours for it to freeze into cubes!
I definitely recommend using a tray or deep dish to contain all of the baking soda and vinegar. Once everything has melted your kiddos will likely want to dig their hands in, so this will contain the mess!
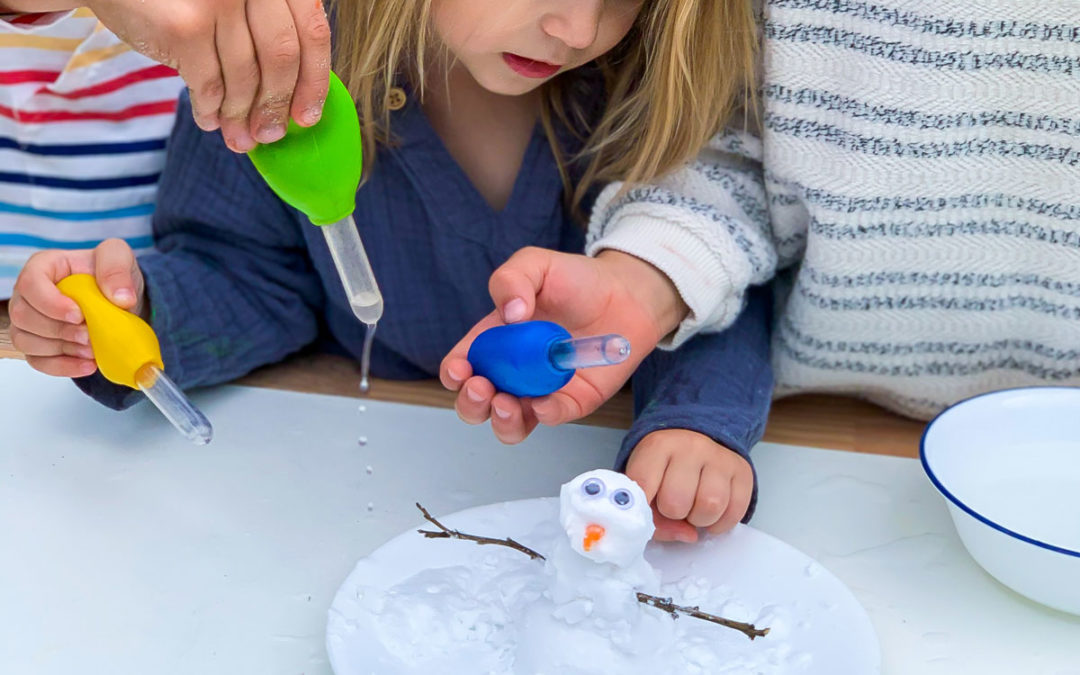
Have a toddler? They can enjoy this experiment too! Conducting it in their high chairs is a great way to keep their eyes level. Plus, using the dropper is an added fine motor skills strengthening activity for them too!
Materials
- Tray
- Baking Soda
- Water
- Liquid Watercolor or Food Coloring
- Tray
- Baking Soda
- Water
- Liquid Watercolor or Food Coloring
- Ice Cube Tray
- Vinegar
- Droppers
Step-by-Step Instructions
Step 1
To make all 6 colors, use 6 separate bowls and in each mix 1/2 cup baking soda with 1/4 cup water and enough liquid watercolor for the desired vibrancy. You could also use food coloring, but I prefer liquid watercolor because it is washable.
Step 2
Add the baking soda mixtures to an ice cube tray;
Step 3
Freeze for several hours;
Step 4
Once frozen, lay out your ice cubes on a tray, and provide a cup of white vinegar with a dropper;
Step 5
To conduct the experiment, have your kiddo drop vinegar onto the baking soda cubes for a fizzy reaction and brilliant display of colors!
Educational Benefits of This Rainbow Science Experiment
There is a tremendous amount of learning and skills being strengthened from this hands on rainbow science experiment!
First off, this is a great intro to chemistry science experiments! It is the perfect time to discuss what a chemical reaction is. Well, you may be thinking, what is the chemical reaction in this experiment? In short, when the vinegar (an acid) comes into contact with the baking soda (a base), a reaction occurs and gas is released (carbon dioxide) causing the fun fizz. The fact that the cubes are frozen, is another great science observation about freezing temperatures and melting points!
Color recognition is a great skill to strengthen during this rainbow science experiment. This is especially good for toddlers who are learning color vocabulary. Older kids can enjoy exploring color mixing and discusing what primary and secondary colors are.

Fine motor skills are also being strengthened during this activity. Using droppers is one of those common household tools that are great for strengthening fine motor skills. If you are unfamiliar with what fine motor skills are and why the are important, be sure to read more about it!
Educational Benefits of This Rainbow Science Experiment
There is a tremendous amount of learning and skills being strengthened from this hands on rainbow science experiment!
First off, this is a great intro to chemistry science experiments! It is the perfect time to discuss what a chemical reaction is. Well, you may be thinking, what is the chemical reaction in this experiment? In short, when the vinegar (an acid) comes into contact with the baking soda (a base), a reaction occurs and gas is released (carbon dioxide) causing the fun fizz. The fact that the cubes are frozen, is another great science observation about freezing temperatures and melting points!
Color recognition is a great skill to strengthen during this rainbow science experiment. This is especially good for toddlers who are learning color vocabulary. Older kids can enjoy exploring color mixing and discusing what primary and secondary colors are.
Fine motor skills are also being strengthened during this activity. Using droppers is one of those common household tools that are great for strengthening fine motor skills. If you are unfamiliar with what fine motor skills are and why the are important, be sure to read more about it!
More Ways to Explore Chemical Reactions
Here are my top picks for science experiment kits!

This science kit for kids includes 30 scientific experiments plus fun gear like a lab coat, goggles, and other scientific equipment!

This kit is specifically about exploring color-related science experiments! It includes 12 fun experiments and a lab book!

This 3-Pack Chemistry Kits will ignite a passion for science. Including an electrochemistry lab, fire lab, and vortex lab.

This kit lets your children learn hands-on about geology and chemical reactions in volcanoes.
What’s Next?

Low sugar high protein snack balls, A Better Sweet Treat for Snack Time
read more
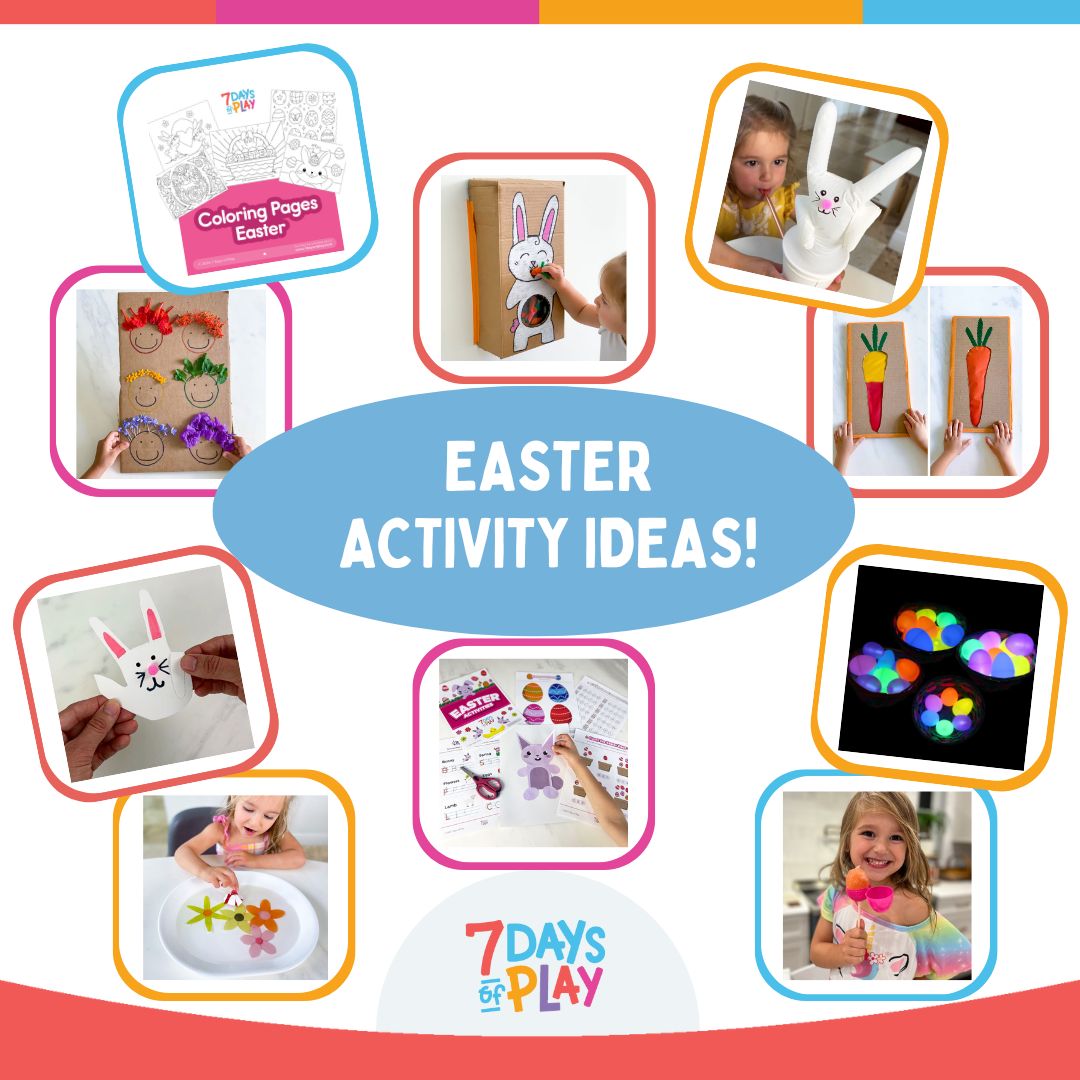
Easter Activity Ideas – So Many Eggciting Ways to Celebrate!
Looking for Easter activity ideas for kids?! We’ve got you covered – from DIY cards to egg decorating, play ideas, and free coloring pages!
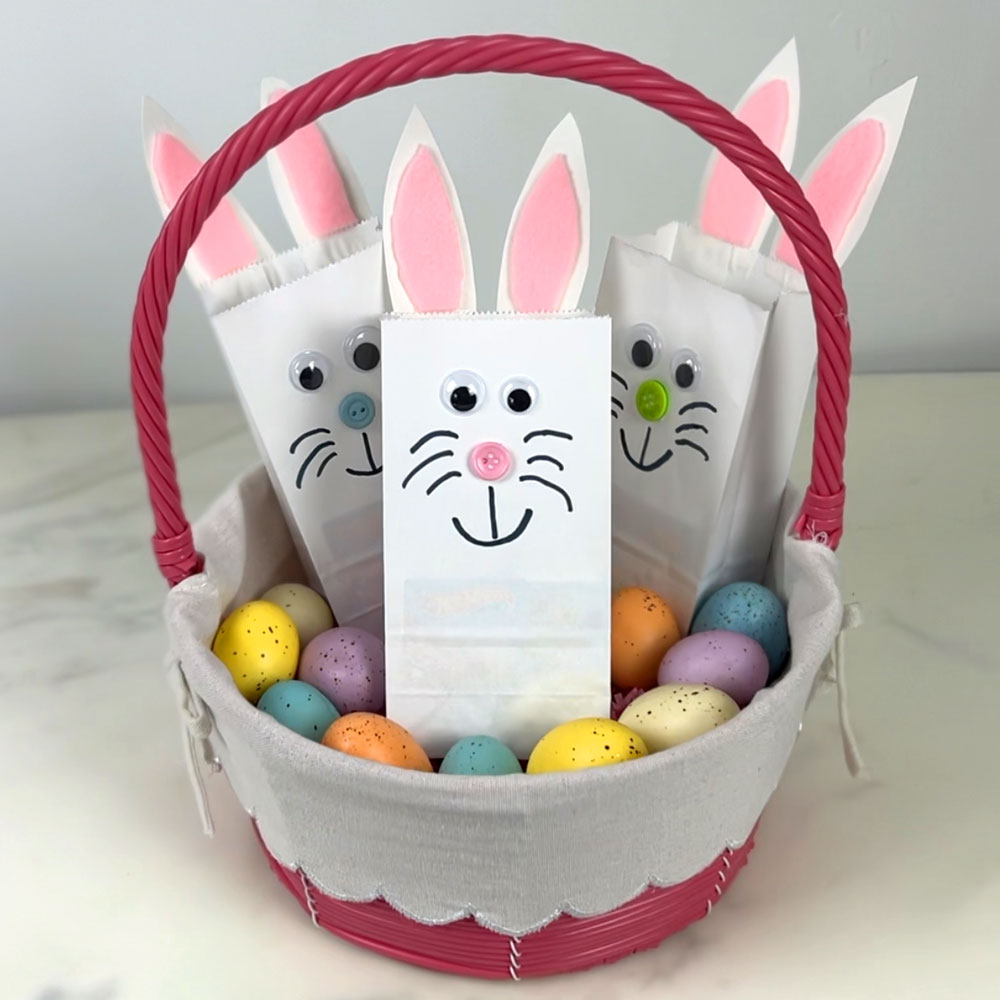
Easter Bunny Bags – How to Make Adorable DIY Gift Bags
Create adorable Easter bunny bags for small gifts and treats! All you need is paper bags, paper, googly eyes, and a button for the nose!