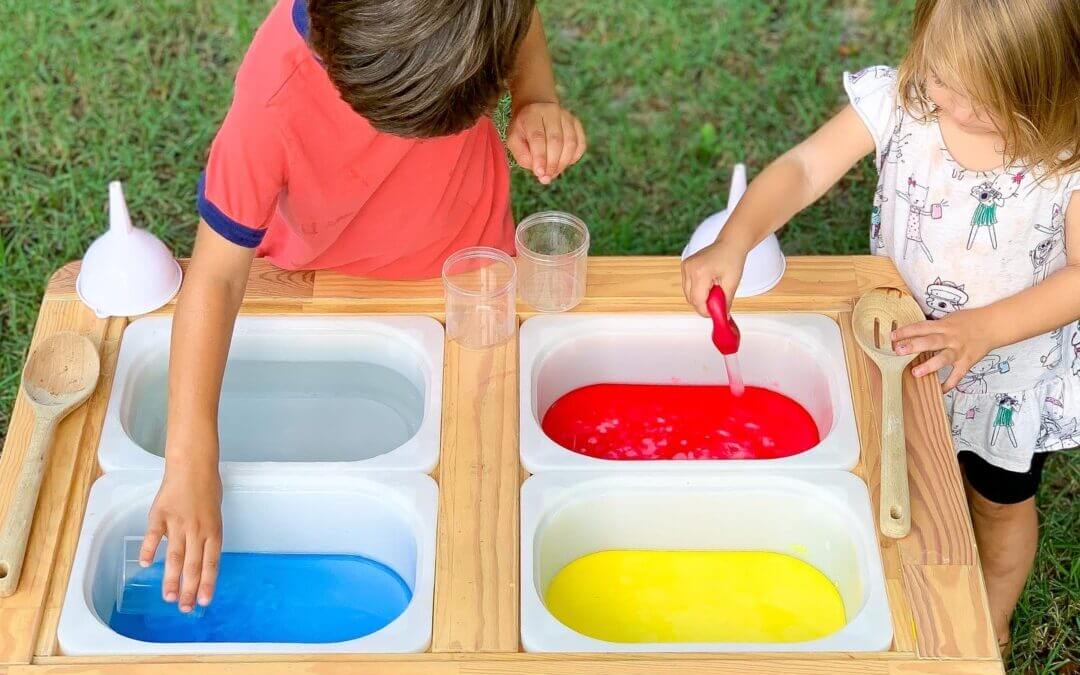
The best sensory bin ideas to keep kids engaged for hours! Fun, hands-on activities that spark creativity, learning, and fine motor skills.
Easter Activity Idea – How to Turn a Glove into a Bunny
Easter Activity Idea – How to Turn a Glove into a Bunny

Looking for a unique Easter activity idea that combines creativity and a bit of scientific magic? Look no further! Keep reading to find out how you can transform a simple disposable glove into a bunny you can blow up! But that’s not all – we’ll guide you through two exciting methods to bring your bunny glove to life.
Double the Fun with This Easter Activity Idea
Not only will it be exciting to transform an ordinary household object like a rubber glove into a bunny, but the results of this bunny-themed Easter activity idea offers double the excitement! Once the glove has been crafted your kids can can explore making it come to life in two ways: by using a straw to fill it up with air, or conducting a baking soda and vinegar science experiment to fill it up via carbon dioxide gas. Try one method, or both!
Skills: Arts and Crafts, Science
Ages: 3+
Prep Time: 15 min
Easter Activity Idea Method 1: Blowing into a Straw
Once the bunny has been crafted (see step by step directions below!), this method involves children using a straw to blow gently. As they blow, the bunny glove gradually inflates, revealing its adorable bunny shape.
This activity isn’t just fun; it also offers valuable benefits for children’s oral motor skills, particularly in speech development. Blowing requires controlled exhalation, which helps strengthen respiratory muscles and improves breath control, crucial for speech production.
Additionally, coordinating lip and tongue movements while blowing strengthens oral motor muscles essential for clear articulation. Furthermore, the sensory stimulation provided by blowing through a straw promotes awareness of oral movements and sensations, contributing to the refinement of oral motor skills.
Playful activities like this encourage children to practice oral motor skills while making learning enjoyable and stimulating.
All activities should be supervised by an adult. As an Amazon Associate, I earn from qualifying purchases. This post may contain affiliate links.
Easter Activity Idea Method 2: Using Science to Inflate the Bunny
The science experiment version offers an educational twist to this Easter activity idea, captivating young learners with its fascinating chemical reaction!
To begin, attach the crafted bunny glove to a recycled water bottle, ensuring a secure fit. Next, add vinegar to the bottle and place baking soda inside the glove. As the baking soda reacts with the vinegar, carbon dioxide gas is produced, causing the glove to inflate in a mesmerizing display. Be prepared that if too much gas builds up, the glove may pop!
This chemical reaction not only entertains but also provides valuable learning opportunities for young learners. By observing the cause-and-effect relationship between the ingredients and the resulting gas production, children gain insights into basic chemistry principles in a hands-on and engaging manner.
Additionally, conducting this science experiment fosters critical thinking skills as children hypothesize and experiment with different variables, such as the amount of baking soda or vinegar used. We love activities like this, the excitement of seeing the bunny glove inflate encourages curiosity and a love for science, laying a solid foundation for future exploration and learning.
Materials
- Rubberband
- For Method 1: Paper Cup and Straw
- For Method 2: Empty Water Bottle, Vinegar and Baking Soda
- Disposable Glove
- Glue or Strong Tape
- Permanent Marker
- Pom Pom (for nose)
- Rubberband
- For Method 1: Paper Cup and Straw
- For Method 2: Empty Water Bottle, Vinegar and Baking Soda
Step-by-Step Instructions
Step 1
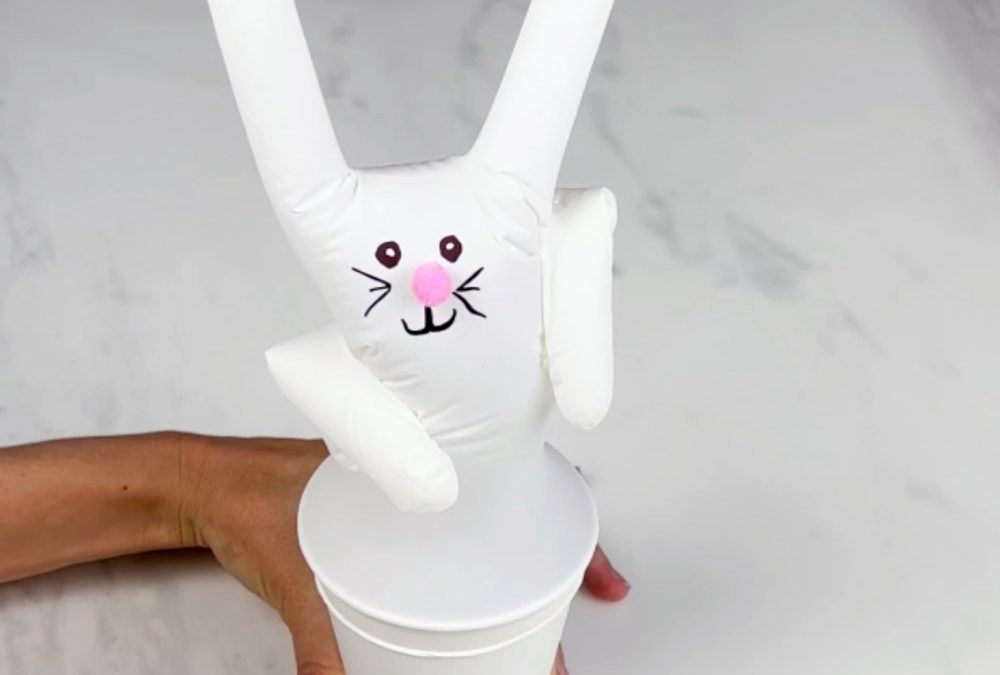
Use glue or tape to secure the thumb and middle finger of the glove together, forming the bunny’s ears.
Step 2
Craft the face of the bunny using permanent marker for the eyes and mouth and a pom pom for the nose.
Step 3
Straw Method: Securely attach the bunny glove to a paper cup with a rubberband. Insert a straw into the cup, making sure it’s firmly in place and can’t easily come out. Encourage children to place their lips around the end of the straw and blow air into it gently. As they blow, the bunny glove will start to inflate, gradually revealing its adorable bunny shape.
Step 4
Science Experiment Method: Pour vinegar into the water bottle, filling it about halfway. Carefully add baking soda to the glove. Securely attach the bunny glove to a plastic bottle with a rubber band making sure not to let the baking soda mix with the vinegar yet. Have your child lift the glove slightly so that the baking soda falls into the vinegar. As the baking soda reacts with the vinegar, carbon dioxide gas is produced, causing the glove to inflate.
Step 1
Use glue or tape to secure the thumb and middle finger of the glove together, forming the bunny’s ears.
Step 2
Craft the face of the bunny using permanent marker for the eyes and mouth and a pom pom for the nose.
Step 3
Straw Method: Securely attach the bunny glove to a paper cup with a rubberband. Insert a straw into the cup, making sure it’s firmly in place and can’t easily come out. Encourage children to place their lips around the end of the straw and blow air into it gently. As they blow, the bunny glove will start to inflate, gradually revealing its adorable bunny shape.
Step 4
Science Experiment Method: Pour vinegar into the water bottle, filling it about halfway. Carefully add baking soda to the glove. Securely attach the bunny glove to a plastic bottle with a rubber band making sure not to let the baking soda mix with the vinegar yet. Have your child lift the glove slightly so that the baking soda falls into the vinegar. As the baking soda reacts with the vinegar, carbon dioxide gas is produced, causing the glove to inflate.
The Benefits of This Easter Activity Idea
Engaging children in a project like crafting a bunny glove and exploring alternative ways to bring it to life offers a multitude of benefits.
Firstly, this Easter activity idea fosters creativity and imagination as children get to experiment with materials and design their own unique bunny characters. This hands-on activity also promotes fine motor skills development as they manipulate small objects and practice precision in crafting.
Moreover, activities like blowing up the bunny glove with a straw or conducting a science experiment with baking soda and vinegar encourage scientific inquiry and critical thinking. Children learn to hypothesize, experiment, and observe outcomes, nurturing their curiosity and problem-solving skills.
More Easter Themed Activities!
Explore some more of our favorite Easter themed activities and printables!

Feed the Bunny Activity!

Hatch the Egg Printable!

Bunny Math – Learn Addition Printable!

20+ Easter Printable Activities!
What’s Next?
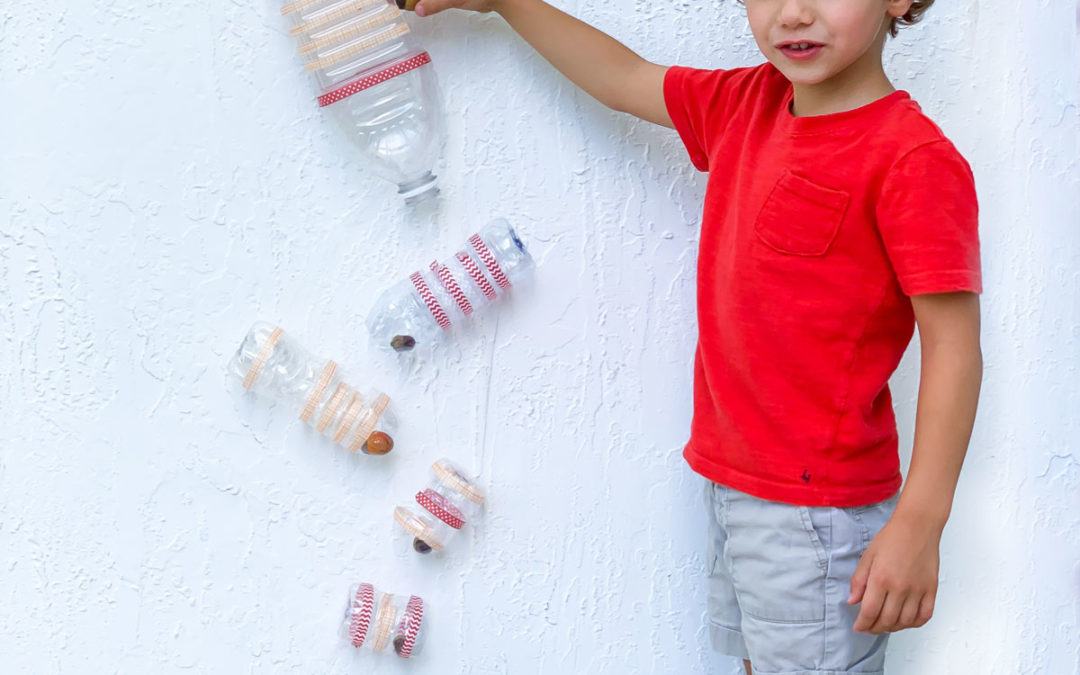
The Best Sensory Bin Ideas to Keep Kids Engaged for Hours
read more

The Best Easter Ideas for Kids
Discover the best Easter ideas for kids including basket ideas, egg fillers, crafts, activities, decorations, and printables to make Easter fun and easy.
Air Fryer Tequeños, Freeze Ahead and Cook Straight From Frozen
Make Air Fryer Tequeños you can freeze and cook from frozen, crispy dough, melty cheese, plus dips and no-leak tips.


_Green-17")