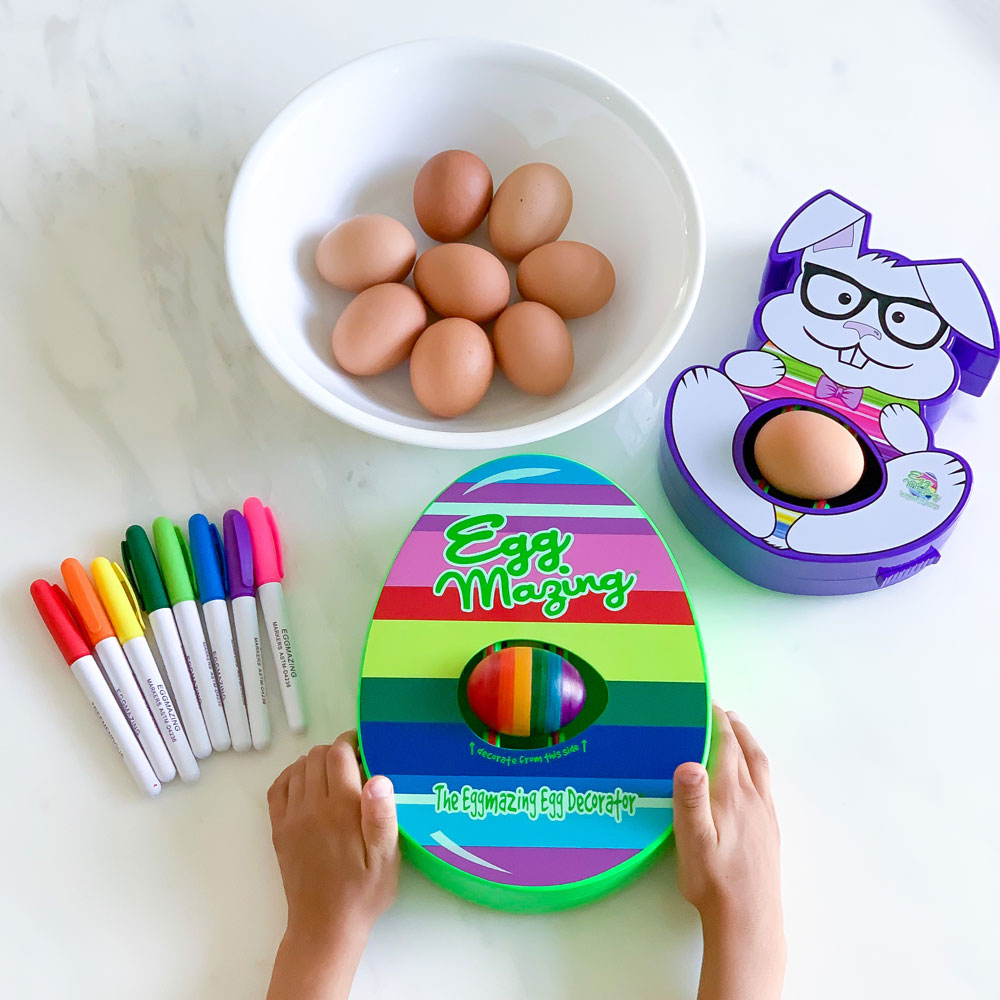
Everything you need to know to decorate eggs with this Eggmazing Egg Decorator! Discover top tips for mess-free Easter egg crafting!
Sensory Sand – Easy to Make and Taste Safe!
Sensory Sand – Easy to Make and Taste Safe!

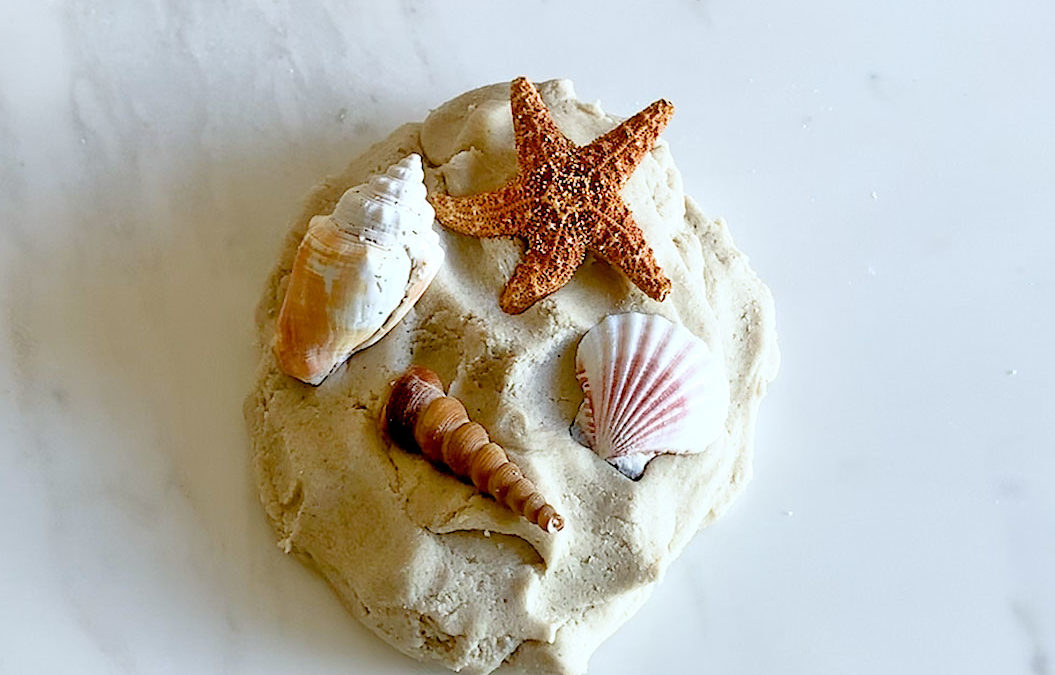
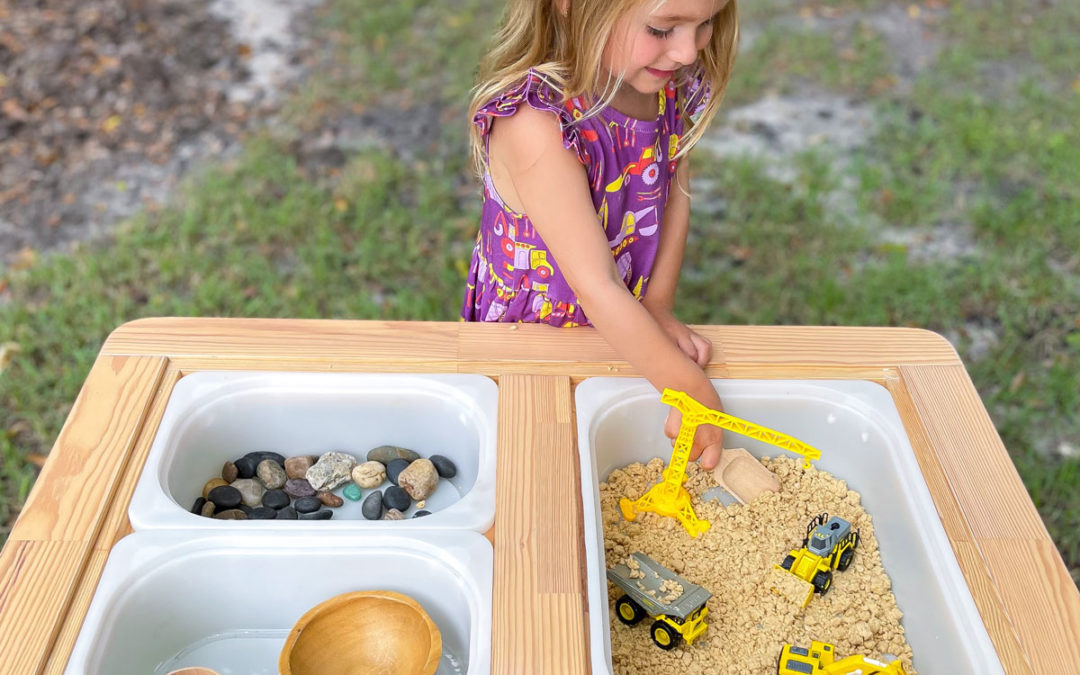
This sensory sand recipe is made with just a few taste-safe ingredients including stale cereal! The consistency is the coolest – it can be both moldable and crumbly, but isn’t sticky! It is so fun to squeeze and break up in the hand, and it’s also perfect for small world play set ups like ones that are construction or beach themed!
Taste Safe Sensory Sand
This sensory sand recipe is safe for even the littlest of kiddos to play with because it is made with taste-safe ingredients. What is taste-safe? It means that if a child were to put the sensory sand in their mouth, it would be completely safe. Could they eat it? Sure, but it’s not going to taste very good! Plus, there’s a big reason to discourage it. This is the perfect time to teach young kids to not put sensory bases in their mouth even if they are taste-safe, so when they start playing with the real stuff they don’t try to eat it!
All activities should be supervised by an adult. As an Amazon Associate, I earn from qualifying purchases. This post may contain affiliate links.
Skills:
Ages:
Prep Time:
How to Make Sensory Sand
Watch the video to see how quick and easy it is to make sensory sand! It’s so easy you and your kiddo could even make it together! We used stale cereal instead of flour (because why not use it instead of toss it?), but you could also toast up some flour and use that instead.
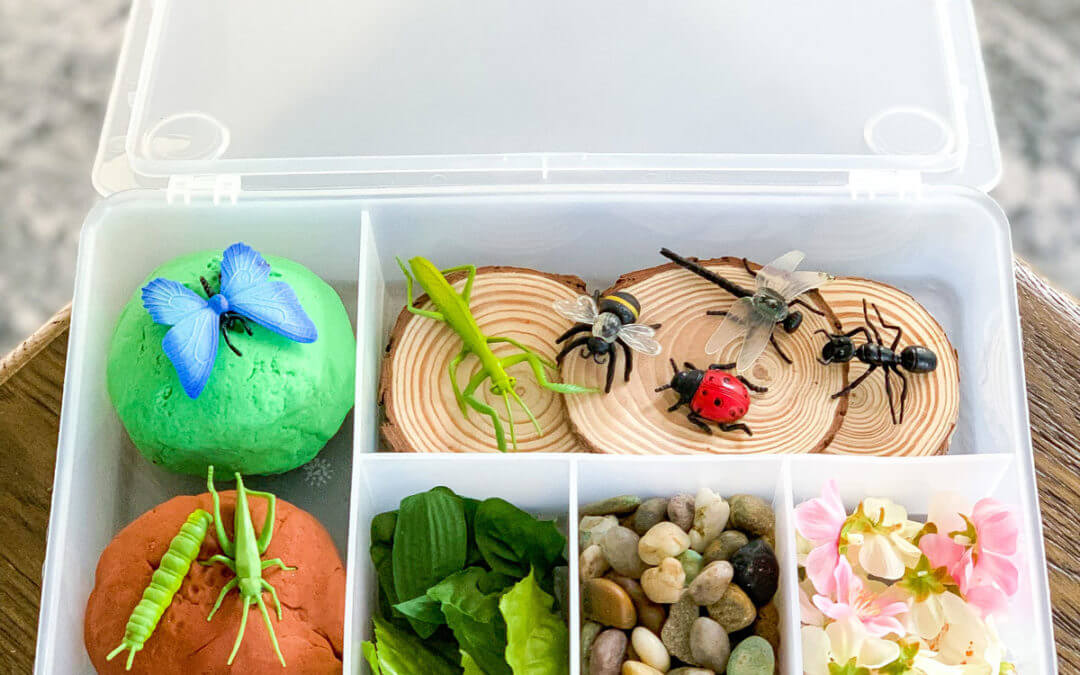
Once the sensory sand is made, you can decide whether you want to combine it with a small world set up, like we did with a construction theme!
How to Make Sensory Sand
Watch the video to see how quick and easy it is to make sensory sand! It’s so easy you and your kiddo could even make it together!
We used stale cereal instead of flour (because why not use it instead of toss it?), but you could also toast up some flour and use that instead.
Once the sensory sand is made, you can decide whether you want to combine it with a small world set up, like we did with a construction theme!

Tips for Making Sensory Sand
Instead of Stale Cereal. The key ingredient we used was stale cereal, but that’s just because we had some to use up. And using stale cereal for play instead of throwing it away is a total win in our book! However, if you don’t have any on hand, you can use regular flour. Make sure you toast the flour in the oven at 350F for at least 5 minutes though because flour is consider raw until cooked!
Blend Until Powdery. You’ll want to make sure you blend your cereal until it is like powder. You don’t want chunks of cereal in there for your kiddo to think they can eat! (Of course, if they do, it is taste-safe, but the goal is to not encourage that!)
Too Sticky or Dry? If too sticky, add a little more corn starch until the consistency is moldable when you squeeze it and crumbly if you squish it up. If too dry, be sure to add a little more vegetable oil.
How to store and How long. In a sealed container, we store our DIY sensory sand in the fridge for up to a month!
Materials
- Sensory Play Table
- 2 cups Stale Cereal, like Cheerios (or you could use toasted flour, see instructions above!)
- Blender
- 2 cups corn starch
- 1/3 cup cooking oil
- Tray
- Small World Construction Play Items
- Sensory Play Table
- 2 cups Stale Cereal, like Cheerios (or you could use toasted flour, see instructions above!)
- Blender
- 2 cups corn starch
- 1/3 cup cooking oil
- Tray
- Small World Construction Play Items
Step-by-Step Instructions
Step 1
If using cereal, blend in a food processor until powder-like.
Step 2
In a bowl, mix corn starch and the cereal powder.
Step 3
Mix in the vegetable oil, using your hands if you like!
Step 4
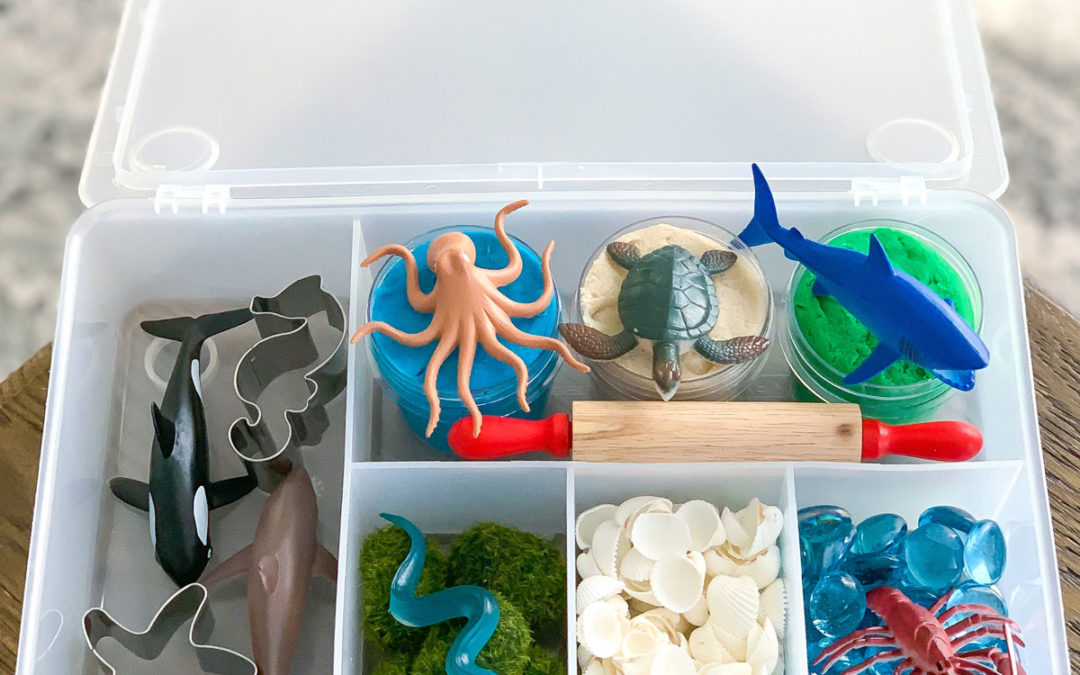
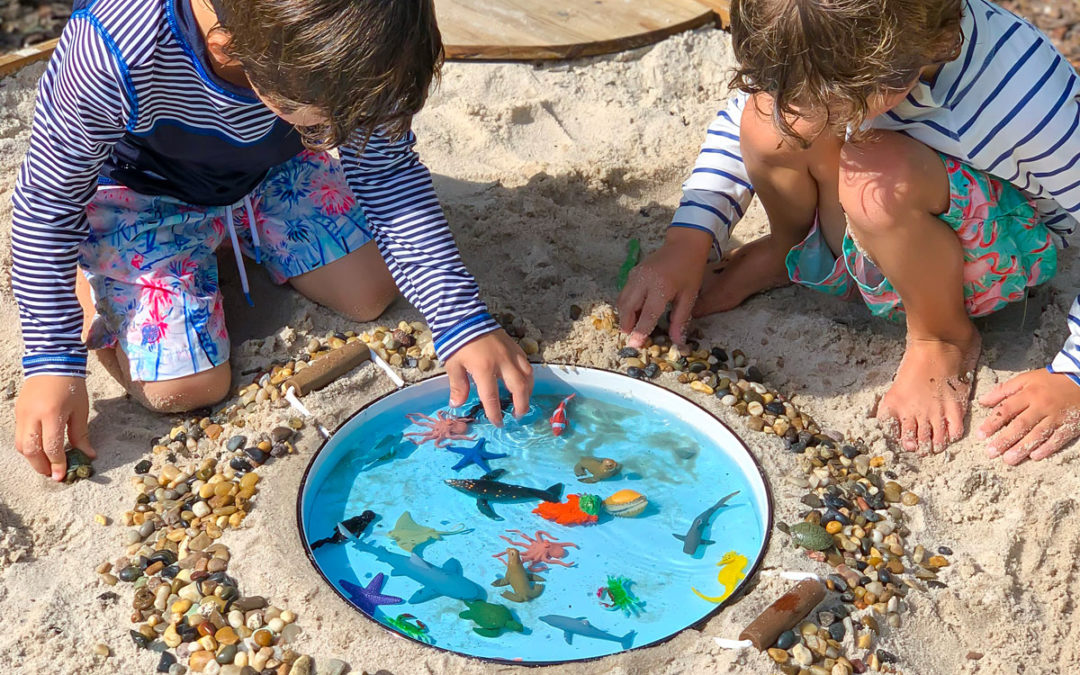
Have fun setting up a small world set-up like a construction site, under-the-sea, or beach!
Step 1
If using cereal, blend in a food processor until powder-like.
Step 2
In a bowl, mix corn starch and the cereal powder.
Step 3
Mix in the vegetable oil, using your hands if you like!
Step 4
Have fun setting up a small world set-up like a construction site, under-the-sea, or beach!

Printable Worksheets for the Transportation Fan!
If your kiddo loves construction vehicles, they are probably a transportation fan! From trains to planes to buses and boats, we created a bundle full of early childhood activities that integrate all things transportation!
These worksheets feature vehicles that move on land, air and sea while giving your little one a strong foundation for early childhood education skills.
Topics covered include letter writing, phonics, number recognition, counting, scissor skills, patterning, color recognition, and so much more.
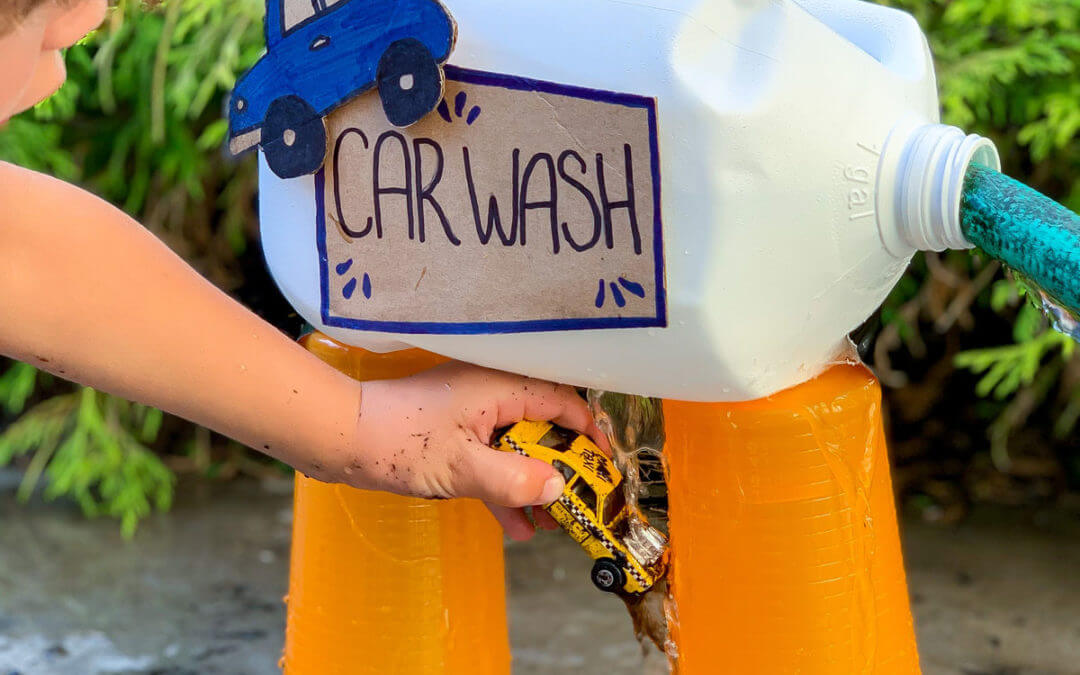
And for more hands on transportation crafts, definitely check out our Milk Jug Car Wash and DIY Race Track made out of paper tubes!
The Benefits of Making DIY Sensory Sand
Taste Safe. I’ve said it a million times already, but this sensory sand recipe is taste-safe – which means grown ups don’t need to worry if their little one sneaks a taste. The other sensory sands available for purchase are not taste-safe and usually recommended for kids at least 3 years and up.
Sensory Play. Did you know that sensory play has been said to create new nerve connections in the brain? Not to mention, sensory play is so immersive, you’ll likely find that your kiddo with the shortest attention span will play sensory-based activities longer than expected! Being able to use their eyes to see the sand, their hands to feel it, and their nose to smell it makes for the perfect combination of sensory play!

Fine Motor Skills. Squish, squeeze, scoop, transfer, mold, and beyond, sensory sand like play dough and other sensory bases is fantastic for strengthening the little muscles in hands and fingers!
The Benefits of Making DIY Sensory Sand
Taste Safe. I’ve said it a million times already, but this sensory sand recipe is taste-safe – which means grown ups don’t need to worry if their little one sneaks a taste. The other sensory sands available for purchase are not taste-safe and usually recommended for kids at least 3 years and up.
Sensory Play. Did you know that sensory play has been said to create new nerve connections in the brain? Not to mention, sensory play is so immersive, you’ll likely find that your kiddo with the shortest attention span will play sensory-based activities longer than expected! Being able to use their eyes to see the sand, their hands to feel it, and their nose to smell it makes for the perfect combination of sensory play!
Fine Motor Skills. Squish, squeeze, scoop, transfer, mold, and beyond, sensory sand like play dough and other sensory bases is fantastic for strengthening the little muscles in hands and fingers!
More Taste Safe Play Recipes to Explore
Don’t stop at this slime for toddlers recipe. Explore more ways your toddler can play safely with sensory bases!

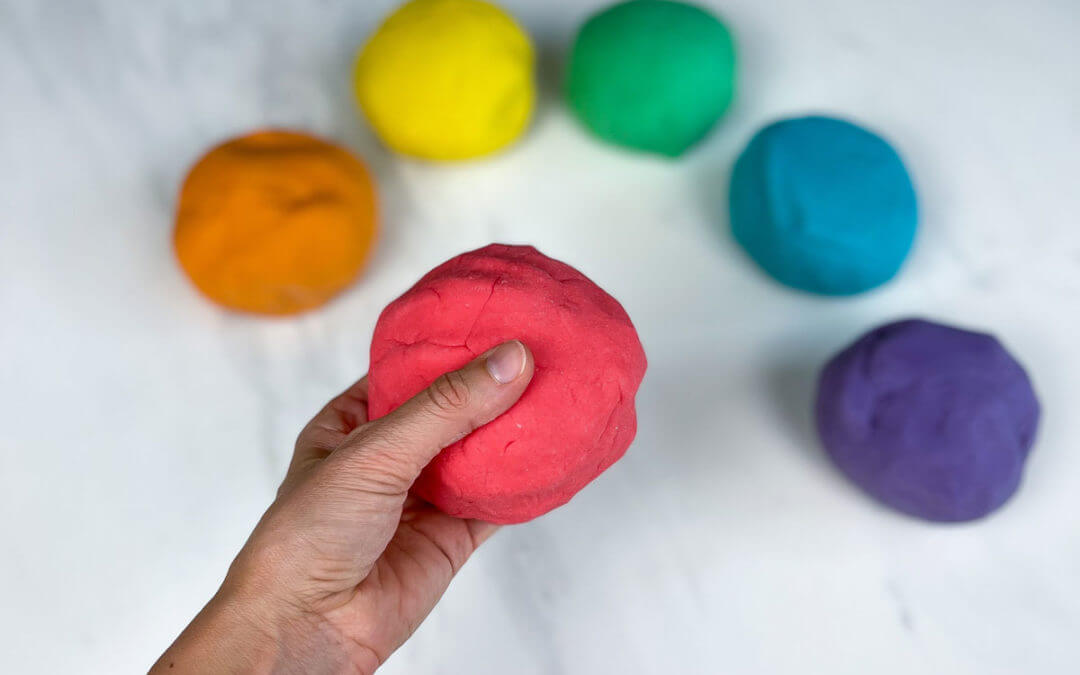
12 Edible Play Dough Recipes

Taste Safe Sand

Taste Safe Slime

Taste Safe Mud
More Sensory Bases to Explore
Here are my top picks for sensory bases you can buy!

Kinetic Sand
Kinetic sand is moldable! This bulk pack of sensory sand comes with enough to fill an entire bin for lasting fun! Bonus points for including a storage bin!

Modelling Dough
This modelling dough compound NEVER dries out! It is a fun texture – it is stretchy like play dough, moldable like kinetic sand, and odorless.

Premium Play Dough
This play dough is the cream of the crop! It is ridiculously silky and smooth, lasts for 6 months, and is scented!

The Ultimate Slime and Putty Kit
This kit includes 8 fascinating varieties of slime and putty, including premade putty, magnetic slime, glow in the dark putty, and so much more.
What’s Next?
Eggmazing Decorator – Everything You Need to Know!
read more
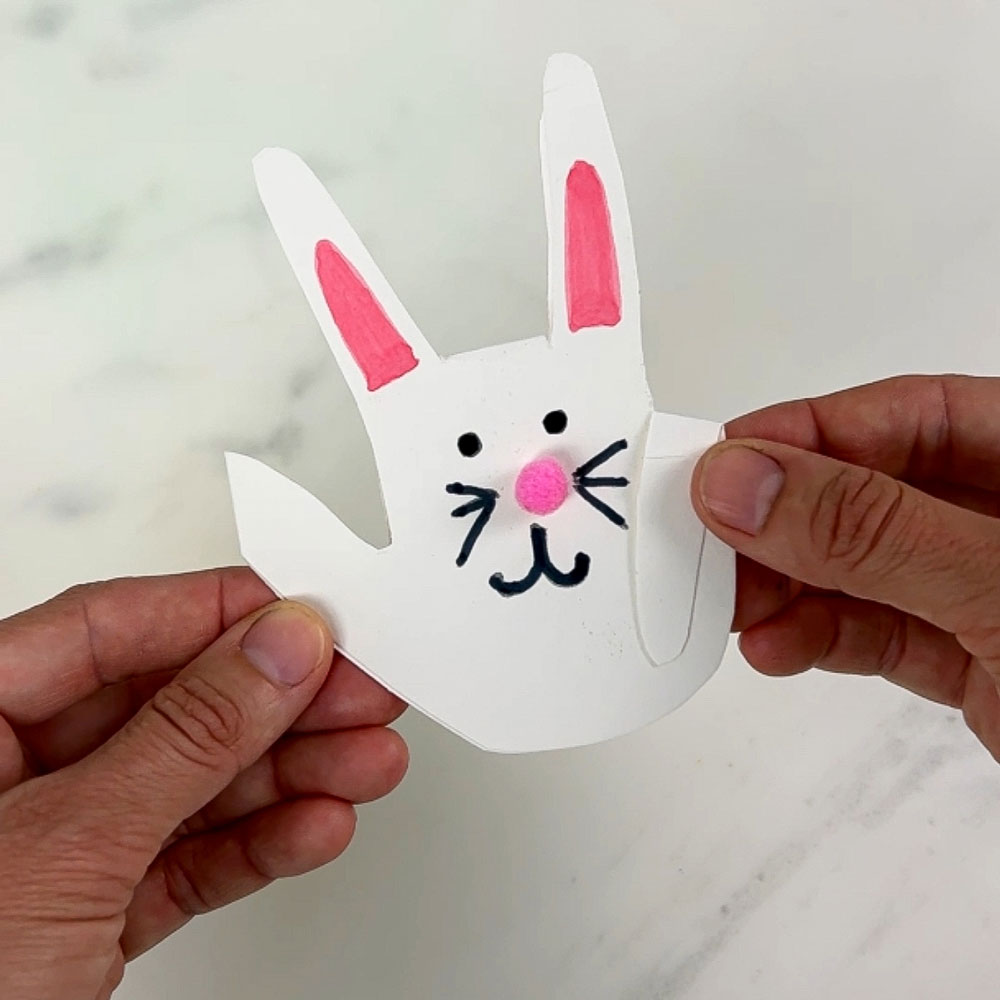
DIY Easter Card – How to Make a Bunny-Shaped Handprint Card
This DIY Easter card couldn’t be more adorable! This is how you can transform your kid’s handprint into a bunny card keepsake in minutes!
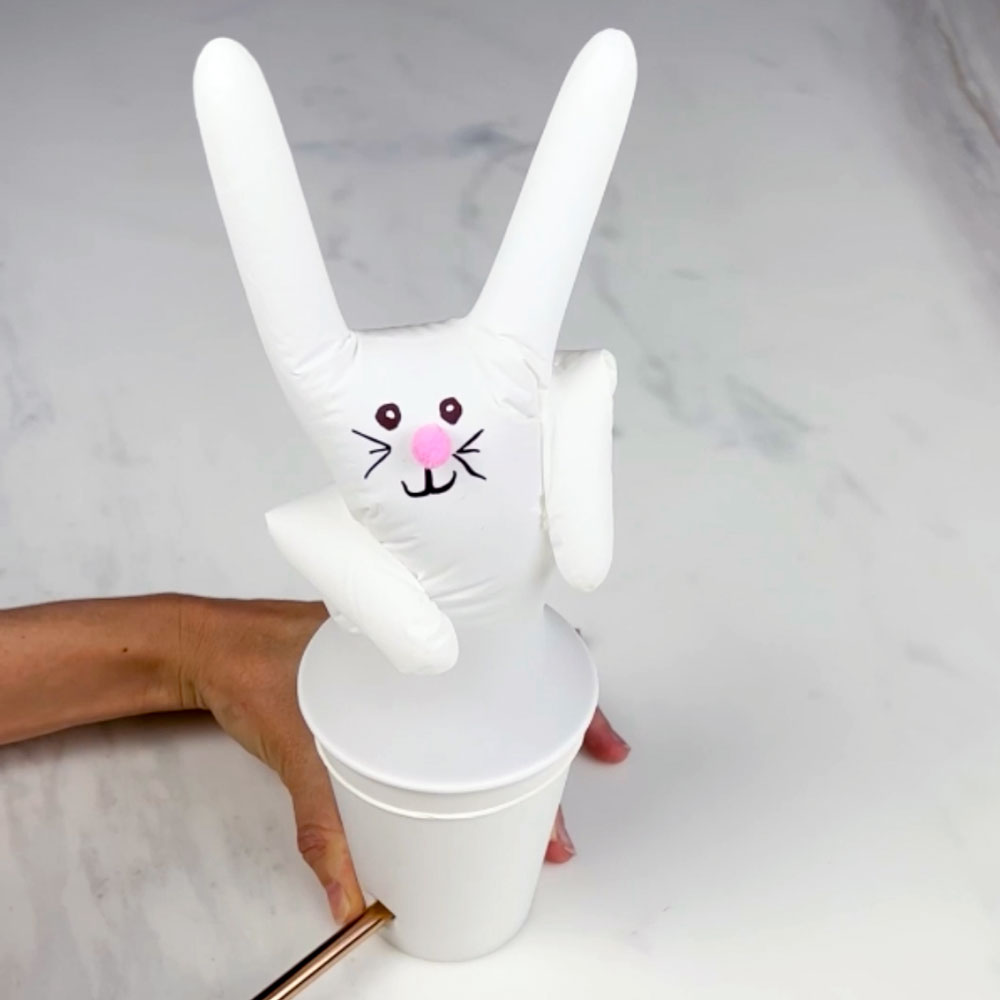
Easter Activity Idea – How to Turn a Glove into a Bunny
Turn a glove into a bunny with this fun Easter activity idea! Blow in a straw to make the bunny come to life or use baking soda science!