The best sensory bin ideas to keep kids engaged for hours! Fun, hands-on activities that spark creativity, learning, and fine motor skills.
The Best Easter Ideas for Kids
The Best Easter Ideas for Kids

Discover the best Easter ideas for kids including basket ideas, egg fillers, crafts, activities, decorations, and printables to make Easter fun and easy.
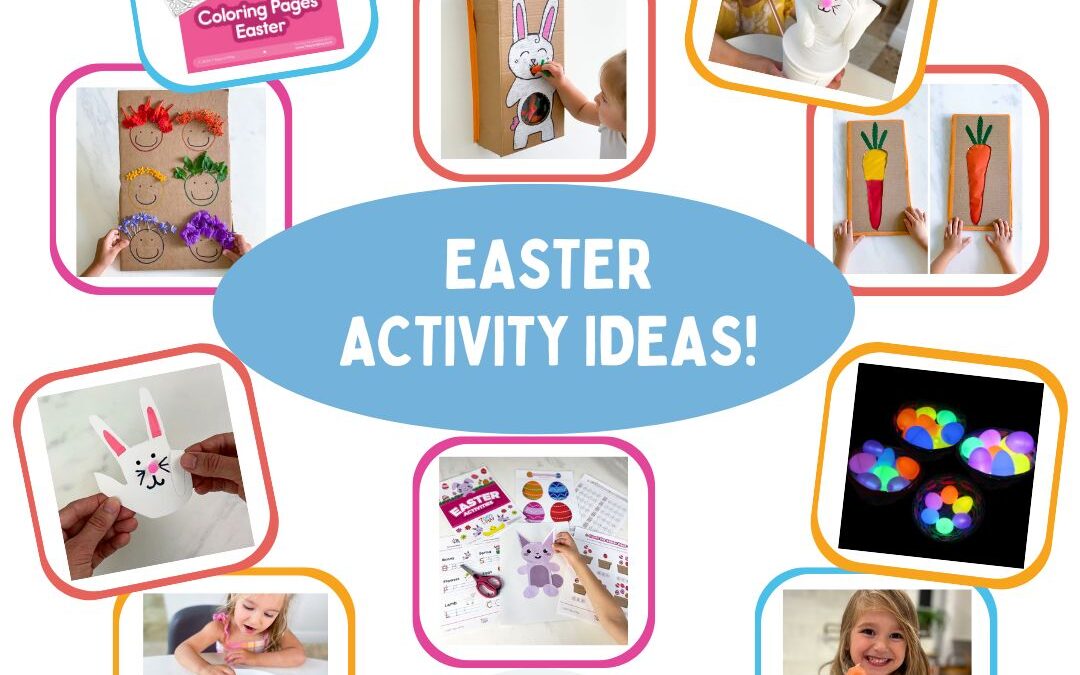
The Ultimate Easter Guide for Kids: Fun Ideas, Activities, Baskets & More
Easter is such a fun holiday for kids, but it can also come with a lot of planning. If you’re looking for the best Easter ideas for kids, this page brings everything together in one place.
From Easter basket ideas and egg fillers to crafts, decorations, printables, and fun activities, you’ll find plenty of inspiration to make the holiday special.
Whether you’re putting together a basket, planning an egg hunt, or looking for simple activities to do at home, these Easter ideas for kids will help make the day memorable and easy to prepare.
All activities should be supervised by an adult. As an Amazon Associate I earn from qualifying purchases. This post may contain affiliate links.
All Things Easter for Kids
Browse Easter crafts, basket ideas, egg fillers, activities, printables, books, treats, and decorations in one place.

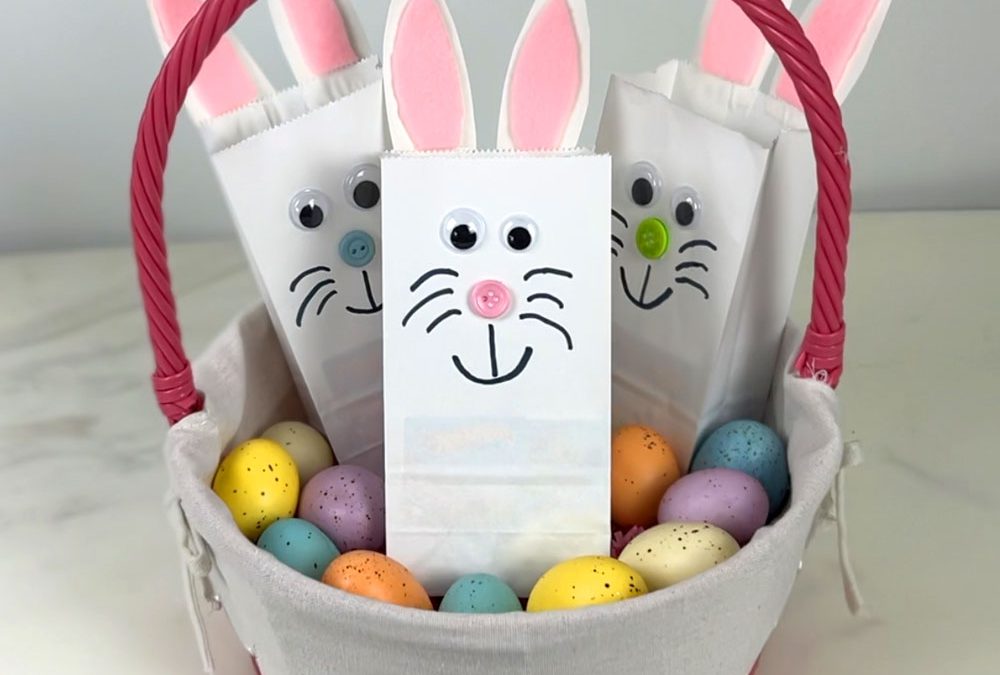
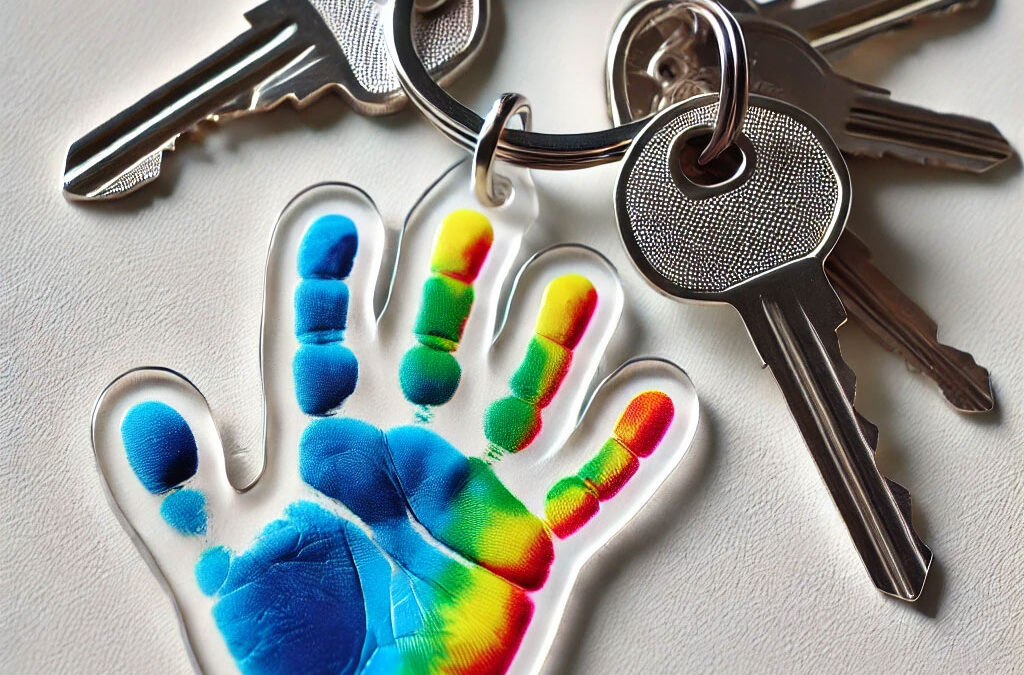
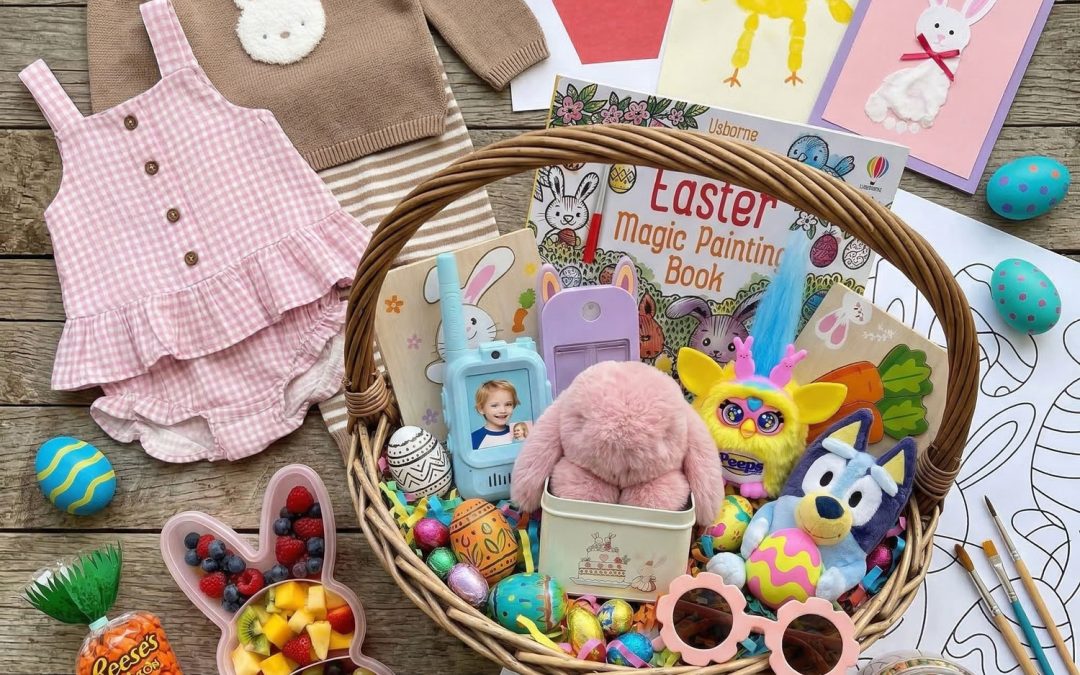
Easter Basket Ideas
Looking for inspiration for your child’s basket? Explore creative Easter basket ideas for kids filled with toys, activities, books, and fun surprises.

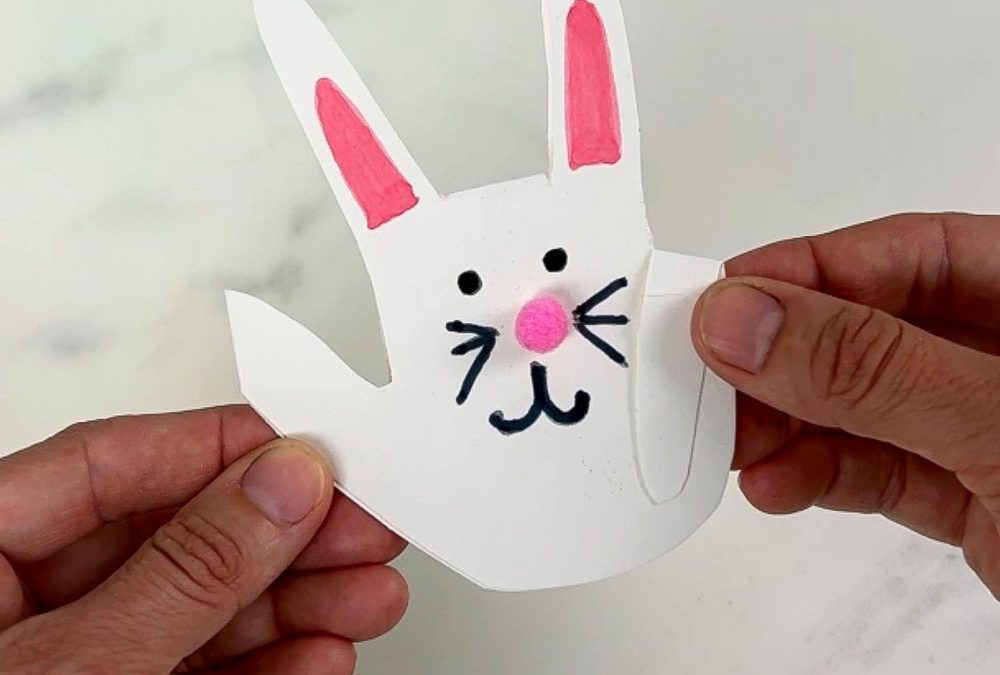
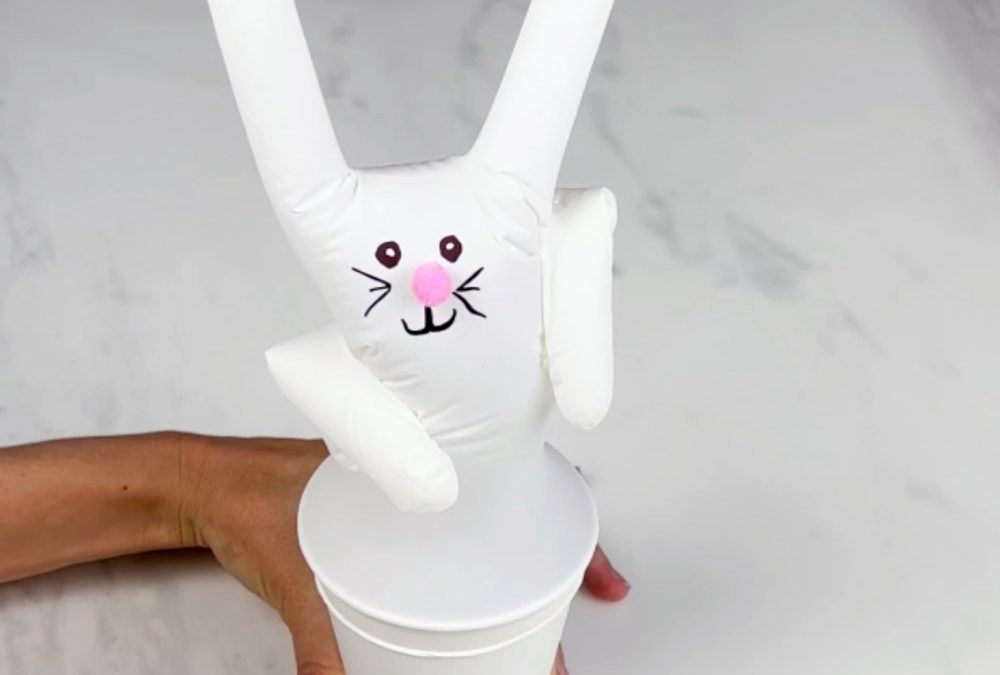
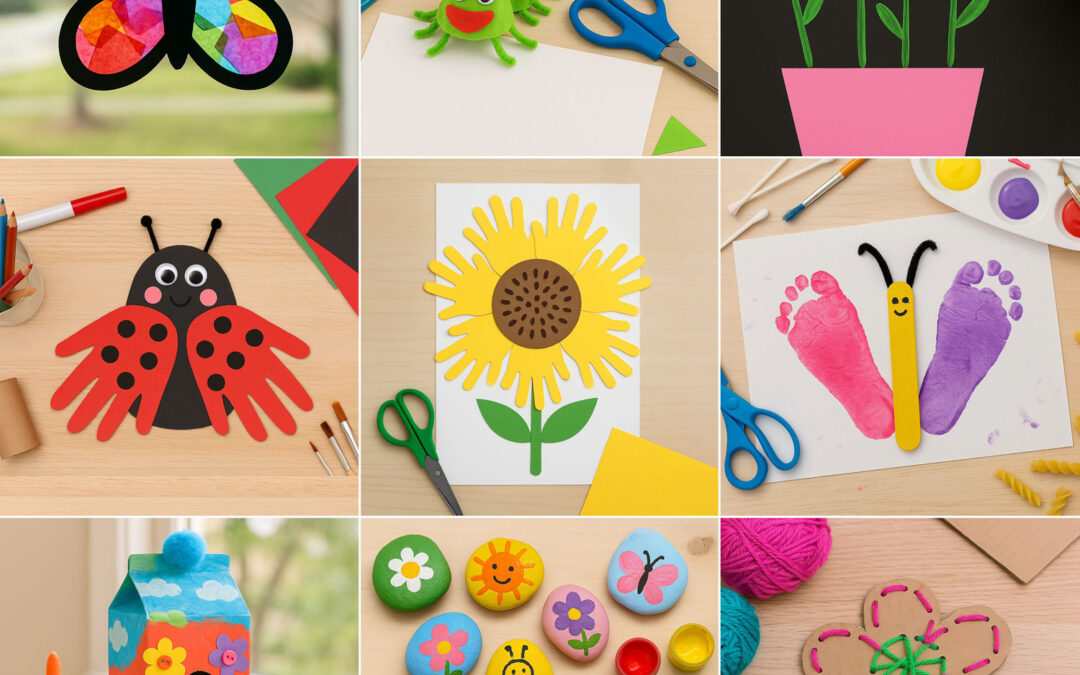
Easter Crafts
Simple and fun Easter crafts for kids that are perfect for home, classrooms, or spring playdates. These easy craft ideas help kids get creative while celebrating the season.

Easter Egg Fillers
Skip the candy overload with these fun Easter egg filler ideas for kids. Discover small toys, games, and surprises that make egg hunts even more exciting.

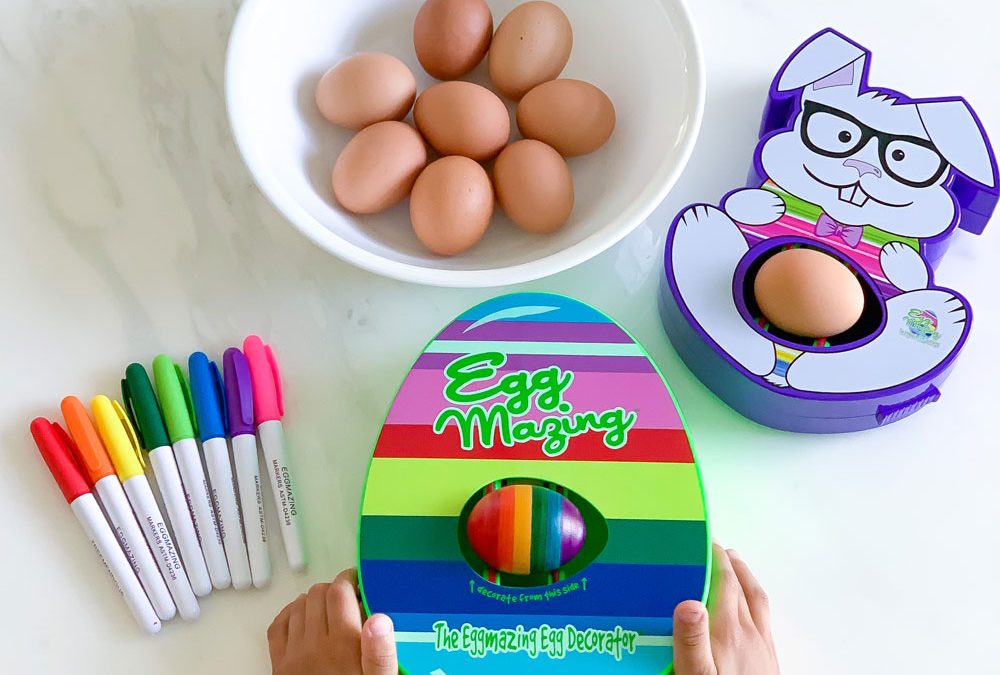
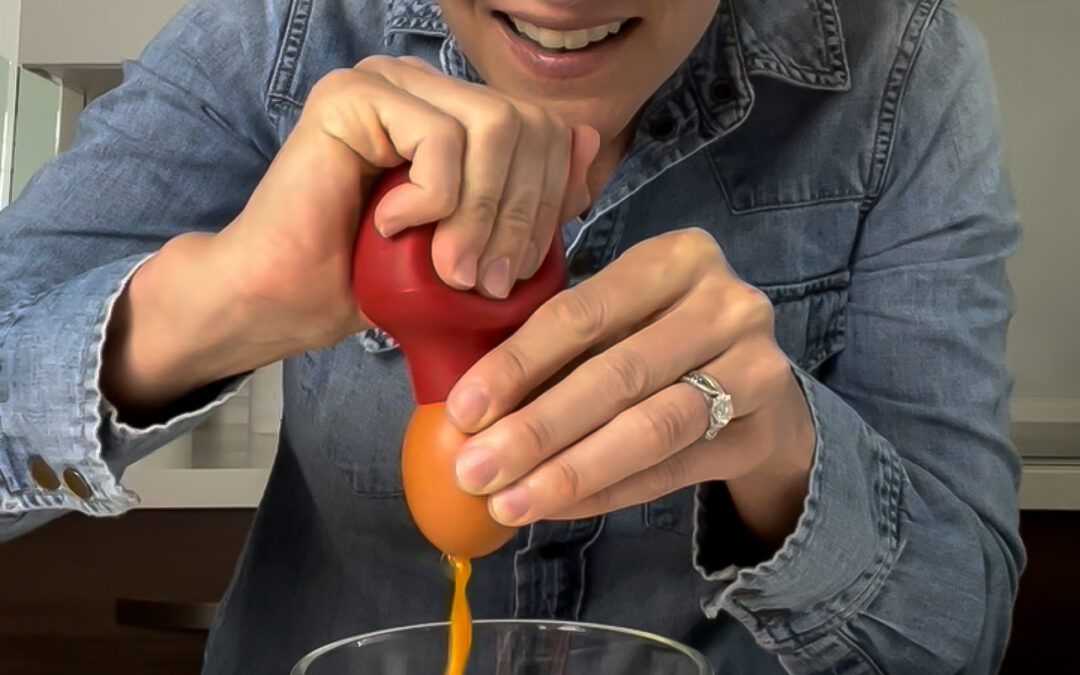
Easter Egg Decorating
Creative and fun Easter egg decorating ideas for kids, from classic dyed eggs to colorful DIY designs the whole family can enjoy.

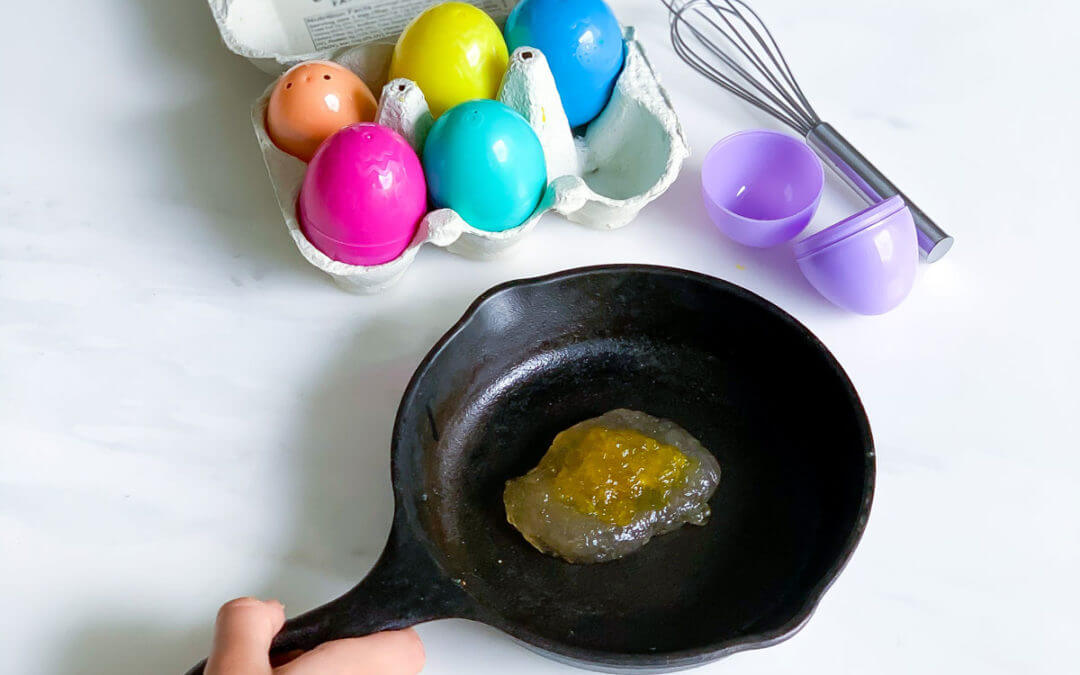
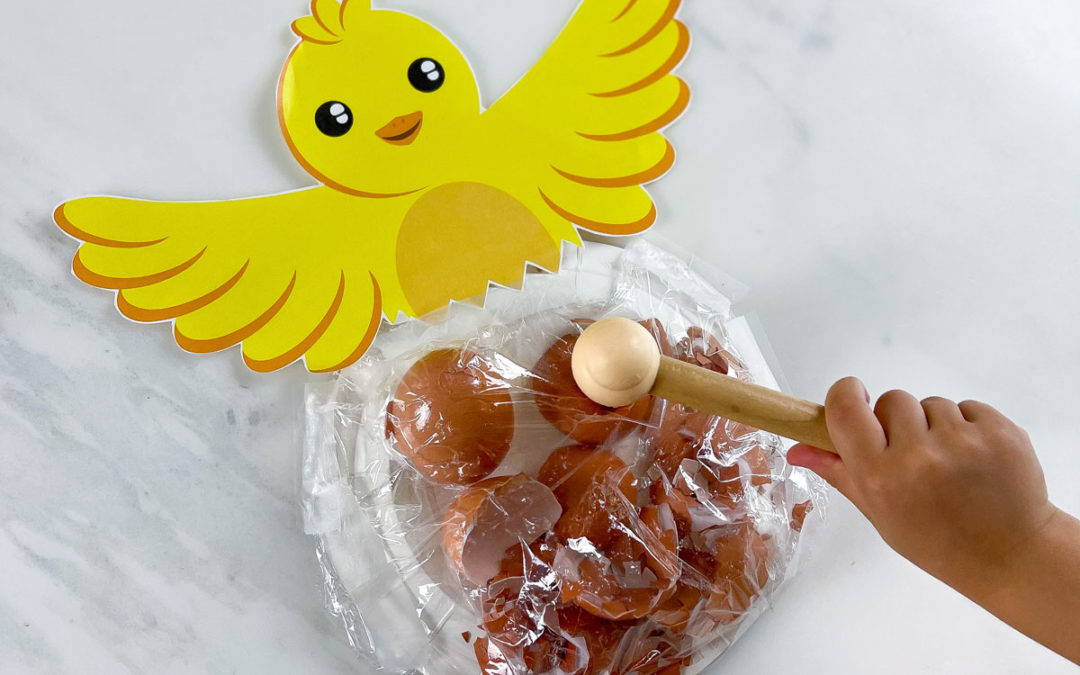
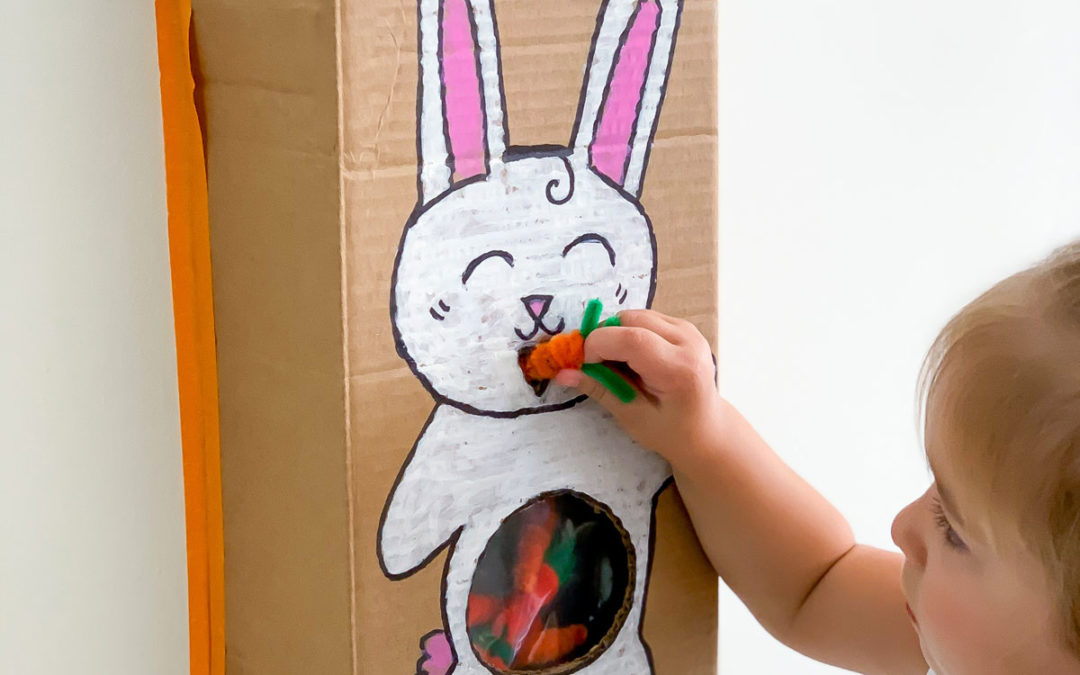
Easter Activities
Keep kids entertained with festive Easter activities the whole family can enjoy. From egg hunts to hands-on play ideas, these activities make the holiday extra fun.

Easter Books
Celebrate the season with sweet and engaging Easter books for kids. These stories are perfect for bedtime, basket gifts, or reading together as a family.

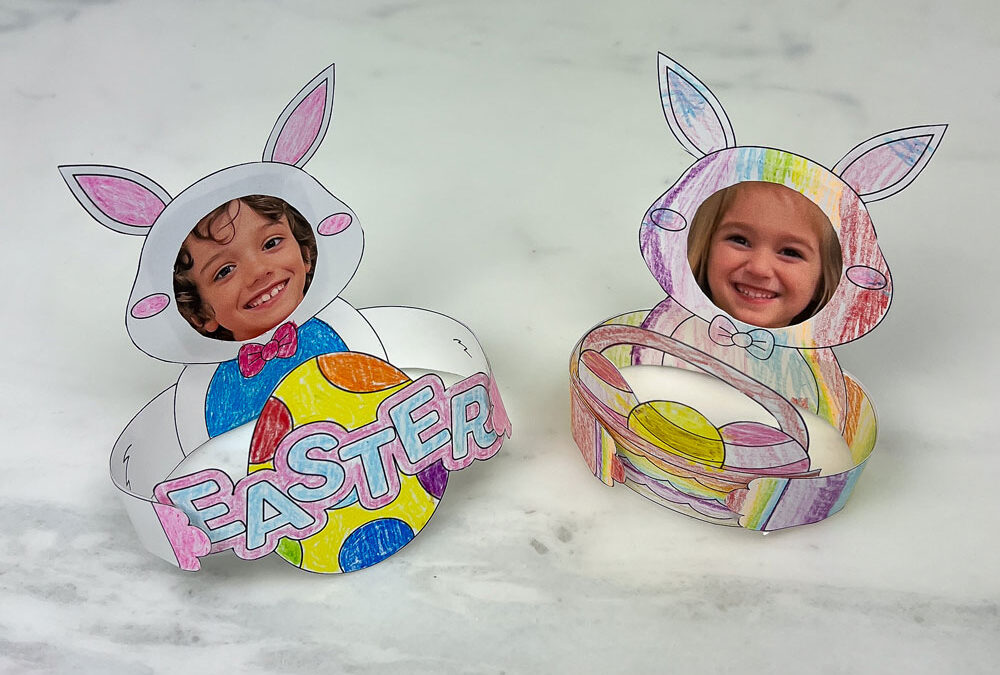
Easter Printables
Printable Easter activities make holiday prep quick and easy. Find fun printables for kids including games, coloring pages, and simple learning activities.

Giant Easter Coloring Sheet
A fun collaborative coloring activity where kids can decorate one big Easter scene filled with bunnies, eggs, and spring designs.

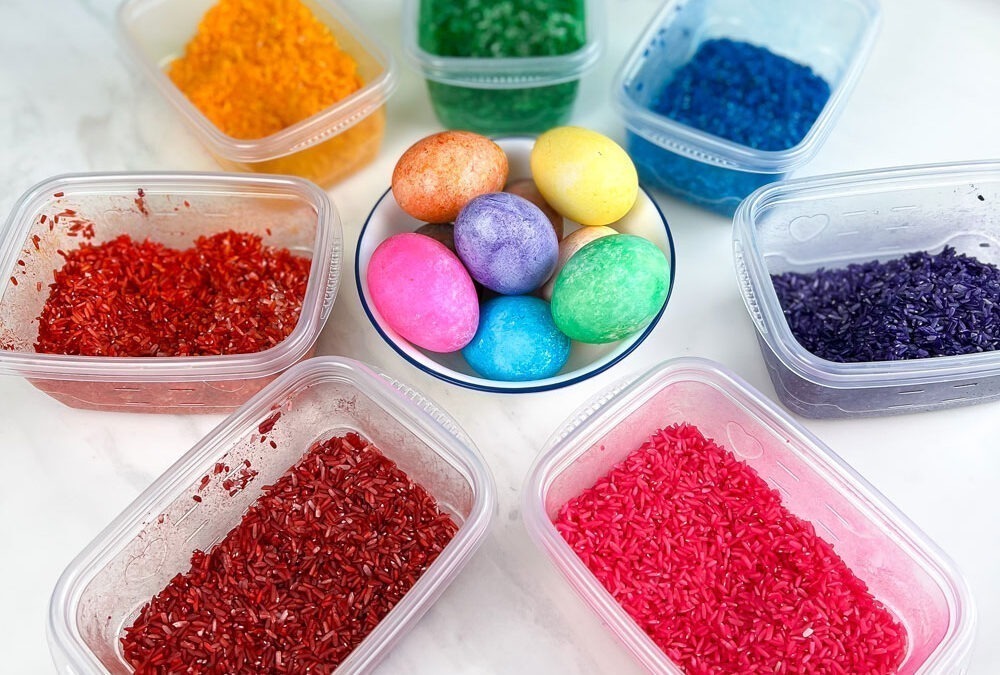
Easter Sensory Rice
Pastel sensory rice and spring-themed sensory play ideas that encourage hands-on exploration and creative play for kids.

Glow in the Dark Easter Egg Hunt
Turn your egg hunt into a glowing nighttime adventure kids won’t forget.

Easter Treats
Make Easter even sweeter with fun treats kids will love. Discover simple Easter snacks and festive treats that are perfect for parties, baskets, or family celebrations.

Easter Outfits
Sweet Easter outfits for babies, toddlers, and kids, perfect for egg hunts, brunch, and photos.

More Easter Fun for Kids
Whether you are planning simple crafts, festive outfits, printable activities, or fun little surprises, there are so many easy ways to make Easter feel extra special for kids. I hope this page helped you find ideas that fit your family, classroom, or celebration.
Want an easy way to make Easter fun?
My Easter printable bundle is packed with playful activities for little kids and makes it easy to add festive fun without a lot of prep.
What’s Next?
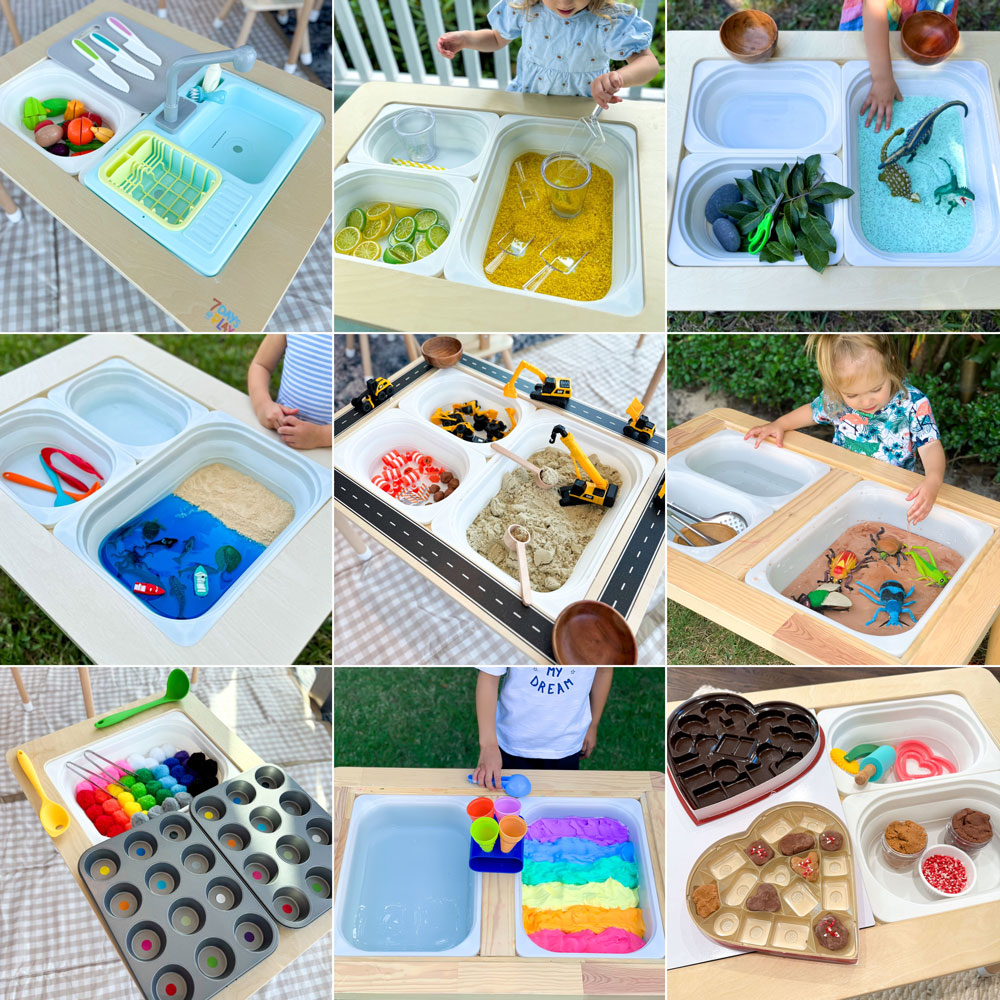
The Best Sensory Bin Ideas to Keep Kids Engaged for Hours
read more
The Best Easter Ideas for Kids
Discover the best Easter ideas for kids including basket ideas, egg fillers, crafts, activities, decorations, and printables to make Easter fun and easy.

Air Fryer Tequeños, Freeze Ahead and Cook Straight From Frozen
Make Air Fryer Tequeños you can freeze and cook from frozen, crispy dough, melty cheese, plus dips and no-leak tips.