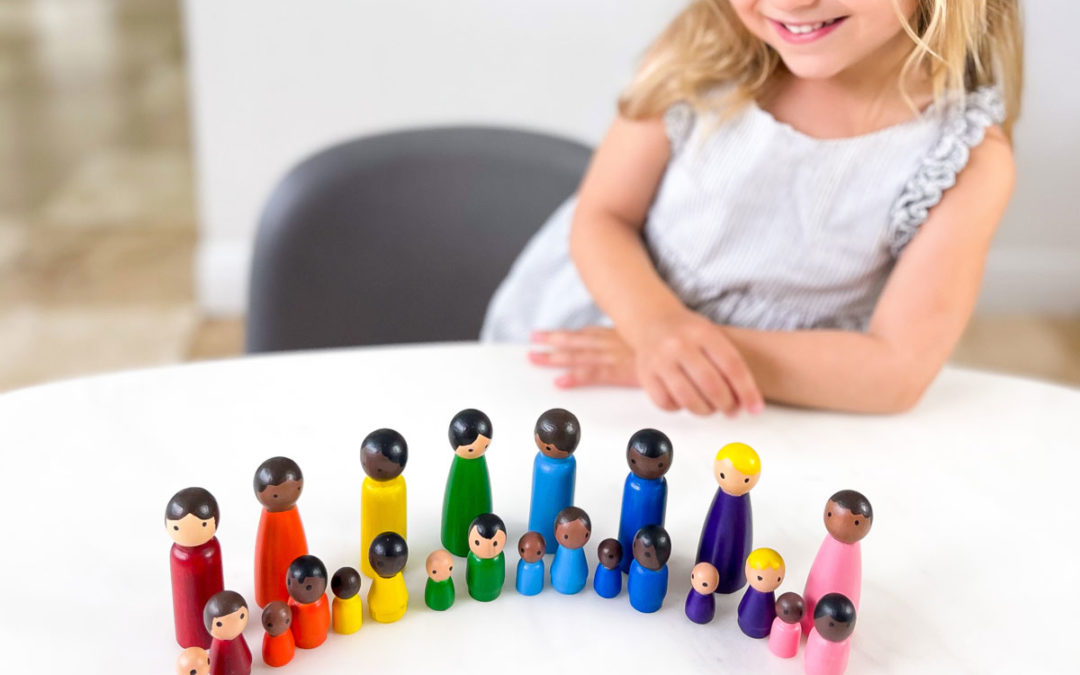
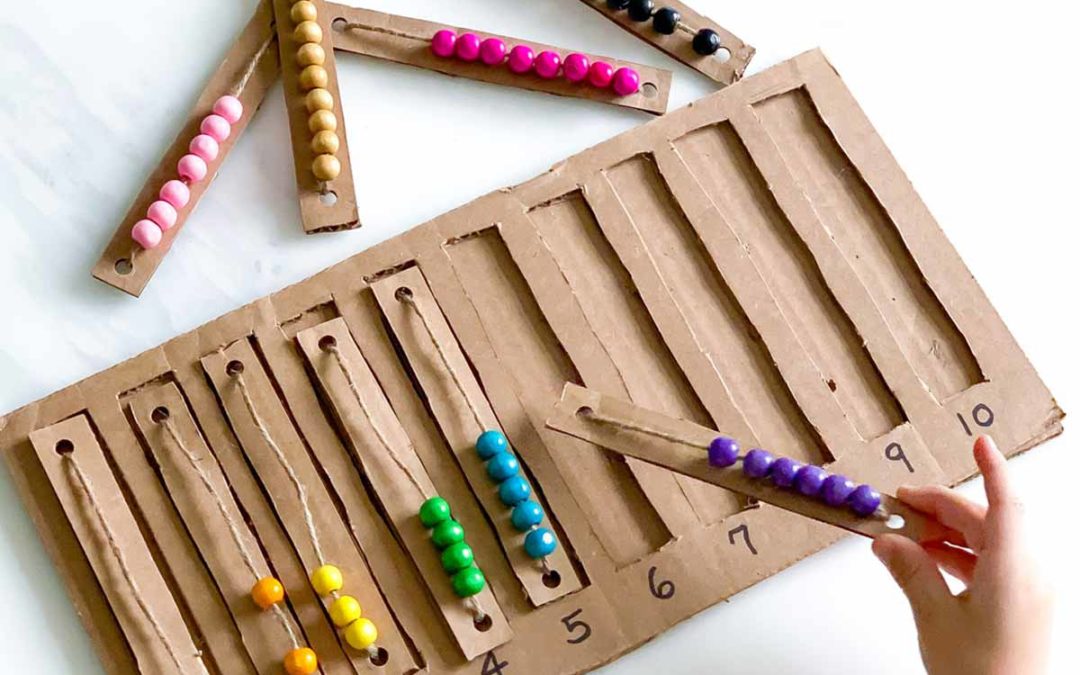
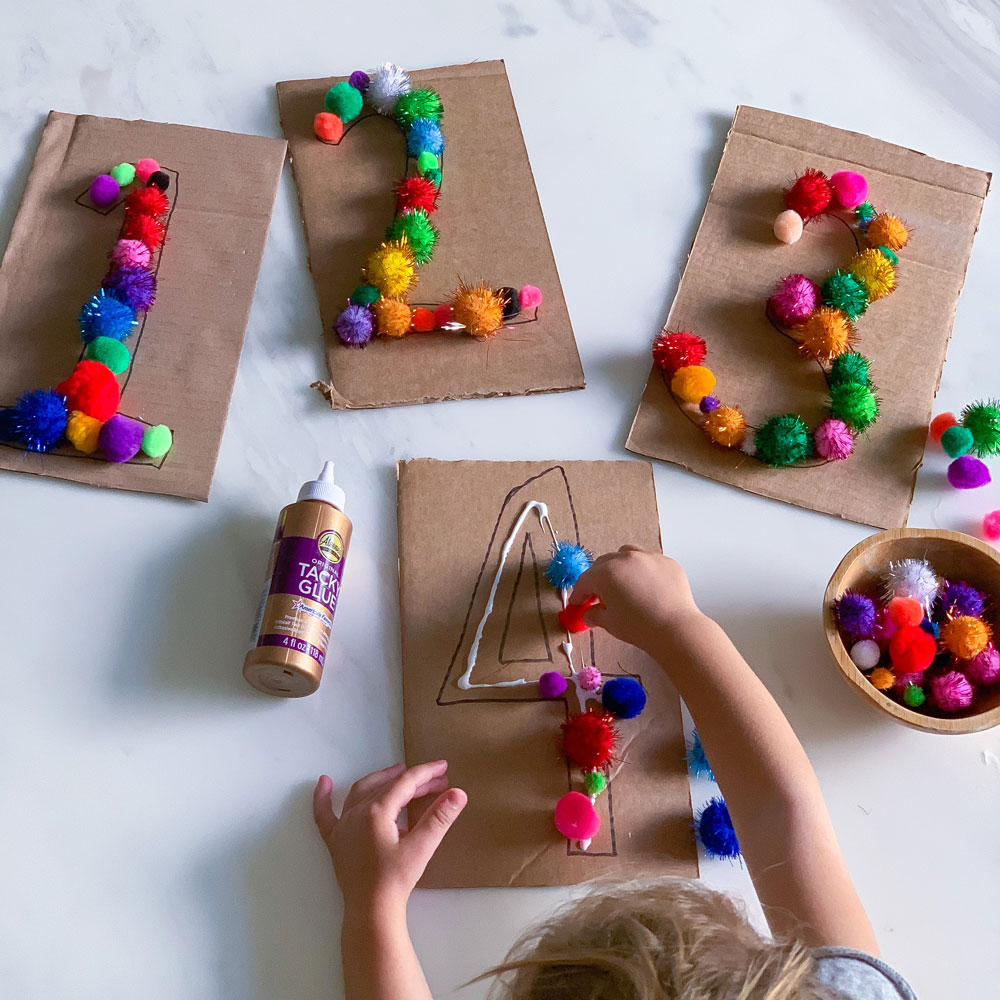
Kickstart number recognition for toddlers with this beginner’s activity! Fill bubble outlines with pom poms for engaging hands-on learning.
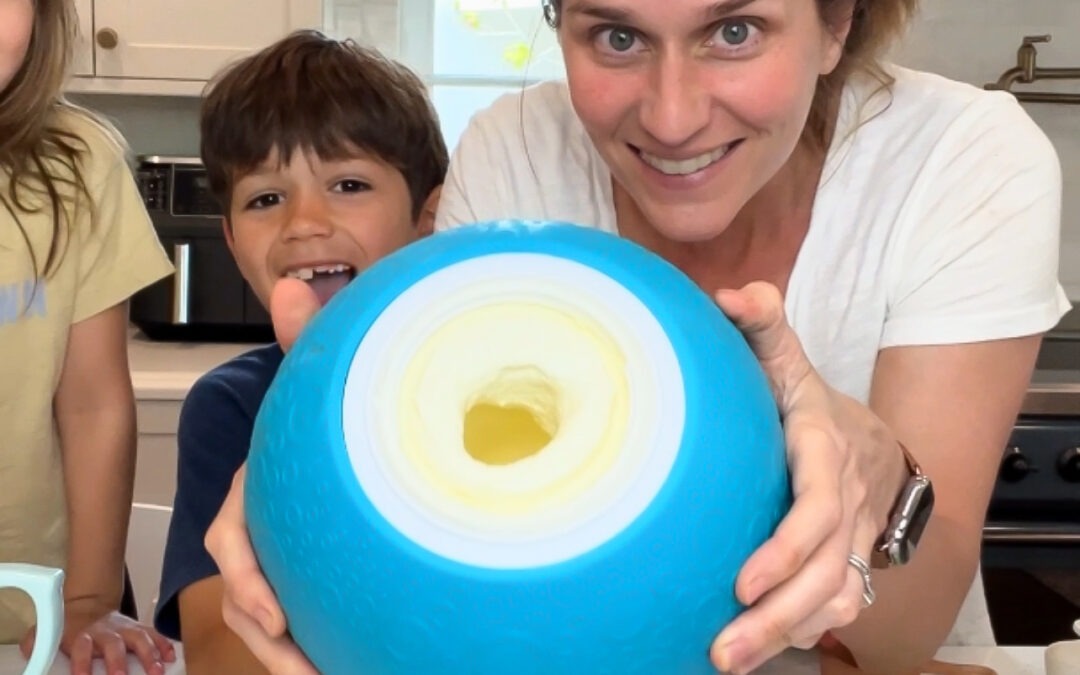
Ice Cream Maker Toy Ball – How to Use and Recipes
Ice Cream Maker Toy Ball – How to Use and Recipes

This ice cream maker toy ball isn’t just a delicious treat; it’s a gateway to getting kids off screens so that they are more active, moving, having fun, and learning about the science behind making ice cream!
Where Can You Get This Ice Cream Maker Toy Ball?
You can get the exact ball we used HERE. It comes with a recipe book as well. This ball will make one pint of ice cream. They also have THIS set available that includes both the ice cream ball and the special rock salt used for making ice cream.
No electricity is needed to make ice cream in this toy ball! All the energy your kiddos have can be put towards playing with this ball and they’ll soon find out how easy it is to make ice cream!
All activities should be supervised by an adult. As an Amazon Associate I earn from qualifying purchases. This post may contain affiliate links.
Gross Motor, Science
Ages:
Prep Time:
Watch to See How To Make Ice Cream in a Ball!
Using this ice cream mixer toy ball is as simple as add in your ingredients, playing, and enjoying homemade ice cream!
Start by adding your favorite ice cream ingredients into one compartment of the ball, ensuring to seal it tightly. In the other compartment, fill it with rock salt and ice, again making sure it’s securely closed.
Now, the fun begins! Roll, shake, and toss the ball around for about 20 minutes – whether it’s in the backyard, at the park, or even indoors.
As the ball moves, the ingredients inside churn and freeze, transforming into delicious homemade ice cream.
Once the time’s up, open up the compartments, scoop out your creamy creation, and enjoy in the fruits of your labor. It’s such an interactive and hands-on experience resulting in something delicious!

Tips for Using This Ice Cream Ball
Firstly, ensure all compartments are tightly sealed before you start rolling to prevent any leaks or spills. For optimal freezing, use a combination of ice cubes and rock salt in the designated compartment. Our ice stayed frozen during the 20 minutes of play, but if it melts before your ice cream freezes replenish as needed throughout the process.
Make sure you explain the science behind creating the ice cream! Inside the ball, there’s ice and salt, which make it super cold. Normally, ice melts and turns into water when it gets warm. But when we mix salt with ice, something cool happens – the salt lowers the temperature of the ice. When we roll the ball around, the cold makes the ice cream mix freeze. That’s because the cold stops the ice cream from melting, and it gets all thick and yummy! Rolling it around helps mix everything up just right, so we get delicious ice cream every time we play!
Materials
- 1 Pint Cream
- 1/2 Cup Sugar
- 1 1/2 Teaspoon Vanilla Extract
- Ice Cream Ball
- Rock Salt
- Ice
- 1 Pint Cream
- 1/2 Cup Sugar
- 1 1/2 Teaspoon Vanilla Extract
Step-by-Step Instructions
.Step 1
Open the side of the ball with the white handle and pour in the cream, sugar, and vanilla extract. Then seal it tightly.
Step 2
Open the other side (neon yellow handle) and fill it up with ice with about a cup of rock salt.
Step 3
Play with the ball for 20 minutes (keep reading for suggestions on games you can play!)
Step 4
After 20 minutes of vigorous play, your ice cream should be well formed! I suggest eating it right away!
Gross Motor Games to Play While Using Your Ice Cream Maker Toy Ball
There are lots of fun ways you can play with the ball, but keep in mind that the ball will be heavy, similar to a medicine ball. Here are a few games you can try:
Rolling Relay Races: Divide kids into teams and set up relay races where they must roll the ice cream ball to a designated spot and back. This not only gets them moving but also adds an element of friendly competition.
Ice Cream Ball Bowling: Set up empty plastic bottles or pins and take turns rolling the ice cream ball to knock them down, similar to bowling. Adjust the distance based on the age and skill level of the participants for added challenge.

Hot Potato Ice Cream: Have kids stand in a circle and pass the ice cream ball around while music plays. When the music stops, whoever is holding the ball performs a fun action or answers a question before passing it on.
Gross Motor Games to Play While Using Your Ice Cream Maker Toy Ball
There are lots of fun ways you can play with the ball, but keep in mind that the ball will be heavy, similar to a medicine ball. Here are a few games you can try:
Rolling Relay Races: Divide kids into teams and set up relay races where they must roll the ice cream ball to a designated spot and back. This not only gets them moving but also adds an element of friendly competition.
Ice Cream Ball Bowling: Set up empty plastic bottles or pins and take turns rolling the ice cream ball to knock them down, similar to bowling. Adjust the distance based on the age and skill level of the participants for added challenge.
Hot Potato Ice Cream: Have kids stand in a circle and pass the ice cream ball around while music plays. When the music stops, whoever is holding the ball performs a fun action or answers a question before passing it on.
More Frozen Treats You Can Make a Home!
Here are my top picks for frozen treat gadgets to make more yummy things at home!

Homemade Ice Cream in a Mug!

DIY Slushy Maker – Just Squeeze!

Turn Frozen Fruit into Ice Cream!

Make Your Own Popsicles!
What’s Next?
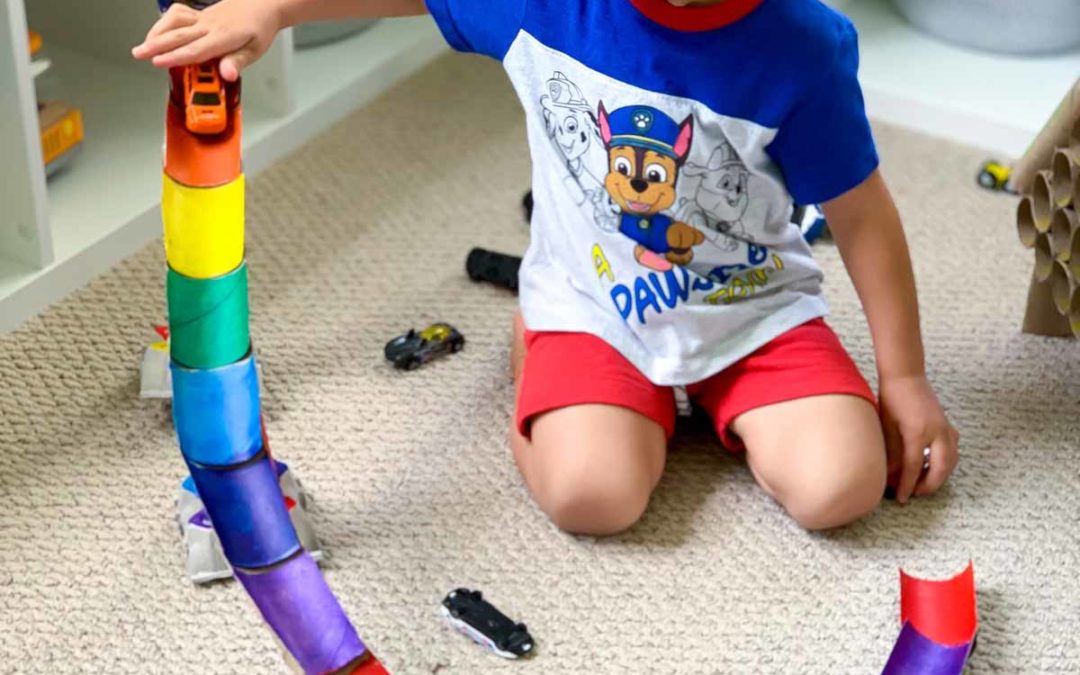
Number Recognition for Toddlers – The Best Activity to Start Learning
read more
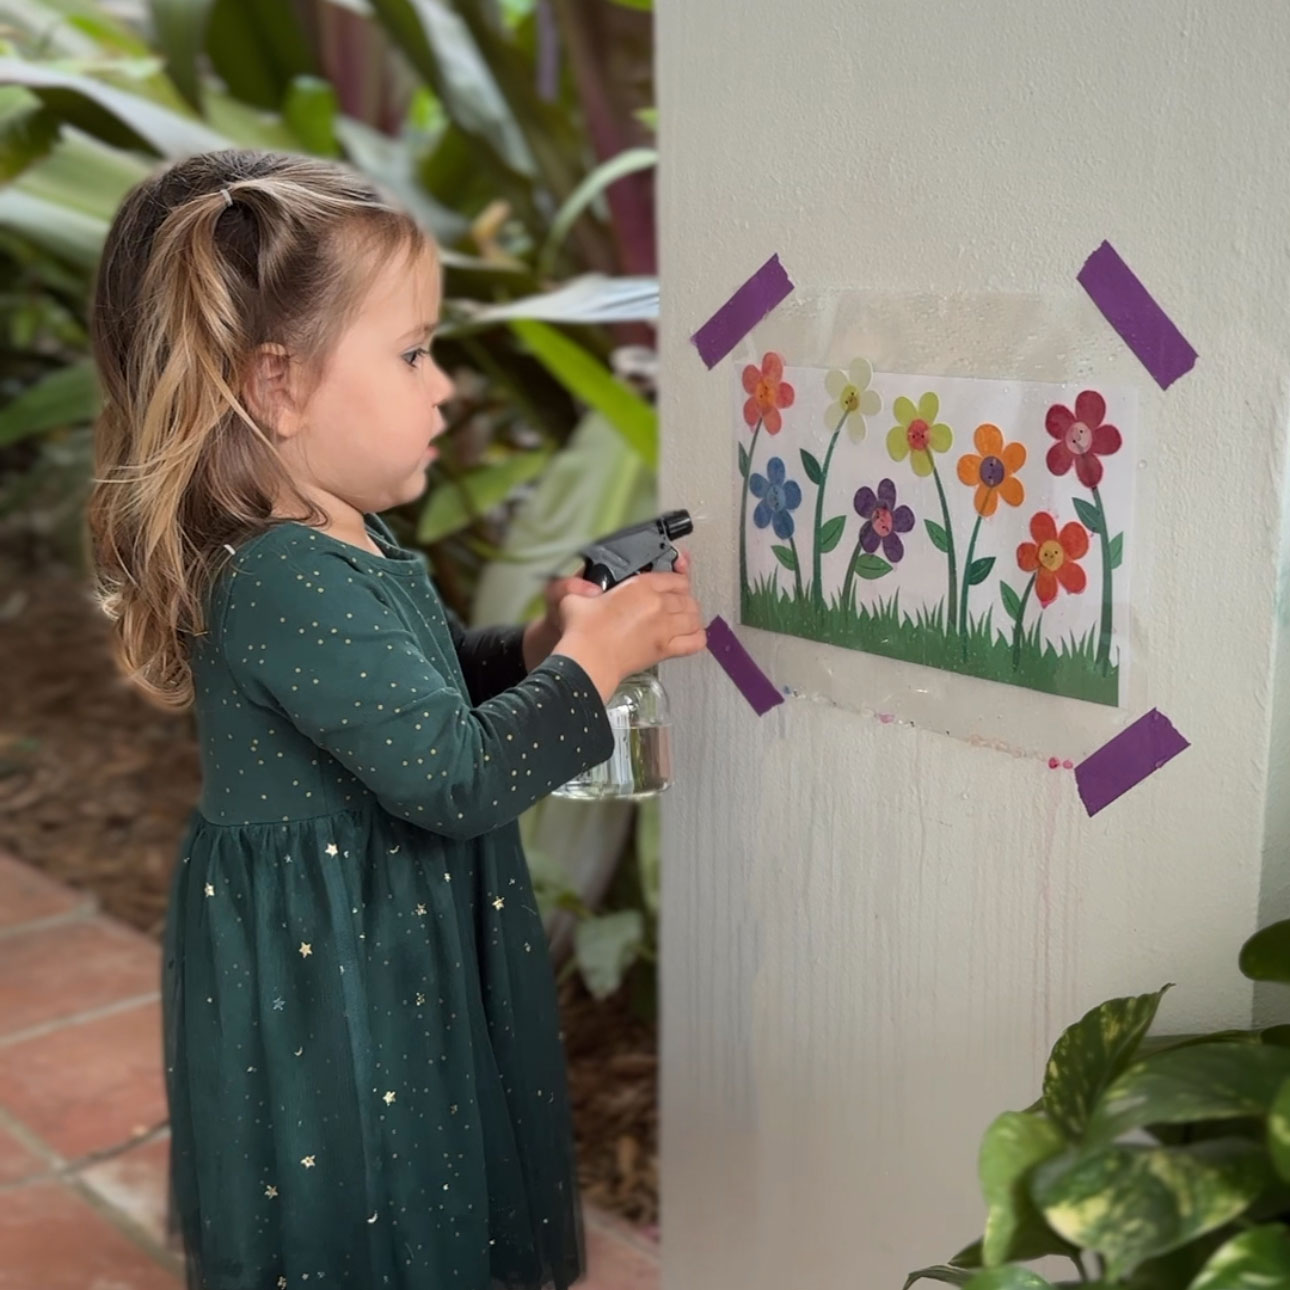
Flower Activity for Preschoolers with Free Printable!
This flower activity is a fun way to learn about how flowers bloom while also strengthening fine motor skills while using a spray bottle!
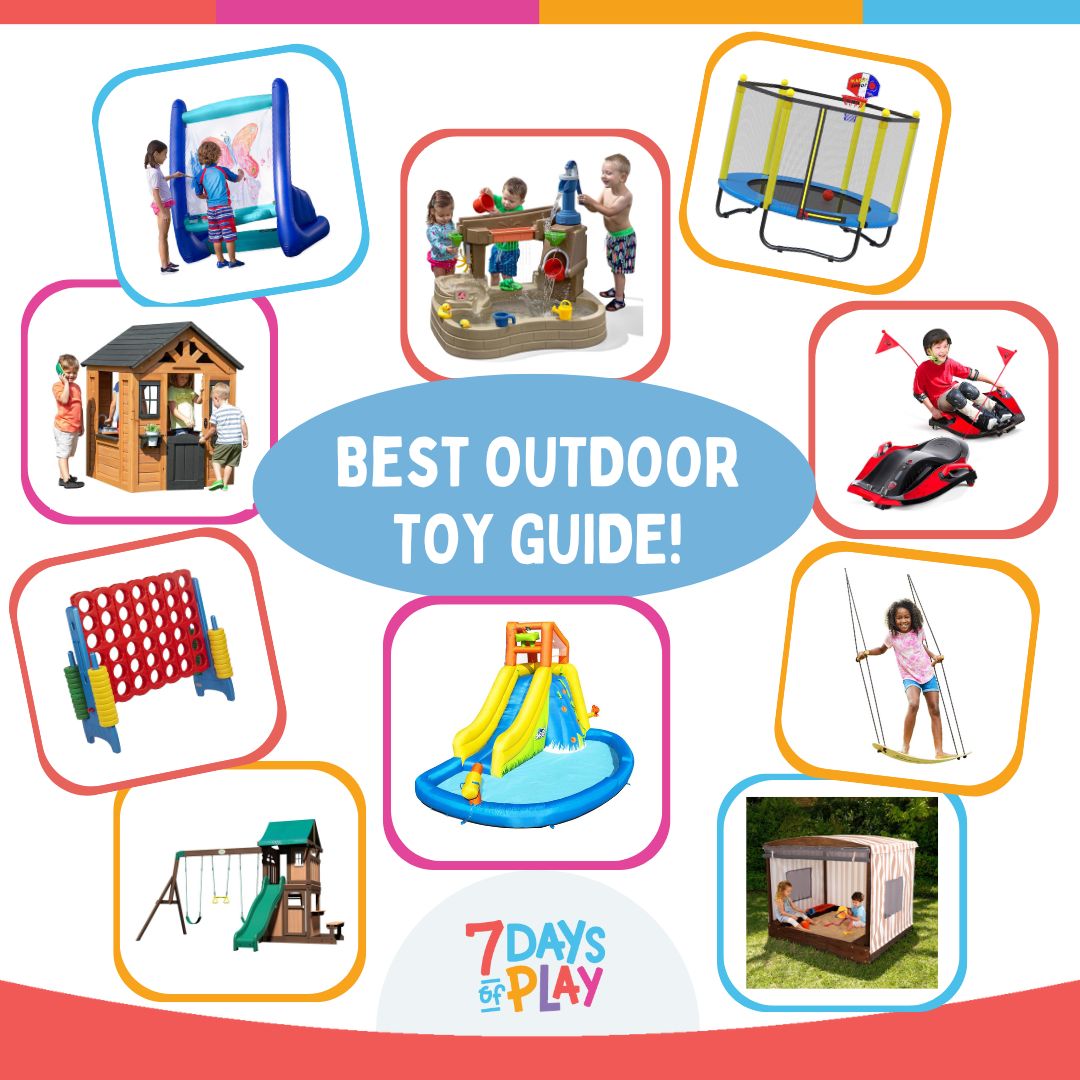
The Best Fun Outdoor Toys for Kids in 2024
Explore fun outdoor toys for kids in 2024! From sandboxes to water toys, bikes, games, and more. Keep your kids entertained all year long!