Discover the best Easter ideas for kids including basket ideas, egg fillers, crafts, activities, decorations, and printables to make Easter fun and easy.

Air Fryer Tequeños, Freeze Ahead and Cook Straight From Frozen
Air Fryer Tequeños, Freeze Ahead and Cook Straight From Frozen

Make Air Fryer Tequeños you can freeze and cook from frozen, crispy dough, melty cheese, plus dips and no-leak tips.
Air Fryer Tequeños, Golden Outside, Melty Inside, No Deep Fryer Needed
If you love that cheesy, crispy tequeño moment but do not want to deal with hot oil, this one is for you. These Air Fryer Tequeños are made for real life, you roll a batch, freeze them, then air fry straight from frozen anytime the craving hits. Snack, party appetizer, after-school bite, they work for all of it.
Air Fryer Tequeños Ingredients
Cheese
-
1 lb queso blanco / queso de freír (best for not leaking), or mozzarella string cheese
-
Cut into sticks: 3–4 inches long, about 1/2 inch thick
Dough
-
2 1/2 cups all-purpose flour
-
1 1/2 tsp salt
-
1 tbsp sugar (helps browning)
-
2 tbsp butter (softened) or 2 tbsp neutral oil
-
1 egg
-
3/4 cup warm water (start with 2/3 cup, add as needed)
-
Optional, but nice: 1 tbsp cornstarch (slightly crispier)
For sealing
-
1 egg + 1 tbsp water (egg wash)
")
Air Fryer Tequeños Instructions
1) Make the dough
- In a bowl, mix flour, salt, sugar (and cornstarch if using).
- Add butter (or oil) and rub or mix it in until it looks like damp sand.
- Add egg, then slowly add warm water until you get a smooth dough.
- Knead 3–5 minutes until elastic.
- Cover and rest 20–30 minutes (rolling gets so much easier).
2) Wrap the cheese (classic tequeño spiral)
- Divide dough into 4 pieces.
- Roll one piece into a thin rectangle, about 1/8 inch thick.
- Cut into strips about 1/2–3/4 inch wide.
- Spiral-wrap each cheese stick from one end to the other, slightly overlapping as you go.
- Pinch both ends shut like you mean it.
- If the cheese is slippery, dab a little egg wash on the end before pinching.
3) Meal prep and freeze (best method)
- Place wrapped tequeños on a parchment-lined tray in a single layer.
- Freeze 1–2 hours until solid.
- Transfer to a freezer bag or container.
- Best within 2–3 months.
- 4) Air Fryer Tequeños from frozen (no thawing)
- Preheat air fryer to 370°F.
- Lightly spray tequeños with oil (helps browning).
- Air fry 6–9 minutes, turning once halfway, until golden and cooked through.
- If they’re browning too fast but the dough still looks pale or underdone, drop to 350°F and add 2–3 minutes.
Quick dips (fast + legit)
- Guasacaca-style: mashed avocado + olive oil + vinegar + garlic + cilantro + salt, thin with water
- Quick honey mustard: mayo + mustard + a tiny bit of honey
- Sweet option: guava paste (or guava jelly) on the side

Grab my Nut-Free Lunchbox Grocery Checklist, made for lunchboxes but perfect for snacks and everyday groceries too
I originally made this Nut-Free Lunchbox Grocery Checklist as a simple guide for packing school lunches without stressing, but honestly it’s turned into my go-to list for snacks and groceries in general. It’s free if you want to download it!
It’s a visual, food-group organized cheat sheet (proteins, dairy, veggies, fruits, whole grains) that makes it so much easier to spot better options fast, then actually use what you buy all week long.
More Fun Family Friendly Recipes and Meals!
Check out these totally do-able recipes. Making your own food from scratch doesn’t need to be complicated. Like this bread machine brioche recipe, you’ll be shocked at how easy each of these are to make!

Rotating Food Train!

Rainbow Popsicles!

Homemade Pasta

Ice Cream in a Ball

Low Sugar High Protein Snack Balls

Homemade Brioche Bread

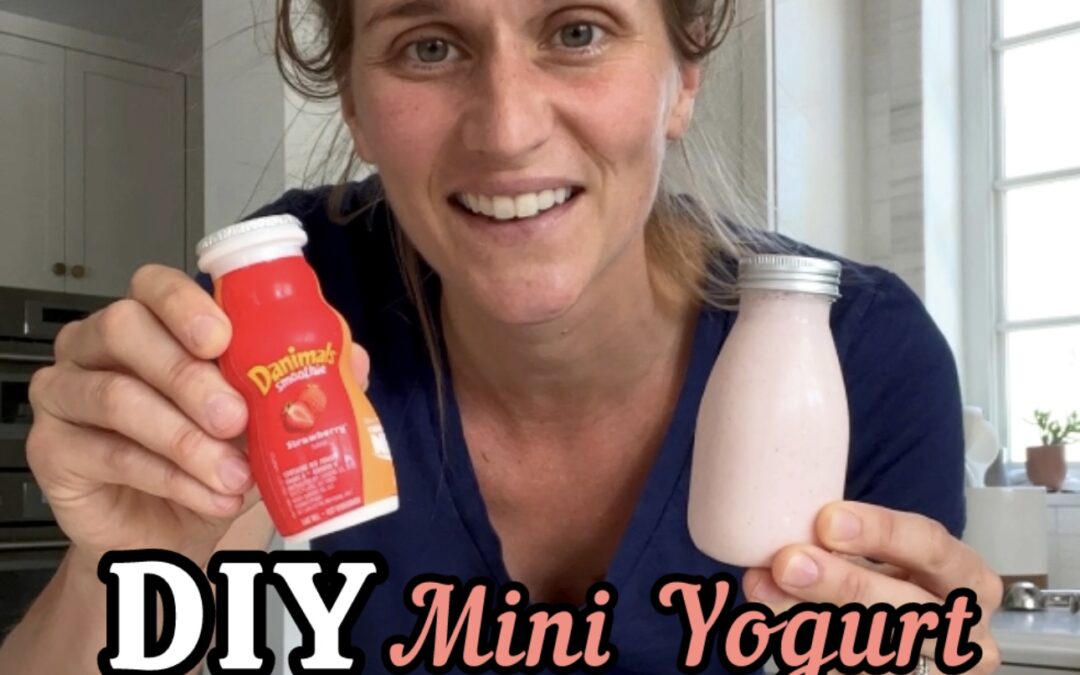
DIY Drinkable Yogurt Recipe

Homemade Frozen Yogurt

Greek Yogurt!

The Best Homemade Pancake Recipe!

Homemade Dino Nuggets

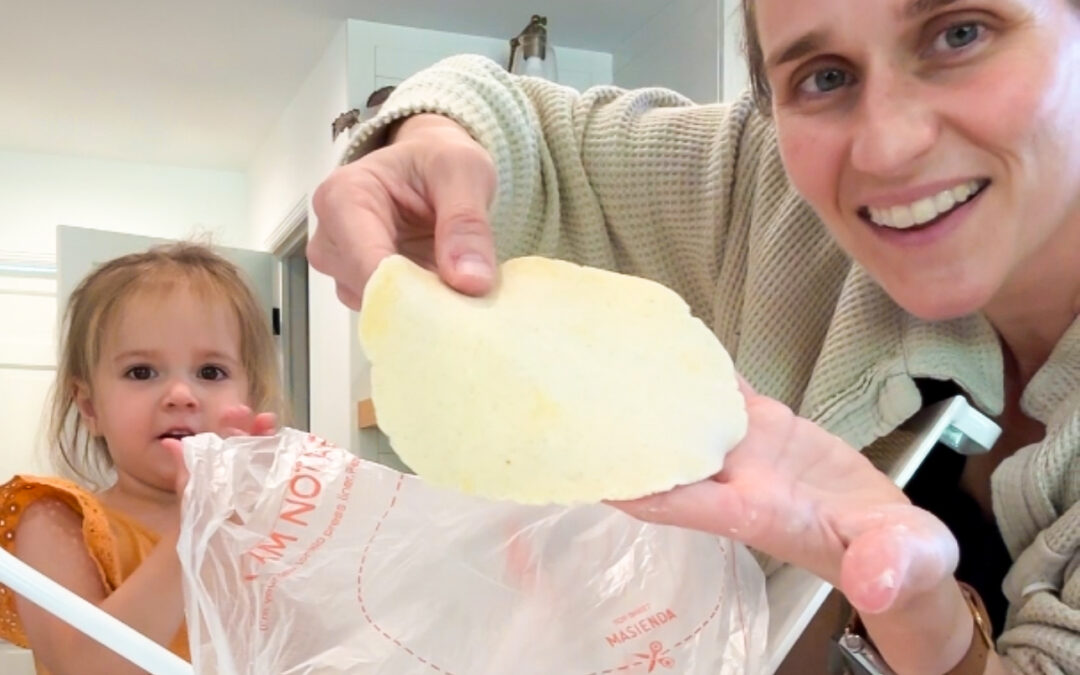
Homemade Tortillas
What’s Next?

The Best Easter Ideas for Kids
read more
Air Fryer Tequeños, Freeze Ahead and Cook Straight From Frozen
Make Air Fryer Tequeños you can freeze and cook from frozen, crispy dough, melty cheese, plus dips and no-leak tips.
Low sugar high protein snack balls, A Better Sweet Treat for Snack Time
Make these low sugar high protein snack balls with peanut butter powder and Greek yogurt, then dip in a simple chocolate shell.


")