Find the best gifts for 8 to 12 year olds with our top picks for boys and girls—perfect for sparking creativity and fun for kids this age!
DIY Dip n’ Dots with Natural Ingredients
DIY Dip n’ Dots with Natural Ingredients

Make DIY dip n’ dots at home with yogurt or kefir and natural colors from fruit and veggies. A fun, healthy frozen treat for kids!
A Fun and Easy DIY Dip n Dots Recipe Kids Will Love
If your kids are obsessed with dip n’ dots, you’re going to love this easy DIY version you can make right at home. Instead of artificial colors and flavors, we’re using real fruits and veggies—think strawberries for red, spinach for green, mango for orange, and blueberries for purple. You can choose between kefir (for a tangy, probiotic-packed option) or regular yogurt. The best part? Once you blend up each mixture, all you need are condiment bottles to drizzle tiny dots onto a tray, freeze them, and boom—homemade dip n’ dots that taste amazing and feel just like the ones your kids beg for at the mall.
Why Kids Love Dip n’ Dots (And How to Make Them at Home Without Liquid Nitrogen)
If you’ve ever been to an amusement park or mall kiosk with your kids, you know the magic of dip n’ dots. Those tiny frozen beads of ice cream are fun to eat, full of sugar, and usually involve a lot of begging from kids. The truth is, dip n’ dots are made with liquid nitrogen—which is obviously not something most of us keep in our kitchens.
That’s why I was so excited when we figured out this version. By blending fruit with yogurt or kefir and freezing it in tiny dots, you can get that same little-bead texture without any fancy gear (or scary science experiments in your kitchen). And here’s the part that blew me away: my kids actually said they like these more than real dip n’ dots. I was shocked, because I thought there was no way I could compete with all that sugar! Turns out, when it’s fun to eat and naturally sweet, kids don’t miss a thing.
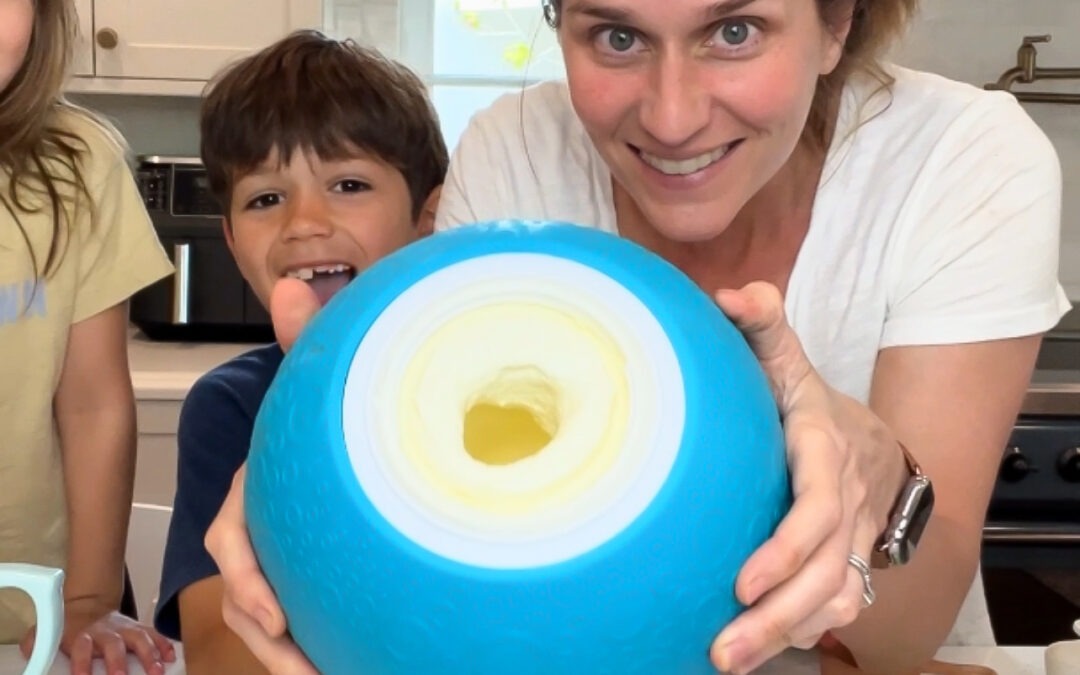
Why Lifeway Kefir Is a Great Choice for Homemade Frozen Yogurt
If you’ve ever been to an amusement park or mall kiosk with your kids, you know the magic of dip n’ dots. Those tiny frozen beads of ice cream are fun to eat, full of sugar, and usually involve a lot of begging from kids. The truth is, dip n’ dots are made with liquid nitrogen—which is obviously not something most of us keep in our kitchens.
That’s why I was so excited when we figured out this version. By blending fruit with yogurt or kefir and freezing it in tiny dots, you can get that same little-bead texture without any fancy gear (or scary science experiments in your kitchen). And here’s the part that blew me away: my kids actually said they like these more than real dip n’ dots. I was shocked, because I thought there was no way I could compete with all that sugar! Turns out, when it’s fun to eat and naturally sweet, kids don’t miss a thing.

The Trick: Using Condiment Bottles for Perfect Dip n’ Dots
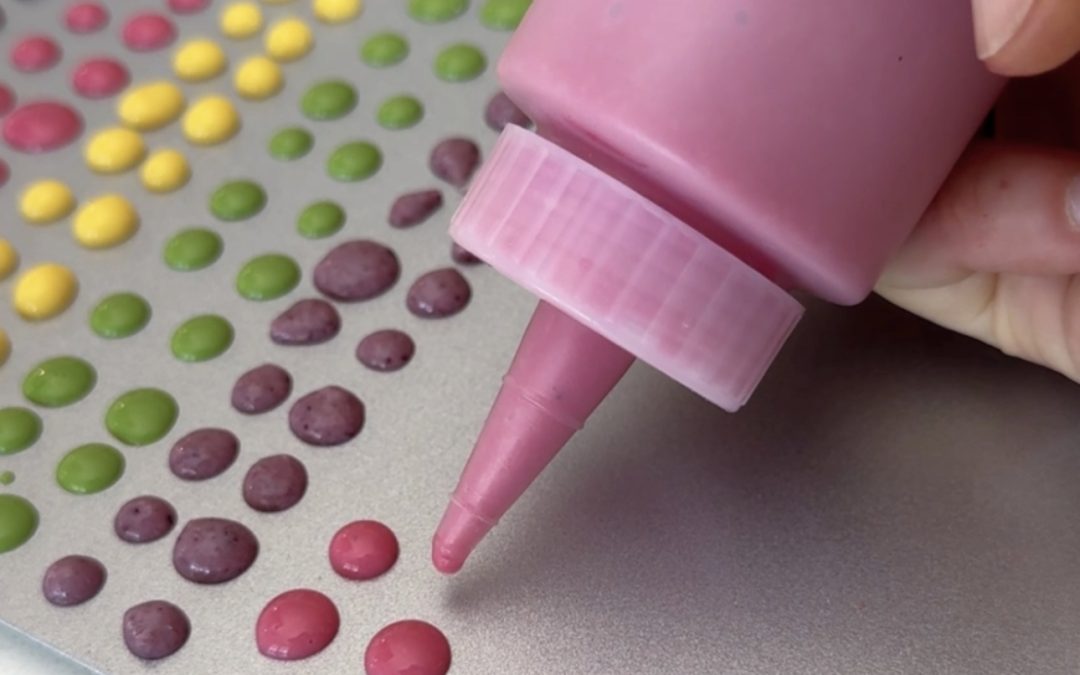
Here’s the real hack that makes this recipe work: condiment bottles. Once you blend up your fruit and yogurt (or kefir) mixtures, you’ll want an easy way to control the size of the drops. A spoon can get messy and uneven, but condiment bottles let you squeeze out tiny dots quickly and neatly.
All you do is fill each bottle with one color, give it a little squeeze over a parchment-lined baking sheet, and you’ve got dozens of perfect little dots ready to freeze. It keeps things organized, makes cleanup easier, and honestly feels like a fun science experiment for the kids.
I’ll link the exact bottles I used [here] (affiliate link opportunity!)—they’re inexpensive, reusable, and perfect not only for this recipe but also for pancake art, sauces, and more.
Homemade Frozen Yogurt Ingredients
- Honey or maple syrup (optional, for sweetness)
- Blender
-
Condiment bottles (for easy pouring)
-
Parchment paper and baking sheet
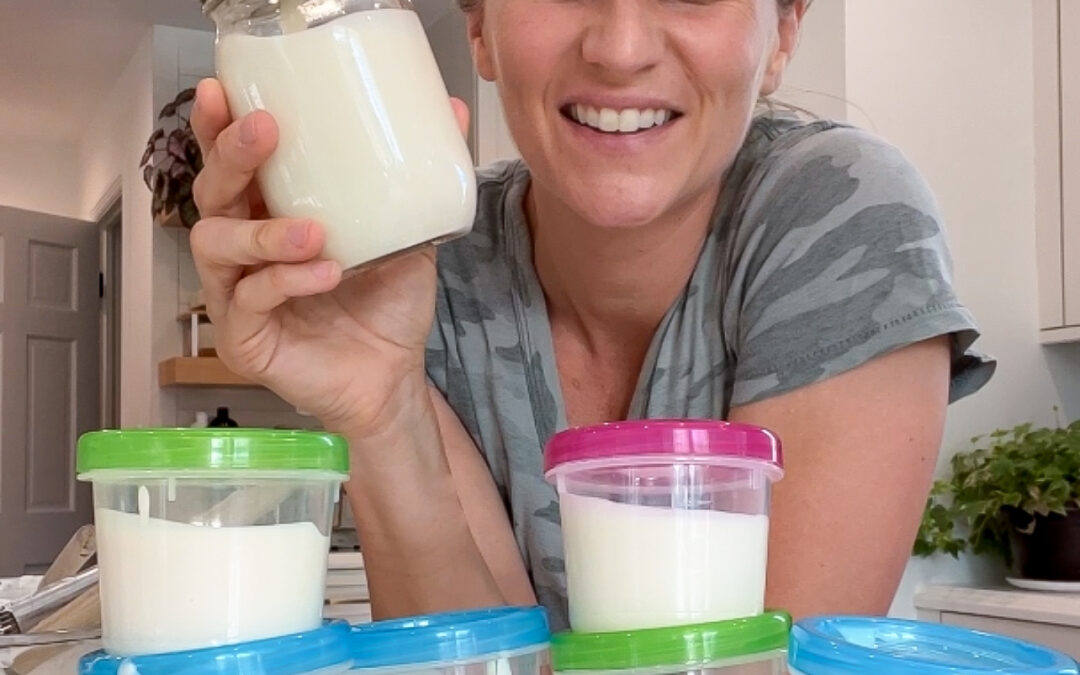
- Mini Serving Containers
-
1 cup strawberries (for red)
-
1 cup spinach (for green)
-
1 cup mango (for yellow/orange)
-
1 cup blueberries (for blue/purple)
-
2–3 cups kefir or plain yogurt (divided into 4 portions)
-
Honey or maple syrup (optional, for sweetness)
- Blender
-
Condiment bottles (for easy pouring)
-
Parchment paper and baking sheet
- Mini Serving Containers
Instructions
Step 1
-
In a blender, combine strawberries with ½ cup yogurt (or kefir) until smooth.
-
Repeat with spinach, mango, and blueberries, blending each separately with yogurt.
Step 2
Transfer the mixture into your Ninja Creami pint container, making sure not to exceed the max fill line.
Step 3
Place the pint in your freezer and let it freeze solid for at least 24 hours before processing.
Step 4
Remove the pint from the freezer, lock it into your Ninja Creami, and use the Soft Serve function (on newer models).
Step 5
If it looks crumbly or too firm, use the Re-Spin function. If it looks great, then pop it into the soft serve attachment (if you have it!), pull the lever to swirl the frozen yogurt right into your bowl or cone—just like a froyo shop! If you don’t have the soft serve attachment, just Ssoop into bowls or cones and top with your favorite healthy mix-ins.
Step 1
-
In a blender, combine strawberries with ½ cup yogurt (or kefir) until smooth.
-
Repeat with spinach, mango, and blueberries, blending each separately with yogurt.
Step 2
Taste each mixture. If you’d like them a bit sweeter, add a drizzle of honey or maple syrup before blending again.
Step 3
Transfer each mixture into its own condiment bottle. (Tip: use the small funnel that comes with the recommended condiment set!)
Step 4
-
Line a baking sheet with parchment paper.
-
Squeeze out tiny dots of each color onto the sheet, leaving a little space between them.
Step 5
Place the tray in the freezer for 2–3 hours, or until the dots are completely frozen.
Step 6
-
Pop the frozen dots off the parchment and serve immediately for that fun dip n’ dots texture.
-
Store any extras in a freezer-safe container for up to 2 weeks.
Commonly Asked Questions
Can I make these without condiment bottles?
Yes! Condiment bottles make it neater, but you can also use a piping bag (or even a zip-top bag with the corner snipped off). The dots might be a little less uniform, but they’ll taste just as good.
Do they really taste like dip n’ dots?
Honestly, yes—and my kids even said they like them better! The texture is similar, and the natural sweetness from fruit means you don’t miss the extra sugar.
How long do homemade dip n’ dots last in the freezer?
They’re best enjoyed within 1–2 weeks. Keep them in a freezer-safe container so they don’t get freezer burn.
Can I use flavored yogurt instead of plain?
Absolutely! Flavored yogurt will make the dots sweeter without needing honey or maple syrup. Just keep in mind that the colors from fruit may not be as vibrant.
Do I need liquid nitrogen to make dip n’ dots?
Nope, that’s the beauty of this recipe. While the original dip n’ dots use liquid nitrogen, this method recreates the tiny dot effect with simple kitchen tools.
More Homemade Recipes!
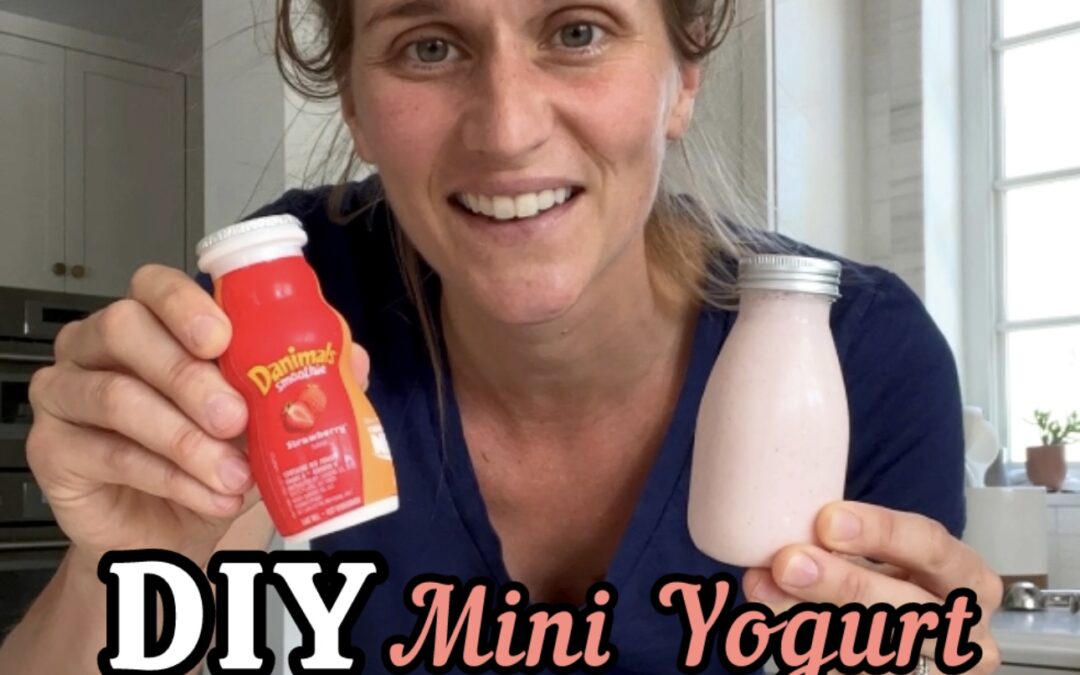
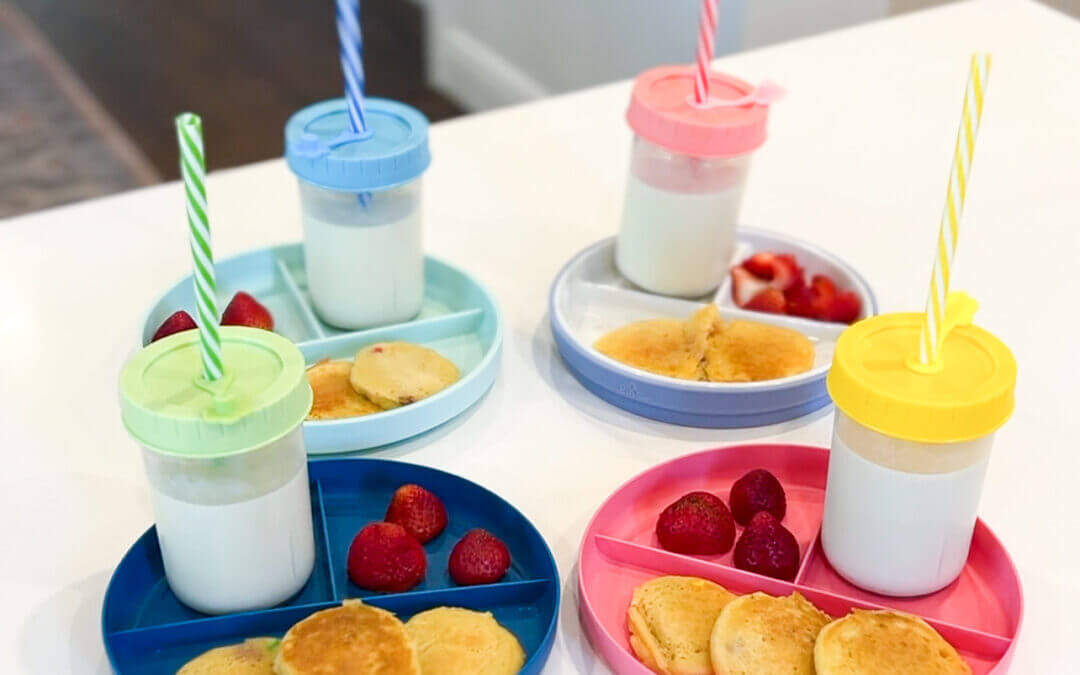
Check out these totally do-able recipes. Making your own food from scratch doesn’t need to be complicated. Like this drinkable smoothie recipe, you’ll be shocked at how easy each of these are to make!

Homemade Dino Nuggets

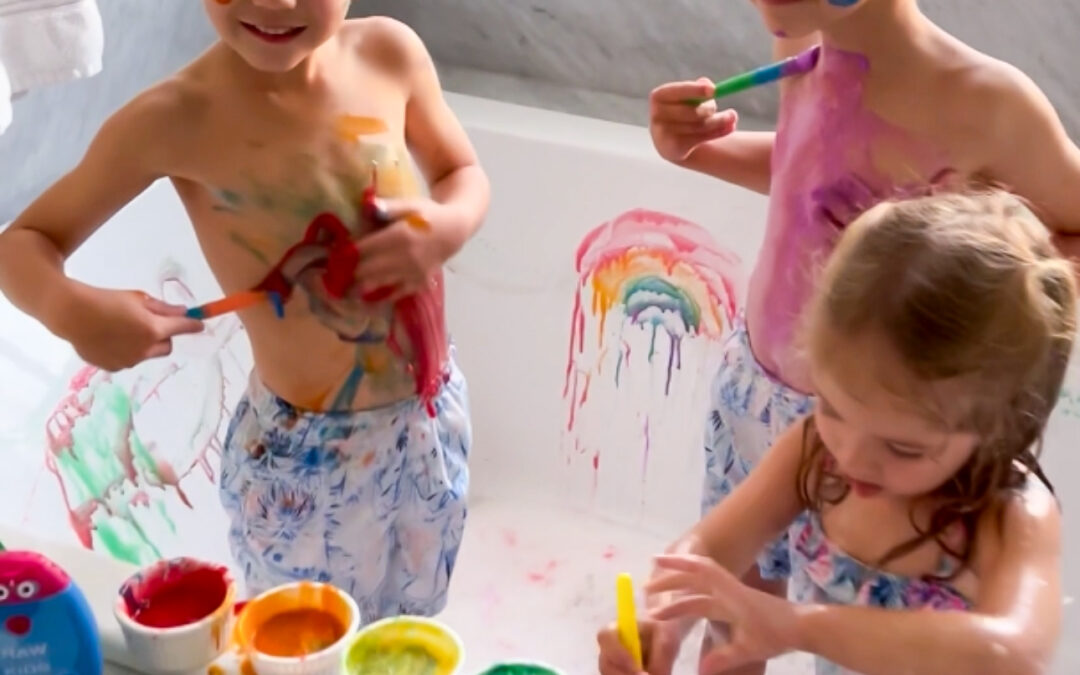
Rainbow Popsicles!

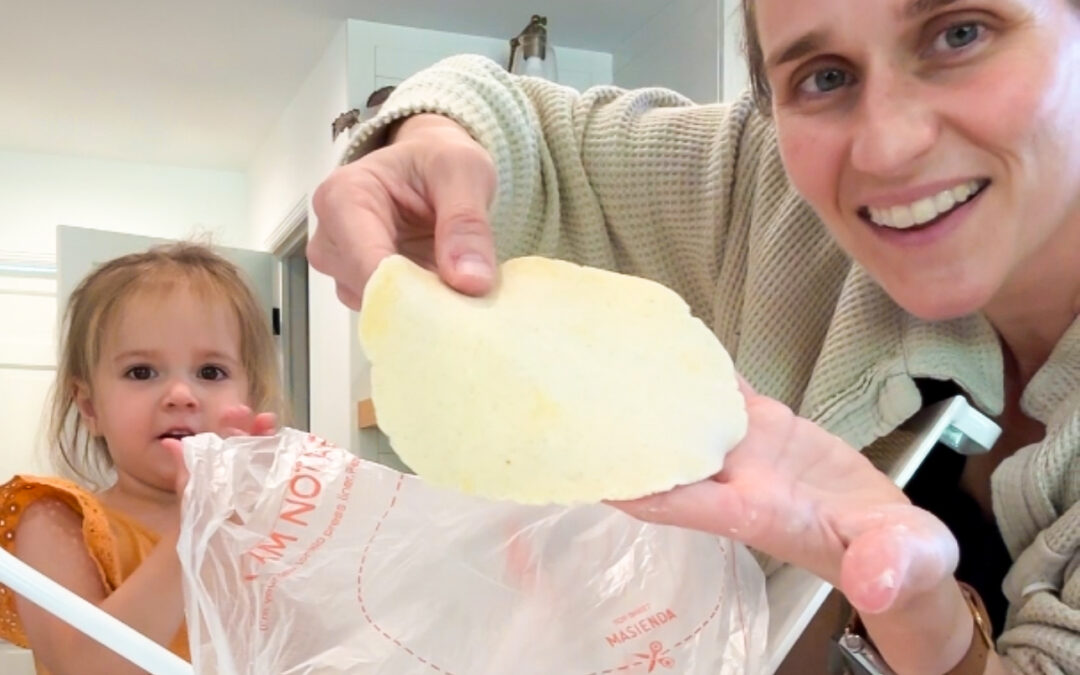
Homemade Pasta

Ice Cream in a Ball
What’s Next?
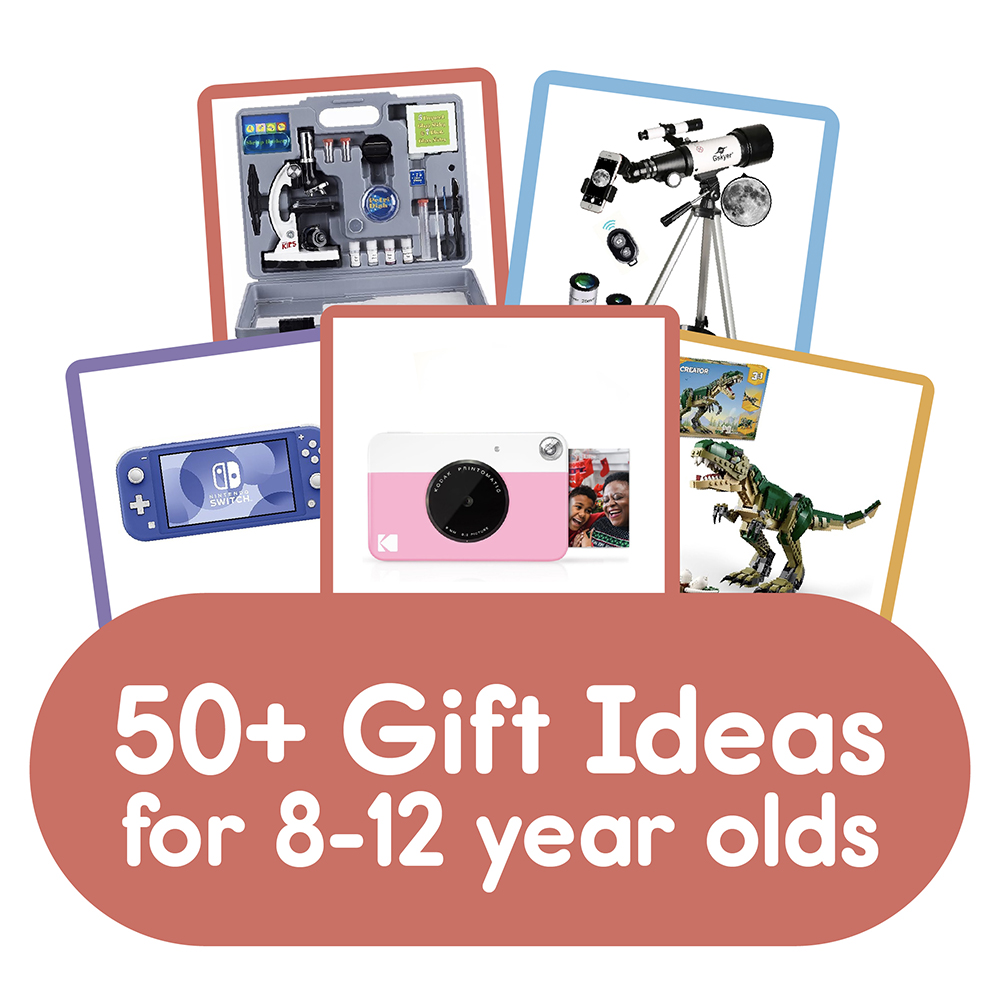
The Best Gifts for 8 to 12 Year Olds!
read more

Best Learning Toys for Kids
Looking for the best learning toys for kids? We’ve got you covered with this list of educational gifts that kids will love and learn from!
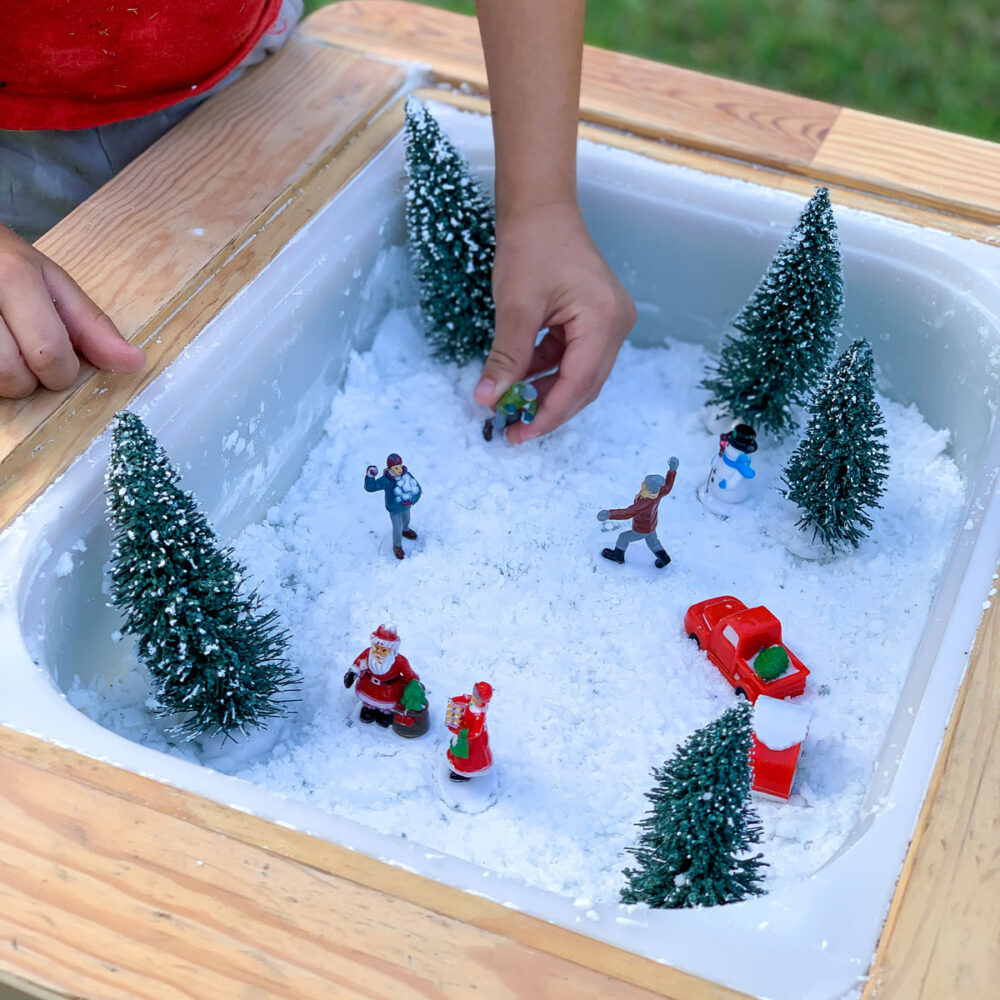
DIY Snow for Sensory Play: 4 Easy Kid Recipes
Learn how to make DIY snow for sensory play in minutes! These 4 fake snow recipes for kids are perfect for home, classroom, or sensory bins.