Learn how to layer a raised bed and create affordable trellises for thriving gardens. Explore our guide for expert tips & easy instructions!
Practical Life Skills – DIY Learning Board
Practical Life Skills – DIY Learning Board

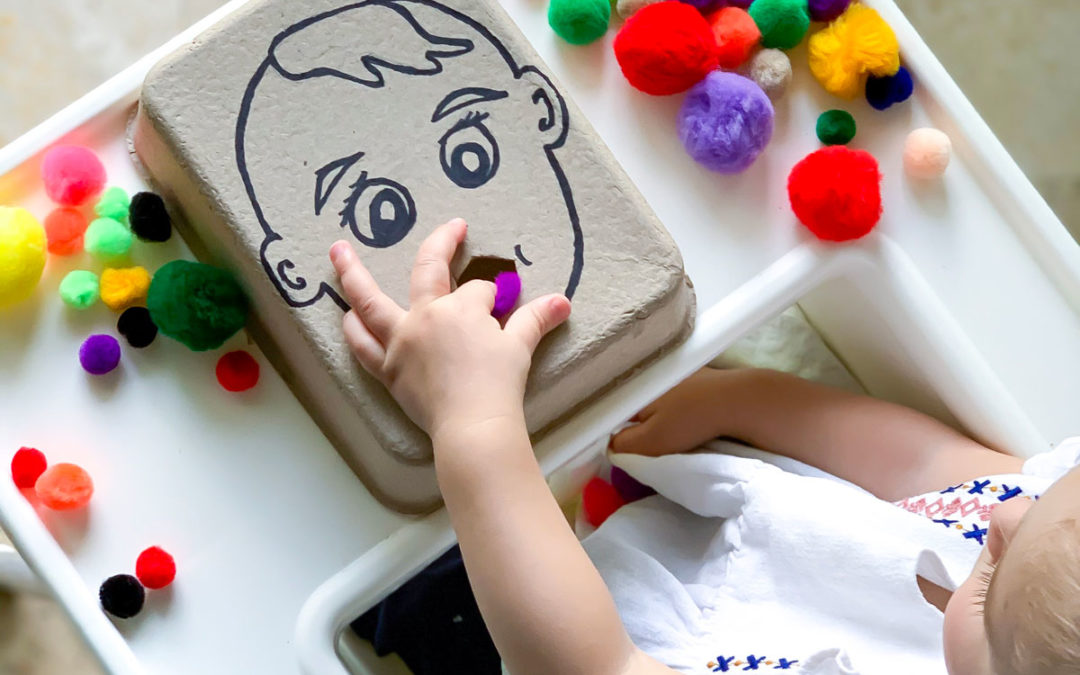
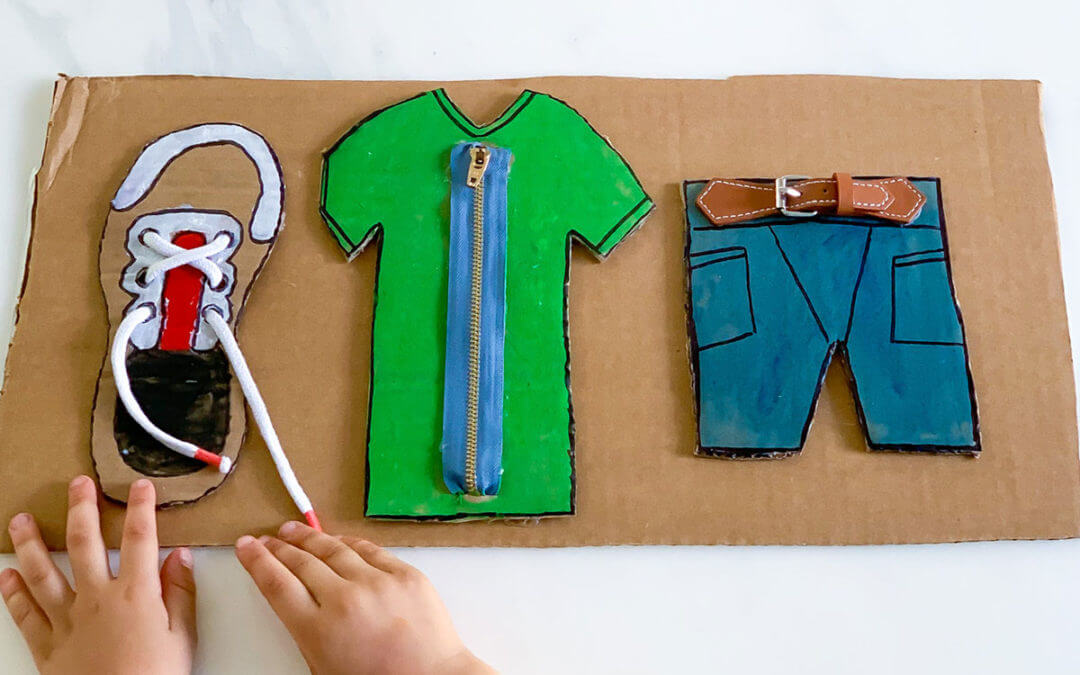
Buckling, zipping, tying: these are all practical life skills that take time and practice! This DIY board is a fun way to help kids learn! With three different sections included, the kids can learn how to tie shoes, buckle a belt, and zip up a shirt, strengthening fine motor skills and building confidence along the way!
The Importance of Practical Life Skills
The activities that you’re going to create on this board are all very important for the kids to learn as they will use those skills for the rest of their life. Tying and zipping and buckling are not only done on clothes and shoes but they’re also used daily in other aspects of life.
This shows the kids the importance of being independent so that they can start working on all these skills on their own. This will help with their confidence and allow them to practice over and over again until they succeed!
Skills:
Ages:
Prep Time:

How We Created Our Life Skill Board
Since the kids are all about trying to do things on their own, they loved diving in and making this board. They were super pumped that it had three parts to it that worked on various new skills that they’re trying to master.
We like to choose some time daily to sit down and work on this board.
A Budget Friendly DIY Toy for Learning Practical Life Skills!
Cardboard, glue, and some leftover clothing helped to create this DIY practical life skills board!
For example, save a zipper from an old sweater, a buckle from an old bag, or a shoelace from an old shoe! All of these things can be used for a busy board like this!
You can even add buttons and clips to provide even more fine motor skills opportunities!

Tips for A Practical Life Skills Board
As mentioned above, there is no need to spend a lot of money on this! Save old clothing, shoes, and bags and use the materials from them to build this practical life skills board.
Cardboard makes a great board because it is cheap and sturdy! To make the cardboard colorful, I like to use tempera paint sticks because they are vibrant like paint, but roll on like a crayon and dry in seconds!
Also make sure you use a strong glue, like tacky glue. Since kiddos will be tugging at the strings, zipper, and buckle, you’ll want to make sure everything adheres well!
All activities should be supervised by an adult. As an Amazon Associate, I earn from qualifying purchases. This post may contain affiliate links.
Materials
- Cardboard
- Paint Sticks
- Zipper
- Cardboard
- Paint Sticks
- Zipper
- Buckle
- Shoelaces
- Glue
Step-by-Step Instructions
Step 1
Cut out cardboard shapes for the shoes, shirt, and pants.
Step 2
Have the kids color them in and glue them on a sheet of cardboard.
Step 3
Add the laces to the shoes, the belt to the pants, and the zipper to the shirt.
Step 4
They can then work on tying, zipping, and buckling over and over again.
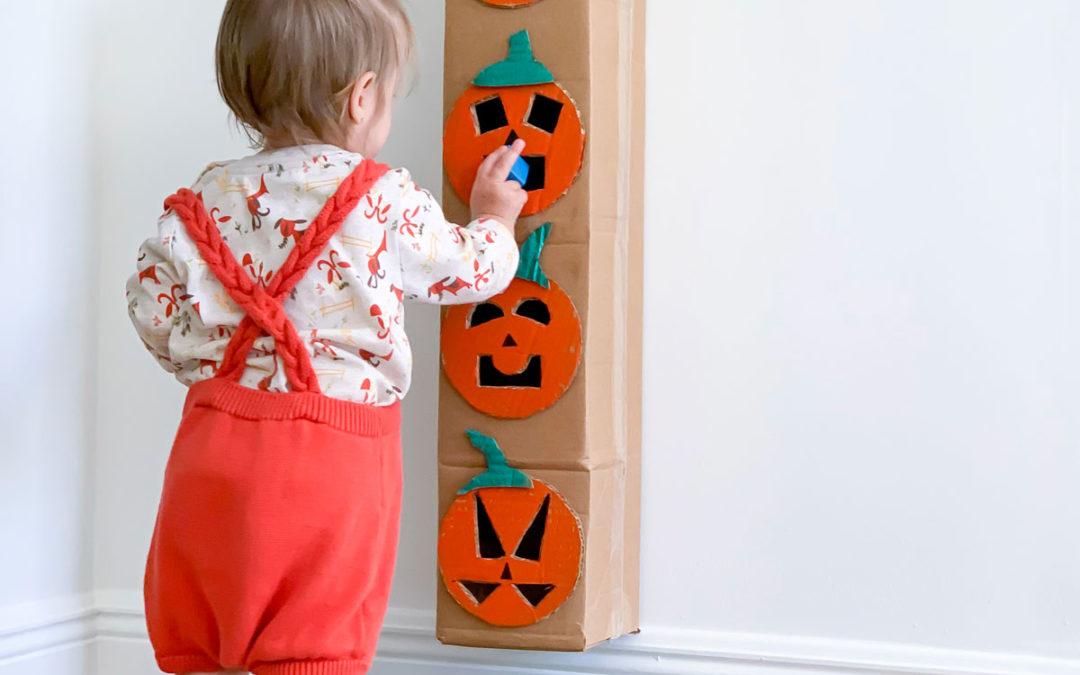
More Ways to Strengthen Fine Motor Skills
The three practical life skills covered in this activity all require the strengthening of fine motor skills.
While we definitely don’t want to encourage our kiddos to cut their own hair, this free printable haircutting activity is so much fun and will allow your kiddos to strengthen their fine motor skills while also learning the practical life skill of cutting!
For more fine motor skills activities, visit our comprehensive list!
Top Picks for Strengthening Practical Life Skills
Here are some great gifts for continuing to strengthen practical life skills!

Fabric Busy Book
This high quality fabric busy book is jam packed with practical life and fine motor skill activities! From dressing, to tying, buckling, and beyond!

Sensory Bowls and Tools
Scooping, pouring, and transferring are all important practice life skills! This set of wooden bowls, scoops, and a tong are great for sensory play!

Screw Driver Board
This car shaped screw driver board is a fun way for kids to learn how to screw and thread real life objects while using real life tools!

Activity Board
This alligator shaped busy board will help young kids learn even more practical life skills. It is lightweight and folds into a book for easy carrying on the go!
What’s Next?
How to Layer a Raised Garden Bed and Make a Trellis
read more
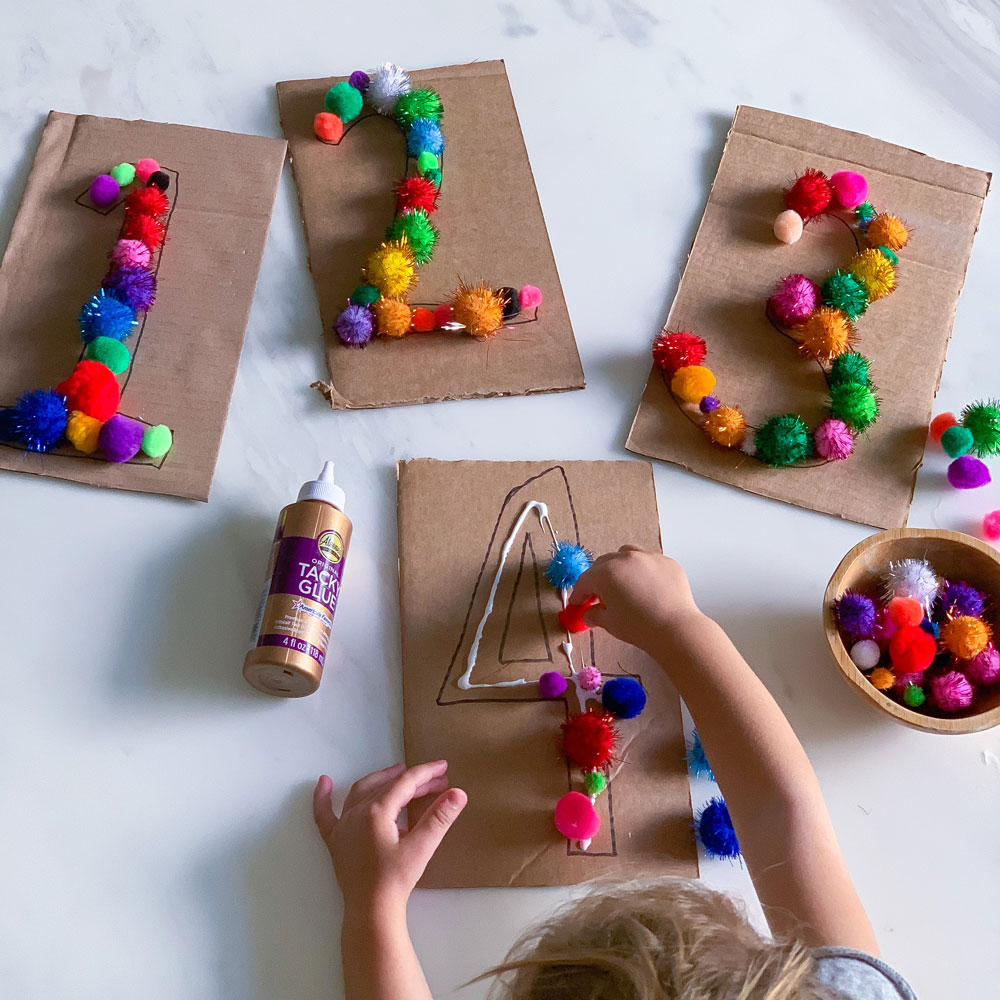
Number Recognition for Toddlers – The Best Activity to Start Learning
Kickstart number recognition for toddlers with this beginner’s activity! Fill bubble outlines with pom poms for engaging hands-on learning.
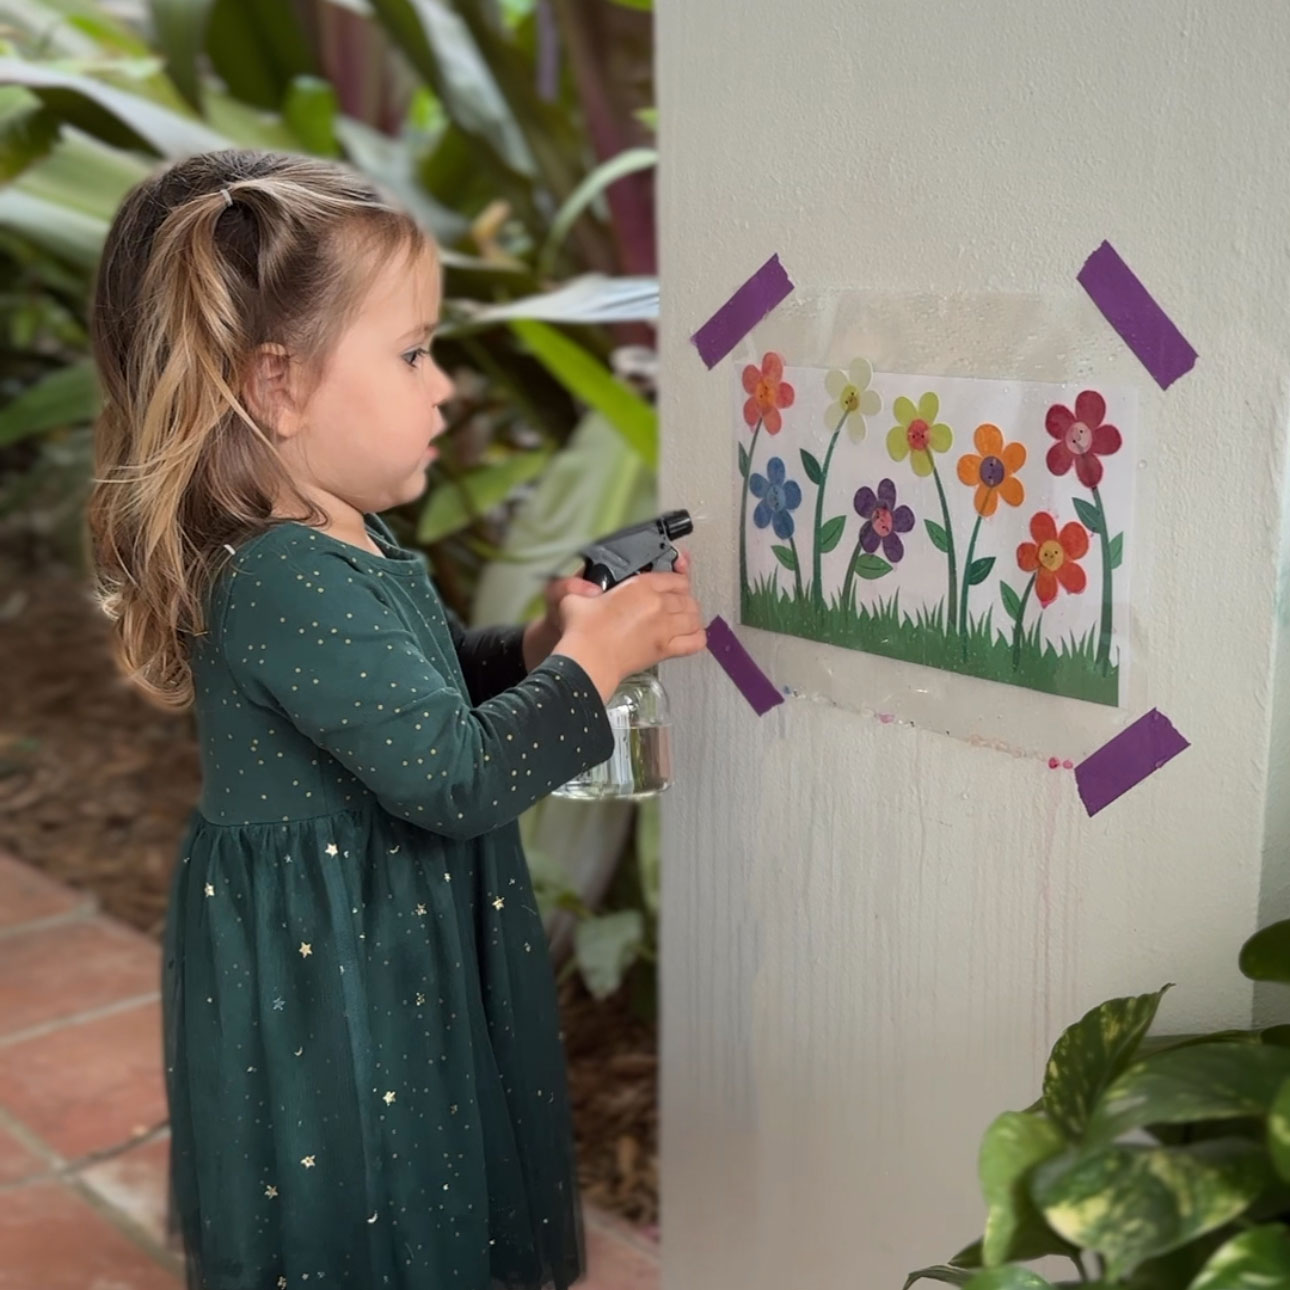
Flower Activity for Preschoolers with Free Printable!
This flower activity is a fun way to learn about how flowers bloom while also strengthening fine motor skills while using a spray bottle!