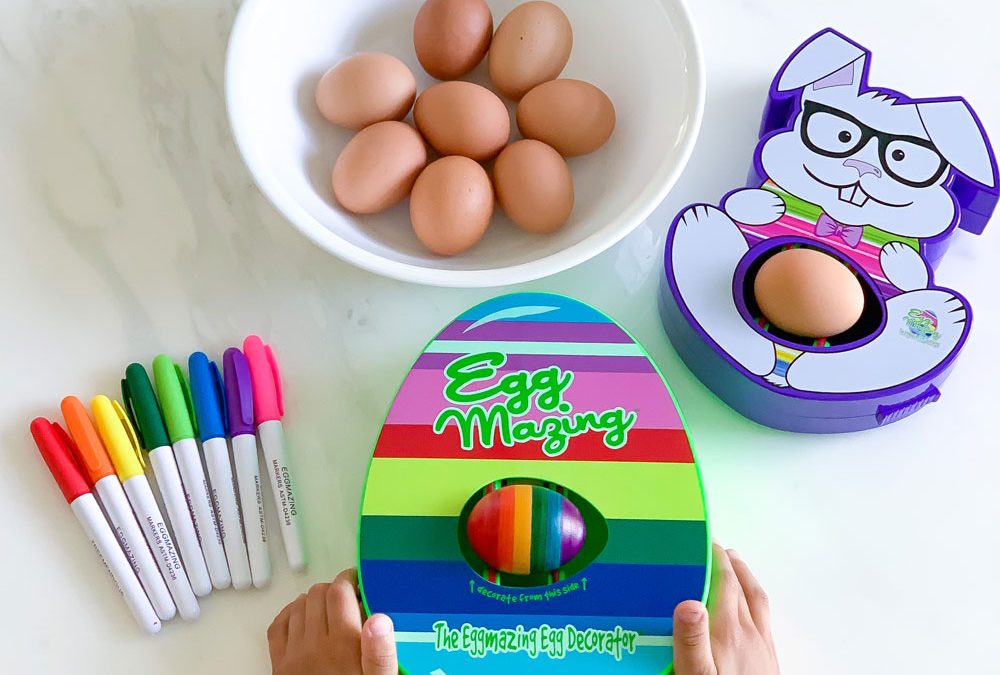
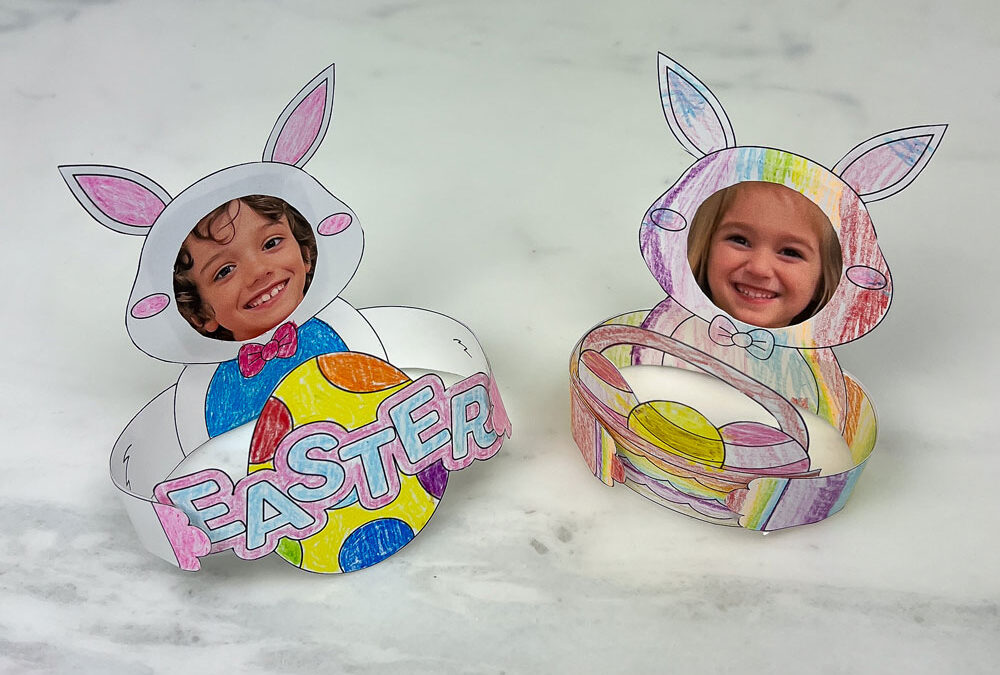
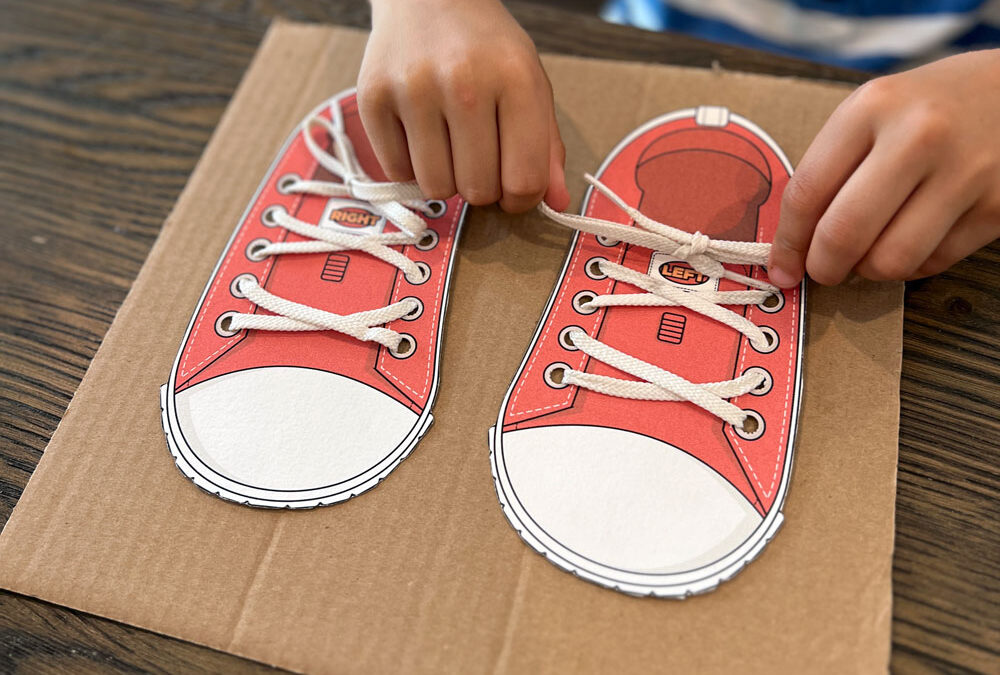
Discover the best Easter ideas for kids including basket ideas, egg fillers, crafts, activities, decorations, and printables to make Easter fun and easy.
Easter Bunny Bags – How to Make Adorable DIY Gift Bags
Easter Bunny Bags – How to Make Adorable DIY Gift Bags

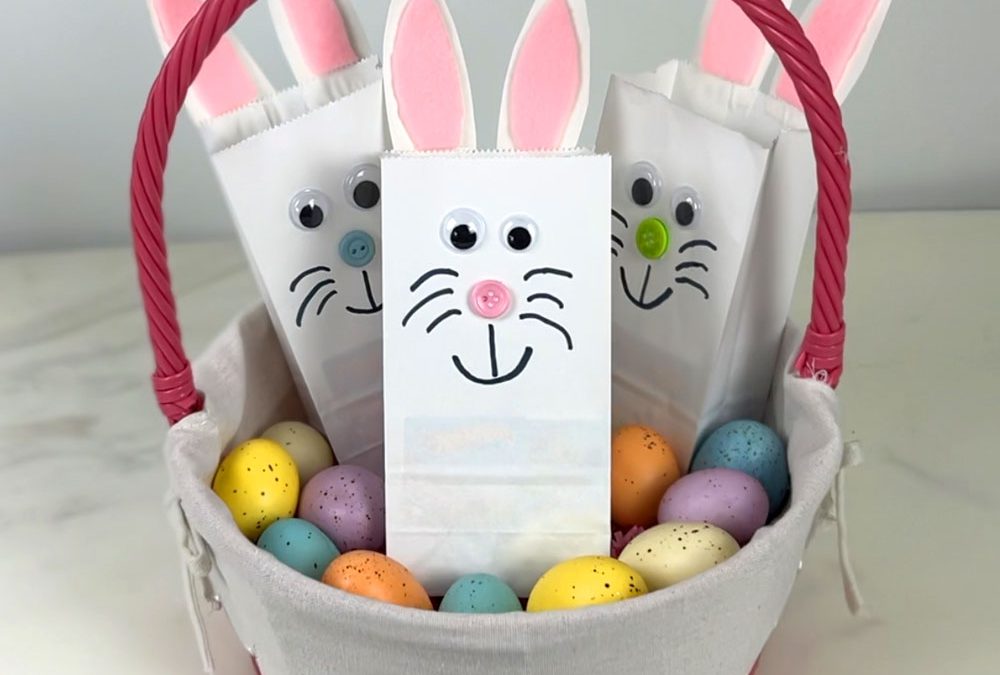
Making your own Easter Bunny Bags is not just easy to do, but the results are so adorable! It’s such a fun craft project for kids or an adult who wants to make something special for their family! Keep reading for the simple step-by-step instructions, handy tips, and even more Easter-themed activities to make this holiday extra special.
Adding a Personal Touch to Easter Bunny Bags
There is something so special about giving a gift that’s been crafted with love and care, especially during the Easter season! These adorable DIY Easter bunny bags not only hold sweet treats or small gifts but also carry the warmth of your personal touch.
Whether you’re surprising a friend, family member, or little one, these handmade creations add an extra layer of joy and thoughtfulness to your Easter celebrations.
Skills: Arts and Crafts
Ages: 3+
Prep Time: 15 min
Watch the Video To See How to Make Easter Bunny Bags!
Excited to dive into this adorable Easter DIY project? You’re in for a treat! Watch this video to see how crafting these charming Easter bunny bags is not only fun but also surprisingly easy.
Whether you’re a seasoned crafter or new to DIY, this project is perfect for all skill levels. With just a few simple materials and straightforward steps, you’ll have your own bunny bags ready in no time.
So, let’s channel that excitement, gather our supplies, and get ready to create something truly special for the holiday season!
All activities should be supervised by an adult. As an Amazon Associate, I earn from qualifying purchases. This post may contain affiliate links.

Tips for Creating These Easter Bunny Bags
Cutting the Ear Shape: When cutting out the ears, take your time to ensure clean and precise edges. You can trace one ear first and then use that as a guide for all the remaining ears to draw and cut.
Use a Strong Glue or Tape: Use a strong adhesive to firmly attach the paper ears, googly eyes and button nose to the paper bag. This will help prevent them from coming loose and ensure durability.
Experiment with Colors and Patterns: Don’t be afraid to get creative with your materials! Mix and match different colors of paper, felt, or even patterned paper to customize your bunny bags and make each one unique.
Materials
Step-by-Step Instructions
Step 1
On white paper, cut out two large bunny ear shapes. On either pink paper or pink felt, cut out two smaller bunny ear shapes to make the inner ear.
Step 2
Glue the inner ear on top of the outer white paper ear and then glue each of the ears to the paper bag by applying glue to the bottom edge of each bunny ear and then positioning them onto the top edge of the paper bag.
Step 3
Glue two googly eyes, a button for a nose, and draw whiskers and a mouth with a black marker.
Step 4
Once the glue has dried, fill with treats or a small gift!
The Benefits of Creating Easter Bunny Bags
Besides the obvious joy of giving a personalized gift to a friend or loved one, crafting these Easter bunny bags has a ton of other benefits!
Engaging in creative projects like this stimulates imagination and allows for self-expression. Furthermore, the precise cutting and careful assembly required enhance fine motor skills, making it a great activity for children and adults alike. As you create each bunny bag with love and attention to detail, you’re not only fostering creativity but also spreading happiness with every gift you give!
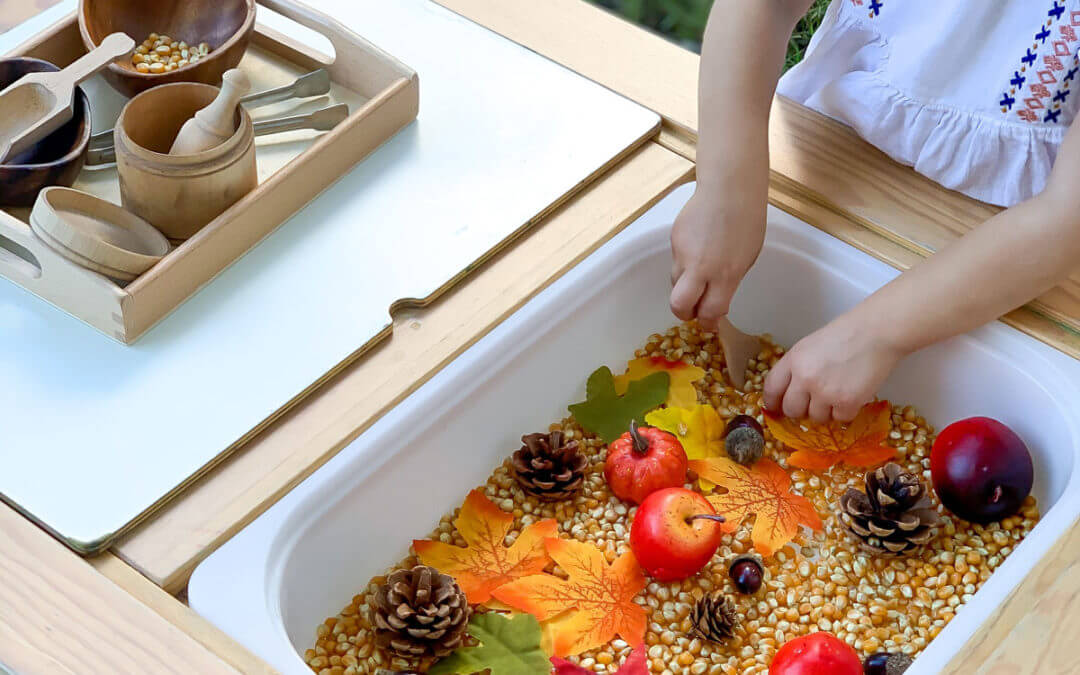
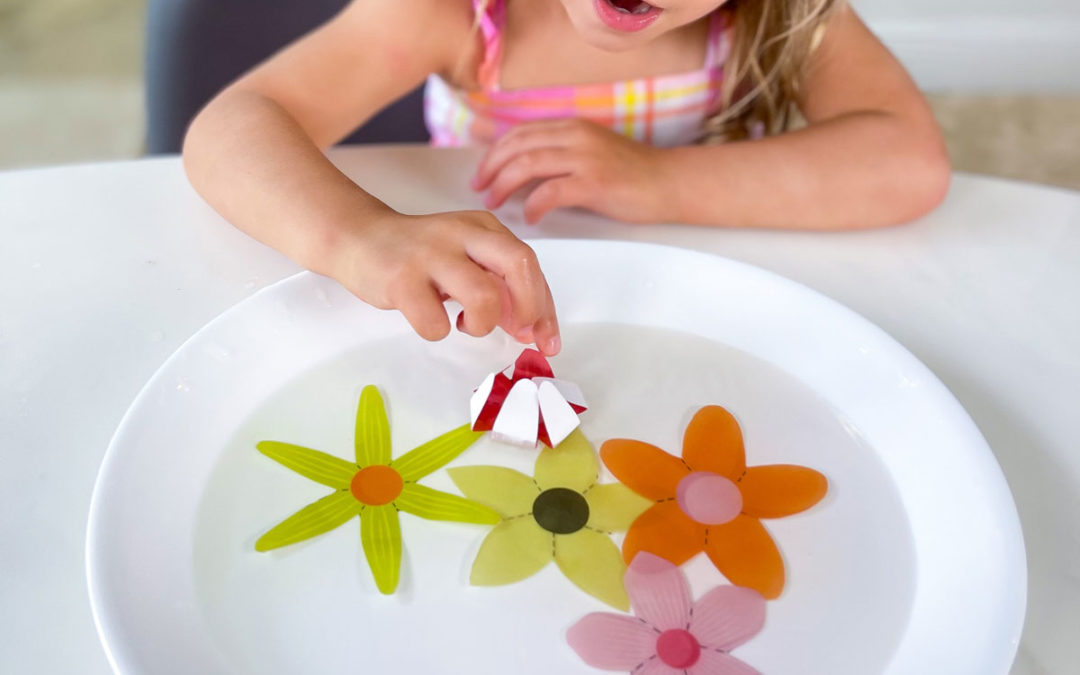
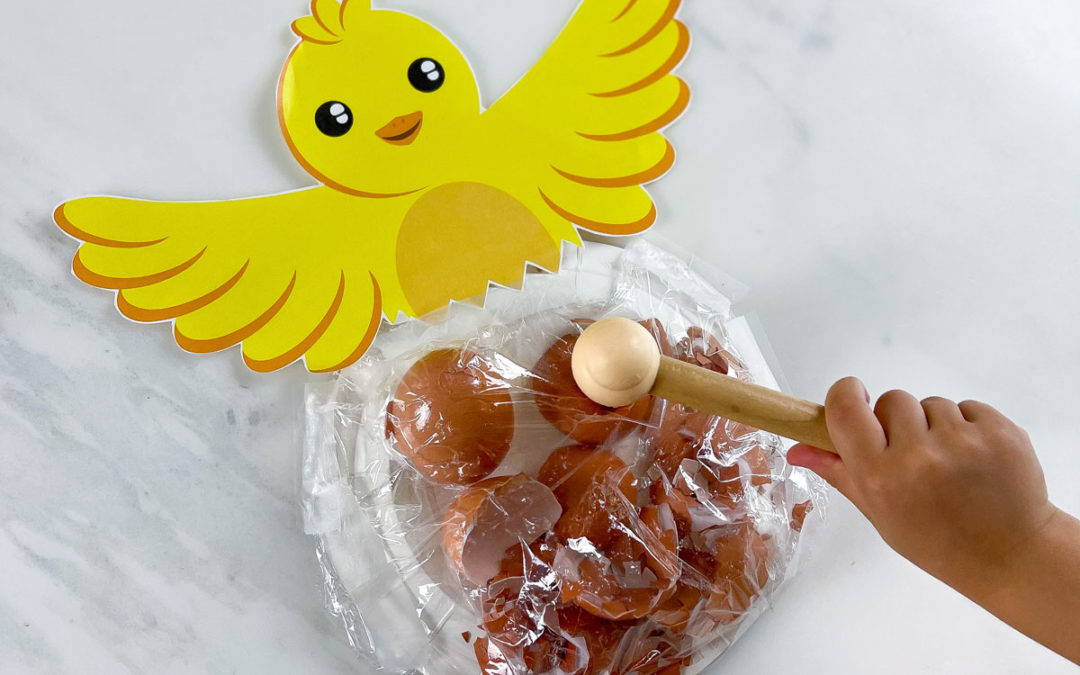
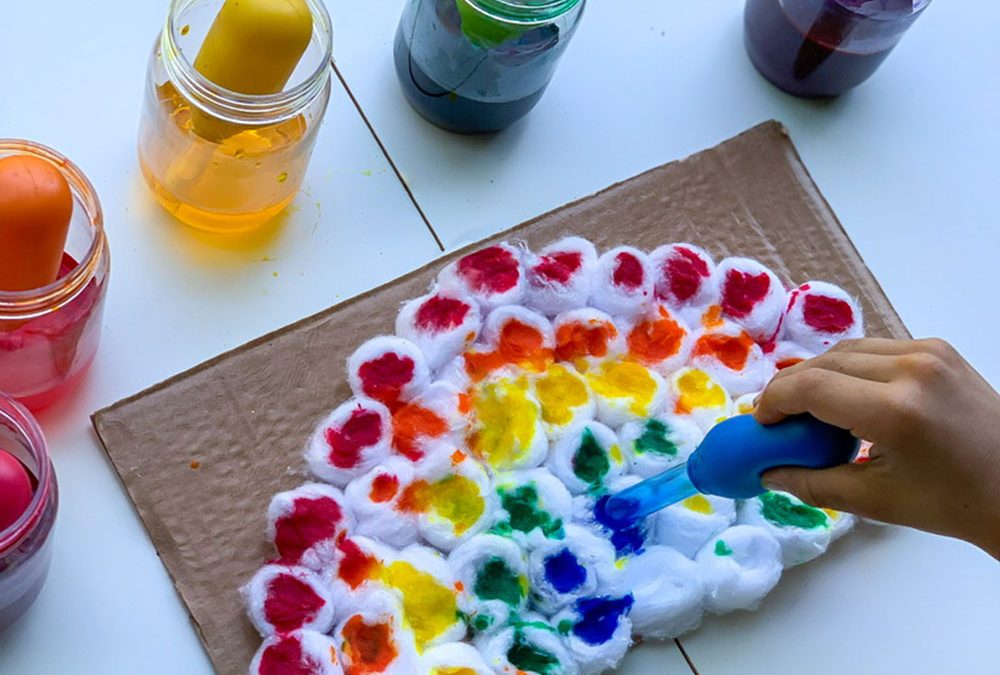
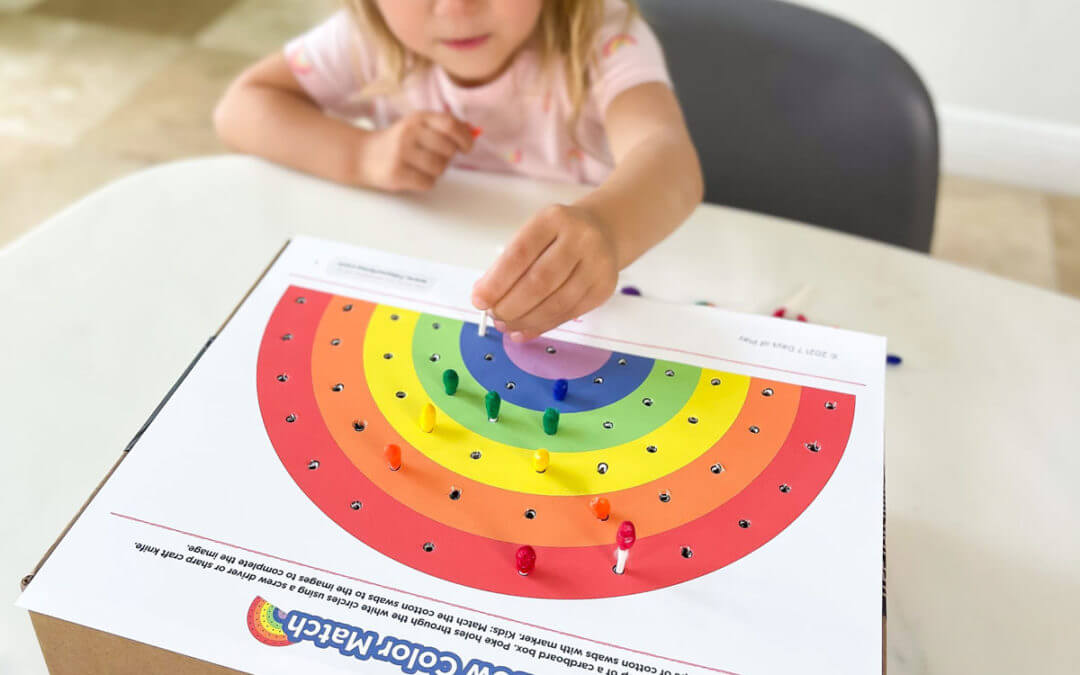
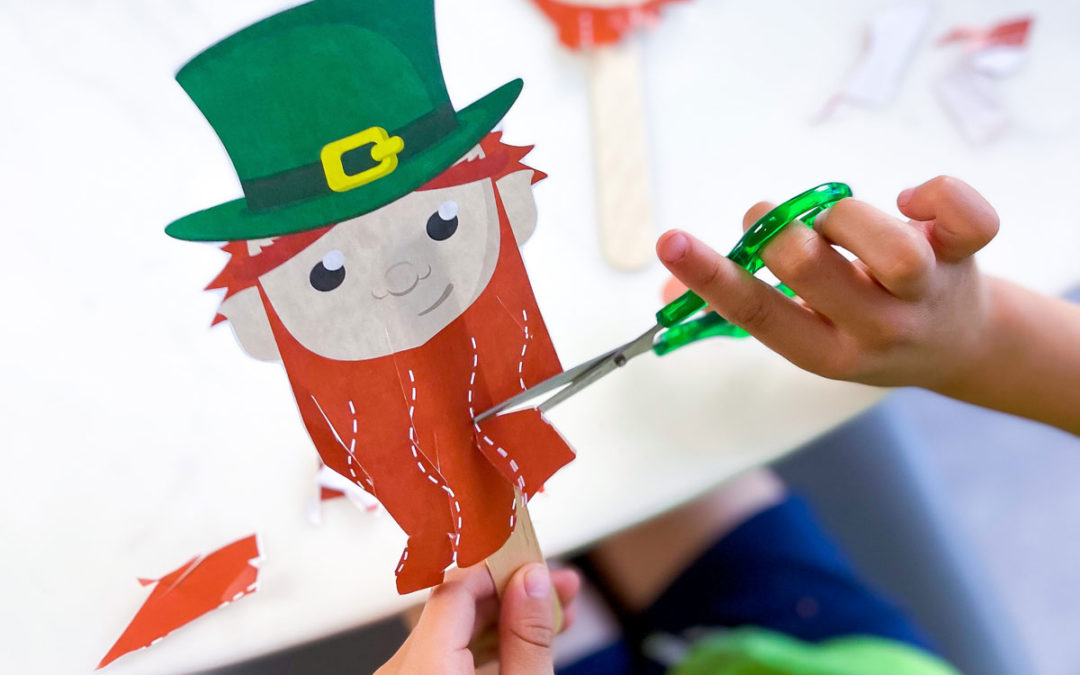
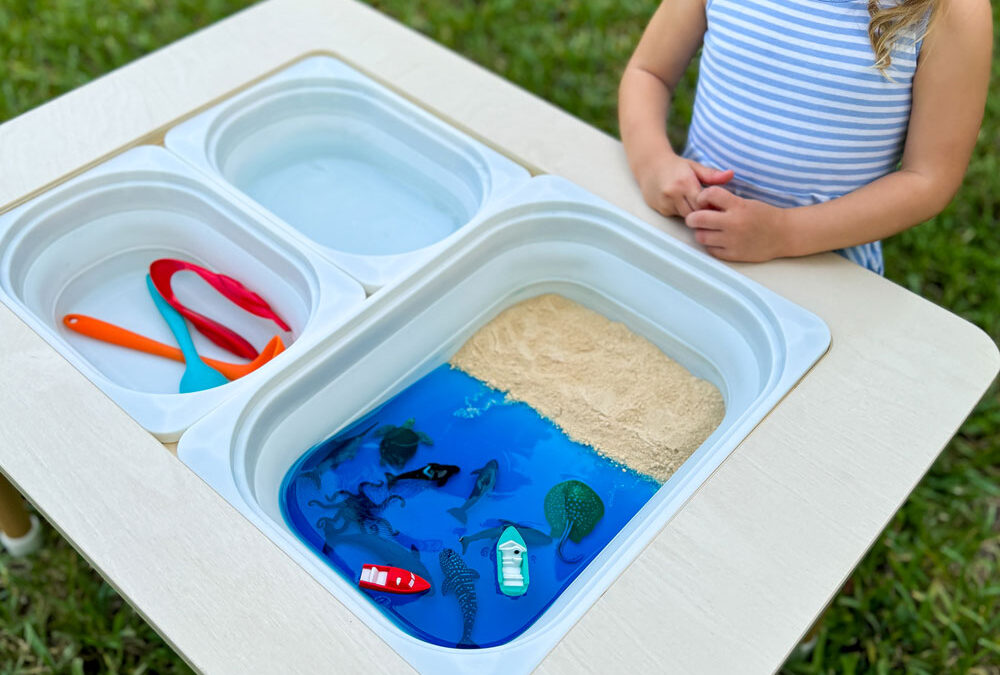
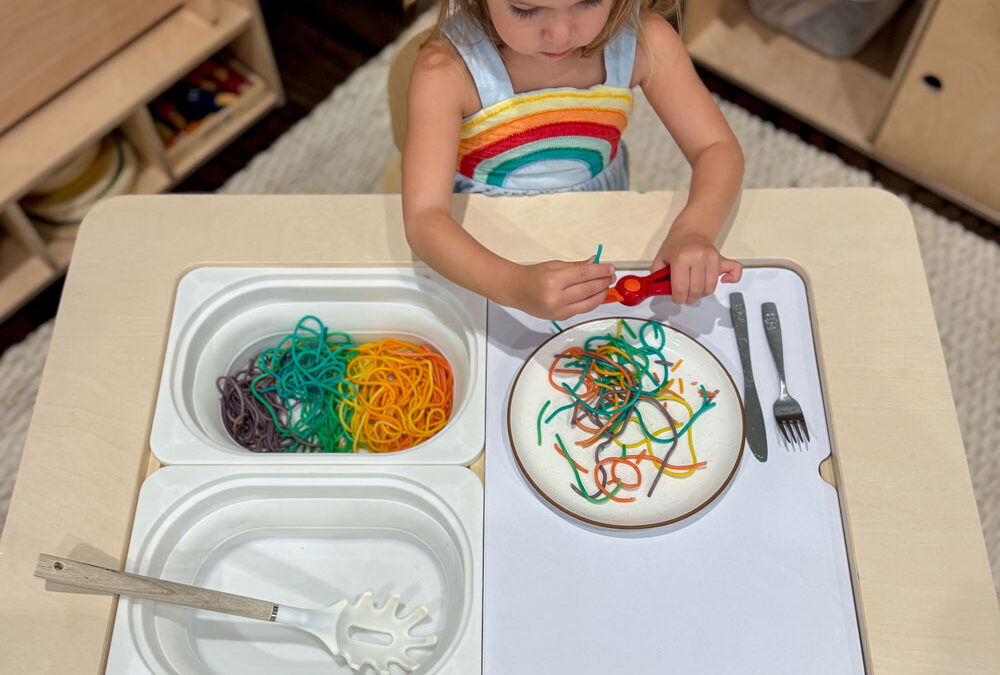
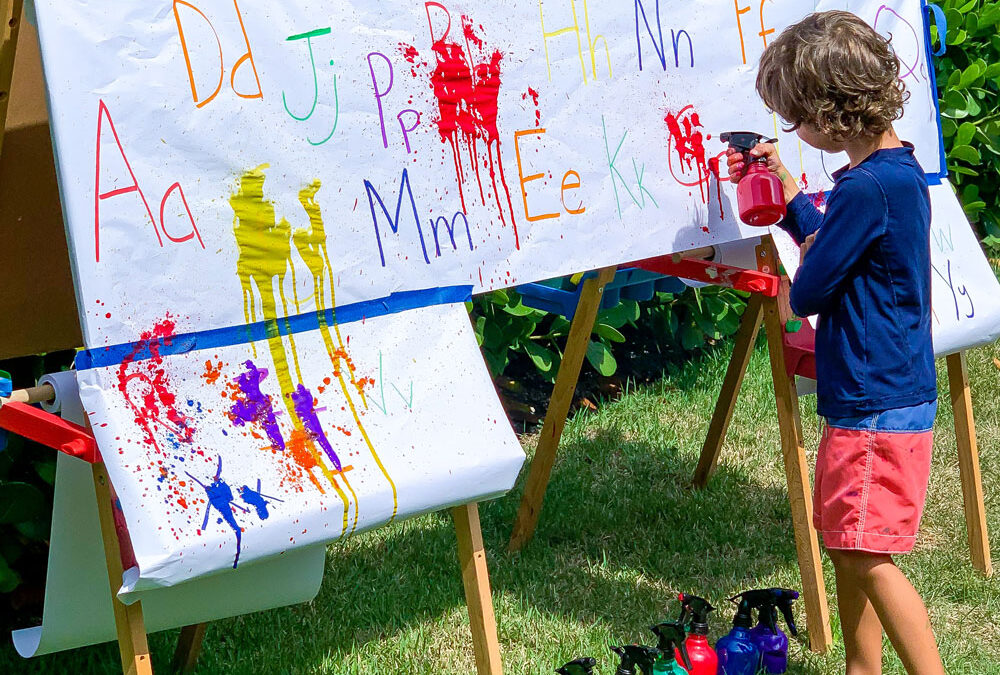
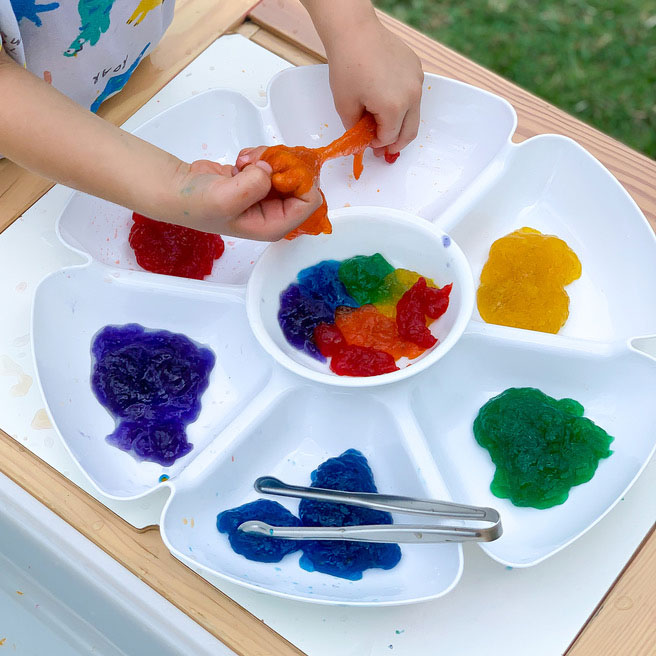
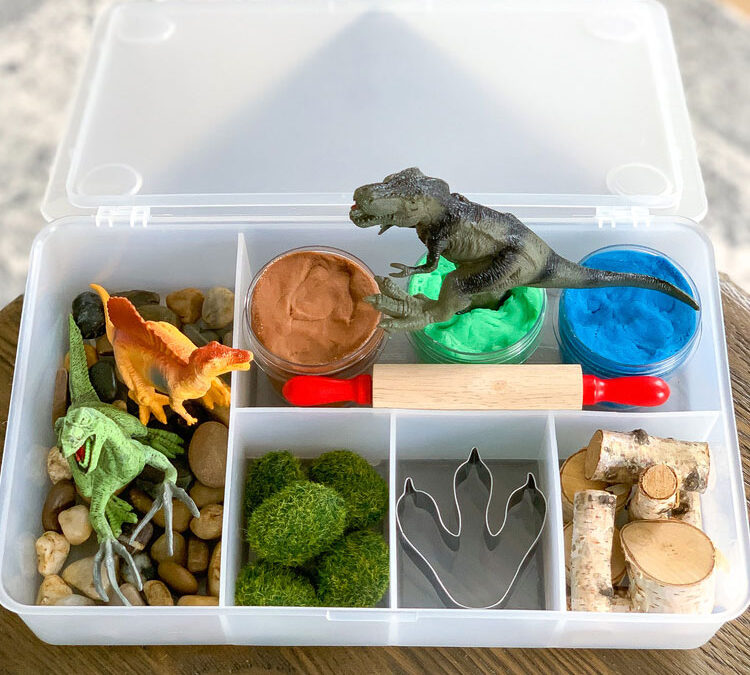
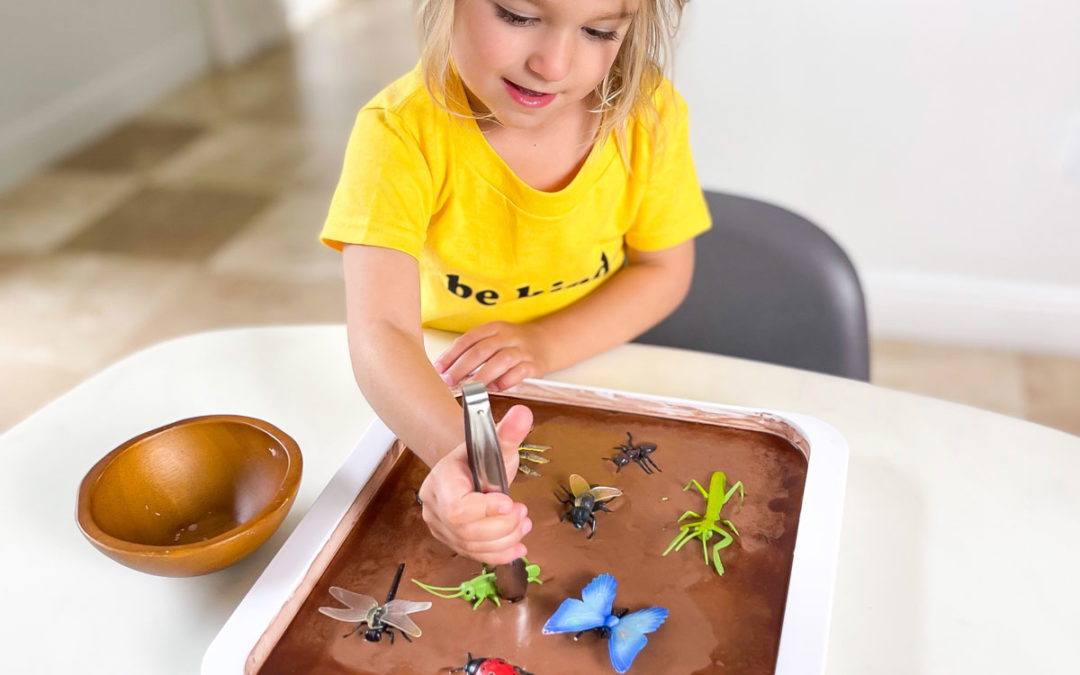
More Easter Themed Activities!
Explore some more of our favorite Easter themed activities and printables!

Feed the Bunny Activity!

Hatch the Egg Printable!

Bunny Math – Learn Addition Printable!

20+ Easter Printable Activities!
What’s Next?

The Best Easter Ideas for Kids
read more
Air Fryer Tequeños, Freeze Ahead and Cook Straight From Frozen
Make Air Fryer Tequeños you can freeze and cook from frozen, crispy dough, melty cheese, plus dips and no-leak tips.

Low sugar high protein snack balls, A Better Sweet Treat for Snack Time
Make these low sugar high protein snack balls with peanut butter powder and Greek yogurt, then dip in a simple chocolate shell.