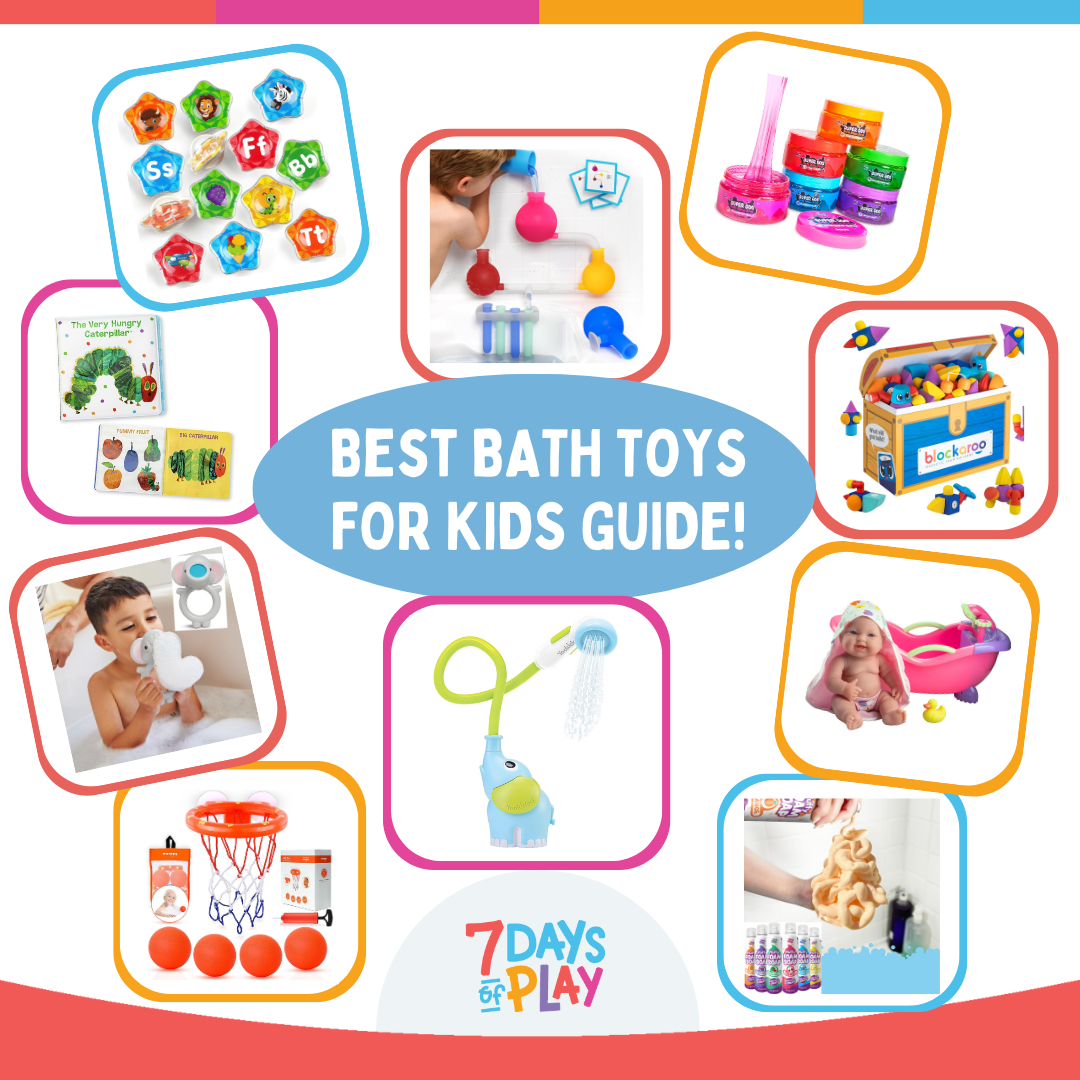
Explore the best bath toys for kids! Discover the ultimate guide to bath time fun with these top picks that will make every splash memorable.
Try These Easy Thanksgiving Activities for Kids
Try These Easy Thanksgiving Activities for Kids

Thanksgiving time is here! Whether you’re looking for some fun pre-festivities activities or need something to keep the kids busy on the. big day, these are fun and easy options. Keep reading for step by step instructions, and tips for making these activities a success!
Why We Love These Activities
Not only are these Thanksgiving crafts a great way to burn some creative energy, but they can also serve as fun holiday decor. Whether you’re looking for a fun pre-festivities activity for your child or you’re entertaining a group of little ones on the big day, these games and crafts will do the trick. Take your activities up a notch to include some educational entertainment. These holiday crafts and games work on fine motor skills, hand-eye coordination, color recognition, and alphabet skills, while also teaching your kids about the history of Thanksgiving.
Looking for a fun way to get your kids into the Thanksgiving spirit? We’ve got you covered with these holiday printables.
All activities should be supervised by an adult. As an Amazon Associate, I earn from qualifying purchases. This post may contain affiliate links.
Skills:
Ages:
Prep Time:
See How Easy These Thanksgiving Crafts Are
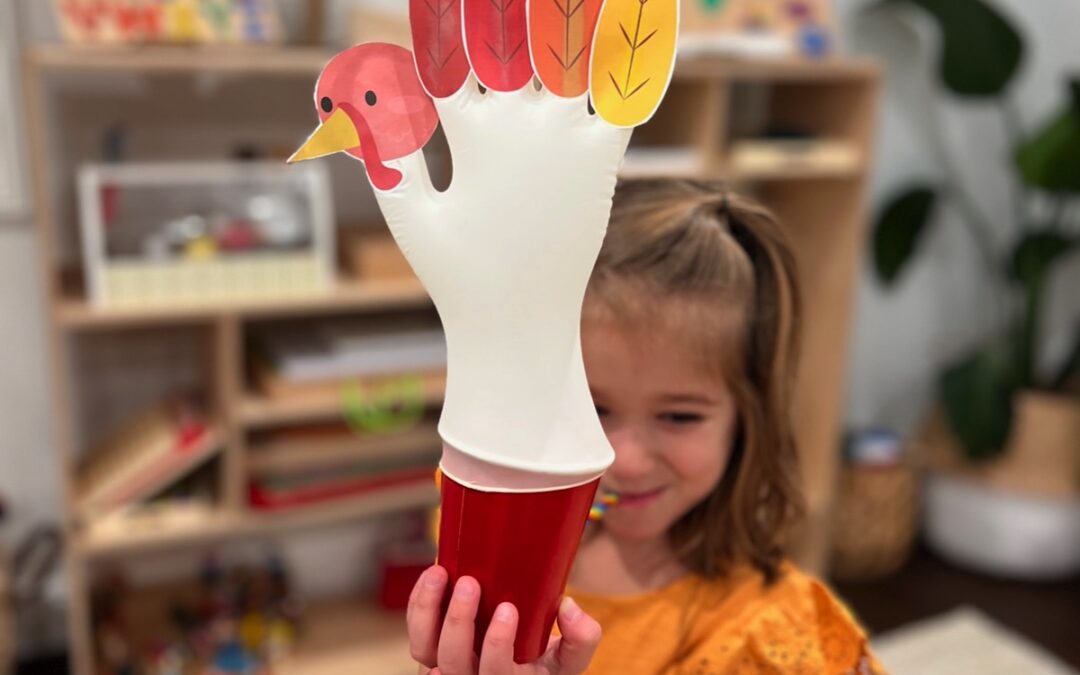
Crafting our favorite blow-up turkey allows children to become the architects of their Thanksgiving adventure. This hands-on activity encourages them to participate in the holiday and fosters a sense of ownership that boosts their self-confidence.
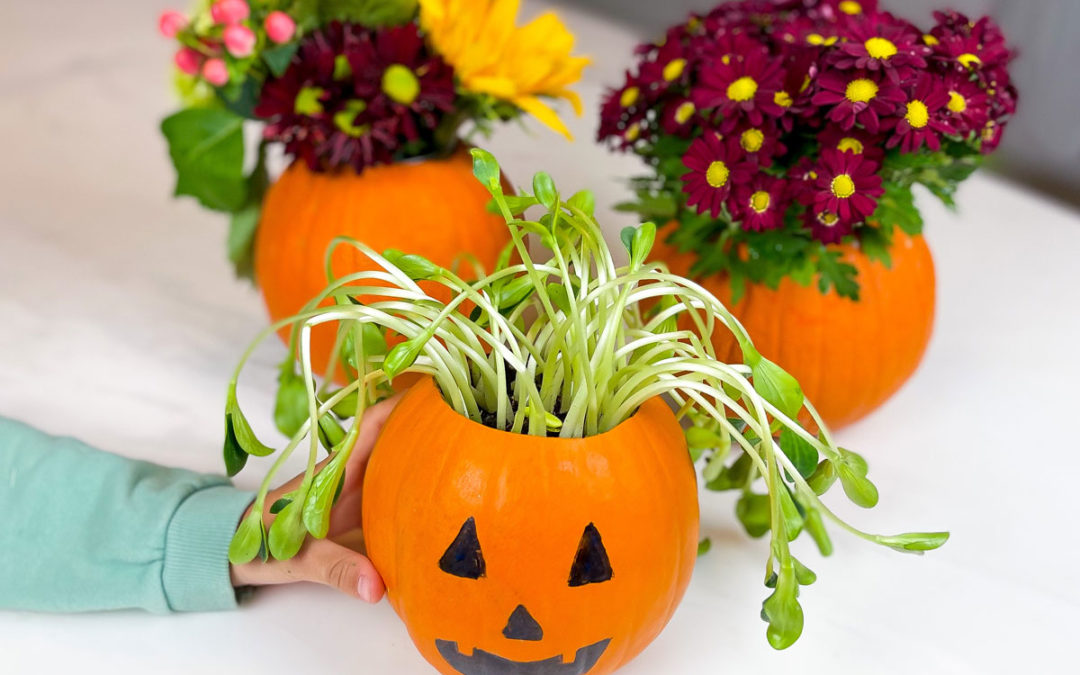
Your children will be so proud to see their pumpkin flower centerpieces on top of the Thanksgiving table this year. This activity taps into their natural inclination to investigate and create, turning the learning process into a fun exploration.
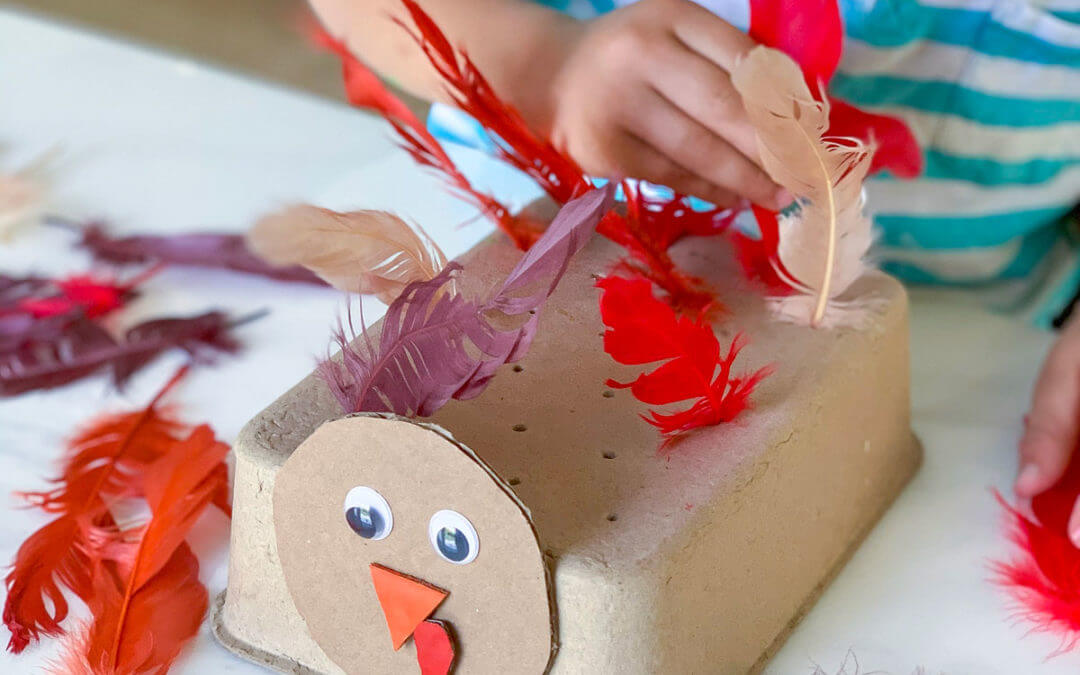
Our fun cardboard turkey with feathers lets kids transform the abstract notion of a Thanksgiving turkey into a concrete experience, making the learning process exciting and memorable. As children manipulate materials and bring their turkey creations to life, they not only nurture important motor skills but also create a cute craft that can be displayed on Thanksgiving day.
See How Easy These Thanksgiving Crafts Are
Crafting our favorite blow-up turkey allows children to become the architects of their Thanksgiving adventure. This hands-on activity encourages them to participate in the holiday and fosters a sense of ownership that boosts their self-confidence.
Your children will be so proud to see their pumpkin flower centerpieces on top of the Thanksgiving table this year. This activity taps into their natural inclination to investigate and create, turning the learning process into a fun exploration.
Our fun cardboard turkey with feathers lets kids transform the abstract notion of a Thanksgiving turkey into a concrete experience, making the learning process exciting and memorable. As children manipulate materials and bring their turkey creations to life, they not only nurture important motor skills but also create a cute craft that can be displayed on Thanksgiving day.
Your Thanksgiving Printables Are Here!
We’ve created several Thanksgiving printables so you can easily have activities on hand for your kids this holiday. These printable Thanksgiving crafts and games all start with our printable coloring pages! Some of our downloads are free, while others are listed at a low cost and offer hours of entertainment for your kids. Our Thanksgiving-themed booklet includes 16 unique activities that promote playful learning that will keep your kids busy and engaged for hours.
Each of our printables are designed using crisp, high-resolution images to ensure your coloring experience will be top-notch. Get ready to create holiday masterpieces your kids will love!

Get 16 Thanksgiving-themed Activities With Our Booklet
Celebrate the spirit of Thanksgiving with our specially curated booklet, featuring an array of 16 engaging activities designed for playful learning. This thematic compilation encompasses a diverse range of educational elements, fostering development in areas such as scissor skills, alphabet mastery, numerical understanding, fine motor coordination, tracing proficiency, coloring creativity, phonics exploration, matching challenges, and beyond. Each activity is thoughtfully crafted to provide a delightful and educational experience, making this booklet a perfect resource for young learners during the Thanksgiving season.
Download All of Our Thanksgiving Printables
Your kids will be entertained for hours with these fun games and crafts! Check out our high-resolution printables.

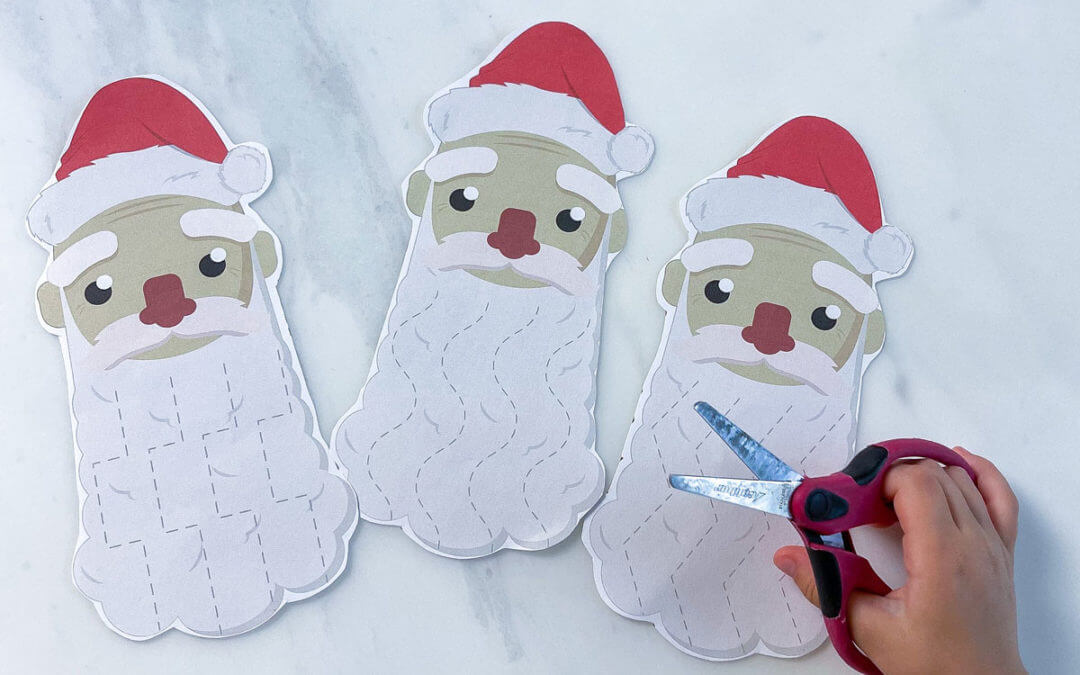
Blow Up the Turkey
Turn a simple glove into a Thanksgiving turkey with this free printable. Your kids will love this interactive activity that’s super easy to create!
15+ Holiday Activities
Keep your kids entertained with playful learning this Thanksgiving. These holiday activities include scissor skills, coloring, tracing, and fine motor skills.

Pin the Peg on the Turkey
Pin the Peg on the Turkey is a fun and festive game that will keep your kids entertained while working on hand-eye coordination and dexterity.

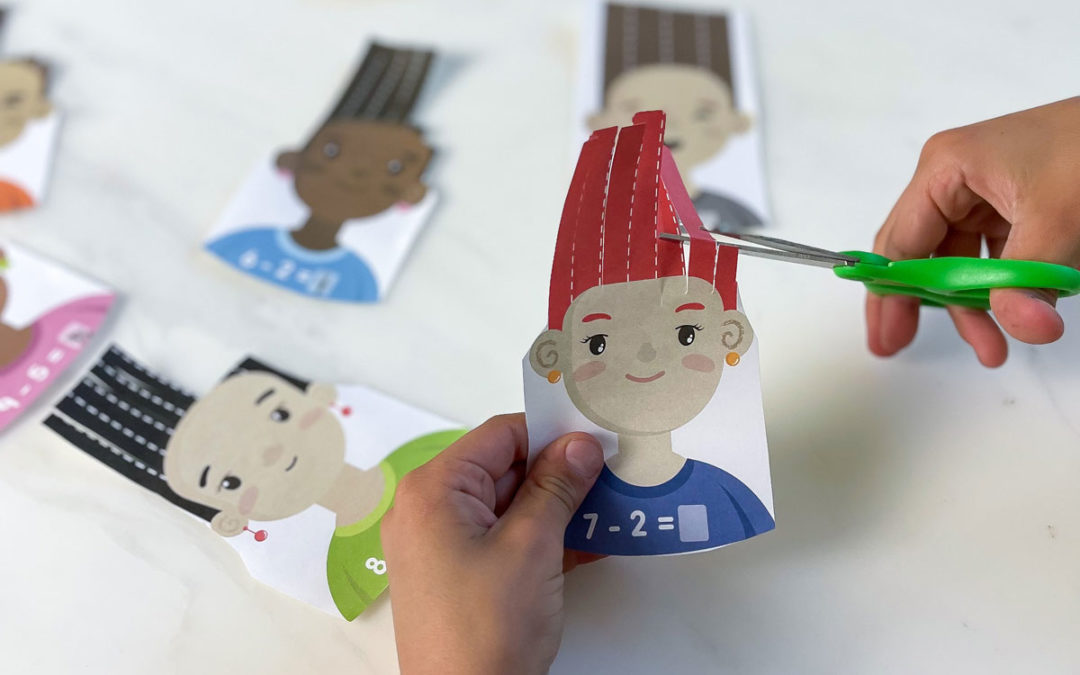
Pilgrim Salon
Teach your kids about the history of Thanksgiving while unleashing their creative side. This activity will work on fine motor skills and hand-eye coordination.
What’s Next?
The Best Bath Toys for Kids in 2024
read more
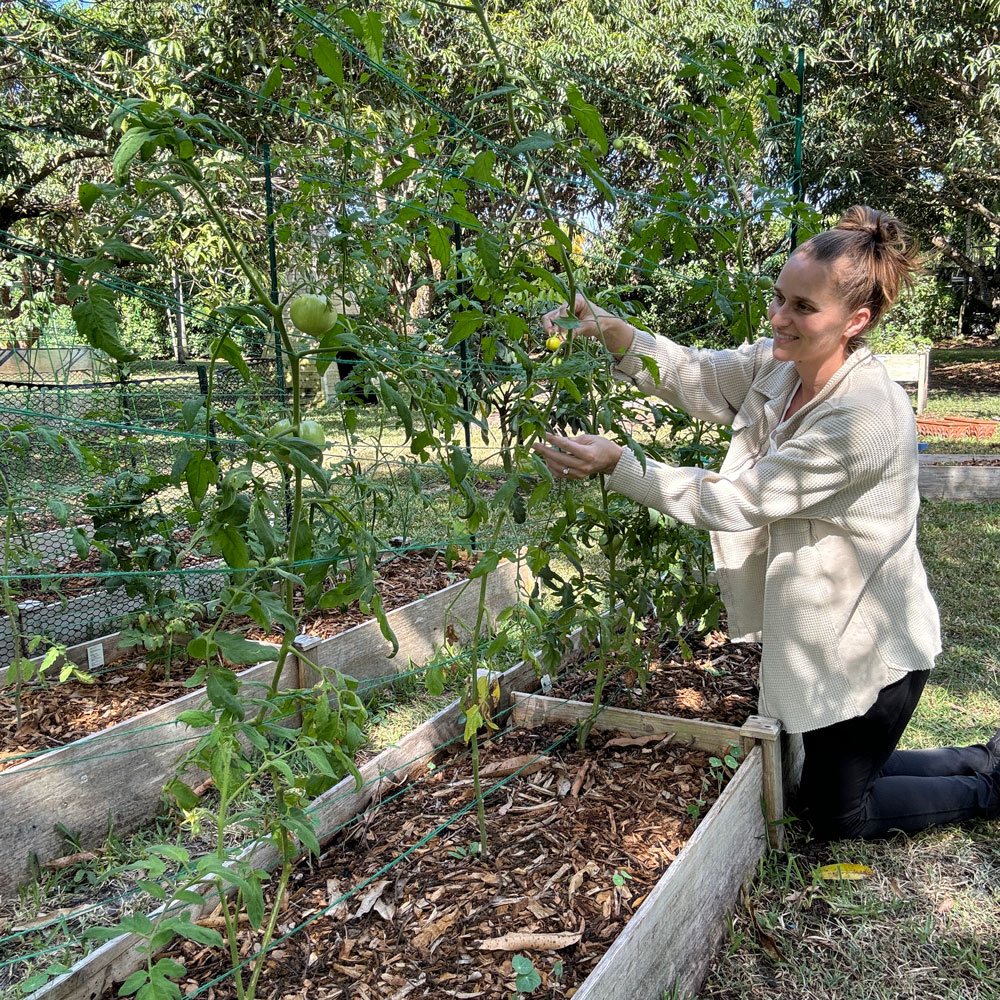
How to Layer a Raised Garden Bed and Make a Trellis
Learn how to layer a raised bed and create affordable trellises for thriving gardens. Explore our guide for expert tips & easy instructions!
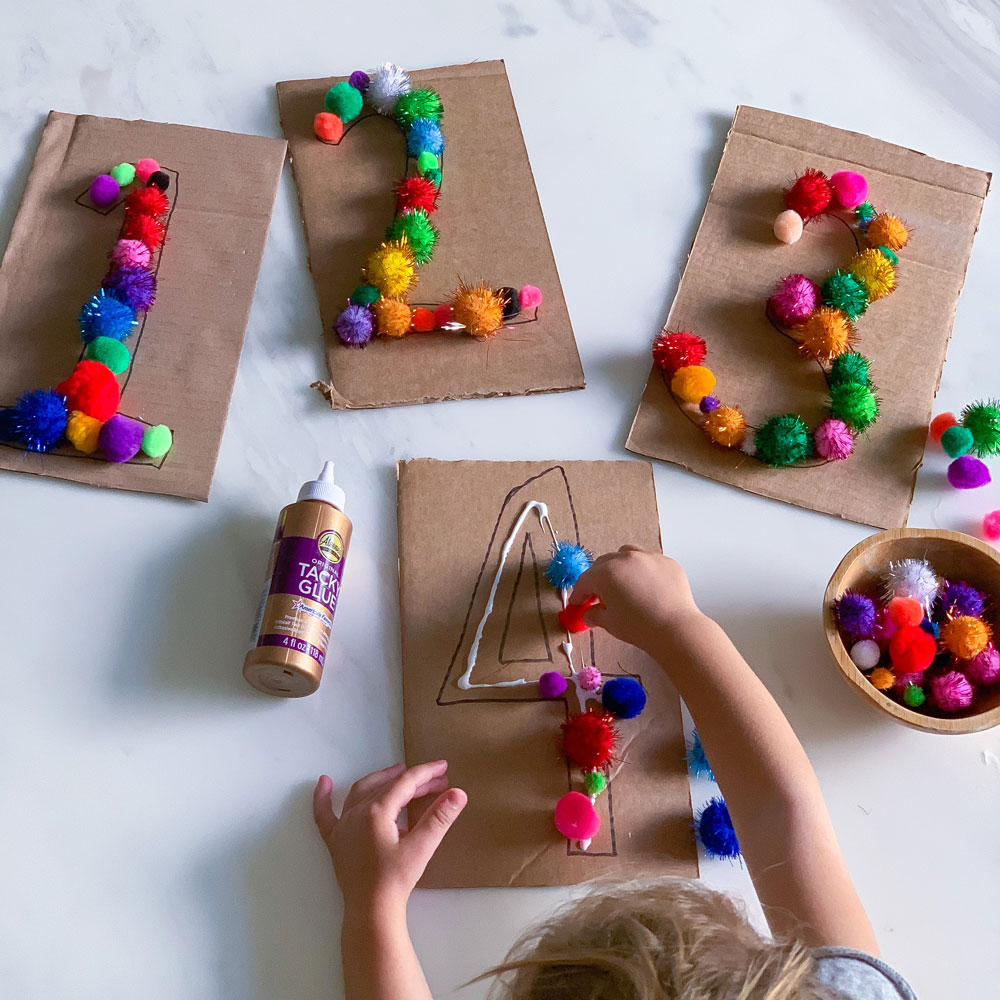
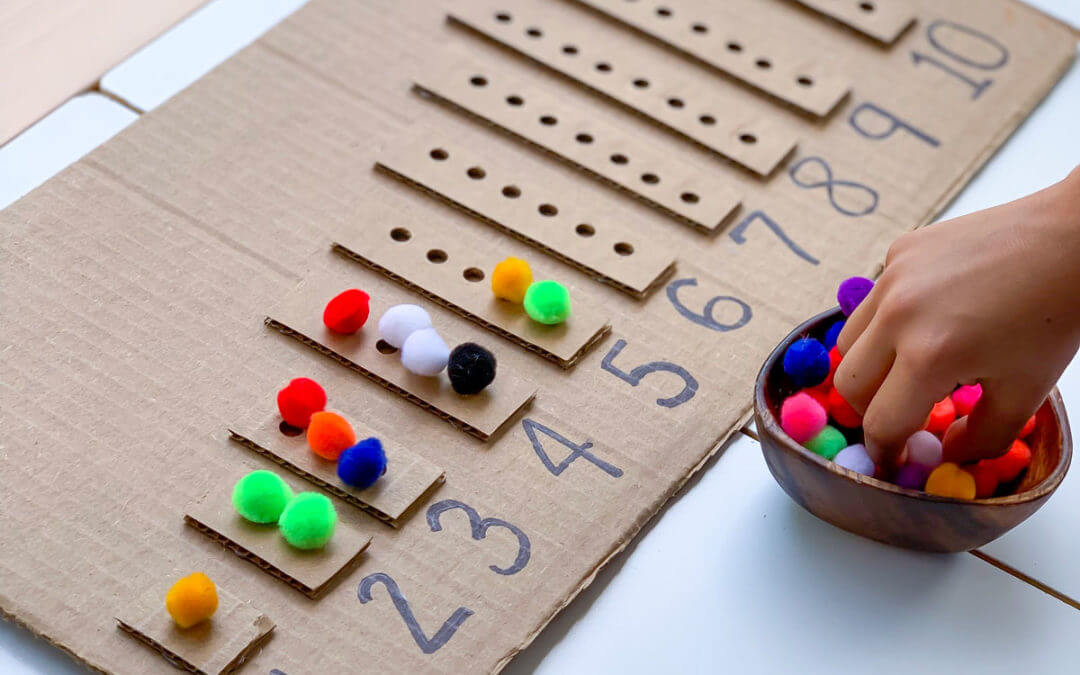
Number Recognition for Toddlers – The Best Activity to Start Learning
Kickstart number recognition for toddlers with this beginner’s activity! Fill bubble outlines with pom poms for engaging hands-on learning.