Explore a fun and easy way to make bath time fun for kids with our vibrant and homemade kids bath paint recipe!
How to Make Kids Bath Paint – Colorful Clean Fun
How to Make Kids Bath Paint – Colorful Clean Fun

Are you looking for a way to make bath time fun? Making your own kids bath paint is the perfect way to get them clean while letting them channel their inner Picasso during bath time!
Getting Creative with Homemade Kids Bath Paint
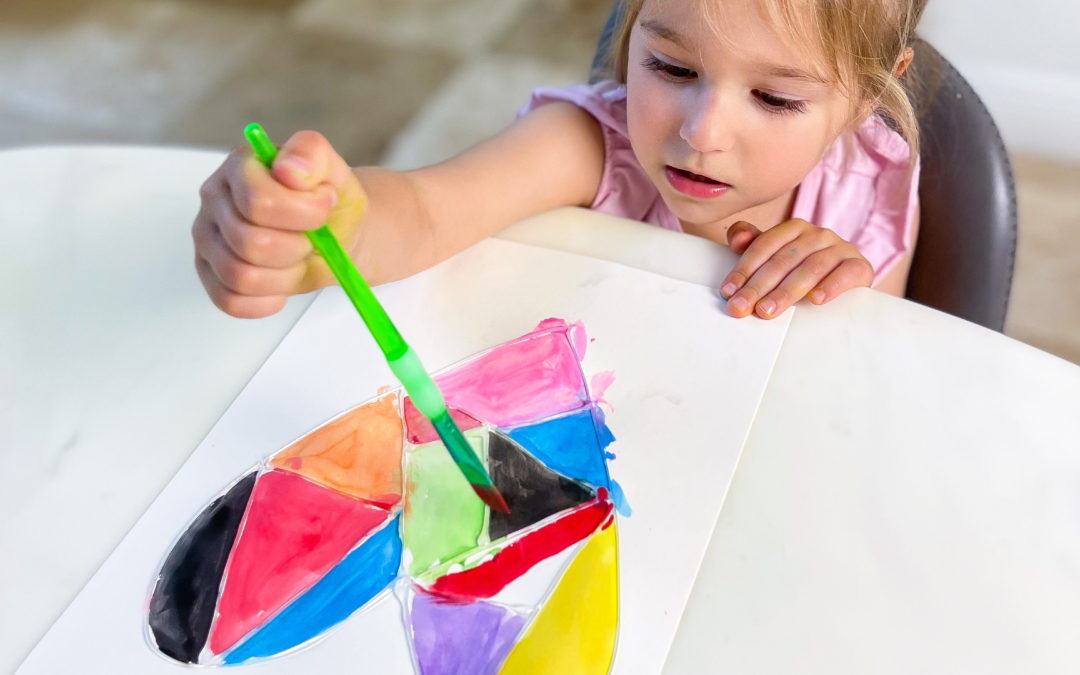
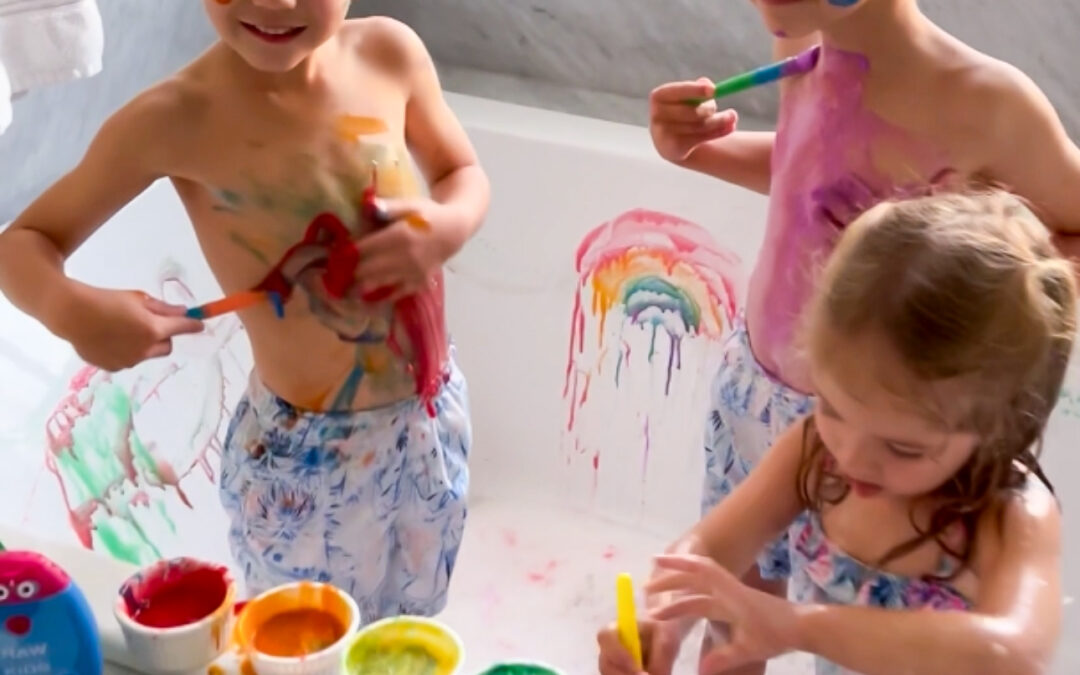
Who says bath time is just for getting clean? It’s also the perfect canvas for creativity! Imagine little hands painting rainbows and underwater scenes right on the bathtub walls.
With washable soap paint, not only can kids tap into their inner artists, but cleanup is a breeze—it’s literally soap, after all! So, let’s dive into the colorful world of bath time art and discover how to make bath paint that’s as safe as it is fun with our easy recipe!
All activities should be supervised by an adult. As an Amazon Associate, I earn from qualifying purchases. This post may contain affiliate links.
Skills: Art, Sensory Play
Ages: 2+
Prep Time: 10 minutes
The Benefits of Playing with Kids Bath Paint
Painting during bath time offers a range of benefits for children:
Creativity and Expression: Bath time painting provides a unique opportunity for children to express their creativity in a relaxed and enjoyable environment. They can explore their imagination and create colorful masterpieces using kids bath paint made out of soap.
Sensory Stimulation: Painting in the bath engages multiple senses, including sight, touch, and even smell. The sensation of the paint on their fingers, the vibrant colors, and the scent of the soap can all enhance sensory stimulation, contributing to a richer sensory experience for the child.
Fine Motor Skills Development: Holding a paintbrush or using fingers to apply paint helps to develop fine motor skills in children. These activities strengthen hand muscles and improve hand-eye coordination, which are crucial for tasks like writing, drawing, and other activities requiring precision.
Overall, bath time painting offers a holistic learning experience that promotes creativity, sensory development, and emotional well-being in children, all while making bath time a fun and enjoyable part of their routine.

Tips for Making Kids Bath Paint
Tear-Free, Kid-Safe Paint: Opt for tear-free bath soap to ensure the paint is gentle and safe for children’s delicate skin. Look for soap specifically formulated for kids, preferably hypoallergenic and free from harsh chemicals.
Use Washable Liquid Watercolor: Choose washable liquid watercolor instead of food coloring to avoid potential staining, especially on grout and other bathroom surfaces. Liquid watercolor provides vibrant colors that are easy to clean up, ensuring a mess-free bath time experience.Choose a
Pleasantly Scented Soap: Select a bath soap with a pleasant fragrance to enhance the sensory experience during bath time painting. A soap with a subtle, kid-friendly scent can add an extra element of enjoyment to the activity, making bath time more enjoyable for children.
Materials
- Squeeze bottles or small containers for storing paint
- Optional: Bath toys for added fun and sensory exploration (check out our Bath Toy Guide!)
- Tear-free bath soap for kids
- Corn starch
- Washable liquid watercolor
- Squeeze bottles or small containers for storing paint
- Optional: Bath toys for added fun and sensory exploration (check out our Bath Toy Guide!)
Step-by-Step Instructions
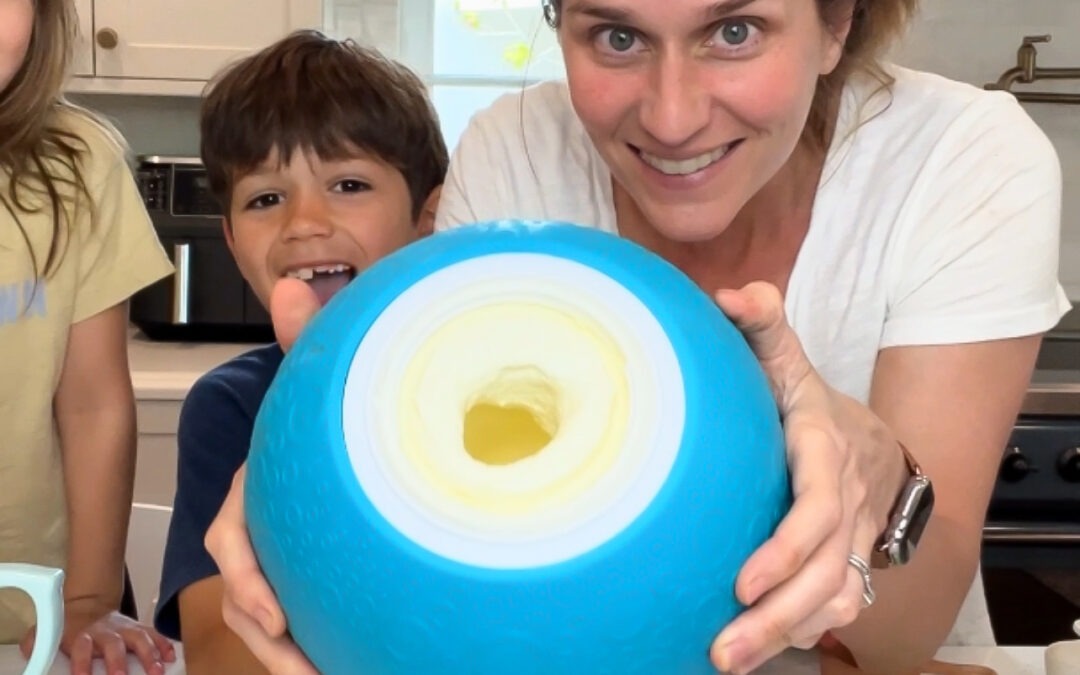
Step 1
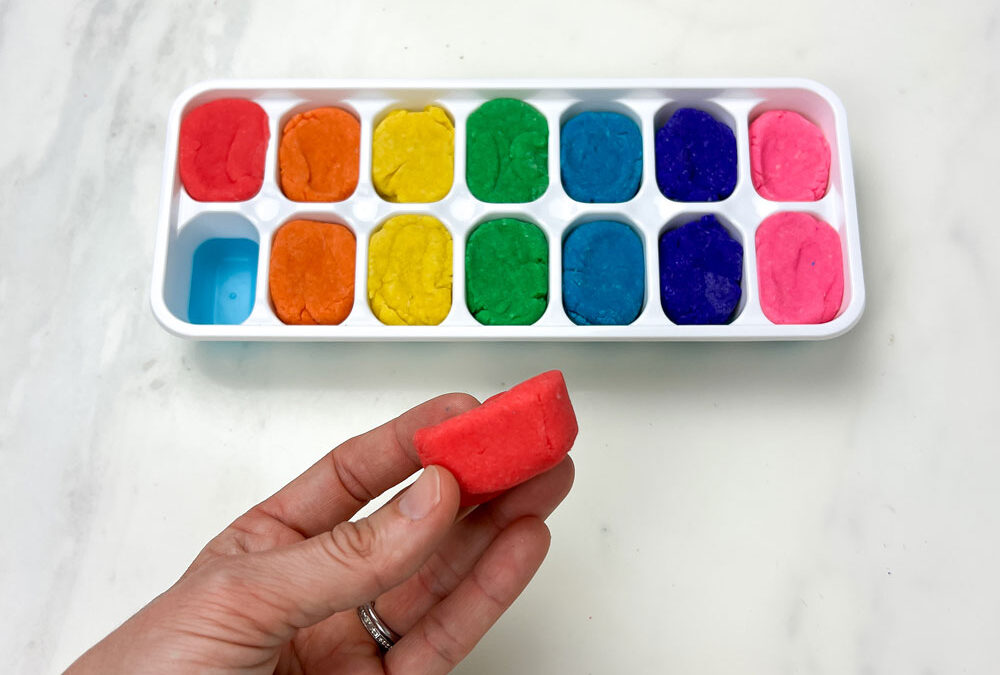
In a mixing bowl, combine 1/4 cup of tear-free bath soap with 1 tablespoon of corn starch. Stir well until the corn starch is fully dissolved and the mixture is smooth.
Step 2
Slowly add diluted washable liquid watercolor to the soap mixture, a few drops at a time, until you achieve the desired color intensity. Stir thoroughly after each addition to ensure even color distribution. Repeat this steps 1 and 2 for each color you’d like to create.
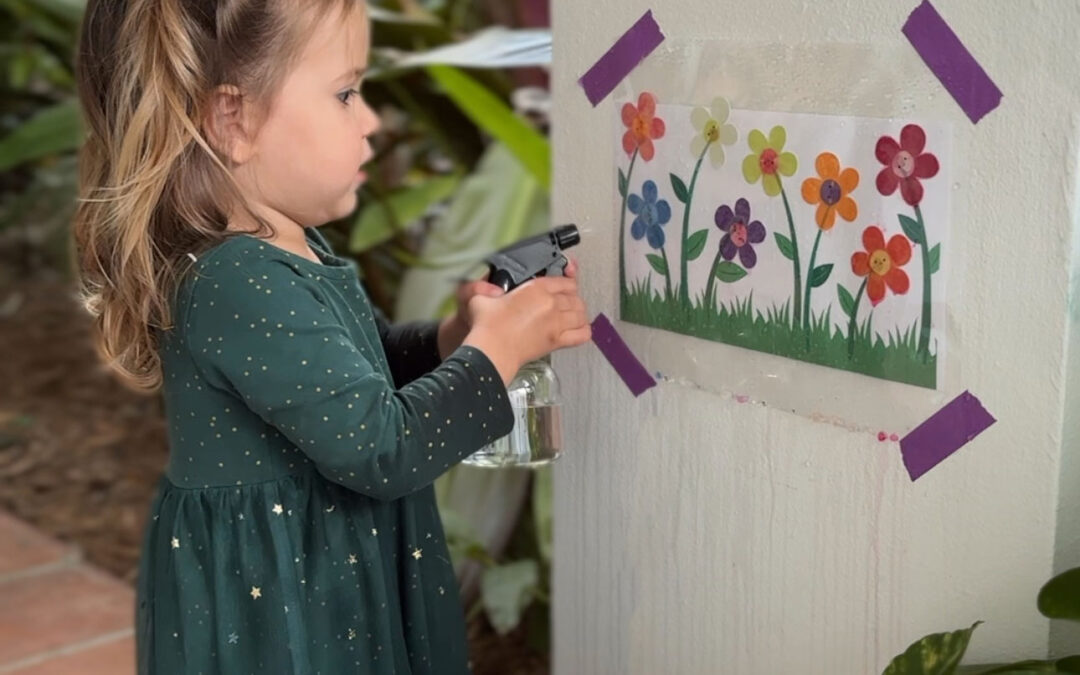
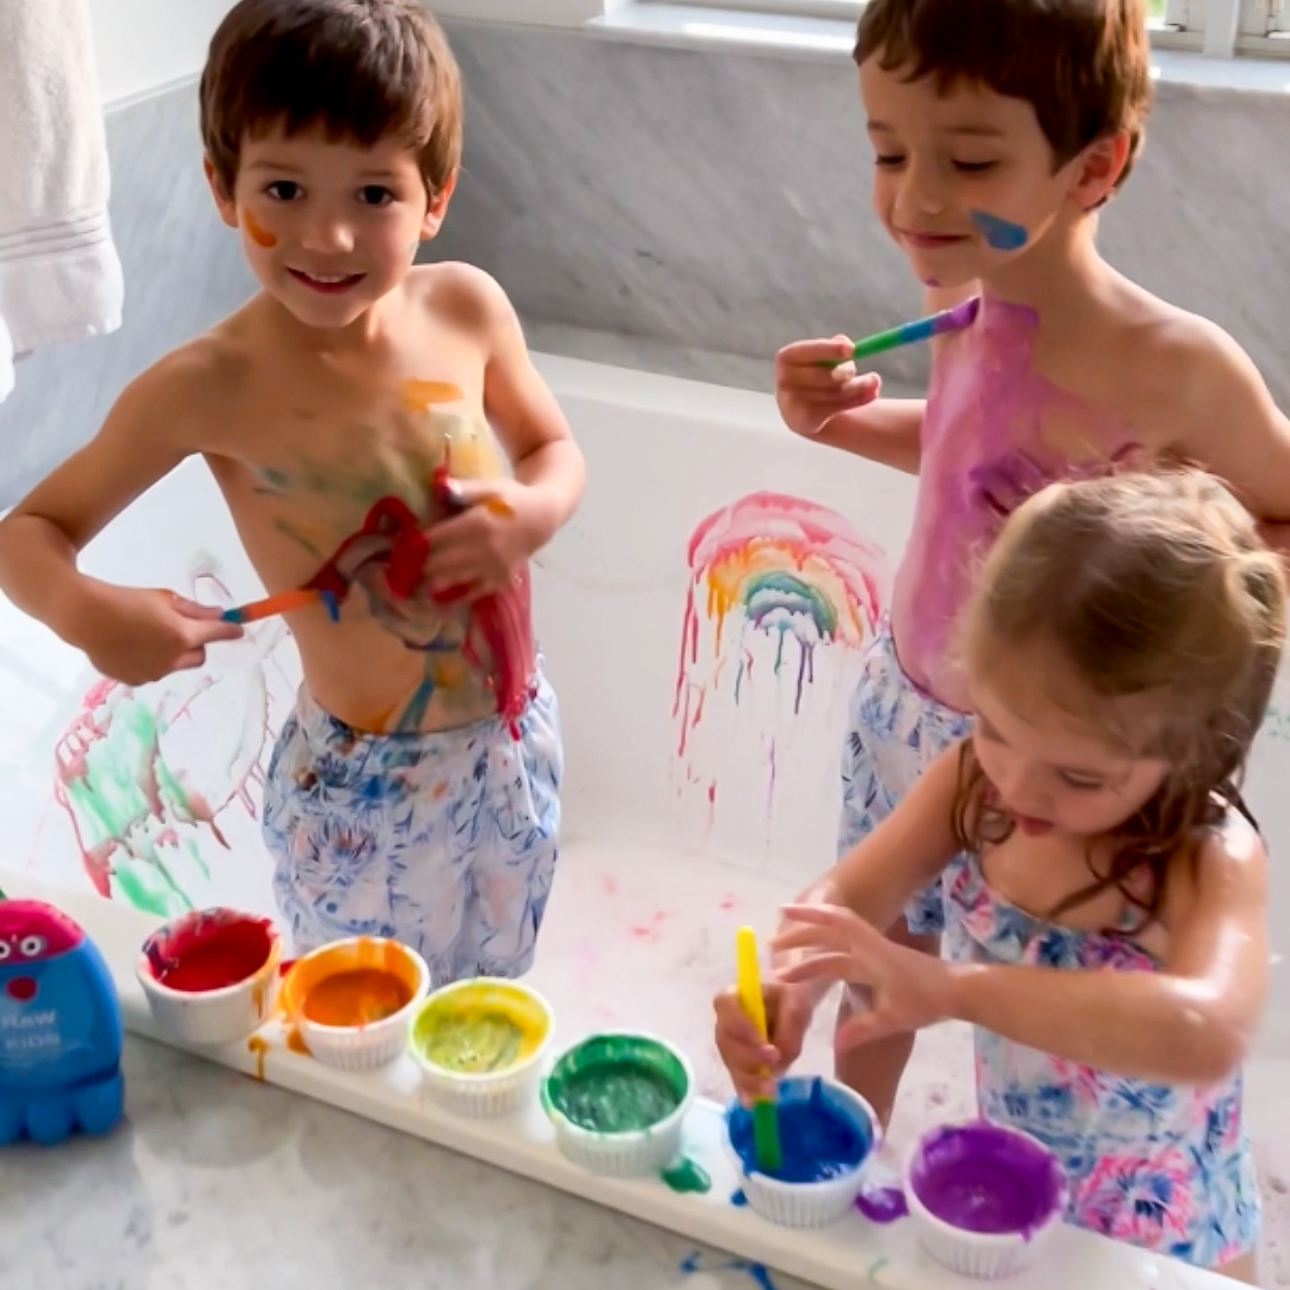
Step 3
With the paint ready to go, invite your little ones to unleash their creativity during bath time! Encourage them to paint on the bathtub walls, create colorful designs, and explore their imagination in a safe and enjoyable environment. (Try to avoid the grout if possible!)
Step 4
After bath time fun is over, simply rinse away the paint with water. The tear-free bath soap base ensures easy cleanup, leaving the bathtub clean and ready for the next adventure.
Step 1
In a mixing bowl, combine 1/4 cup of tear-free bath soap with 1 tablespoon of corn starch. Stir well until the corn starch is fully dissolved and the mixture is smooth.
Step 2
Slowly add diluted washable liquid watercolor to the soap mixture, a few drops at a time, until you achieve the desired color intensity. Stir thoroughly after each addition to ensure even color distribution. Repeat this steps 1 and 2 for each color you’d like to create.
Step 3
With the paint ready to go, invite your little ones to unleash their creativity during bath time! Encourage them to paint on the bathtub walls, create colorful designs, and explore their imagination in a safe and enjoyable environment. (Try to avoid the grout if possible!)
Step 4
After bath time fun is over, simply rinse away the paint with water. The tear-free bath soap base ensures easy cleanup, leaving the bathtub clean and ready for the next adventure.
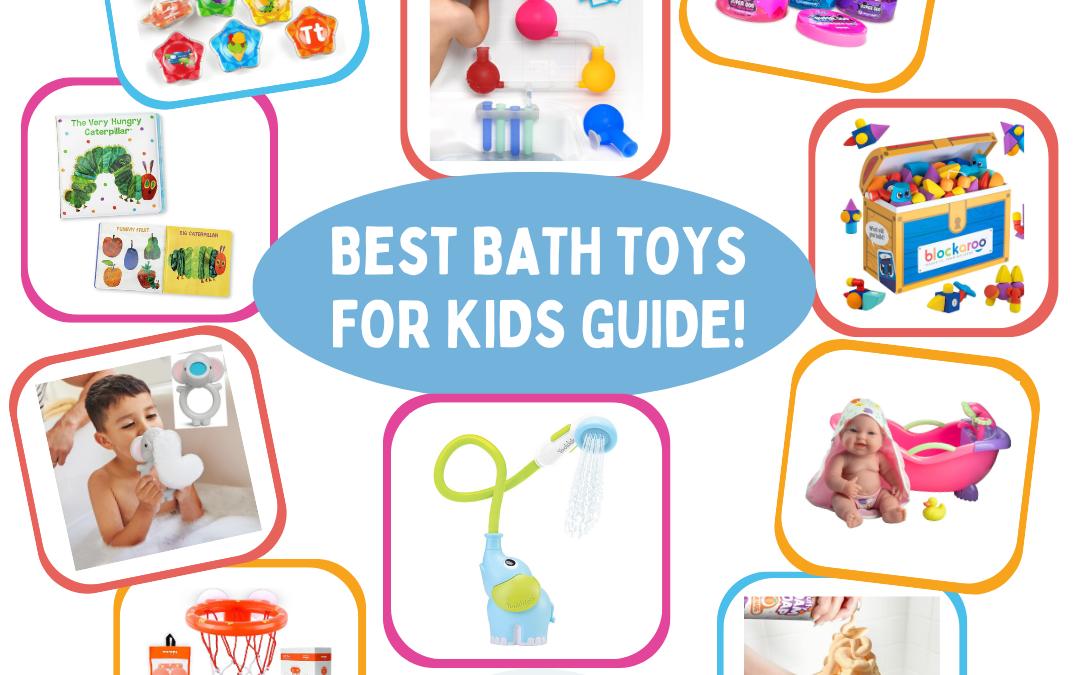
Even More Fun: Explore The Best Bath Toys for Kids!
If you’re looking for more ways to make bath time a blast for your little ones, be sure to check out our comprehensive guide to bath toys for kids HERE!
From bath slime and crayons to interactive games and toys, our guide is packed with fun and creative ideas to keep kids entertained while they splash and play.
Whether you’re seeking sensory experiences or exciting games, our guide has something for every child to enjoy during bath time.
More Bath Art and Sensory Play Supplies!
Here are some more fun bath art and sensory play supplies for little ones to explore while they wash up!

Bath Crayons

Slime Soap

Bath Paint Sticks

Foam Soap
What’s Next?
How to Make Kids Bath Paint – Colorful Clean Fun
read more
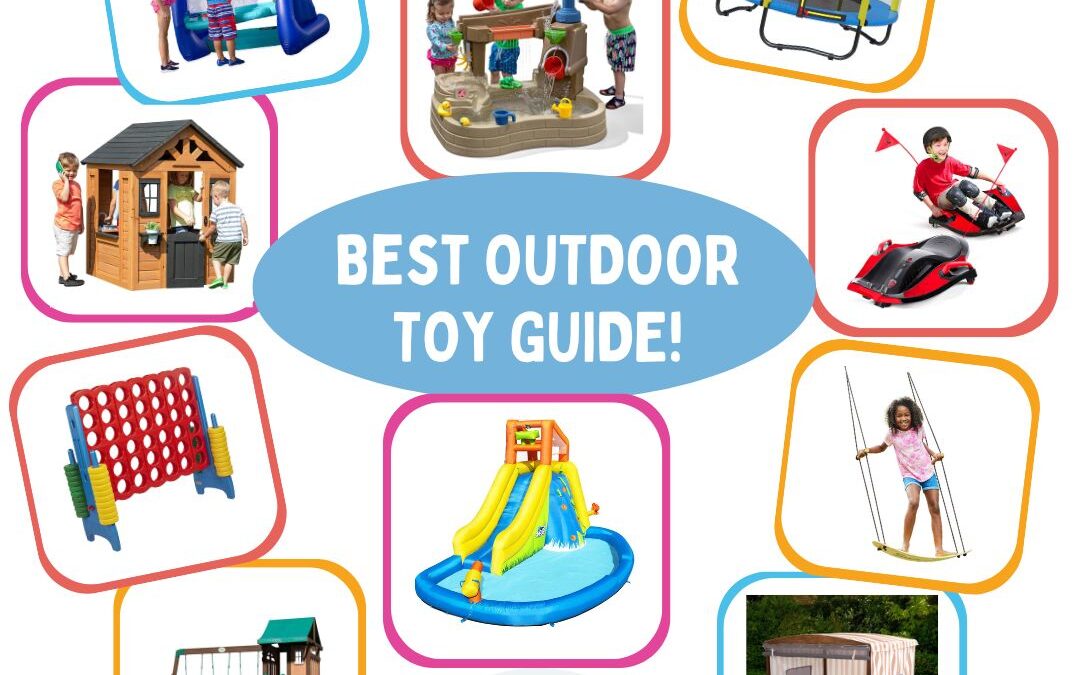
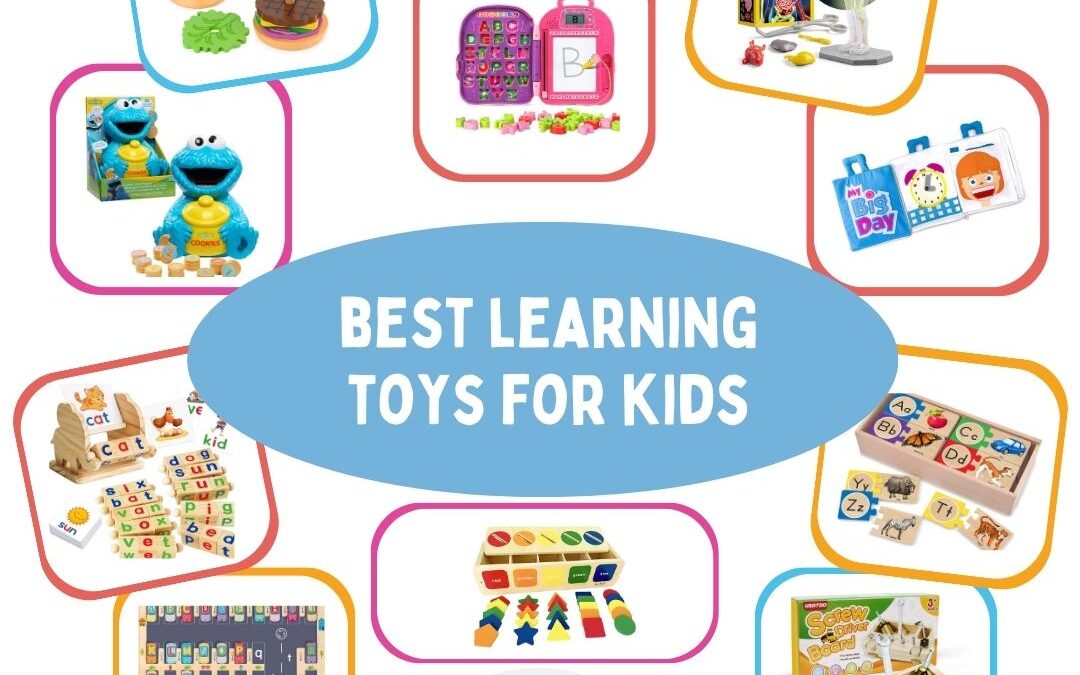
The Best Bath Toys for Kids in 2024
Explore the best bath toys for kids! Discover the ultimate guide to bath time fun with these top picks that will make every splash memorable.
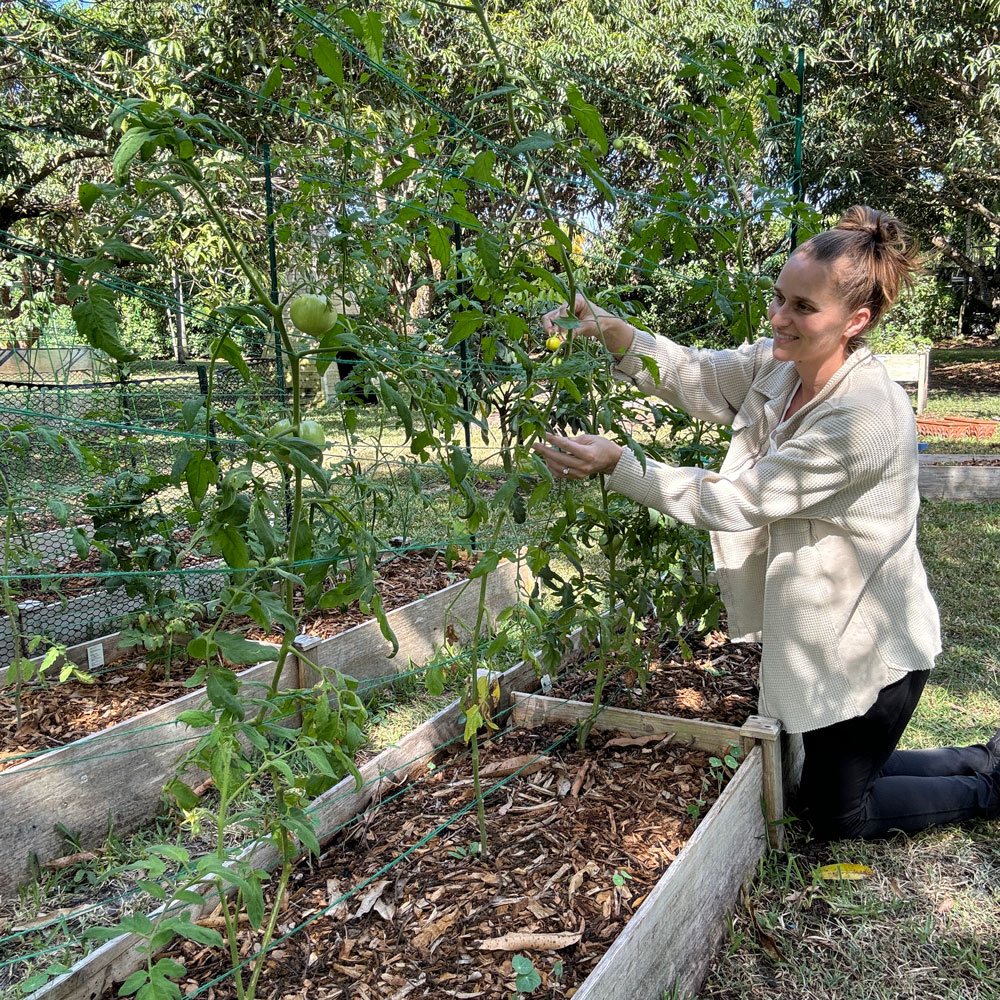
How to Layer a Raised Garden Bed and Make a Trellis
Learn how to layer a raised bed and create affordable trellises for thriving gardens. Explore our guide for expert tips & easy instructions!