Explore the best bath toys for kids! Discover the ultimate guide to bath time fun with these top picks that will make every splash memorable.
The Best Bath Toys for Kids in 2024
The Best Bath Toys for Kids in 2024

Explore the best bath toys for kids! Discover the ultimate guide to bath time fun with these top picks that will make every splash memorable.
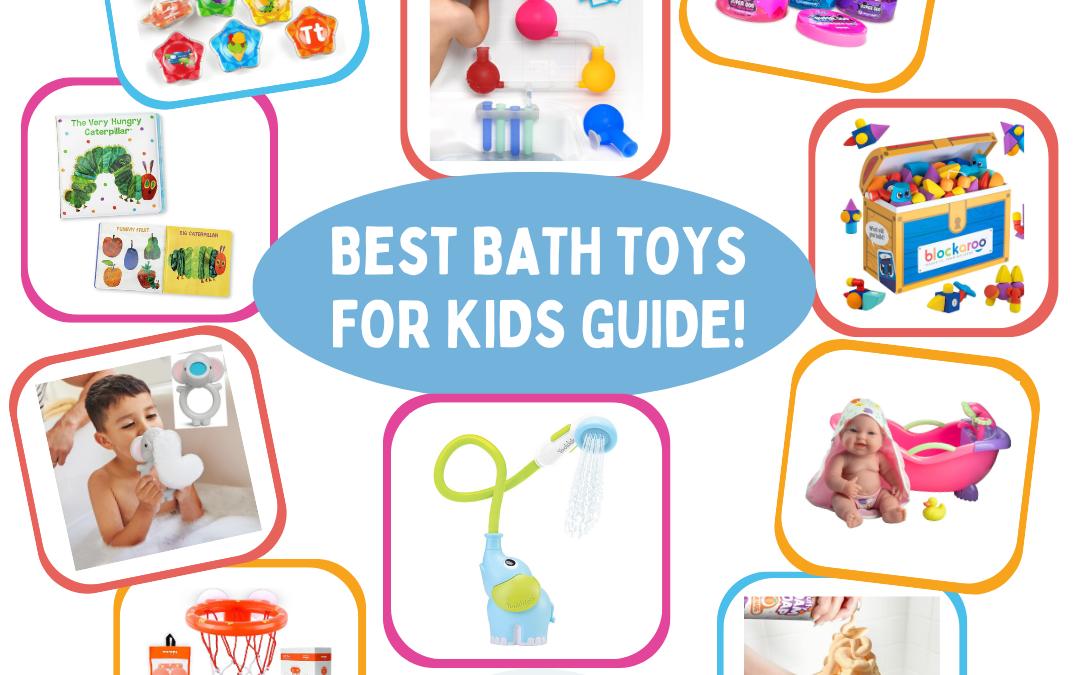
Your Guide to the Best Bath Toys for Kids!
Bath toys aren’t just fun—they’re like secret weapons for parents during bath time battles! They turn splashes into adventures, sparking kids’ imaginations while secretly teaching them about the world. Picture it: your little one giggling as they explore cause and effect or learn about floating and sinking. And here’s the kicker: while they’re busy having a blast, you get a breather! Yep, bath toys are like your backup squad, making bath time a breeze and turning it into quality bonding time. So, pick the right ones, and get ready for some seriously splash-tastic memories!
All toys and activities should be supervised by an adult. As an Amazon Associate, I earn from qualifying purchases. This post may contain affiliate links.
The Best Bath Toys: Art, Sensory, and Science!
Discover a selection of bath toys designed to stimulate creativity, curiosity, and sensory development in young minds. From colorful bath crayons and science kits to mesmerizing water wheels and interactive water pipes, these toys ignite imaginations and turn ordinary baths into extraordinary adventures.

Science Water Lab Set

300 Eco-Friendly Fizzy Color Changing Tablets

Plastic Water and Sand Table

Buildable Water Track

Stackable Buckets
300 Eco-Friendly Fizzy Color Changing Tablets

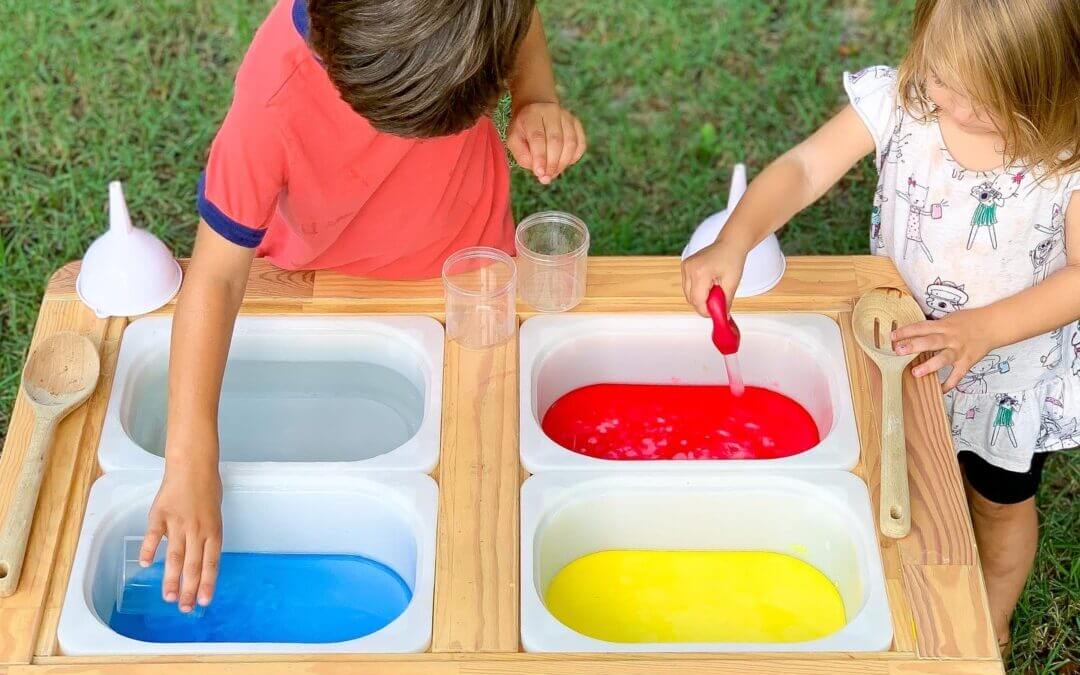
Color Mixing Water Kit

Suction Cups for Water Play

Fluffy Foam Soap

Bath Slime Soap

Water Pipe Toy

Bath Paint Sticks

Crackle, Pop, and Fizz Packs

Bubble Making Whisk

Elephant Blow Bubble Toy

Bath Crayons – 24 Pack
Best Educational Bath Toys
Get ready for some splashy fun and playful learning with our top picks for educational bath toys! From interactive bath books and captivating bath puzzles to versatile foam building blocks, these toys will turn bath time into a joyous educational adventure!

Alphabet and Phonics Floating Star Fish

100 Piece Set of Foam Building Blocks

Waterproof Foam Puzzles

Vinyl Bath Book – The Very Hungry Caterpillar

Bath USA Map Puzzle

Stackable Cups and Floating Boats

Set of 12 Baby Bath Books

Alphabet Foam Letters and Animals
Best Bath Toys for Imaginative Play and Beyond!
Get ready for even more fun with our top picks for imaginative bath toys and beyond! From an adorable baby doll bath set to dinosaurs, water-activated boats, and even bath-friendly LEGO Duplo sets, these toys will spark your kid’s creativity and turn bath time into a whole new world!

Baby Doll and Bath Set

Shark Grabber

Bubble Ice Cream Toy

Robotic Water-Activated Boats

Slide and Penguin Squirters

Pack of 6 Mermaids

Magnetic Fishing

Swimming Turtles Pack of 3

LEGO DUPLO Bathtime Building Set

Water- Activated Swimming Fish

Elephant Water Pump and Spout Rinser

Hole Free Mold Free Car Toys

Basketball Hoop and Balls

Mold-Free Dinosaur Toys

Bubbling Dinosaur

Ferry Boat Toy
Making a Splash: The Best Bath Toys for Kids
So, there you have it—the lowdown on why bath toys are the unsung heroes of bath time! With their ability to entertain, educate, and even provide a moment of peace for parents, it’s no wonder they’re a must-have in every household. Now armed with this guide and a list of top-notch recommendations, you’re all set to transform your child’s bath time into an adventure-filled, laughter-packed experience. So, grab those rubber duckies, submarines, and squishy sea creatures, and dive into the fun! Your little one—and your sanity—will thank you for it.
What’s Next?
The Best Bath Toys for Kids in 2024
read more
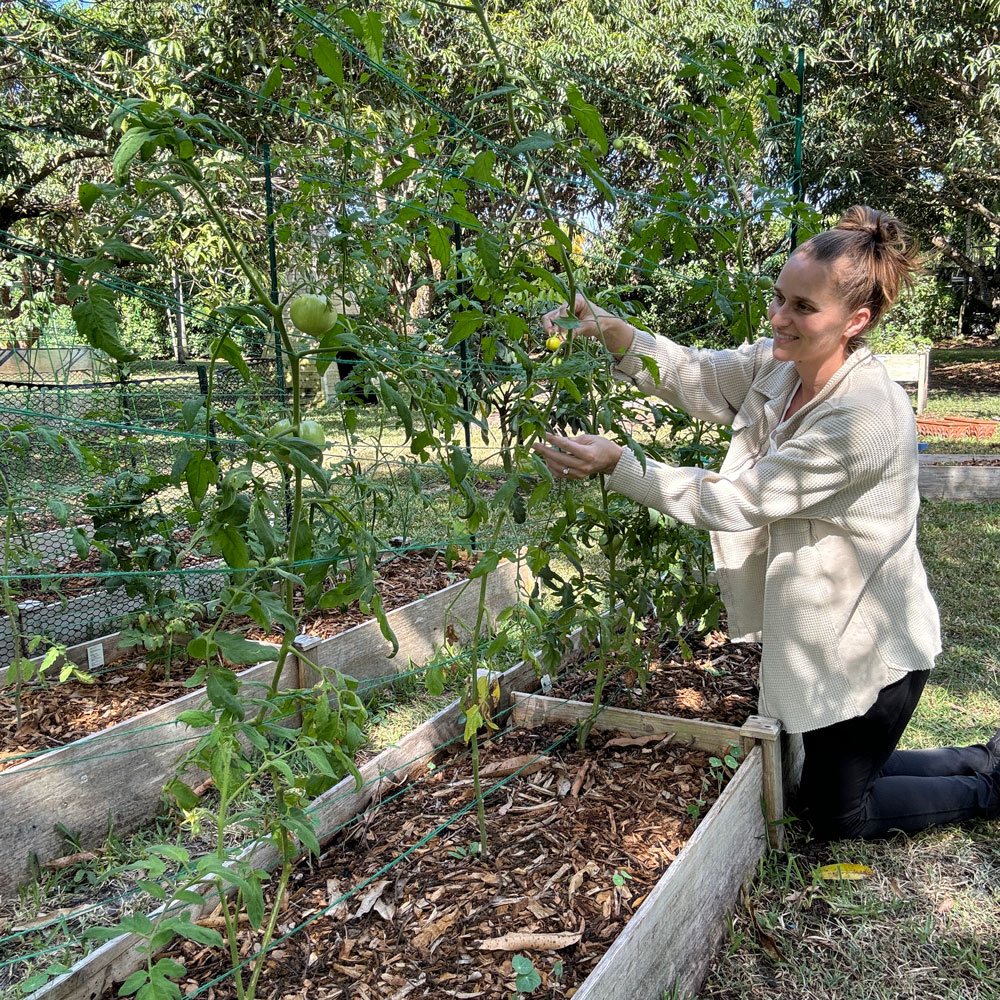
How to Layer a Raised Garden Bed and Make a Trellis
Learn how to layer a raised bed and create affordable trellises for thriving gardens. Explore our guide for expert tips & easy instructions!
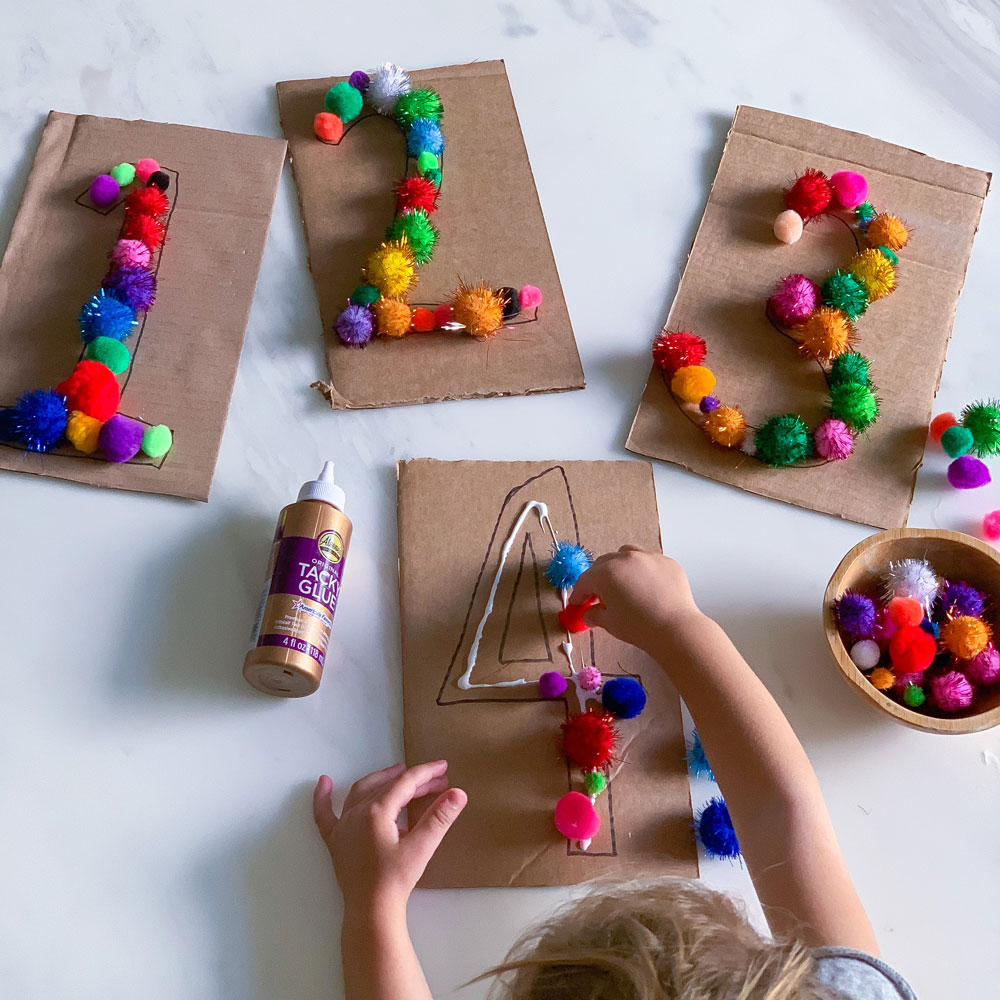
Number Recognition for Toddlers – The Best Activity to Start Learning
Kickstart number recognition for toddlers with this beginner’s activity! Fill bubble outlines with pom poms for engaging hands-on learning.