Find the best gifts for 8 to 12 year olds with our top picks for boys and girls—perfect for sparking creativity and fun for kids this age!

DIY Snow for Sensory Play: 4 Easy Kid Recipes
DIY Snow for Sensory Play: 4 Easy Kid Recipes

How to Make DIY Snow for Sensory Play at Home or in the Classroom
Looking for an easy way to make diy snow for sensory play? You’re in the right place! In this guide, you’ll find simple recipes using everyday household items to create snow that’s soft, moldable, and so much fun for kids. Whether you’re setting up a sensory bin at home, in the classroom, or even during a winter party, these fake snow recipes are perfect for hands-on play.
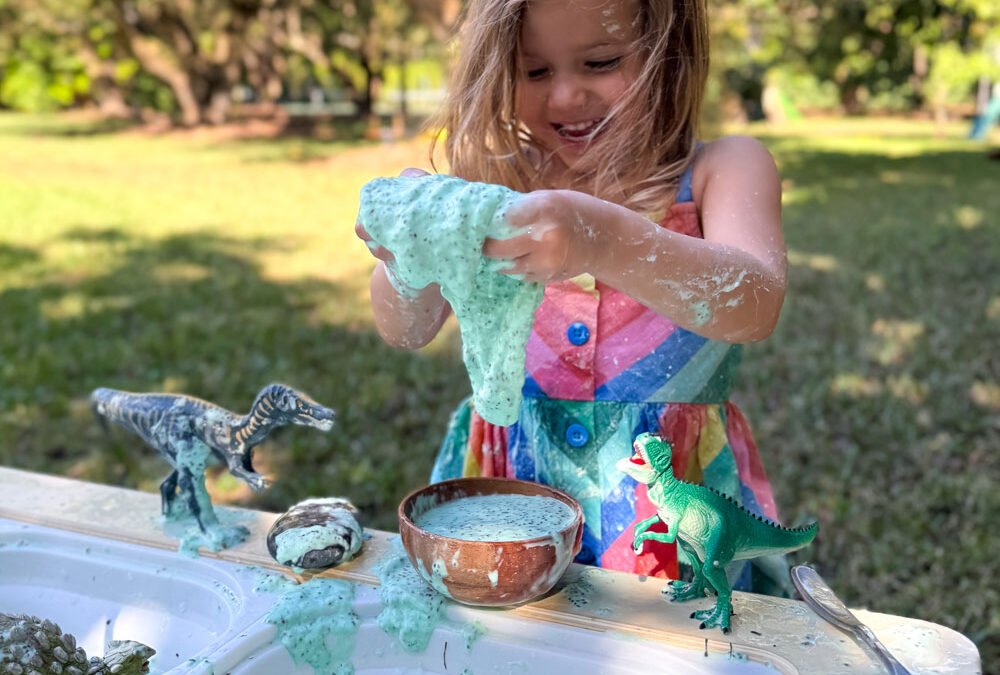
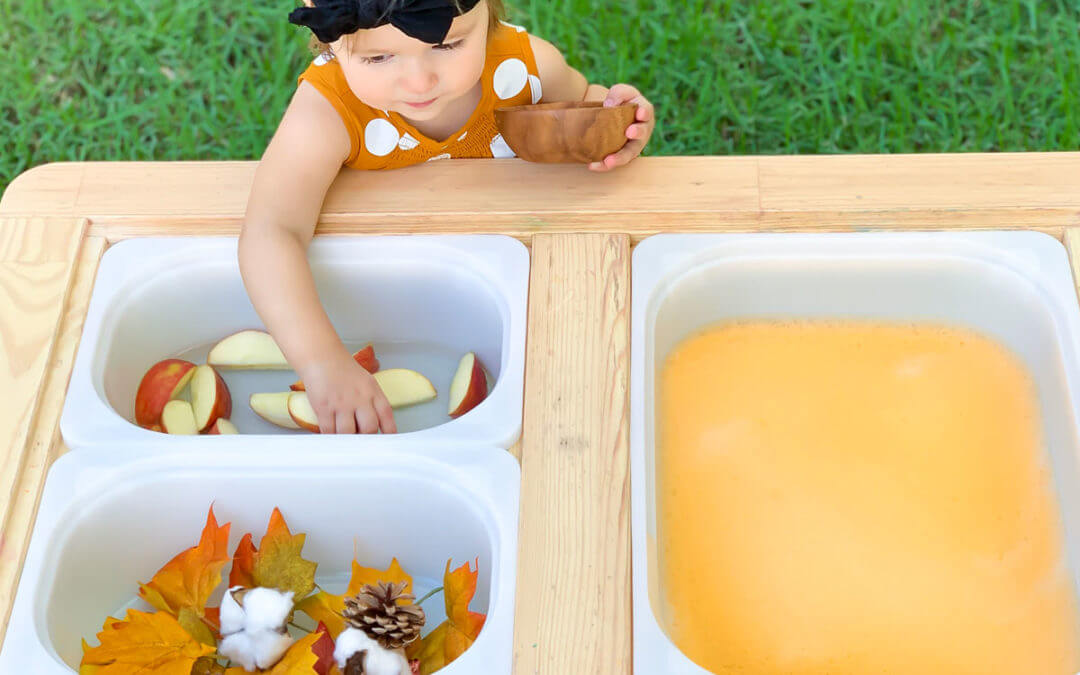
During the winter months, my kids love turning our sensory table into a snowy wonderland — complete with pine trees, animal figurines, and tiny trucks. It’s one of the easiest setups that sparks hours of pretend play.
There are so many benefits to sensory play, and DIY snow gives kids the chance to scoop, squeeze, and build while strengthening fine-motor skills and creativity.
Ready to make your own? Let’s go through a few easy recipes below, plus my favorite sensory table for snowy play setups.
All activities should be supervised by an adult. As an Amazon Associate I earn from qualifying purchases. This post may contain affiliate links.
Watch How to Make DIY Snow for Sensory Play
See how easy it is to make DIY snow for sensory play using items you already have — like baking soda, cornstarch, and shaving cream.
This video walks through how to make both moldable snow (perfect for snowballs and building) and powdery snow that kids can scoop and sift. You’ll also find a link below for my favorite store-bought option if you need a quick setup.
DIY Snow for Sensory Play Recipes for Kids
Pick your favorite recipe depending on how your child likes to play — moldable for building, powdery for scooping, or a mix of both! ach of these easy DIY snow for sensory play recipes is great for kids who love to scoop, pour, and build snowy creations at home or in the classroom.
Moldable Snow Recipes
Version 1:
-
1 cup shaving cream
-
1 cup cornstarch or baking soda
Version 2:
-
½ cup hair conditioner
-
3 cups baking soda
Powdery Snow Recipes
Version 1:
-
1 cup cornstarch
-
1 cup hand or body lotion
Version 2:
-
½ cup baking soda
-
Add water, one tablespoon at a time, until it reaches a powdery texture
💡 Tip: Double the recipe if you’re filling a large sensory bin or table.

A Moldable and Powdery Fake Snow You Can Buy!
Make things really easy and buy some fake snow! All you need is 2 ounces of water for every scoop. Pictured in this small world tray is a product called Insta-Snow! It can make up to 2 gallons of fake snow. Wow!
You can make an Arctic small world set up using fake snow, mini pine trees, and Arctic animal figurines. It is a great way to learn geography while sparking imaginative play.
If you’re short on time, this store-bought option makes it easy to enjoy DIY snow for sensory play without the prep work.
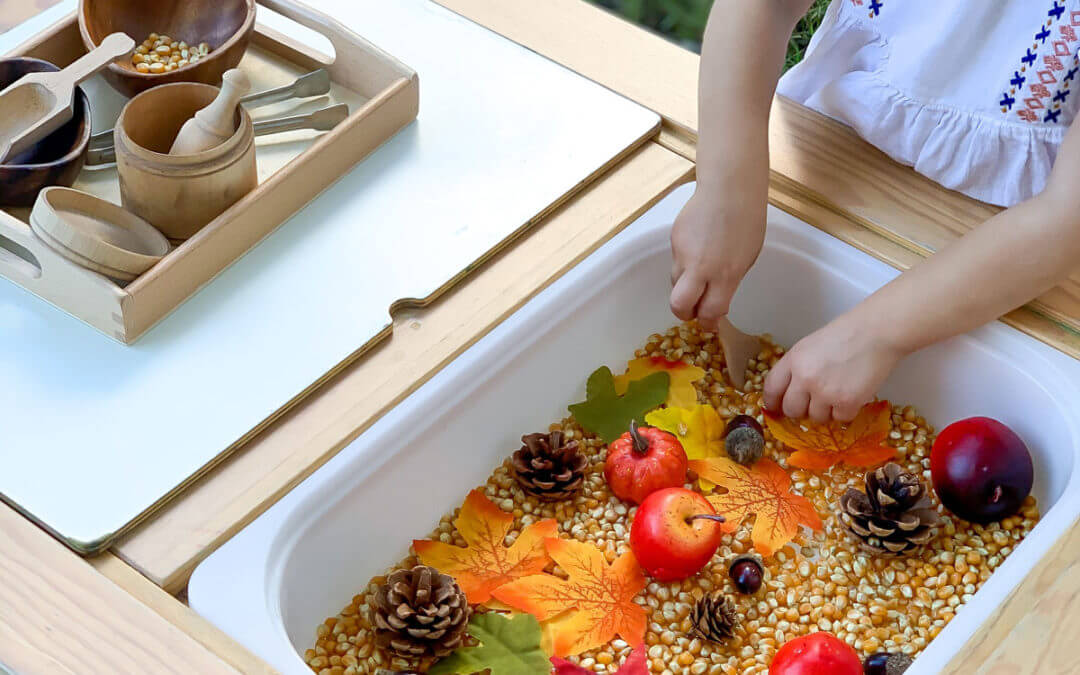
Our Favorite Way to Play: The 7 Days of Play Sensory Table
Once your DIY or store-bought snow is ready, set it up inside our 7 Days of Play Foldable Sensory Table! The bins make it easy to keep snow contained while still giving kids space to scoop, pour, and build.
How to Use DIY Snow for Sensory Play with a Sensory Table
My kids love turning their table into a snowy Arctic world—complete with trees, animals, and little trucks plowing “roads.” The table folds flat for easy storage and can be used year-round for other sensory play ideas too.

Educational Benefits of DIY Snow for Sensory Play
DIY snow for sensory play isn’t just fun — it’s an incredible way to support your child’s development. When kids scoop, pour, and mold snow, they strengthen their fine motor skills and activate multiple senses at once: touch, sight, smell, and sound.
This kind of hands-on sensory play helps build new neural pathways in the brain and supports focus and creativity. You can even turn it into a mini science experiment by adding vinegar to your baking-soda snow to create a fizzy snowstorm!
Playing in fake snow also encourages imaginative storytelling — think snowmen, polar bears, or Arctic rescue missions — all while keeping playtime indoors and mess-free.
Winter Sensory Bin Add-Ons
Looking to take your fake snow setup to the next level? Here are some of our favorite toys and tools that pair perfectly with your DIY snow for sensory play. These winter sensory bin toys pair perfectly with winter sensory bin play, adding storytelling and pretend play to your setup.

Mini Pine Trees & Snowmen: Great for building a tiny winter world.

Insta-Snow Powder: Expands into gallons of snow in seconds!

Arctic Habitat Figurines: Spark small-world play and storytelling.

Snow Plow Toy: Perfect for pretend winter clean-up play. Add some road tape for even more fun!
What’s Next?
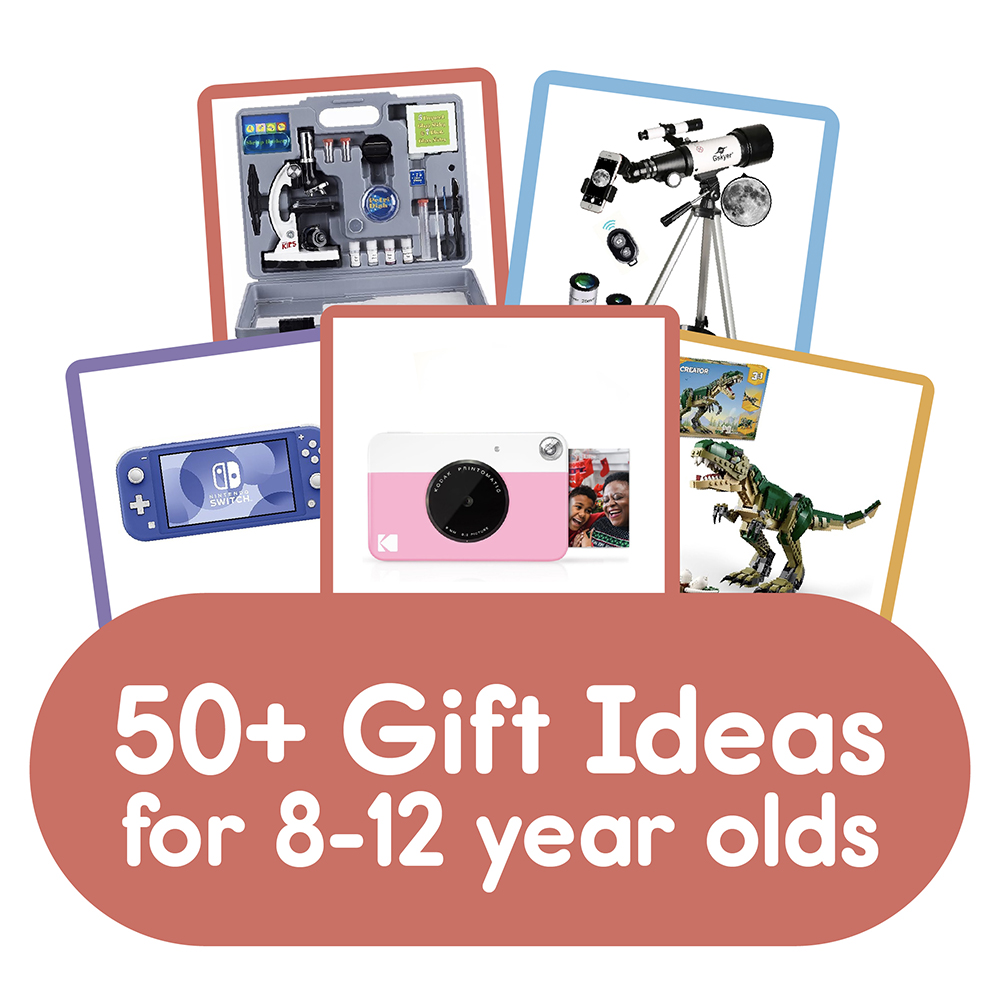
The Best Gifts for 8 to 12 Year Olds!
read more

Best Learning Toys for Kids
Looking for the best learning toys for kids? We’ve got you covered with this list of educational gifts that kids will love and learn from!
DIY Snow for Sensory Play: 4 Easy Kid Recipes
Learn how to make DIY snow for sensory play in minutes! These 4 fake snow recipes for kids are perfect for home, classroom, or sensory bins.


_Green-17")