Find the best gifts for 8 to 12 year olds with our top picks for boys and girls—perfect for sparking creativity and fun for kids this age!
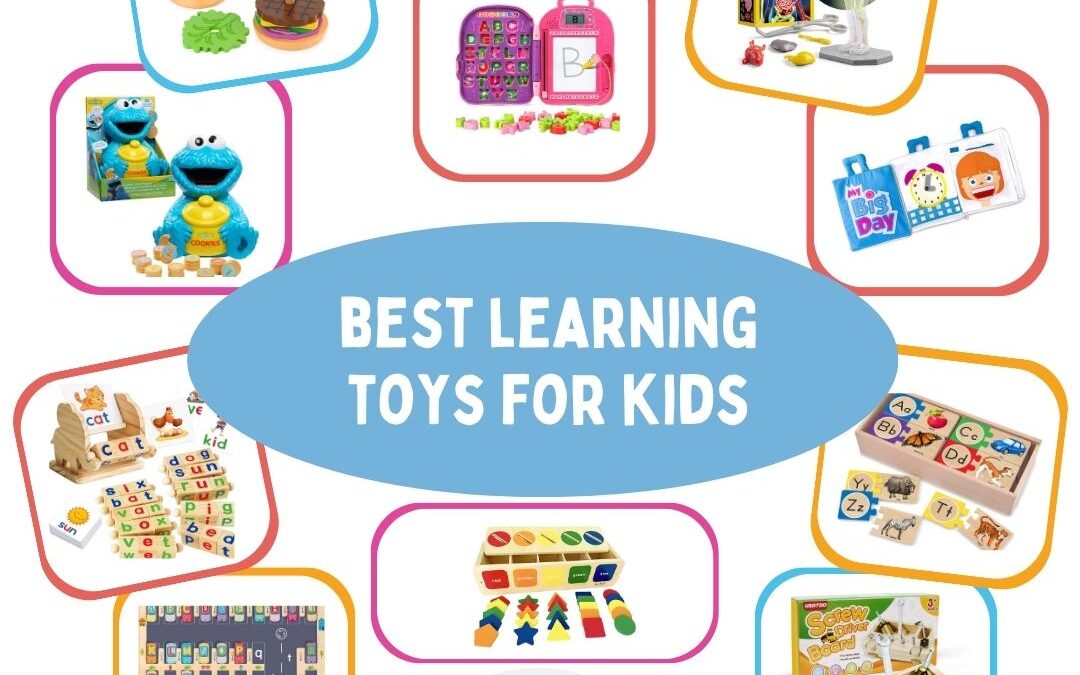
Best Learning Toys for Kids
Best Learning Toys for Kids

There’s something truly special about giving a gift that is not only fun for kids, but also fuels them educationally. Whether it’s for your child or a birthday celebration, find the best learning toys here!
Why Choose Educational Gifts for Children?
From interactive STEM kits to colorful puzzles, educational toys aren’t just playthings; they’re gateways to a world of discovery. Whether it’s fostering creativity, honing problem-solving skills, or simply making education a blast, these best learning toys are the perfect companions on our parenting adventure.
With these gifts, you can create a space where playtime isn’t just fun but also an opportunity for our kids to grow, explore, and learn in the most delightful ways.
All toys and activities should be supervised by an adult. As an Amazon Associate, I earn from qualifying purchases. This post may contain affiliate links.
Shop the Best Learning Toys for Kids!
Find educational gifts that spark curiosity and learning in kids. Here are some of our favorite learning toys for kids. If you want even more ideas, check out this comprehensive list of +60 toys perfect for playful learning!

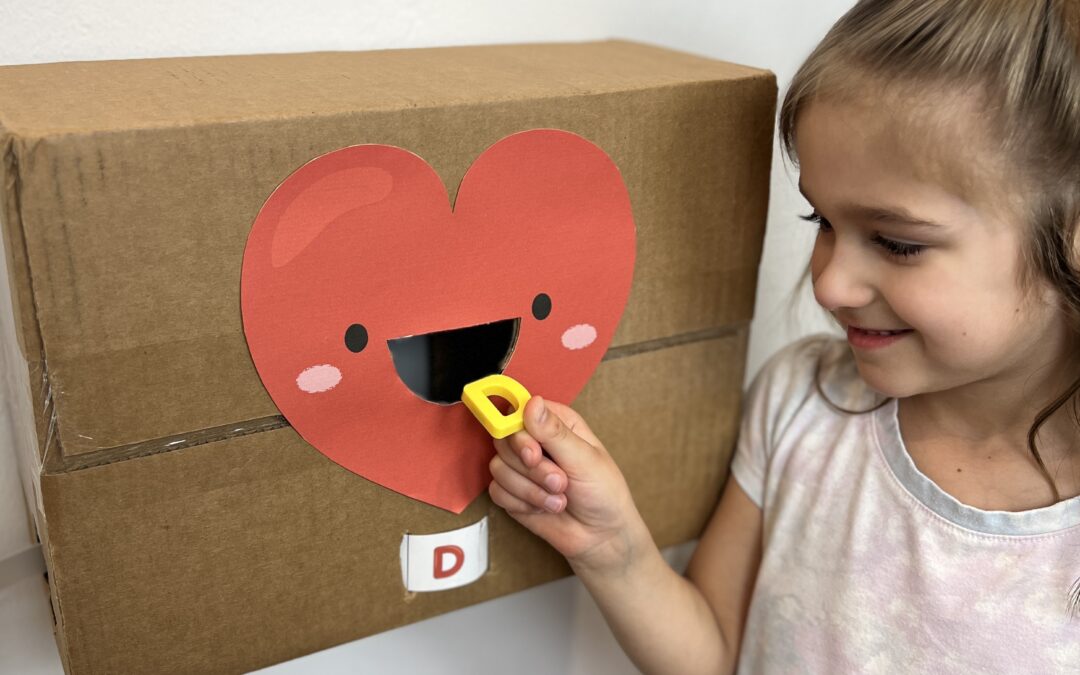
Dental Toy to Teach Oral Hygiene!

Giant Soft Foam Building Blocks

Animal Alphabet + Phonics Puzzle Matching

Squishy Lifelike Baby Doll

Build-a-Burger and Sandwich Stacking and Sequencing

Large Balls & Cups for Color Matching

Tinker Truck

Feed the Bird, great for fine motor skills!

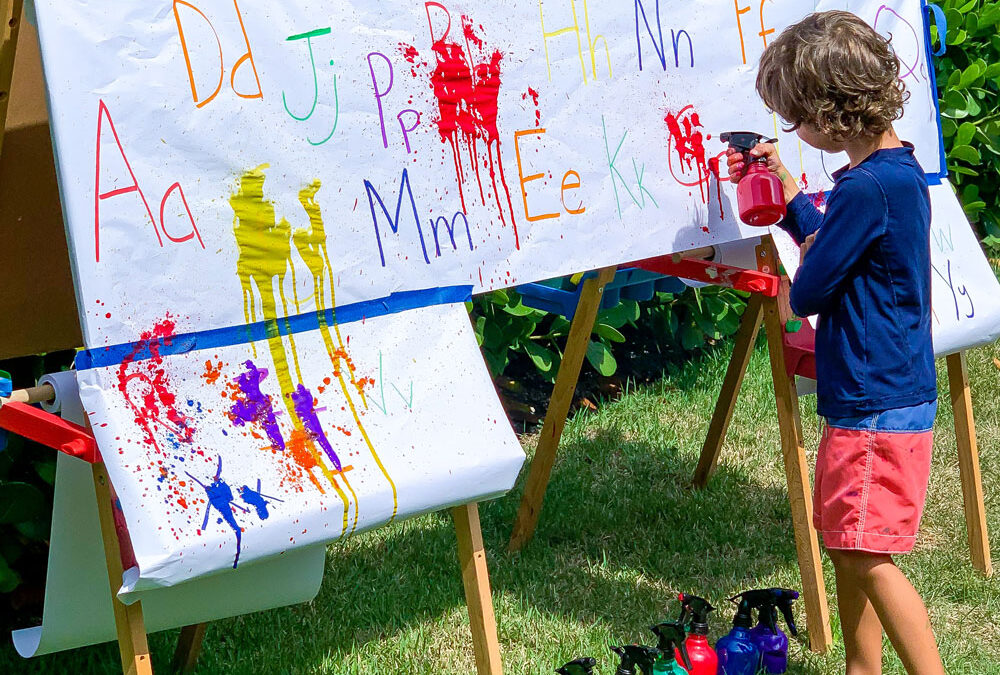
Best Toy for Learning and Writing Letters

Best Science Experiment Kit

Great Toy for Matching Shapes and Colors

Fun Toy for Learning Numbers 1-10

Best Toy for Learning the Human Body

Great Resource for Beginning Reading

Lock + Key Toy for Number Recognition

Best Quiet Time Interactive Book

3 in 1 Puzzle Set

Personalized Name Stool

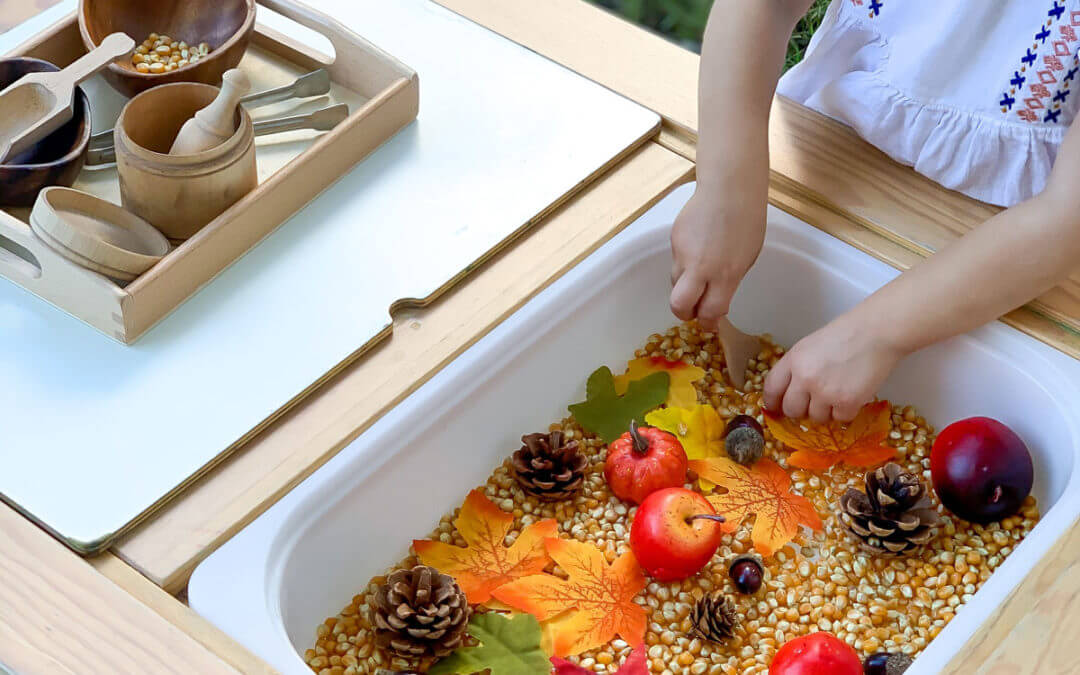
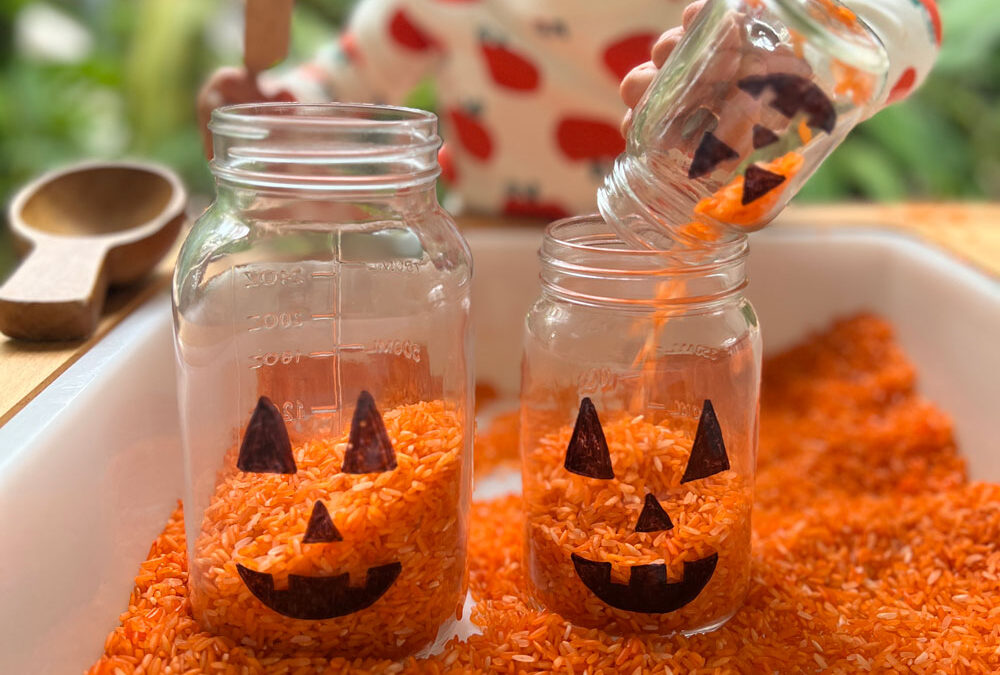
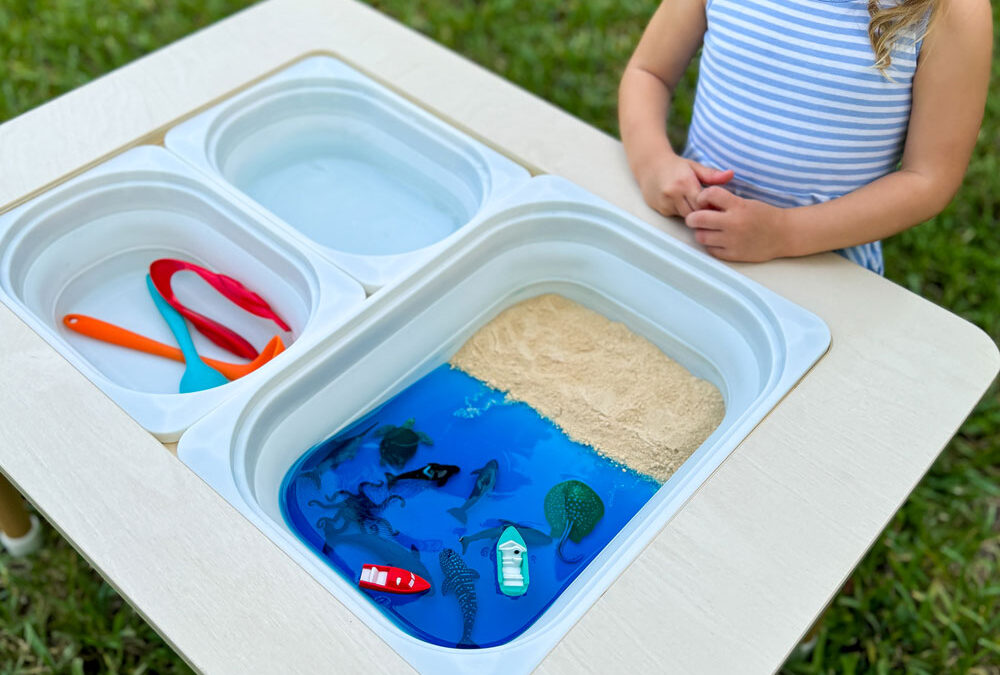
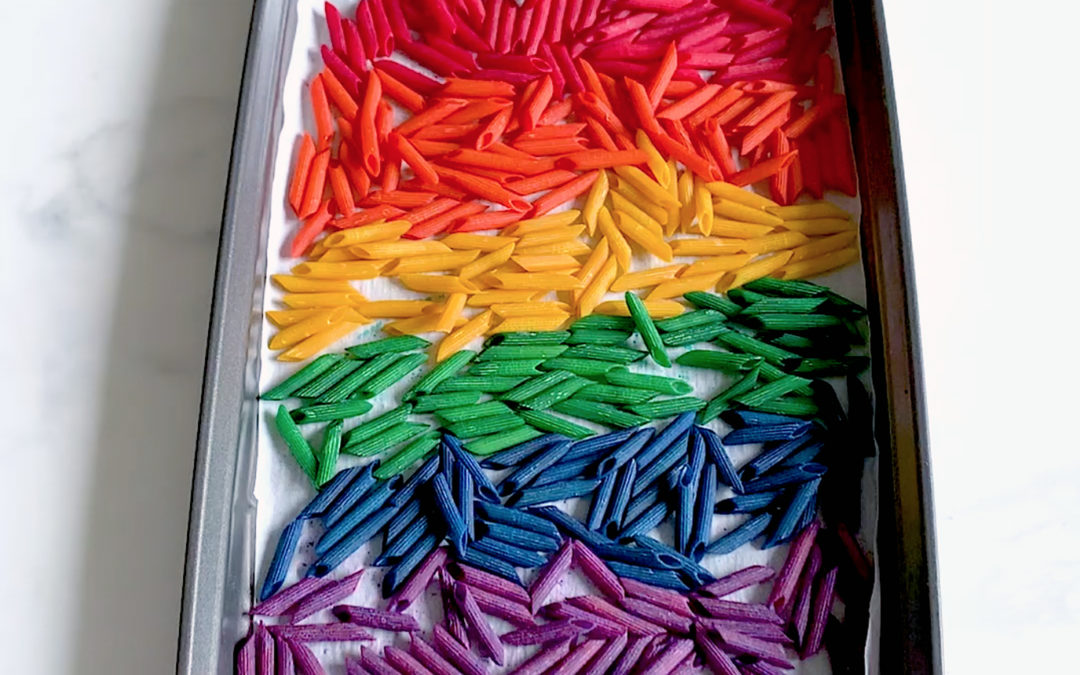
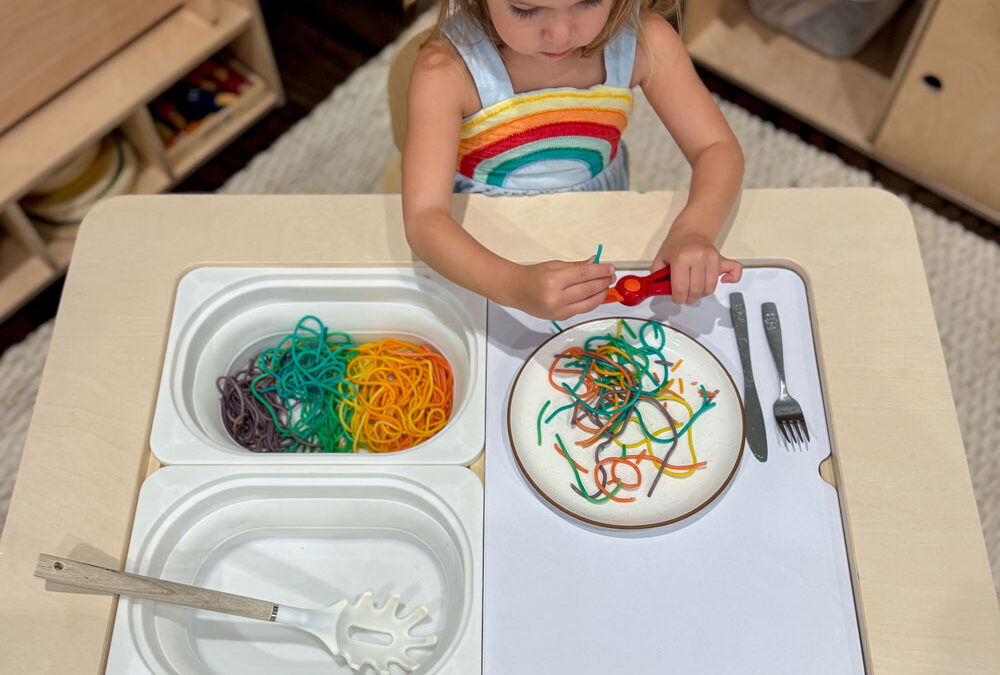
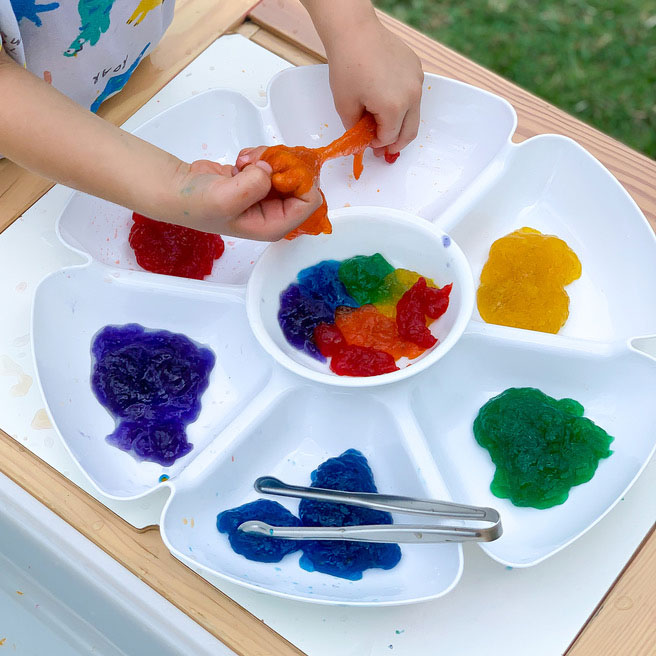
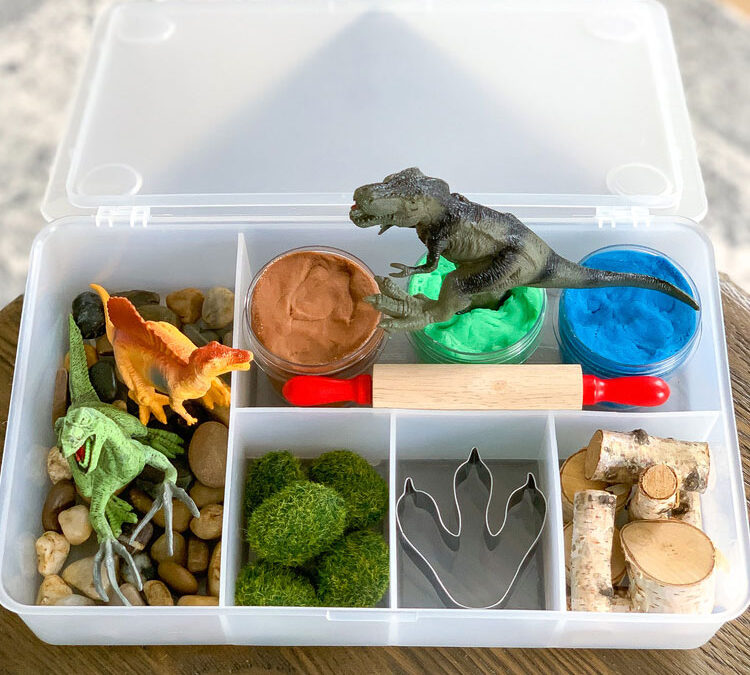
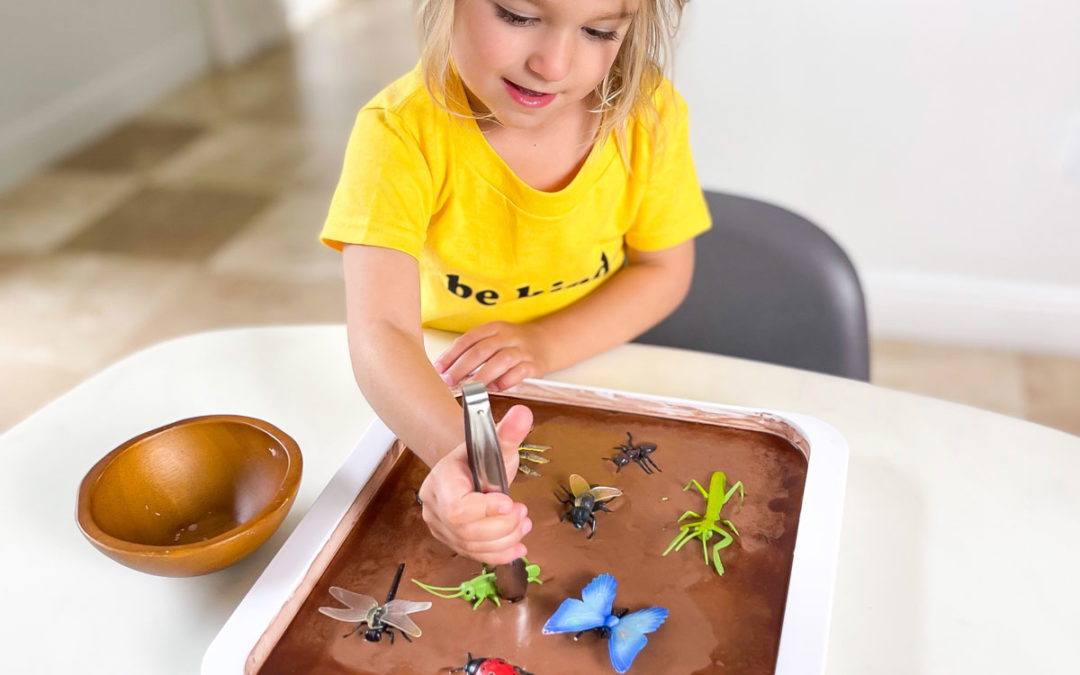
Sensory Bin Tools

Wooden Cutting Fruits and Veggies

Great Puzzle for Learning Letter Sounds

Best Toy for Matching Letter Cases

Board Game for Learning Money

Fun Toy for Learning Patterns and Directions

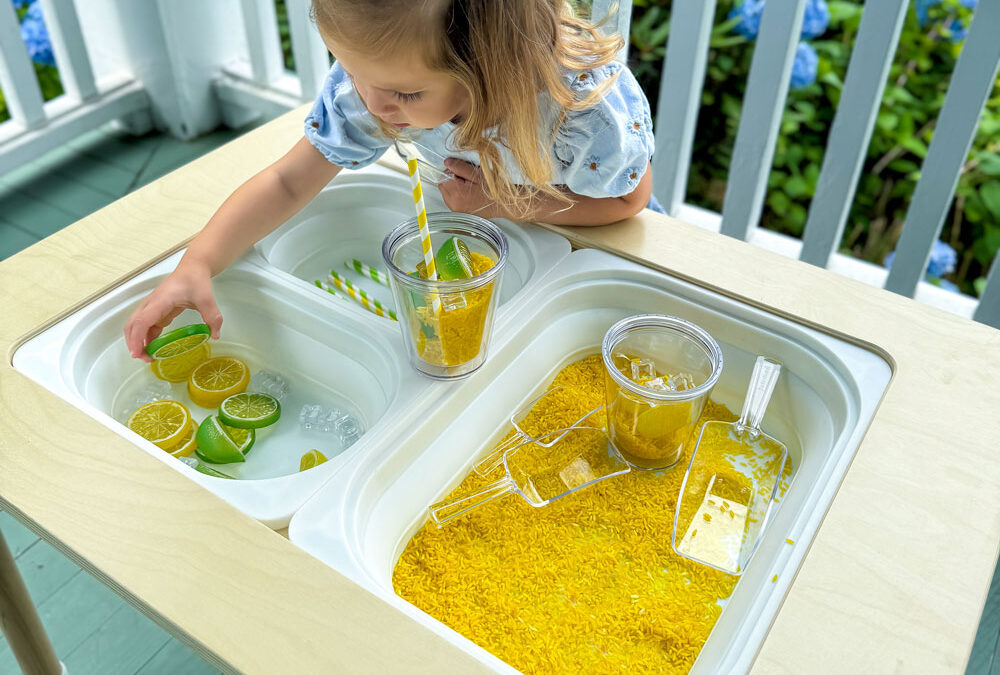
Play Sink with Recirculating Water

Xylophone and Pound Toy

Magnetic Alphabet and Number Writing

Tabletop Pretend Play Kitchen Stovetop
Playroom Inspiration Furniture, Games and More!
Here’s a comprehensive list of everything we have in our playroom, including furniture, rugs and games!

Faux Leather Chairs

Checkered Shag Rug

Playroom Shelves

Sensory Play Activity Table

Coffee Table with Stools

Media Console Table

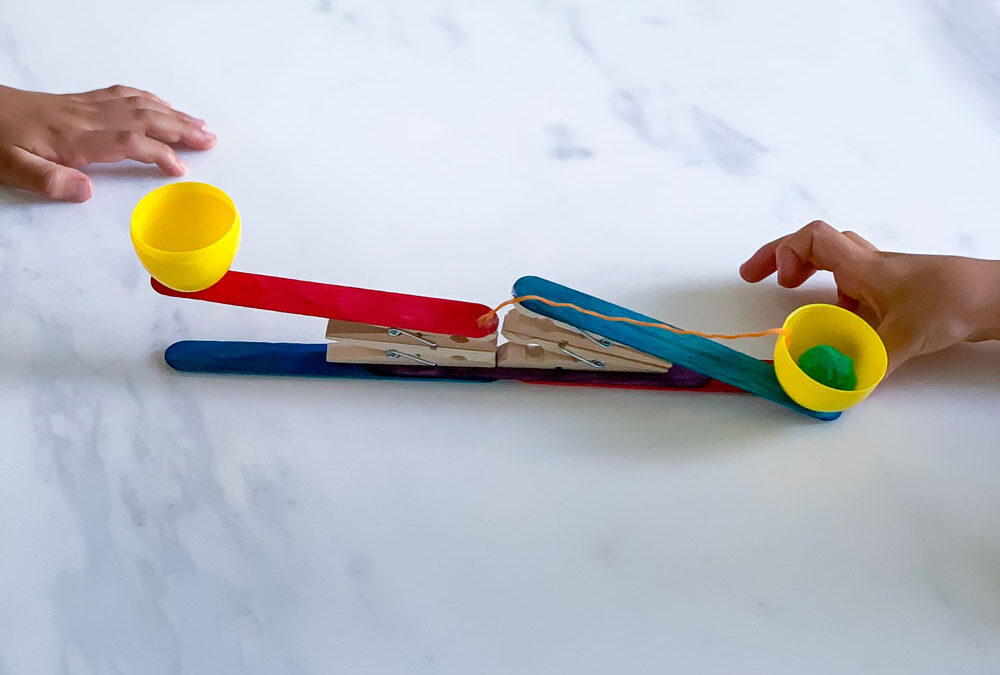
Great Toy for Fine Motor Skills

Arcade Machine including 412 Games for 2 Players

Wooden Dollhouse

Air Hockey Table

Kid’s Teepee Tent

Plant Baskets
The Importance of Playful Learning!
Educational toys play a pivotal role in fostering comprehensive child development across various domains. And the above mentioned best learning toys for kids is a great place to start looking for gifts, but I also want to mention how these purposeful playthings contribute to cognitive, physical, social, and emotional growth in several ways.
Cognitive Development: Educational toys stimulate mental processes, enhancing problem-solving skills, critical thinking, and creativity. Puzzles, building blocks, and interactive games, for example, engage children in tasks that promote cognitive development.
Motor Skills Enhancement: Toys designed for learning often involve hands-on activities, refining both fine and gross motor skills. From manipulating small objects in intricate tasks to engaging in physical activities that enhance coordination, educational toys provide a platform for skill development.
Social Interaction: Many educational toys are designed for collaborative play, encouraging social interaction and communication. Board games, group activities, and cooperative play contribute to the development of social skills, teamwork, and understanding others.

Emotional Intelligence: Toys that involve role-playing, storytelling, and emotional expression contribute to the development of emotional intelligence. Children learn to identify and manage their emotions while understanding others’ feelings, fostering empathy and social awareness.
Language Skills: Educational toys often incorporate language development elements. From interactive books to language-based games, these toys support the acquisition of vocabulary, language comprehension, and communication skills.
Educational toys create an enriching environment where learning is seamlessly woven into the fabric of play, promoting holistic child development.
The Importance of Playful Learning!
Educational toys play a pivotal role in fostering comprehensive child development across various domains. And the above mentioned best learning toys for kids is a great place to start looking for gifts, but I also want to mention how these purposeful playthings contribute to cognitive, physical, social, and emotional growth in several ways.
Cognitive Development: Educational toys stimulate mental processes, enhancing problem-solving skills, critical thinking, and creativity. Puzzles, building blocks, and interactive games, for example, engage children in tasks that promote cognitive development.
Motor Skills Enhancement: Toys designed for learning often involve hands-on activities, refining both fine and gross motor skills. From manipulating small objects in intricate tasks to engaging in physical activities that enhance coordination, educational toys provide a platform for skill development.
Social Interaction: Many educational toys are designed for collaborative play, encouraging social interaction and communication. Board games, group activities, and cooperative play contribute to the development of social skills, teamwork, and understanding others.
Emotional Intelligence: Toys that involve role-playing, storytelling, and emotional expression contribute to the development of emotional intelligence. Children learn to identify and manage their emotions while understanding others’ feelings, fostering empathy and social awareness.
Language Skills: Educational toys often incorporate language development elements. From interactive books to language-based games, these toys support the acquisition of vocabulary, language comprehension, and communication skills.
Educational toys create an enriching environment where learning is seamlessly woven into the fabric of play, promoting holistic child development.
What’s Next?
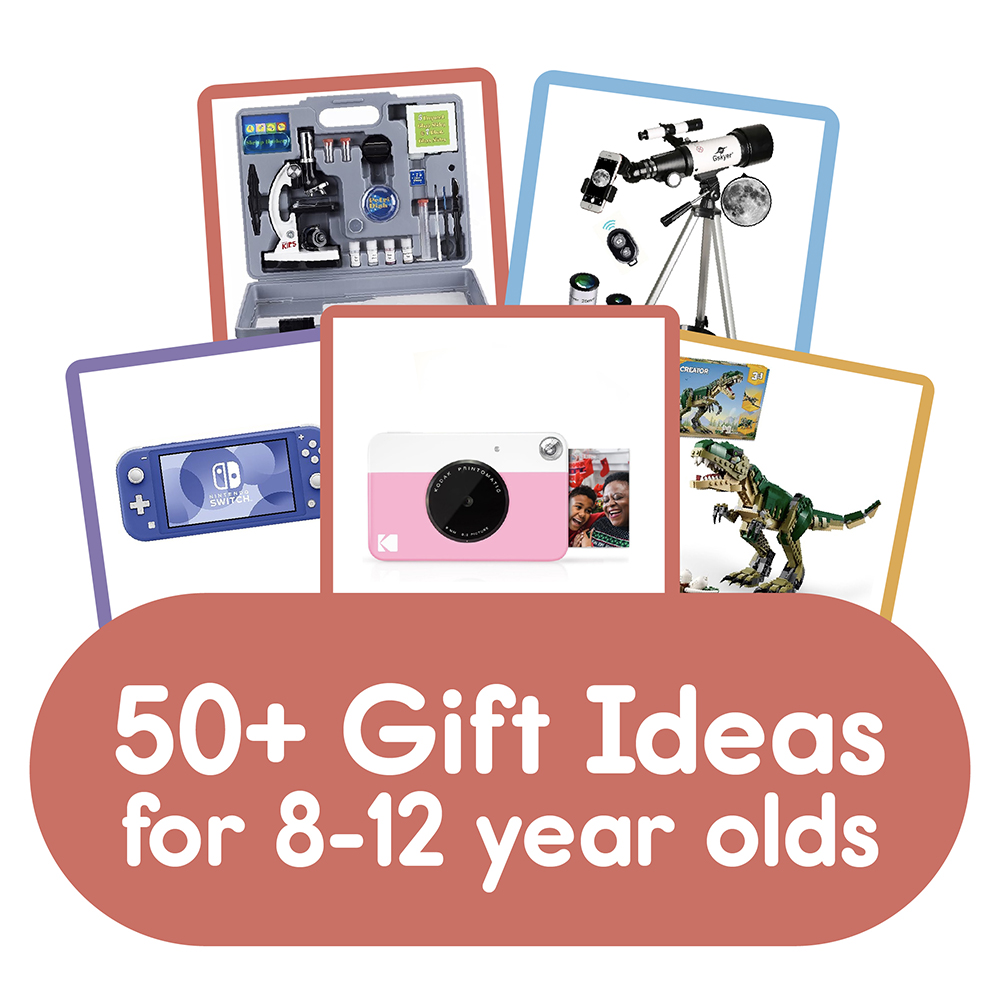
The Best Gifts for 8 to 12 Year Olds!
read more
Best Learning Toys for Kids
Looking for the best learning toys for kids? We’ve got you covered with this list of educational gifts that kids will love and learn from!
DIY Snow for Sensory Play: 4 Easy Kid Recipes
Learn how to make DIY snow for sensory play in minutes! These 4 fake snow recipes for kids are perfect for home, classroom, or sensory bins.