Discover the best gifts for dad in our ultimate guide, featuring top picks for every type of dad, from tech lovers to adventure enthusiasts!
Birthday Play Dough Kit – Easy Party in a Box!
Birthday Play Dough Kit – Easy Party in a Box!

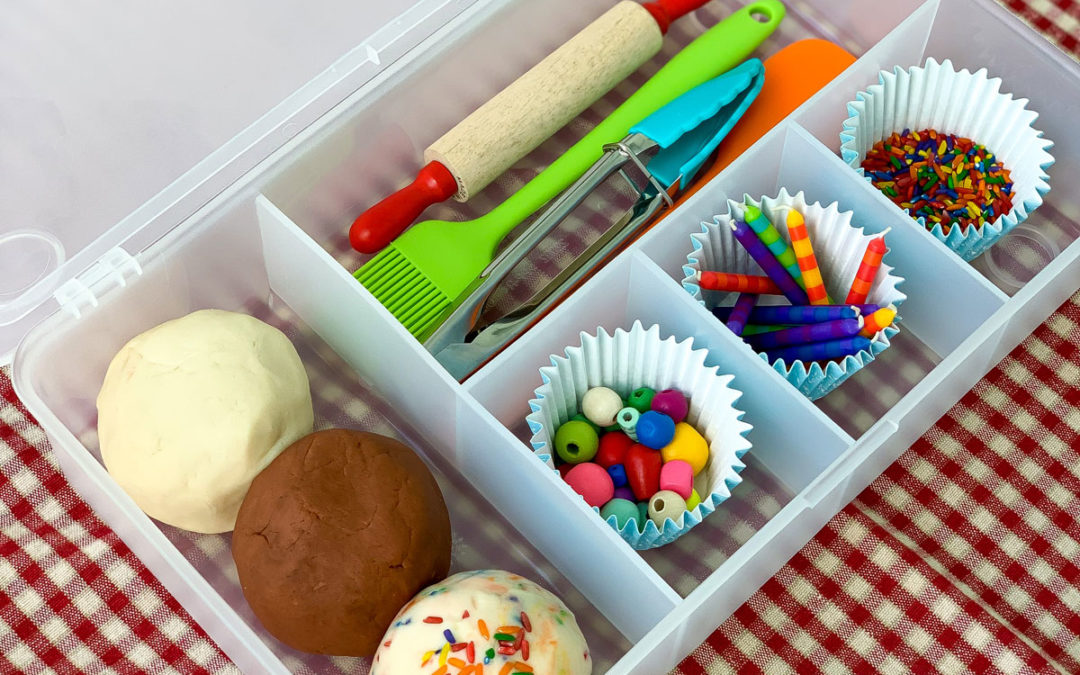
This birthday play dough kit is so much fun! You only need to assemble it once, but then kiddos can use the loose parts to make cupcakes time and time again! It’s such a great way to encourage creative and independent play.
Celebrate Anytime with This Birthday Play Dough Kit
We love making play dough kits! And this one takes the cake (pun definitely intended – ha!). Play dough kits are easy to make and super convenient to have on hand – say if it’s a rainy day or you simply need a fast-to-set-up quiet time activity!
One of our favorite things to do with play dough kits – give them as gifts! And this birthday-themed one is perfect for any young child as they celebrate turning a new age!
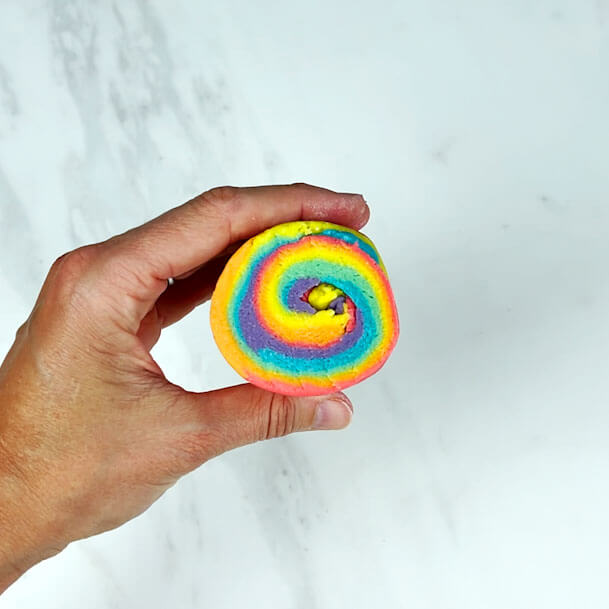
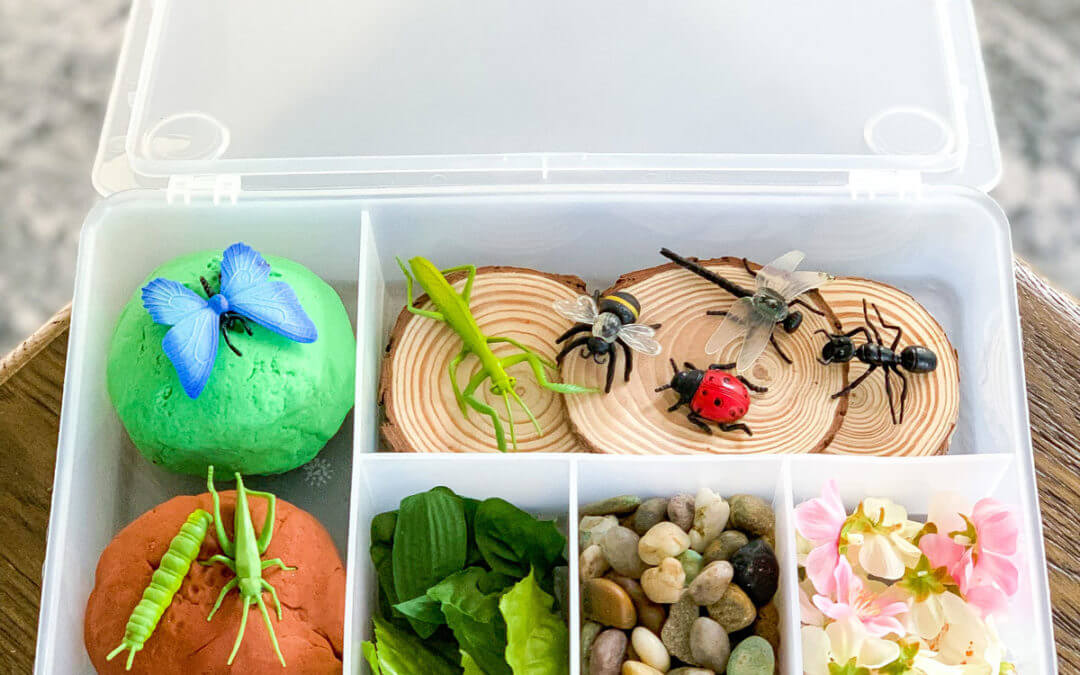
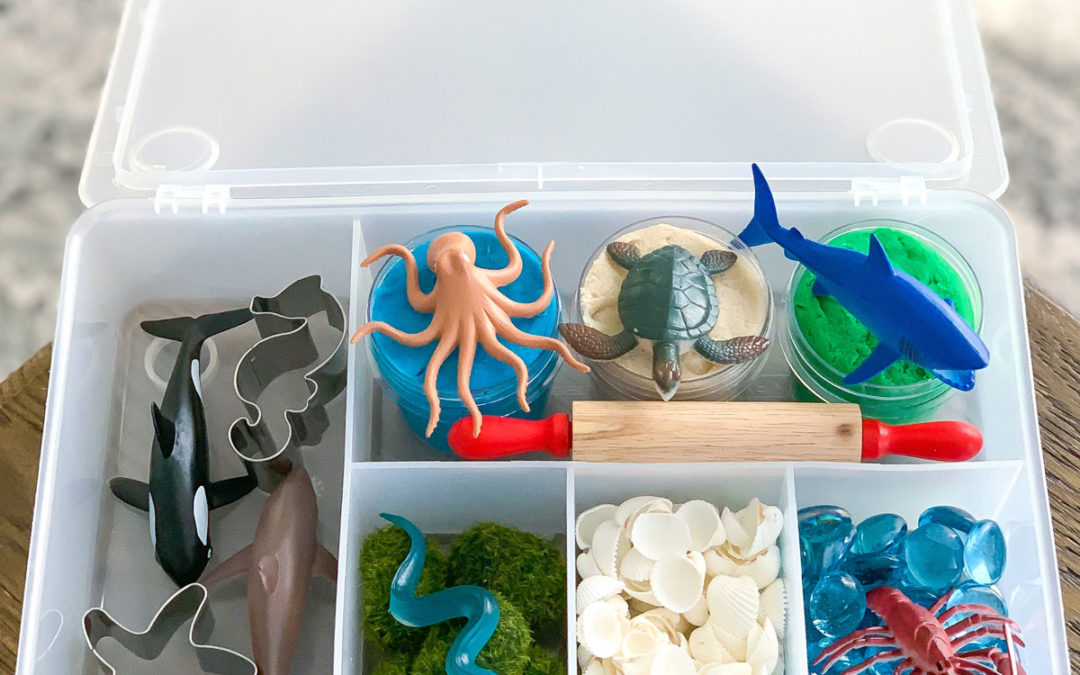
For more sensory-based activities, visit our comprehensive list of ideas! We have a lot of other great play dough ideas and kits including an ocean-themed kit, insect-themed kit, and a fun process of making play dough swirls!
Skills:
Ages:
Prep Time:
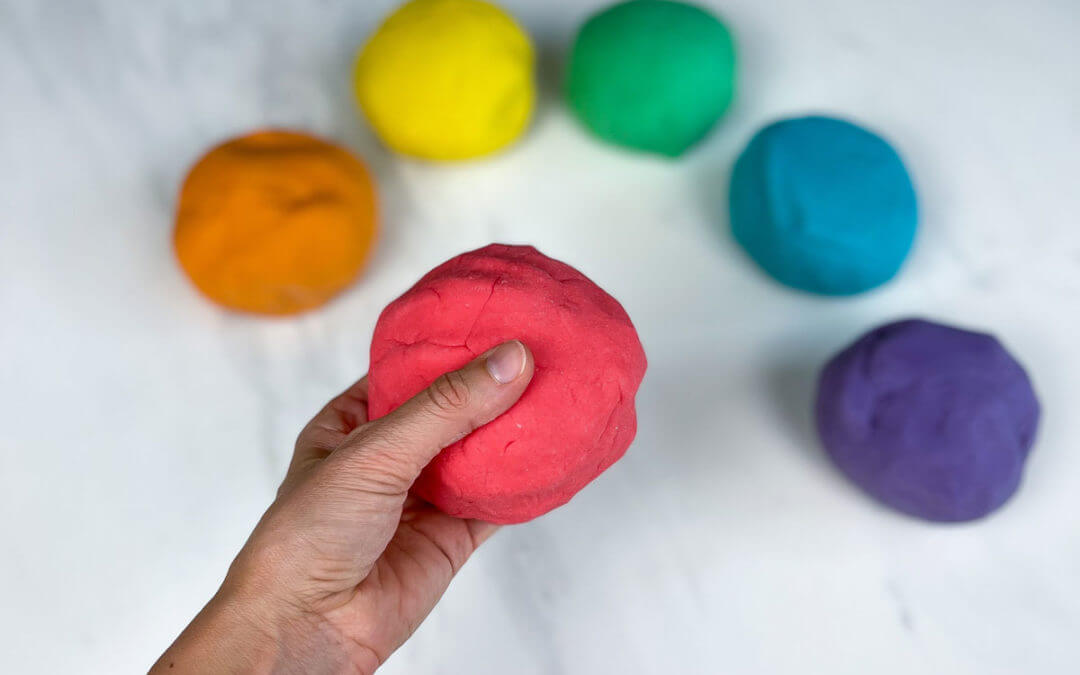
How to Make Your Own Play Dough!
If you’ve never made play dough before, you may think it is going to be a lot of work! But, nope! Our simple recipe is super easy to make. There is no cooking involved, just using a microwave!
Making play dough together with kids is such a fun way to include them in the process. They can learn so much by just measuring and counting ingredients. Plus, if you’re like us, you’ll want to make it in every color!

How to Set Up This Birthday Play Dough Kit
Whether you are assembling this activity in a kit or on a tray, it is a great way to give the kids everything they need for creative play. Here’s what you should include:
- Storage Container
- Individual Play Dough Containers (to preserve freshness)
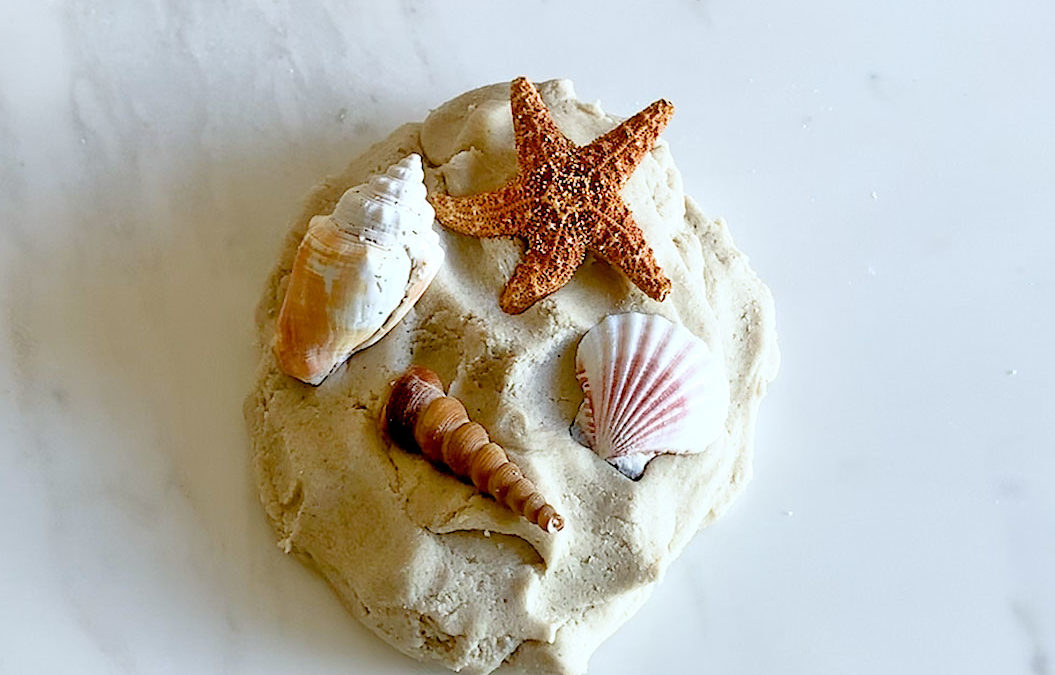
- Homemade Play Dough
- Fake Sprinkles or Rainbow Rice
- Cupcake Liners
- Wooden Beads
- Rolling Pin and other tools like an ice cream scoop
- Candles
All activities should be supervised by an adult. As an Amazon Associate, I earn from qualifying purchases. This post may contain affiliate links.
Beyond a Birthday Play Dough Kit – The Benefits of Playing with Dough!
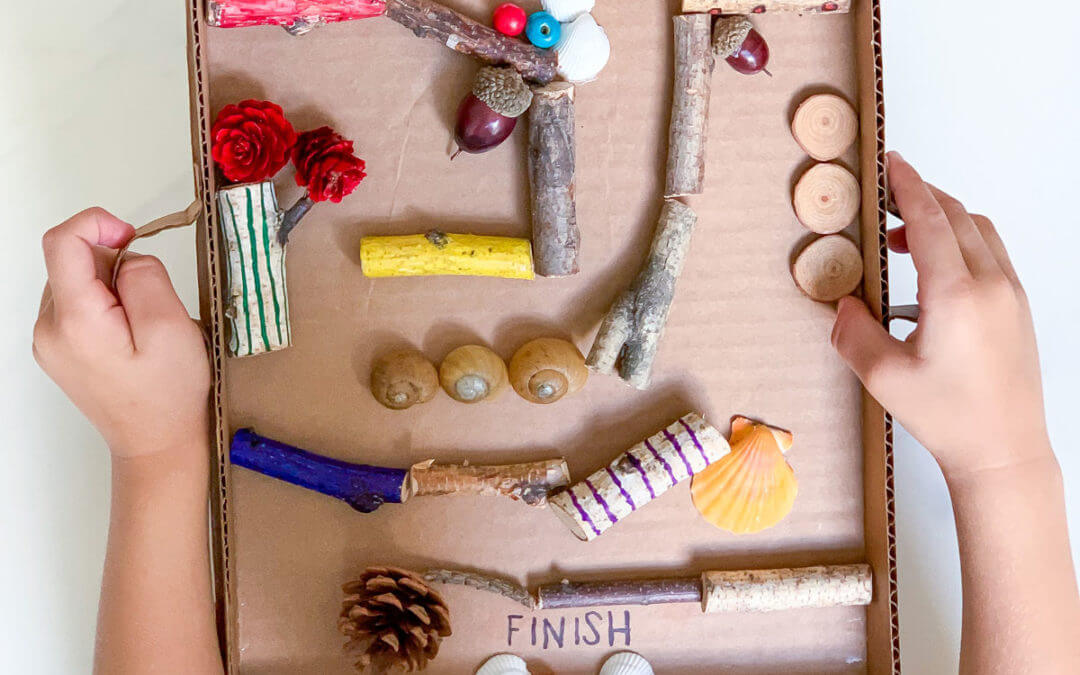
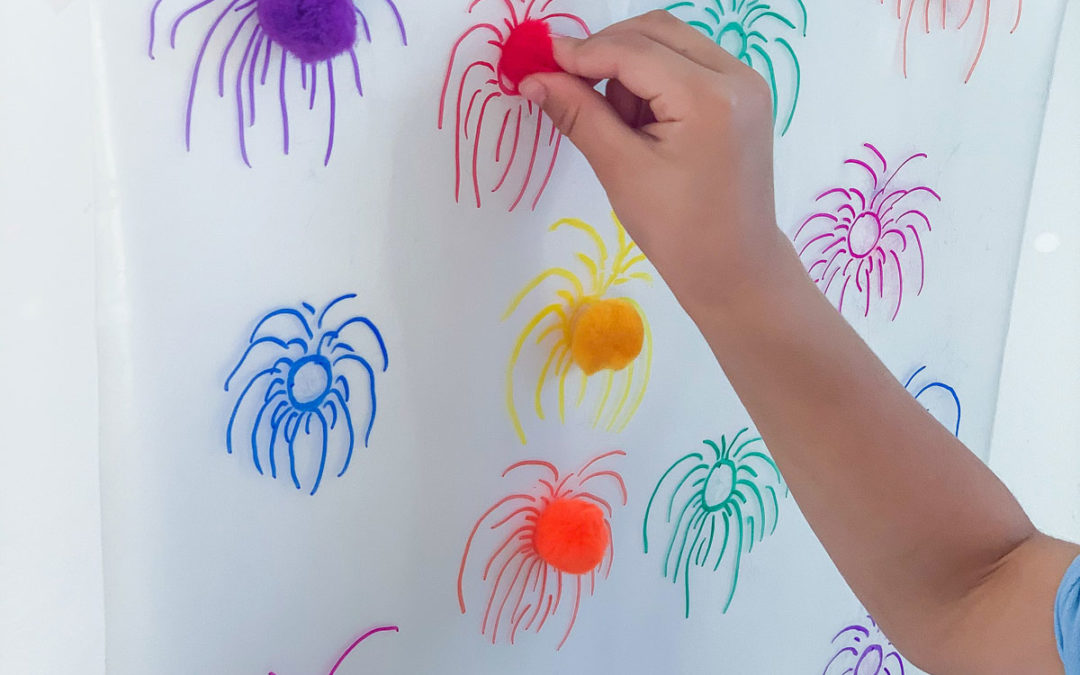
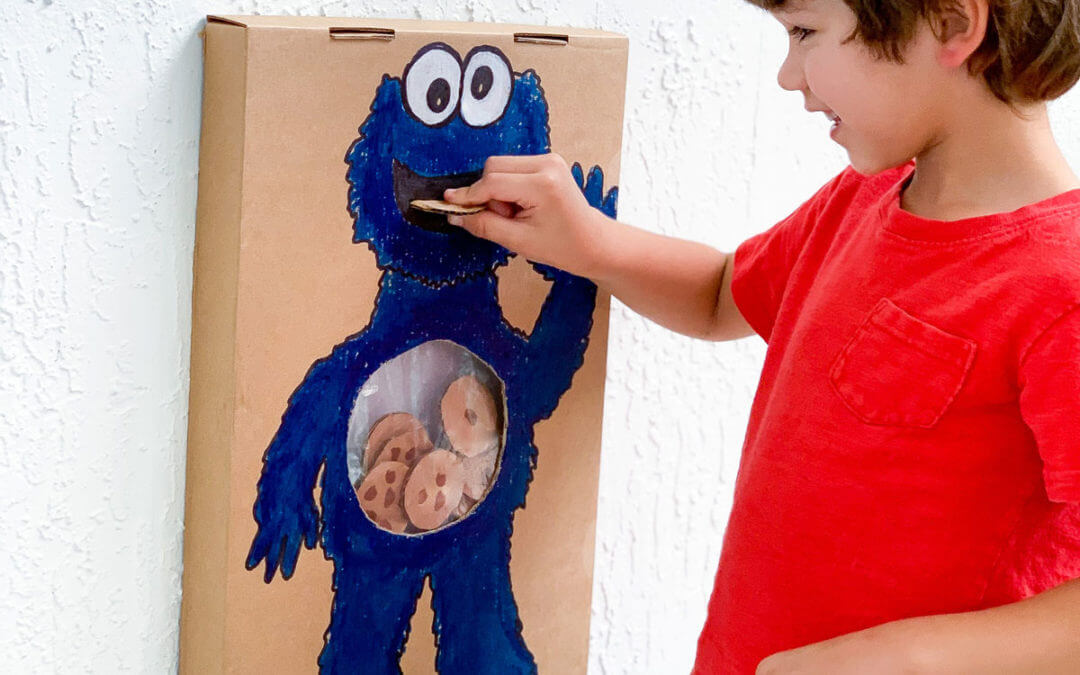
Play dough offers so many great learning benefits. The kids will be able to use their fine motor skills to create while also using their sensory skills. I also love that play dough has the kids creating and thinking outside the box on fun things to create.
The more that they can create using play dough, the more that they’re going to be thinking creatively, too. You can even use play dough to teach the kids to learn their colors, letters, and numbers too!

Beyond a Birthday Play Dough Kit – The Benefits of Playing with Dough!
Play dough offers so many great learning benefits. The kids will be able to use their fine motor skills to create while also using their sensory skills too. I also love that play dough has the kids creating and thinking outside the box on fun things to create.
The more that they can create using play dough, the more that they’re going to be thinking creatively, too. You can even use play dough to teach the kids to learn their colors, letters and numbers too!
More Play Dough Kits to Explore
Take this birthday play dough kit as inspiration and try out some more themes kids will love!

Princess Play Dough Kit

Peppa the Pig Play Dough Kit

Dinosaur Play Dough Kit

Ocean Play Dough Kit

Insect Play Dough Kit

Frozen Play Dough Kit

Aladdin Play Dough Kit

Edible Play Dough Recipes
What’s Next?
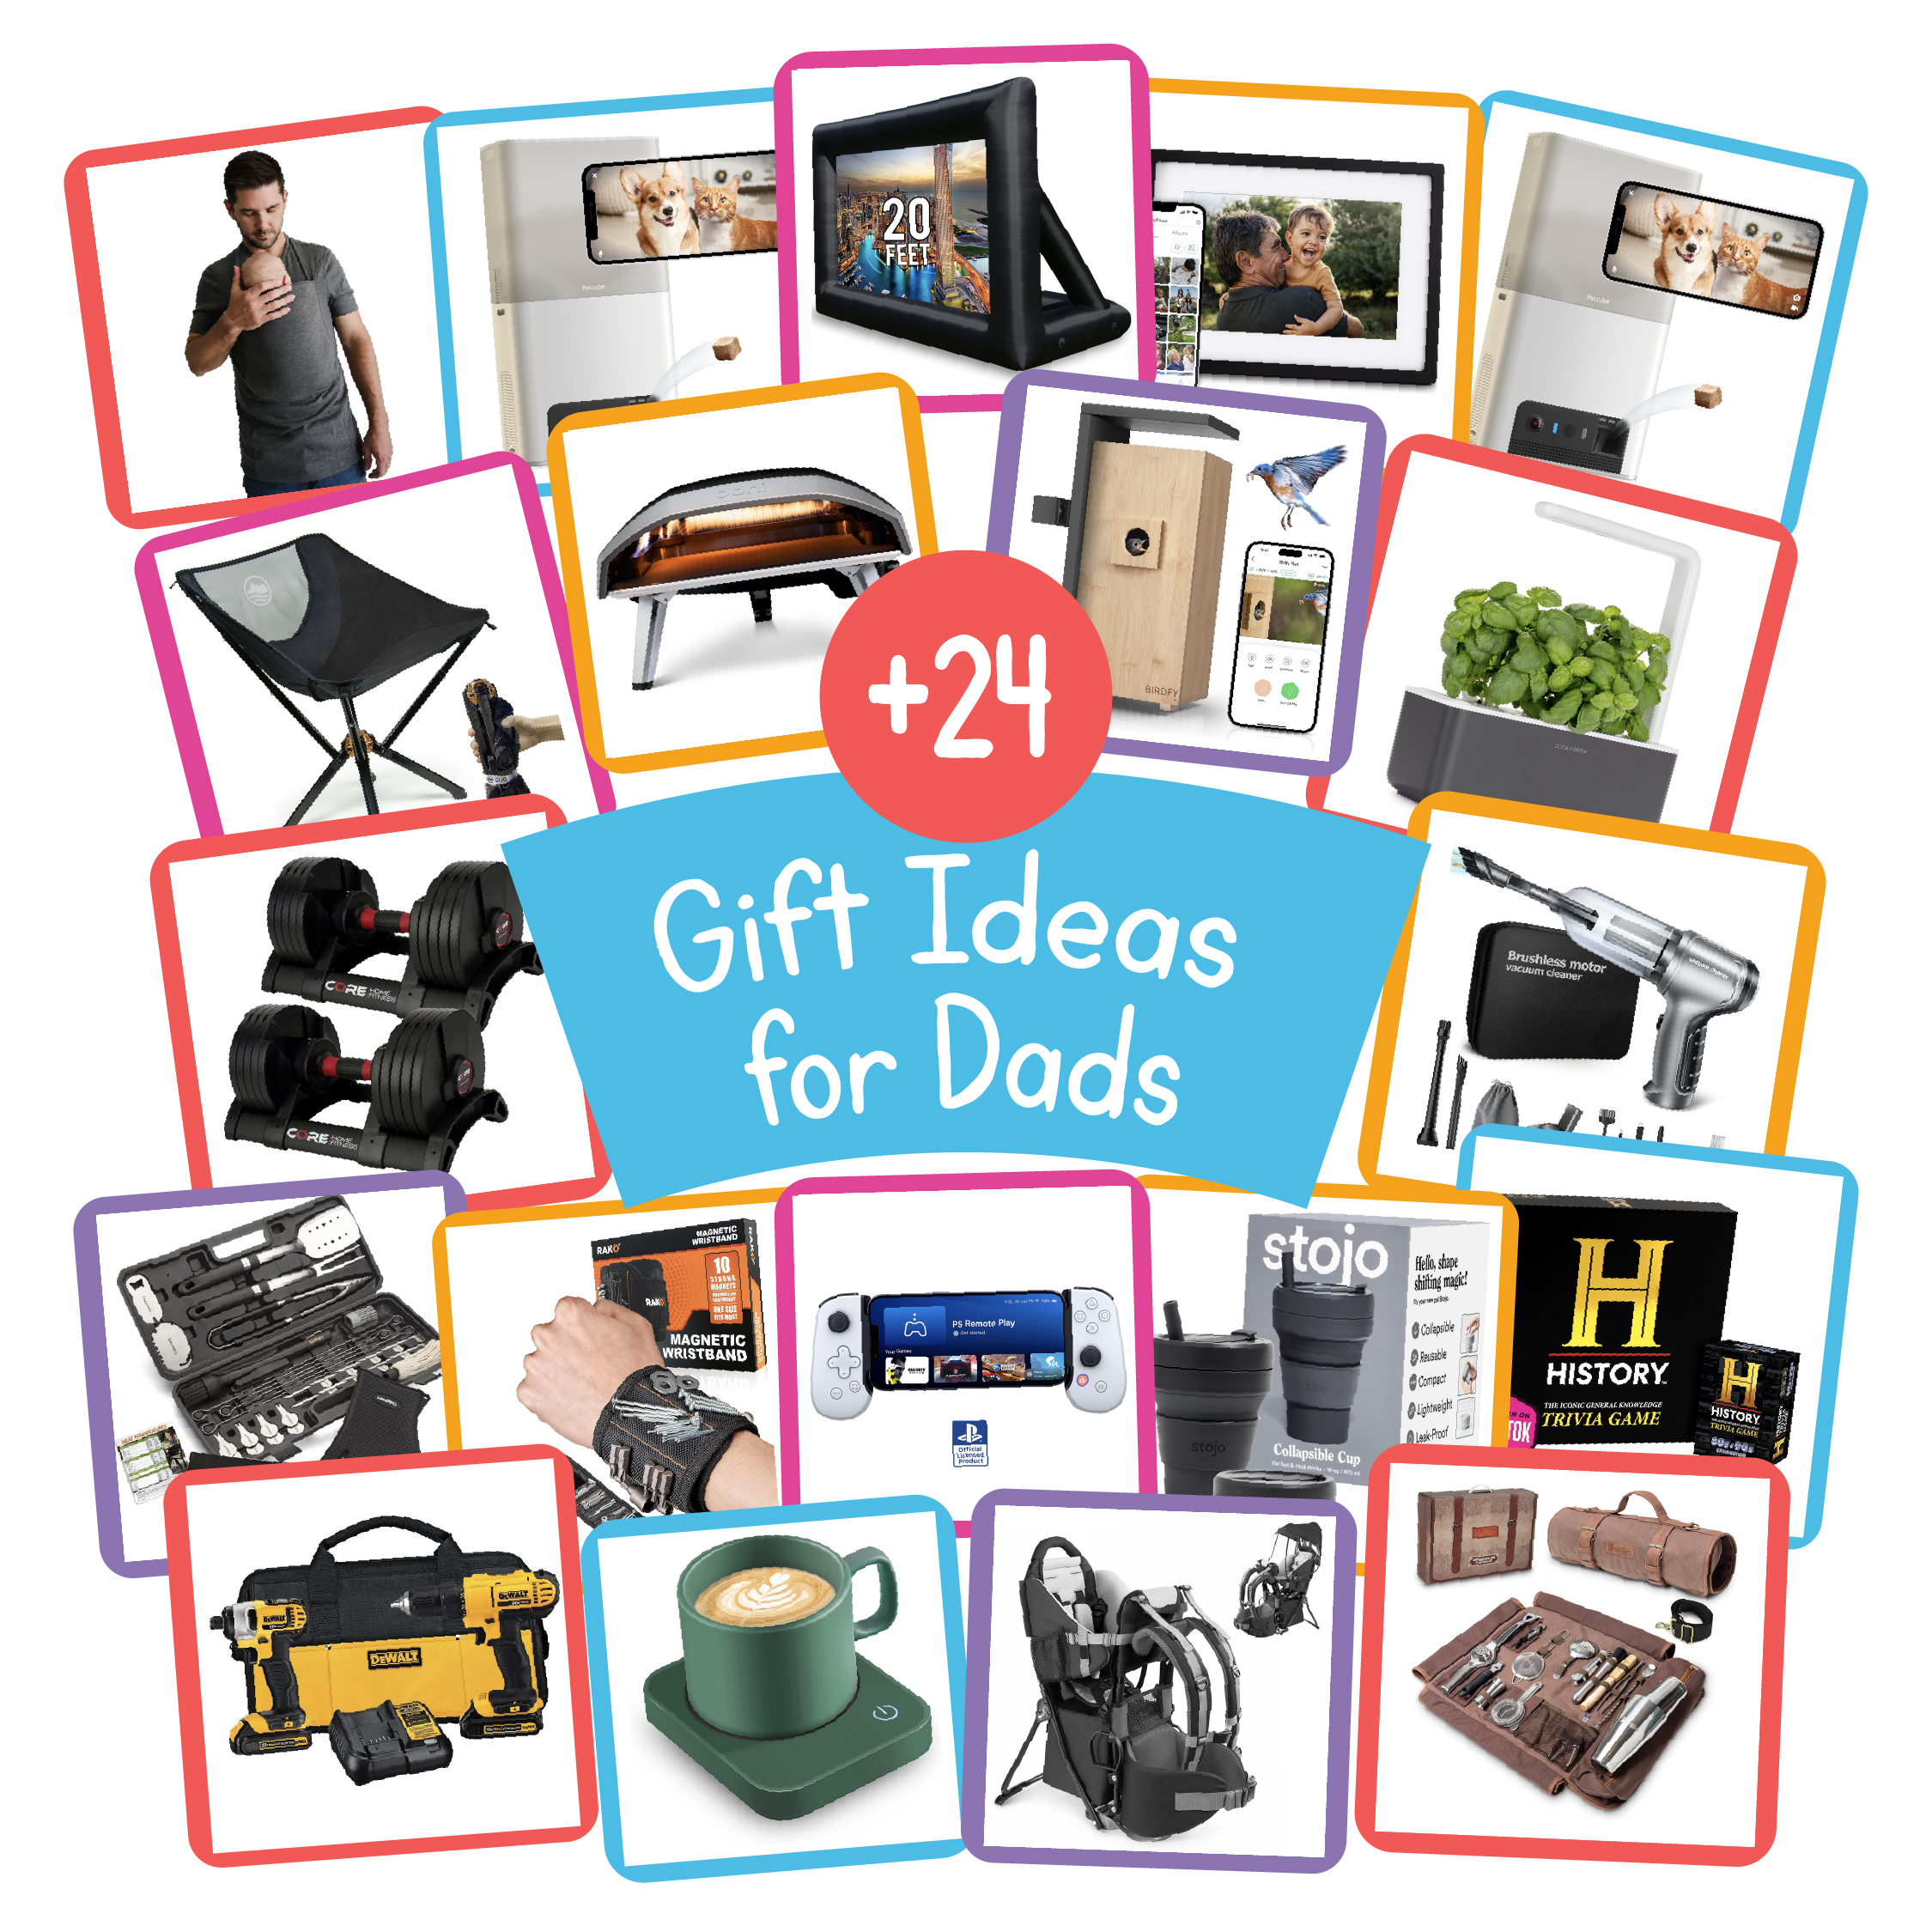
The Best Gifts for Dads in 2025
read more
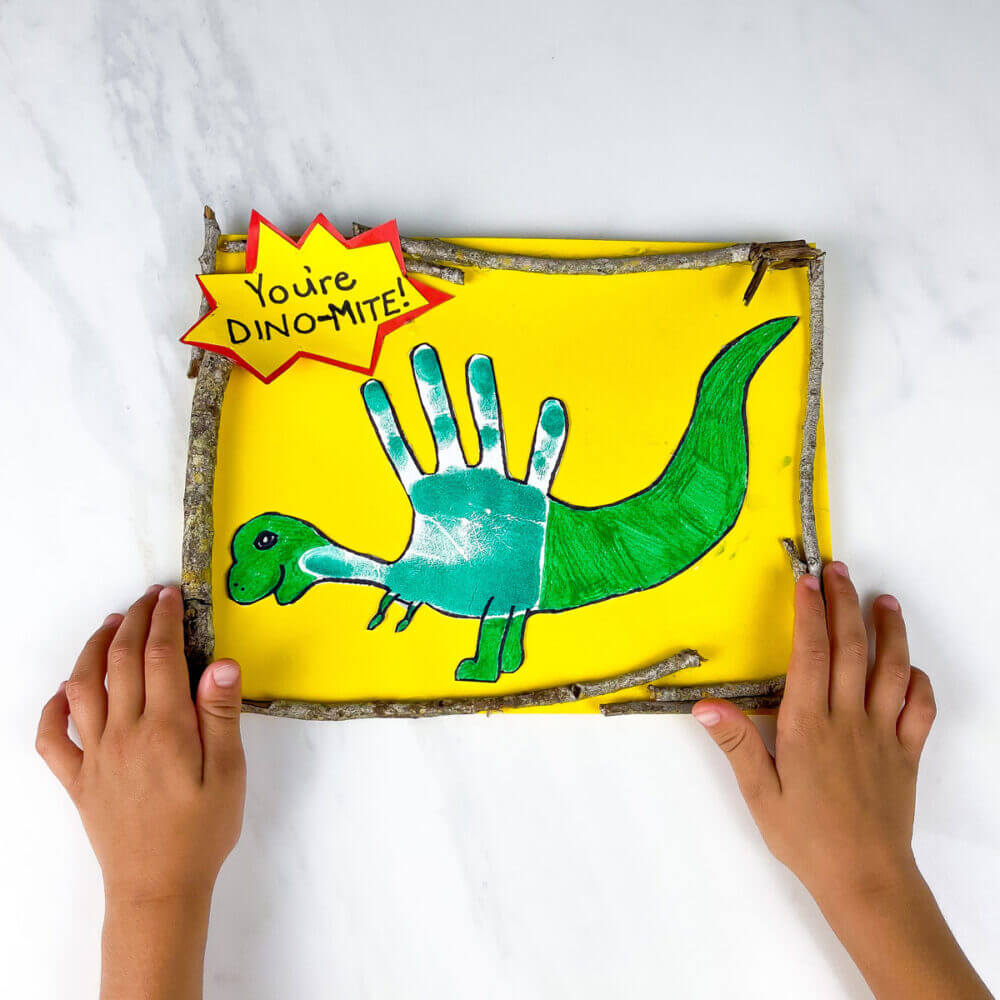
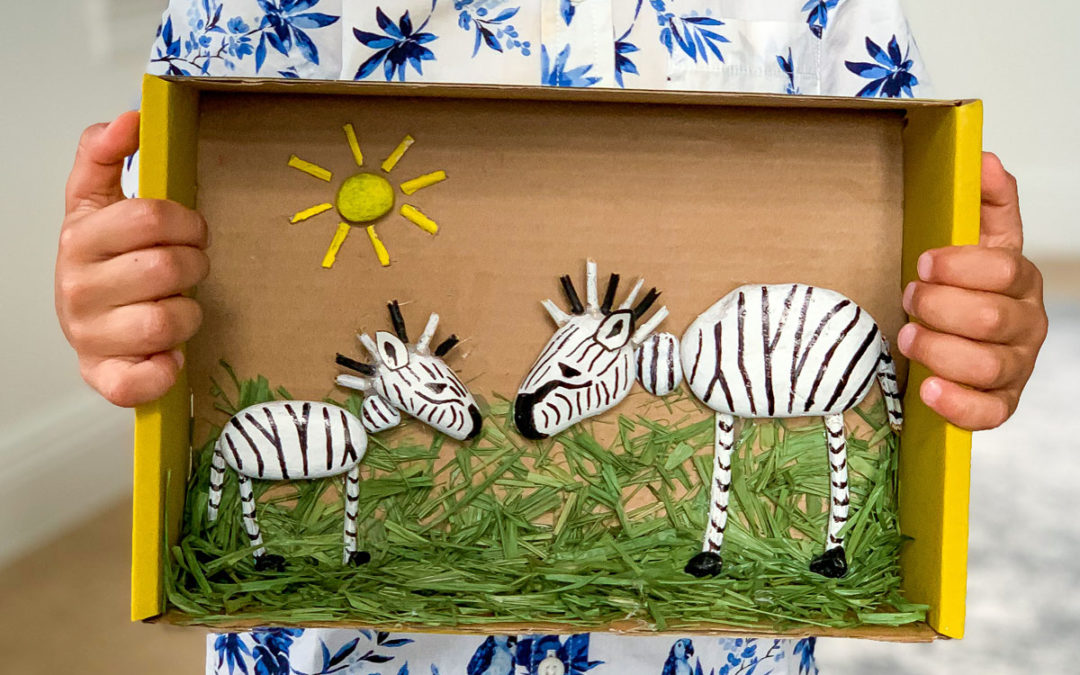
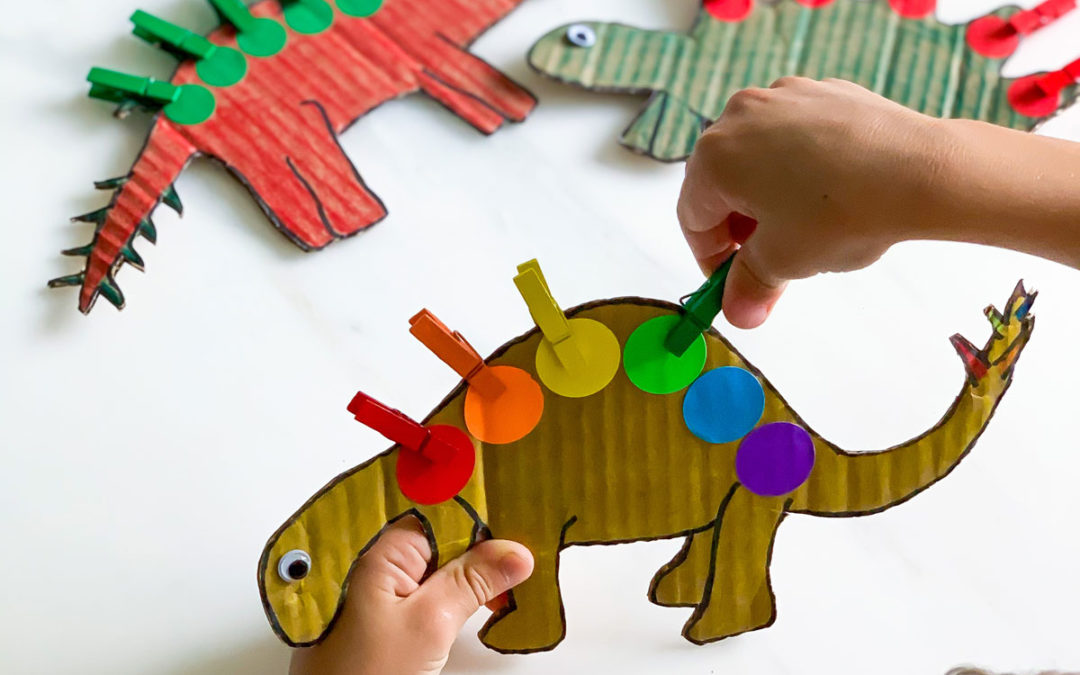
Dinosaur Kids Craft – Fun Handprint Keepsake
This dinosaur kids craft is super easy to create and makes a great handprint keepsake! Read on for tips for making the perfect handprints!
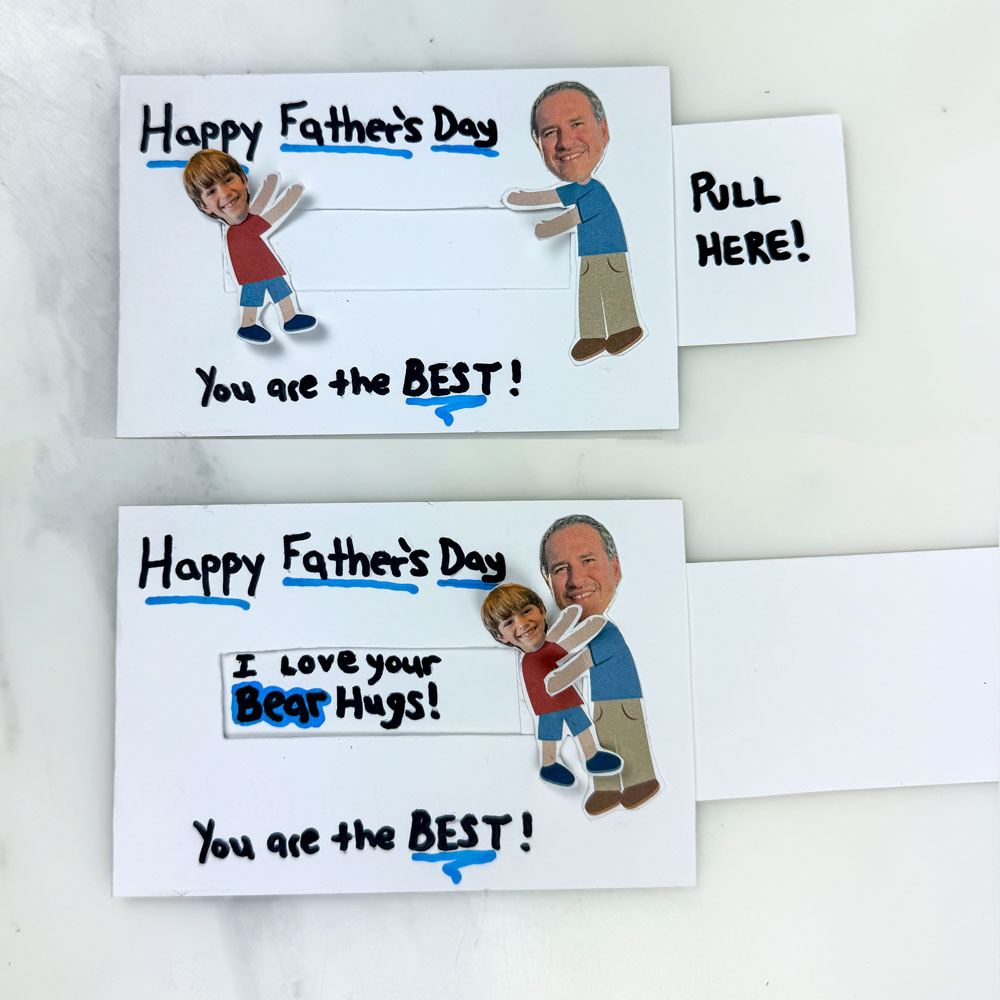
Fathers Day Card Template – Get the Free Slider Hug Card
Looking for a creative way to celebrate Father’s Day this year? Our free, printable Fathers Day card template is the perfect solution!